|
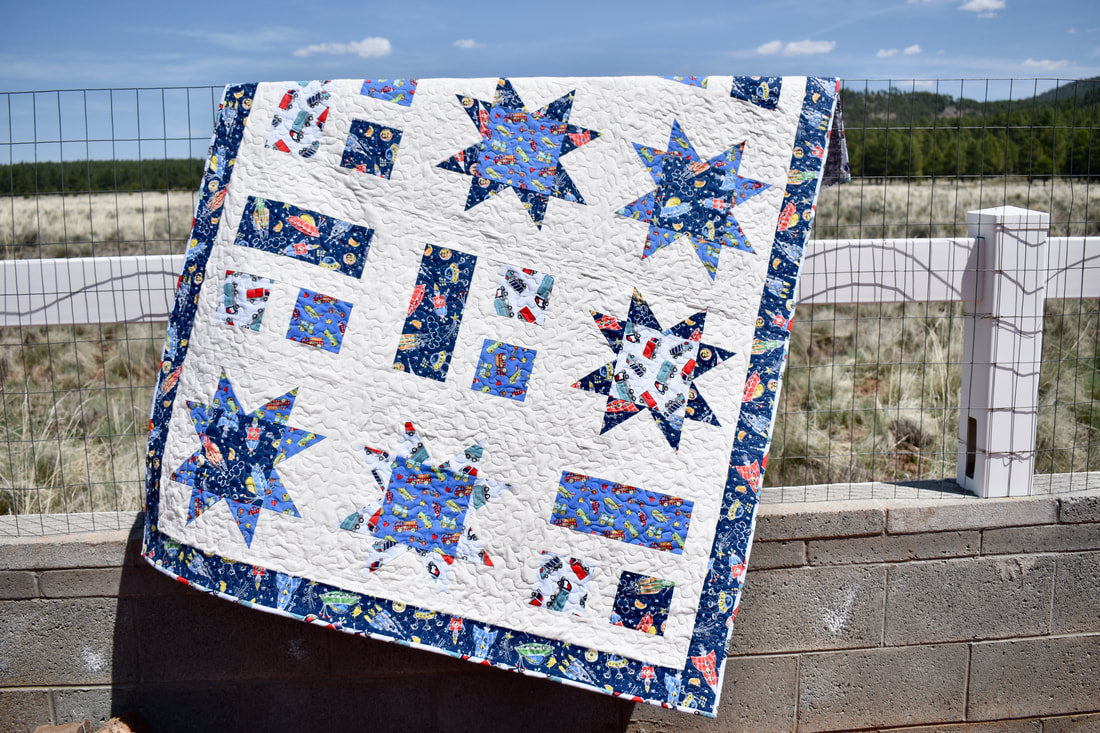
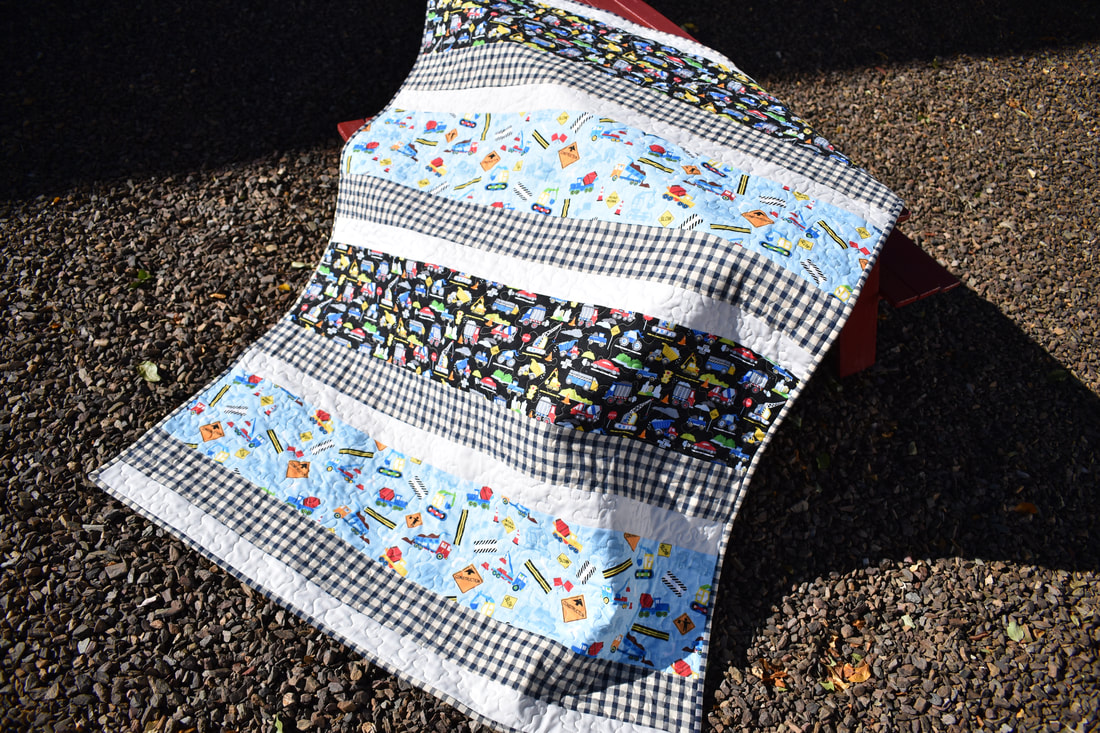
The "I Spy" stars and cars quilt is a charming quilt that you can make for your little one using cute novelty fabrics in any theme. This quilt features the 8 point star blocks and 3 patch blocks.
Quilt finished measurements : 47 1/2" x 61 1/2" Download the PDF pattern by clicking the button below
Watch the video tutorial here
Disclaimer : This post contains Amazon affiliate links
This is a fun and relatively easy baby/toddler size quilt that is beginner friendly, and pretty straight forward to make (no intricate piecing), as long as you can cut and sew strips together, you can make this oh so adorable quilt.
The finished size of this quilt is about 42" x 54 1/2". Although I designed this quilt for a toddler bed, this will also make a great lap quilt, or playmat for younger baby.
I love the simplicity of this quilt, no intricate piecing, yet still gives you a lovely result.
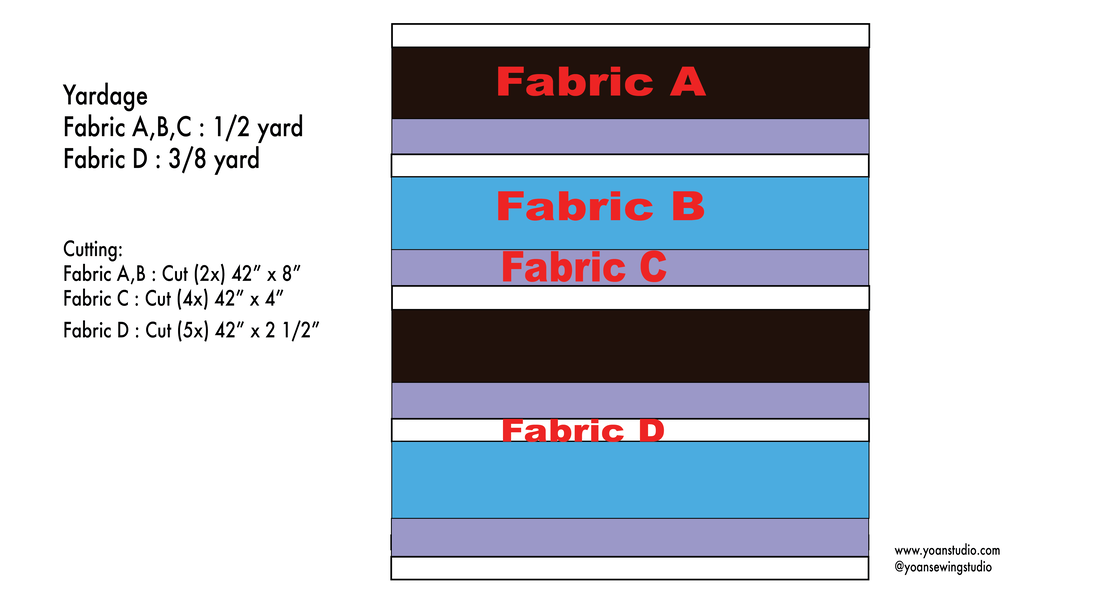
Below is the layout for this quilt
I've got my main fabrics from Joann, and for the backing I used this really soft and cuddly pinky fabric by Shannon Fabric
Supplies :
Fabric A : 1/2 yard quilt fabric Fabric B : 1/2 yard quilt fabric Fabric C : 1/2 yard quilt fabric Fabric D : 3/8 yard quilt fabric Binding : 6 x binding strips (1/2 yard quilt fabric) Backing Fabric (I used minky fabric by Shannon Fabrics) Quilt Batting Basic Quilting and sewing Notions *Spray Basting *Thread *Machine quilting needle
Cutting :
Fabric A,B : Cut (2x) from each fabric 42" x 8" Fabric C : Cut (4x) 42" x 4" Fabric D : Cut (5x) 42" x 2 1/2" Disclaimer : This post contains affiliate links You may watch the quilt along video on my Youtube Channel, and consider subscribing so you won't miss any future uploads :)
If you like this project you may want to check out TheRambling Jelly Roll Quilt along video as well (It's another fun and easy quilt project).
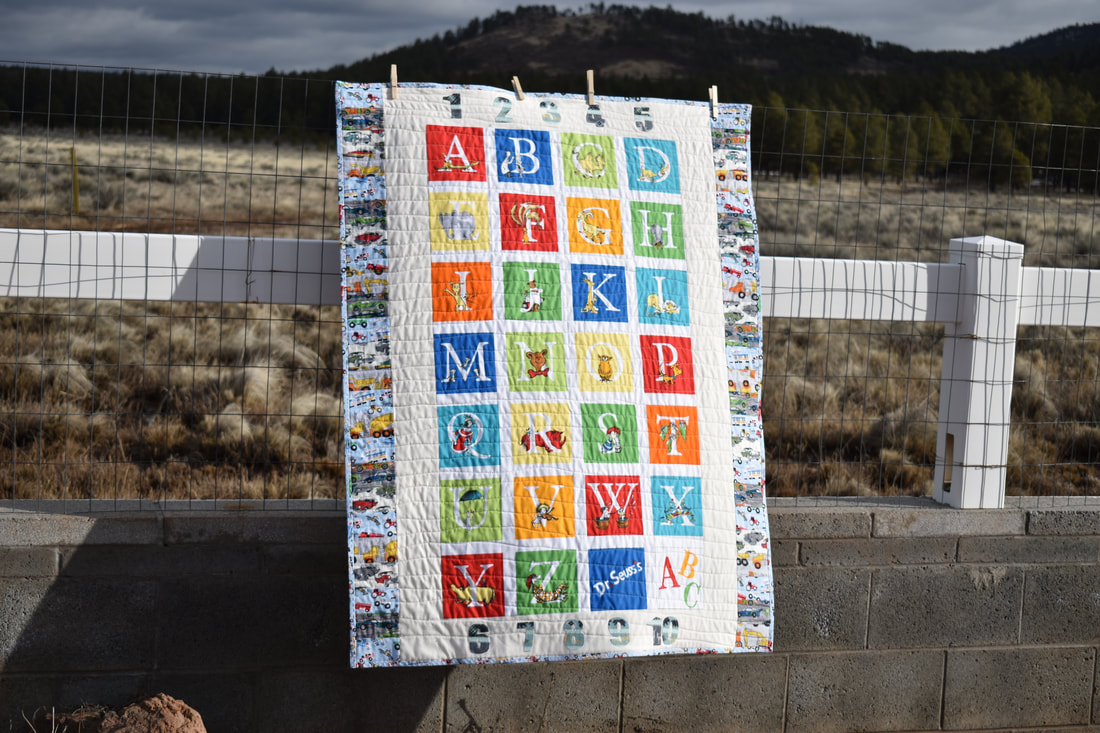
Thanks for stopping by and Happy Quilting!! I have a 20 Months old toddler who is currently very interested with Alphabets and numbers. He particularly loves the Dr. Seuss's ABC's book, and will often ask me, or my husband to read that book for him. So, I went ahead and browse on Amazon, to see if they happened to have some Dr. Seuss's themed fabric that I may make something from for my son, and to my surprise, I found this fabric panel that is exactly what I need. 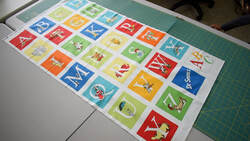 The dimension of this fabric panel was about 23" x 41.5". I added some borders and side panels to increase the size of this quilt. I also added some numeric appliqués this way the quilt will have both alphabet and numbers as well. The Supplies for this project are : One Robert Kaufman Dr. Seuss ABC fabric panel 1/2 yard quilt weight fabric in white/ off white color for the borders Assorted nursery themed fabric for the side panels (use scraps or leftover fabric that you may already have) Quilt Batting Machine quilting needle Spray Basting Fusible Adhesive Disclaimer : The above links are affiliate links which means I earned a small commission when you make a purchase from those links (with no additional cost). However, you don't have to use those links, it's up to you. Thank you for your support. Cutting measurements Top & Bottom Border : Cut two 30" x 4" (76.2cm x 10cm) Side Borders : Cut two 41.5" x 4" (105.4cm x 10cm) Side Panels : Cut 48 rectangles 4" x 2.5" (10cm x 6.3cm) Check out the full tutorial on my Youtube Channel Happy Quilting !!
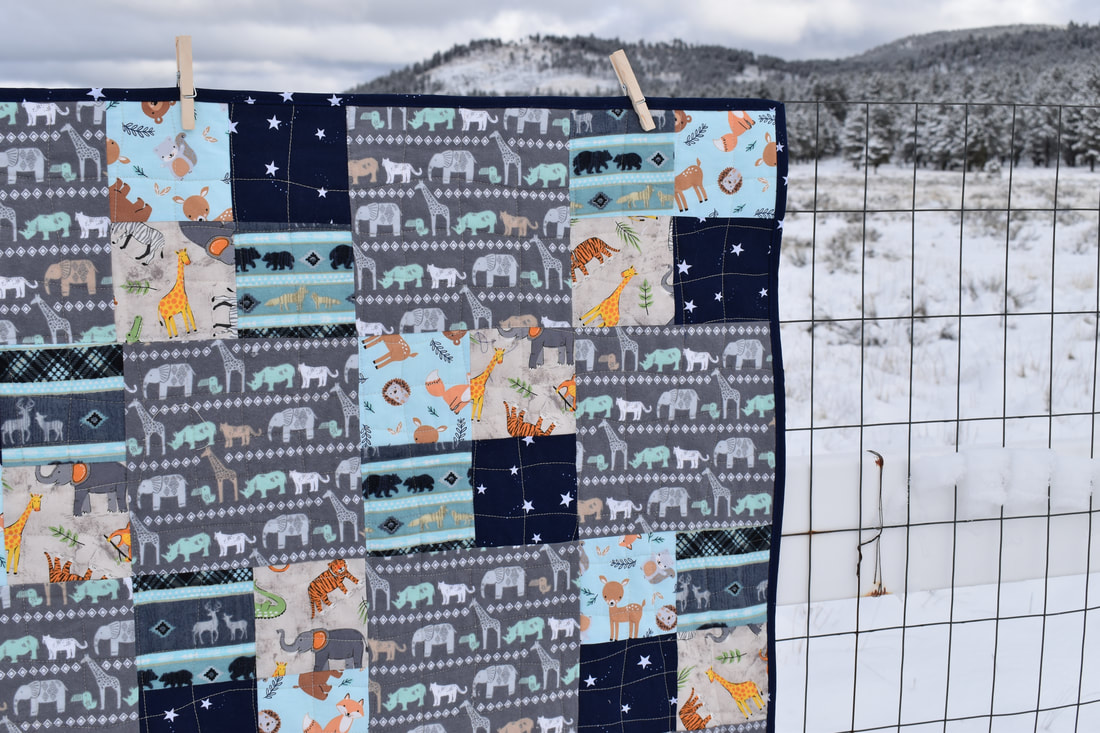
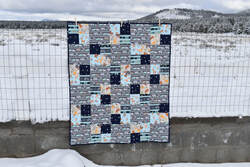 Baby quilt is one of my favorite quilting project. It is fun to make, as you get to choose all those cute nursery fabrics, the size is just right, not too big that can get you frustrated (especially if you are a beginner), yet it is not too small hence you still can experiment with different fun patterns. In this post I would like to share with you my latest quilting project. I call this the Scrappy Baby Quilt, due to the fact that I literally used up some of my left over nursery themed fabric. Download the scrappy baby quilt pdf pattern below :
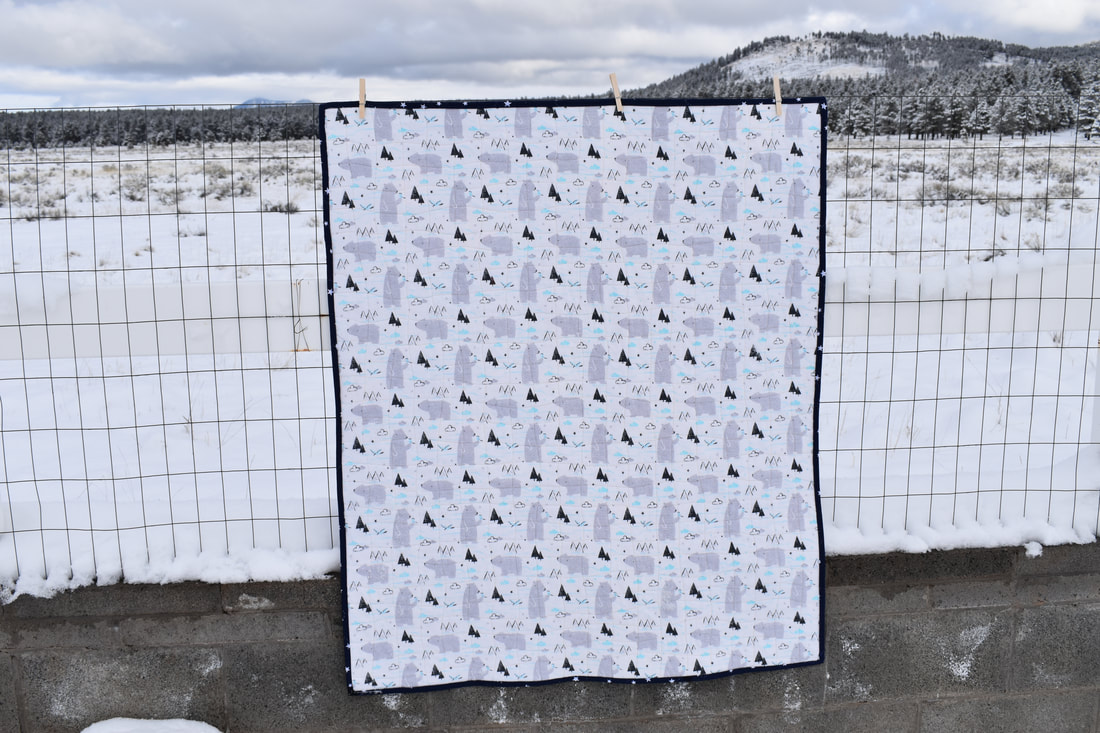
Watch the scrappy baby quilt video tutorial: Supplies: 3/4 yard of nursery themed quilt fabric for the large squares (Fabric A) 1/4 yard of each 4 different nursery themed fabric 1/2 yard backing fabric Five 2 1/2 inches (6.4 cm) wide binding fabric Crib size quilt batting Basting spray or basting pins Quilting needle Quilting thread I quilted this quilt with my walking foot using the wavy stitches going across vertically and horizontally. I simply love the organic look that is achieved with this design. For the backing I chose a snuggly flannel fabric, to make this quilt extra cozy and warm, especially on the cold snowy day at the mountain today. : I hope your quilt turned out great. If you have any questions at all, please let me know by leaving me a comment down below. 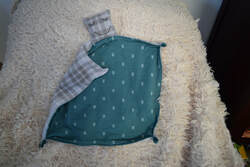 Hi everyone! Today I wanted to share with you a tutorial on how to make this security blanket. I made this cutie for my son who is now 19 months old, and I thought why not sharing the tutorial with you. Security blanket (or also called Lovey Blanket), is a sort of comfort object that are usually given to baby or toddler to help soothe them to sleep. For this project you will need: 1/2 yard of knit fabric 1/2 yard of fleece fabric Poly stuffing Embroidery Thread This is a relatively simple project to do, that you may finish in one afternoon. I posted the whole video tutorial on my Youtube channel. If you have any questions at all, please let me know on the comment down below. I hope your project turned out great!! XOXO |
Archives
May 2020
Categories |
||||||
 RSS Feed