YOAN SEWING STUDIO
  • Home
  • Collections
    • Bag Projects >
      • Crossbody Bags
      • Drawstring Bags
      • Tote Bags
      • Mini bags
      • Backpack
      • Sling Bag
      • Slouch/lightweight Bags
    • Wallet Projects
    • Wristlets
    • Patchwork/Precuts >
      • Charm Pack Projects
      • Fat Quarter Projects
      • Jelly Roll Projects
      • Layer Cake Projects
    • Quilting Projects >
      • Modern Quilts
      • Lap/Baby quilts
      • Pillows
      • Runner/Wall Hanging
      • Binding Tutorial
  • All Posts
    • Bags and Wallets
    • Quilting
    • For Kids
    • Other Posts >
      • Tea Time Sewing with Yoan
      • DIY Clothes
      • Metric Conversion Guide
  • Shop
    • Supplies
    • Fabric Collection
  • About
  • Contact

Sew a Scrappy Potholder/Trivet - Quilt as you go

2/6/2020

 
Picture
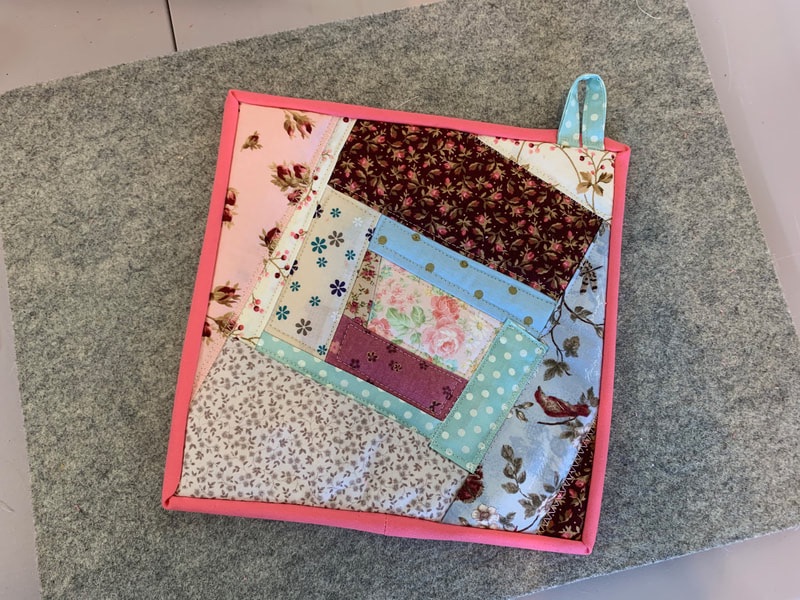
In this very first episode of the Tea Time Sewing, I'd like to share this cute and easy potholder/trivet project using your scraps. I love potholders, and  can't never get enough of them . They brighten up your kitchen, and will make a great gift as well. We will sew this potholder with the "quilt as you" method, where we will piece the fabrics directly on the batting.


Supplies 

1. Scraps of quilt weight fabric 
2. Batting fabric (at least 10" x 10")
3. Insulated batting (at least 10" x 10")
4. Backing fabric (at least 10" x 10")
5. Basting spray
​6. Basic Quilting and Sewing notions

Disclaimer : This post contains Amazon Affiliate Links, thank you for your support.

I posted the sew along video on my Youtube channel, you may go ahead and check that out , or scroll down below for the written instruction.

Directions :
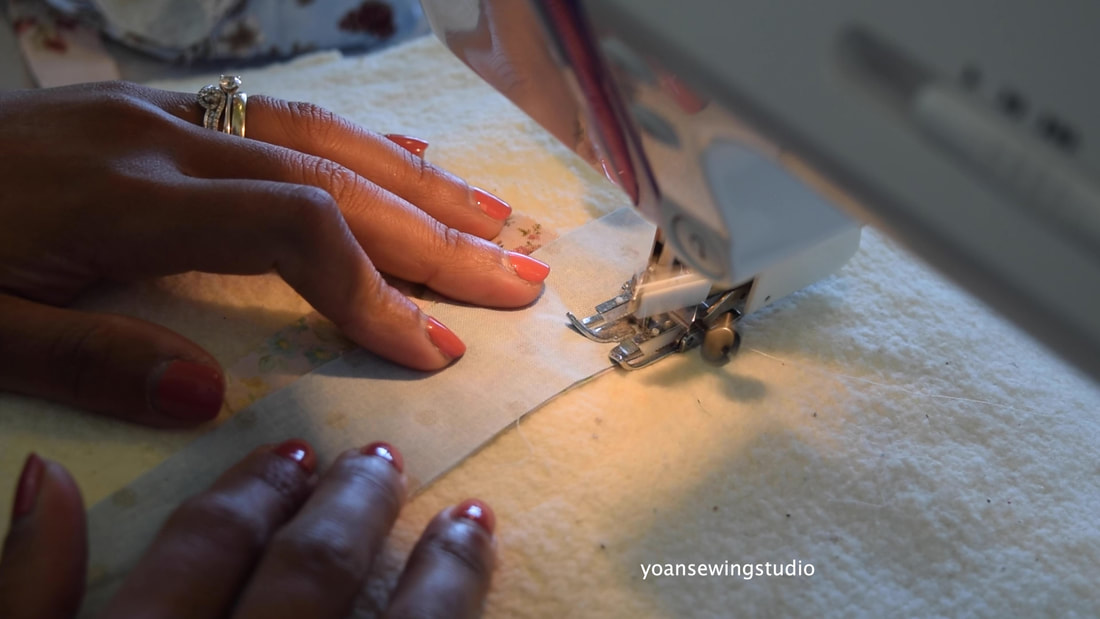
1. Lay the batting and the insul-bright together with the Insul-bright underneath and the batting on top, baste with basting spray. 
2. Take two small scraps of fabric, lay them right side together, aligning the edges (position them on the center of the the batting, then sew with 1/4" of seam allowance. 
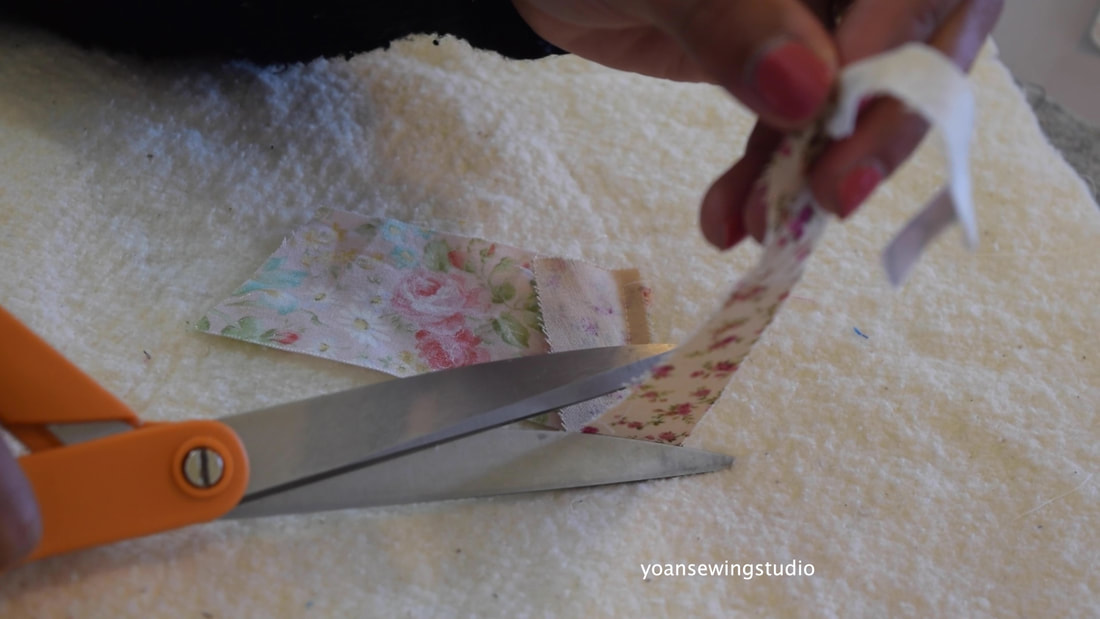
3. Trim the excess fabric, press
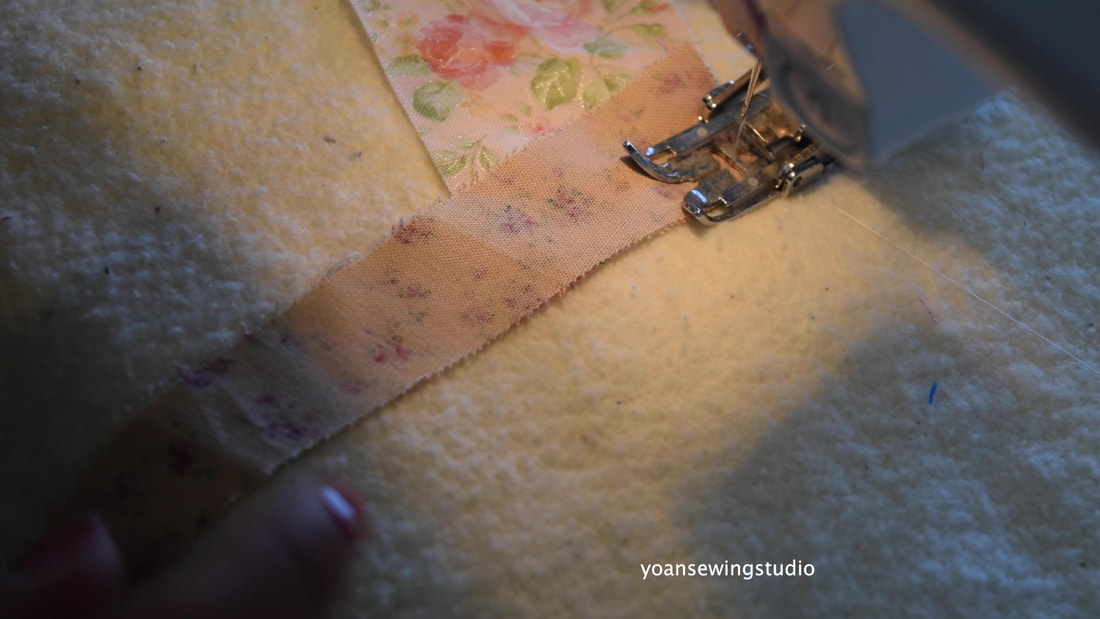
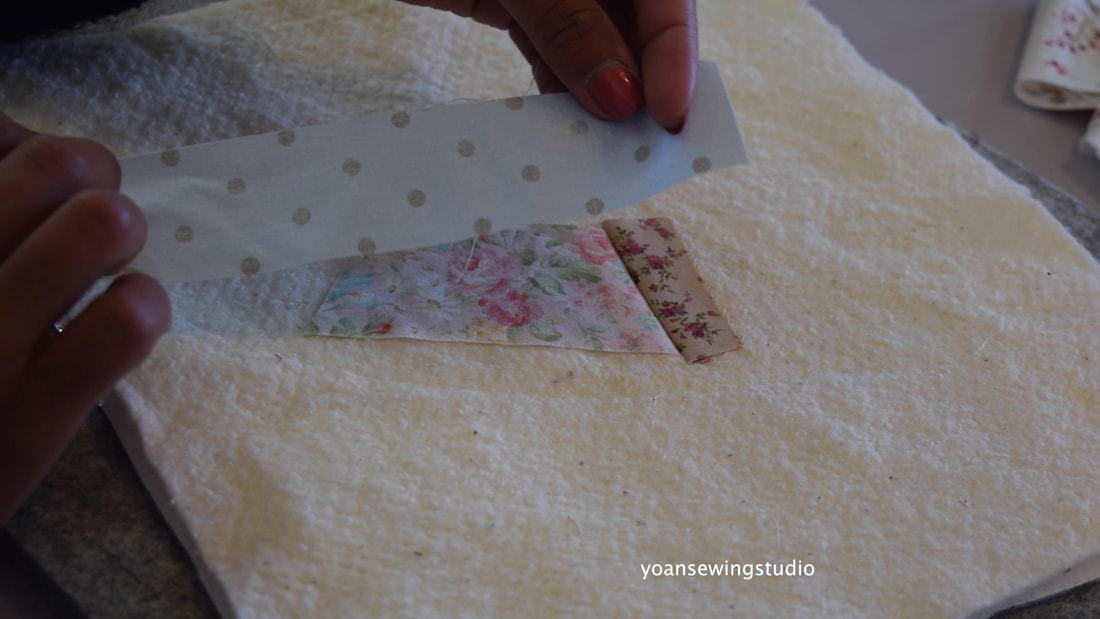
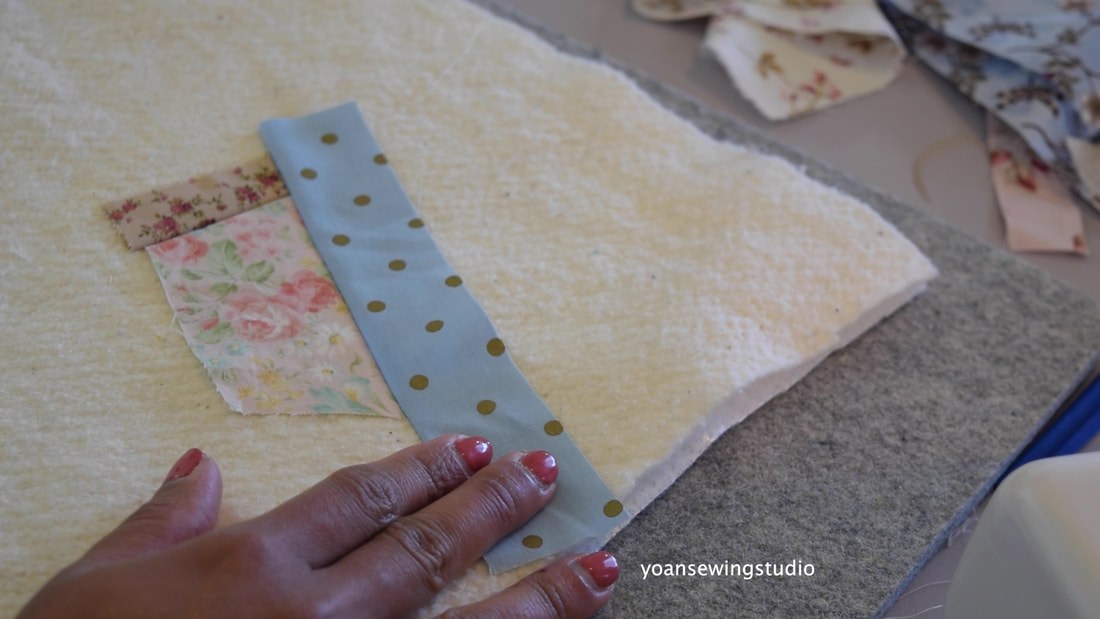
4. Take another piece of scrap, position that on one of the edges the fabric, right sides together, then sew with 1/4" of seam allowance.
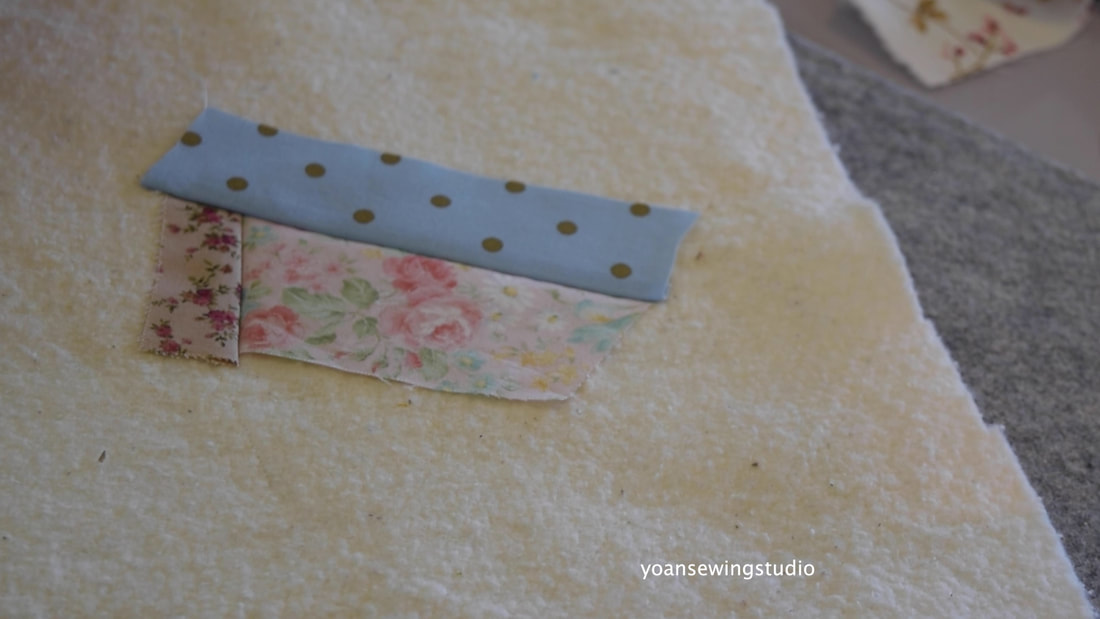
5. Trim the excess fabric, press
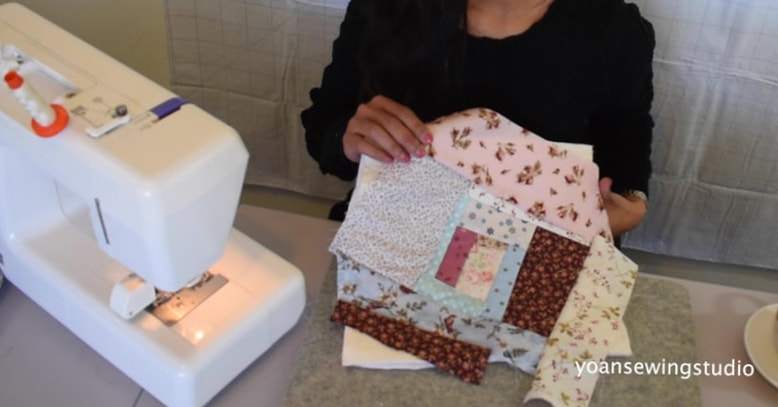
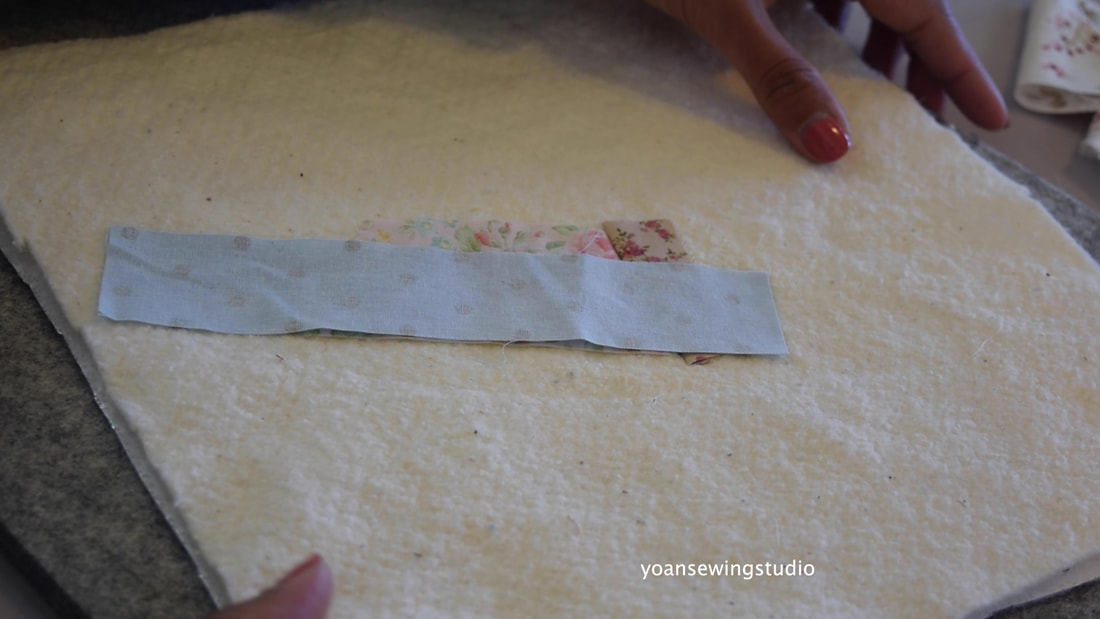
6. Keep sewing and add more fabric, to cover the entire batting.
Picture
7. Place the backing under the batting wrong side up, quilt (or baste instead)
Picture
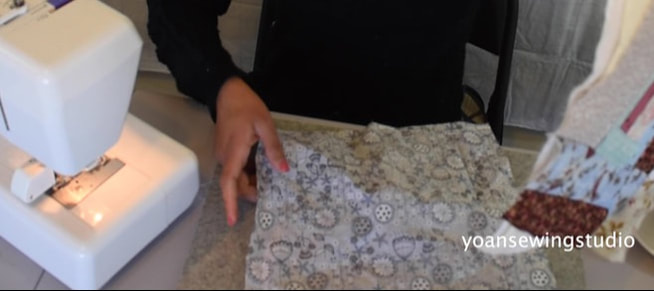
8. Trim to measure 9" x 9"
9. Add the hanging loop.
10. Bind, and enjoy!

​Happy Sewing!

    Archives

    June 2021
    April 2021
    March 2021
    March 2020
    February 2020

    Categories

    All

    RSS Feed

Proudly powered by Weebly
  • Home
  • Collections
    • Bag Projects >
      • Crossbody Bags
      • Drawstring Bags
      • Tote Bags
      • Mini bags
      • Backpack
      • Sling Bag
      • Slouch/lightweight Bags
    • Wallet Projects
    • Wristlets
    • Patchwork/Precuts >
      • Charm Pack Projects
      • Fat Quarter Projects
      • Jelly Roll Projects
      • Layer Cake Projects
    • Quilting Projects >
      • Modern Quilts
      • Lap/Baby quilts
      • Pillows
      • Runner/Wall Hanging
      • Binding Tutorial
  • All Posts
    • Bags and Wallets
    • Quilting
    • For Kids
    • Other Posts >
      • Tea Time Sewing with Yoan
      • DIY Clothes
      • Metric Conversion Guide
  • Shop
    • Supplies
    • Fabric Collection
  • About
  • Contact