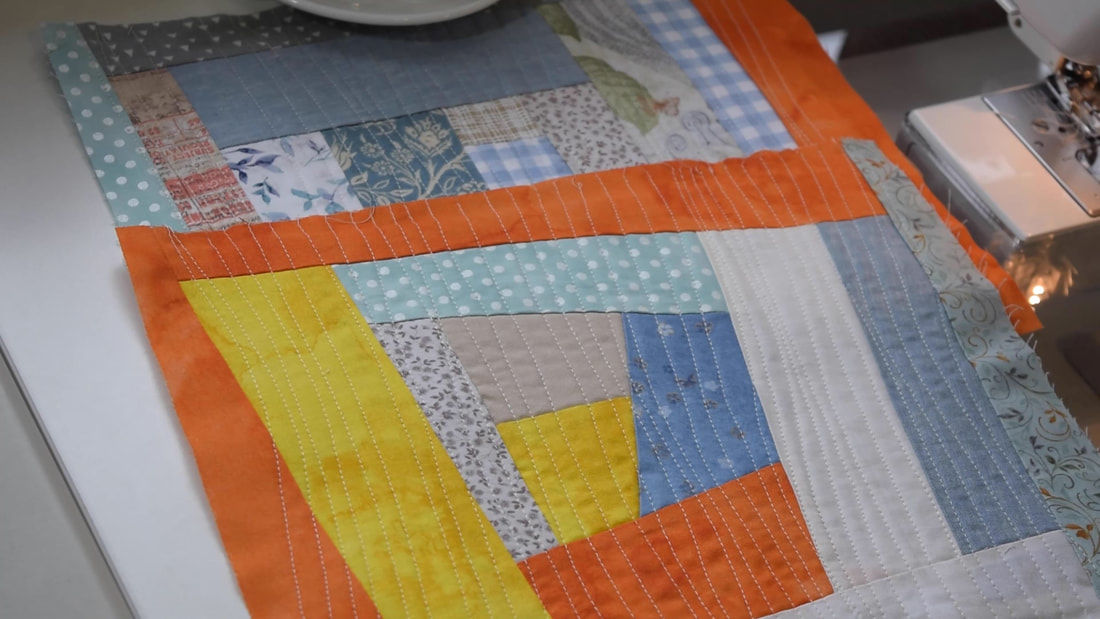
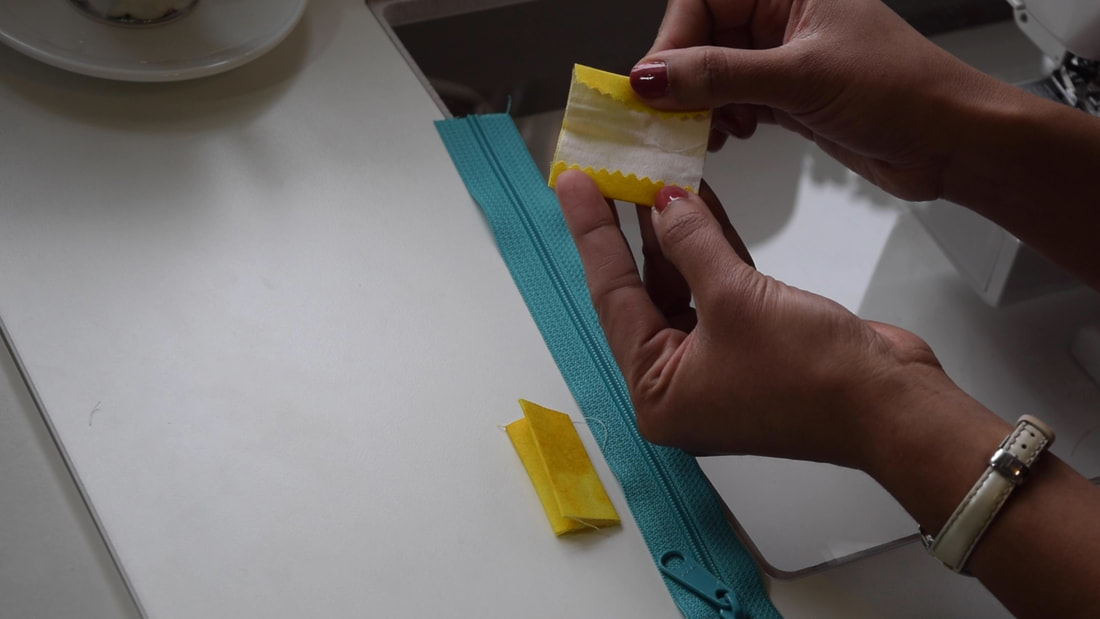
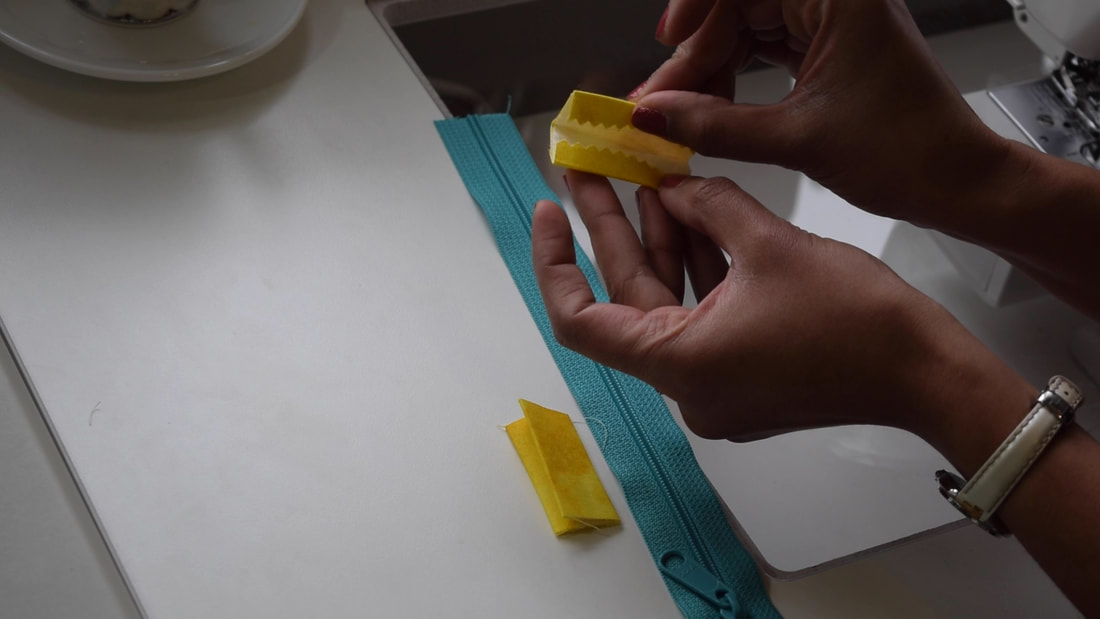
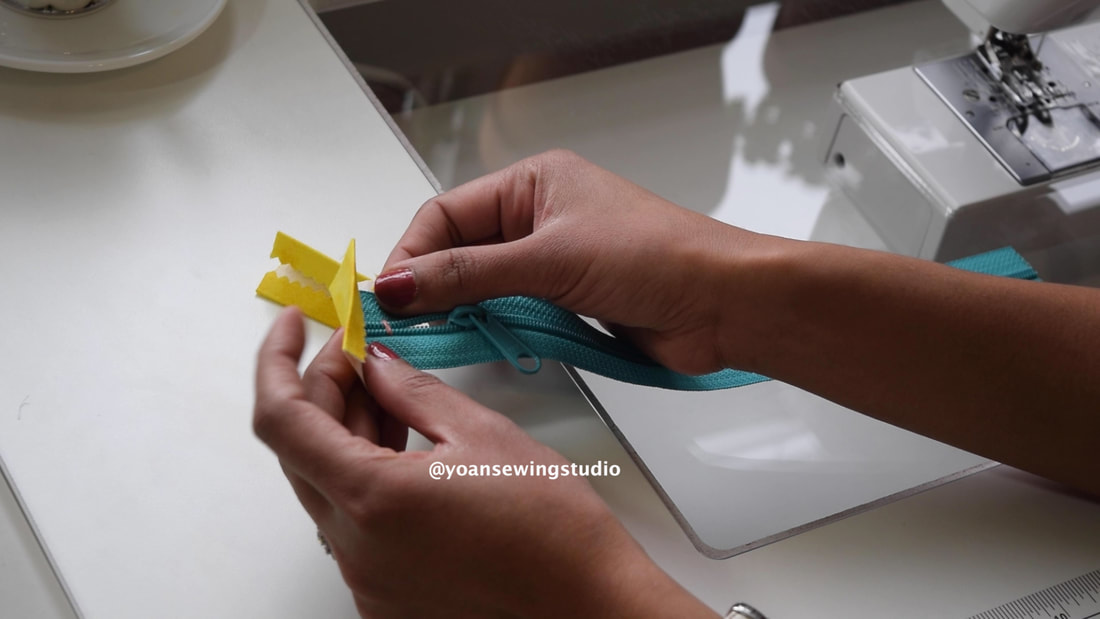
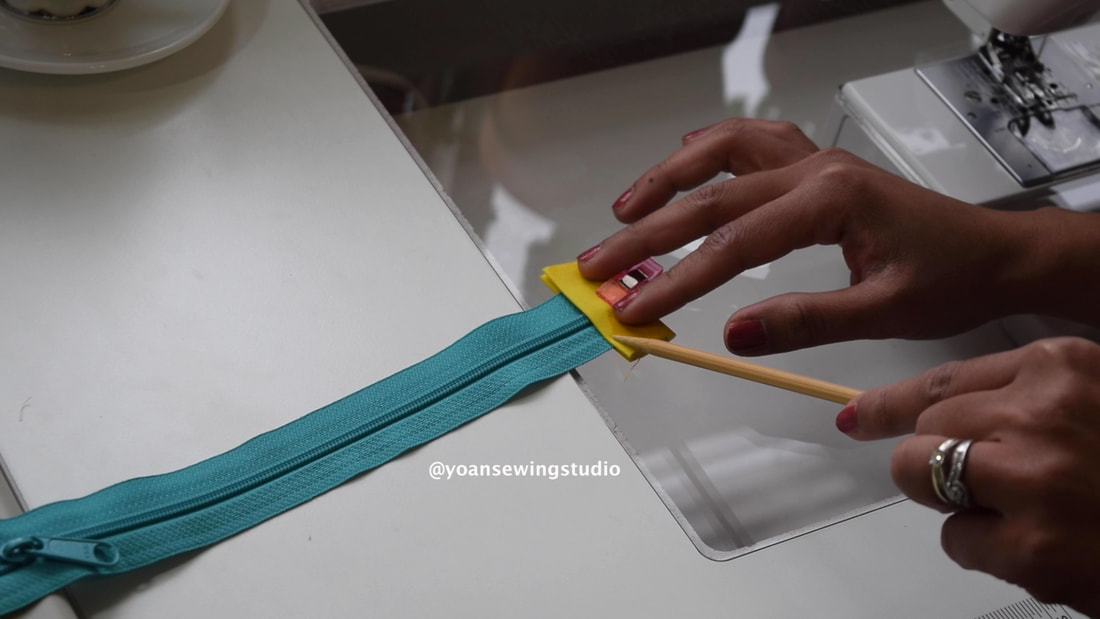
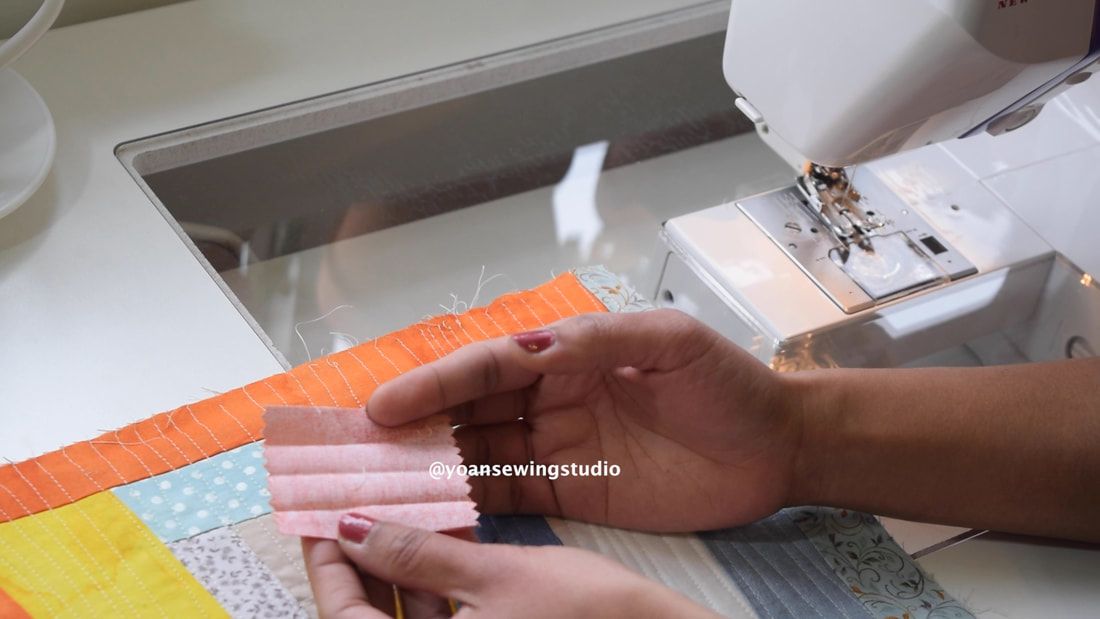
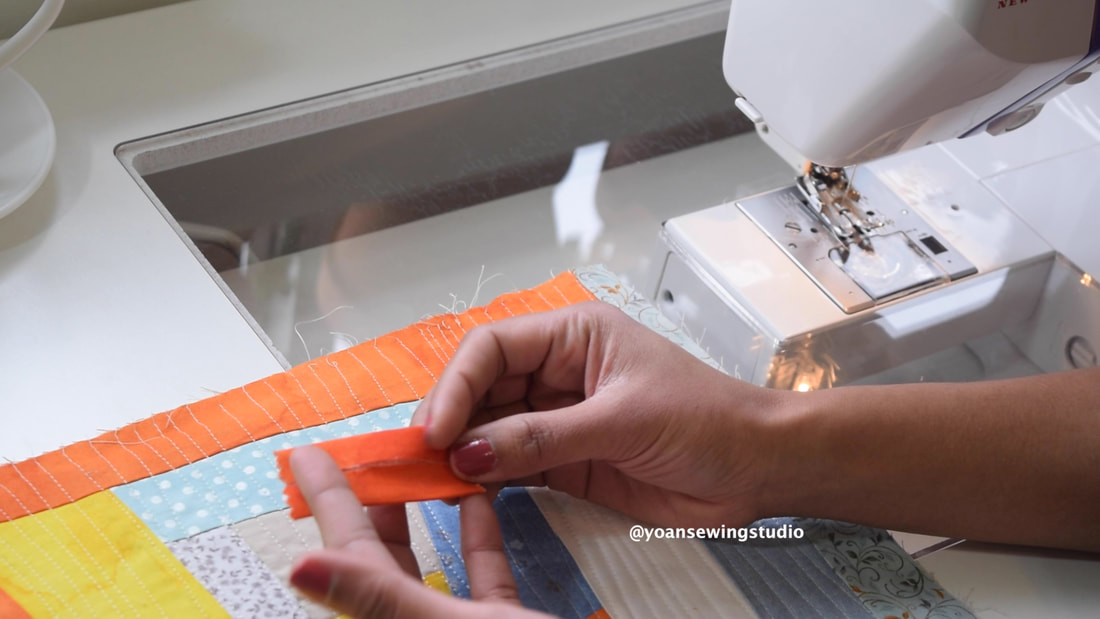
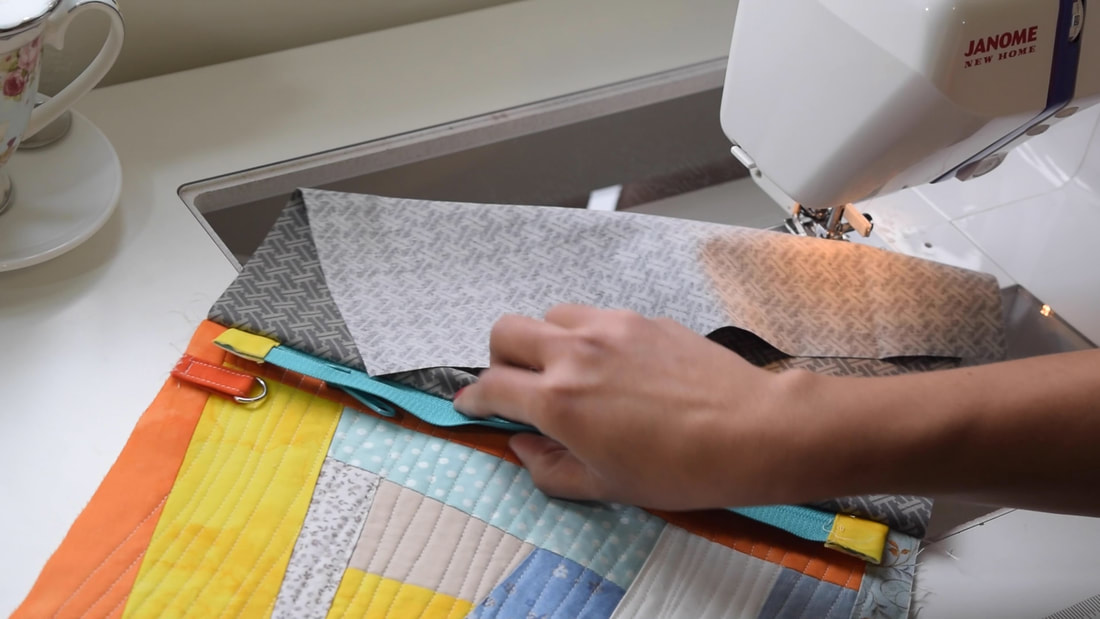
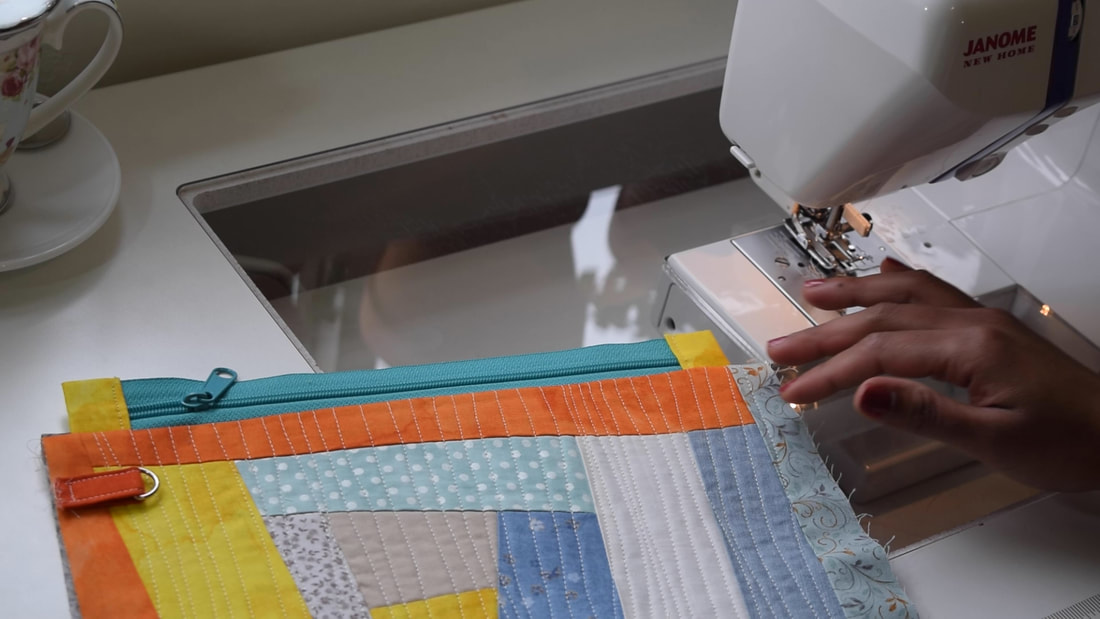
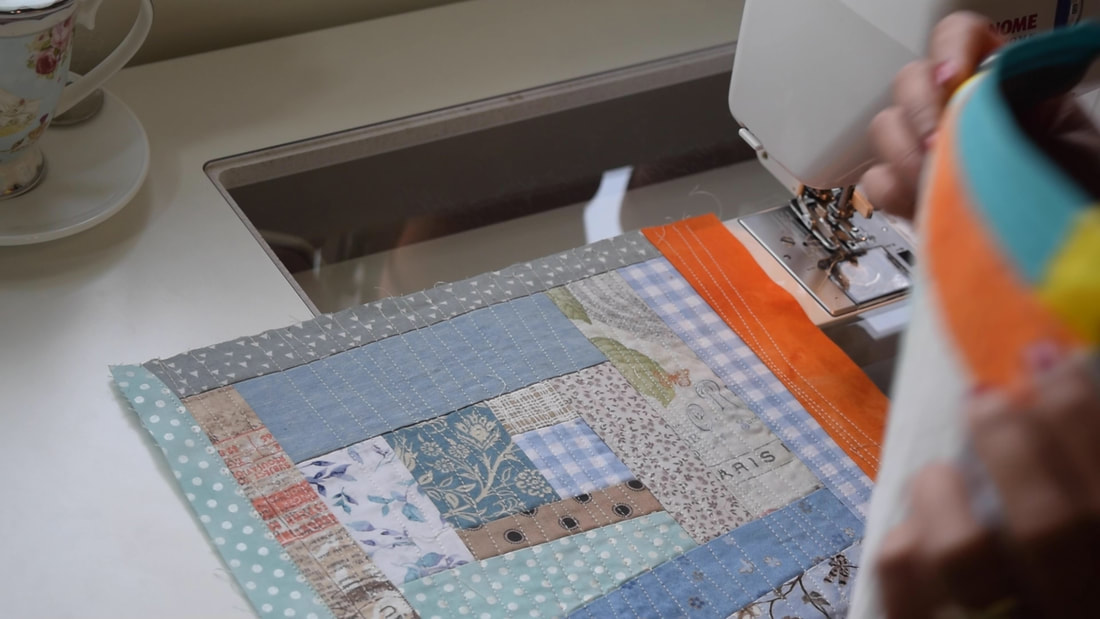
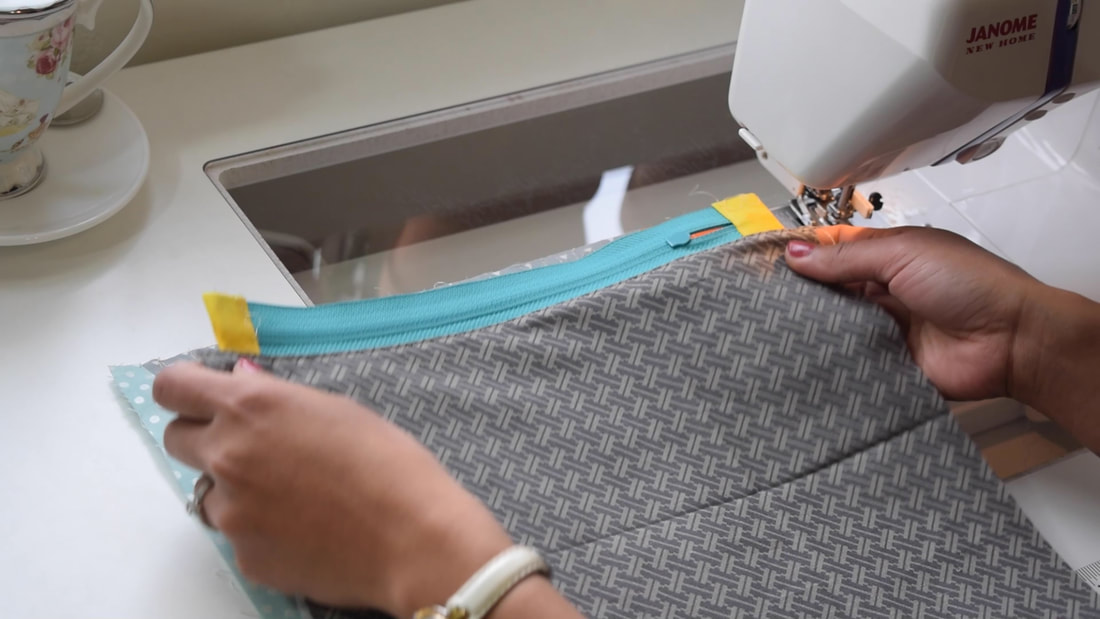
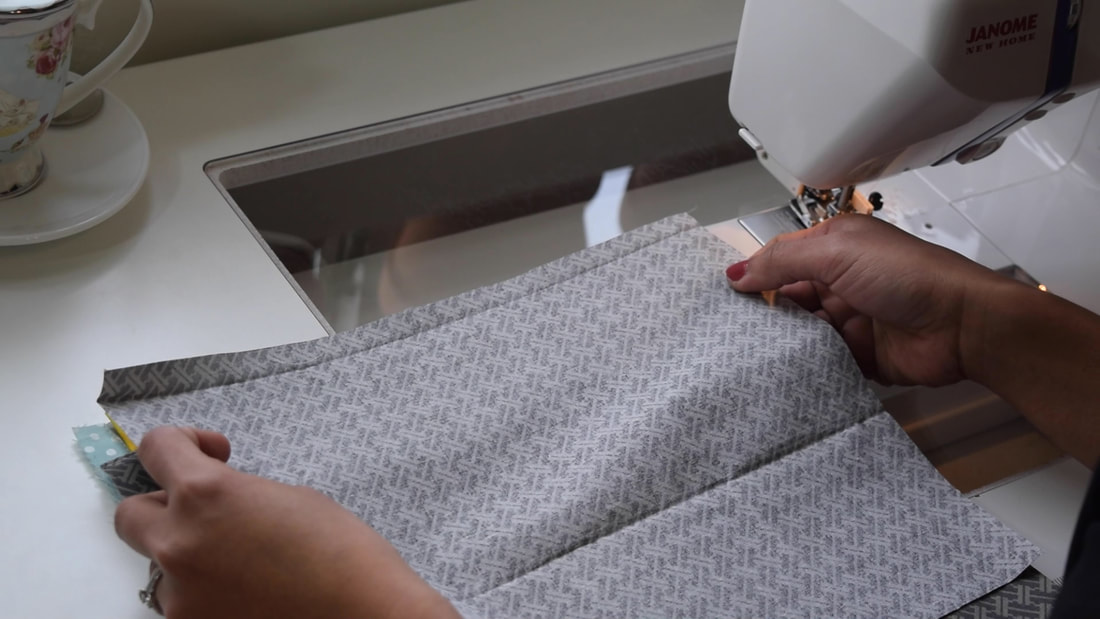
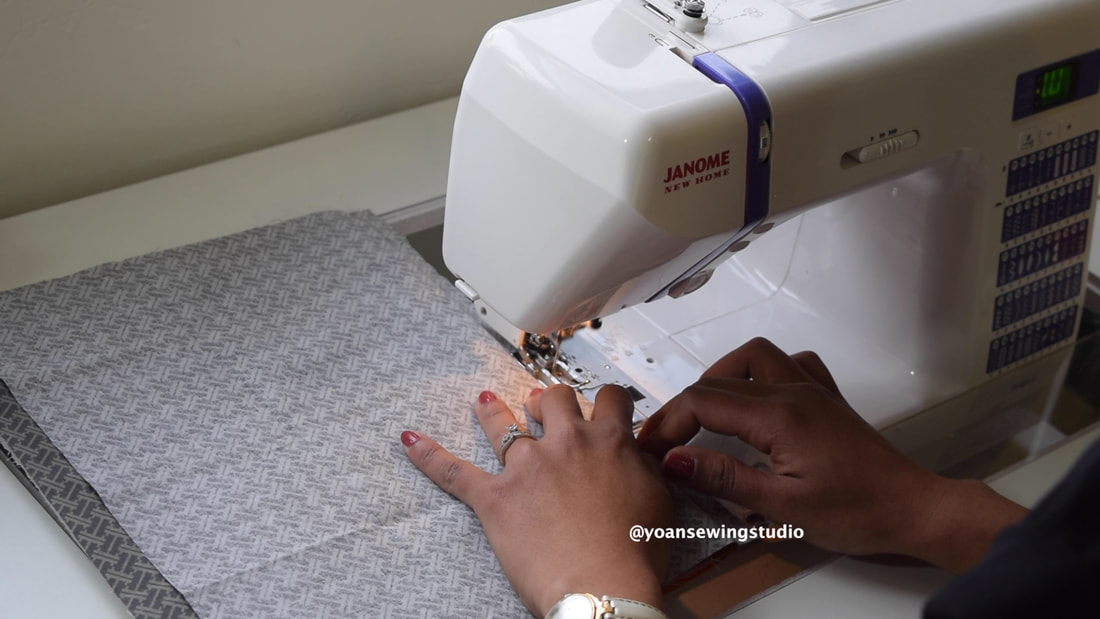
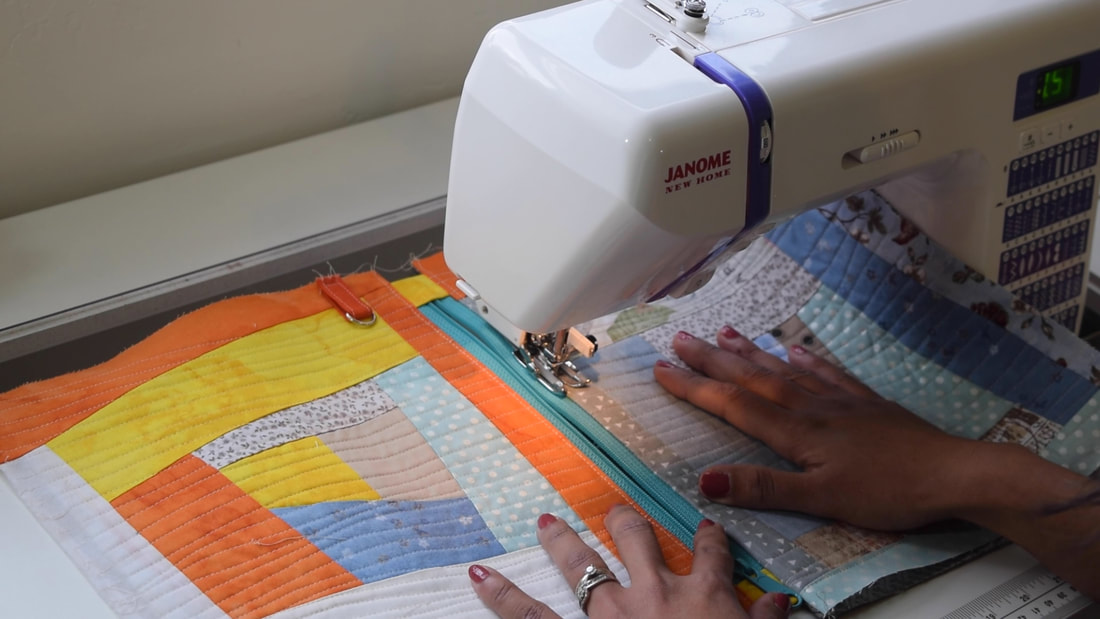
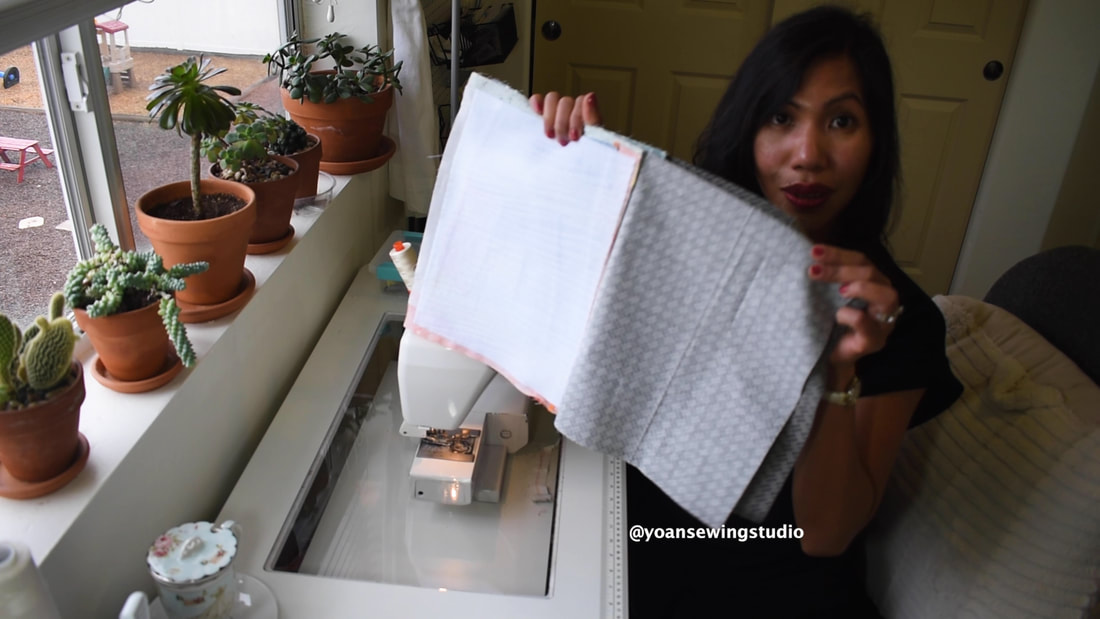
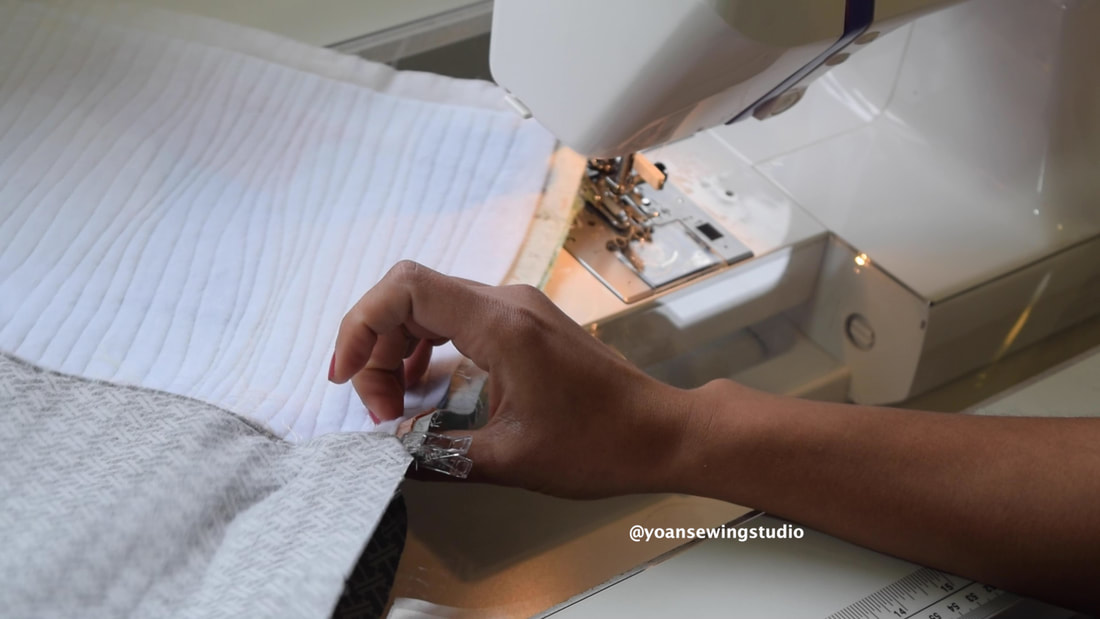
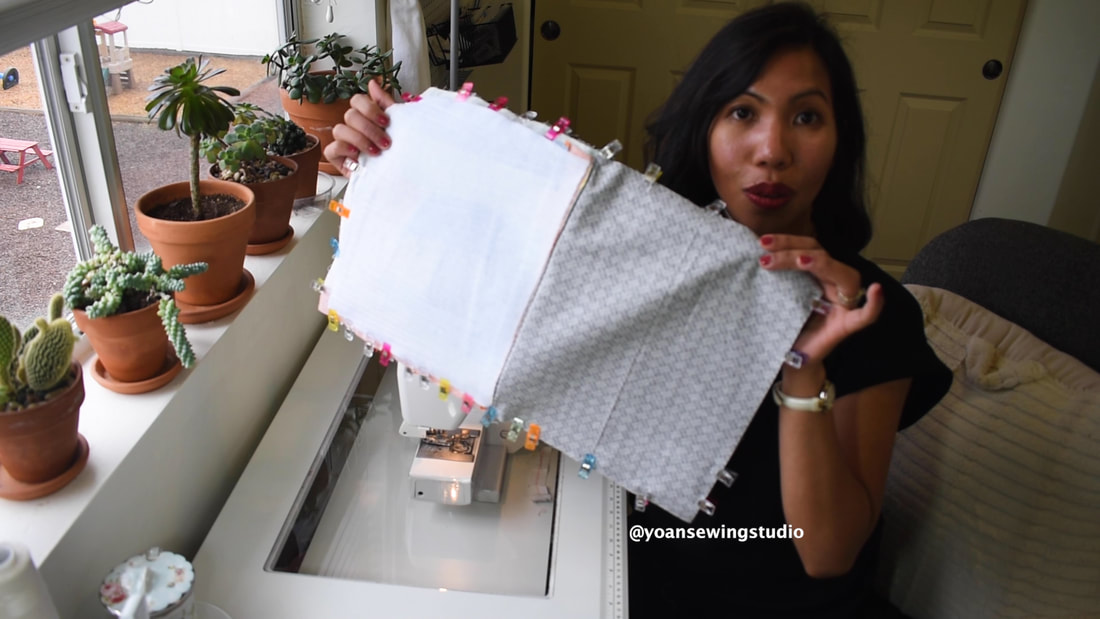
 I'm quite obsessed with improv piecing lately. It is spontaneous, liberating, and quite relaxing, and what I love the most is the endless possibilities to bring fabric scraps to life. For this episode of the Tea Time Sewing, I thought I would love to share with you yet another fun project inspired by improv piecing, which is this cute little zipper clutch. 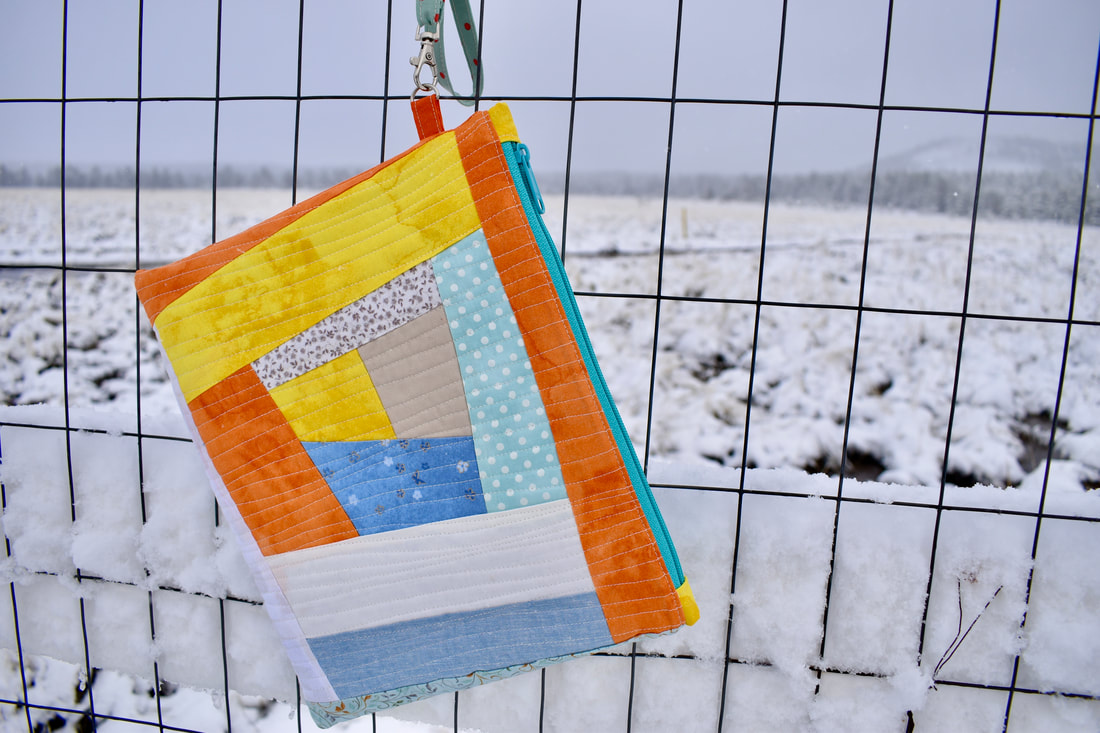 The finished measurements of this clutch is approximately 11.5" x 9", however you may modify the size according to your need. I also added a wristlet strap, so I don't have to carry the weight of this clutch on my hand all the time. I posted the sew along video on my Youtube channel that you may watch below, or scroll down to read the list of supplies and written instructions. Lets Get Started!Supplies Some Fabric scraps 2x lining fabric (12.5" x 10") 2x Fusible fleece (or interfacing of your choice) 11.5" x 9" 2x small fabric rectangles for the zipper tabs (2.5" x 2") fused with fusible woven interfacing 1x small fabric rectangle for the strap anchor (2.5" x 2") 1x strip of fabric 13" x 2" for the wristlet strap 1x strip of fusible woven interfacing 12" x 1" to be fused on the wristlet strap 1x zipper at least 12" long 1/2" d-ring 1/2" swivel hooks Basic sewing/quilting notions Directions 1. Sew 2x improv blocks (trim to measure 12.5" x 10") or desired measurements (you may refer to the first 5 minutes of the YouTube video to learn how to piece the block) 2. Apply the fusible fleece on the wrong side of the fabric. 3. Quilt (optional) 4. Trim your zipper to measure 11.5" (from one end to another end) 5. Fold both ends of the zipper tab 1/4", press. Fold the zipper tab in half (meeting the folded edges), press. 6. Insert the end of the zipper in to the zipper tab, sew along the folded edges. Repeat the same with the other side. Trim the excess fabric. 7. Fold the strap anchor in half, press. Fold the edges towards the center fold, press. Fold everything in half, press (you should end up with a 1/2" wide strip). Stitch along the edges with 1/8" of seam allowance. 8. Insert the strap through the d-ring, position it on the top left of the front clutch piece about 1.5" down from the top, sew with 1/4" of seam allowance. 9. Sew the wristlet strap 10. Lay the front exterior right side up, then lay the zipper right side down, then lay the lining right side down. Secure them with some sewing clips, sew with 1/4" of seam allowance. 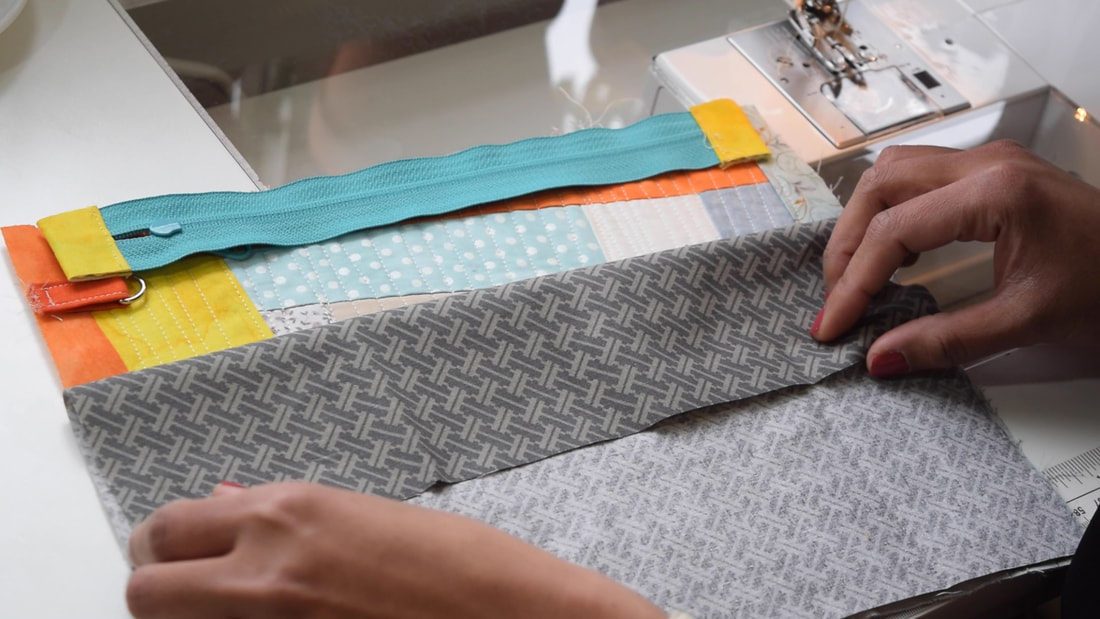 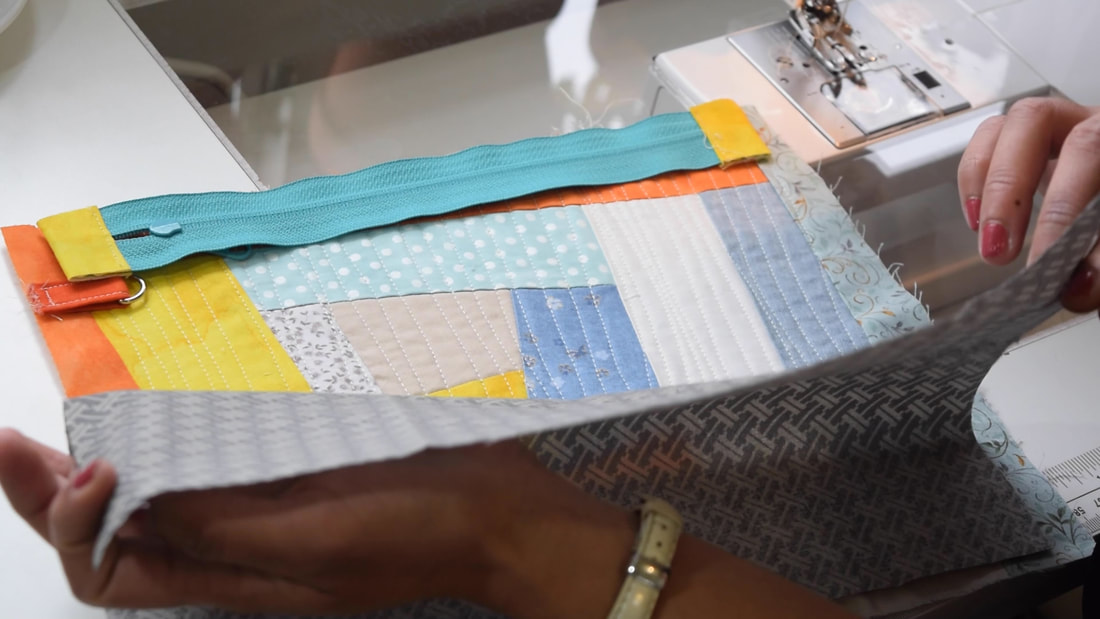 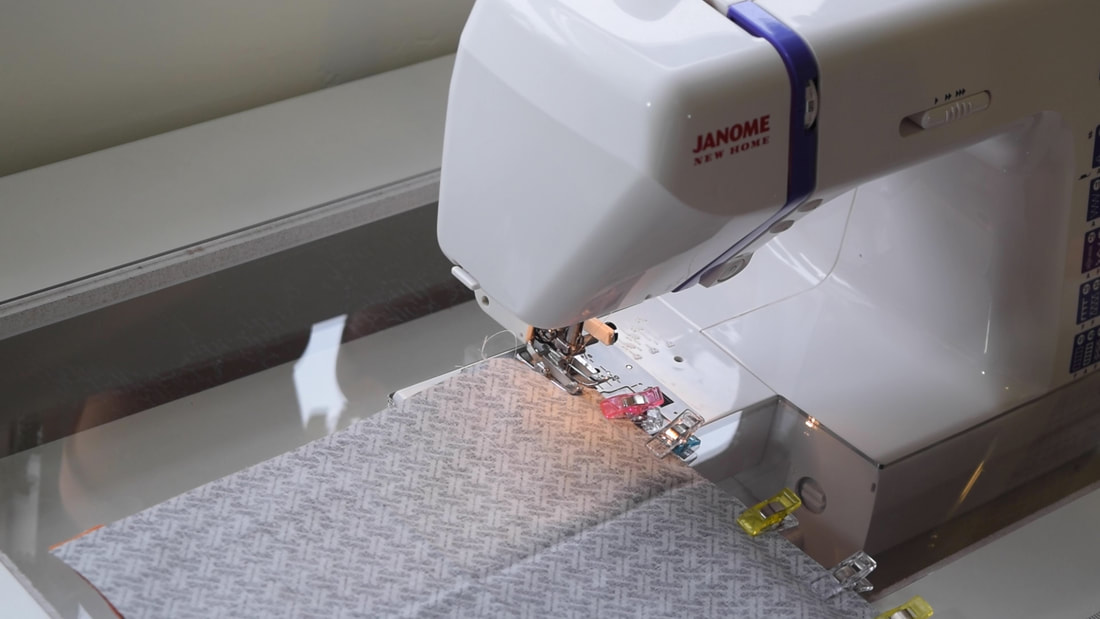 11. Open the sandwich and separate the zipper, press, then top stitch. 12. Lay the back exterior piece right side up, lay the zipper right side down, lay the lining piece right side down, secure with sewing clips then sew with 1/4" of seam allowance. 13. Open the sandwich, separate the zipper, press, then topstitch. 14. Separate the exterior from the interior, secure them in place with some sewing clips (matching the zipper seams at both sides) 15. Sew starting from the top exterior down (make sure not to sew the zipper tab), and then sew the other side from the top as well, then sew the bottom exterior. 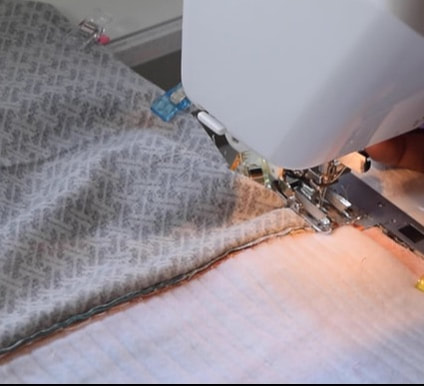 16. Sew the lining the same way (leave about 5" opening at the bottom) 17. Trim off all the corners (be careful not to cut through the stitches). 18. Turn the clutch inside out through the opening. 19. Sew the opening close, tuck the lining back inside.
20. Attach the wristlet strap, Enjoy! Comments are closed.
|
Archives
June 2021
Categories |


 RSS Feed