Spring Casserole Quilt by Yoan Sewing Studio
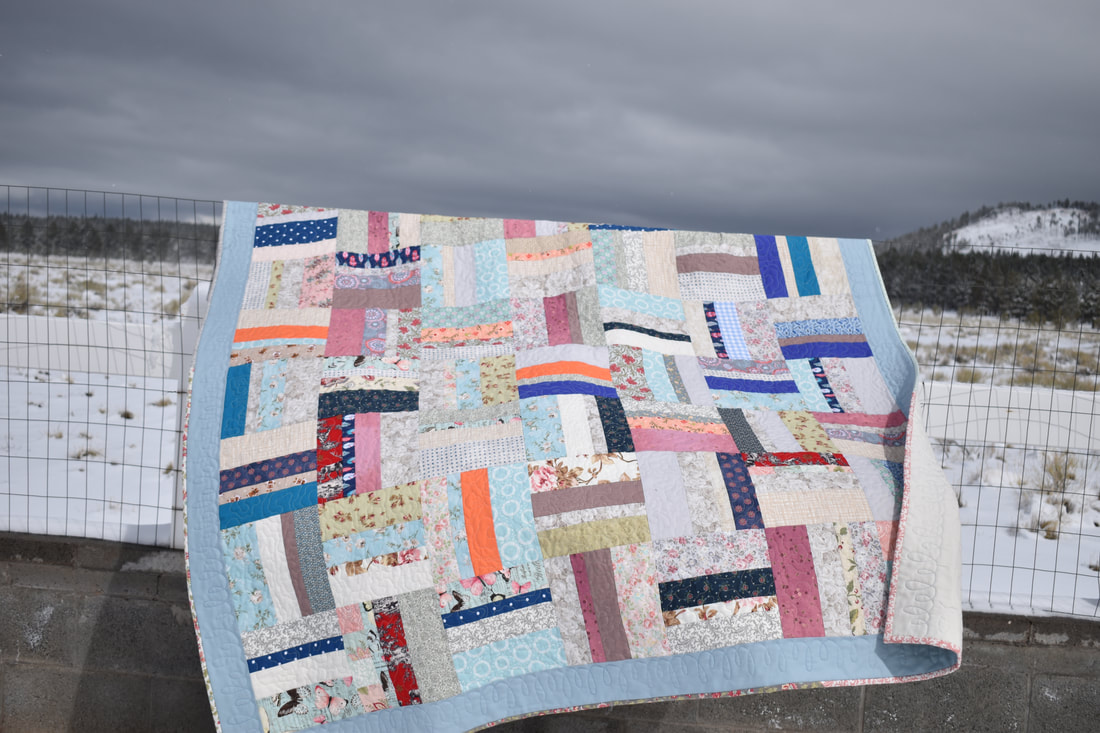
I'm so pleased to share another exciting scrap busting quilt project with you today. The spring casserole quilt is a rail fence style quilt that is relatively simple, yet very delightful and satisfying to make.
With this quilt, I mixed and matched lots of scraps, some are my favorites, some aren't; some are from high quality premium quilting fabrics, some are budget fabrics from chain stores; yet they all come together wonderfully. Finished quilt measurements : Approx. 62.5" x 70.5" (158.7 x 179 cm)
This post contains affiliate links; I may earn a small percentage of commission when you make a purchase of qualifying items through any of these links with no additional charge. Thank you for your support.
I hope you enjoy this quilt project. Happy sewing.
Yoan. 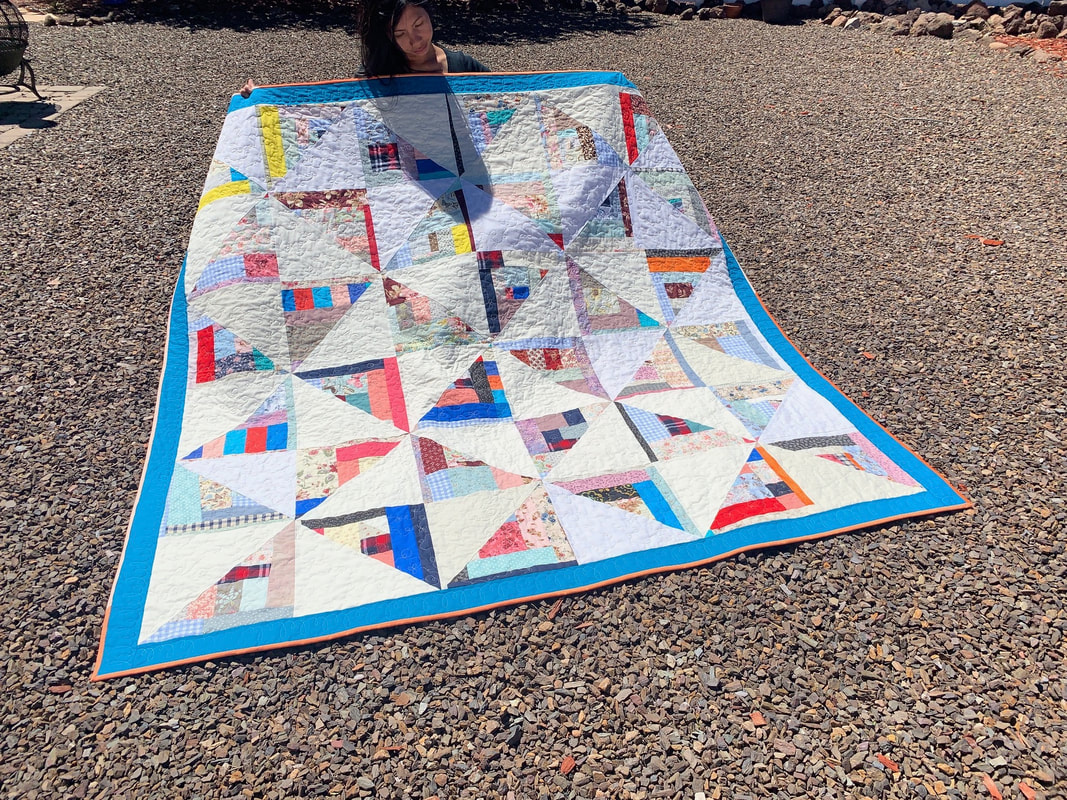
Crazy Scrap Quilt 2 - Pinwheel Edition by Yoan Sewing Studio
This quilt is a variation of the Crazy Scrap Quilt 1 project that I shared about a year ago, in this project we will do the same scrappy block piecing method, with additional half square triangle tweak.
Finished Quilt measurements : 74 1/2" x 74 1/2" Block Measurements : 12" x 12"
This is a wonderful project to use up your fabric scraps, that will yield to a generous size quilt with fresh and modern look.
I hope you enjoy this quilting project.
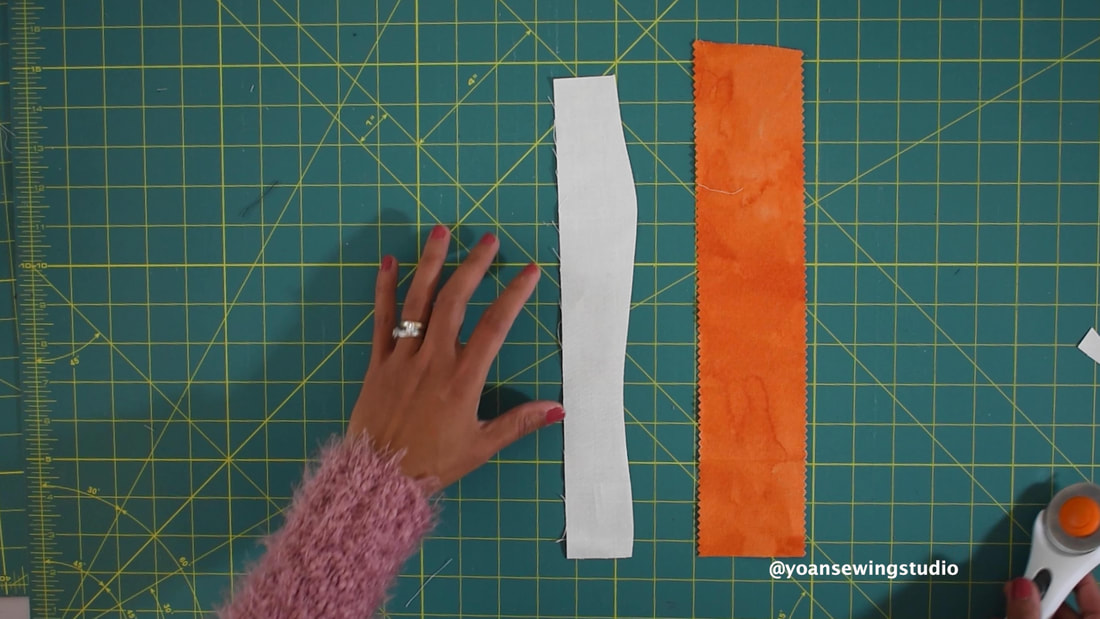
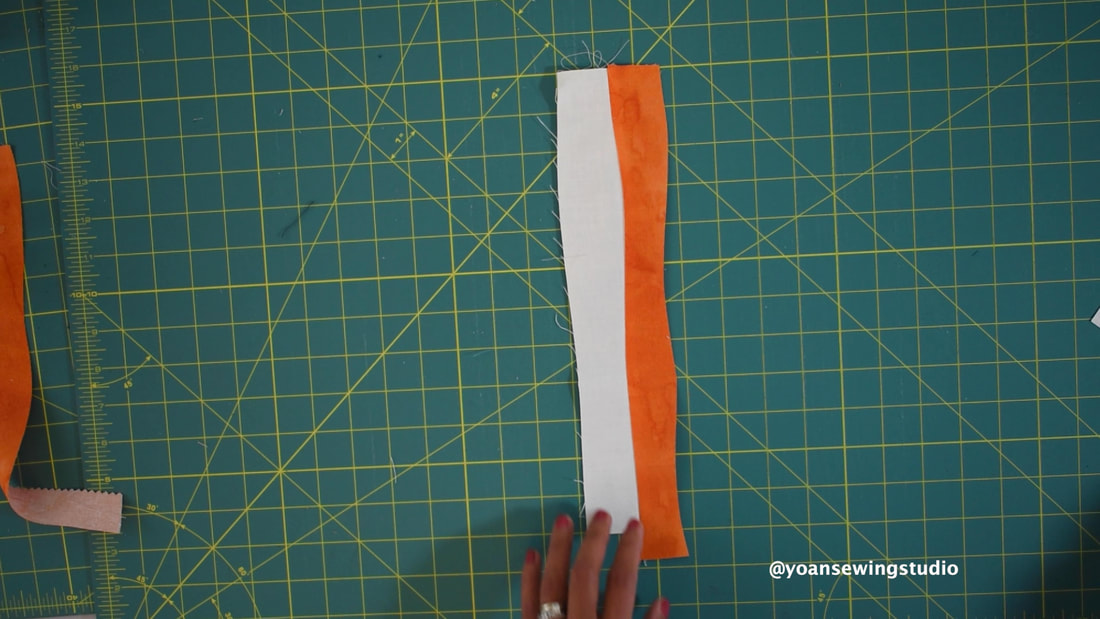
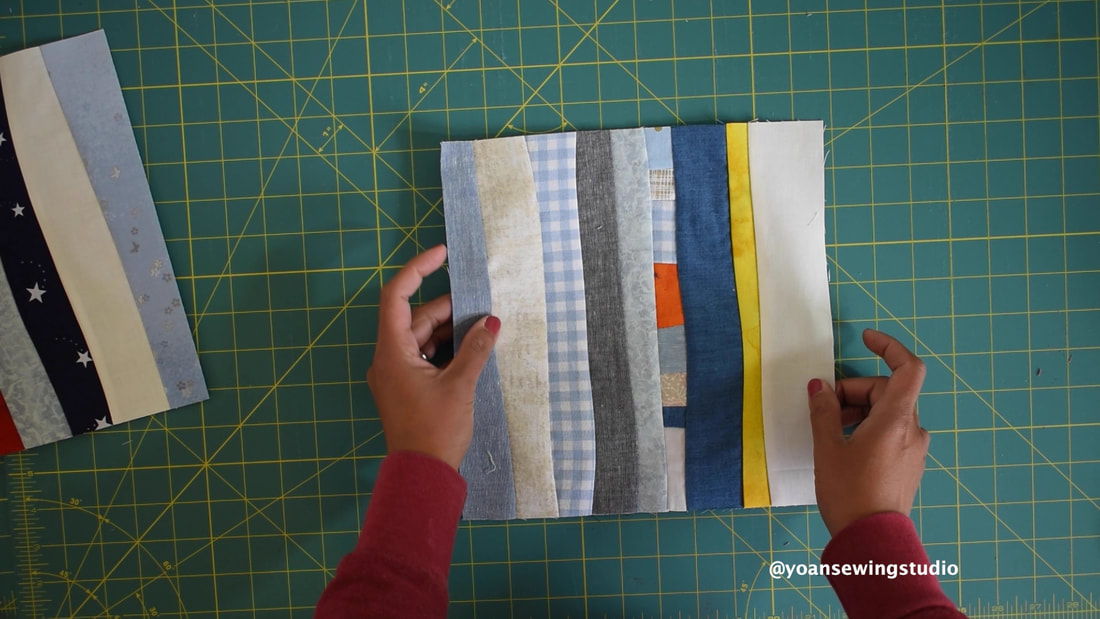
Happy Sewing!!  Scrappy improvise quilt performing gentle curves Before the end of the year, I promised myself to empty up or at least get rid of some of my scraps that have been laying around in my scrap bin. Few months ago, I posted the Crazy Scrap Quilt video and got quite a positive feedback, so I figured it will be great to make another Scrap quilt episode, with different pattern, featuring different technique. This time I decided to try out the "gentle curves" free piecing, I've seen this technique performed in several blogs and Youtube videos, and decided to give this a try. Supplies: Assorted fabric strips at least 11" long (the width should be between 1" -3") Quilt Batting Backing Fabric Basic sewing and quilting notions -Machine Quilting Needle -Machine Quilting Thread -Spray Basting -Square ruler Disclaimer : The above links are affiliate links, thank you for your support! Let's Get Started! Gather your scraps and cut them into various sized strips (the width should be between 1"-3", and the length should be at least 11", I divided mine into 3 categories, light/neutral, medium, and dark. 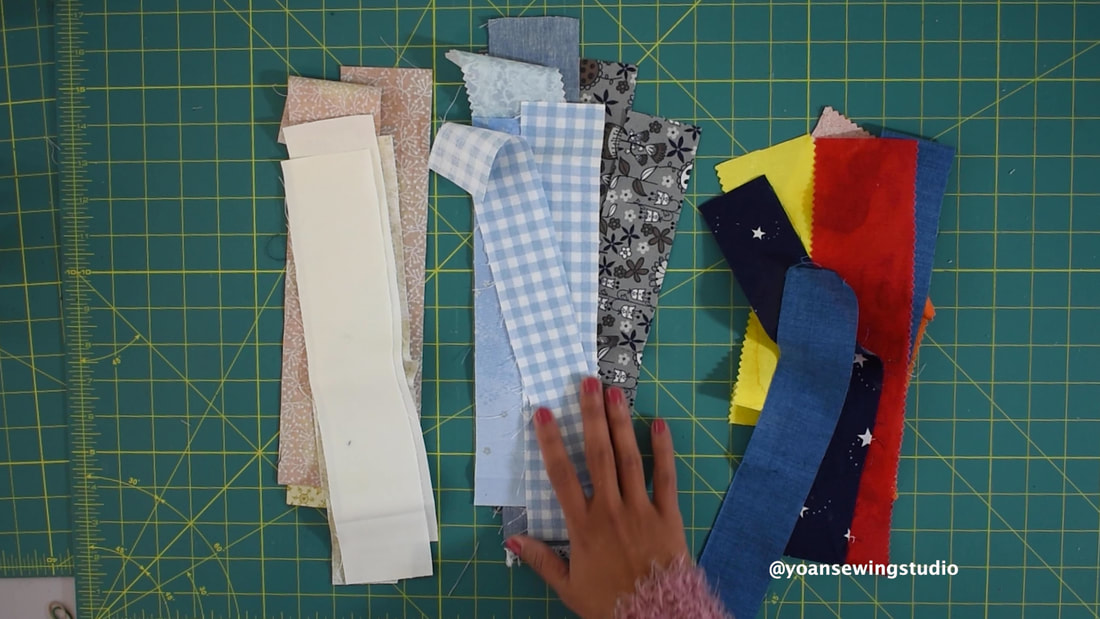 Take two strips in contrasting color, then make a gentle curve cut to one of the strip using your rotary cutter. 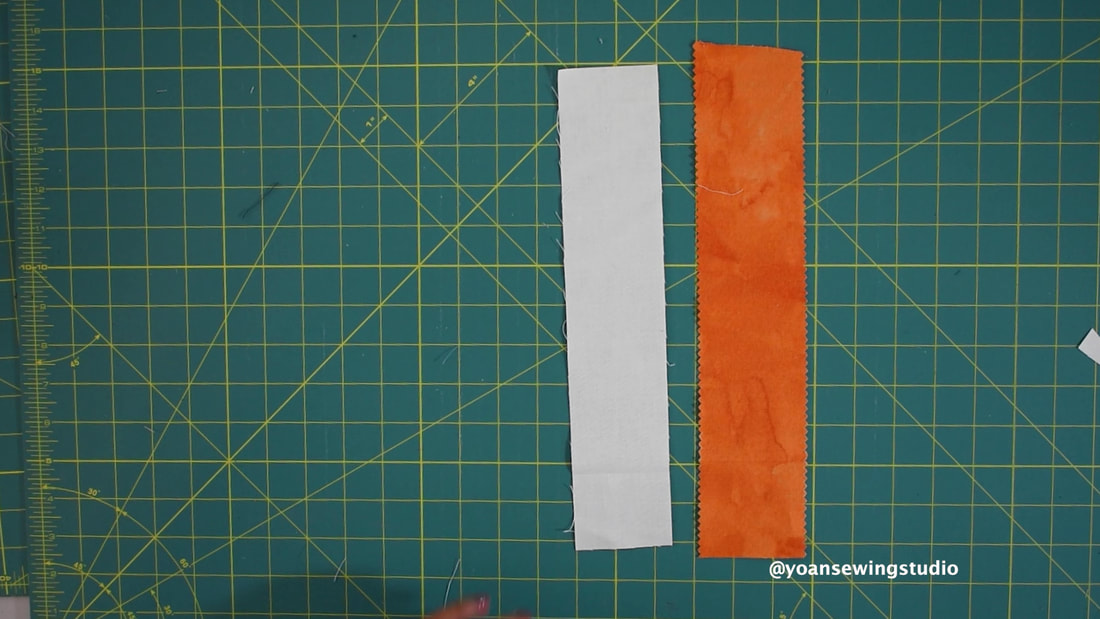
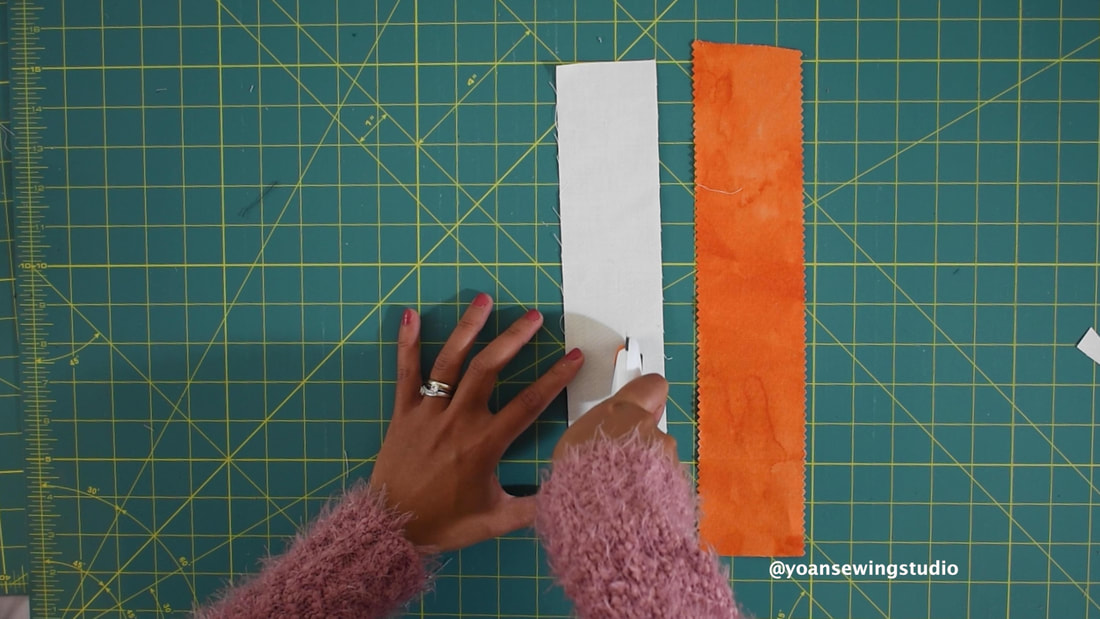
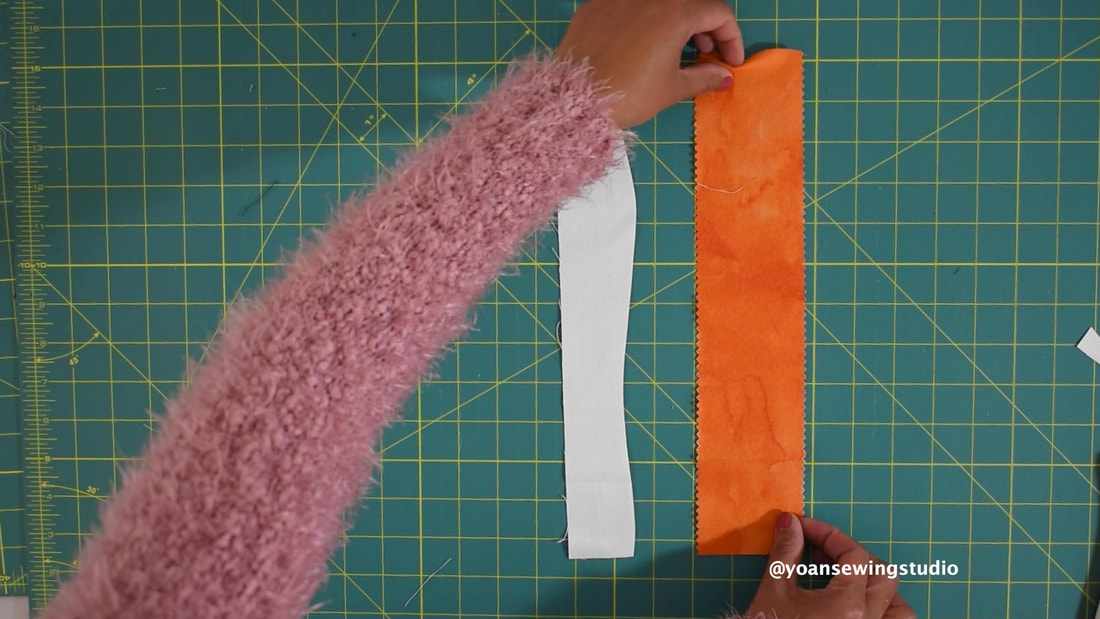
Lay the strips right side together, the straight edge strip should be on top, then sew with 1/4" of seam allowance.
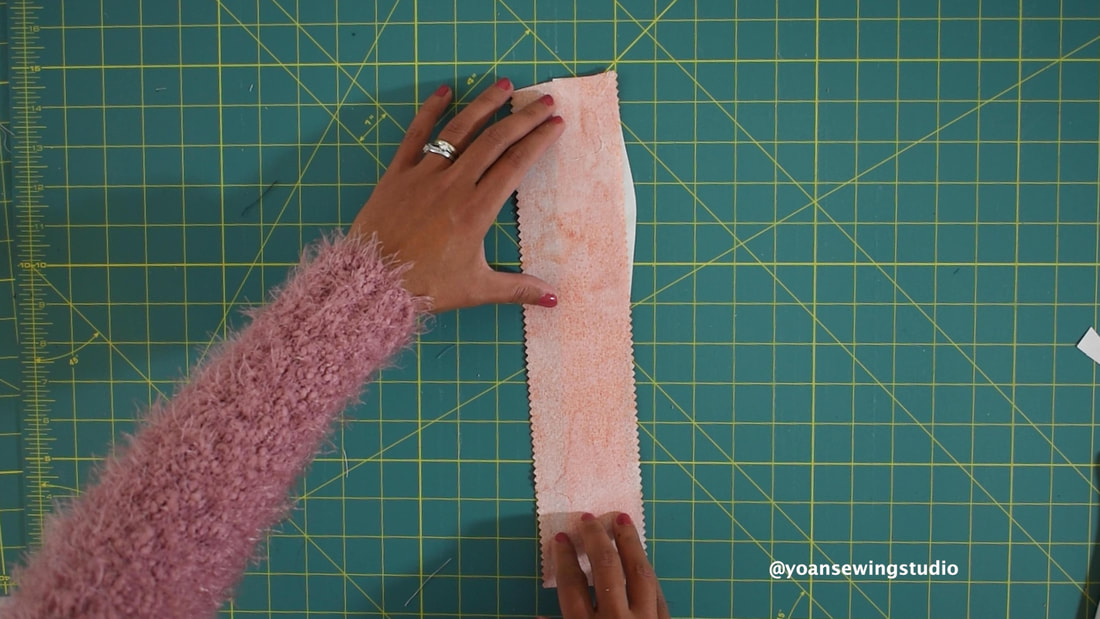
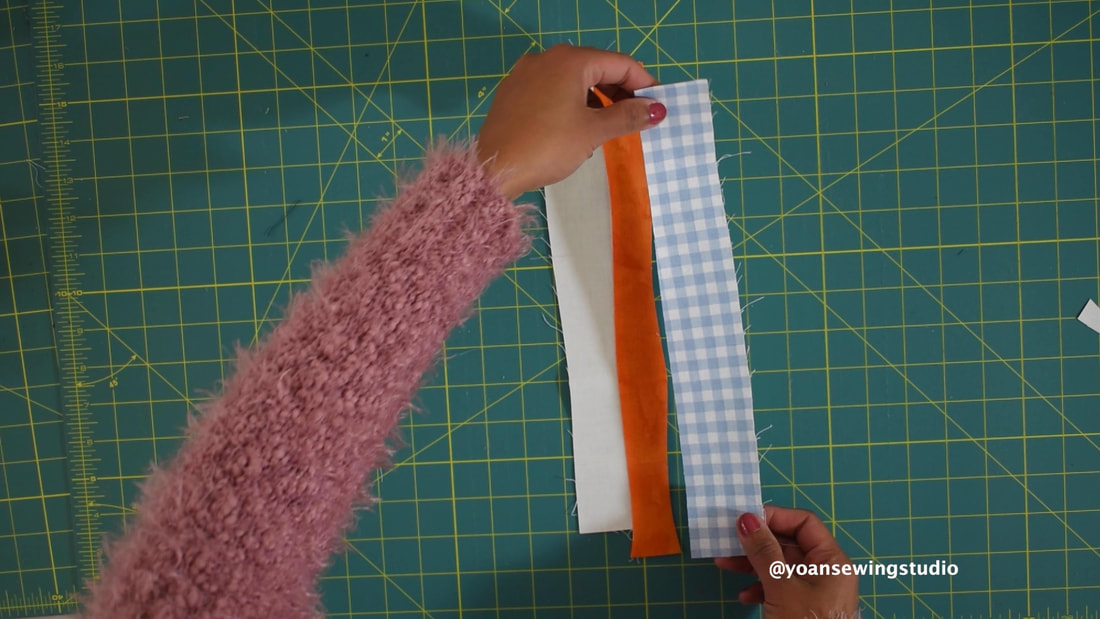
When you sew, manuever the top strip to follow the shape of the lower (curved) strip, making sure the edges are aligned (I recommend to use 1/4" presser foot, for easier piecing).  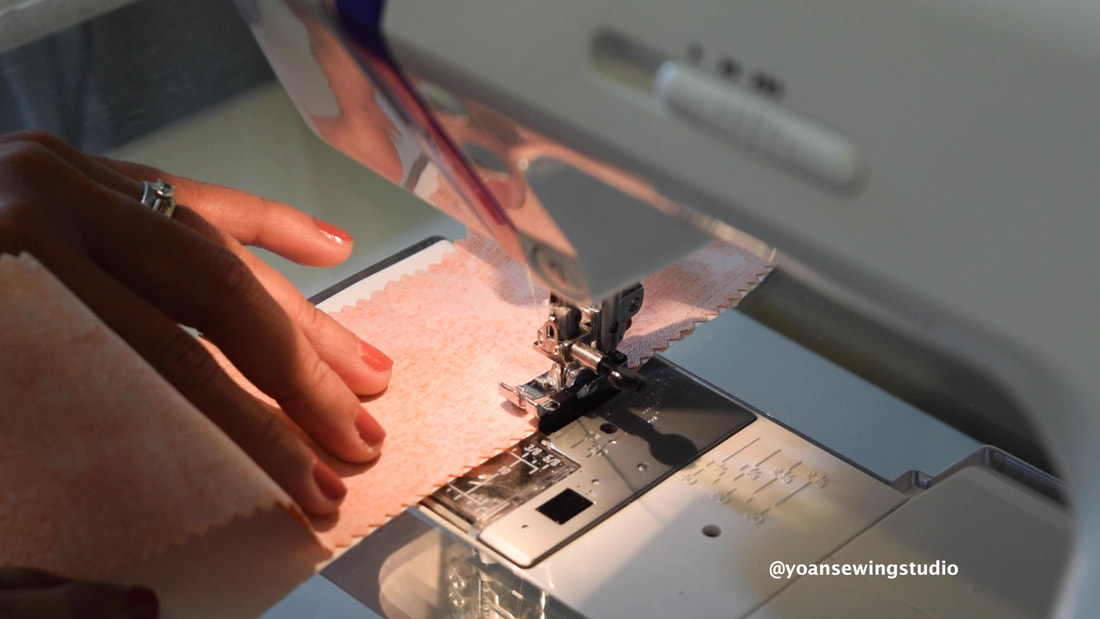 Press the seams towards one side.  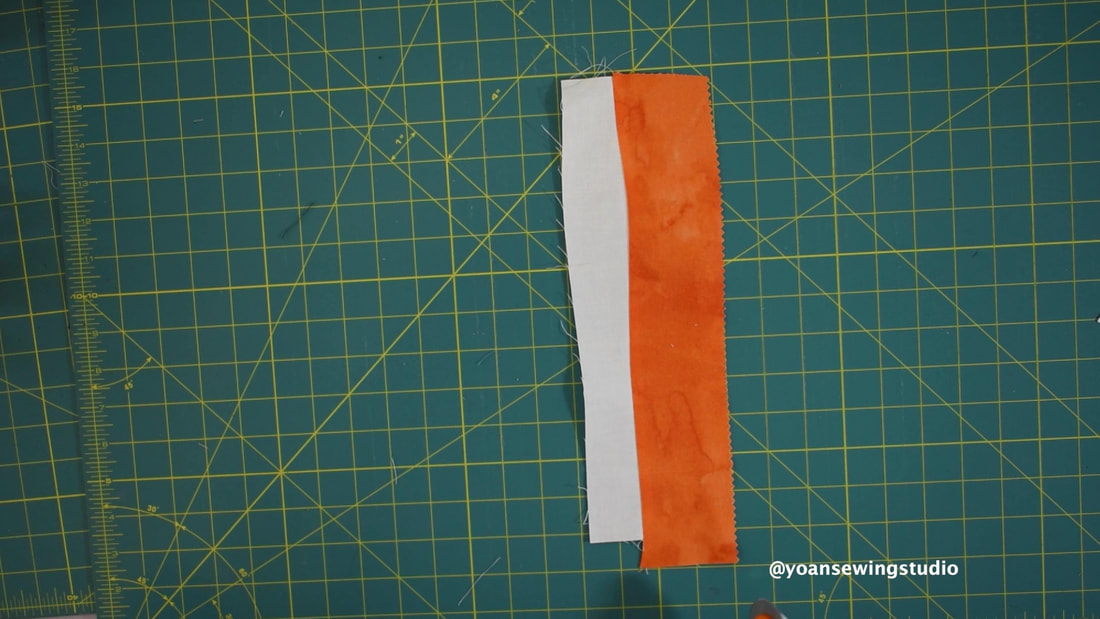 Now go ahead and make another gentle curve cut.
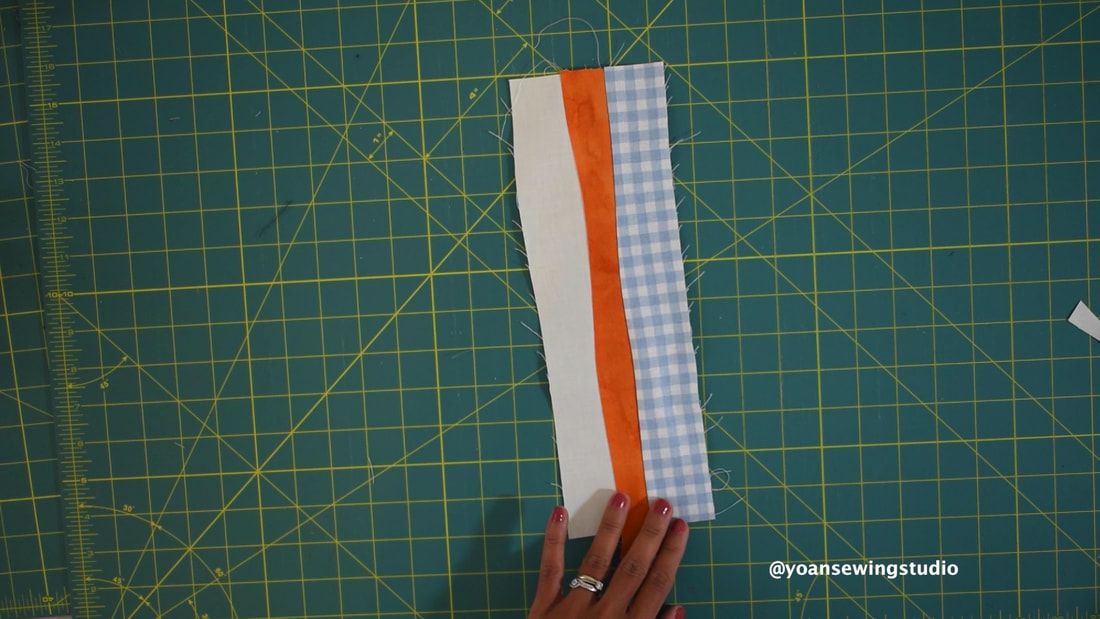
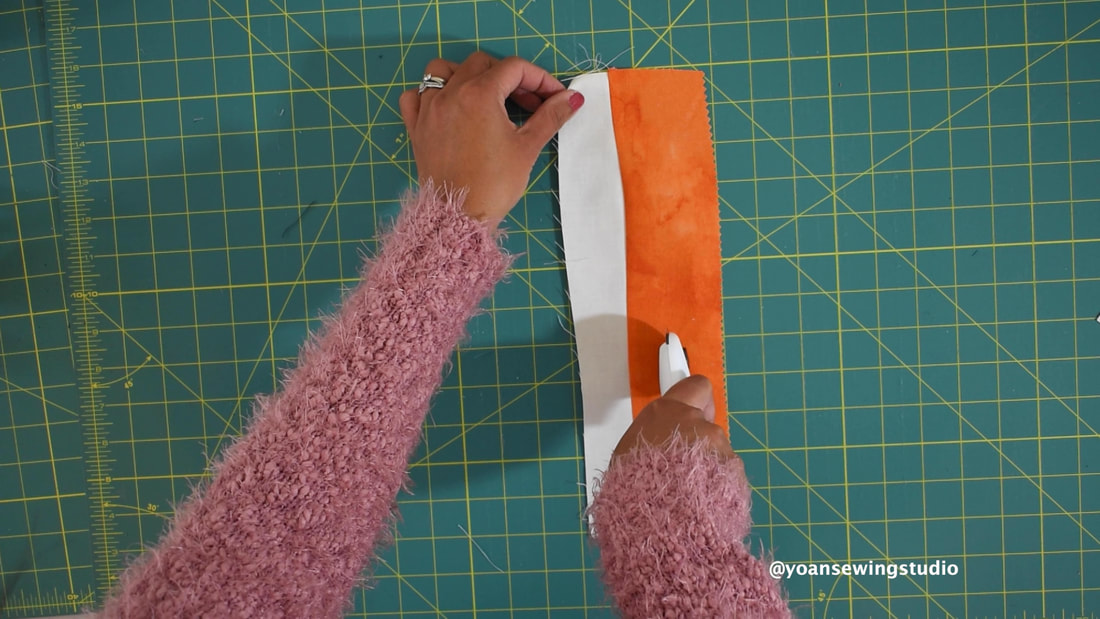
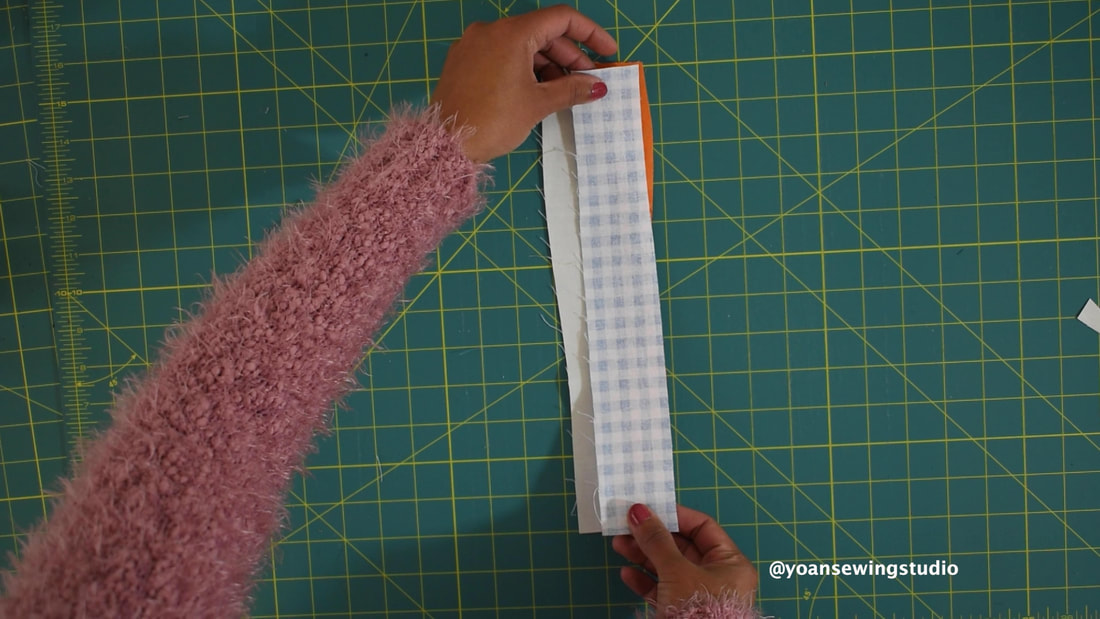
Now take another strip, and sew, the same way like before.
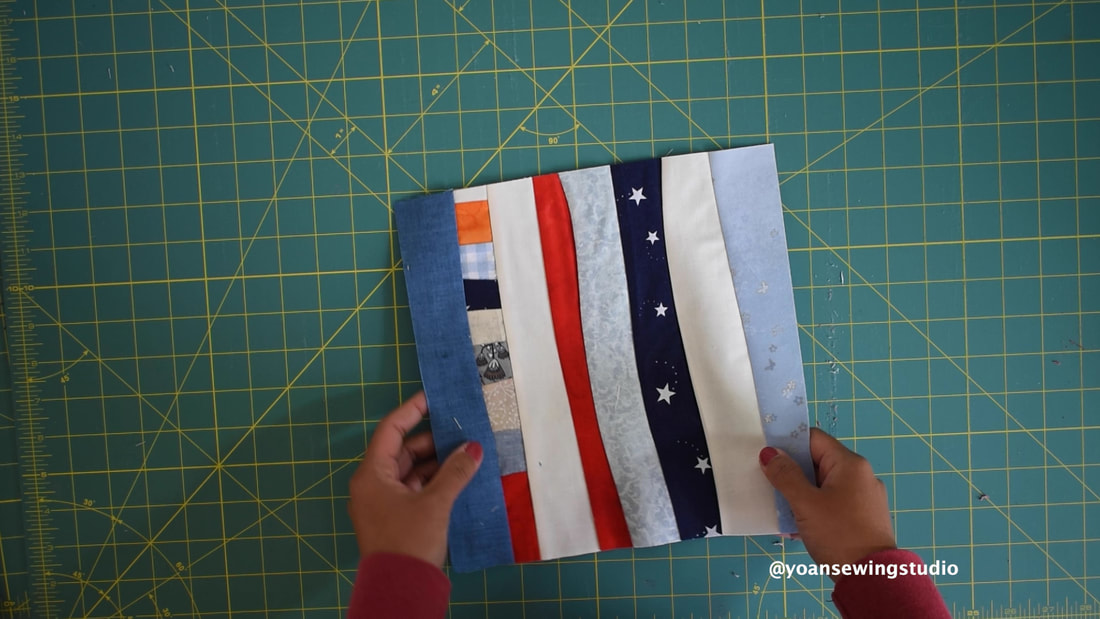
 Continue sewing and adding strips until your fabric measured a little over than 10" wide. 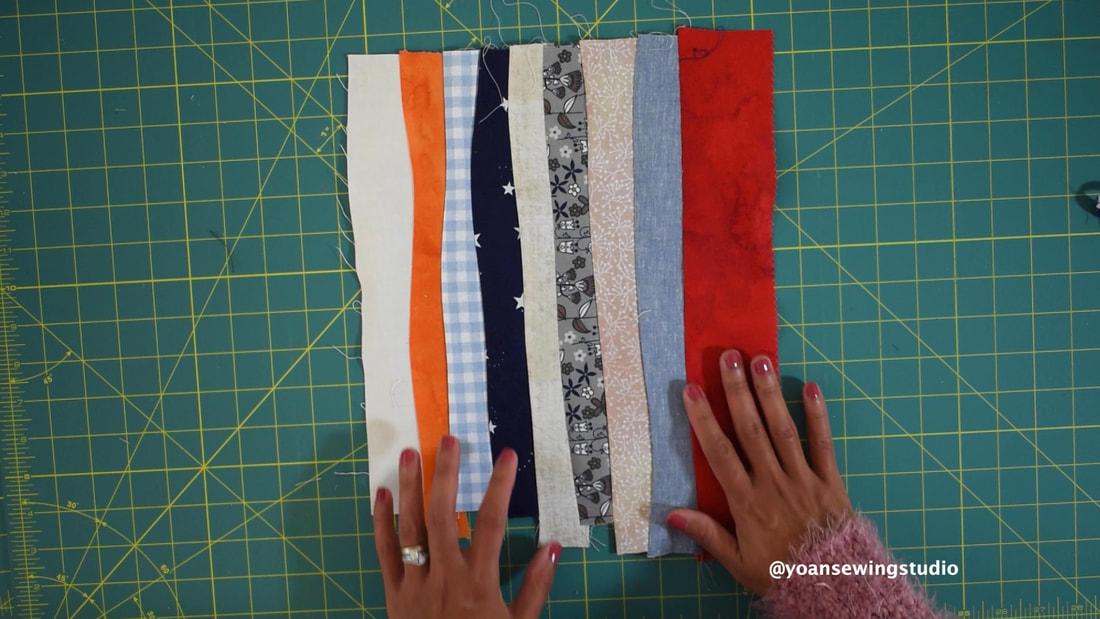 Then square your fabric to measure 10" x 10" (feel free to make larger or smaller block). 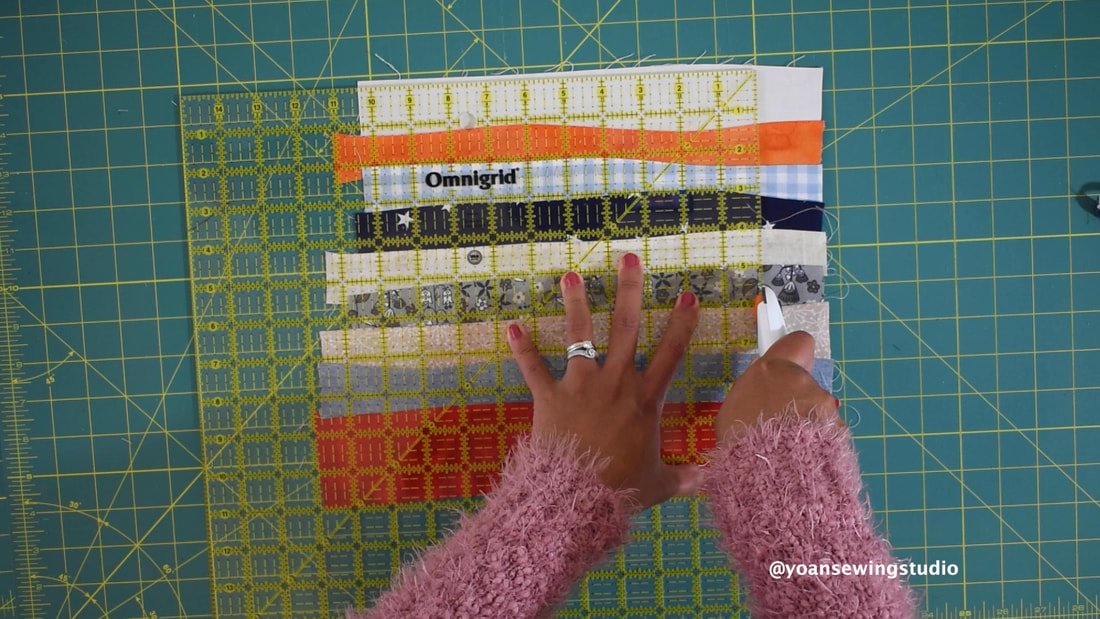 If you got a decent size strip from trimming your block (at least 1" wide and 11" long), you may set this aside, and incorporate this to another block.  Voila! The first block is done. 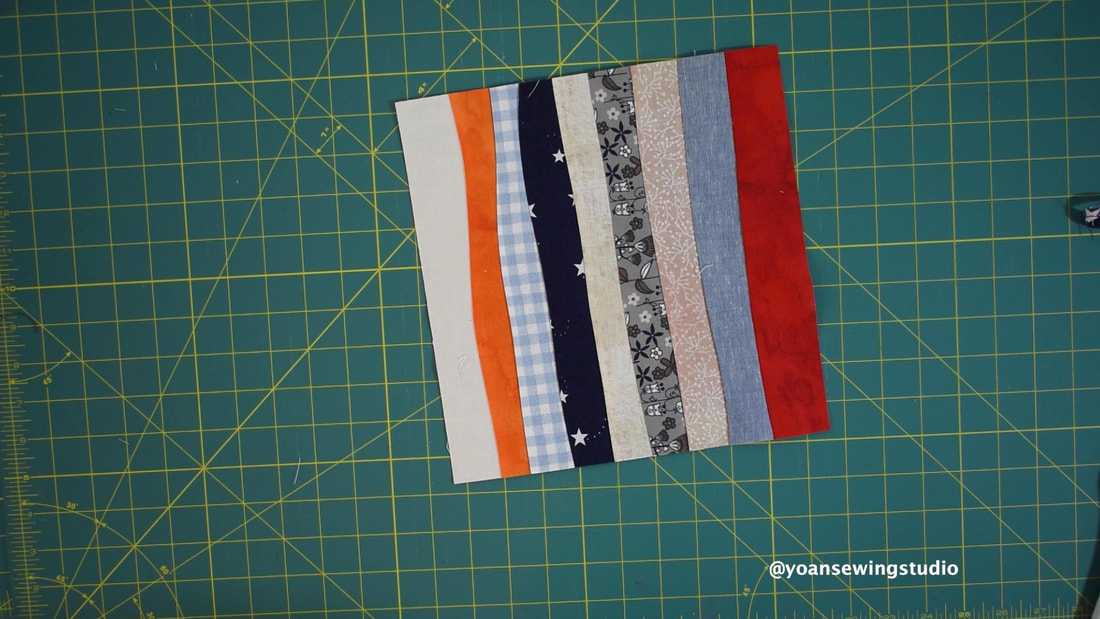 Now make 35 more blocks  Now with the scrappy strips that you got from trimming the block, you can also add them to your quilt block.
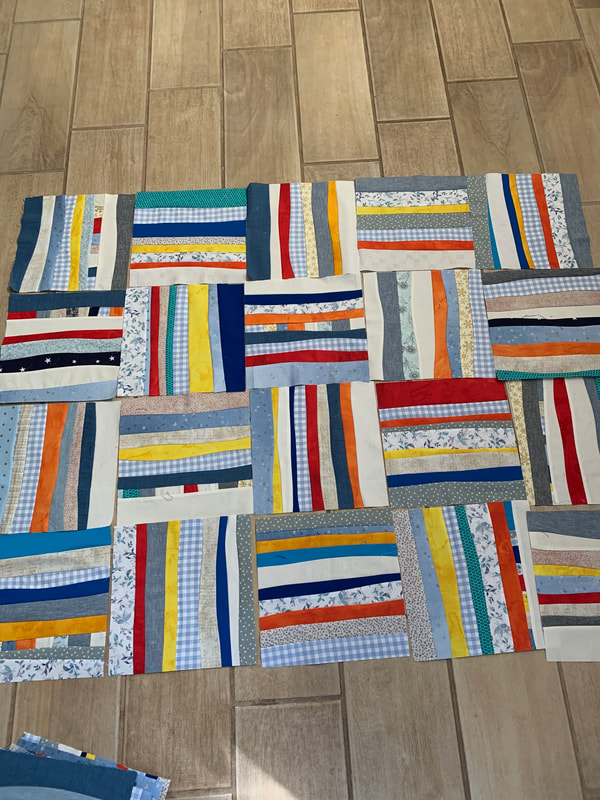
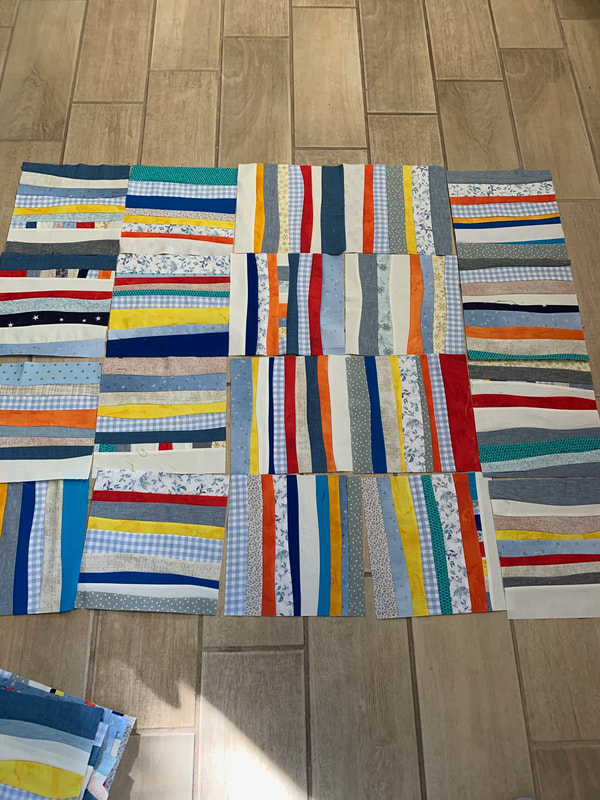
I laid out my blocks in the same vertical direction, so I made 6 rows and each row has 6 blocks. 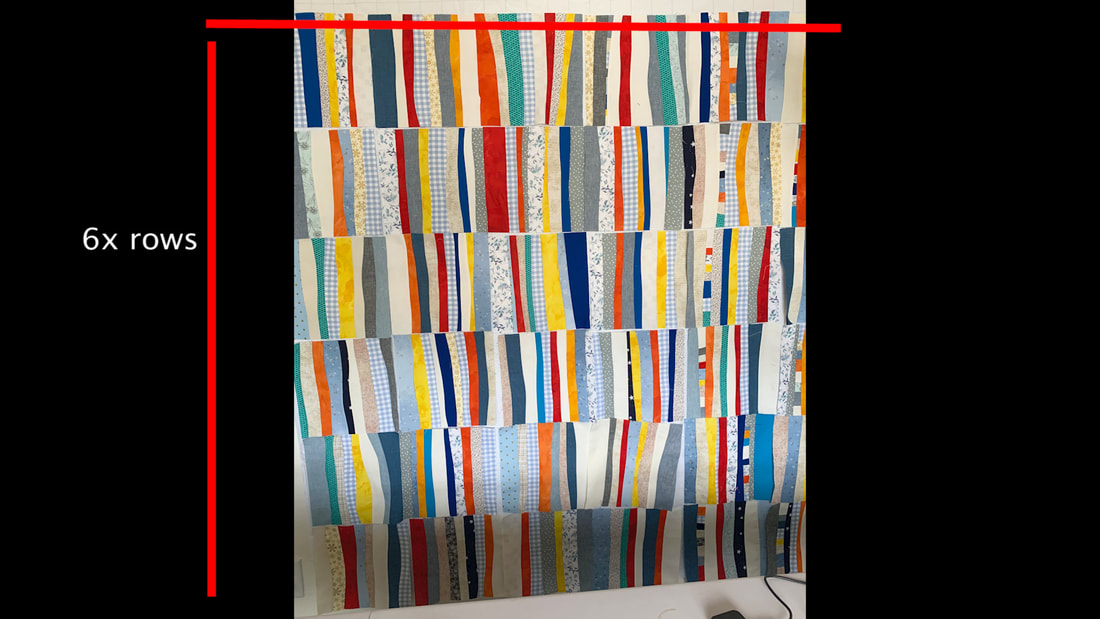 You can change the layout if you want to, check out some pictures below for different ideas
Once you're happy with the layout of your quilt, you may go ahead and sew your quilt blocks, layer, quilt, and bind. Check out the full video tutorial on my Youtube channel, and consider subscribing so you won't miss any new uploads. Happy Quilting!!
 Today I would like to take you to my crazy scrap quilt (also known as crumb quilt) adventure. I was quite overwhelmed with the amount of scraps that I have accumulated over time, and been looking for ways to get rid of them without throwing them away. After scrolling through the internet and Pinterest of course, I found what is called crazy quilt or crumb quilt and I knew this was my solution. So I took out my scraps and started sewing, and it was surprisingly fun and quite relaxing, hence I got addicted and ended up with 42x 10" squares. Check out the quilt along video to see the whole process of making this quilt on my Youtube channel below : Supplies : Assorted scraps or crumbs fabric 2 yards of wide quilt backing fabric Border fabric (optional) Quilt batting Basic sewing/ quilting notions Direction : 1. Sew your scraps as shown in video 2. Square up each block in to 10" squares (make 42 blocks) 3. Sew six blocks together to make a row (make 7 rows) 4. Add borders(optional) 5. Layer, baste, quilt, bind 6. Enjoy Happy Quilting!! |
Categories
All
©
Yoan Sewing Studio | All Rights Reserved
Archives
March 2024
|
 RSS Feed