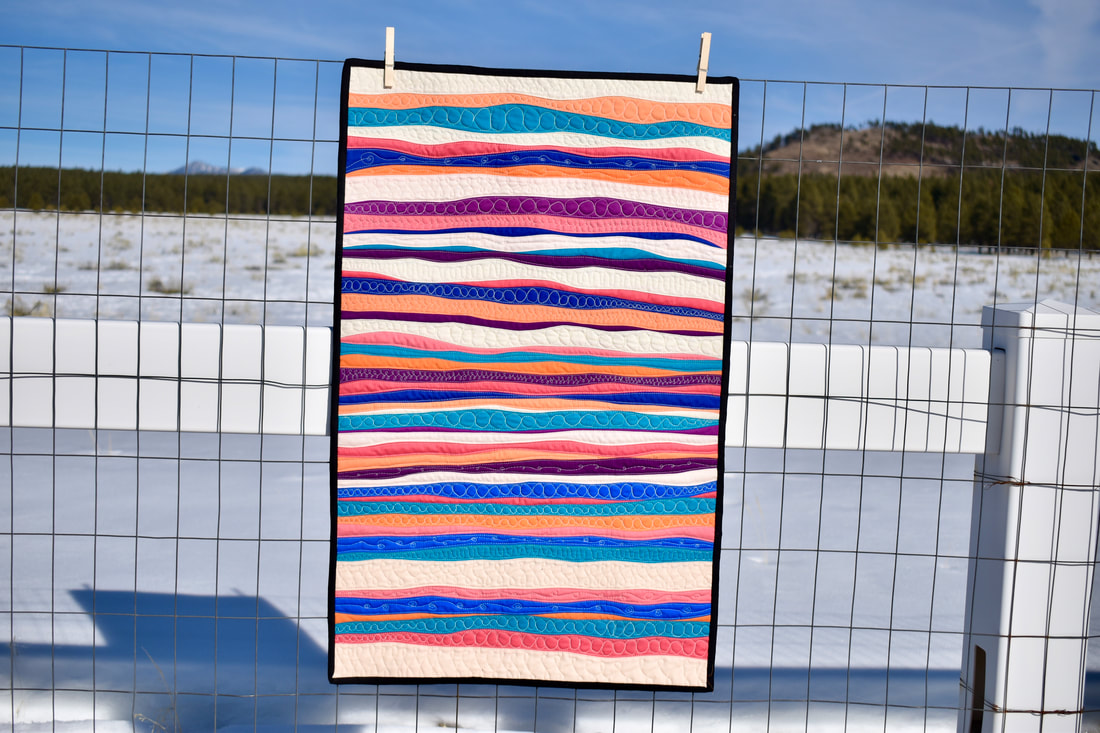
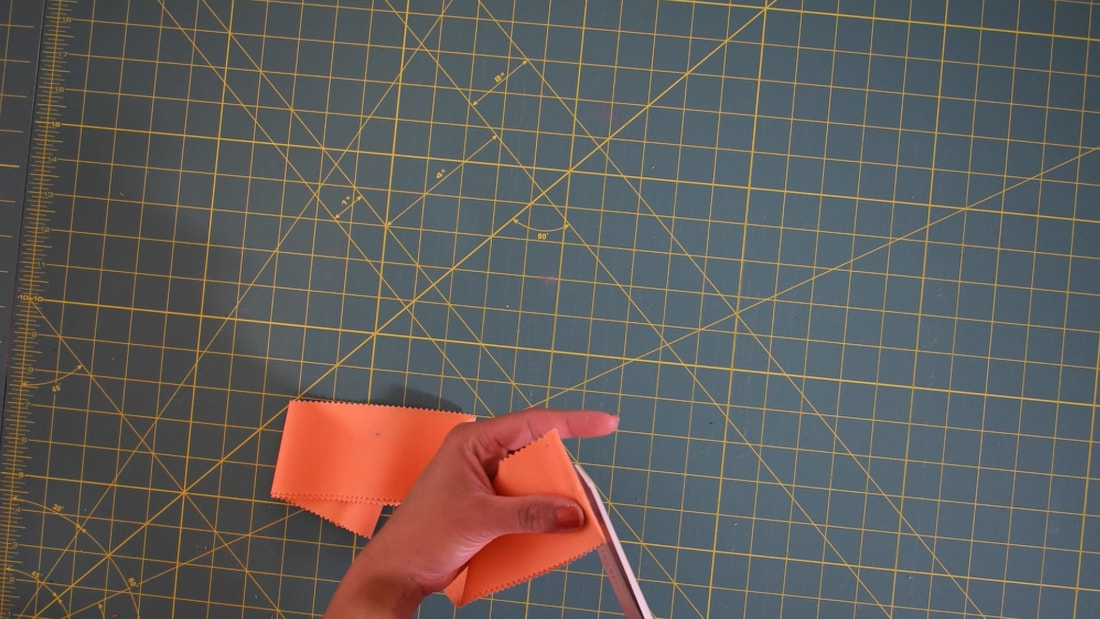
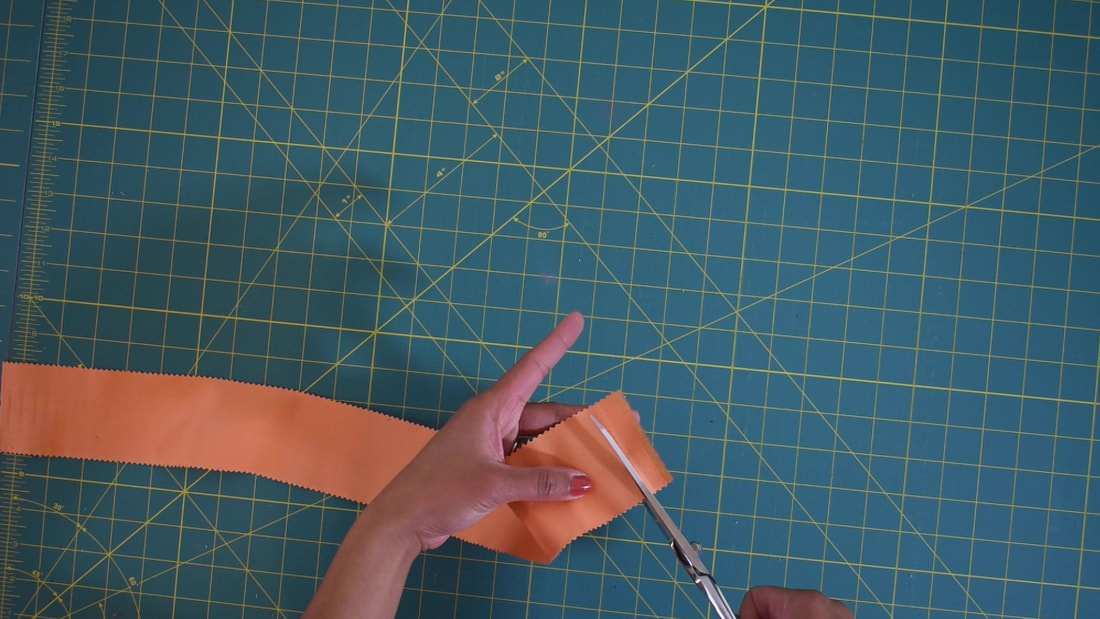
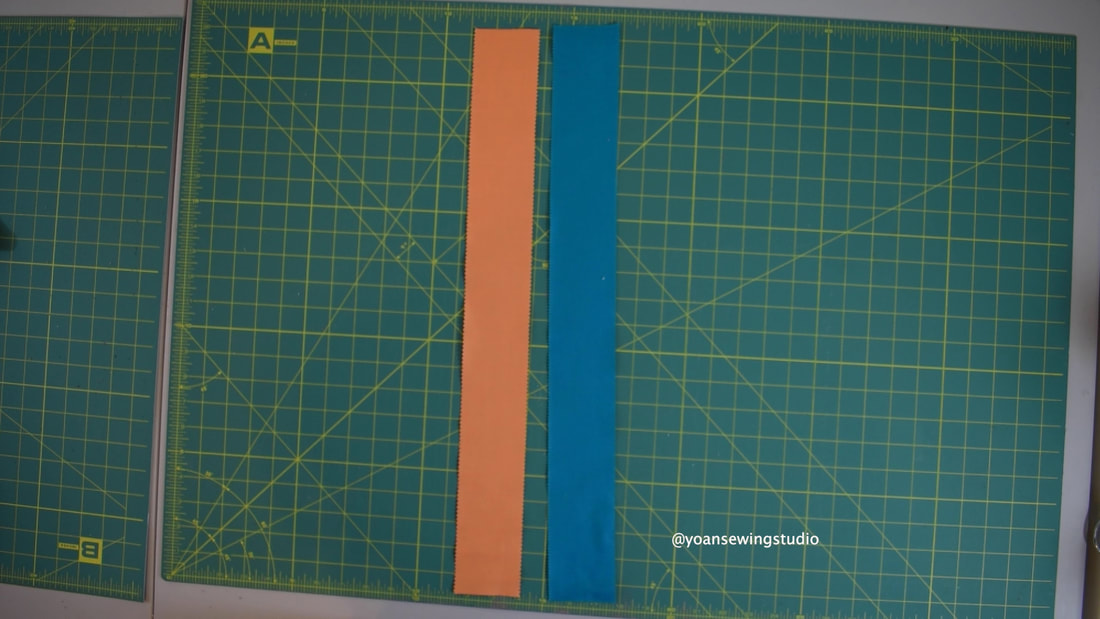
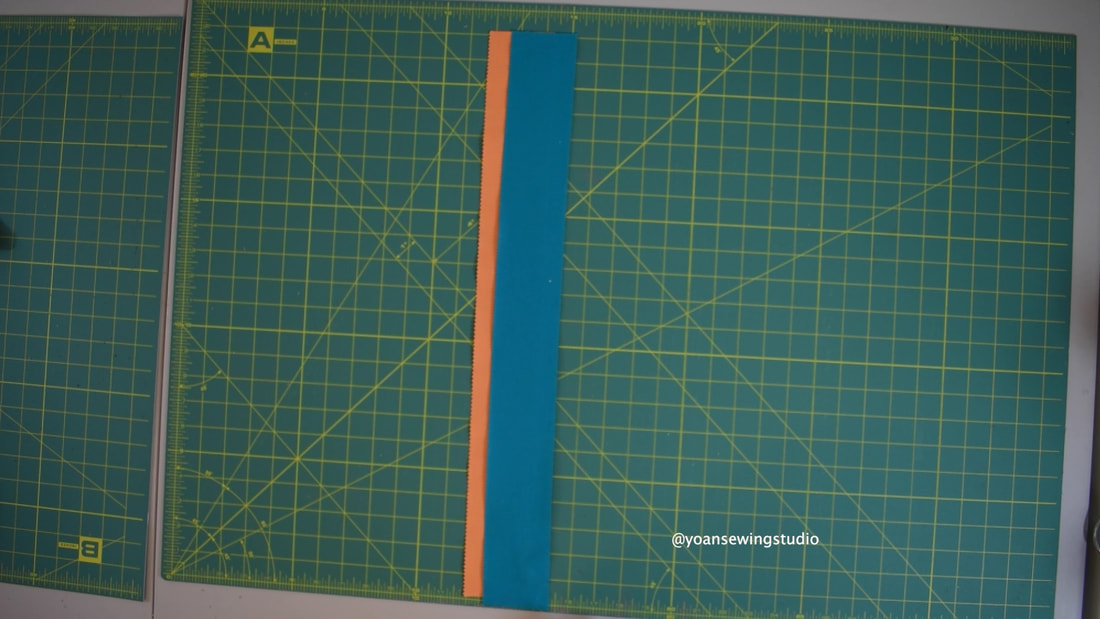
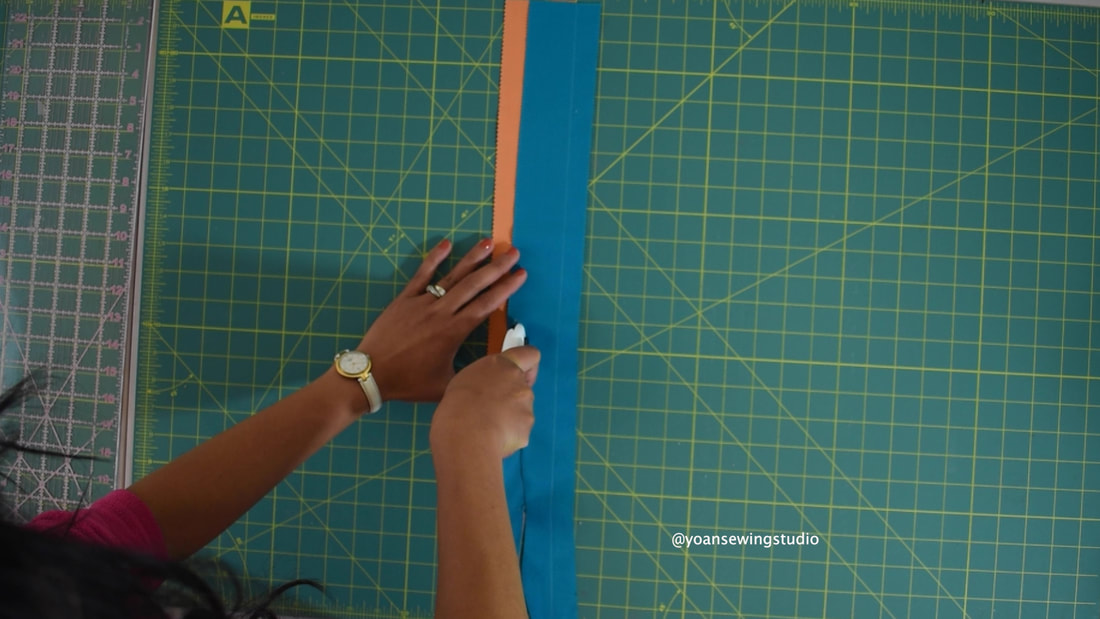
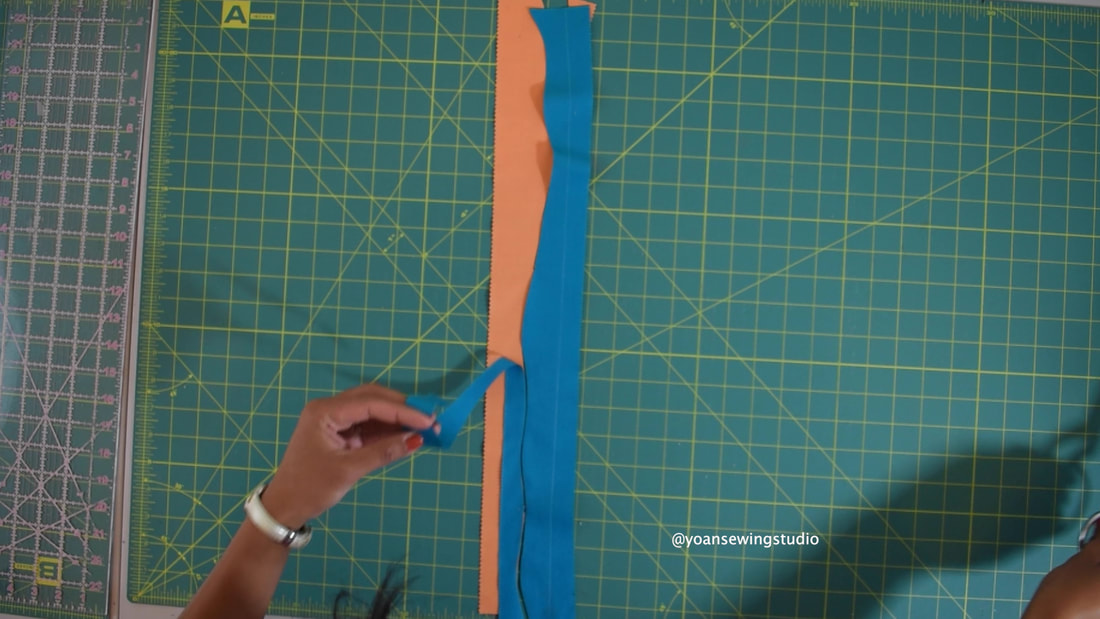
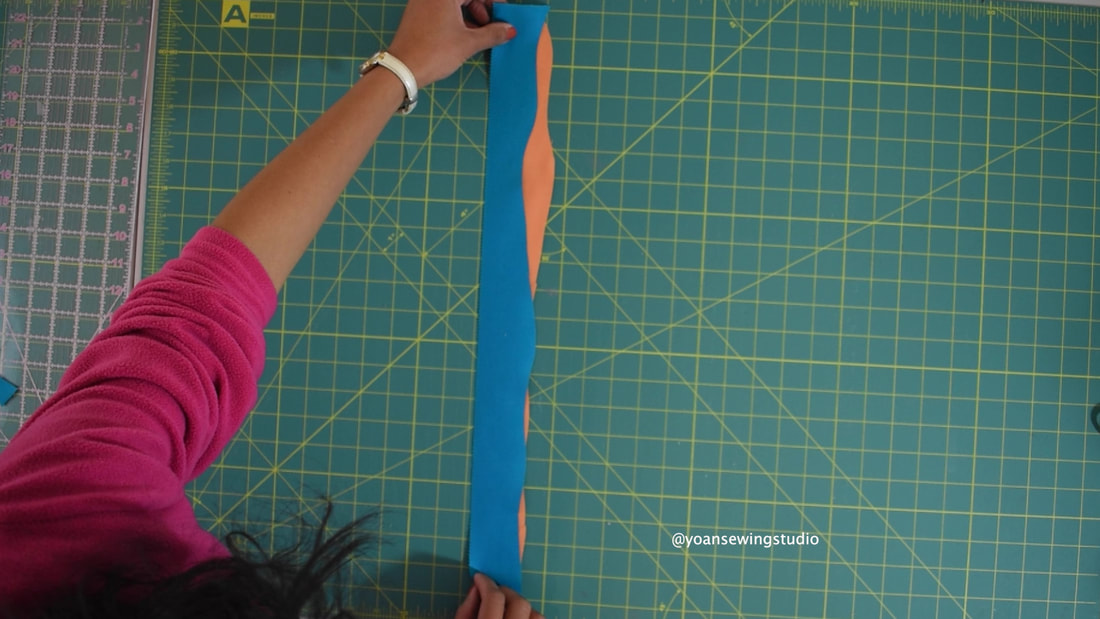
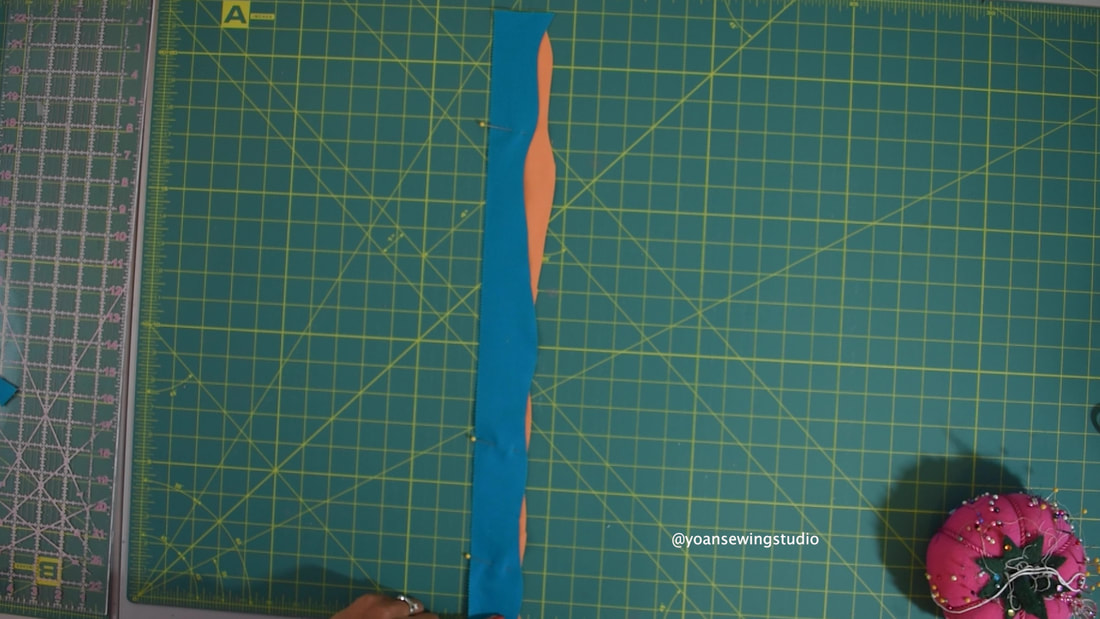
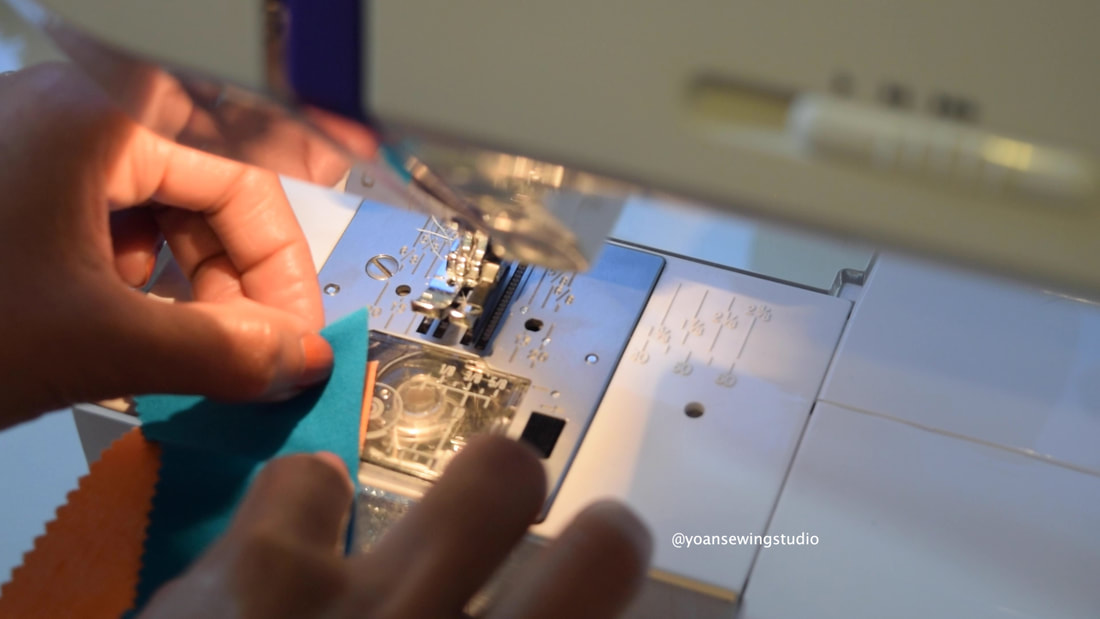
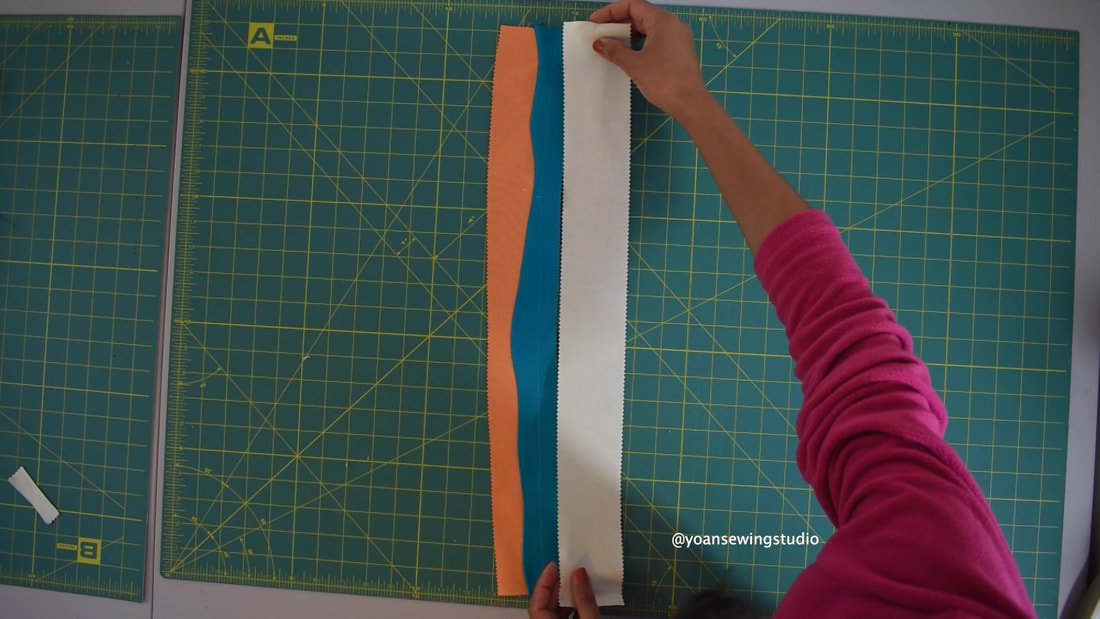
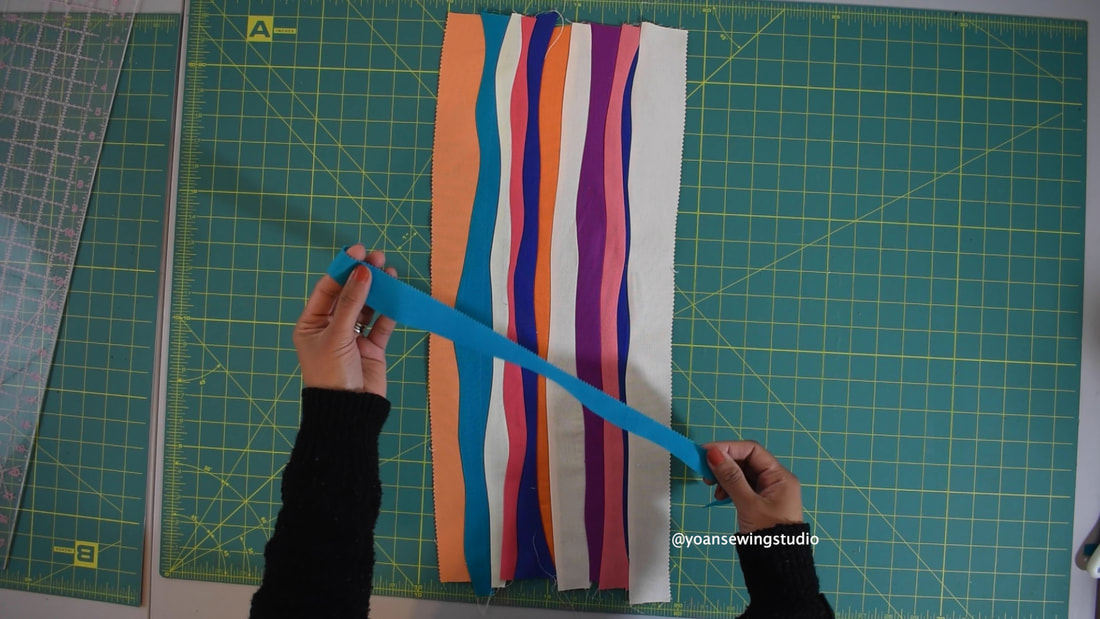
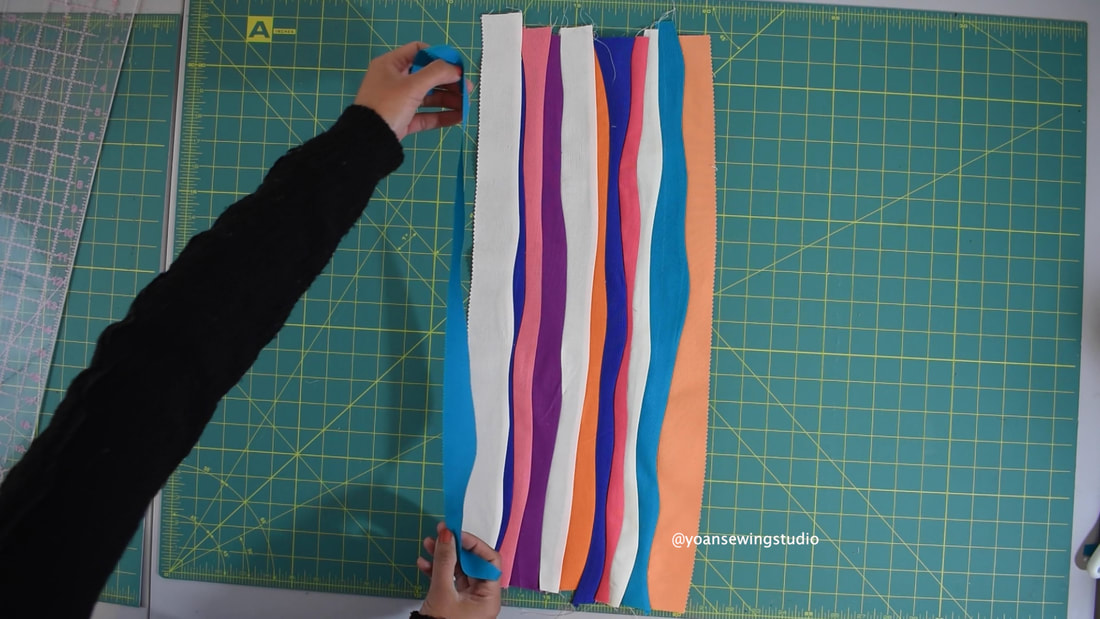
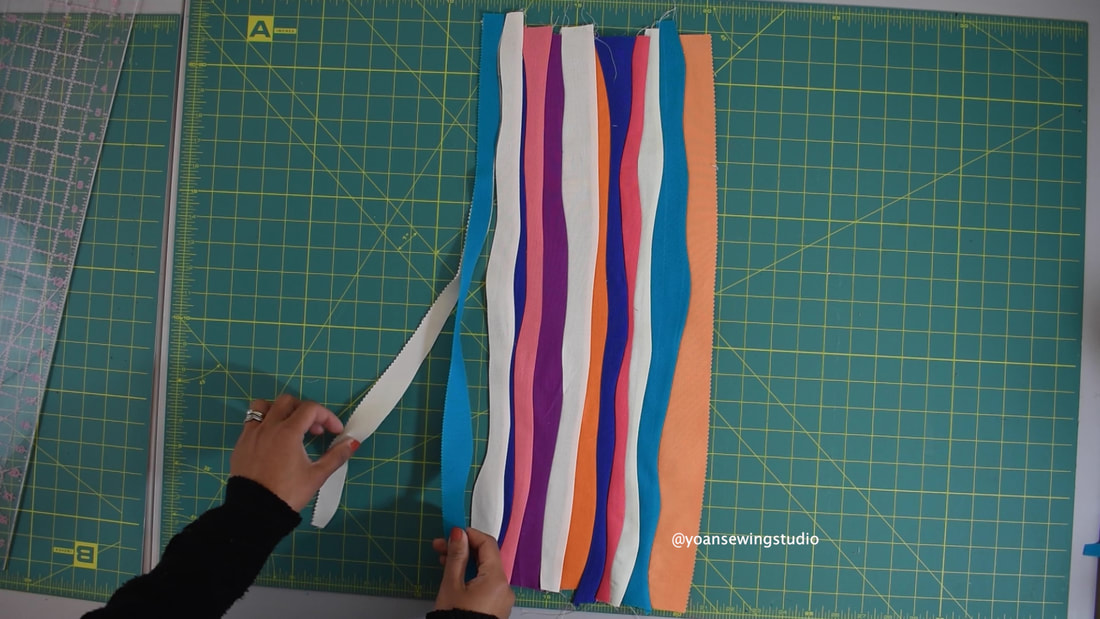
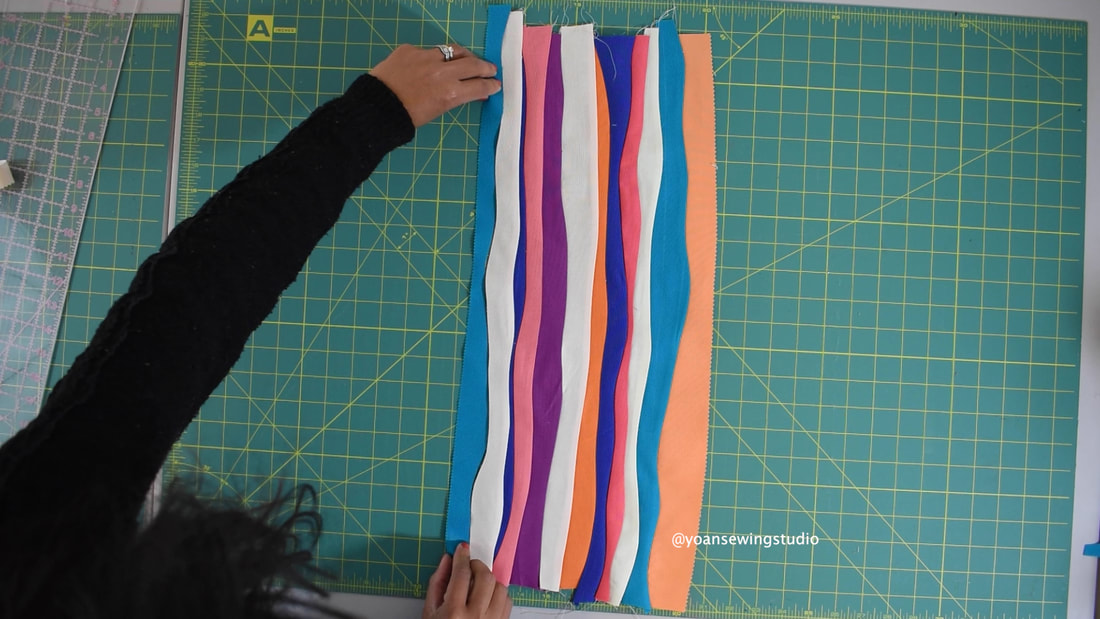
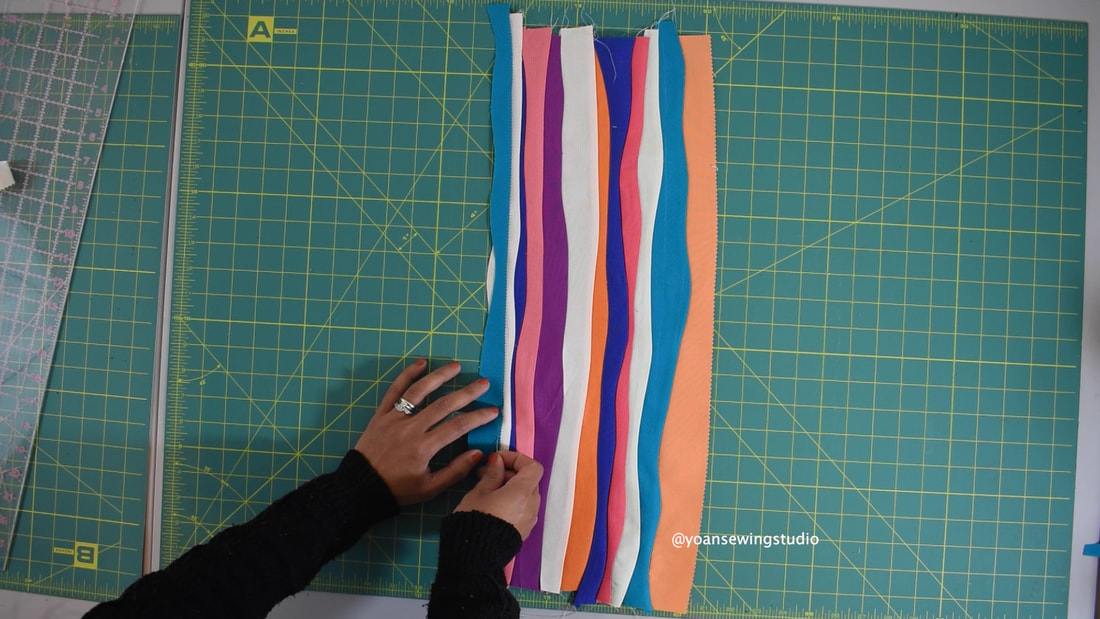
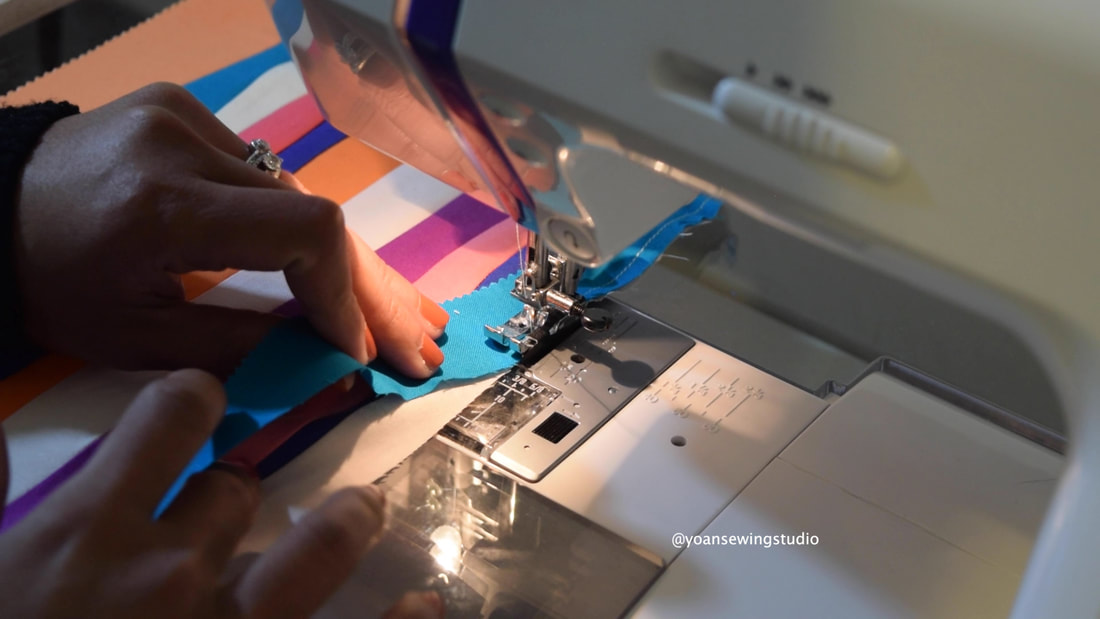
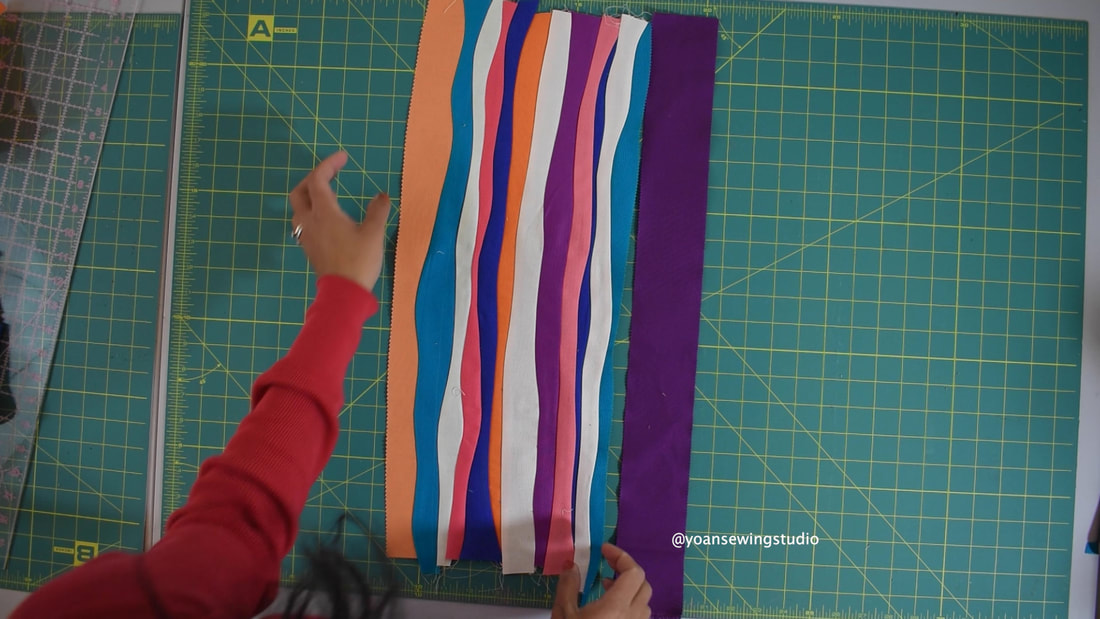
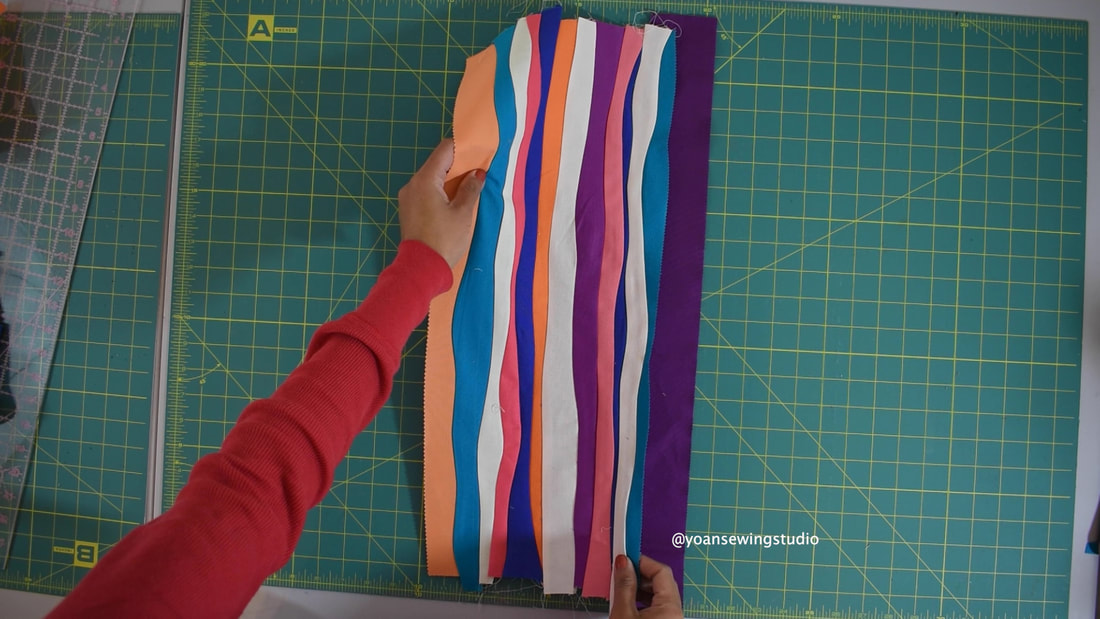
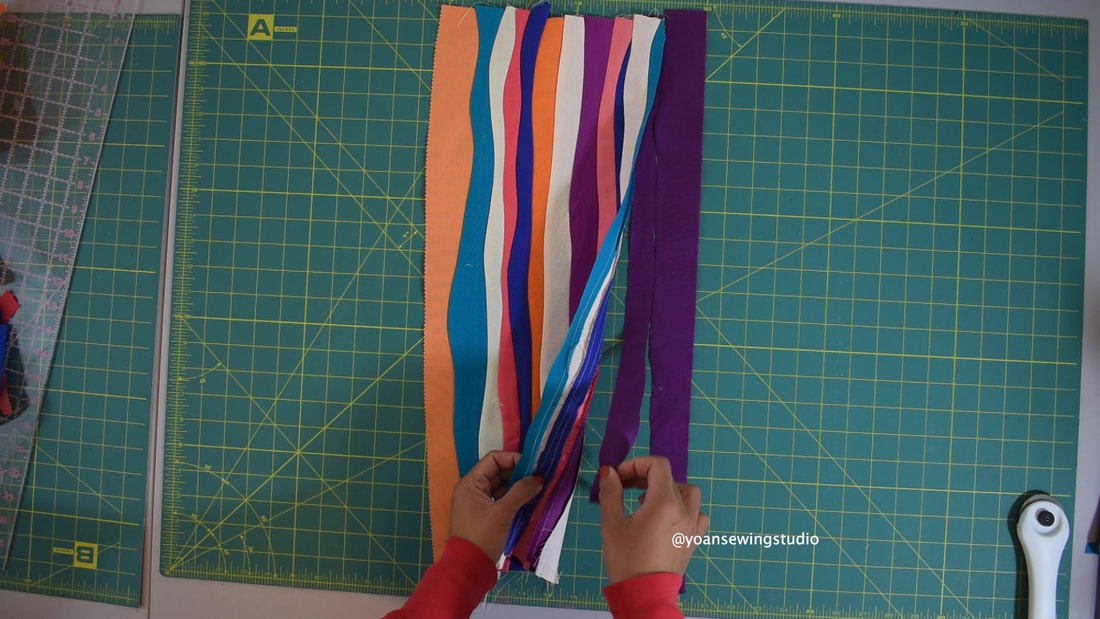
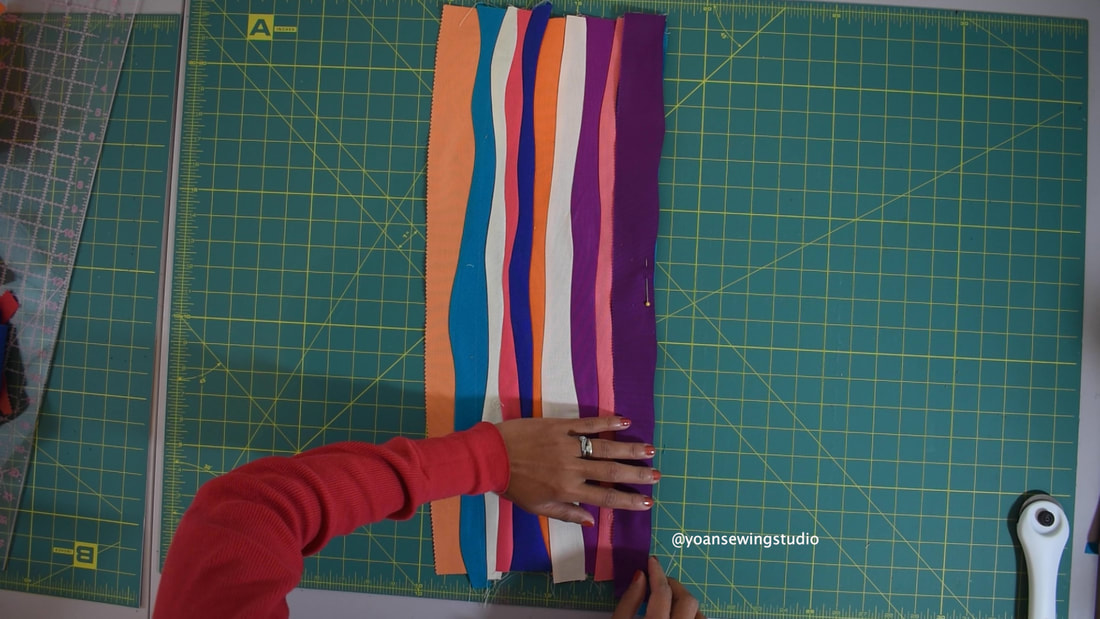
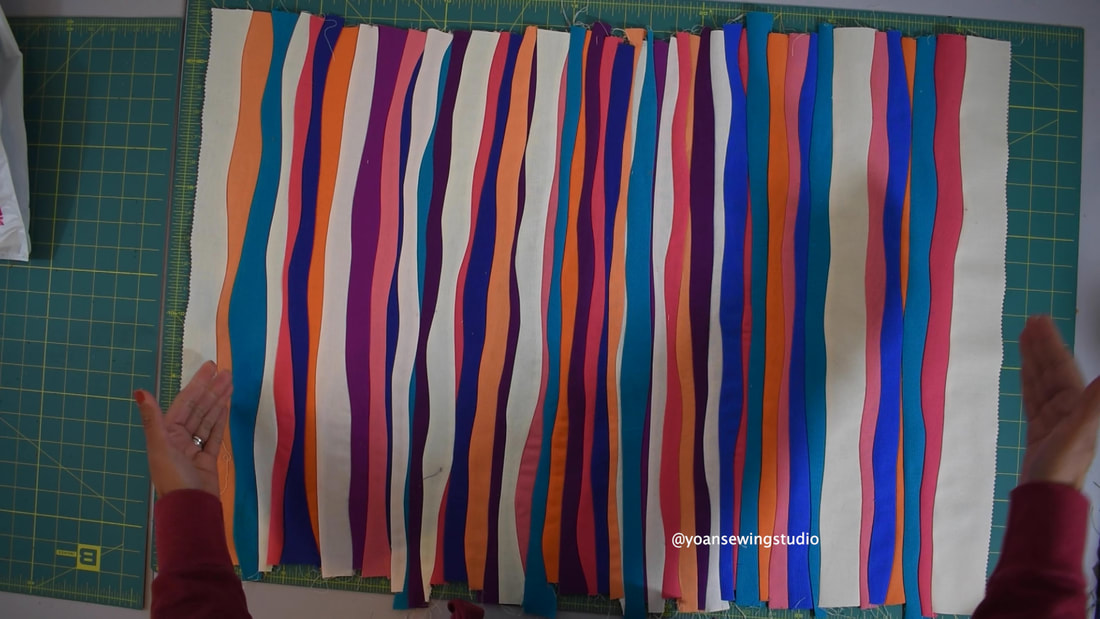
 Improv wall hanging quilt - performing free form curves I have a fun little quilt project to share with you today. It's a wall hanging size modern quilt that performs free form curve piecing. In the previous quilt along episode, I shared the scrappy improv quilt project performing gentle curves. In that video, I featured the shortcut method of doing the curves, which will only work if you use shorter size strips, and performing shallow curves. Now, in this project we will do the "proper way" of doing curves. For the fabric, you will need some Jelly Roll strips, obviously you can cut from the yardage, or use left over fabrics that you might have laying around. I purposely play with many colors in this project, so you may see the the contrast, and how the curvy shapes taken place there, although you may use more subtle color, two-tone color, or any color palette that you desired. SUPPLIES 12-18 jelly roll strips Quilt batting 2/3 yard backing fabric Basic Sewing and quilting notions Disclaimer : This post contains Amazon affiliate links, thank you for your support! I posted the full quilt along video on my Youtube channel, however you may scroll down to see the written instructions. Finished quilt measurements 19" x 31" DIRECTIONS 1. Cut your jelly roll strips in halves, and trim off the selvage ends 2. Take two contrasting strips, and overlap them (the width of the overlap is totally up to you), if you fabric has right side and wrong side, you should be looking at the right sides of both fabrics right now. 3. With your rotary cutter make the curve cut. 4. Remove the top left strip, and the bottom right strip, you should end up with two matching strips 5. Lay the strips right side together, pin them place (the edges may not be aligned), and that's expected :) 6. Sew with 1/4" seam allowance, aligning the edges of the strips as you sew (maneuver the top strip to align with the edges of the bottom strip) 7. Press towards one side 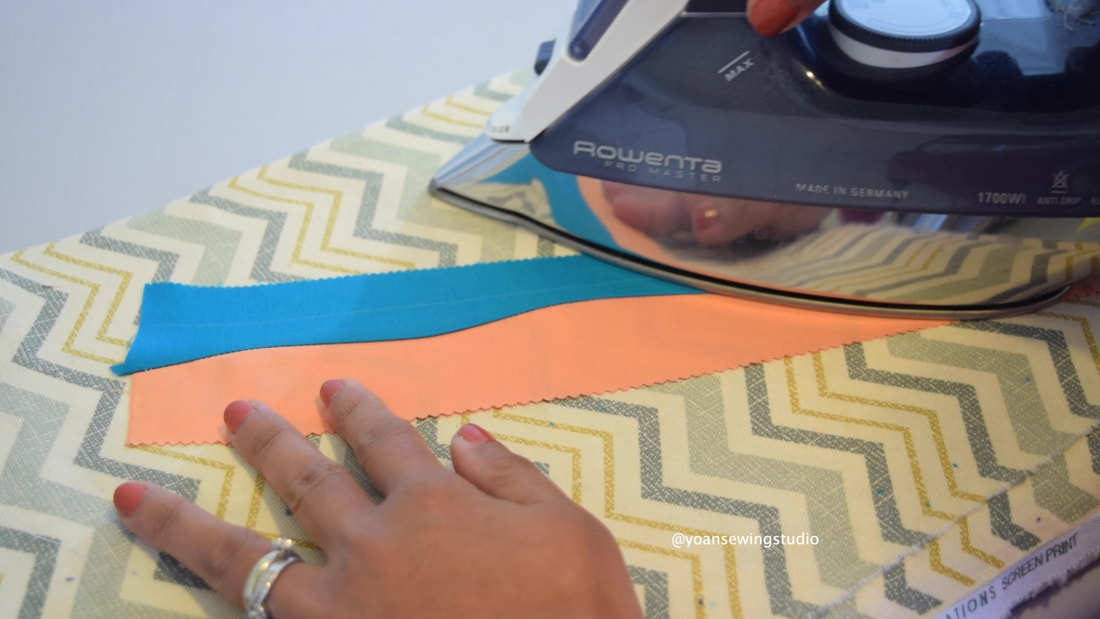 8. Sew more strips and continue building your quilt. 9. Use leftover strips from the curve cutting that are at least 1/2" wide, to make very narrow insert 10. Lay the narrow strip on top of the edge of the fabric, then cut following the curve of the narrow strip. 11. Remove the fabric underneath 12. Lay the strip and the fabric right sides together, pin, then sew with 1/4" seam allowance. 13. Press the seams towards the fabric (away from the narrow strip) 14. Take another strip, overlap that with the fabric (with the strip underneath, and the narrow strip on top) 15. Make shallow curve cut between the overlap, remove the bottom left fabric. 16. Lay the strip and the fabric right side together, pin, sew with 1/4" seam allowance. 17. Continue sewing and adding strips, until your fabric is measuring about 32" long (or as desired) 18. Trim your quilt top, straighten up the edges 19. Stay stitch along the side edges (with 1/4" seam allowance) to prevent the quilt top to stretch during the quilting and binding. 20. Layer with batting and backing fabric, quilt, bind, add hanging sleeves, and enjoy! Happy Quilting!
Theresa Shorten
3/16/2020 01:27:51 pm
What a beautiful and unique quilt! Love your nice, calm voice. I’ll be subscribing you your site. Thank you.
Yoan
3/18/2020 10:10:35 am
Hi Theresa....my pleasure! Thank you for subscribing :)
Stompie Thessner
3/22/2020 10:32:01 pm
Dankie Comments are closed.
|
Categories
All
©
Yoan Sewing Studio | All Rights Reserved
Archives
March 2024
|


 RSS Feed