|
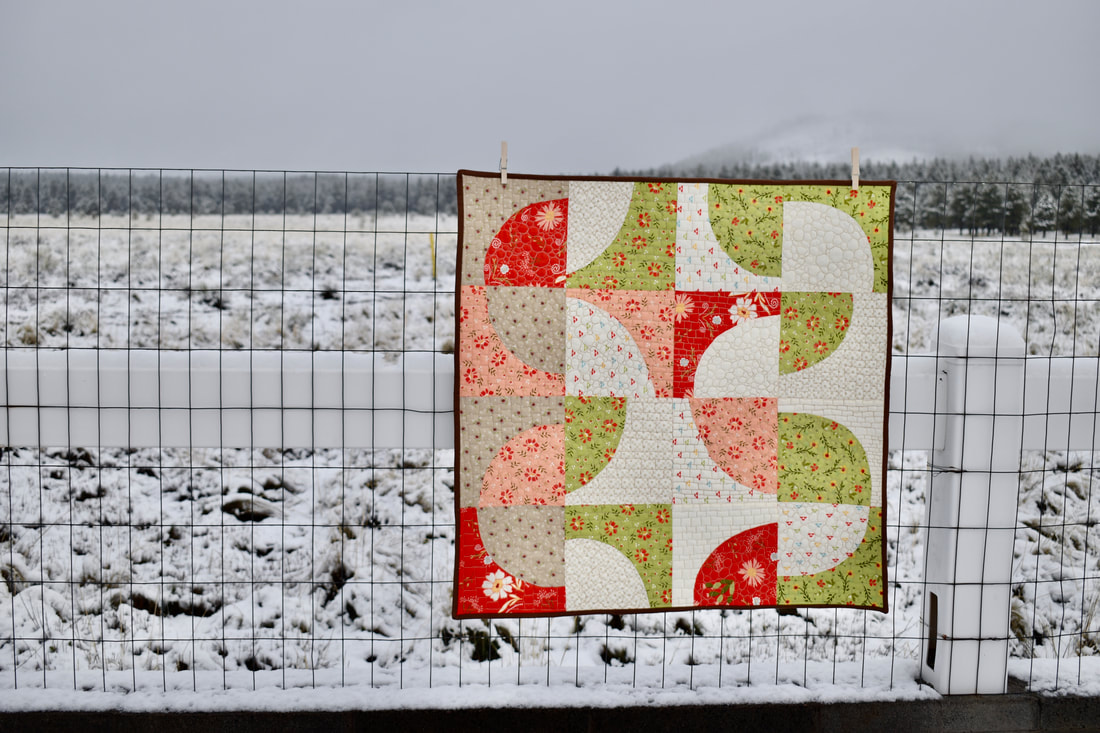
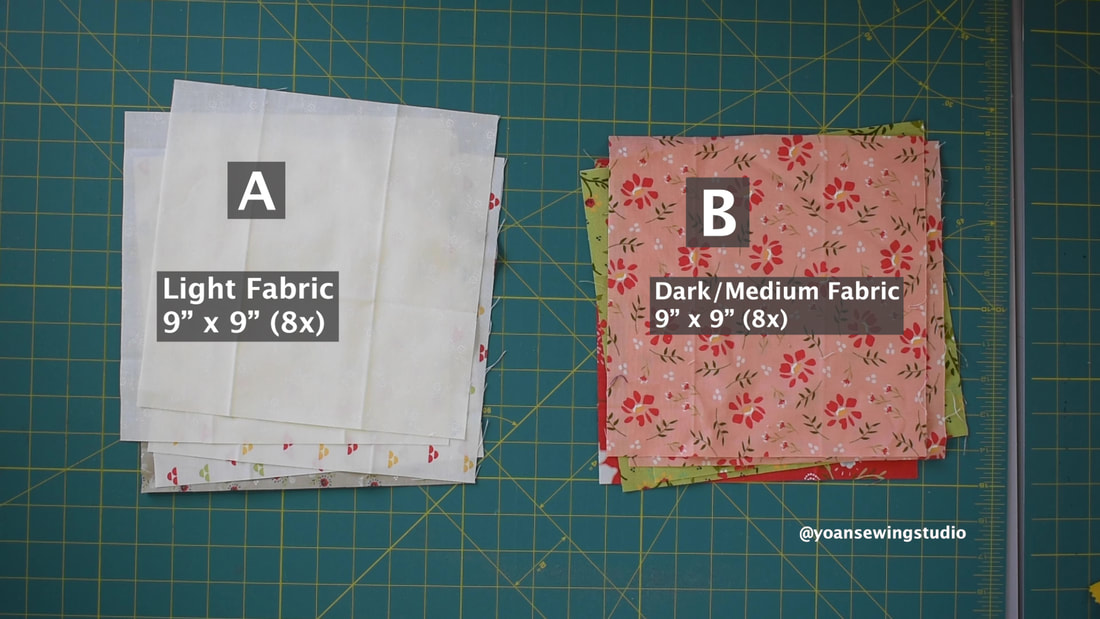
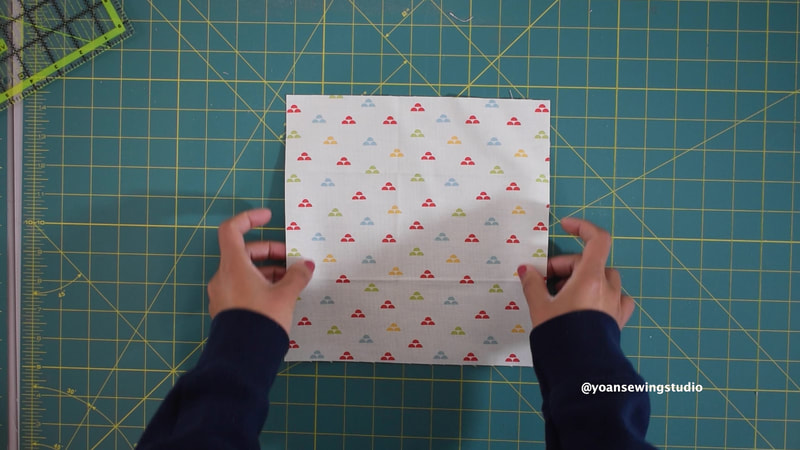
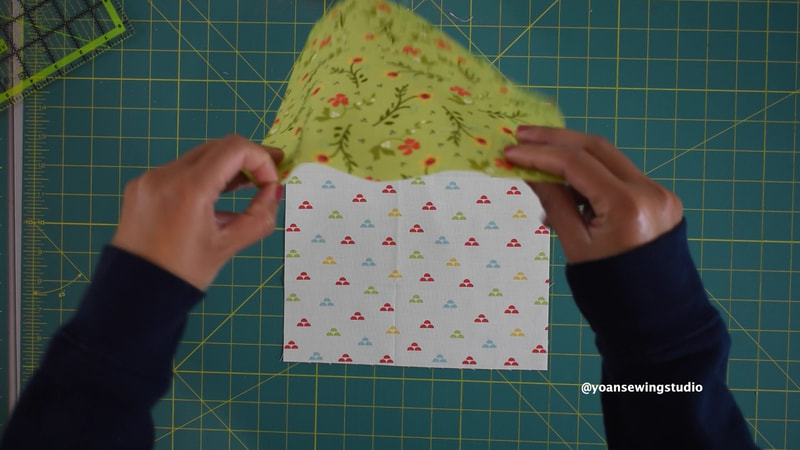
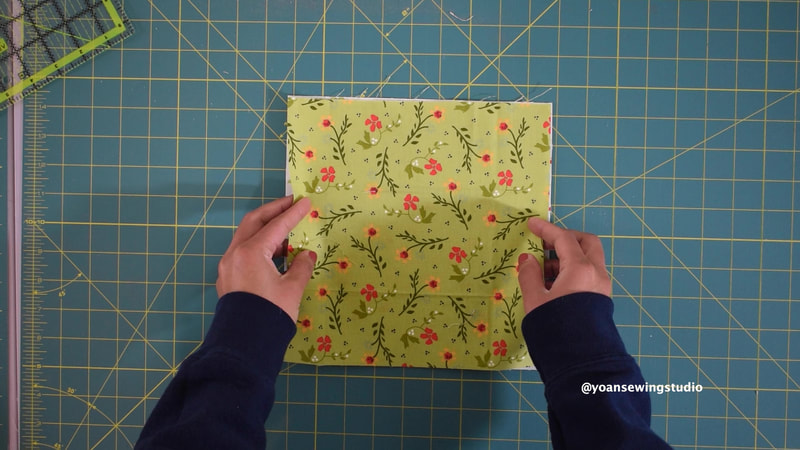
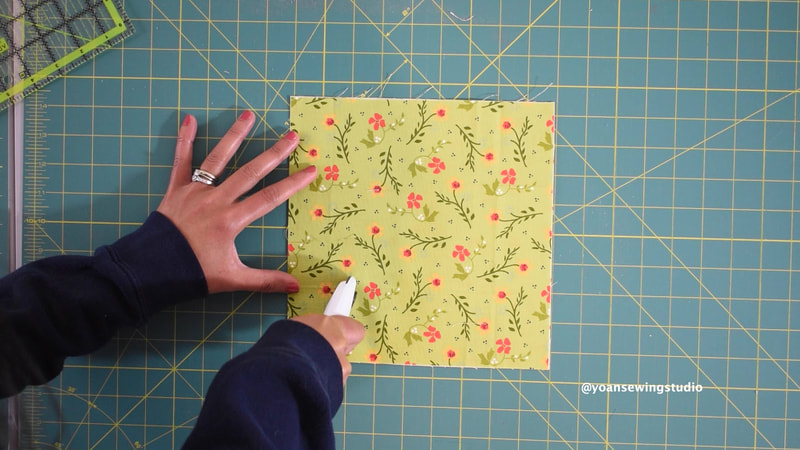
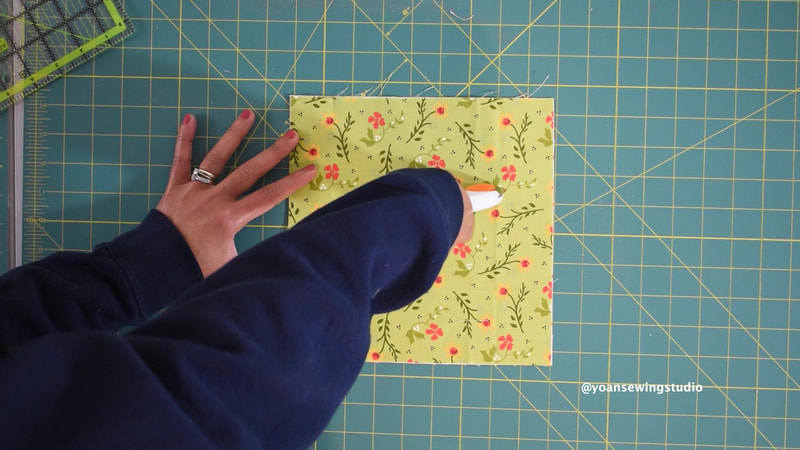
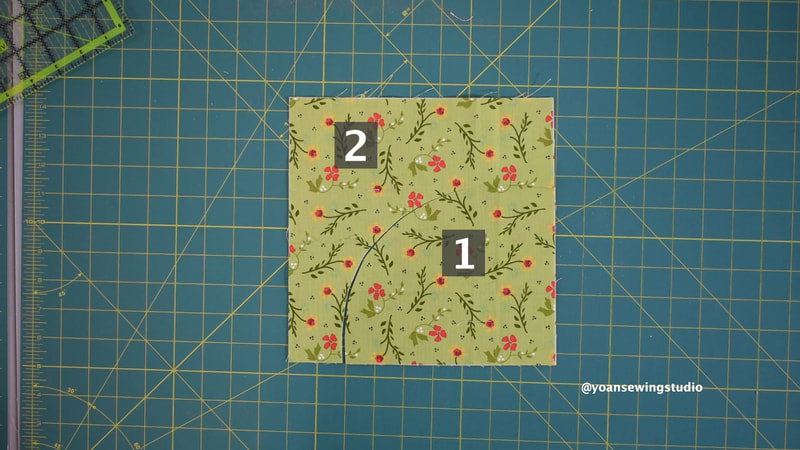
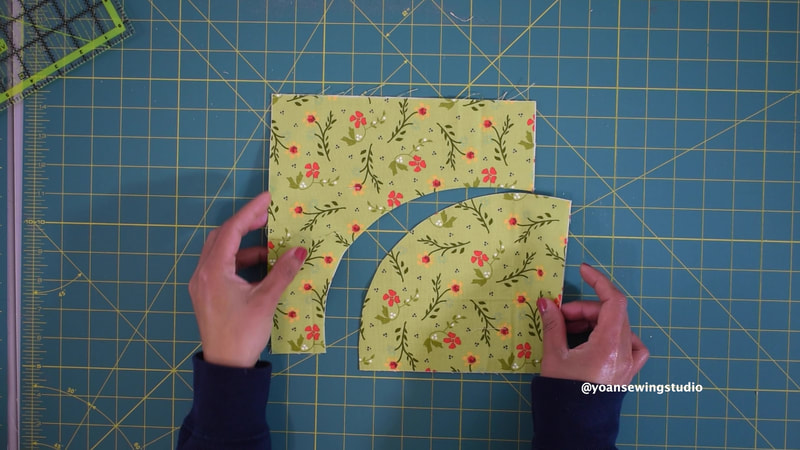
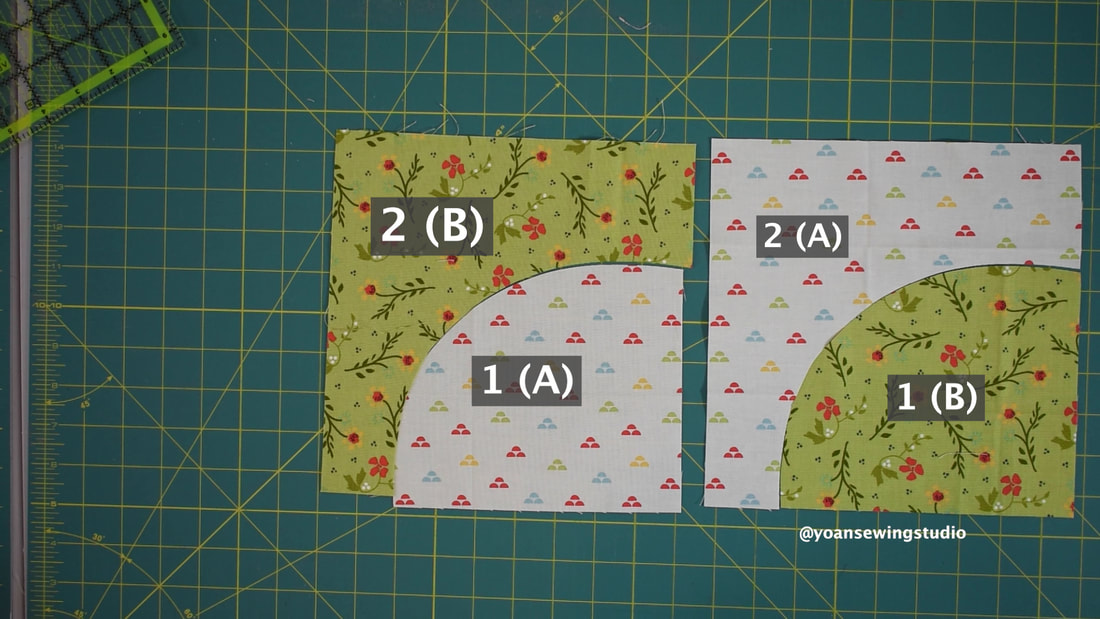
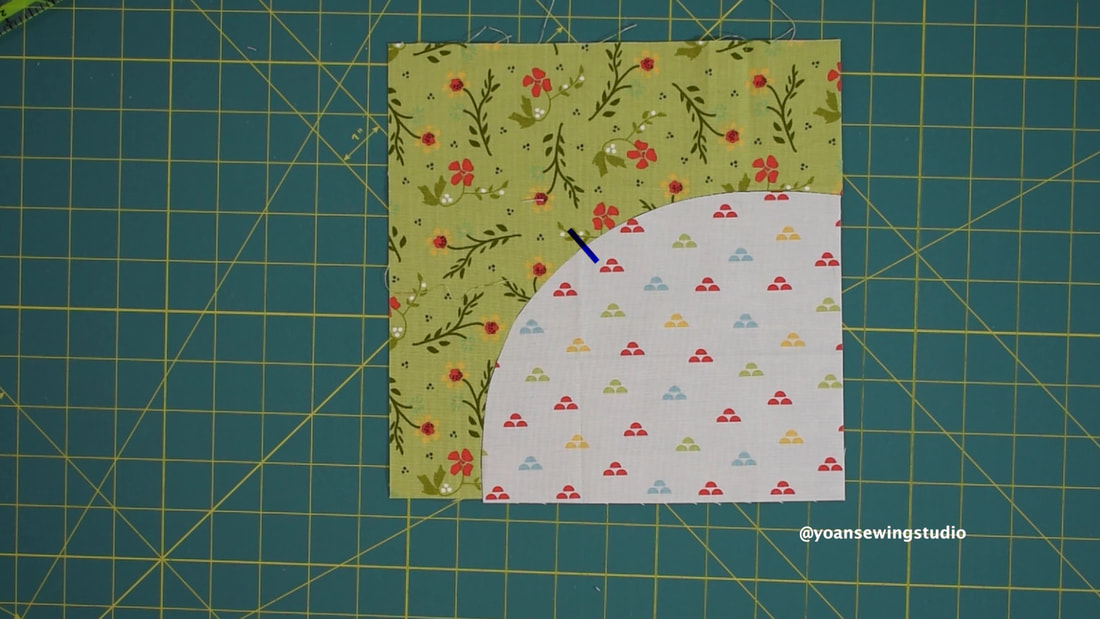
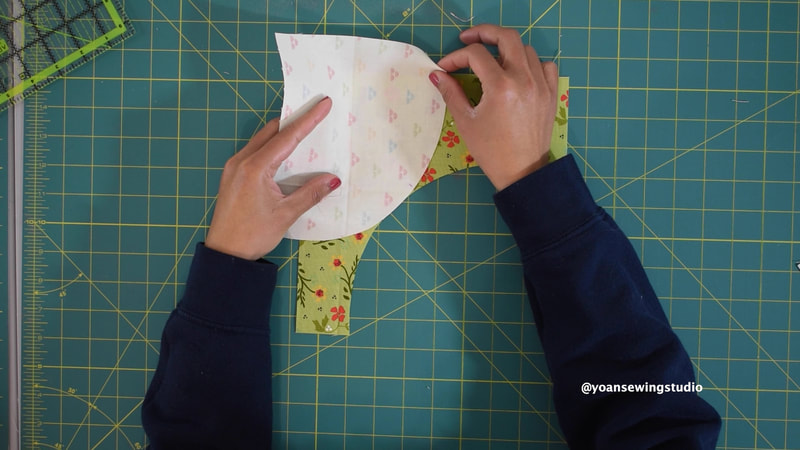
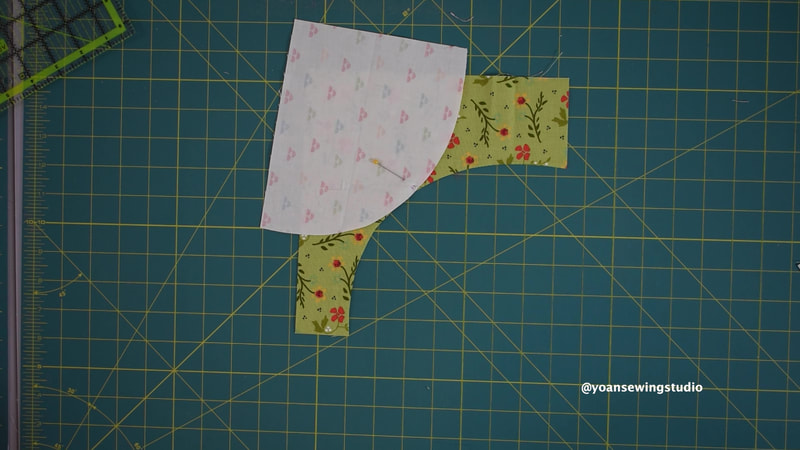
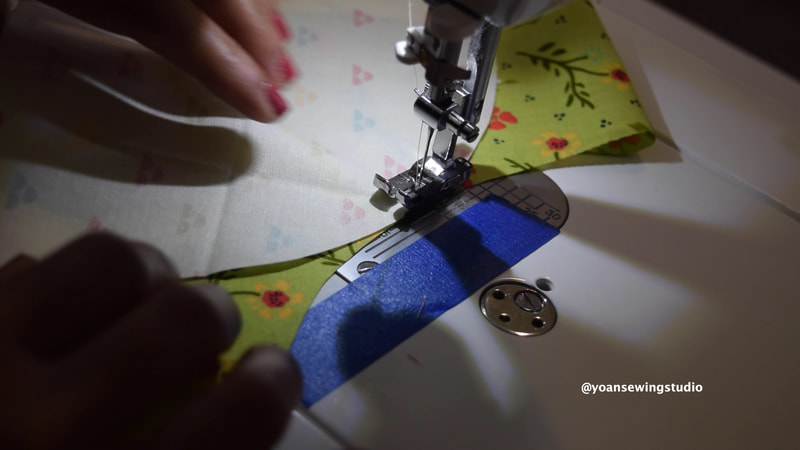
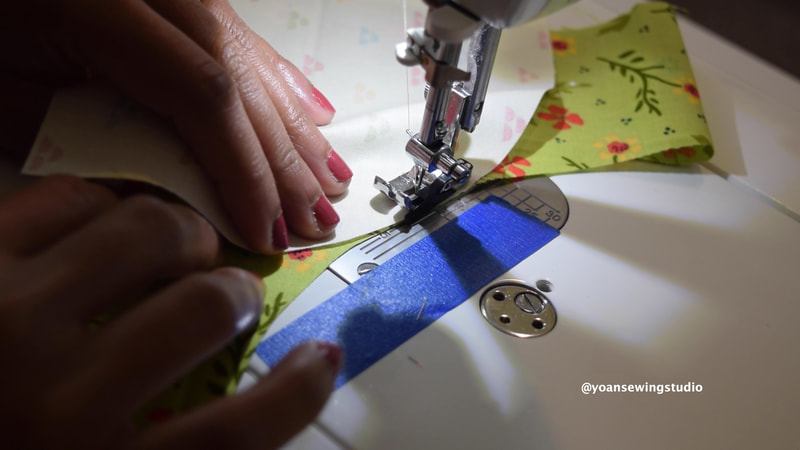
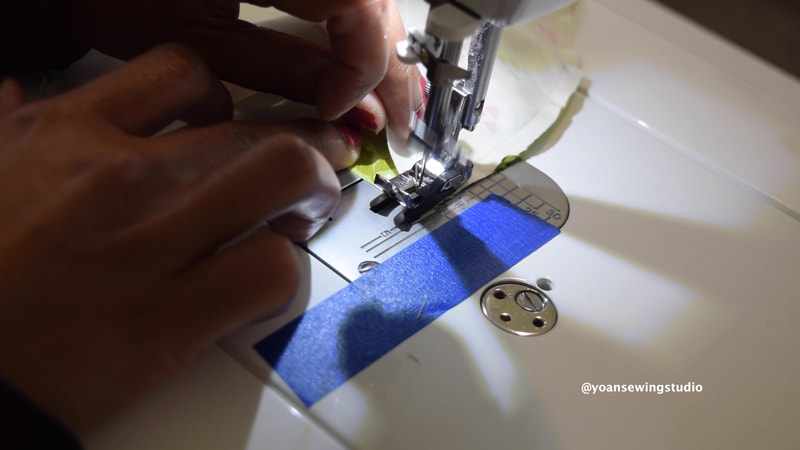
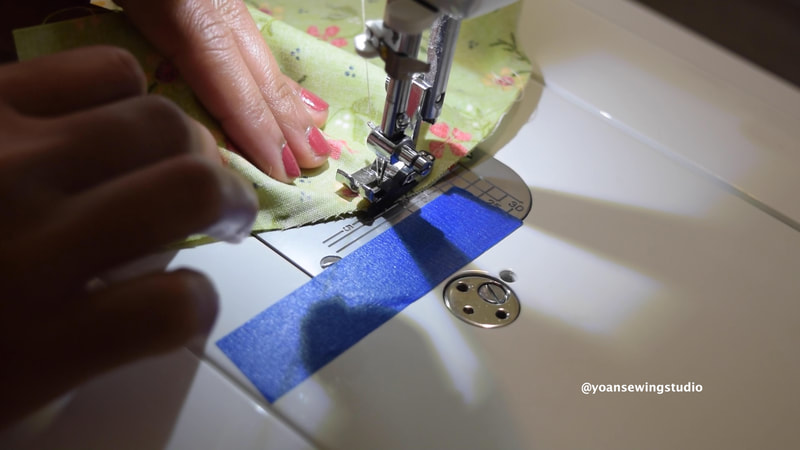
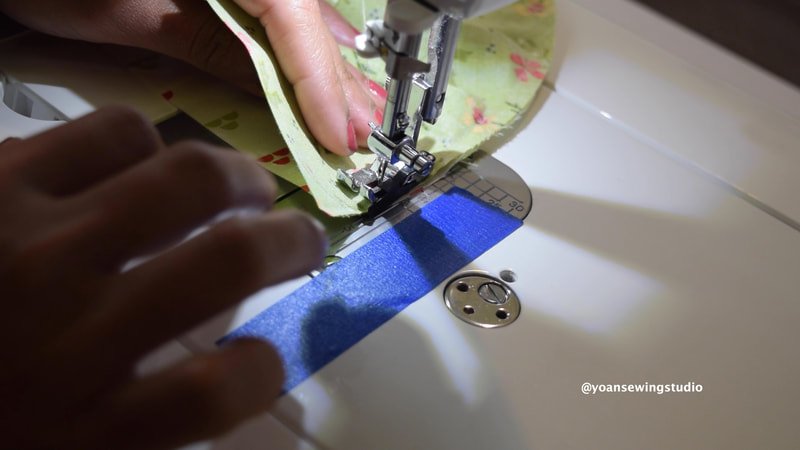
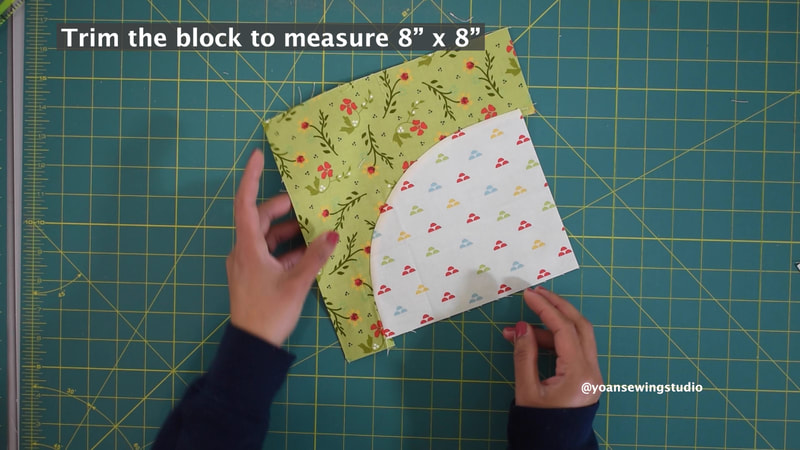
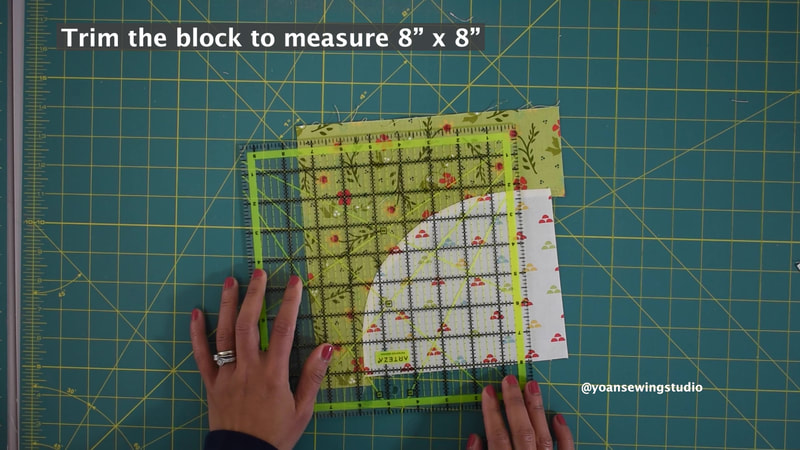
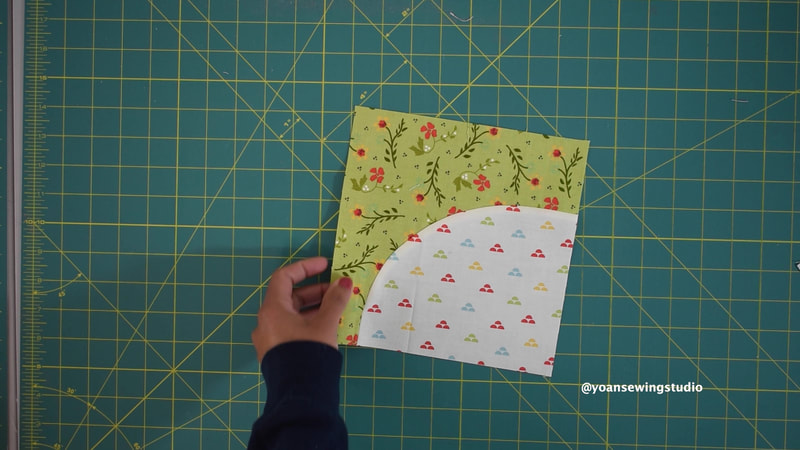
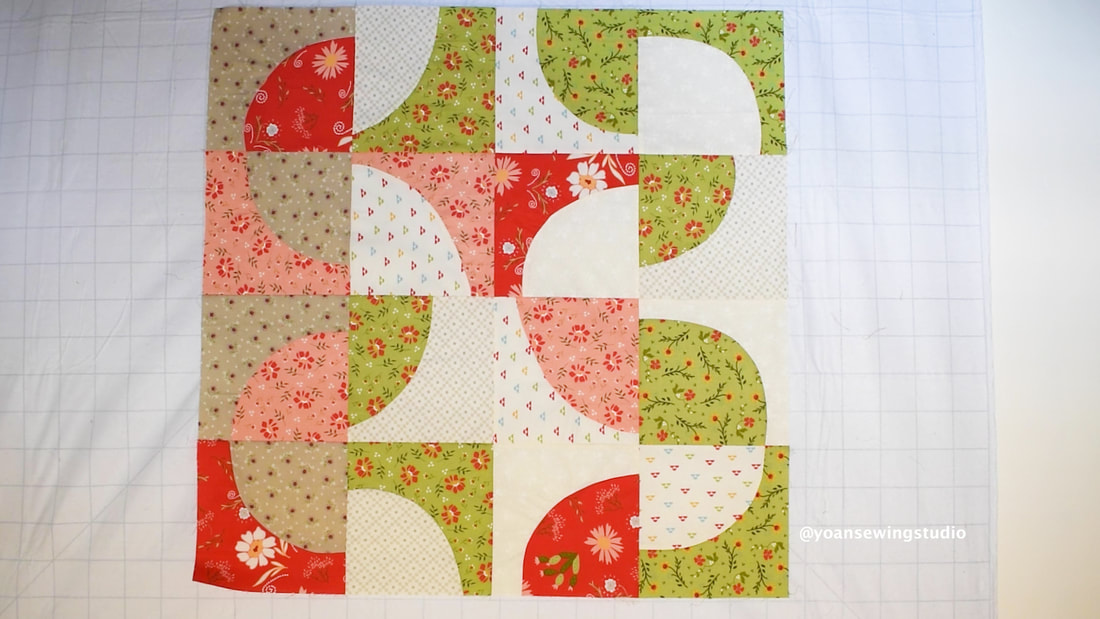
Today I'd love to share with you my little quilty adventure. This wall hanging project came rather spontaneously. I was having a "creative block" moment where my brain was simply stuck and couldn't figure what to make or what my next move should be, so I stood by my cutting table, grab a couple scraps of fabric, and my rotary cutter, then started cutting, sew, and this quilt happened. In this project you'll learn how to sew improv style "Quadrant" like curves, it may look intimidating at first if you haven't done it yet, but it is actually pretty simple, and since this is an improv quilt, accuracy is not in your agenda (although yes, we still need to square up each block to make it easier to assemble) I posted the tutorial on my Youtube channel that you may watch here. or keep reading below for the list of supplies and written instruction. Let's get started!! Supplies(8x) 9" squares (medium/dark fabric) (8x) 9" squares (light fabric) Batting as needed Backing fabric as needed Basic sewing and quilting notions Directions1. Prepare your fabric as instructed in the list of supplies above. 2. Lay fabric A right side up, then lay fabric B right side up. 3. With your rotary cutter, make the quadrant shape cut from lower left-ish corner to the top-ish right corner. 4. Swap the layout of the fabric just like shown below. 5. Mark the center point of panel 1 and panel 2 with your fabric marker (it doesn't have to be precise, just estimate). 6. Lay panel 1 and panel 2 right side together, match the center point mark, pin. 7. Sew, starting from the center point mark, down to the edge, then flip the fabric, go back to the center point mark then sew down to the opposite edge. Align the edges of the fabric as you sew, panel 1 might turn out a bit shorter, which is okay. 8. Press the seams towards panel 1 9. Trim the block to measure 8" x 8" 10. Make 15 more blocks. 11. Layout your blocks as shown here. 12. Sew your quilt blocks together.
13. Layer with batting and backing fabric 14. Quilt as desired 15. Bind, add the hanging sleeve, enjoy.
Ronna
5/26/2020 07:56:18 pm
Cool idea, can’t wait to try it. Love it’s not precise, but fun!!’ Thank you for the YouTube video also👍 1/17/2021 06:52:01 pm
AWESOME!!!!!! Ricky Tims would call this "Caveman Sewing", I think! Looks so fun--and THANK YOU for sharing! Just the thing to spark a quilter's block--and look what a lovely quilt you ended up with! <3 Comments are closed.
|
Categories
All
©
Yoan Sewing Studio | All Rights Reserved
Archives
March 2024
|
 RSS Feed