|
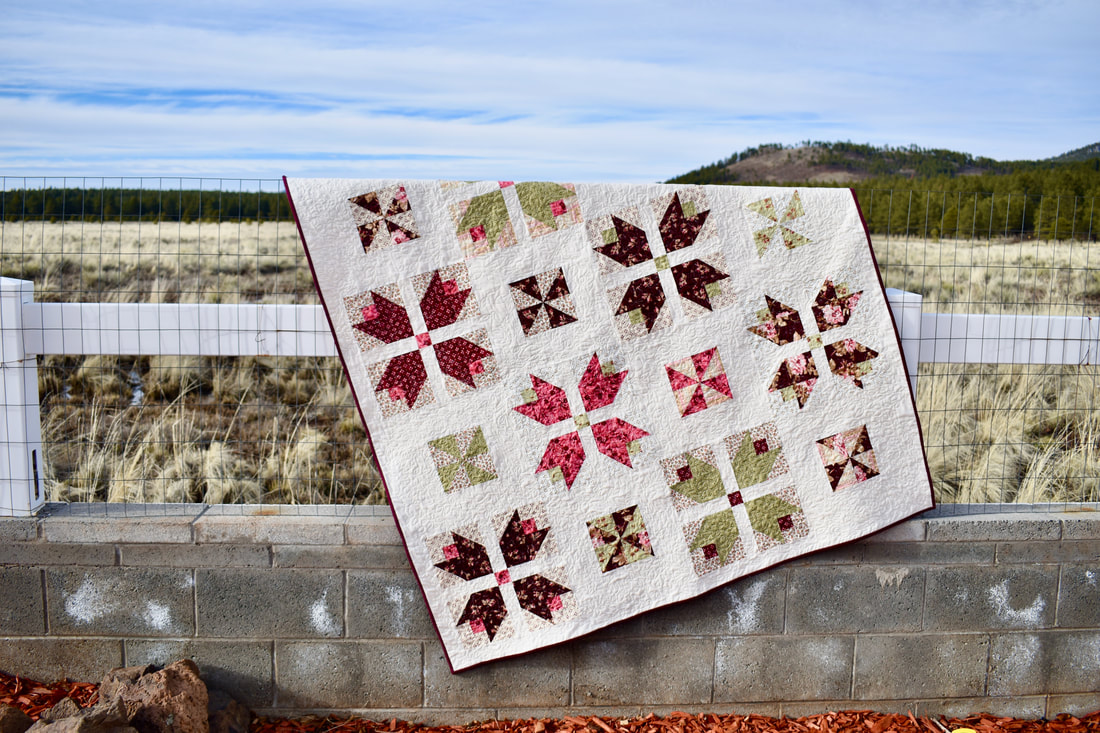
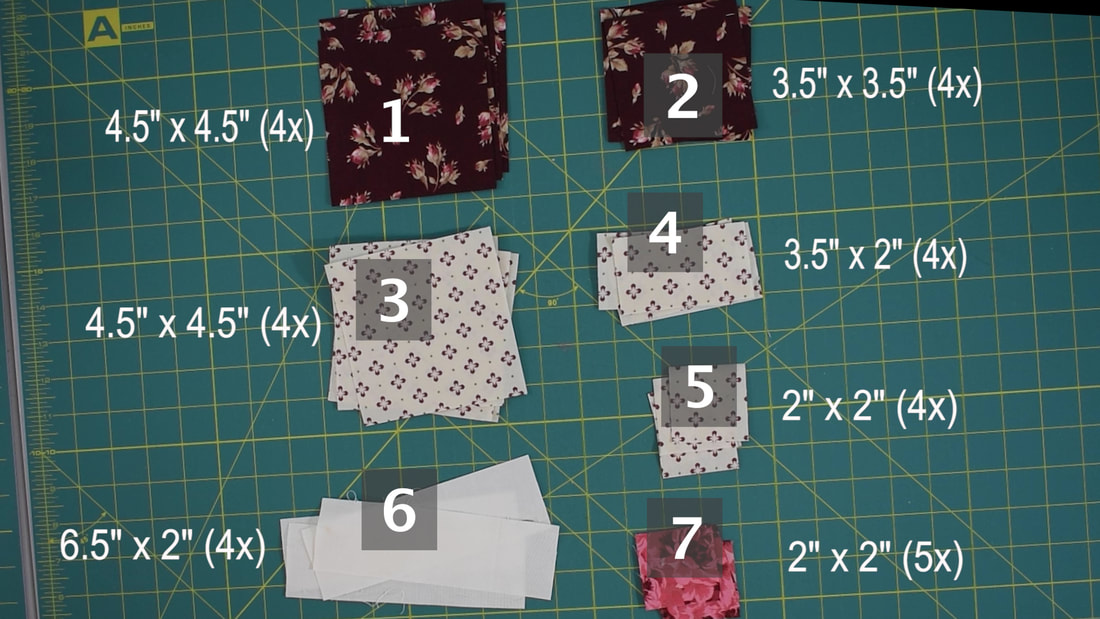
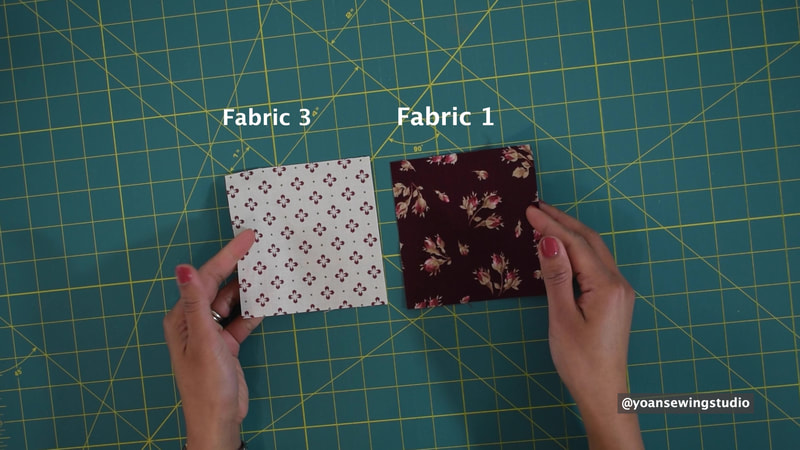
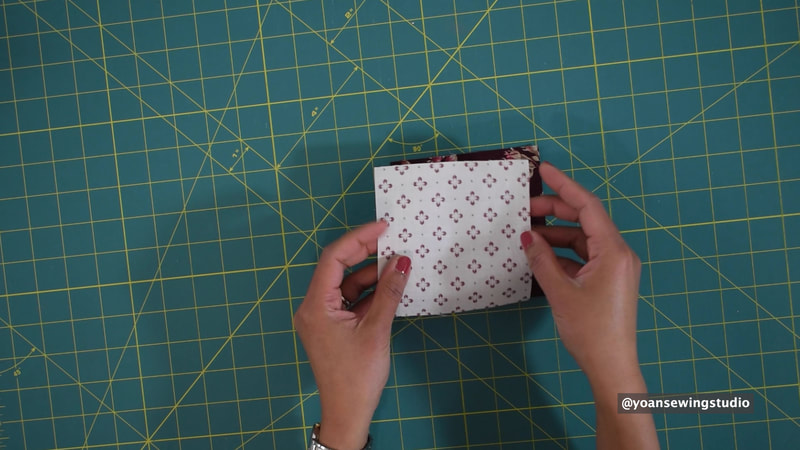
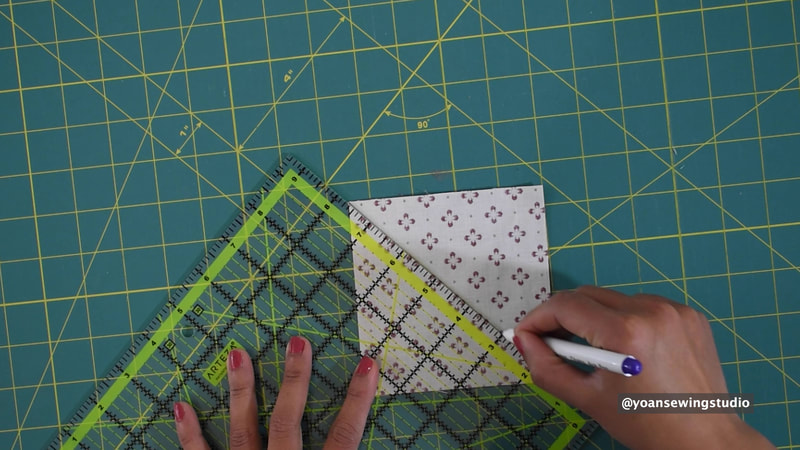
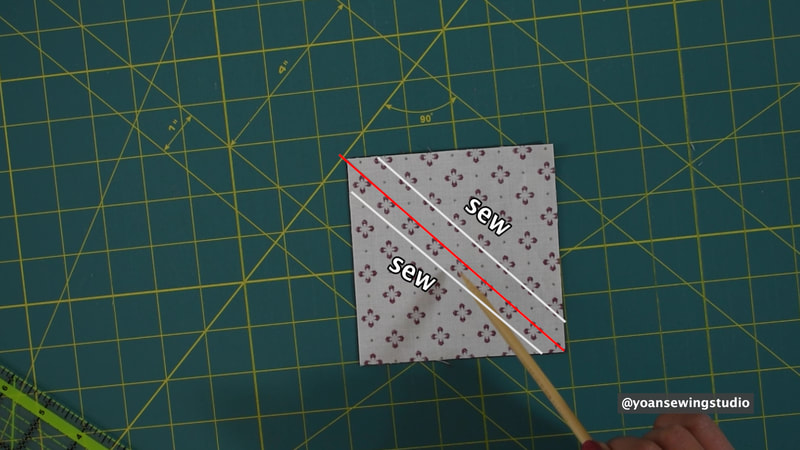
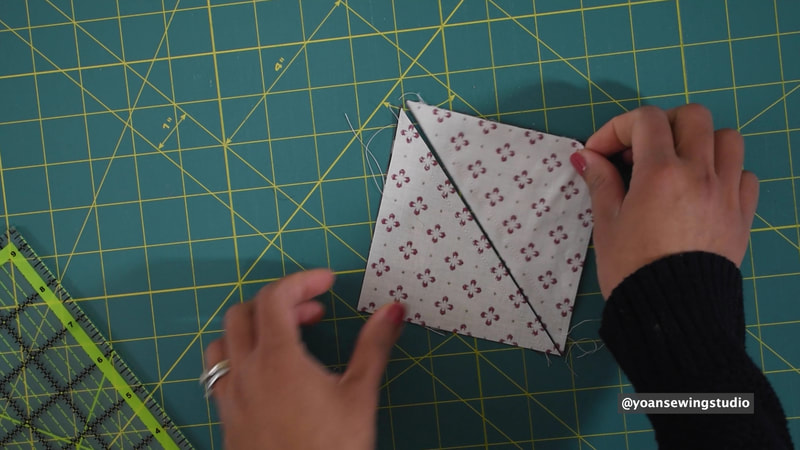
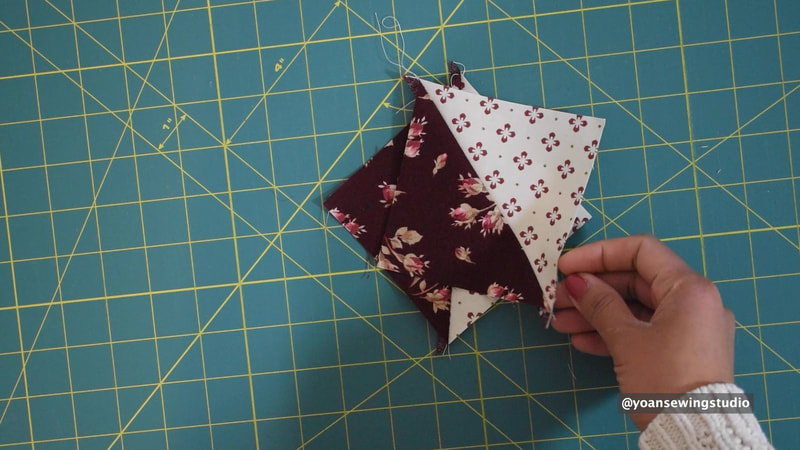
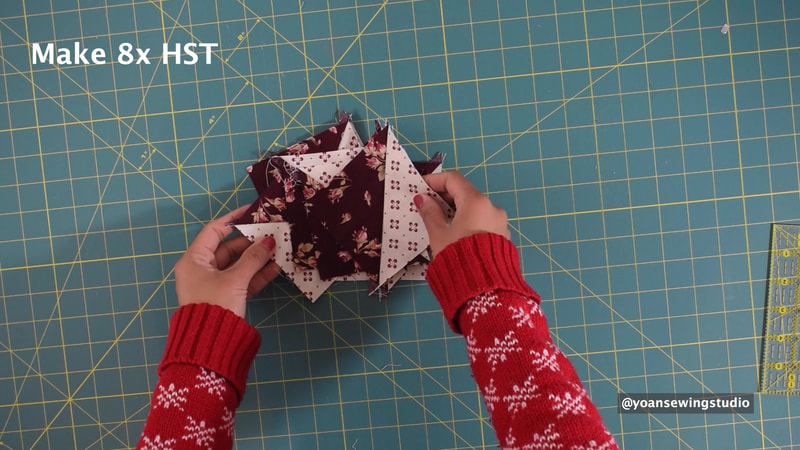
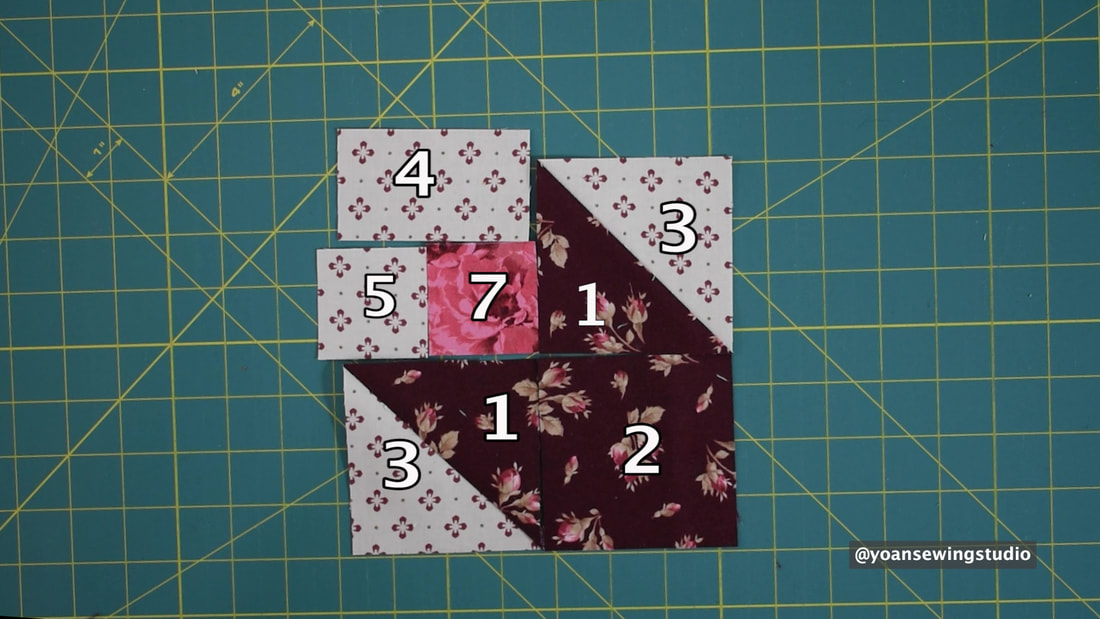
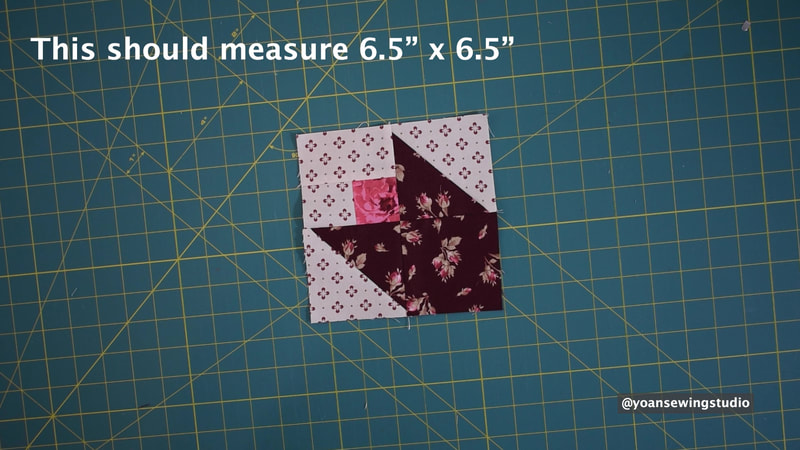
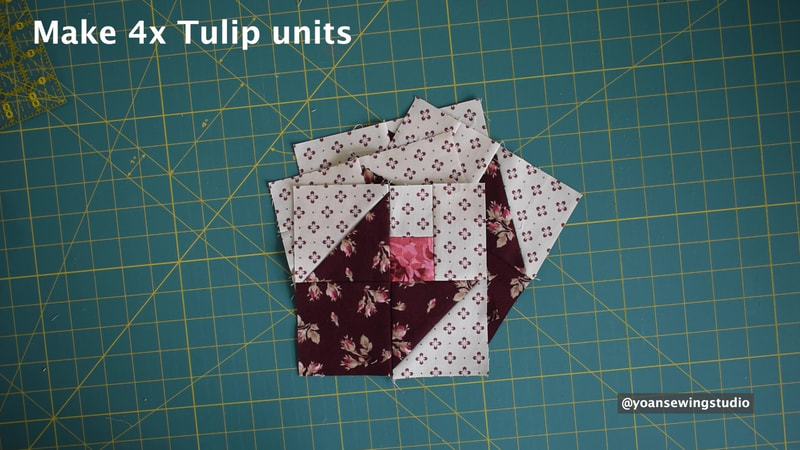
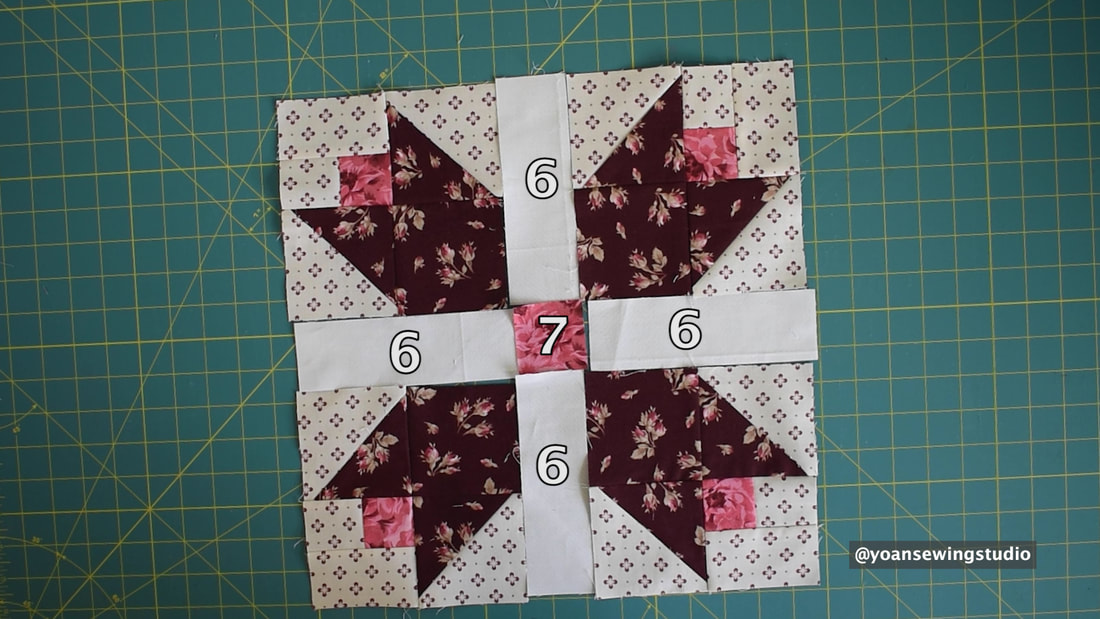
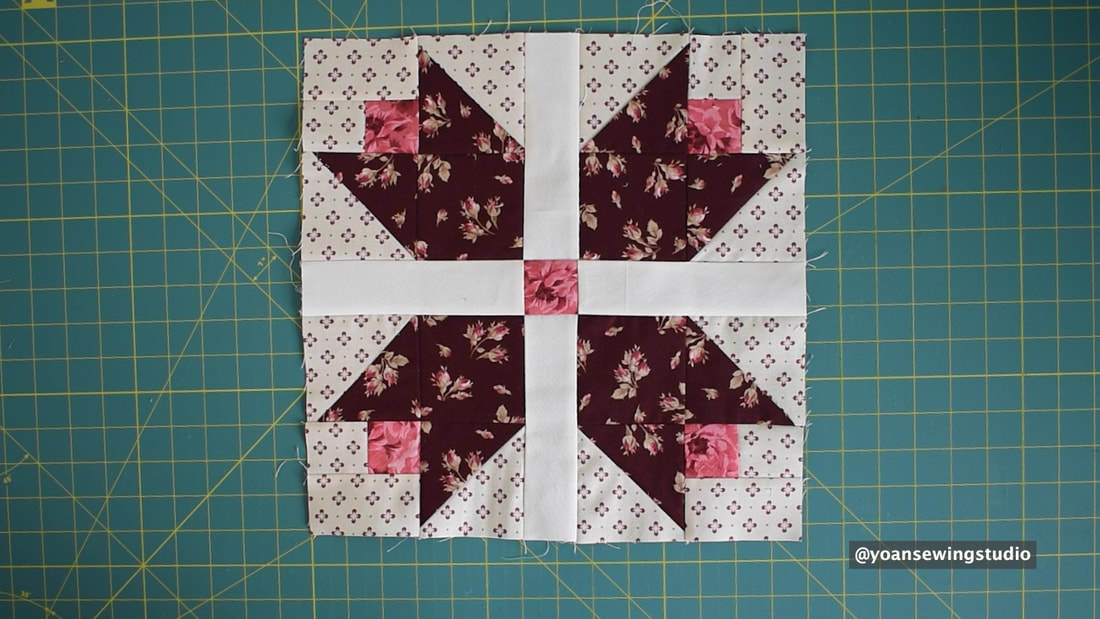
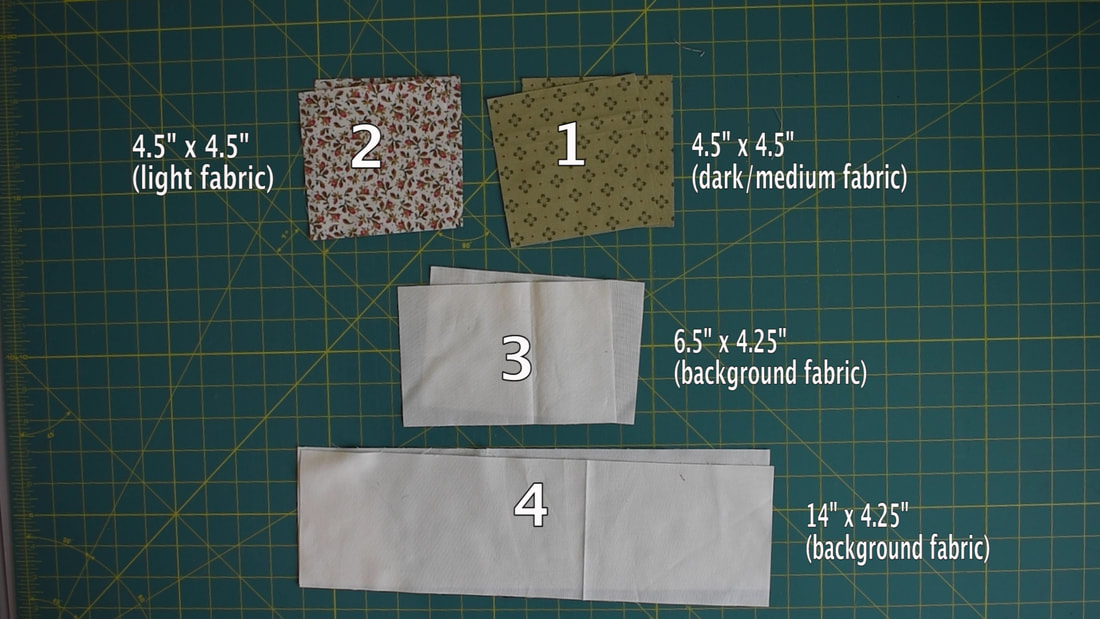
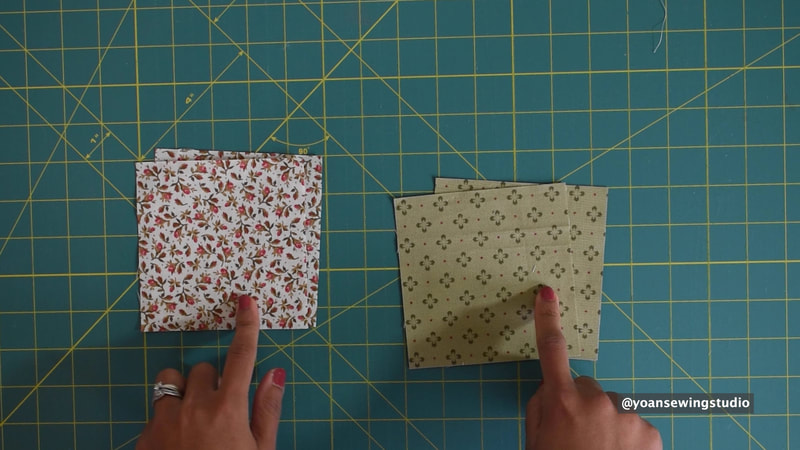
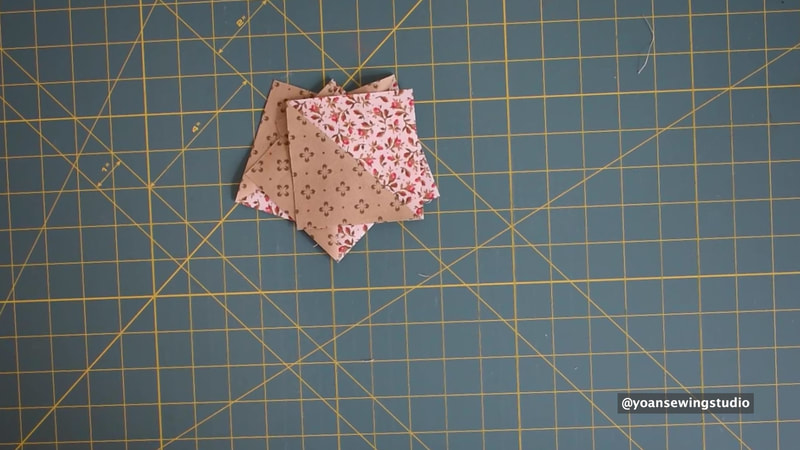
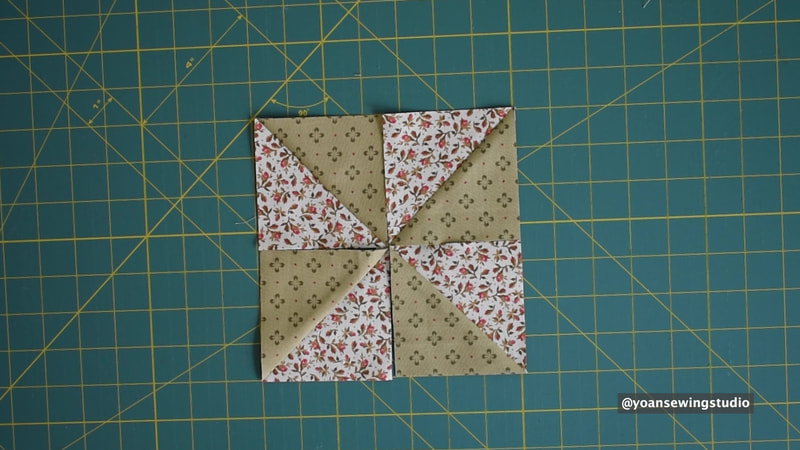
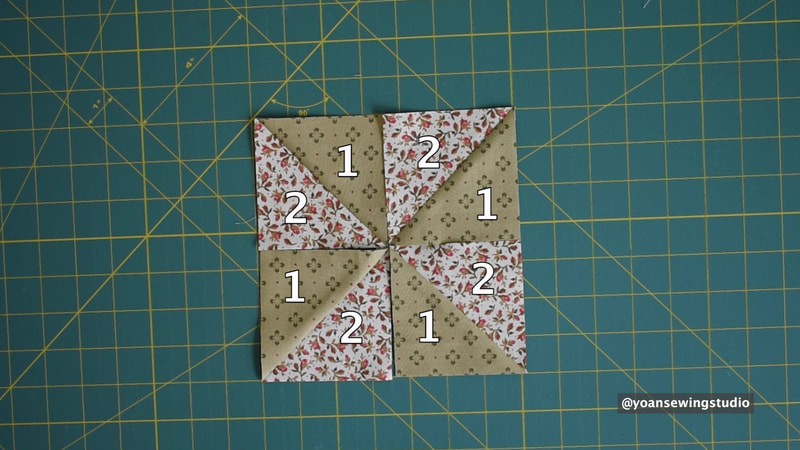
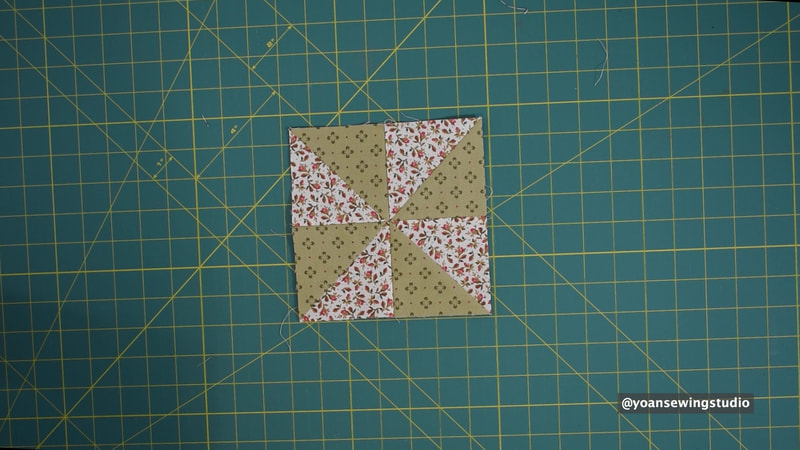
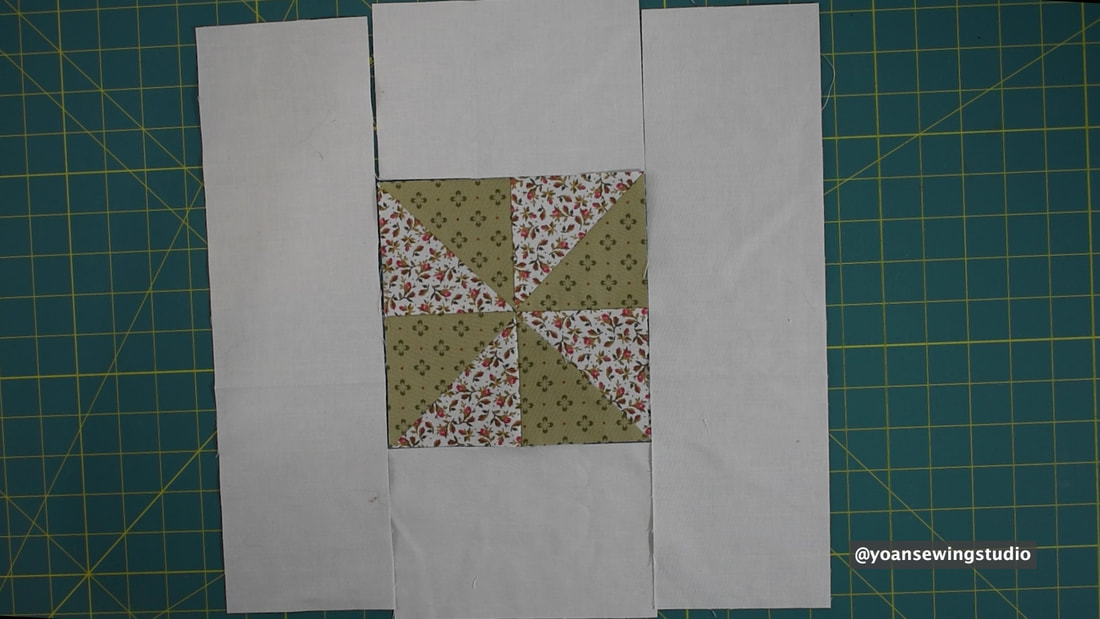
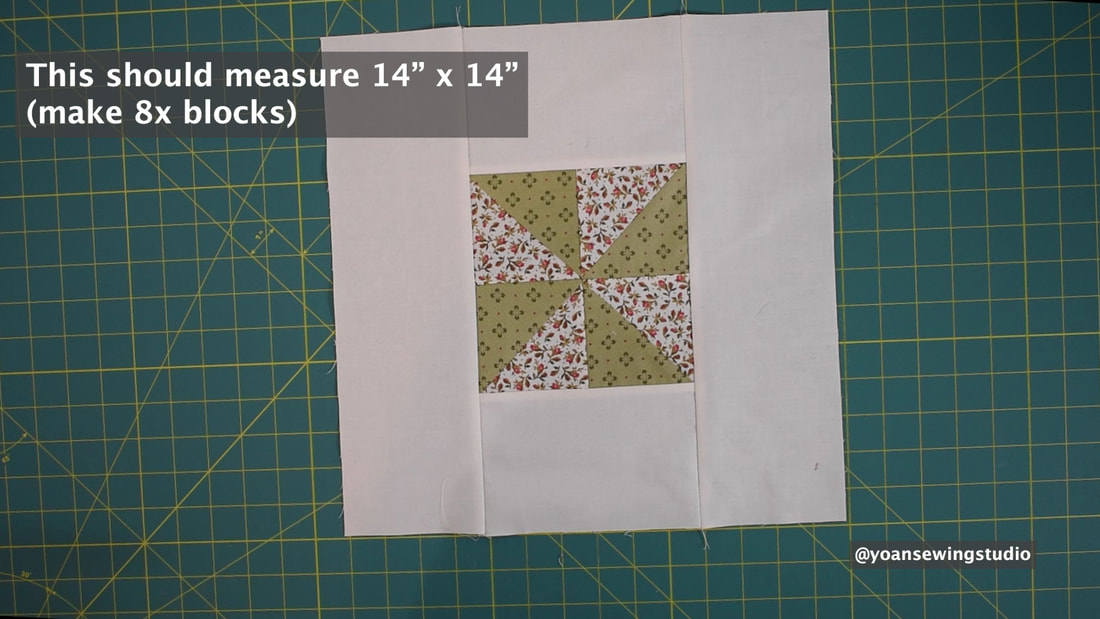
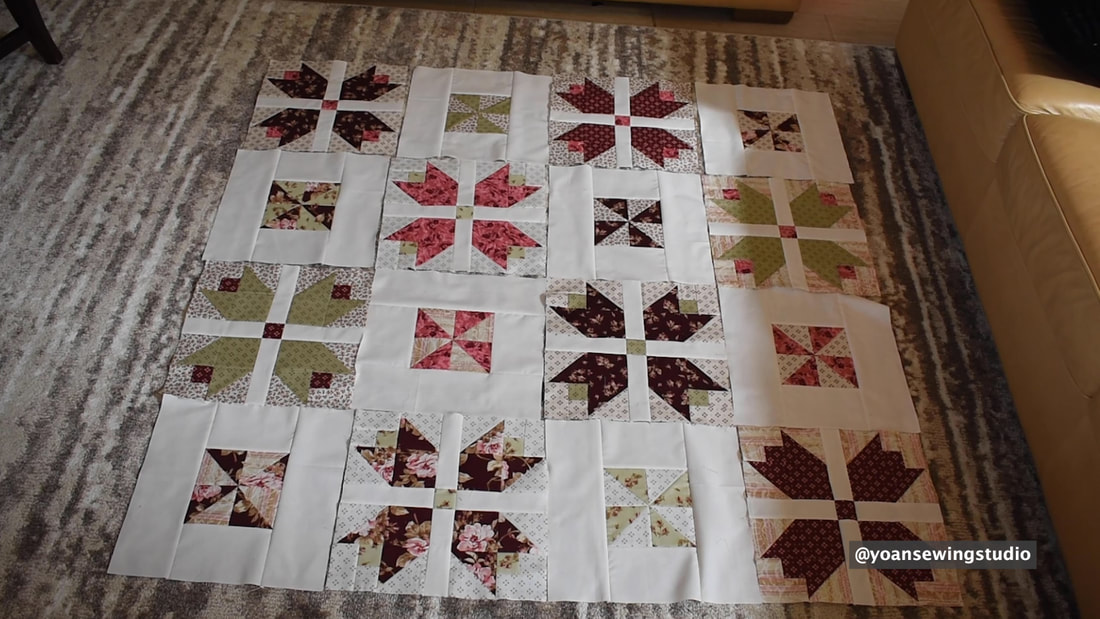
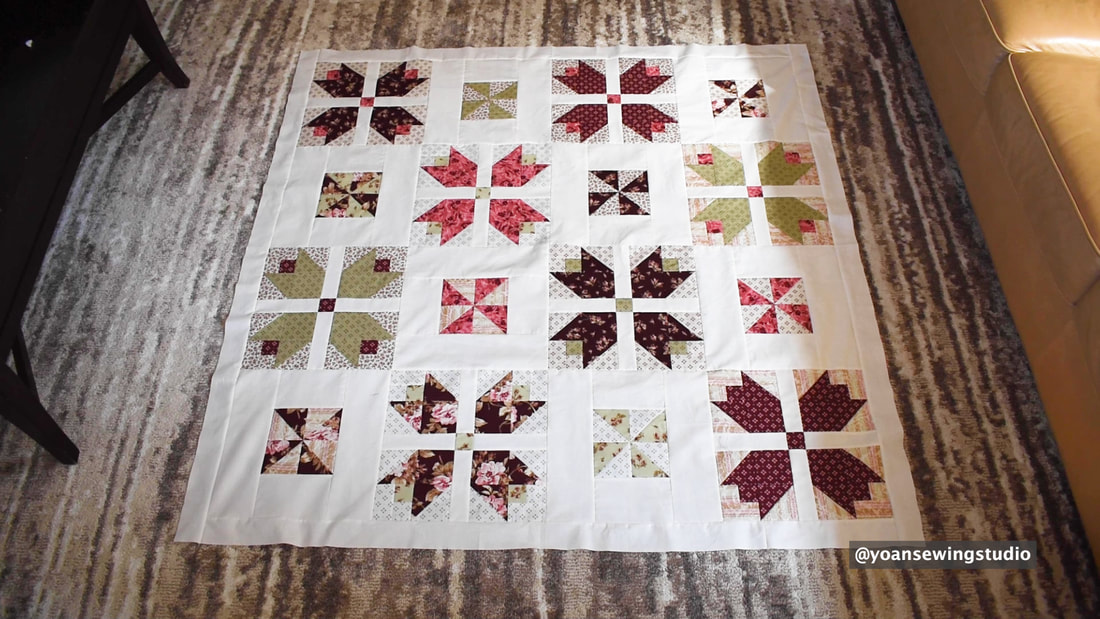
The Tulips and Pinwheels quilt is a darling throw size quilt that will simply brighten up your day (especially in such unprecedented time like this), another way to ease our mind, is by picking up some pretty fabrics from our stash, and make a new quilt. The finished measurements of this quilt is about 58.5" x 58.5", and each block measures 14" squares. Let's get started! SUPPLIES 10 Fat Quarters (3 dark, 3 Medium, 3 light color) 1 3/4 yard of background fabric Quilt Batting as needed 1 3/4 yard of backing fabric (if using wide backing fabric) 1/2 yard of binding fabric Basic Sewing and Quilting Notions Making The Tulip Block 1. Cut the fabric pieces as shown in the picture below. - Fabric 1 & 2 cut from dark/medium fabric - Fabric 3,4,5 cut from light fabric - Fabric 6 cut from background fabric - Fabric 7 cut from dark/medium (contrasting with fabric 1&2) 2. Make 8x of Half Square Triangles (HST) by pairing fabric 1 & 3, trim the HST to measure 3.5" x 3.5" ==> Watch the video on how to sew the HST here. 3. Make 4x tulip units following the layout below. Once sewn, each tulip unit should measure 6.5" x 6.5" 4. Now layout all 4x tulip units with fabric 6, and 7 as shown below. 5. Piece the block, one row at the time. Your block should measure 14" x 14" . Make 8x blocks. Making The Pinwheel Block 1. Cut the fabric pieces as shown in the picture below. -Fabric 1 cut from dark/medium fabric -Fabric 2 cut from light fabric -Fabric 3 & 4 cut from background fabric 2. Make 4x HST by pairing fabric 1 & 2 exactly the same way as when making the tulip block. Trim the HST to measure 3.5" x 3.5". 3. To make the pinwheel block arrange the HST as shown below. Once sewn your pinwheel unit should measure 6.5" x 6.5" 4. To make the block, layout your pinwheel unit, with fabric 3 & 4, as shown in picture below. Once sewn, your block should measure 14" x 14". Make 8x blocks. Assembling the quilt blocks 1. Alternate the tulip block with the pinwheel block, in 4 rows, each row should have 4 blocks. Refer to the picture below. 2. Sew your quilt blocks together, one row at the time. Borders 1. Cut the following strips from the background fabric Border 1 ( for the top and bottom of the quilt) : 54.5" x 2.5" (2x) Border 2 (for the sides of the quilt) : 58.5" x 2.5" (2x) 2. Sew border 1 to the top and the bottom part of the quilt. 3. Sew border 2 to both sides of the quilt. Once you've assembled your quilt top, go ahead and layer your quilt with the batting and the backing fabric, baste, then quilt and bind as desired.
Happy Quilting!
Sue McIntire
6/23/2020 10:35:42 am
Oh! How I love the simplicity and the wonderful photo illastrations of the darling quilt!Just got some fq's that are begging to be used!Thank you for sharing!!
Loretta beck
7/23/2020 05:01:48 pm
Love the pattern. Really like new patterns using f q because I’m in a f q club. Hope to see more like this
Margaret Carter
12/27/2020 06:42:51 am
Beautiful quilt and clear, easy to follow instructions. Thank you so much Comments are closed.
|
Categories
All
©
Yoan Sewing Studio | All Rights Reserved
Archives
March 2024
|
 RSS Feed