YOAN SEWING STUDIO
  • Home
  • Collections
    • Bag Projects >
      • Crossbody Bags
      • Drawstring Bags
      • Tote Bags
      • Mini bags
      • Backpack
      • Slouch/lightweight Bags
    • Wallet Projects
    • Wristlets
    • Patchwork/Precuts >
      • Charm Pack Projects
      • Fat Quarter Projects
      • Jelly Roll Projects
      • Layer Cake Projects
    • Quilting Projects >
      • Modern Quilts
      • Lap/Baby quilts
      • Pillows
      • Runner/Wall Hanging
      • Binding Tutorial
  • Sewing Tutorials
    • Bags and Wallets
    • Quilting
    • For Kids
    • Other Posts >
      • Tea Time Sewing with Yoan
      • DIY Clothes
      • Metric Conversion Guide
  • About
  • Shop
  • Contact

4 Charming projects with charm pack - the charming pouch

11/17/2019

 
Picture
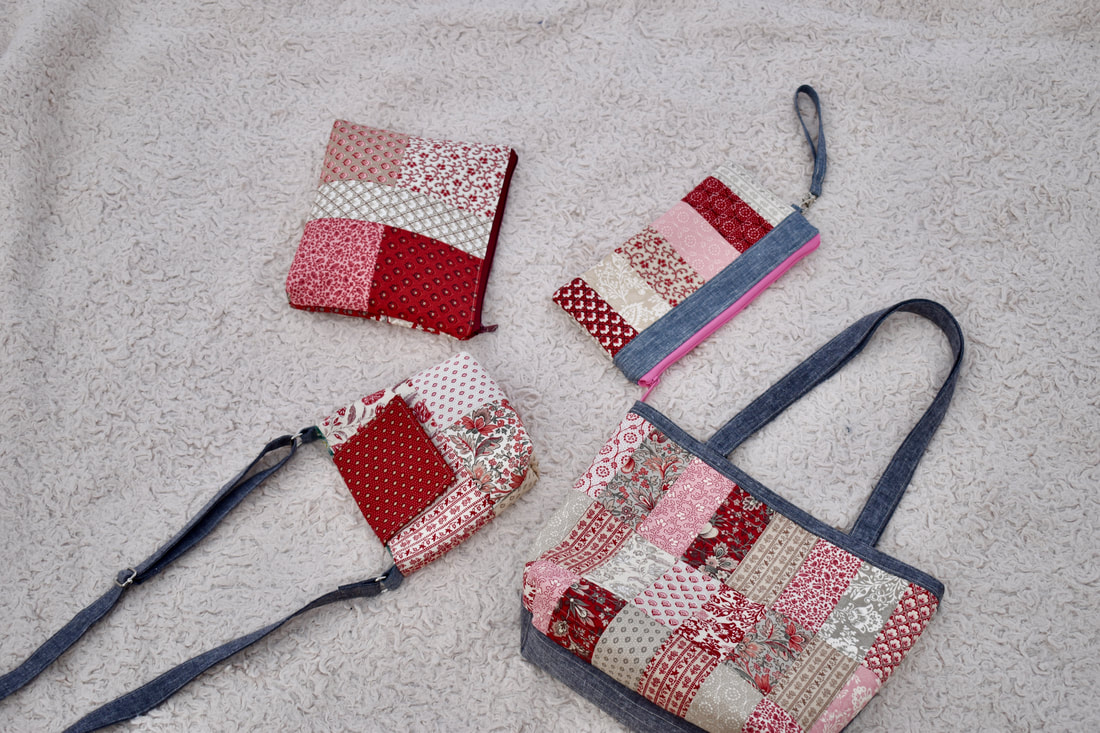
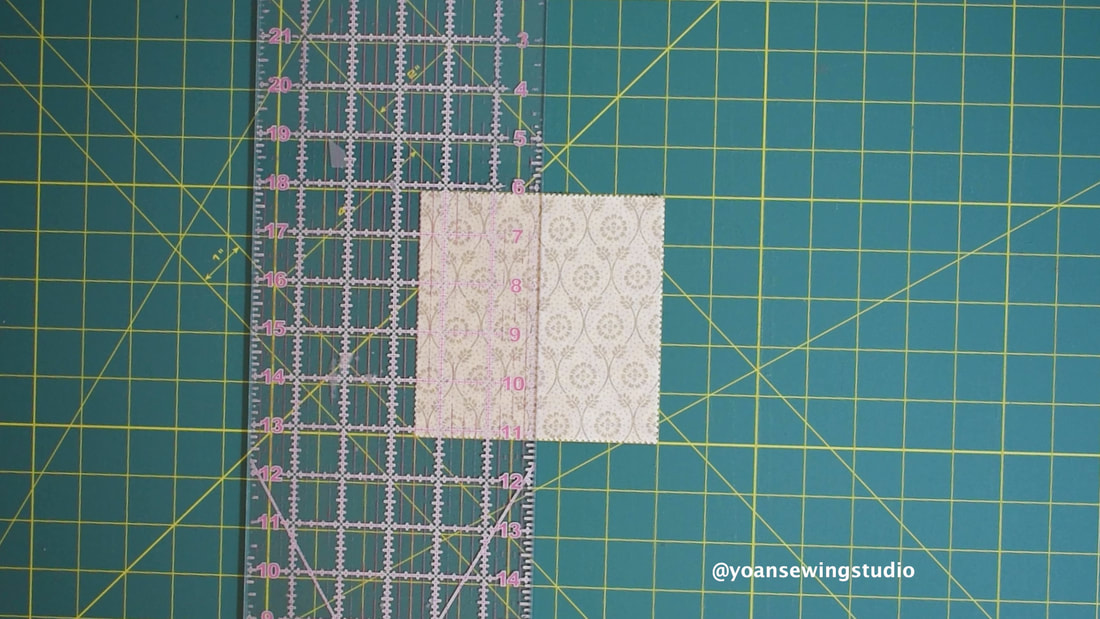
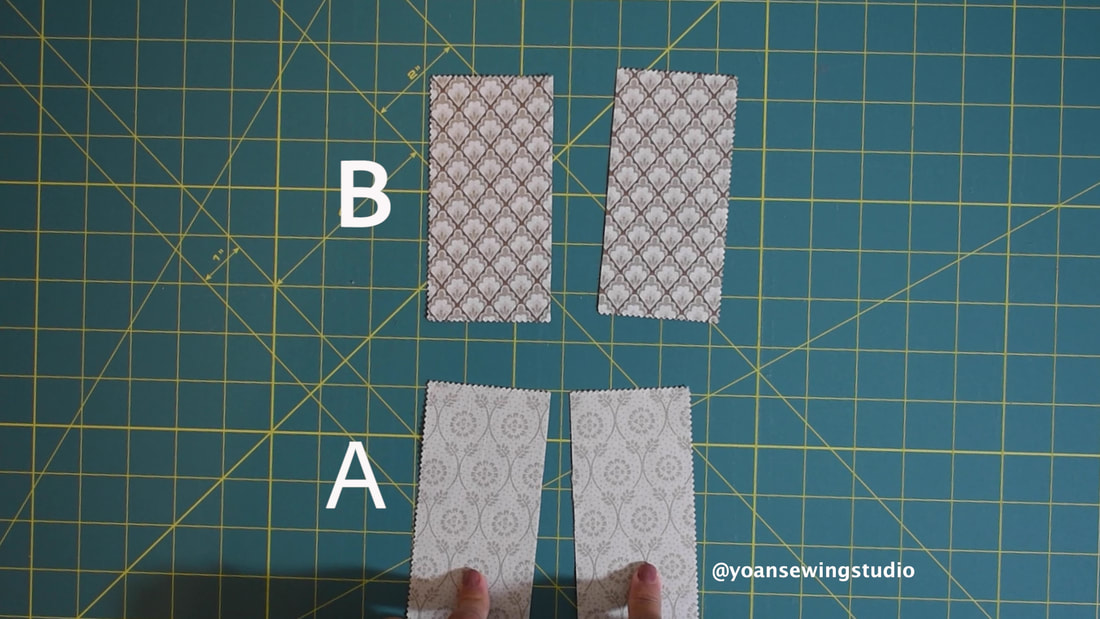
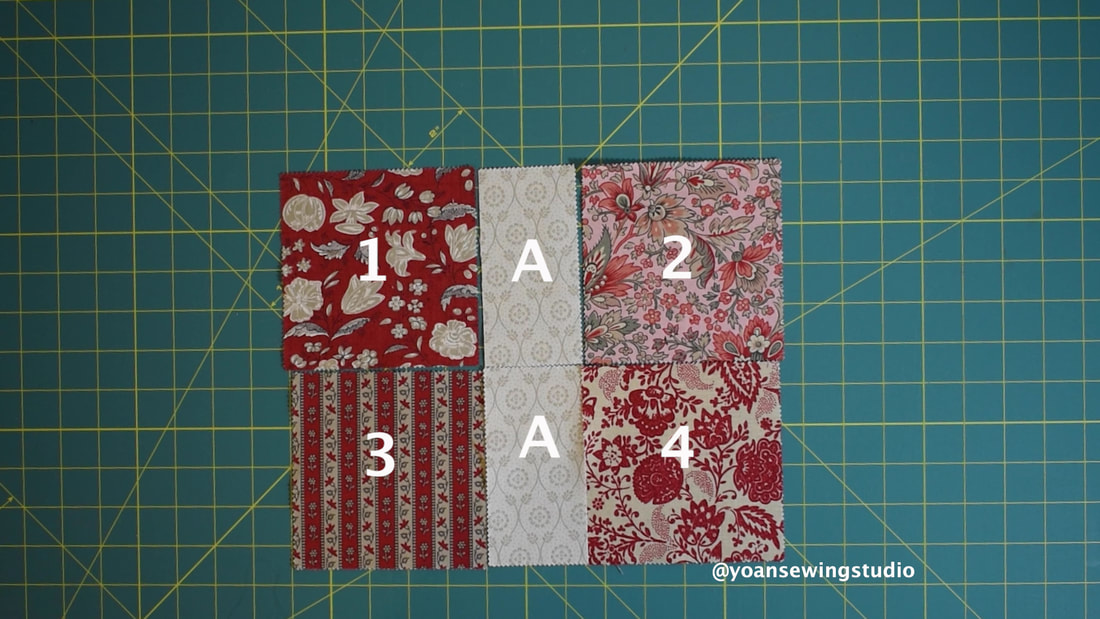
This is the 2nd project of the Charming Projects series, where I share with you four charming stuffs to make for this gifting season (although you can certainly make them for yourself ;)
1. The Charming Crossbody Purse
2. The Charming Pouch
3. The Charming Tote 
4. The Charming Wristlet Clutch

​In this post we will make this charming multi purpose pouch.
Picture
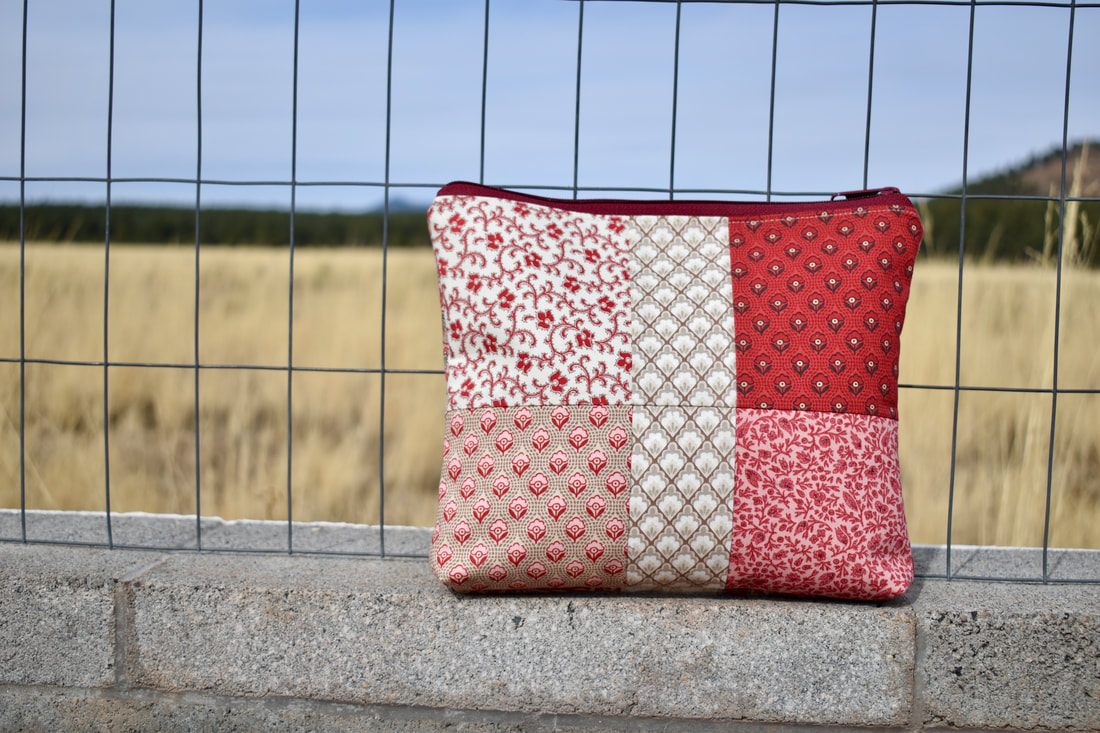
The finished measurements of this pouch is about 10" x 9"

Supplies 
10x pcs Charm Pack
1/3 yard lining fabric
Fusible Woven Interfacing 
Fusible Fleece
Nylon zipper (at least 12" long)  

Cutting
Lining 11.5" x 9.5" (cut 2x)
Fusible woven Interfacing 11.5" x 9.5" (cut 2x)
Fusible Fleece 11.5" x 9"

*Disclaimer : This post contains affiliate links, thank you for your support!
Cut 2x pieces of Charm Pack in halves
Picture
Picture
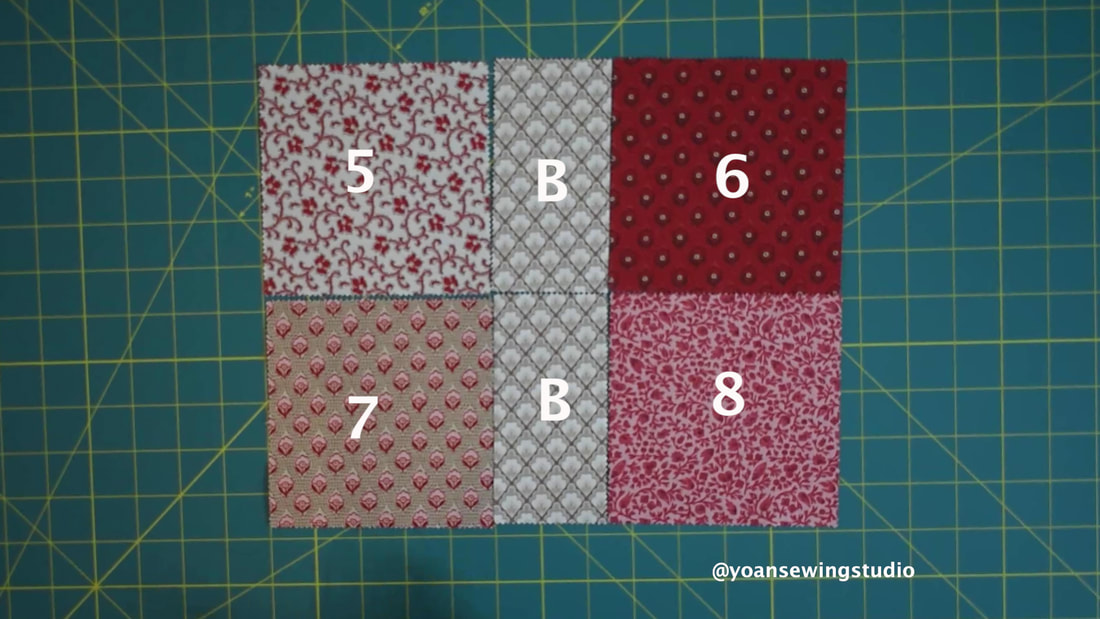
Lay out the patchwork for both exterior pieces.
Picture
Picture
Piece them together with 1/4" of seam allowance
Picture
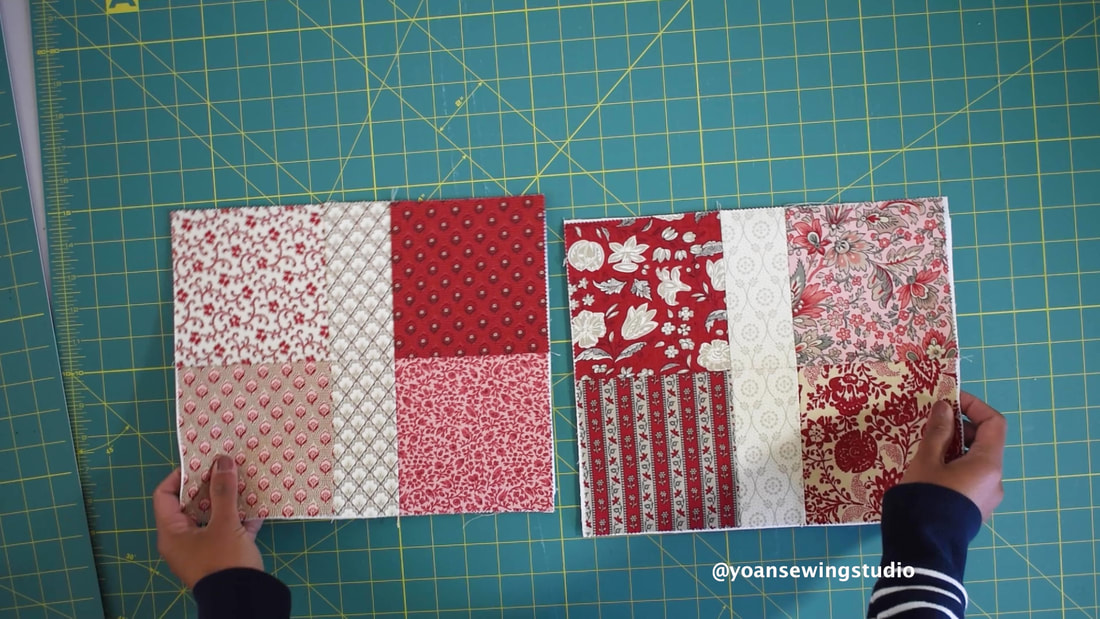
Apply the interfacing (I use the combo of fusible woven interfacing and fusible fleece), then quilt your fabrics (optional).
​Now prepare the lining pieces
Picture
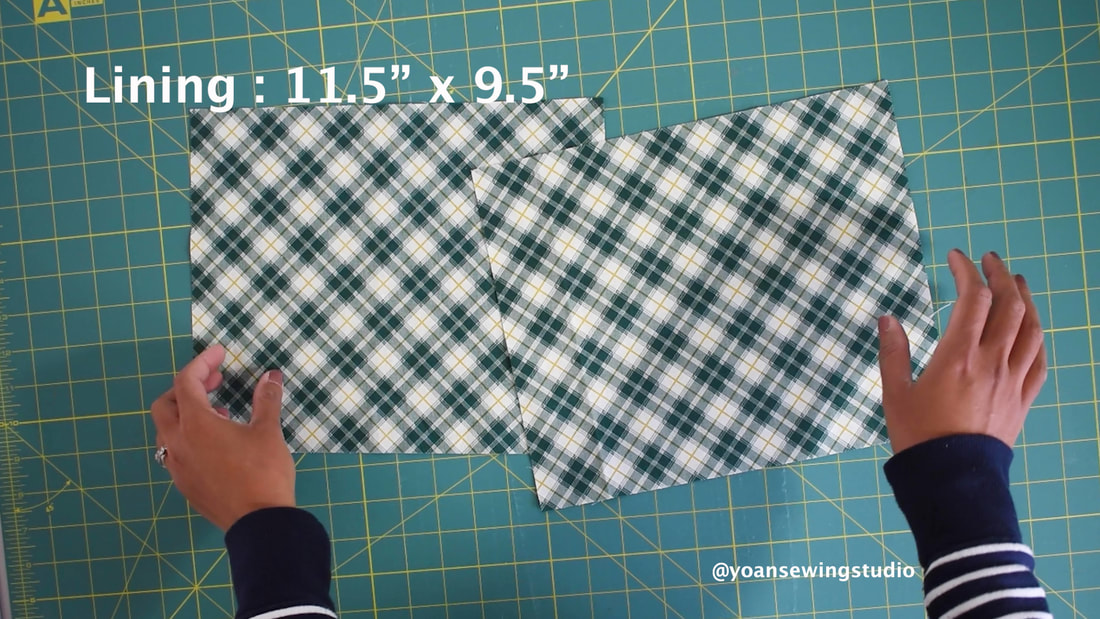
For the zipper you will need at least a 12" long zipper, mine is a bit too long, but it's okay since this is a nylon coil zipper, thus I can easily trim the excess zipper off.
Picture
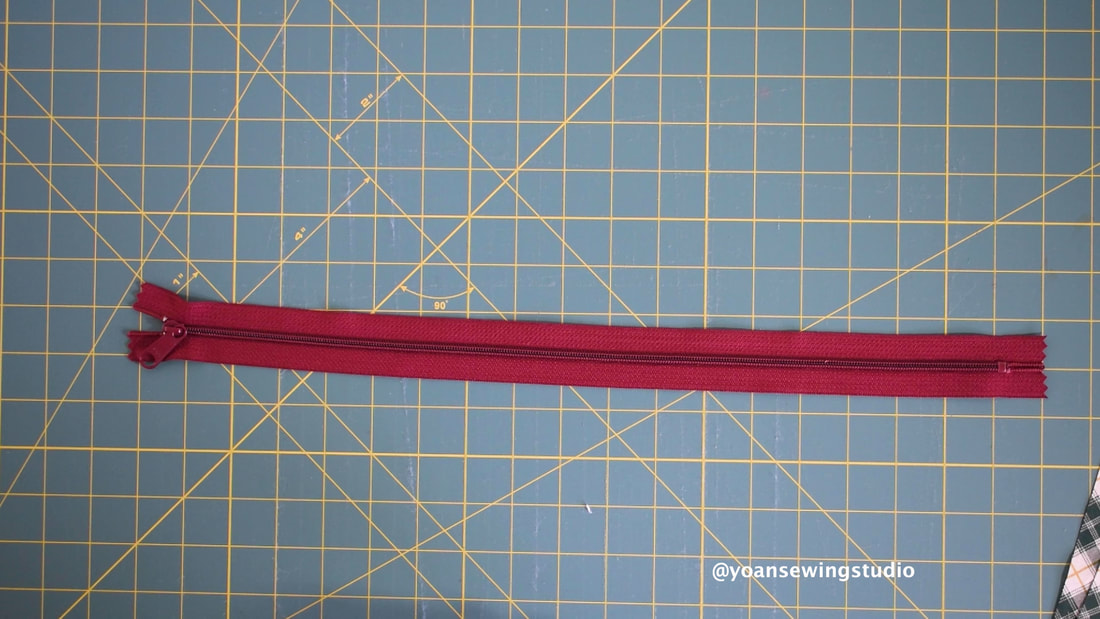
Now go ahead and assemble your pouch by attaching the zipper first.
Picture
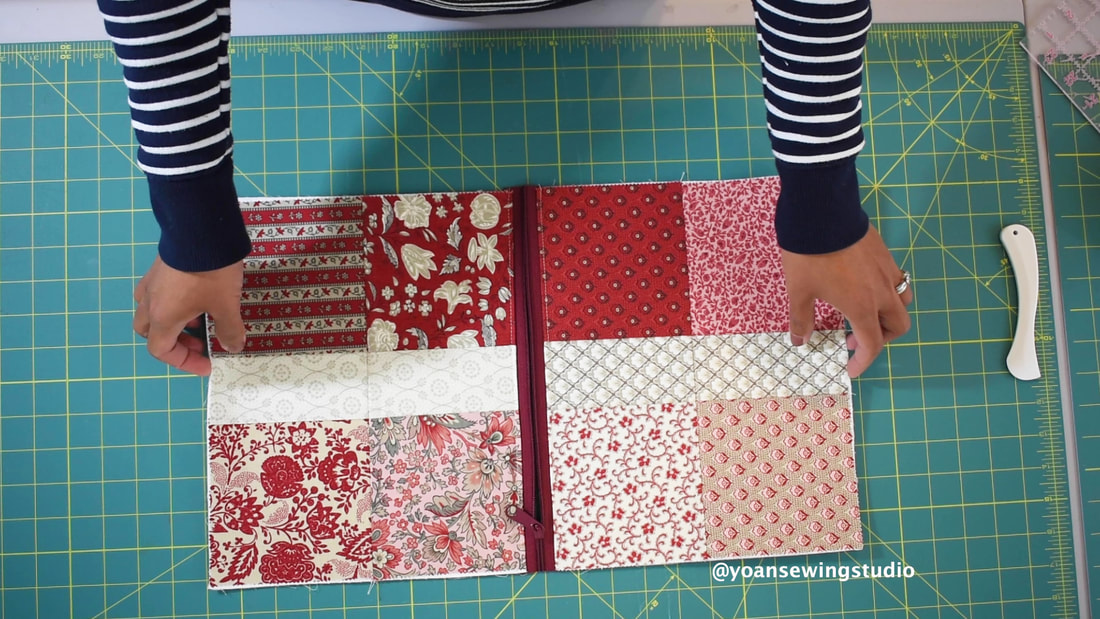
Watch the full video tutorial on my Youtube Channel 
Happy Sewing!

Comments are closed.

    SUBSCRIBE TO RECEIVE EMAIL NEWSLETTER

    * indicates required

    Categories

    All
    Backpack
    Charm Pack Projects
    Crossbody Style Bags
    Fat Quarter Friendly Projects
    Jelly Roll Projects
    Large Bags
    Lightweight/Slouch Bags
    Quilted Bags
    Totes
    Wallets & Pouches
    Wristlet

    Archives

    June 2022
    May 2022
    April 2022
    March 2022
    February 2022
    January 2022
    December 2021
    November 2021
    October 2021
    September 2021
    August 2021
    July 2021
    June 2021
    May 2021
    April 2021
    March 2021
    February 2021
    January 2021
    December 2020
    November 2020
    October 2020
    September 2020
    August 2020
    July 2020
    June 2020
    May 2020
    April 2020
    March 2020
    February 2020
    January 2020
    December 2019
    November 2019
    October 2019
    September 2019
    August 2019
    July 2019
    June 2019
    April 2019
    February 2019
    January 2019
    December 2018

    RSS Feed

    © Yoan Sewing Studio | All Rights Reserved
Proudly powered by Weebly
  • Home
  • Collections
    • Bag Projects >
      • Crossbody Bags
      • Drawstring Bags
      • Tote Bags
      • Mini bags
      • Backpack
      • Slouch/lightweight Bags
    • Wallet Projects
    • Wristlets
    • Patchwork/Precuts >
      • Charm Pack Projects
      • Fat Quarter Projects
      • Jelly Roll Projects
      • Layer Cake Projects
    • Quilting Projects >
      • Modern Quilts
      • Lap/Baby quilts
      • Pillows
      • Runner/Wall Hanging
      • Binding Tutorial
  • Sewing Tutorials
    • Bags and Wallets
    • Quilting
    • For Kids
    • Other Posts >
      • Tea Time Sewing with Yoan
      • DIY Clothes
      • Metric Conversion Guide
  • About
  • Shop
  • Contact