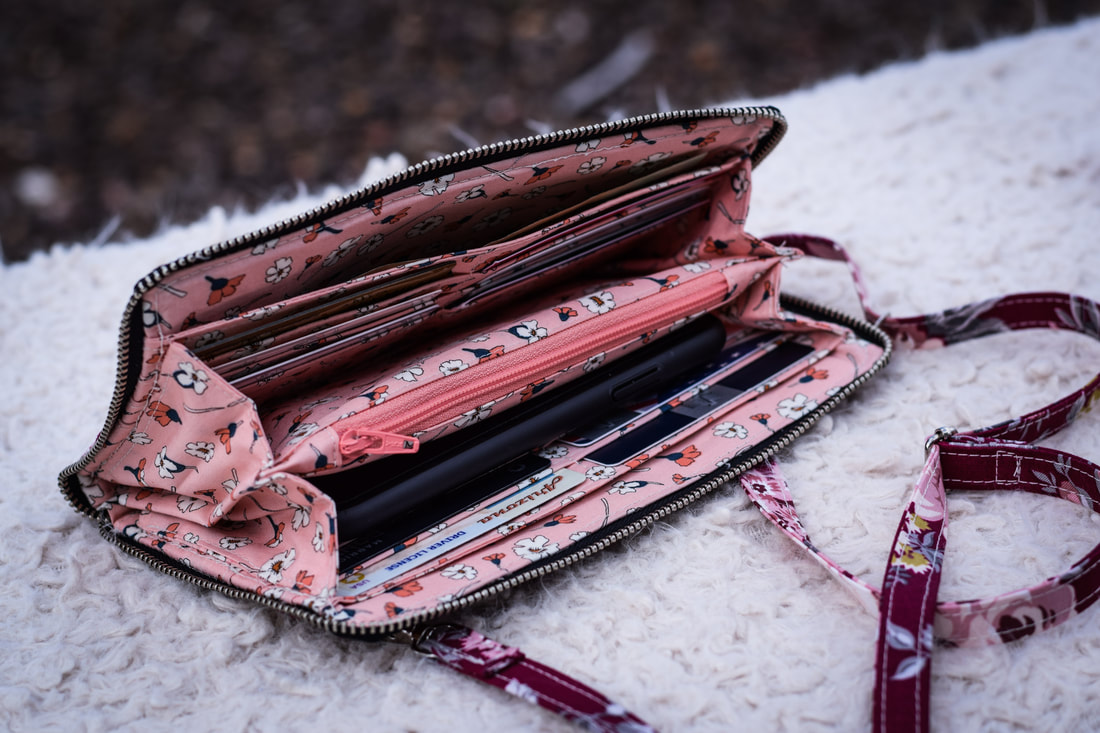
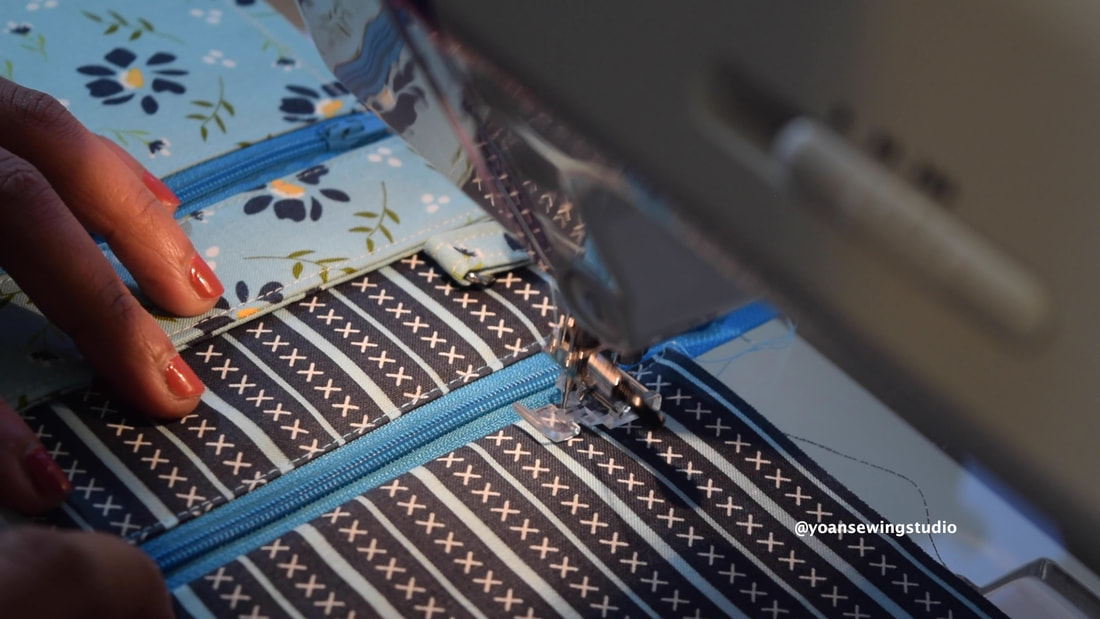
zip around wallet purse by yoansewingstudio
The zip around wallet purse is such a versatile addition in your collection. It has everything that a wallet should function for, from credit card slots, cash compartments, zipper pocket, enough room to carry your cellphone, with bonus adjustable strap and a wristlet strap.
Finished wallet measurements : approx. 8" x 4 1/2" (20.3 x 11.5 cm) Features: 6x card slots (each slot can accommodate up to 2x cards) 1x zipper pocket 2x slip pocket compartments (for cash, passport, boarding pass, etc) 2x middle compartments (perfect for cellphone) Adjustable strap Wristlet strap
1 Comment
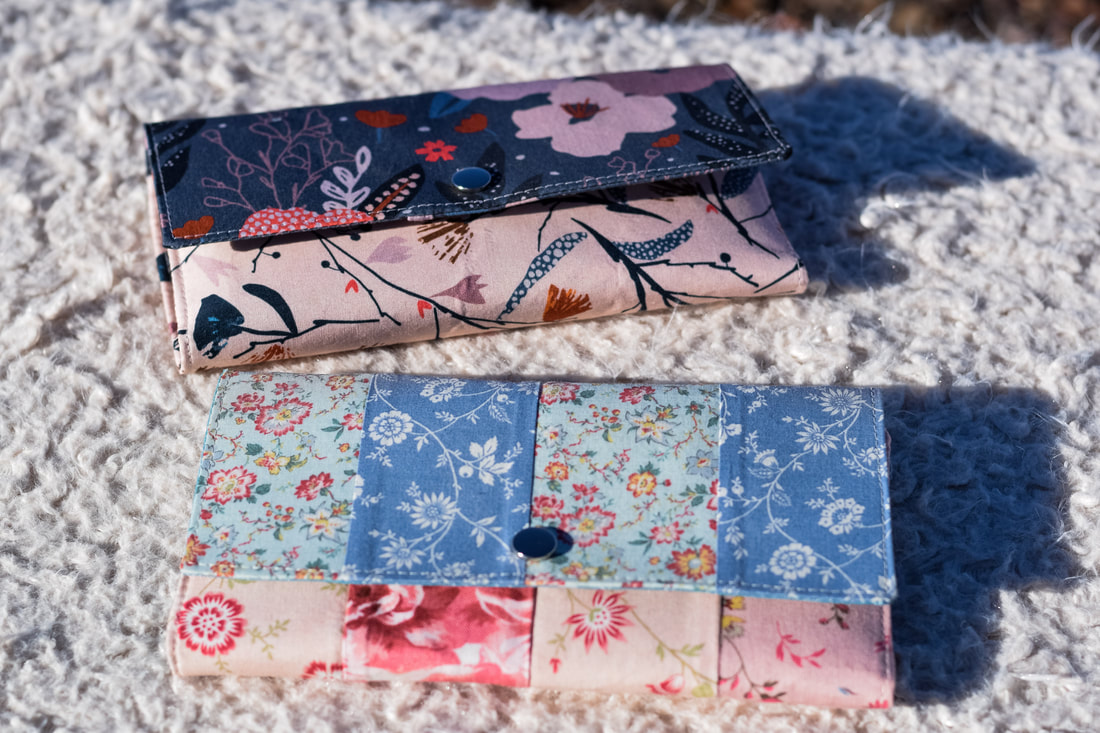
Anisa Trifold Wallet by Yoan Sewing Studio
Here's a new wallet pattern that I'm so excited to share with you this year. If you're looking for a pretty wallet that can carry lots of cards, along with your phone, passport, cash, receipt, coins, etc, yet simple enough to make, the Anisa wallet might be the one for you.
Wallet finished measurements : approx. 7 3/4" x 4 1/4" (19.6 x 10.8 cm) when closed. 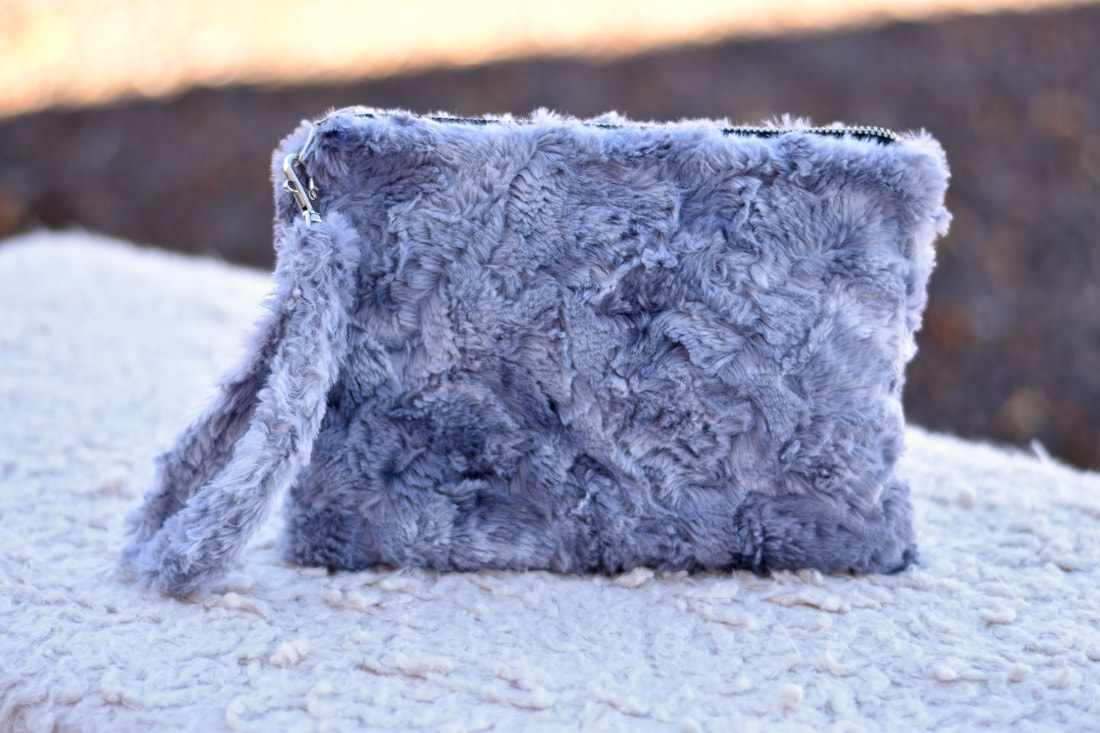
This fuzzy wristlet is a wonderful everyday clutch for you to wear during this colder months. The use of minky luxe fabric + metal zipper makes this clutch look fancy and very soft to the touch.
Given the simplicity of the exterior, you may experiment with different variety of fabrics; try cork, vinyl, canvas, denim, cotton quilting, etc... thus make one for every season ;), and perfect for gifting too. Finished measurements : 9" x 7" (23 x 17.8 cm) Features : 6x card slots 2x slip pockets wristlet strap
This post may contain affiliate links. Commission earned when you make a purchase through any of these links with no additional charge. Thank you for your support.
Please watch the full video tutorial on my Youtube channel. Don't forget to subscribe so you won't miss any future uploads.
Please enjoy, and happy sewing.
Yoan 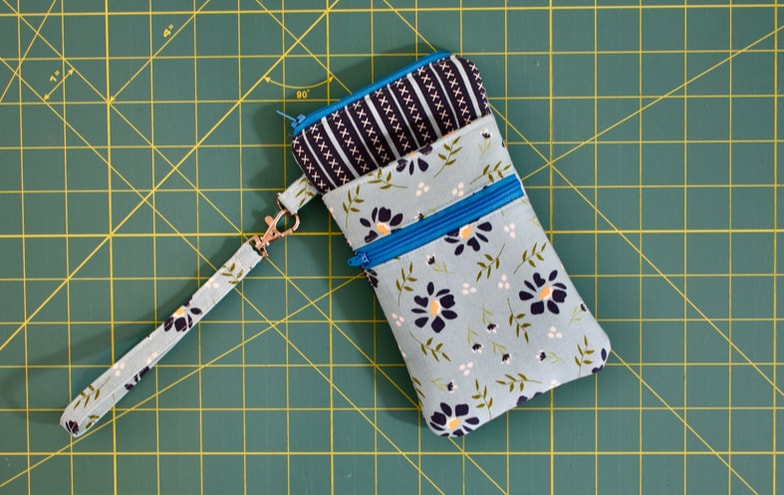
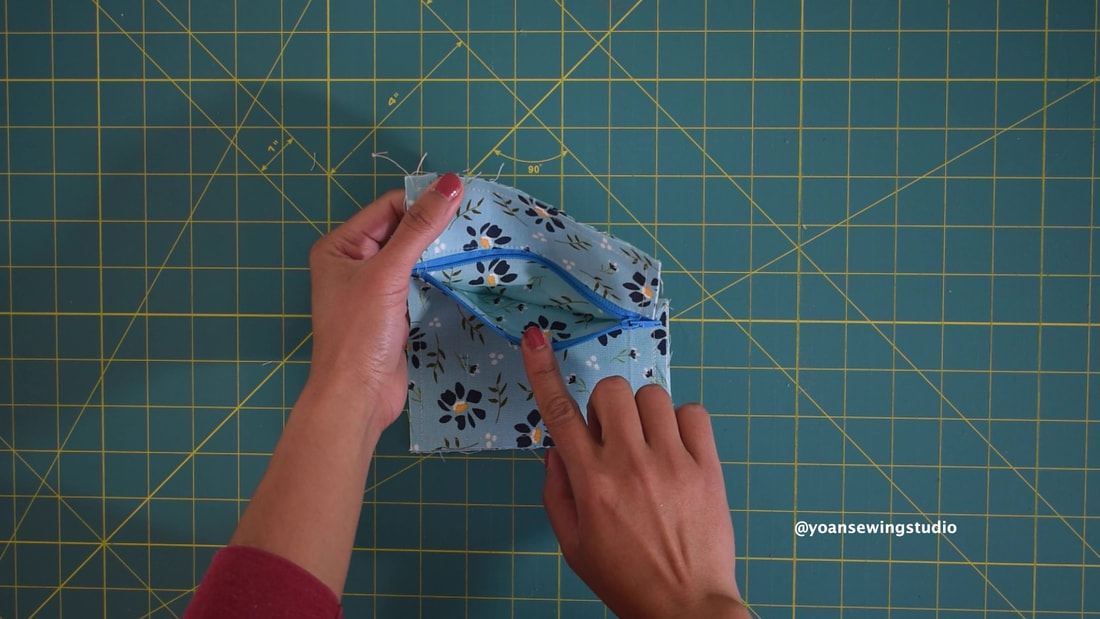
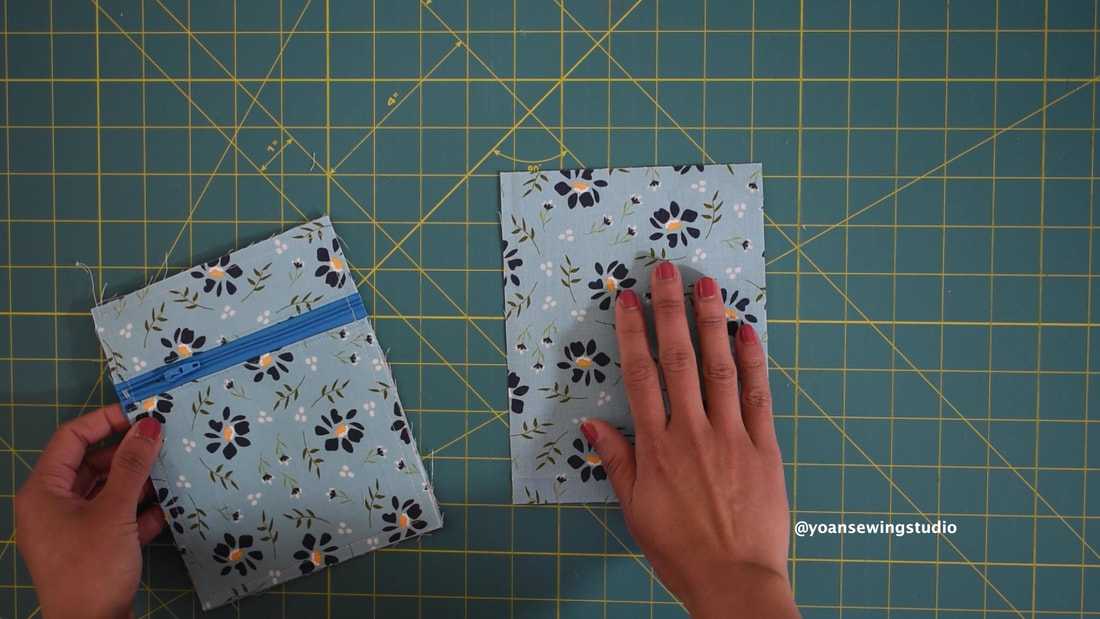
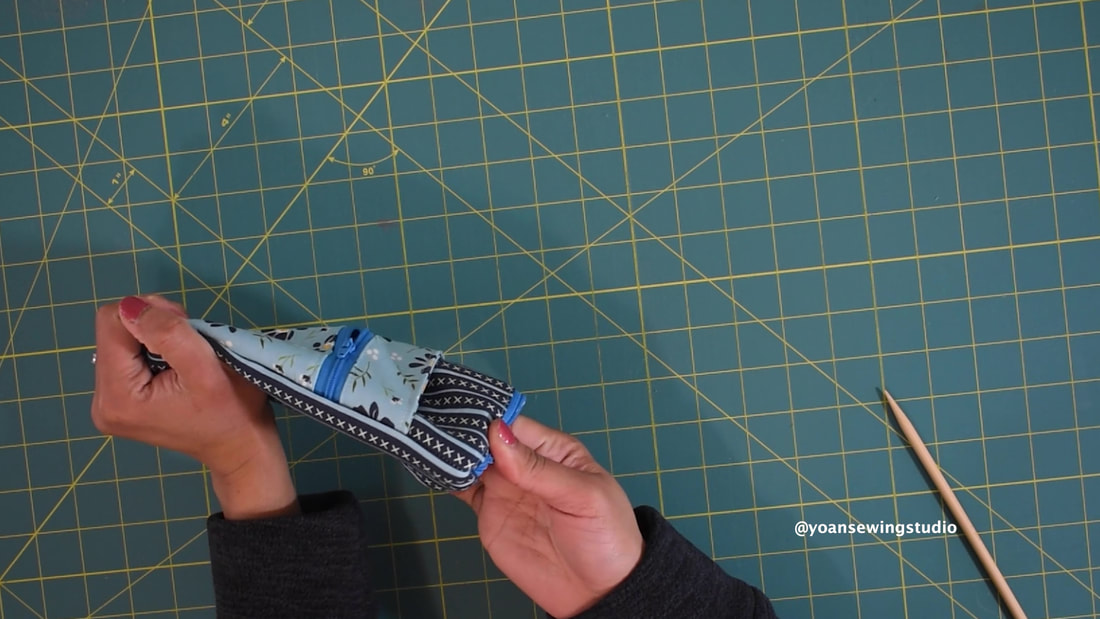
Cellphone wristlet with pockets by Yoan Sewing Studio
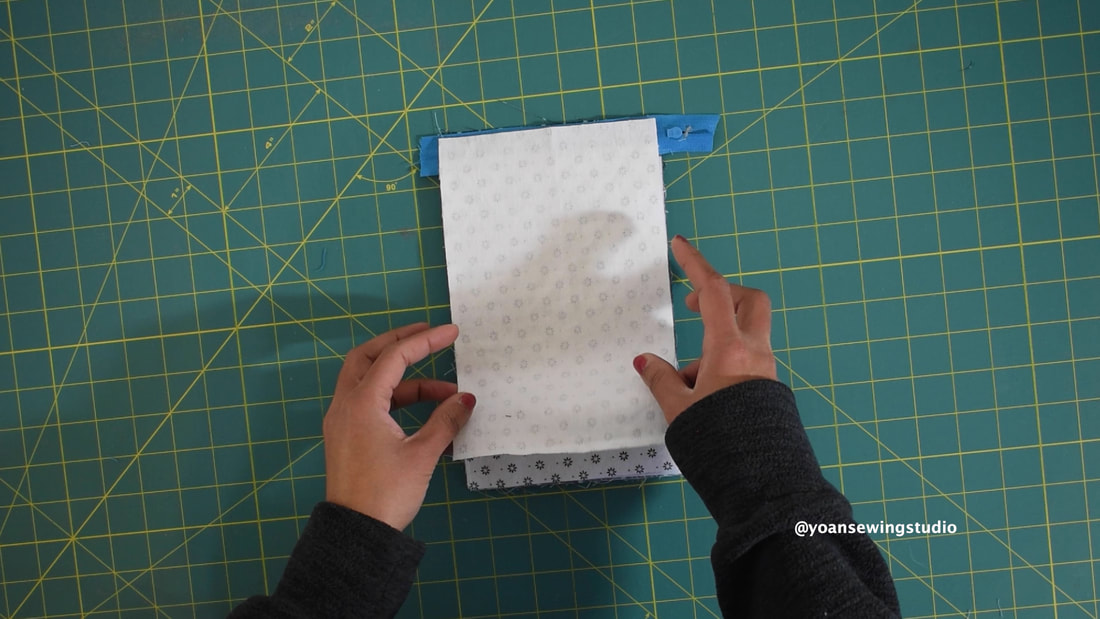
This cellphone wristlet is a cute yet functional little pouch for you to make. Great to take with you for errands, out for a walk, coffee date, pretty much anywhere you wish to go without having to take an entire purse with you.
Features : Zipper Closure Front zipper pocket Front Slip Pocket Wristlet Strap The finished measurements of this pouch are approximately 4.5" x 8" , the zipper closure opening measures 4" wide, I can fit my iPhone XR (with chunky casing that makes the phone bigger) with a little extra room. This pouch should fit most smartphones (except of the super large ones) - if needed, you can increase the width measurement to suit yours.
You may watch the full video tutorial on my Youtube channel.
Let's Get Started!
Supplies
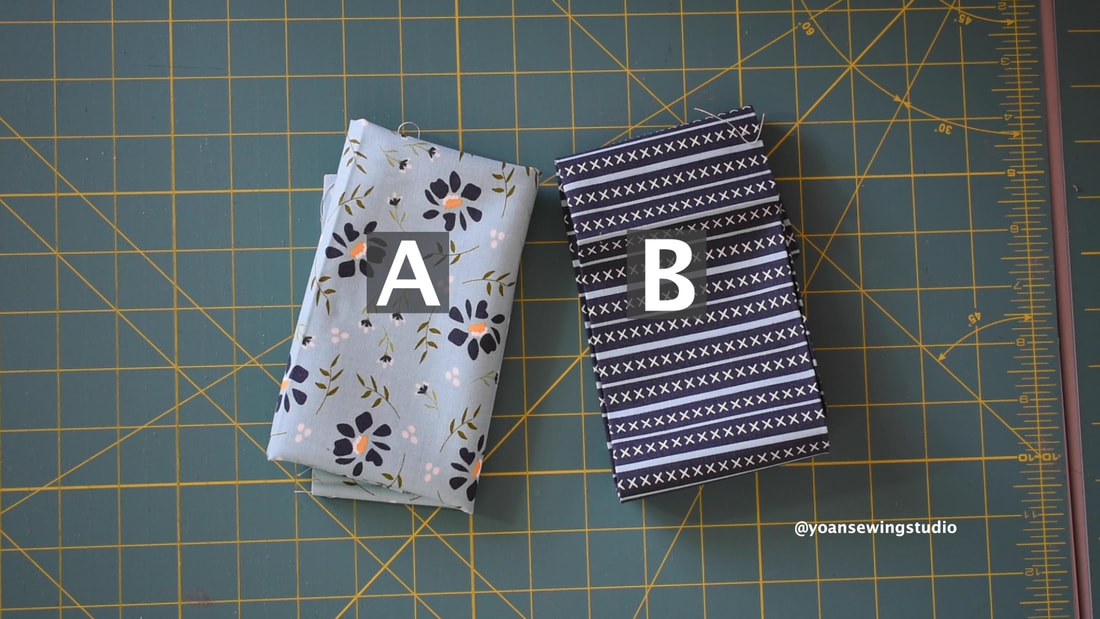
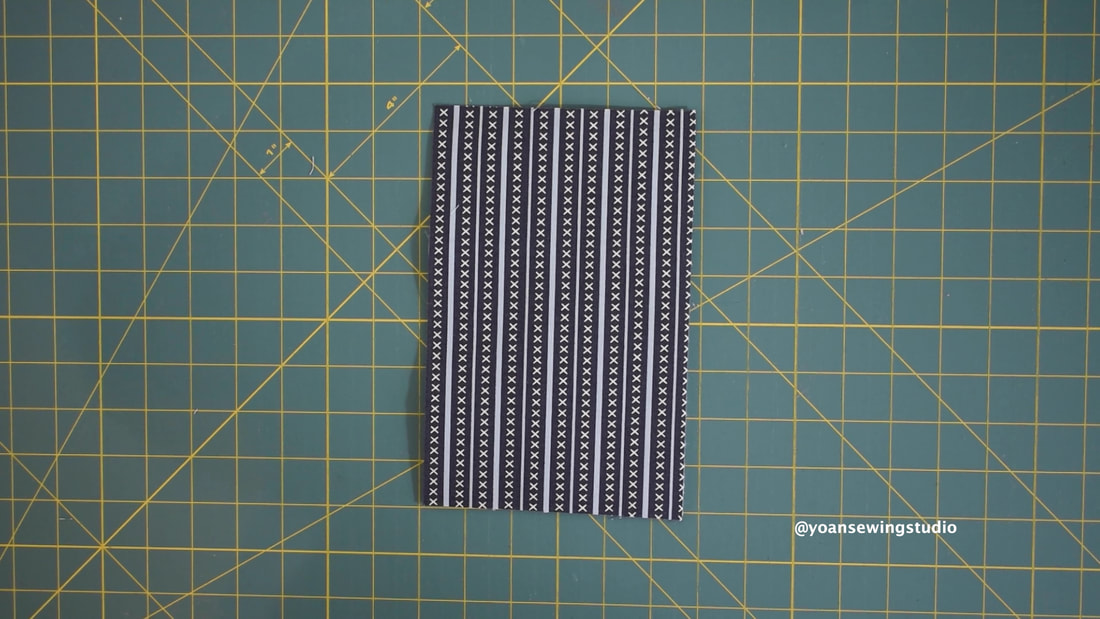
2x Fat eight, or use any fabric that you might have in your stash (Fabric A,B)
Fusible fleece (thermolam) 16" x 5.5"
Fusible woven interfacing 5" x 19" Lining fabric 5.5" x 17" 2x all purpose zipper 1" wide (at least 6" long) 1/2" d-ring 1/2" swivel hook Basic sewing notions Disclaimer: This post contains Amazon affiliate links. Thank you for your support! cutting
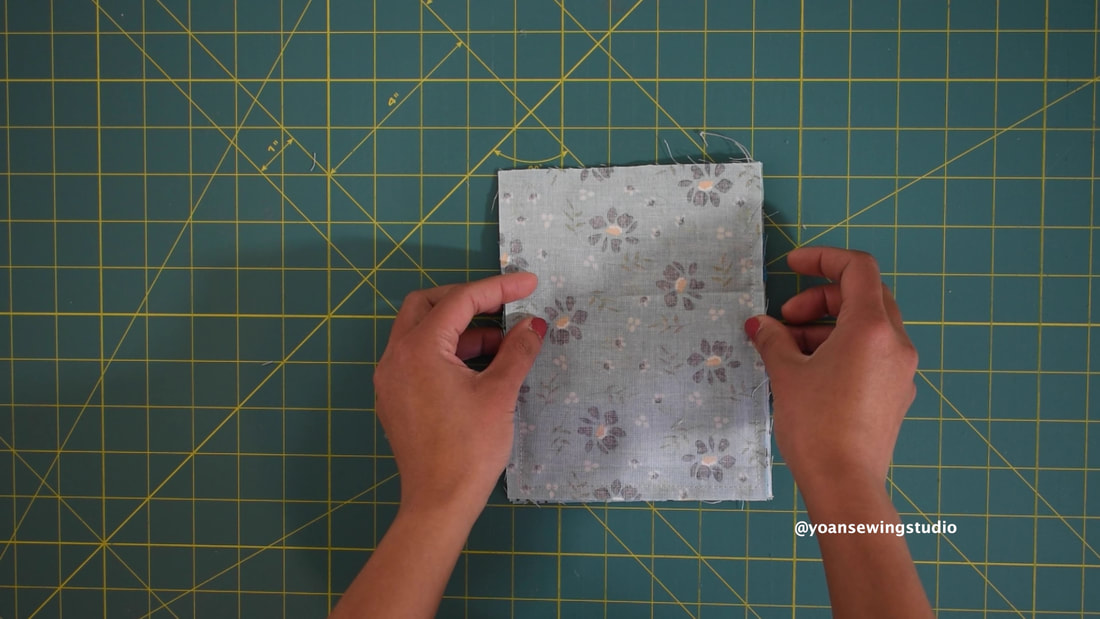
~Front and back exterior~
From Fabric B : 5.5" x 8.5" (cut 2x) From Fusible Fleece : 5.5" x 8" (cut 2x)
~Front Zipper & Slip Pockets~
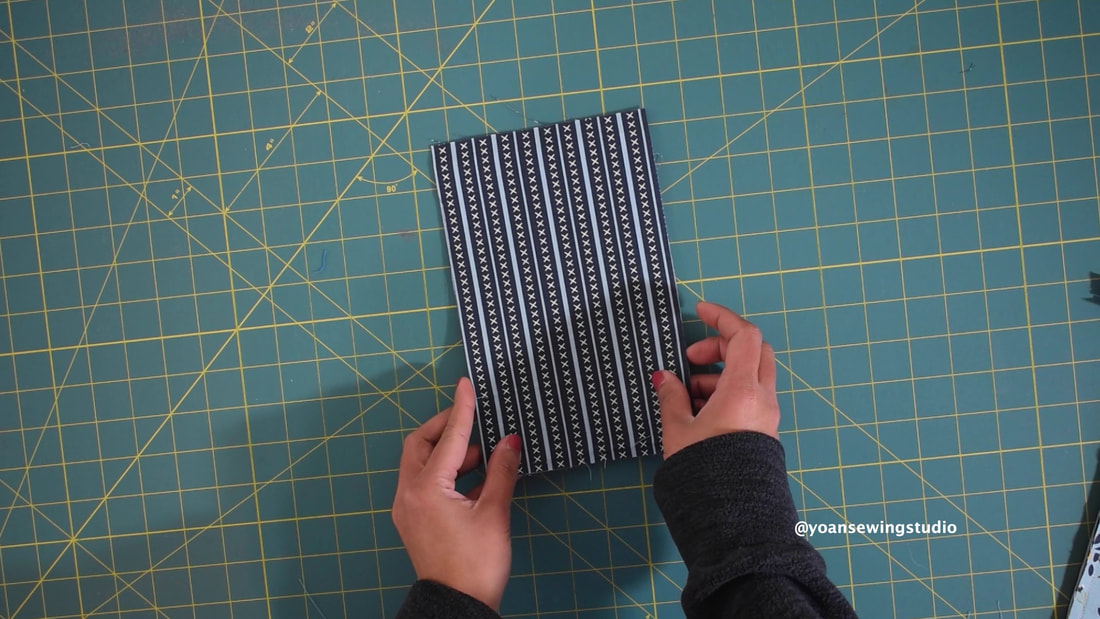
Cut From Fabric A Panel 1 : 5.5" x 2" (cut 1x) Panel 2 & 3 : 5.5" x 5" (cut 1x each) Panel 4 & 5 : 5.5" x 7" (cut 1x each) 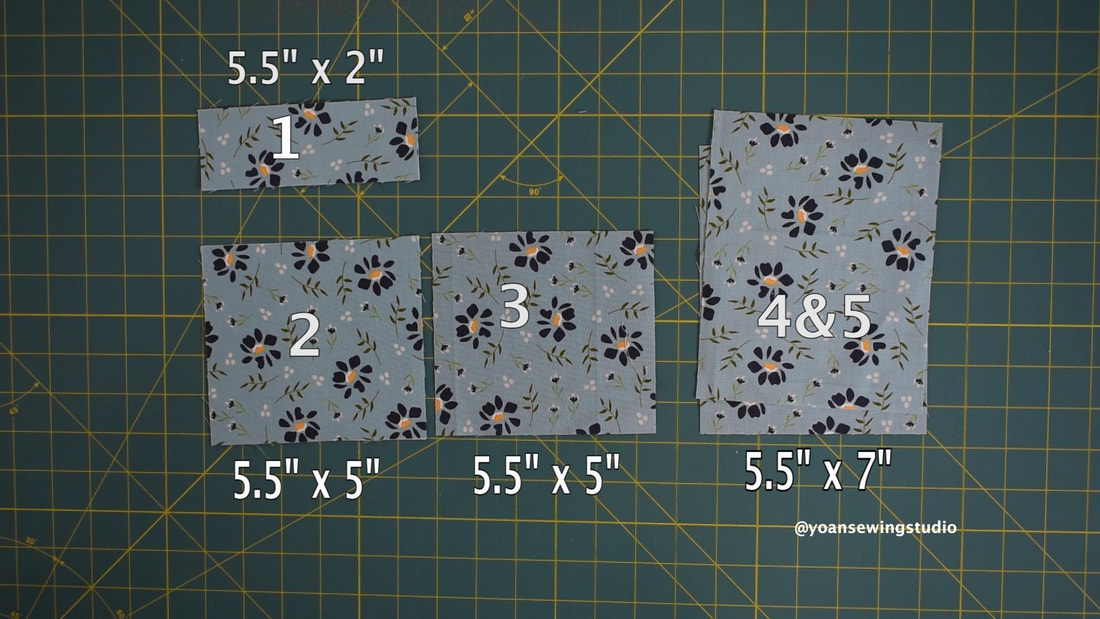
From Fusible woven interfacing
For Panel 1 : 5.5" x 2" For Panel 2 : 5.5" x 5" ~Lining~ From lining fabric 5.5" x 8.5" (cut 2x) ~Strap anchor tab~ From fabric A : 2.5" x 2" (cut 1x) ~Wristlet strap~ From fabric A : 13" x 2" (cut 1x) From fusible woven interfacing : 12" x 1" (cut 1x) directions
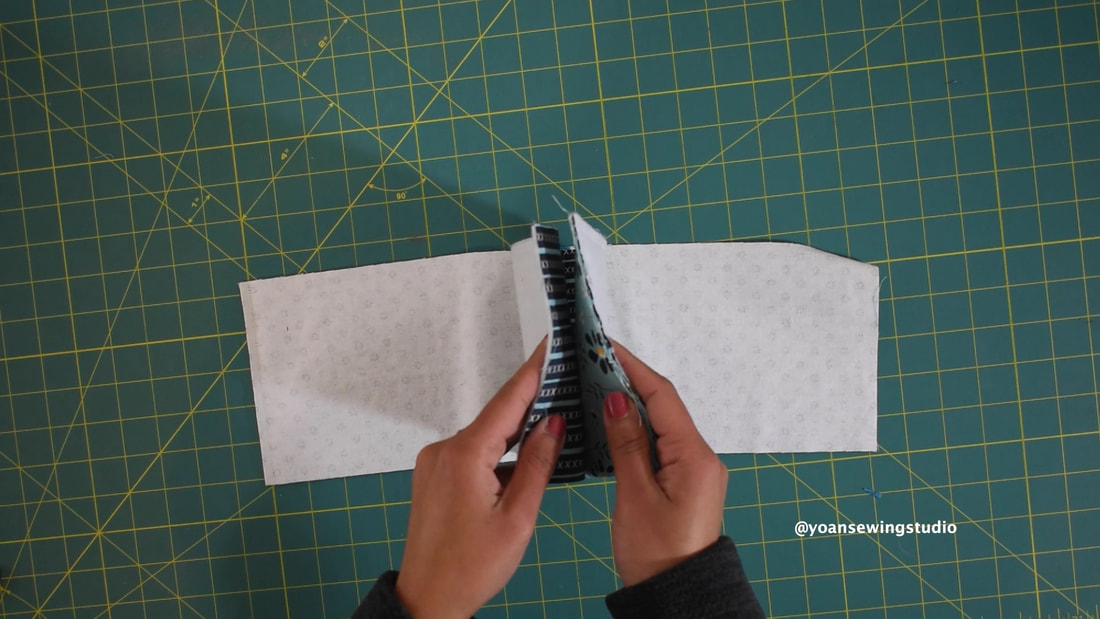
1. Apply Fusible Fleece on the wrong side of the exterior pieces.
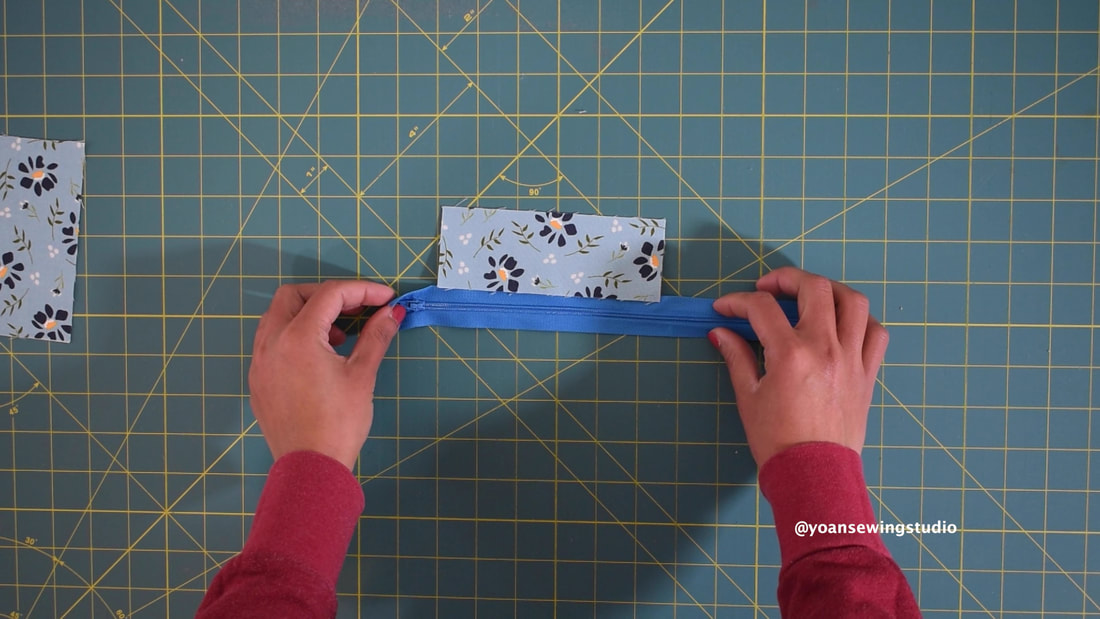
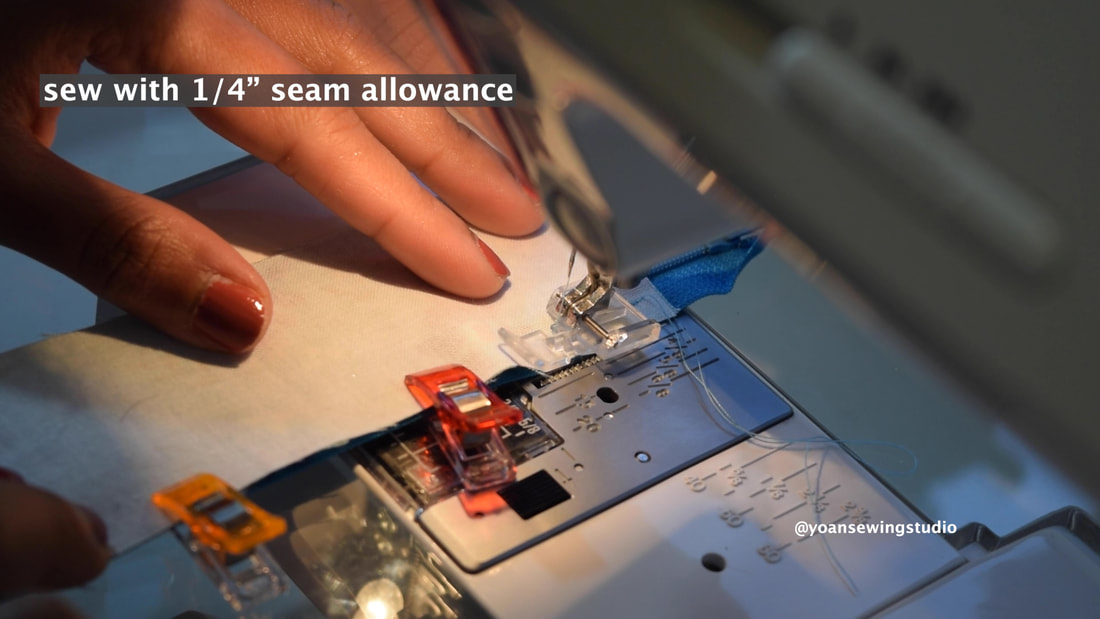
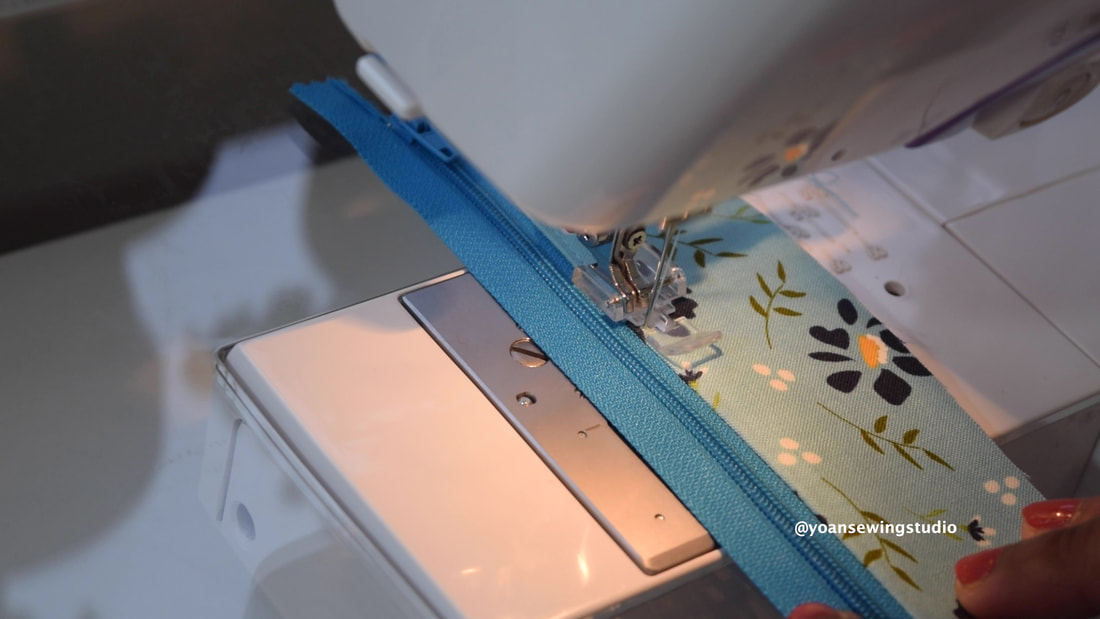
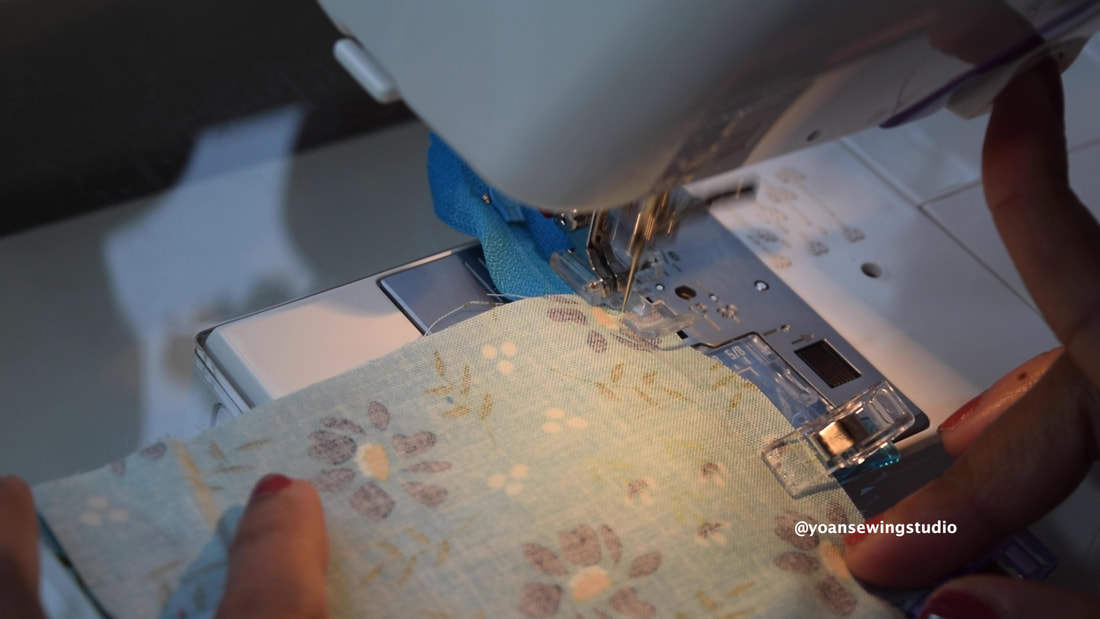
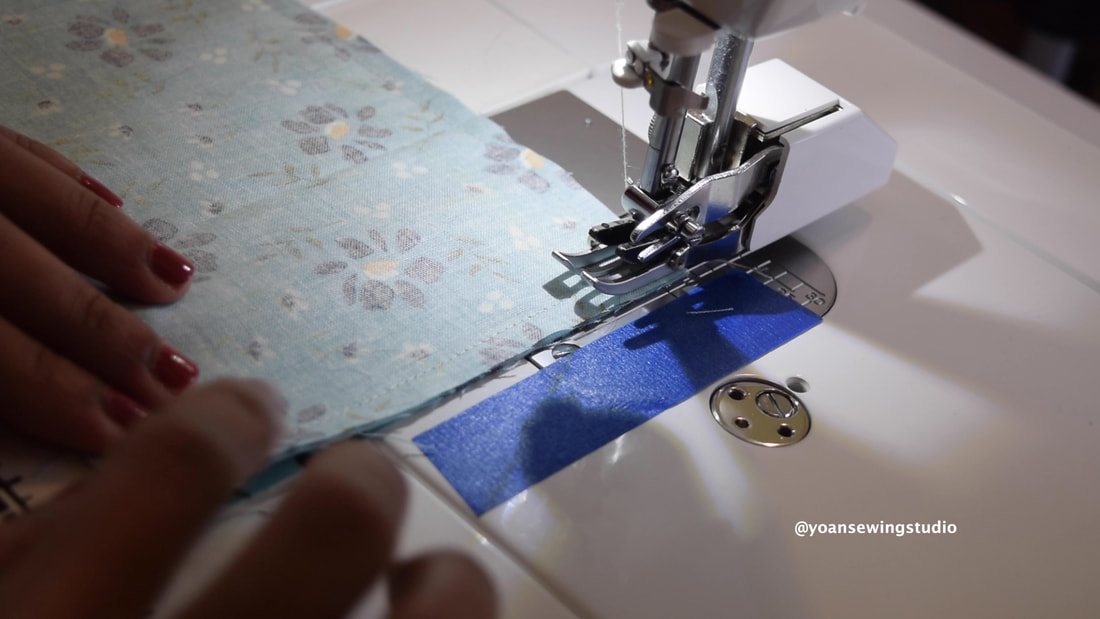
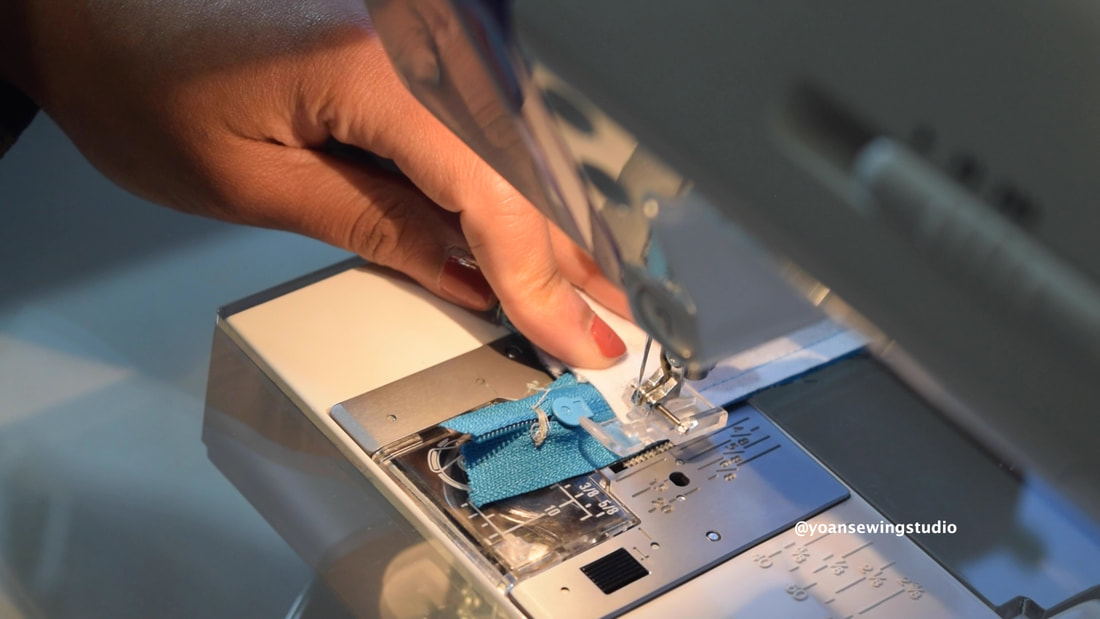
2. Apply fusible woven interfacing on zipper pocket panel 1&2. 3. Lay the zipper right side up, lay panel 1 right side down, aligning the upper edges of the zipper tape with the lower edges of panel 1. Secure with some sewing clips/pin, then sew with 1/4" seam allowance.
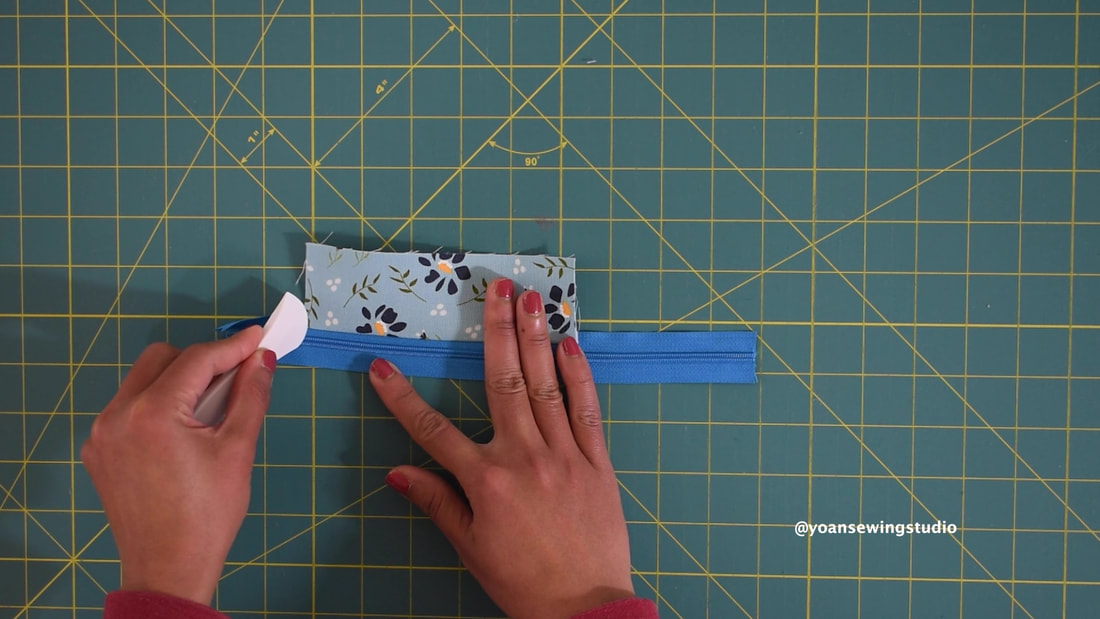
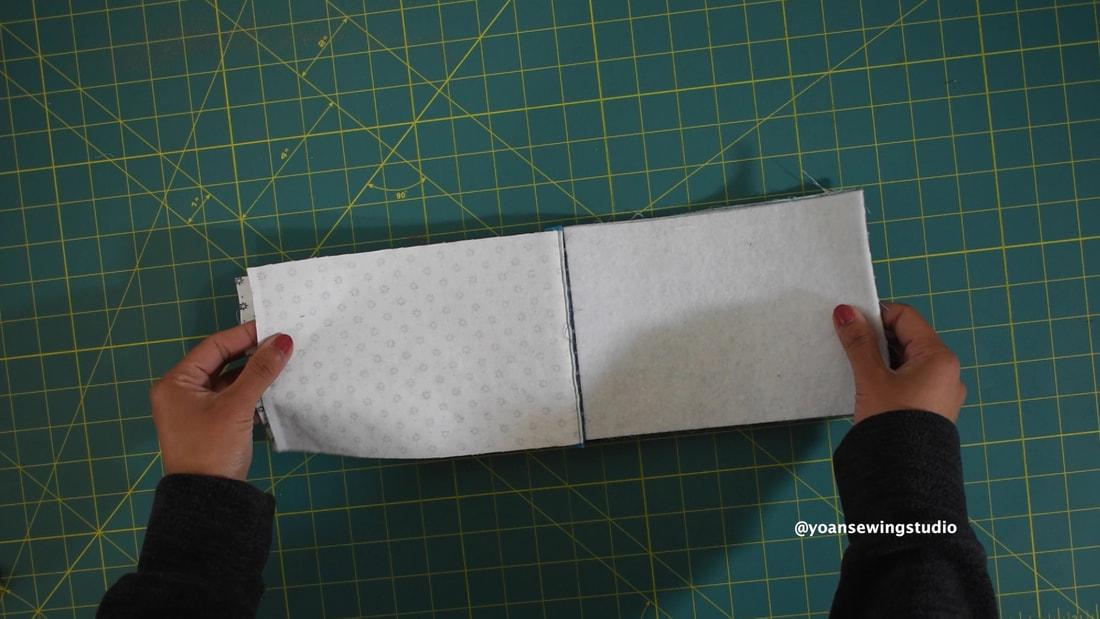
4. Press the seams, then top stitch.
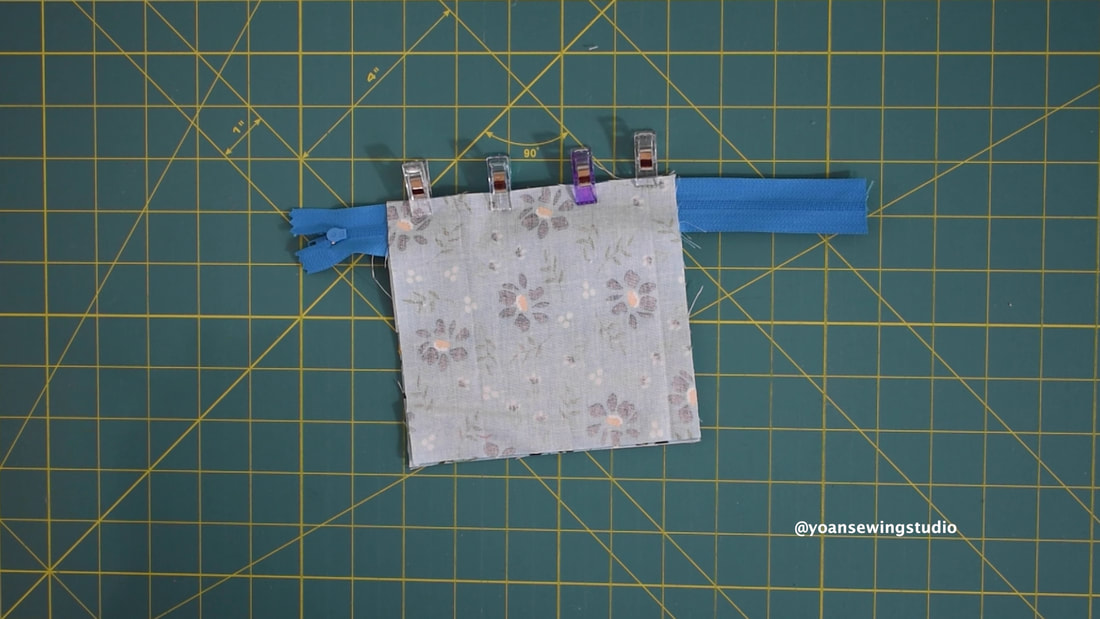
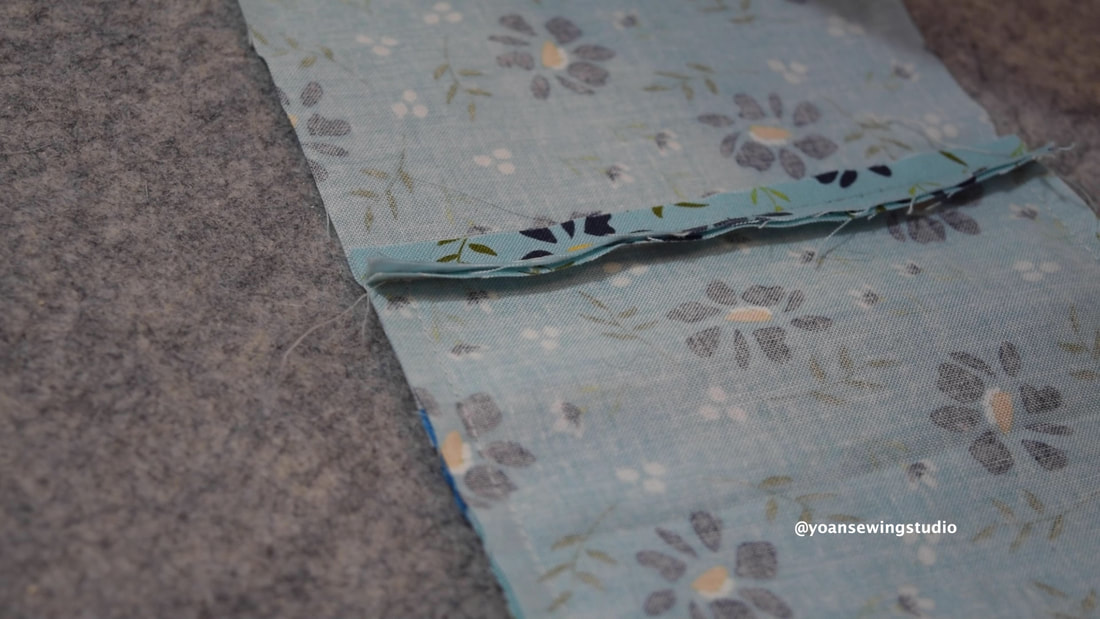
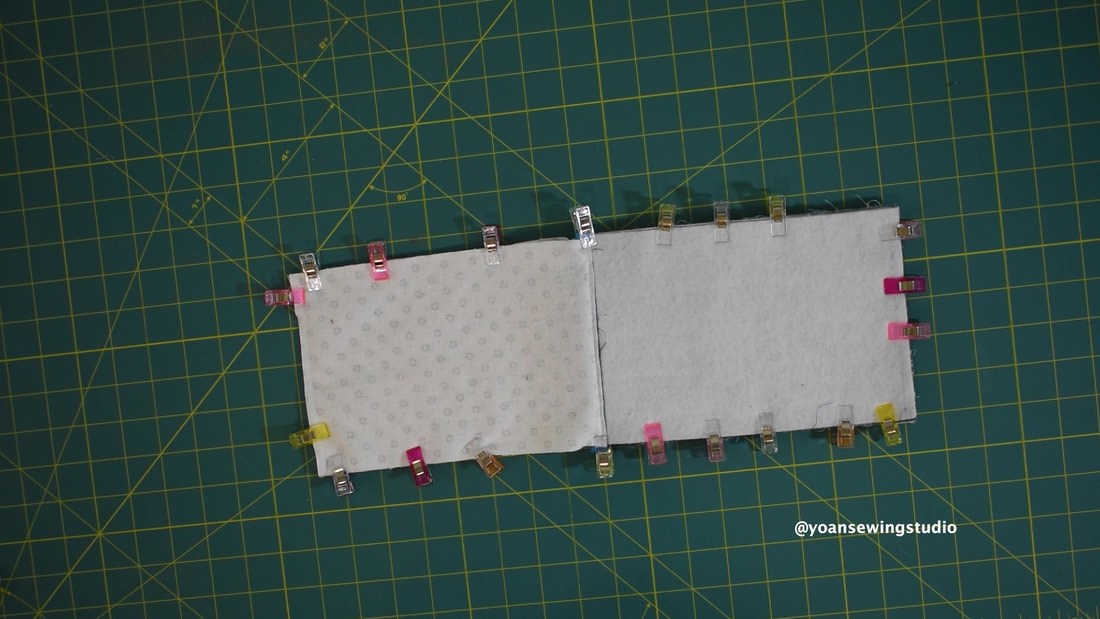
5. Lay panel 2 right side up, lay the zipper right side down, then lay panel 3 right side down, aligning the top and side edges off all the fabrics, secure them in place with some sewing clips then sew with 1/4" seam allowance.
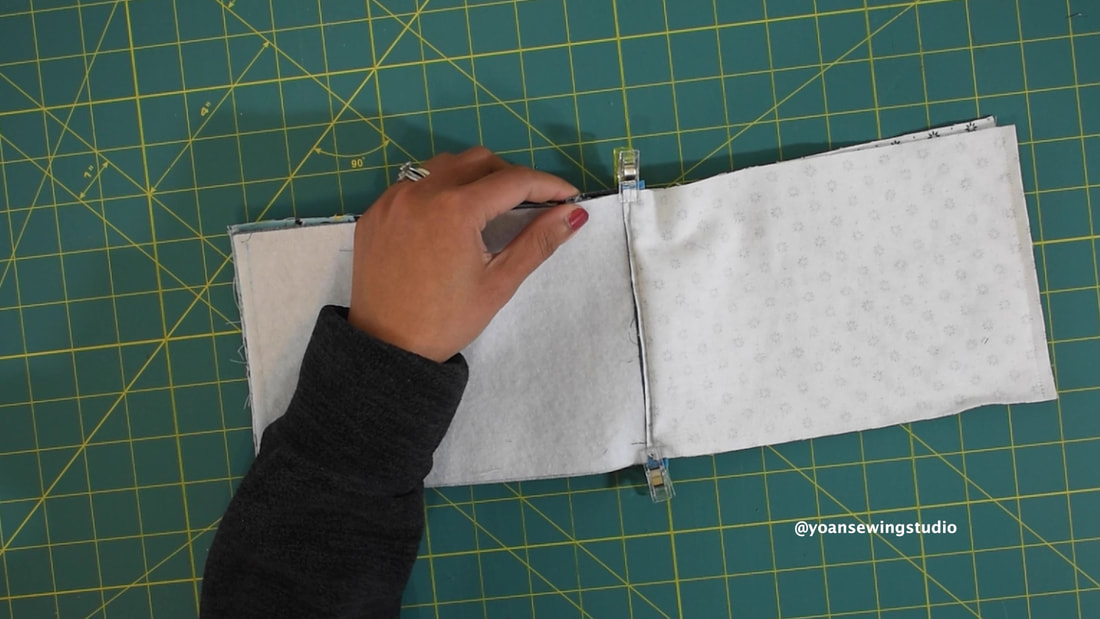
6. Press the seams (both the front and the back) , then topstitch.
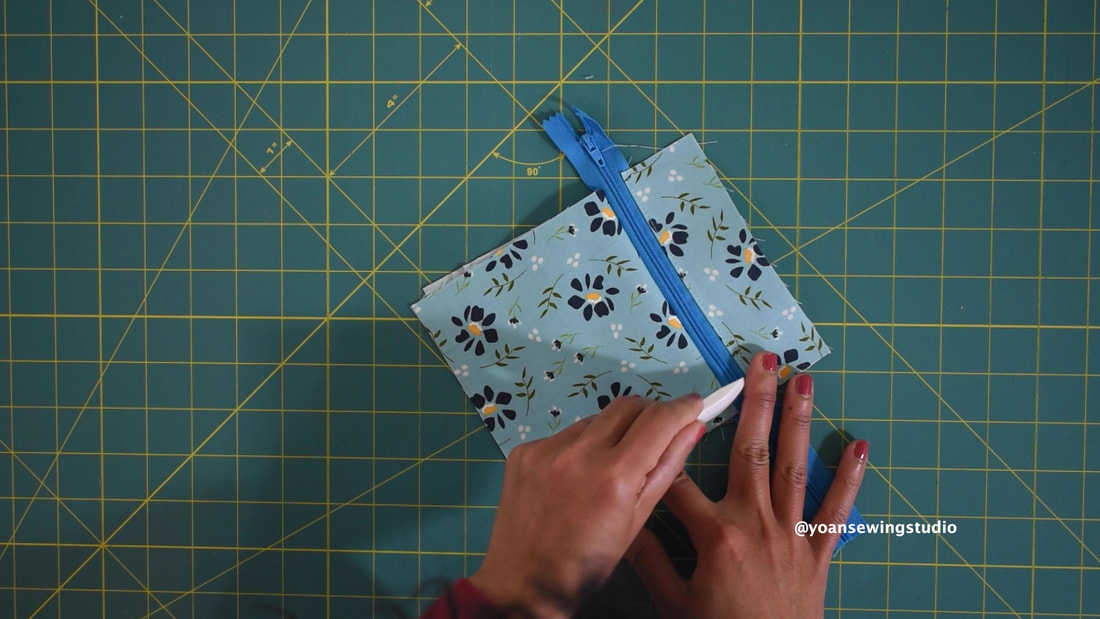
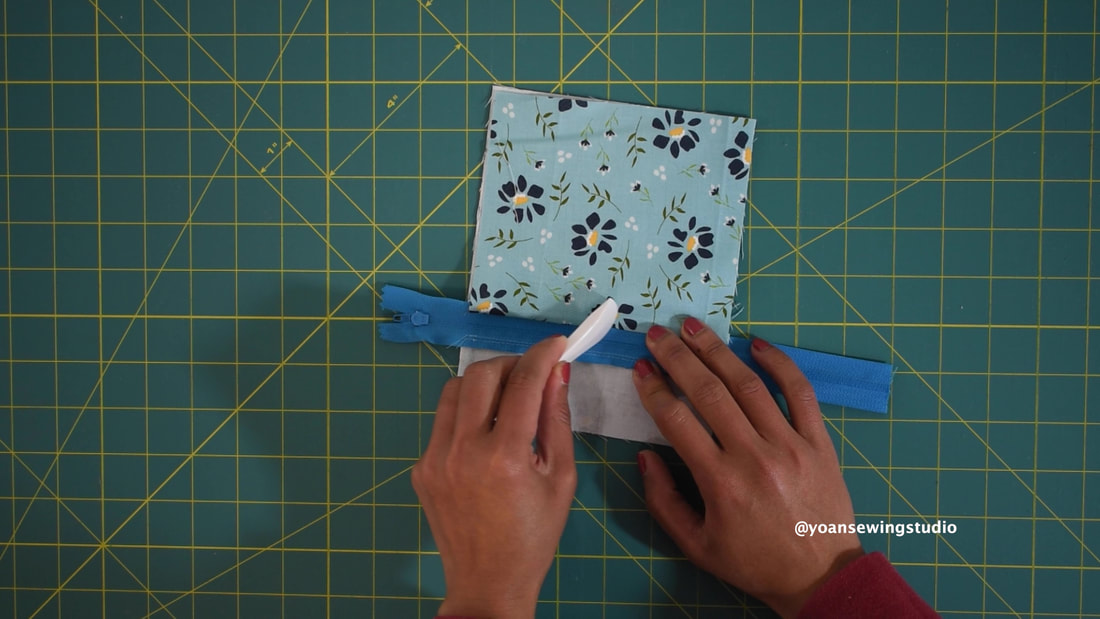
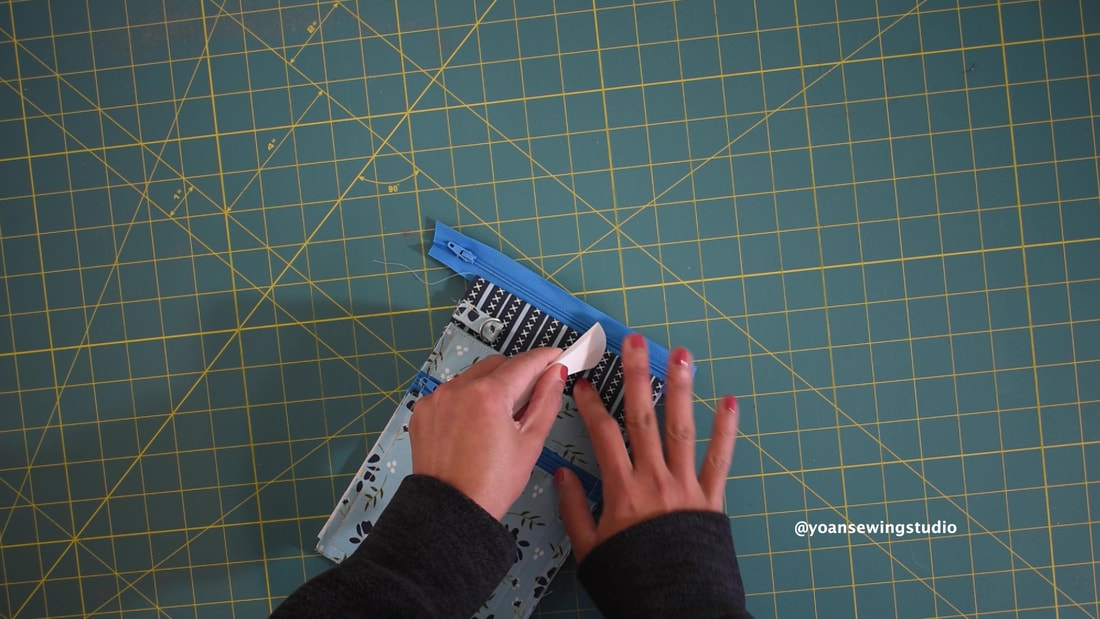
7. Trim excess zipper.
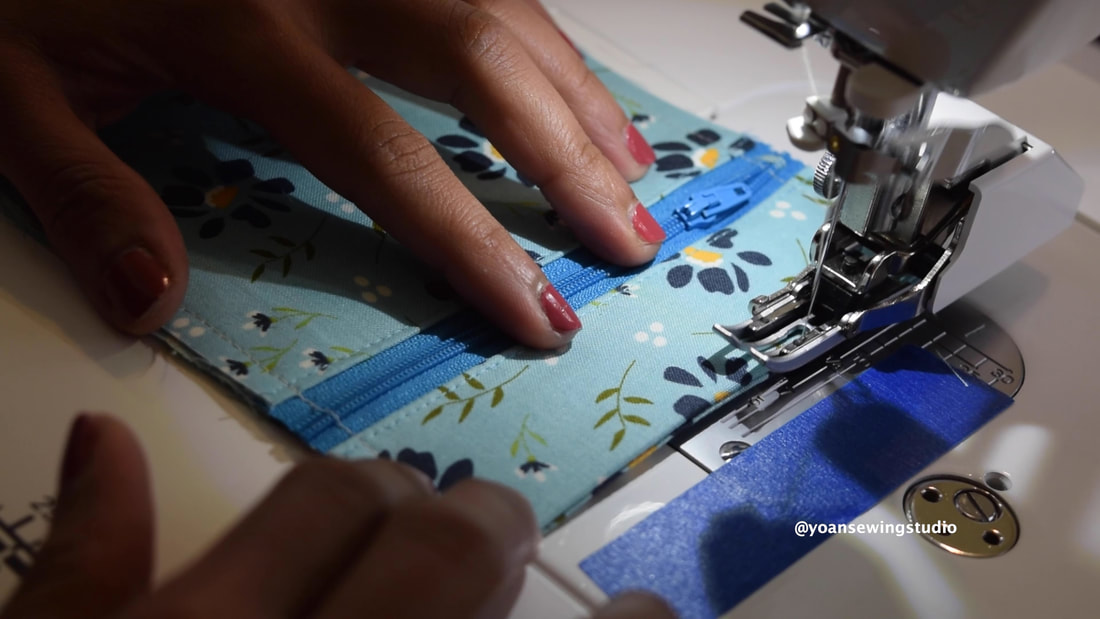
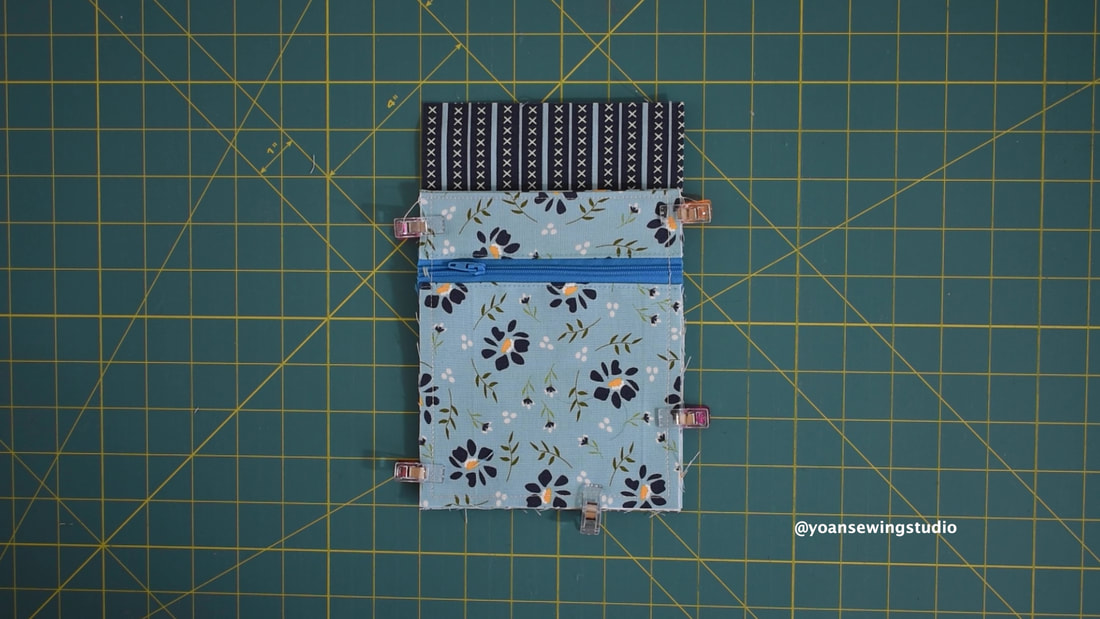
8. Lay panel 3 right side up, lay the zipper panel right side up, pin them in place, then sew all around with 1/4" of seam allowance.
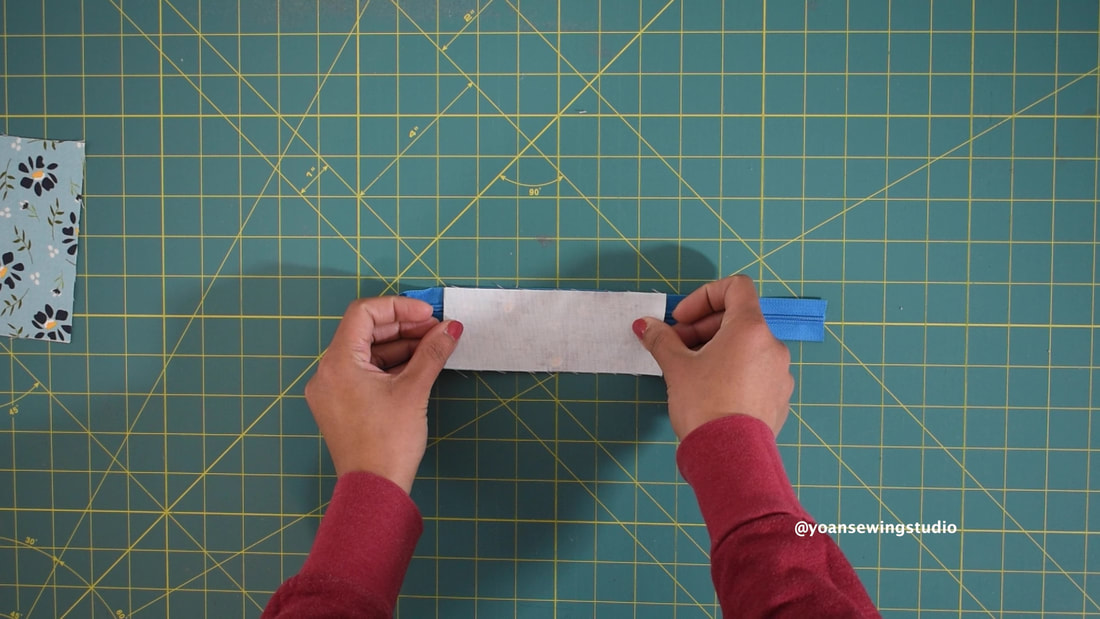
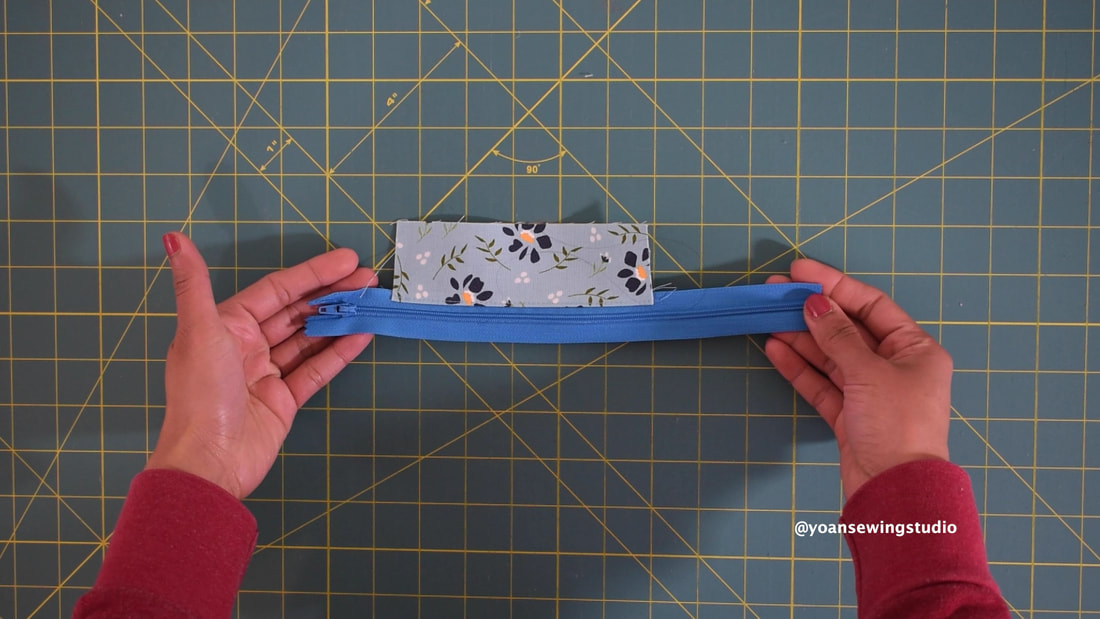
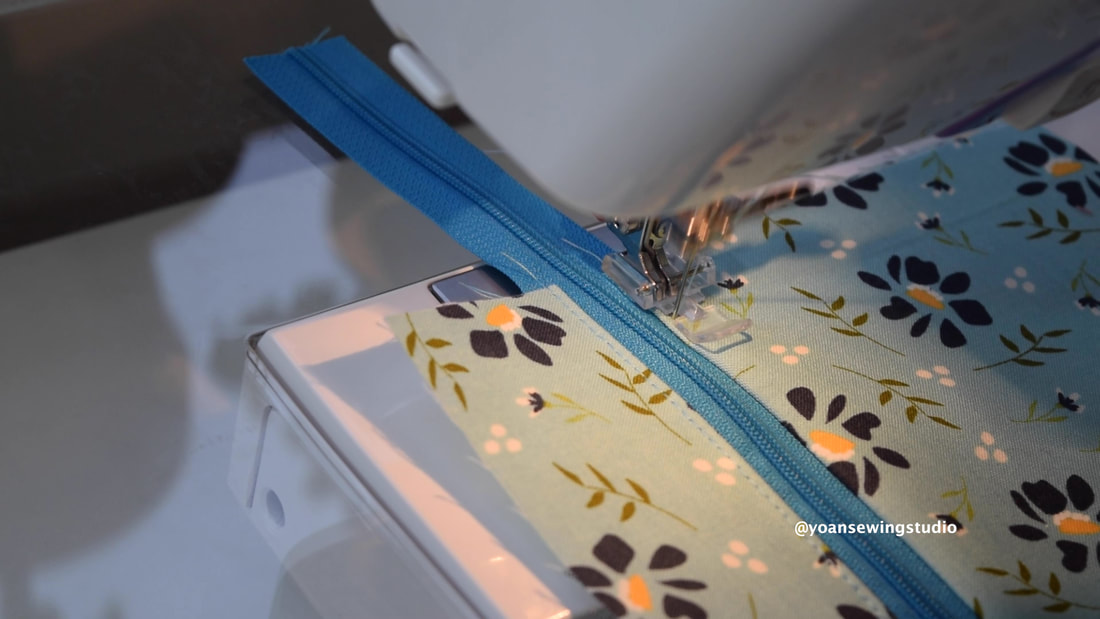
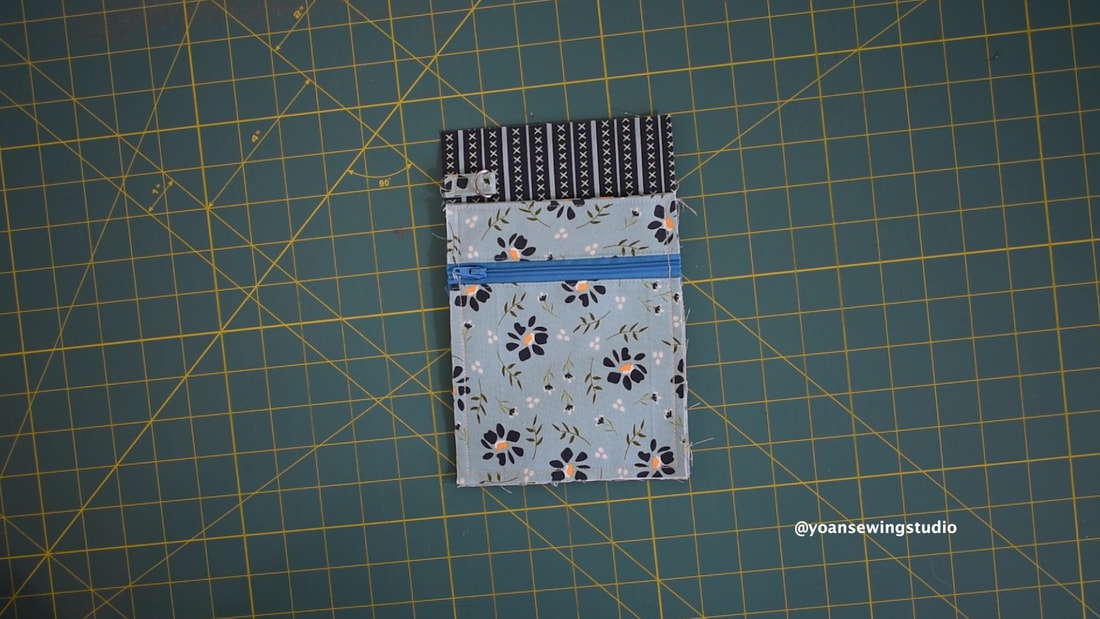
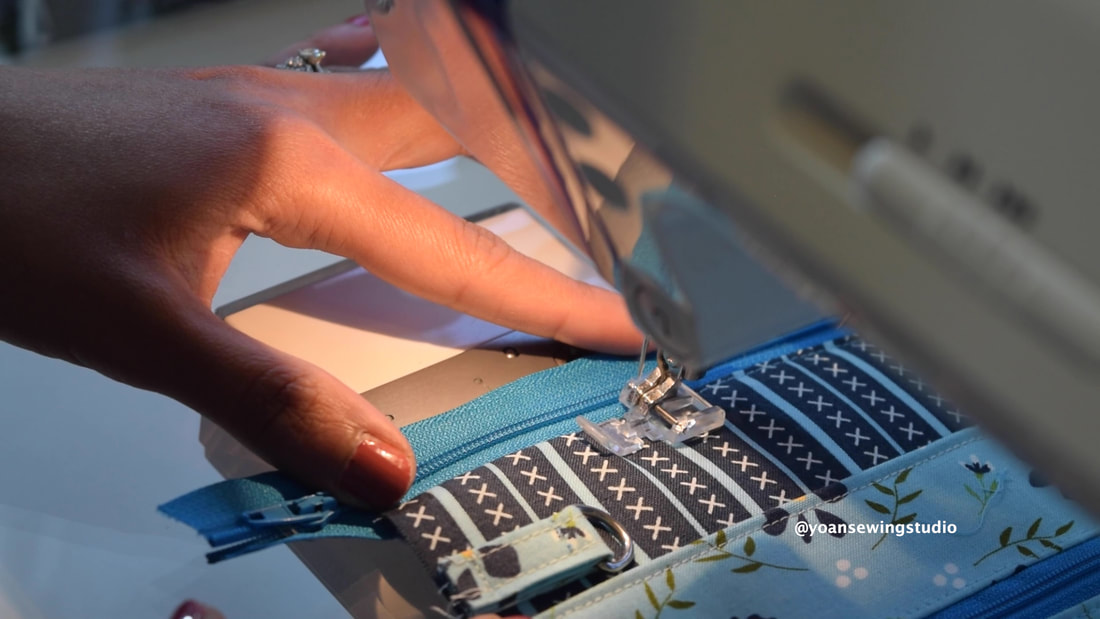
9. Lay panel 4 right side up, lay the zipper pocket panel right side down, sew the top edges with 1/4" of seam allowance.
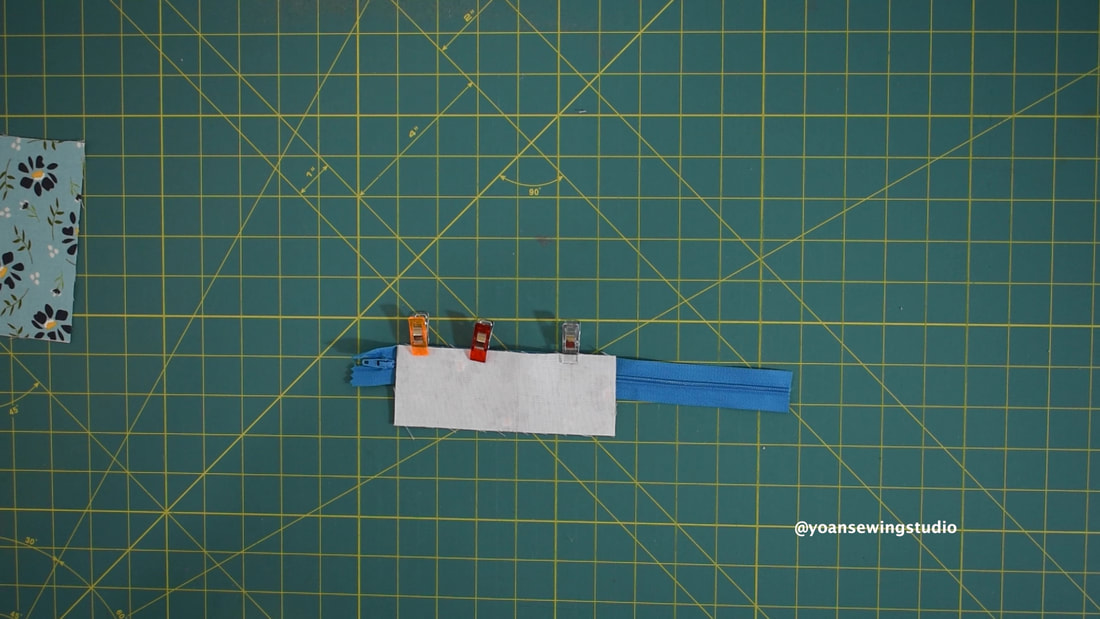
10. Press the seams open, then topstitch along the top edges.
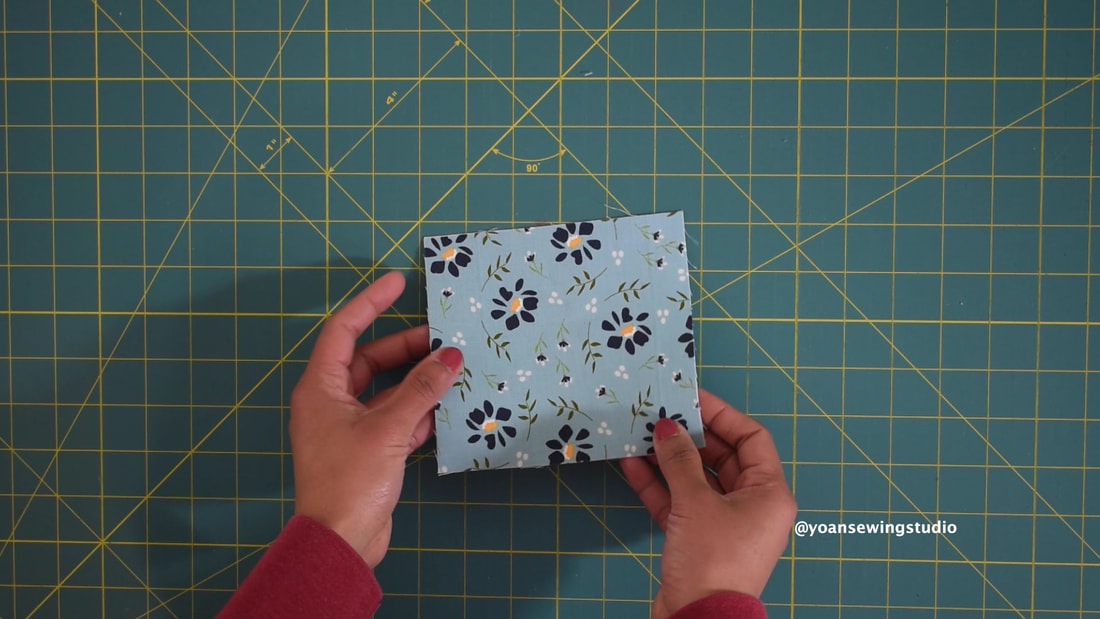
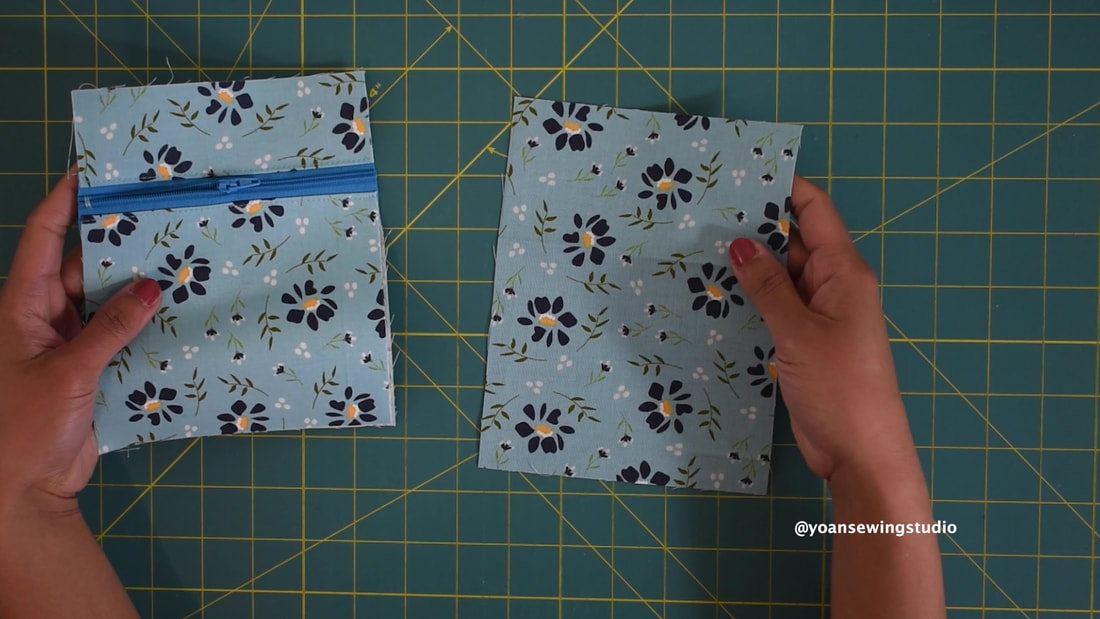
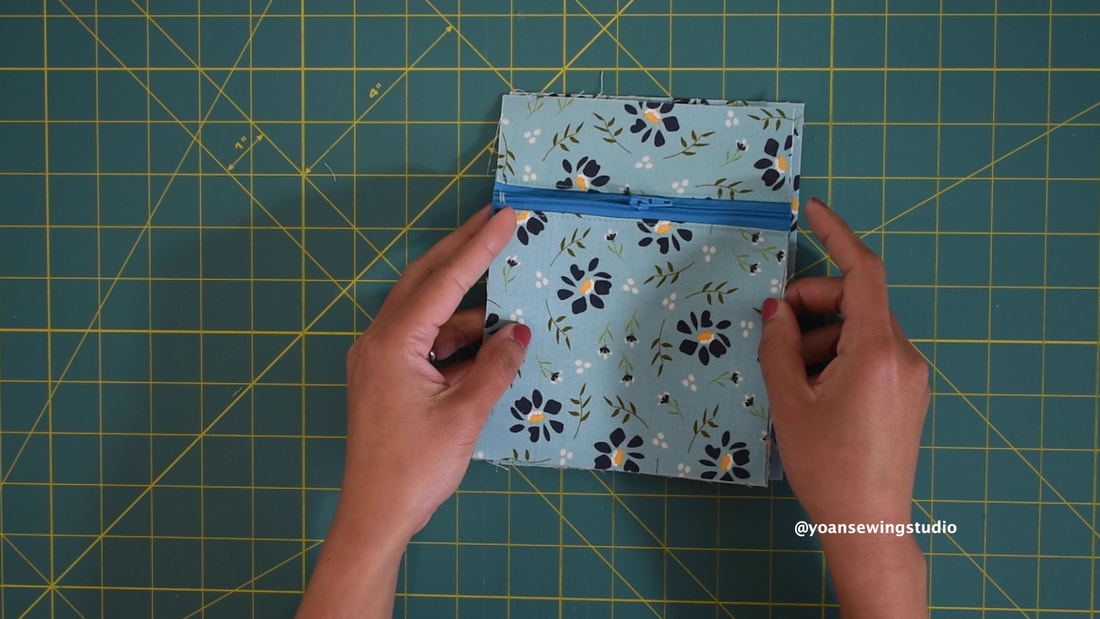
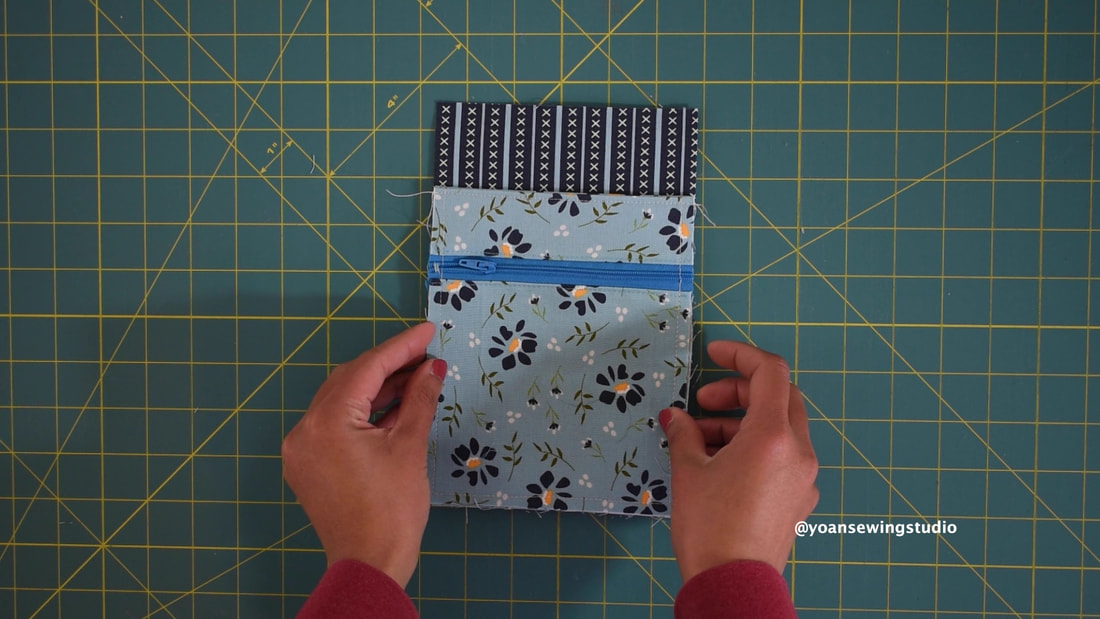
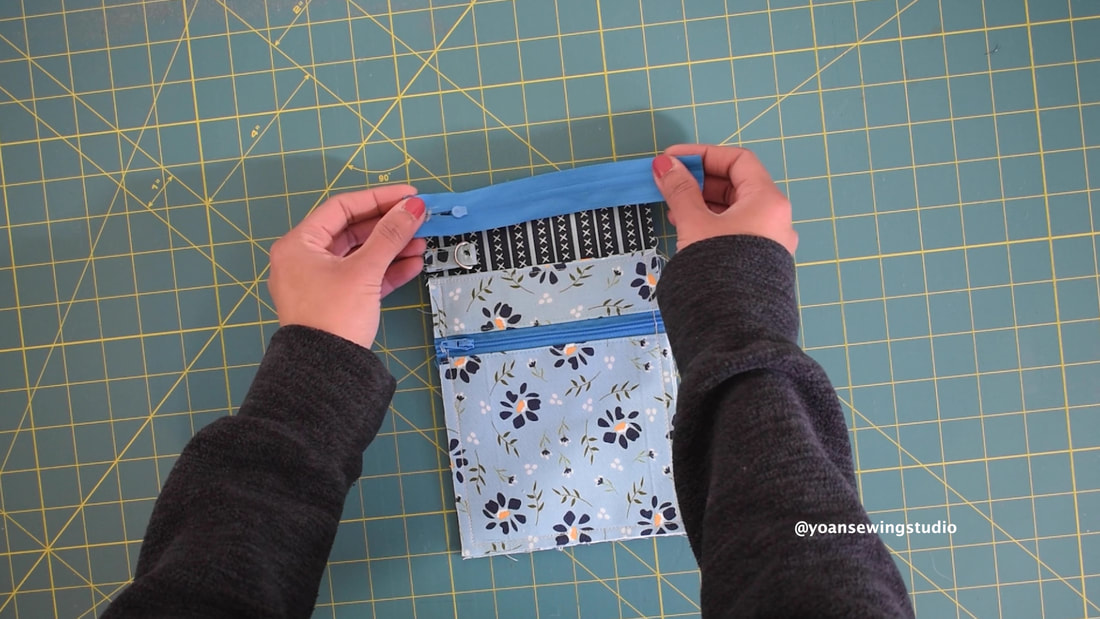
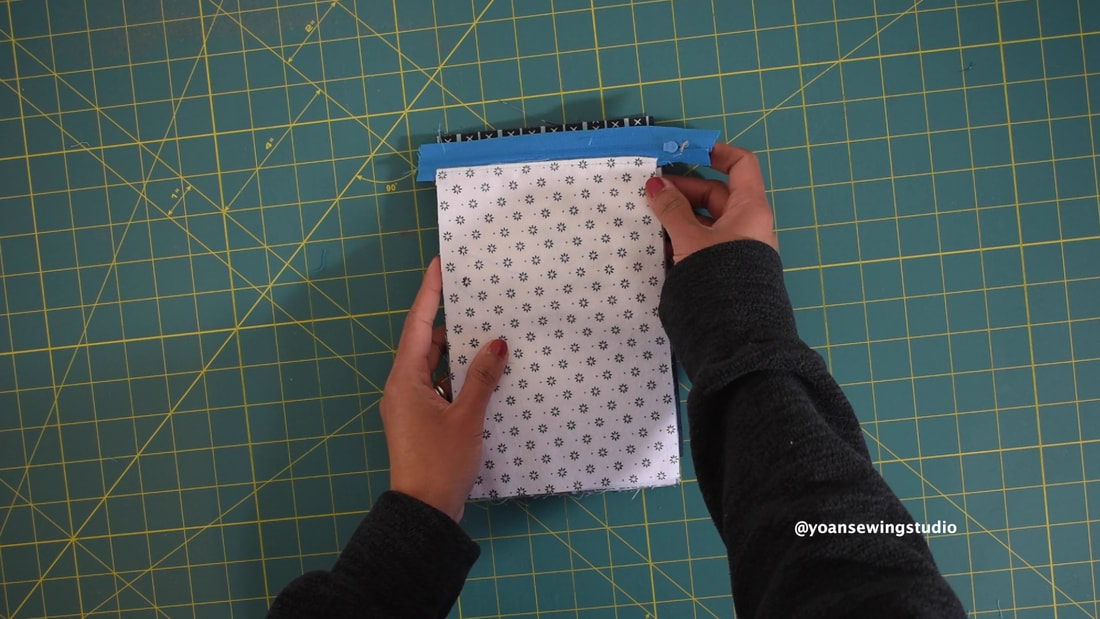
11. Lay the front exterior piece, right side up, lay the pocket panel right side down, aligning the sides and the bottom edges, secure them in place with some sewing clips, then sew along the edges with 1/4" of seam allowance.
12. Sew the strap anchor tab
13. Feed the strap anchor through the hole of the d-ring 14. Position the strap anchor 1" down from the top edge of the front exterior piece, secure in place with a sewing clip, then sew with 1/4" seam allowance
15. Sew the wristlet strap.
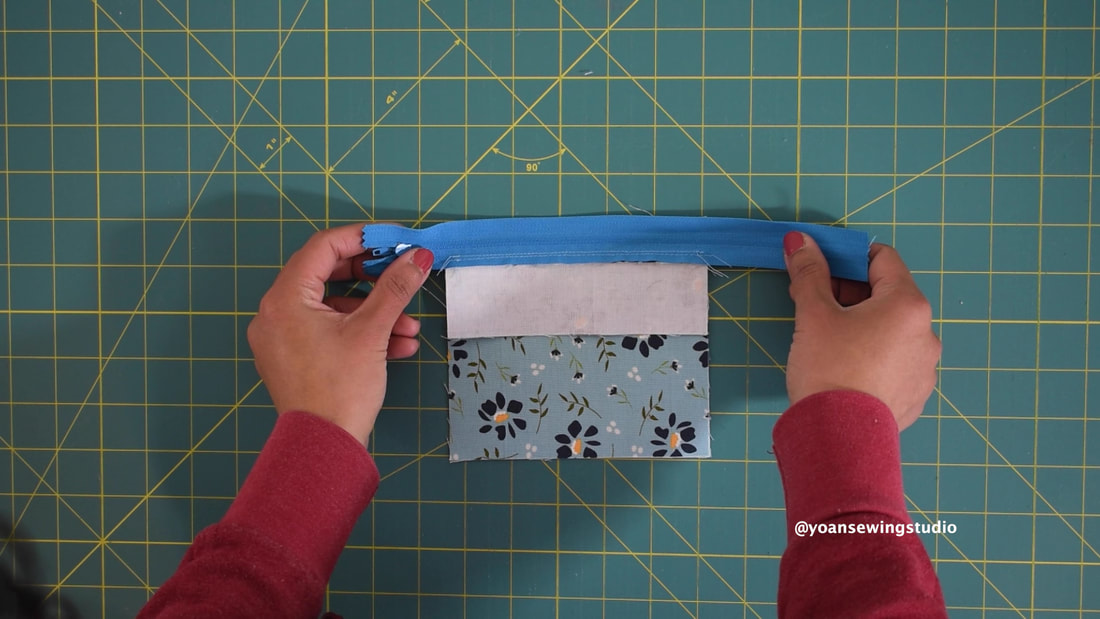
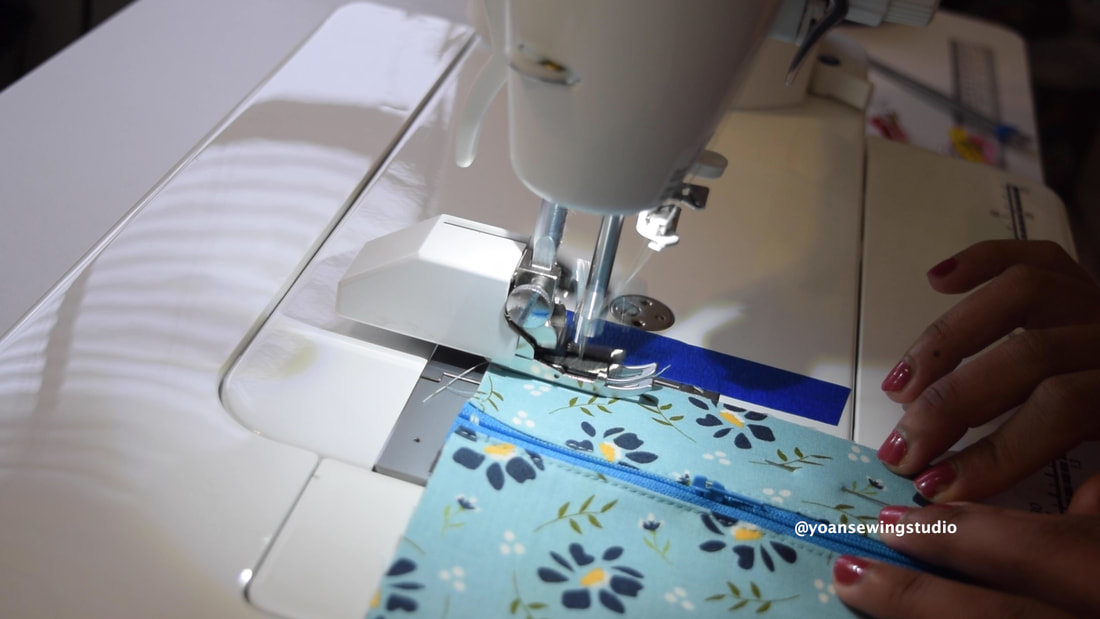
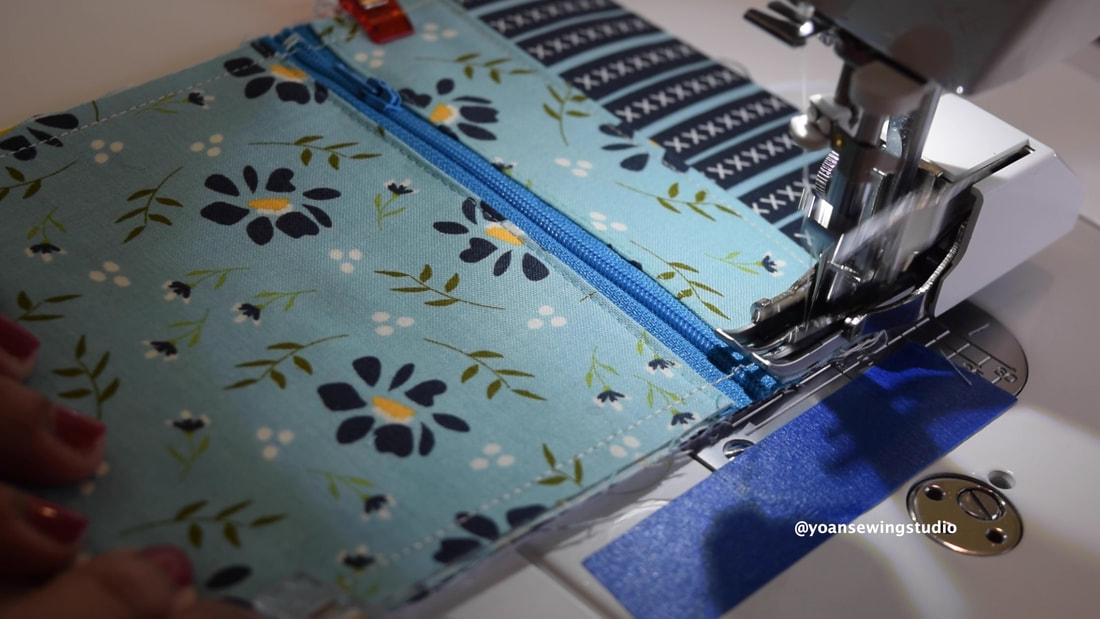
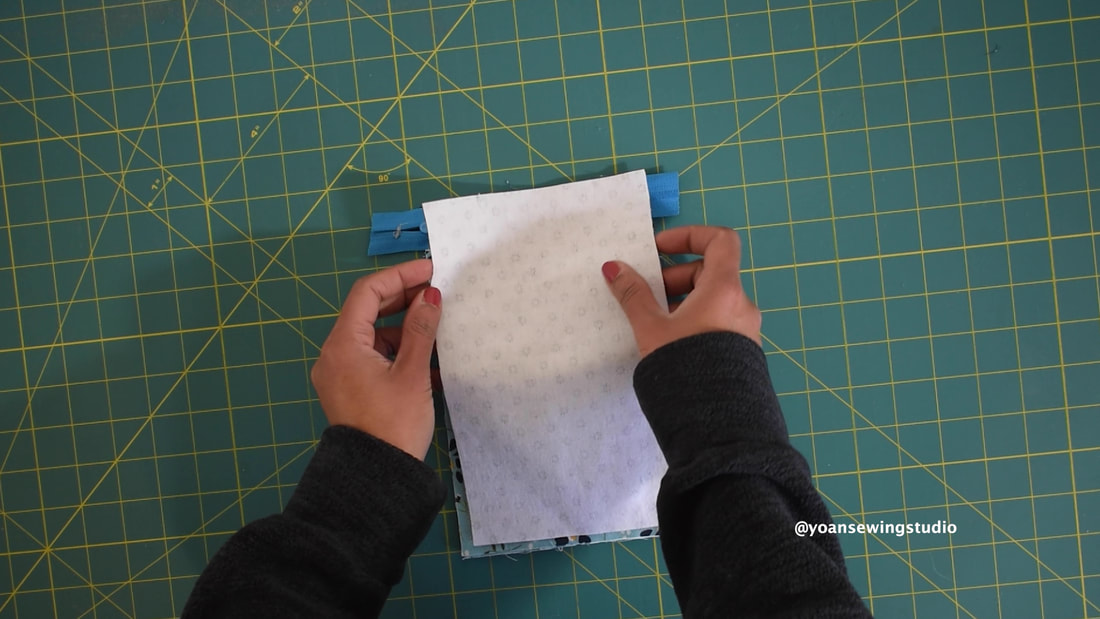
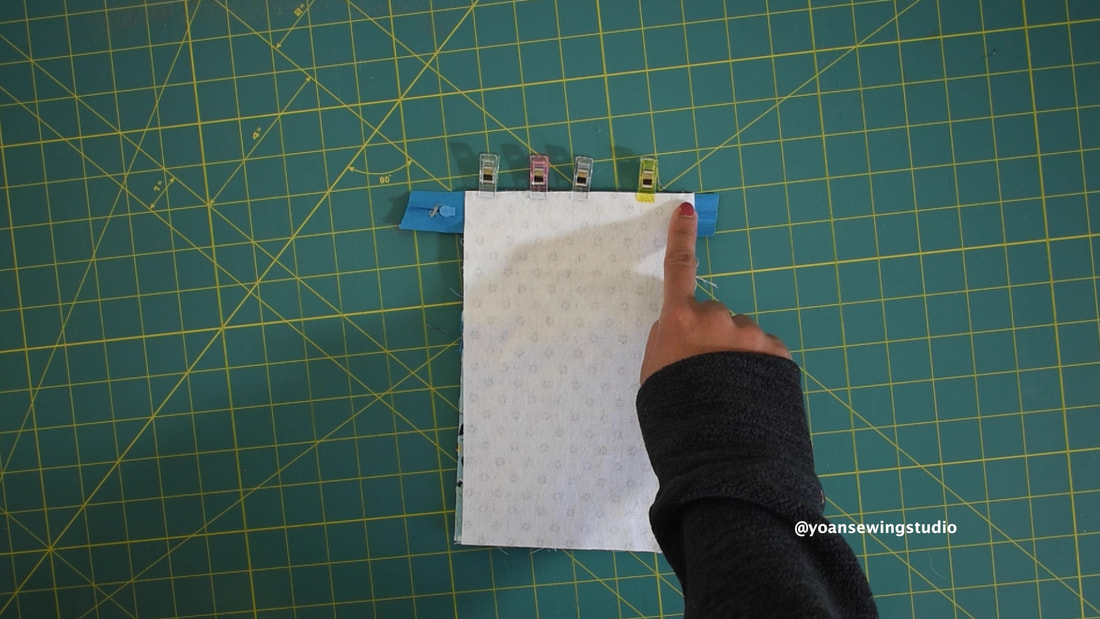
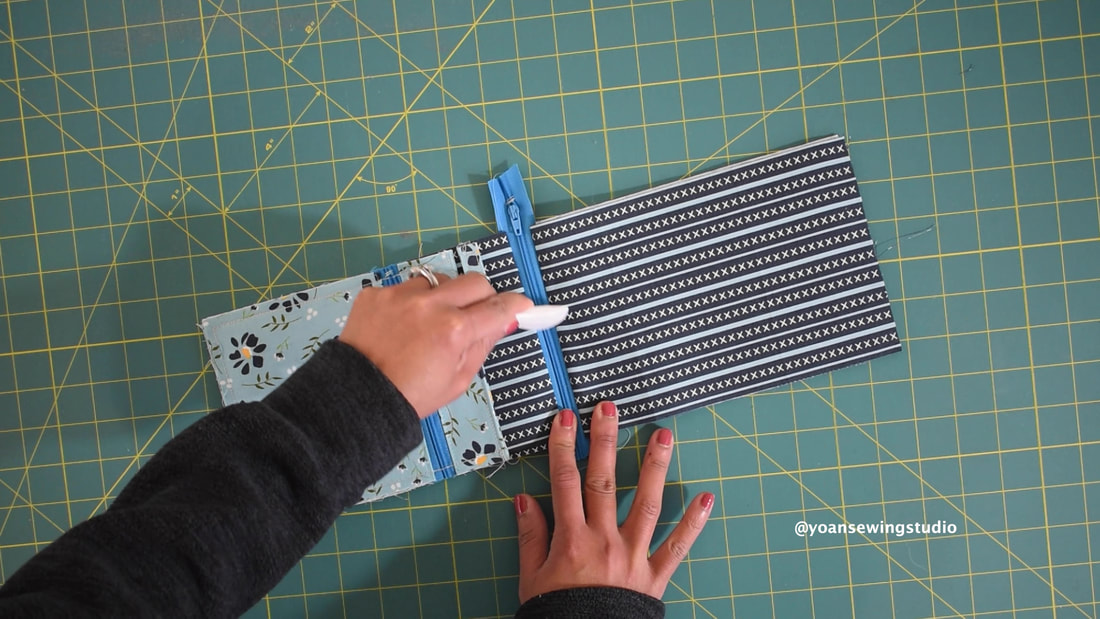
16. Lay the front exterior piece right side up, lay the zipper right side down, lay the lining right side down, secure them with some sewing clips, then sew with 1/4" seam allowance.
17. Separate the fabric from the zipper, press the seams, topstitch.
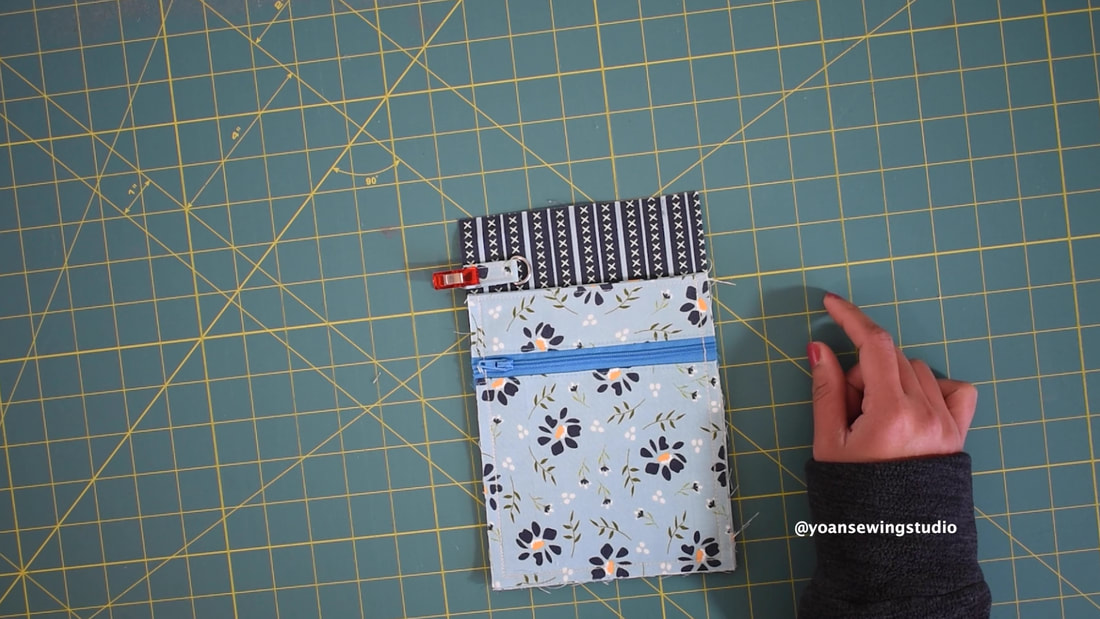
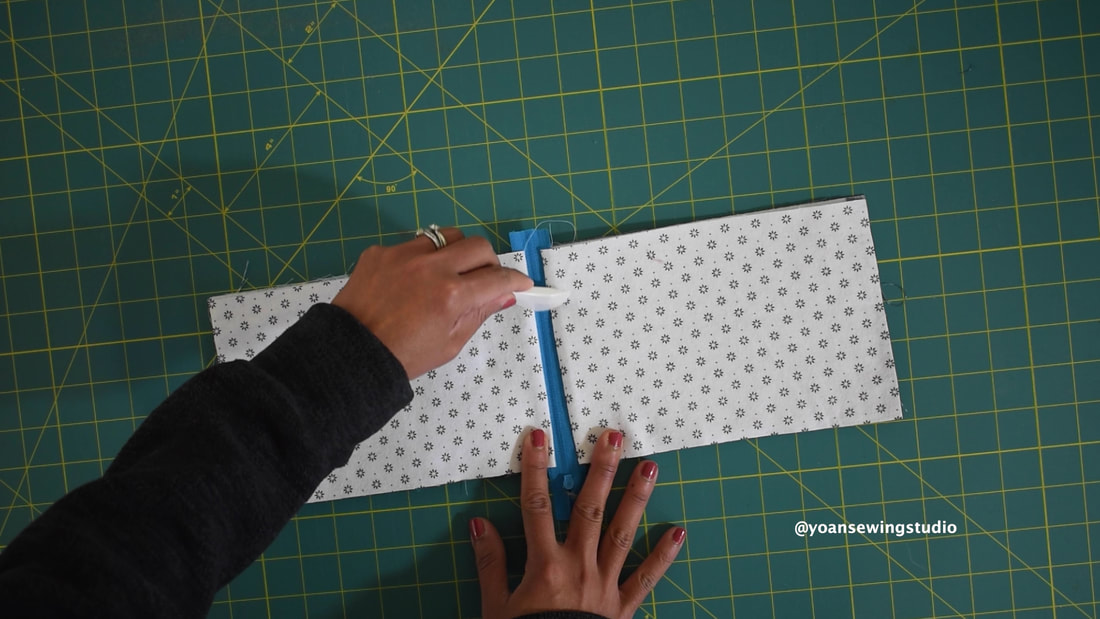
18. Lay the back exterior right side up, lay the zipper right side down, lay the second lining piece right side down, secure them in place with some sewing clips then sew with 1/4" of seam allowance.
19. Separate the fabrics from the zipper, press the seams, then topstitch.
20. Trim off any excess zipper.
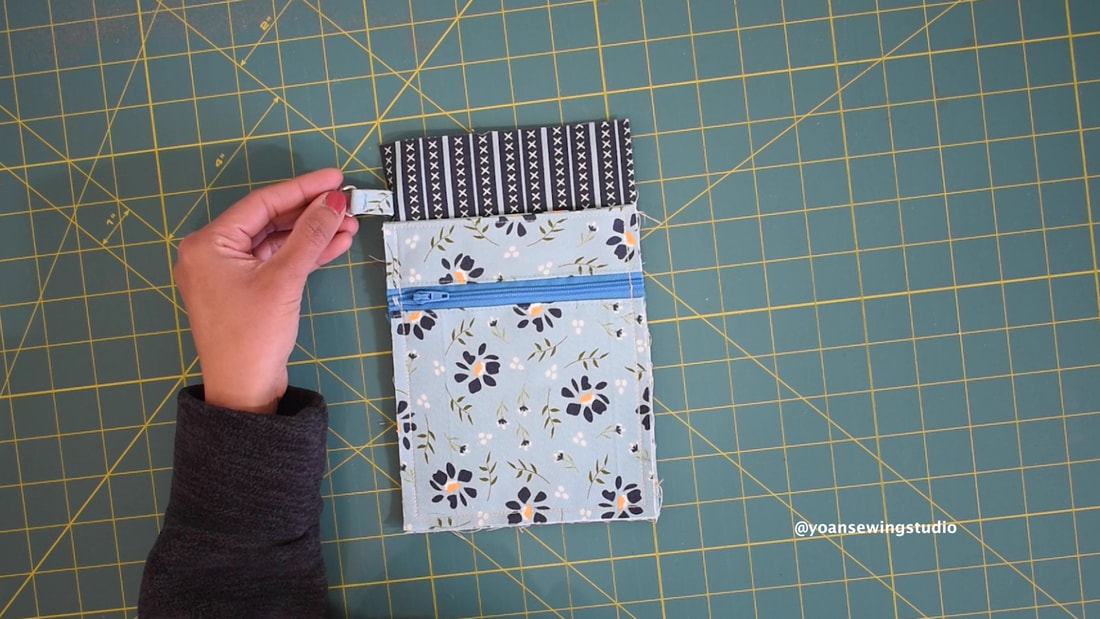
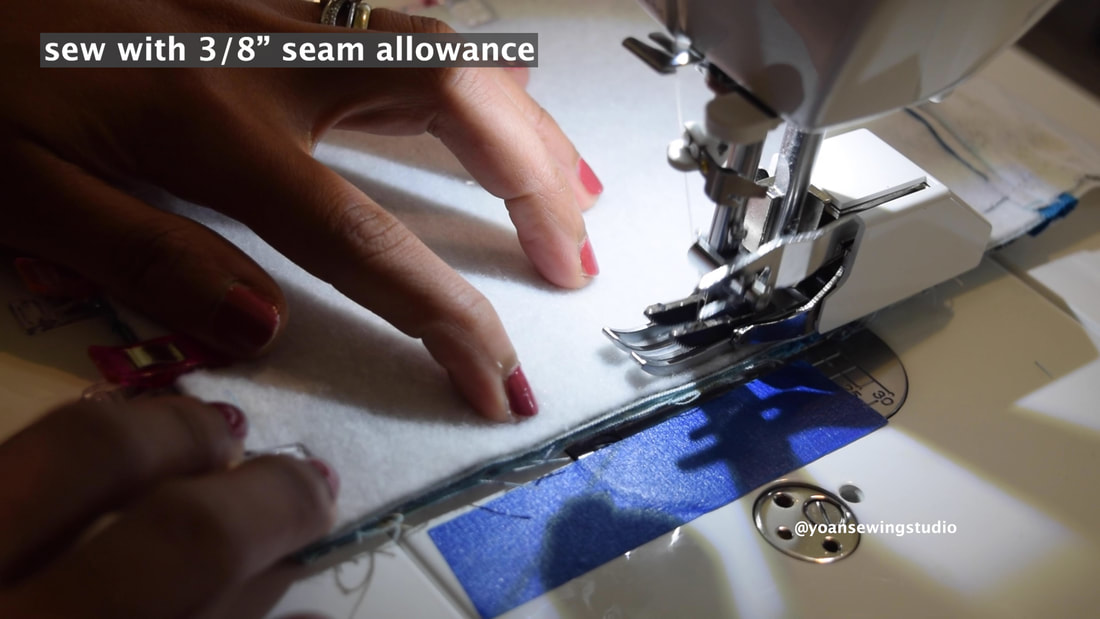
21. Separate the exterior pieces from the lining pieces (with the right sides touching each other), secure them in place with some sewing clips (matching the zipper seams) then sew with 3/8" seam allowance, leaving about 3" of opening at the bottom edge of the lining.
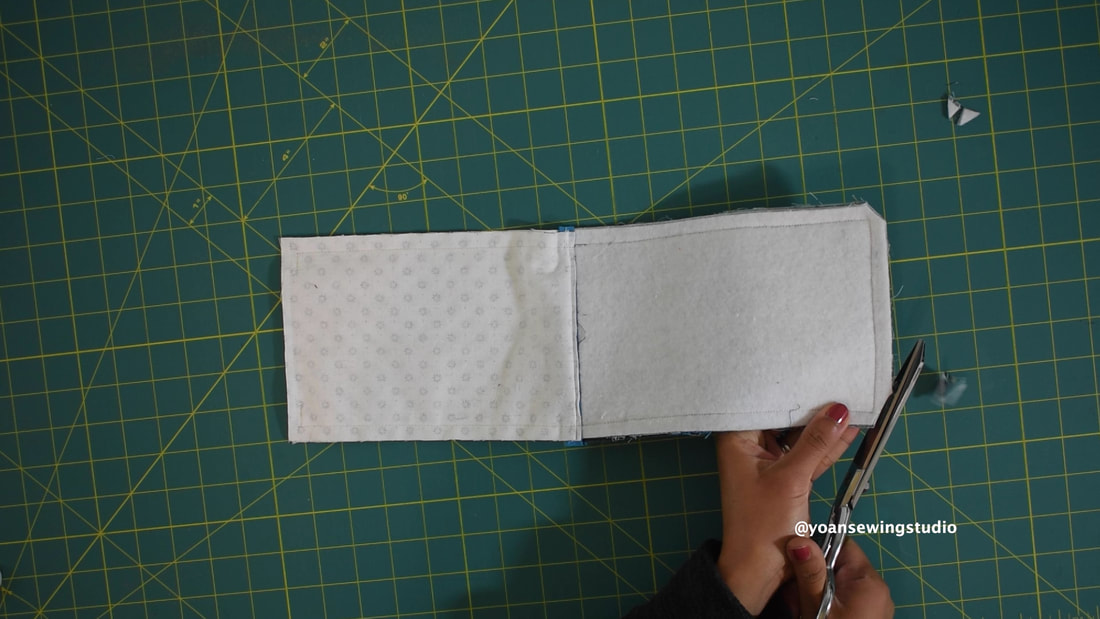
22. Cut all the corners, be careful not to cut through the stitches, turn the pouch inside out through the opening hole. Tip : Poke the corners with a knitting needle or chopstick, or skewer.
23. Sew the opening hole close.
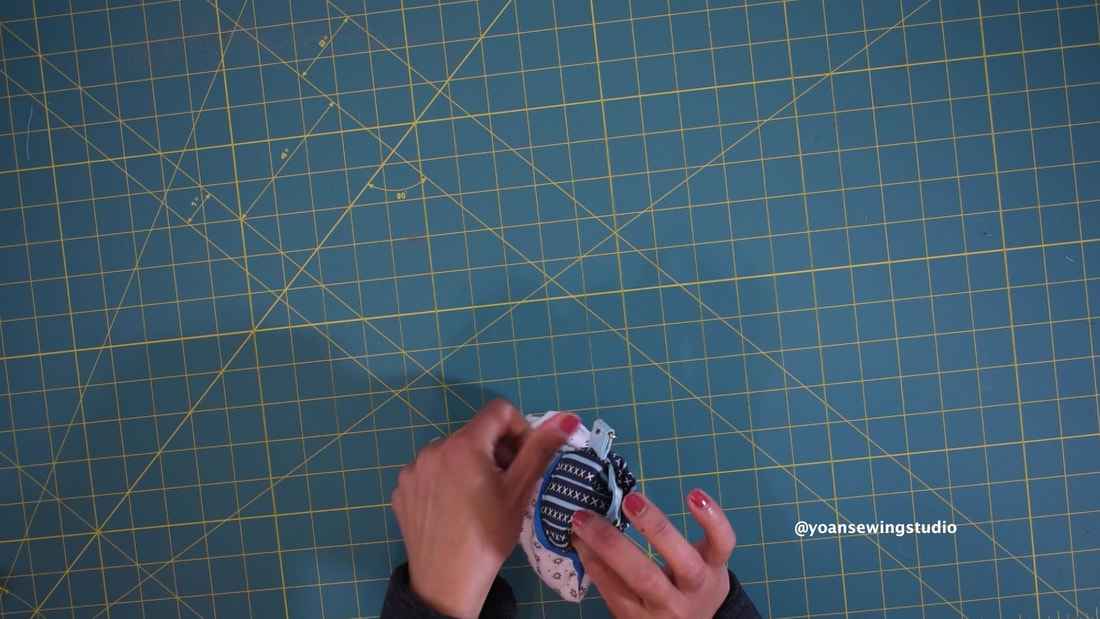
24. Give your pouch a final pressing. 25. Attach the wristlet strap, Enjoy! 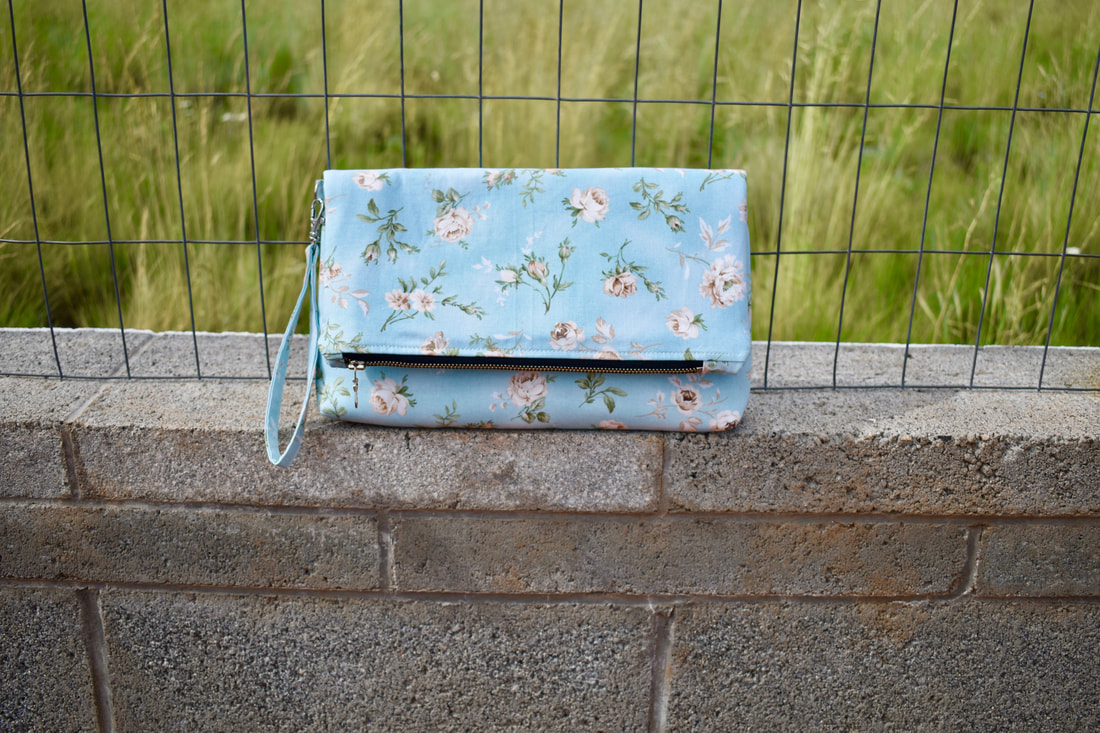
Foldover clutch purse with wristlet strap
Looking for a stylish clutch to go with your favorite outfit? Try making this foldover clutch purse that comes with metal zipper closure, a wristlet strap, and four card pockets to store your ID, driver's license, or credit card.
I have posted the full video tutorial on my Youtube Channel SUPPLIES 1/2 yard main fabric (I use quilt weight fabric) 1/2 yard lining fabric Fusible woven interfacing (I use pellon shapeflex 101) Fusible fleece 9" metal zipper 1/2" D-Ring 1/2" swivel hook CUTTING Exterior front and back Cut two 14" x 14" from the main fabric Cut two 14" x 14" from the fusible woven interfacing Cut two 14" x 14" from the fusible fleece (trim the upper top part 1/2" as instructed in video) Lining : Cut two 14" x 14" from the lining fabric Card pocket : Cut one 8" x 11" from the lining fabric Card pocket lining : Cut one 8" x 4" from the lining fabric Strap anchor : Cut one 2" x 2" from the main fabric Wristlet strap Cut one 13" x 2" from the main fabric Wristlet strap interfacing Cut one 13" x 1" Disclaimer : This post contains affiliate links If you have any questions please do not hesitate to reach out to me. Happy Sewing!! |
Categories
All
©
Yoan Sewing Studio | All Rights Reserved
|


 RSS Feed