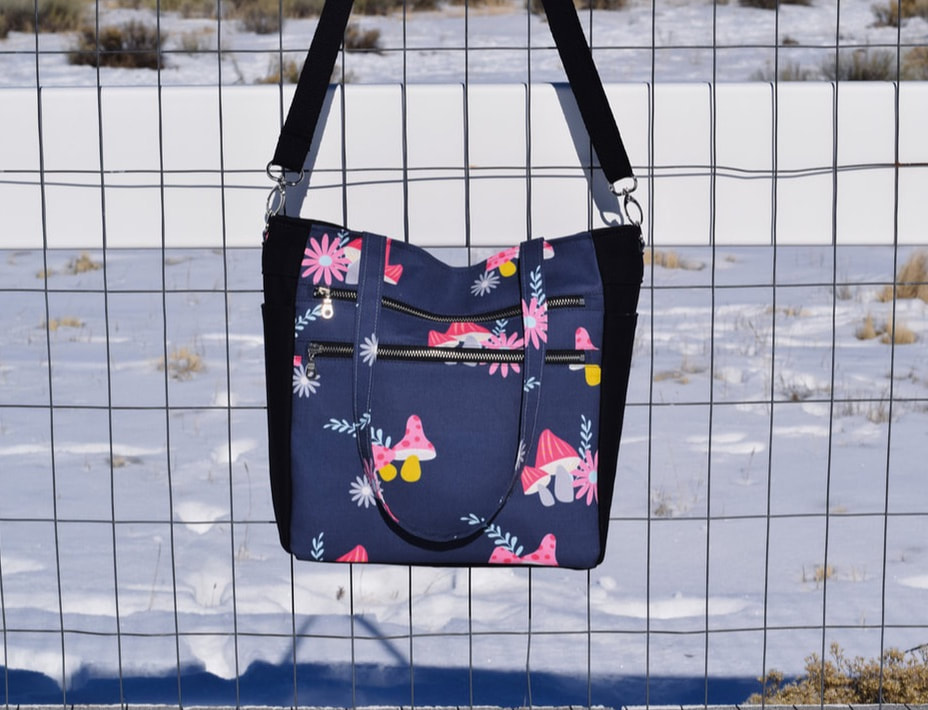
Here's a fun satchel project to start your sewing adventure this year. The Sassy Satchel comes with many pockets without being too bulky, I love the detachable adjustable strap and the shoulder straps which allow you to carry this bag in different style options, and the zipper closure to ensure you get to keep your belonging securely.
All and all, this is such a versatile bag that soon will be your new BBFF (Best Bag Friend Forever). Finished bag measurements : Approx. 13" x 11" x 4" (33 x 28 x 10 cm)
6 Comments
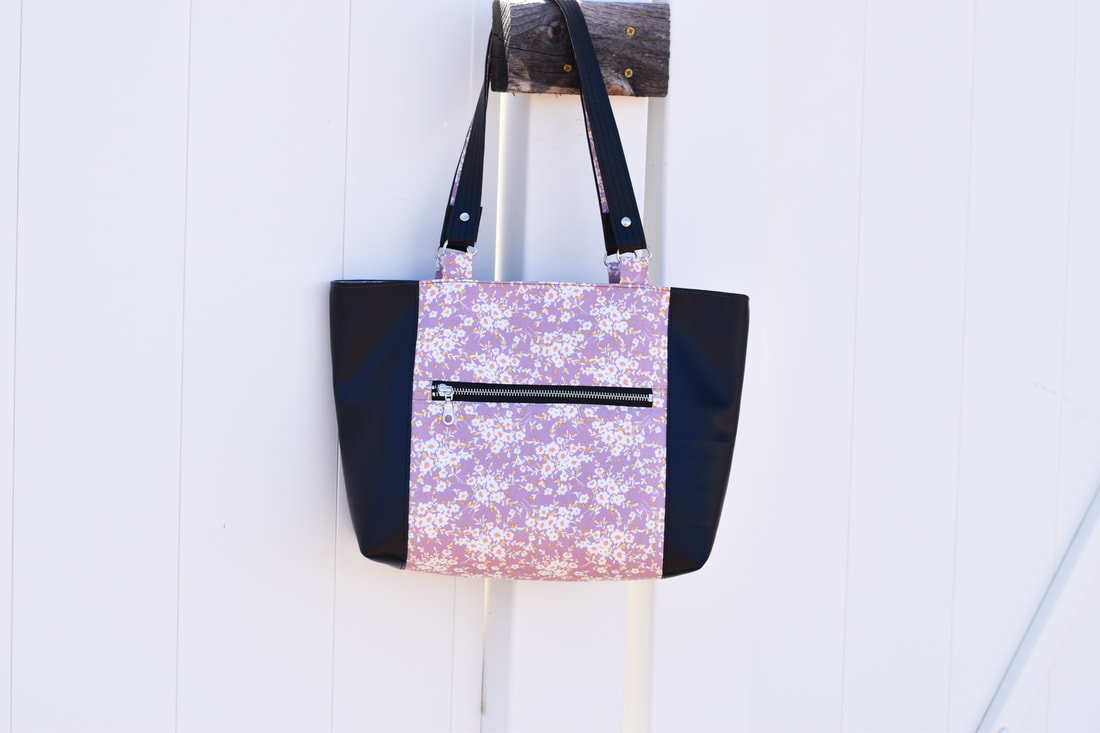
MALA TOTE BAG - mid size tote bag with zipper closure by Yoan Sewing Studio
If you need a simple, light, and straight-forward tote bag for every day use, you will love this Mala tote bag. It is a mid-size tote bag with zipper closure and of course pockets. The vinyl accent and the metal zipper, add fanciness touch to this tote bag thus can be dressed up or down.
Finished bag measurements : 16" x 11" x 4" (40.5 x 28 x 10) 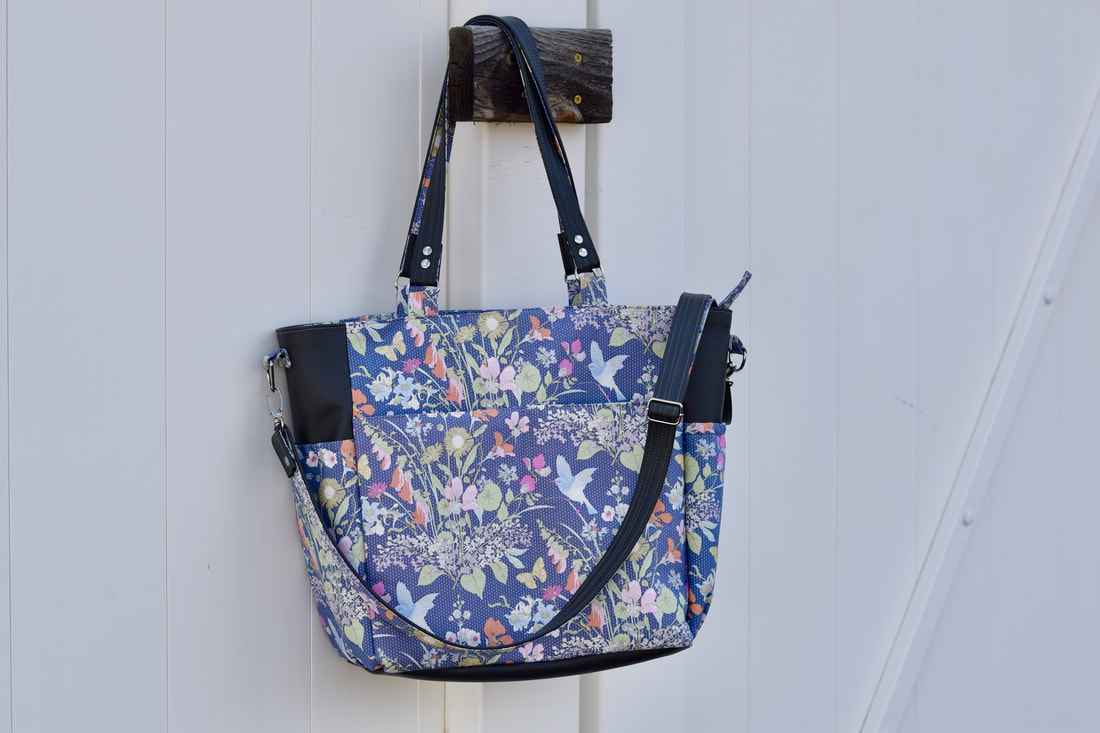
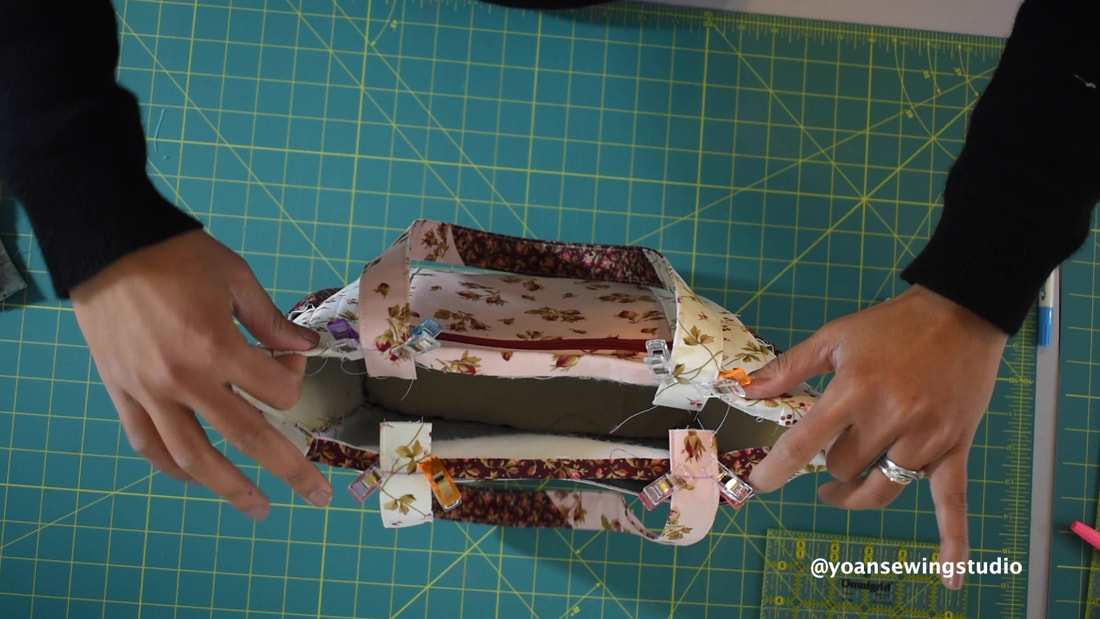
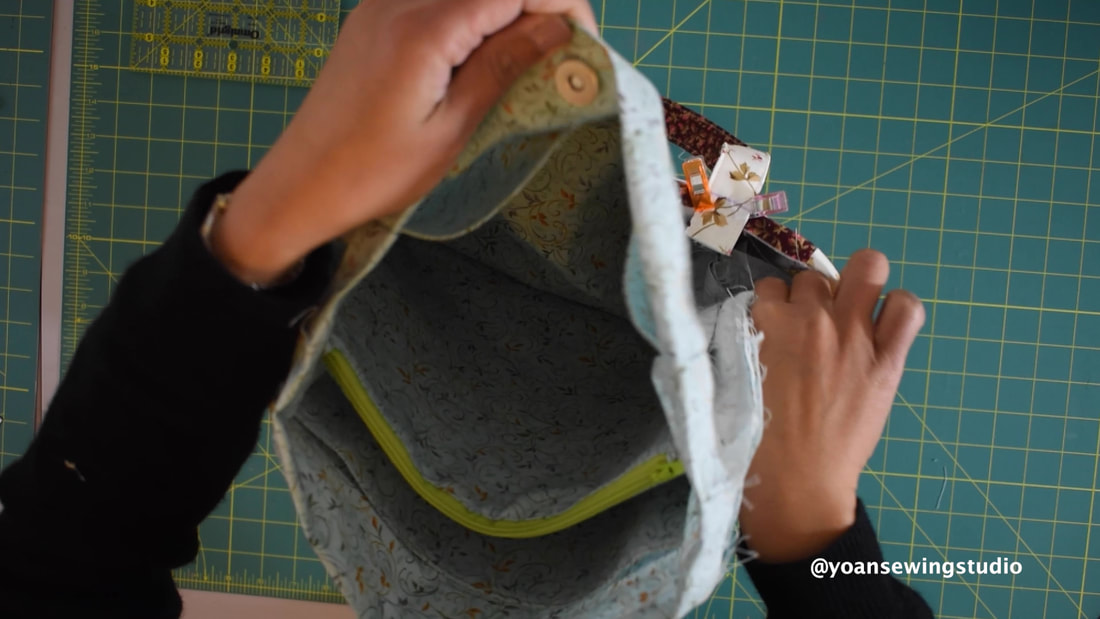
Multipurpose diaper bag by Yoan Sewing Studio
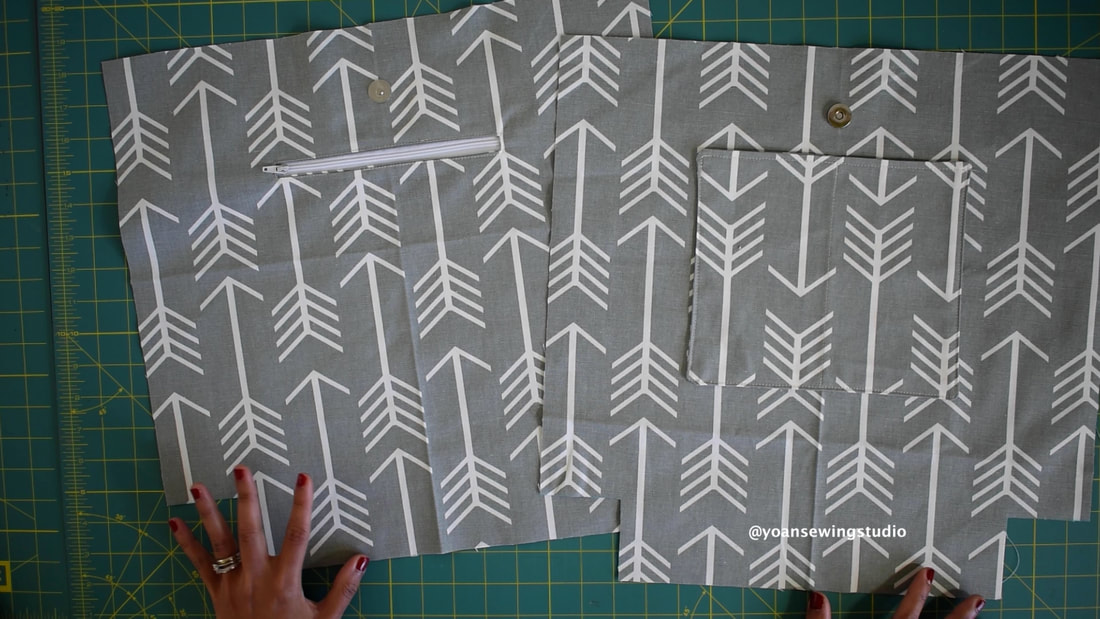
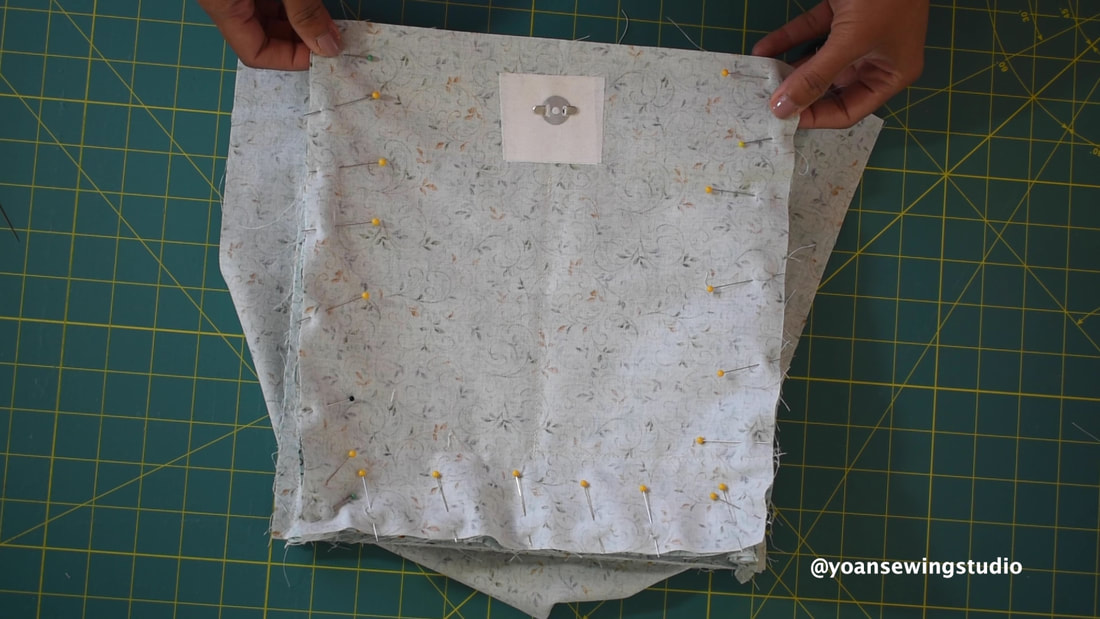
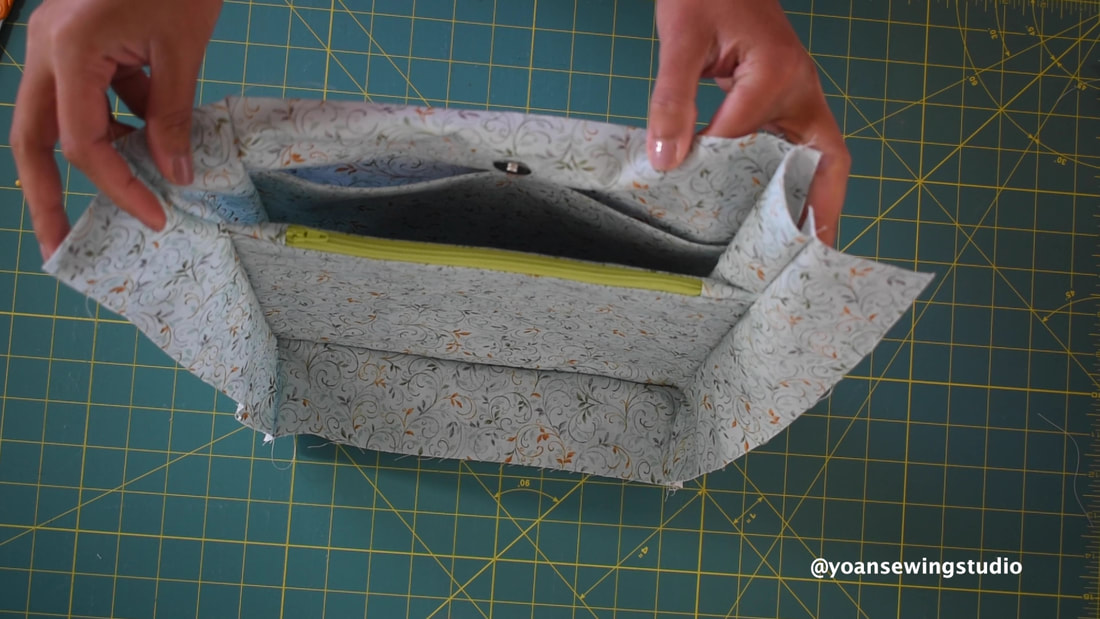
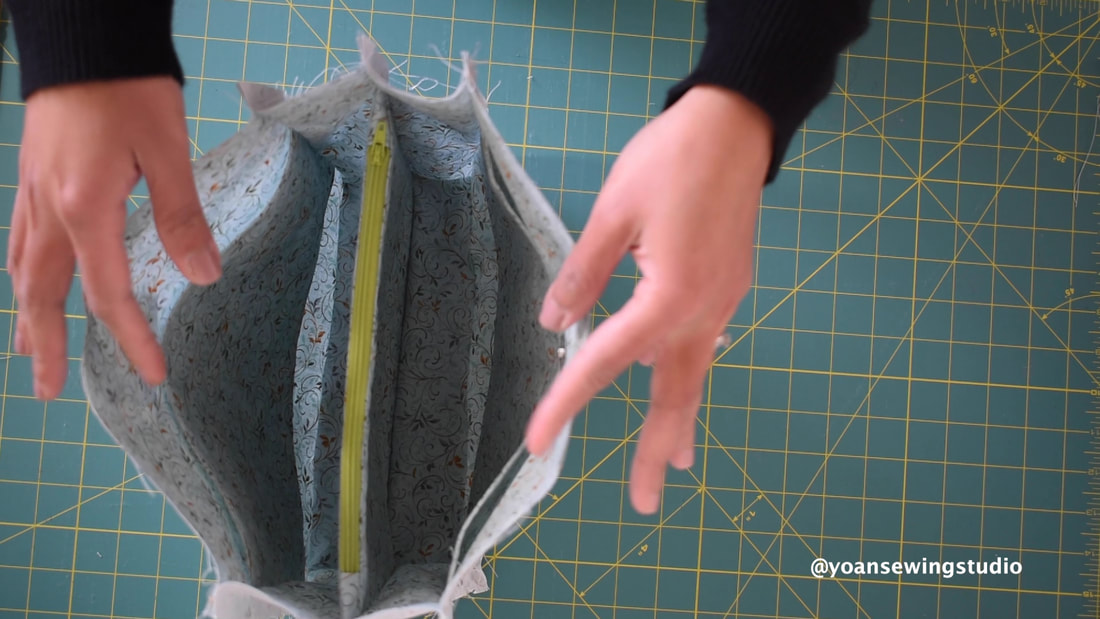
Today I am bringing you the diaper bag project. This is the kind of diaper bag that doesn't scream diaper bag! It is pretty fun and stylish and can be used for many different purpose too. You can use this bag as a work bag, weekender, or for a day trip, travelling, etc.
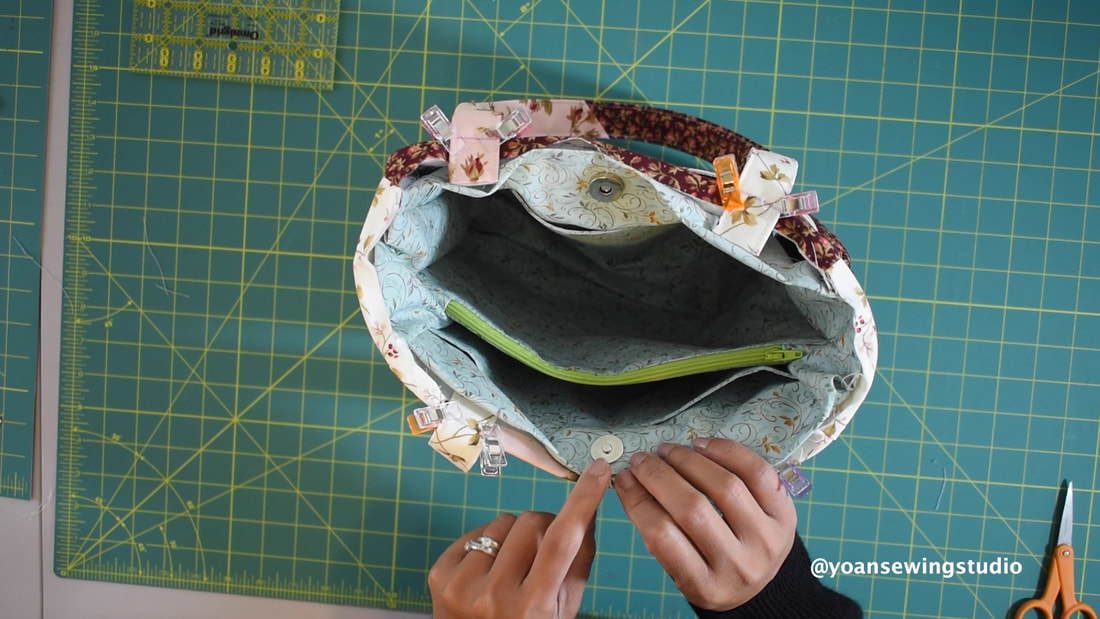
You can wear this bag as a shoulder strap (for easy access) or as a crossbody (to allow both hands free). The inner compartment can also fit a 13" laptop comfortably.
Finished bag measurements (approx. 16 1/2" x 12" x 5 1/2")
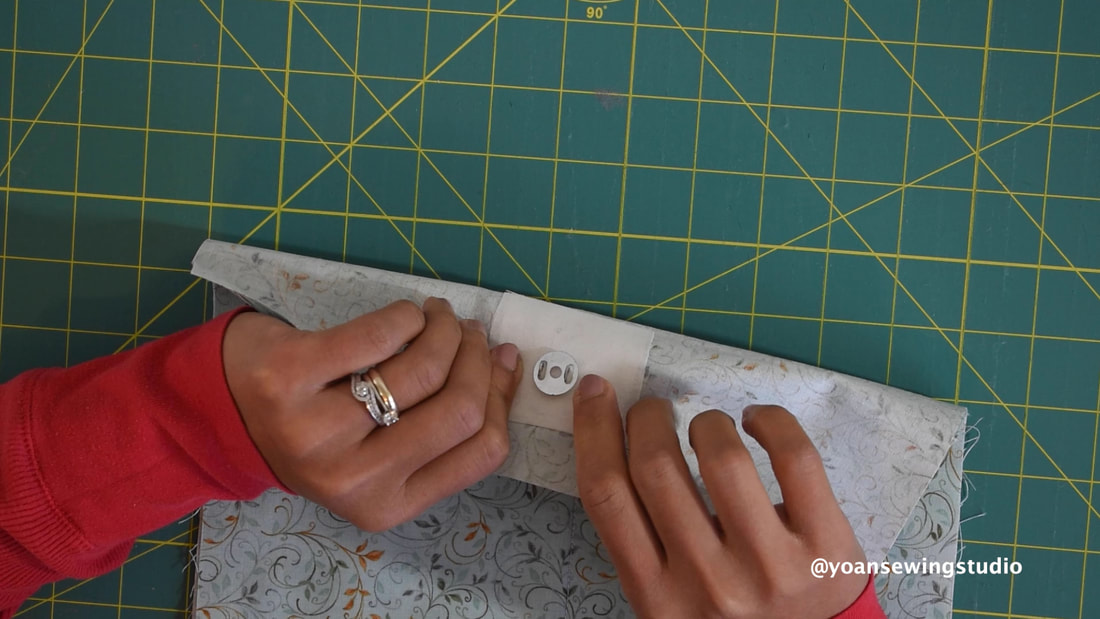
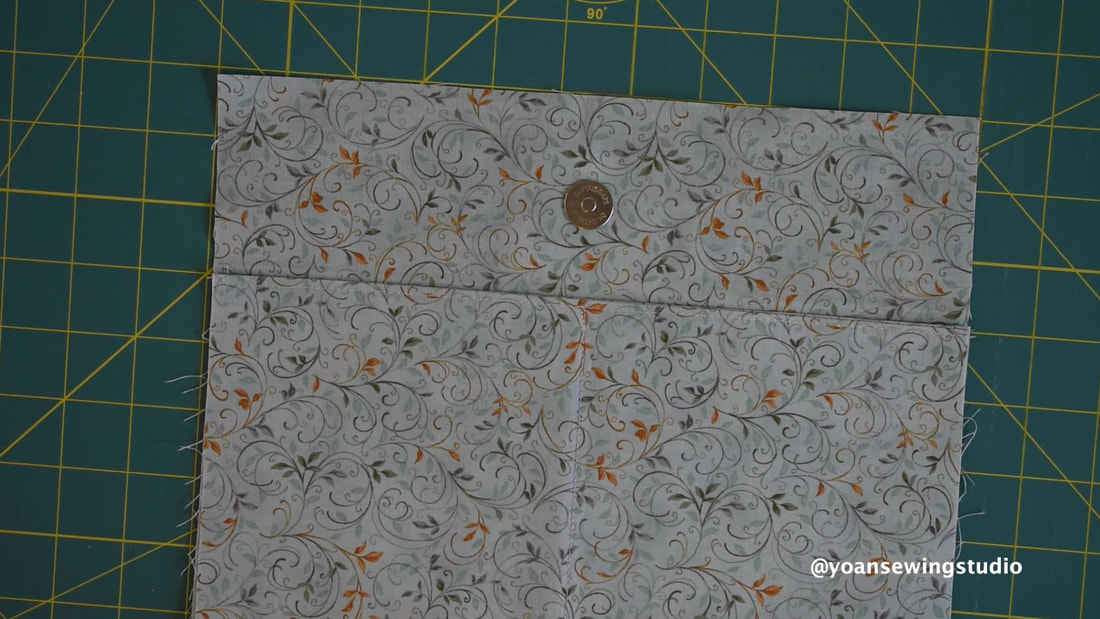
Features: 2x front zipper pockets 1x large back exterior pocket (with magnetic snap closure) 2x elasticated side pockets Shoulder straps Adjustable strap Zipper closure 2x interior elasticated pockets 1x zipper pocket
Follow me on my Youtube channel, and Subscribe so you won't miss any future upload.
Disclosure : This post contains affiliate links, I may earn a commission when you make a purchase of qualifying items through any of those links.
I hope you enjoy this project. Happy Sewing.
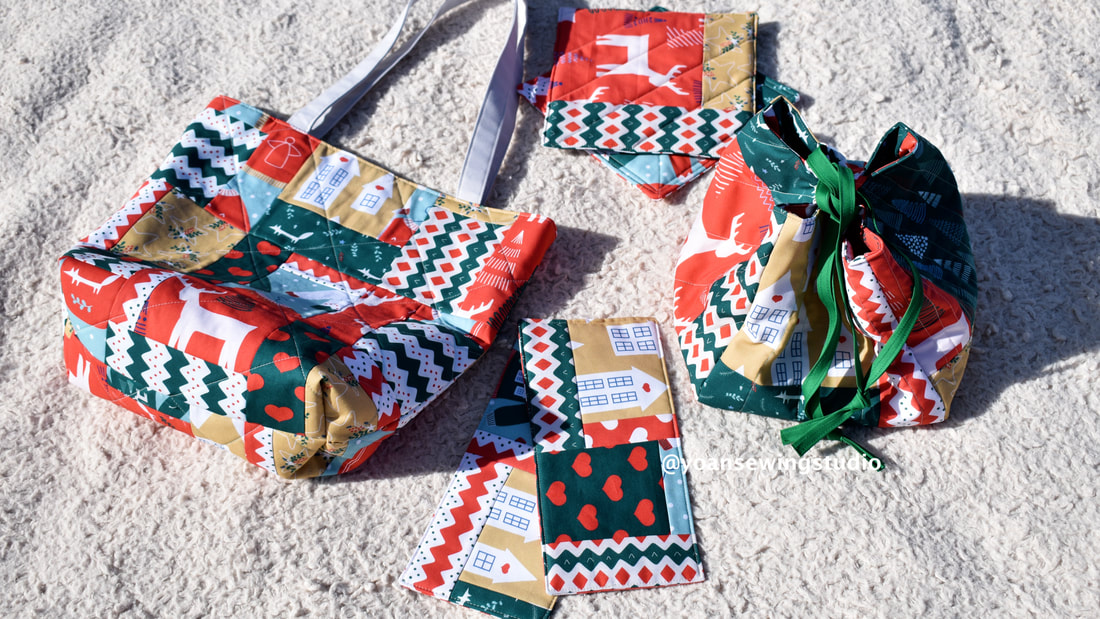
The Cheer You Up Projects by Yoan Sewing Studio
I've got four delightful projects that are solely created to "cheer you up" this holiday season. These are great projects to use up your fabric scraps, remnants or any leftover fabrics that you have on hands.
Each project is pretty simple in constructions, with materials that you likely already have in your stash, hence there is no need to purchase additional items. Since this is a festive season, I used some of my Christmas fabric stash, this is the "Scandinavian Christmas" collection from PBS fabrics that I got from Etsy.
Happy Sewing, and Happy Holiday.. cheers!!
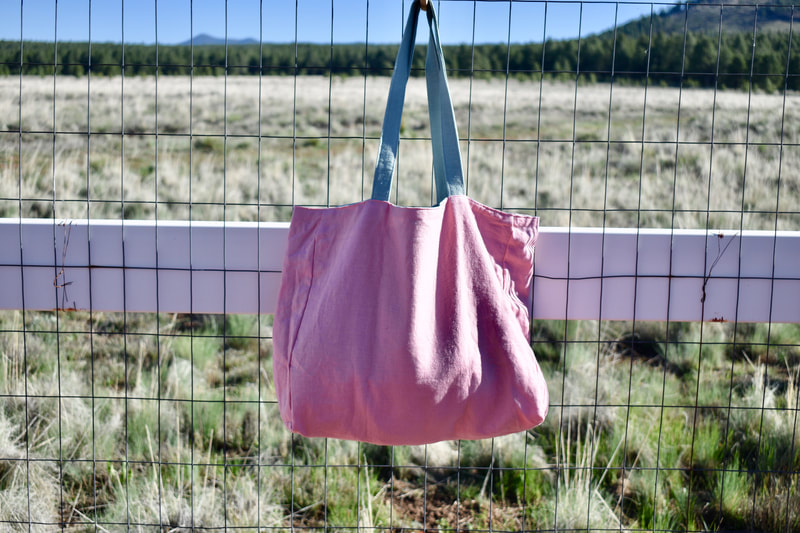
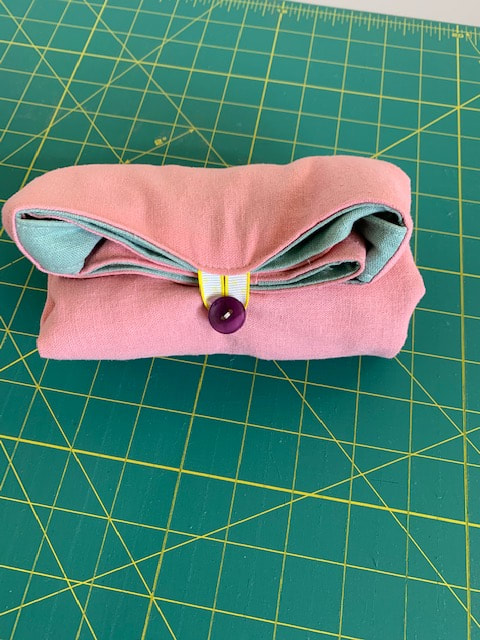
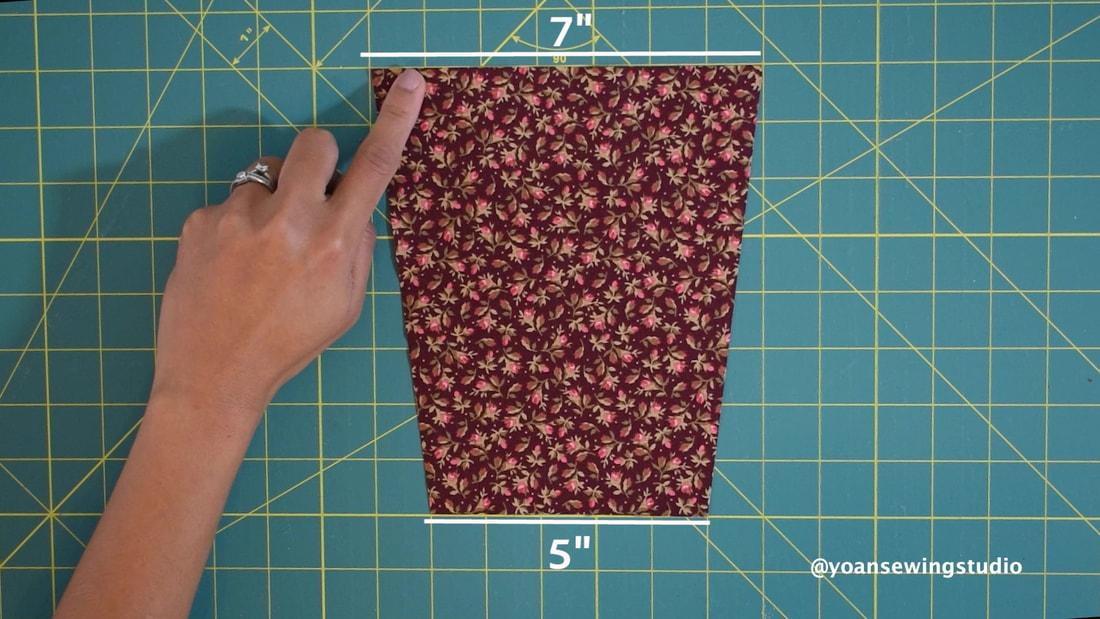
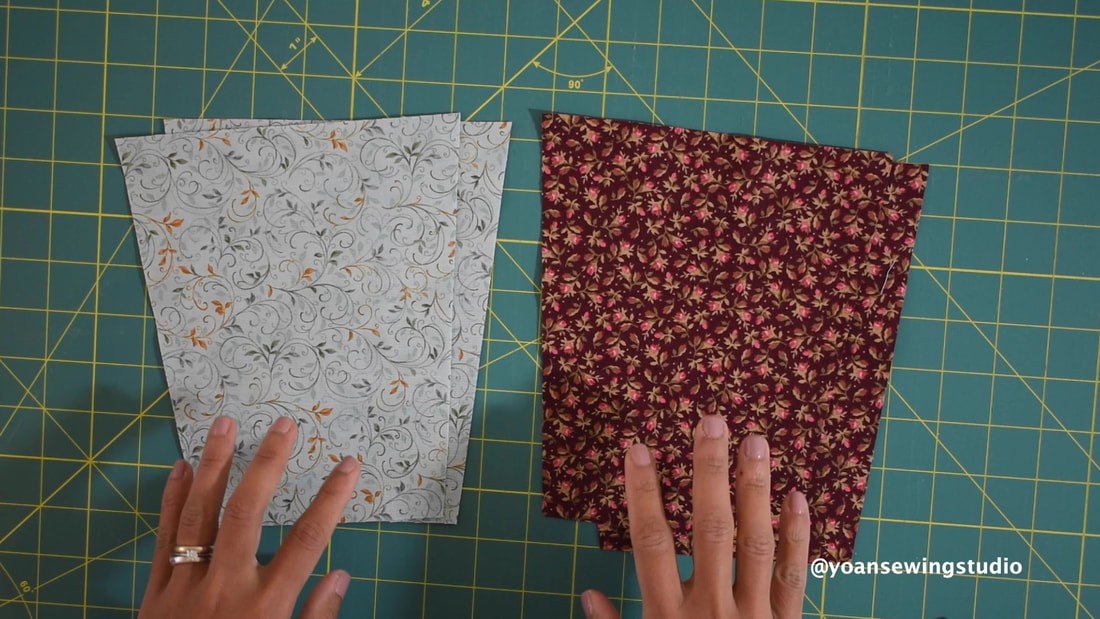
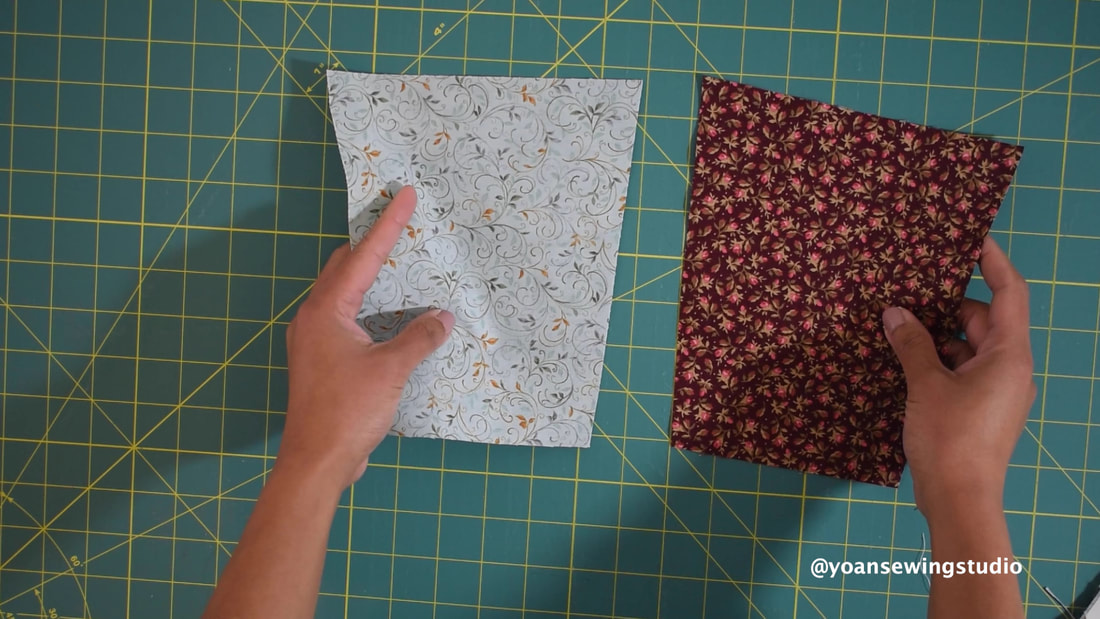
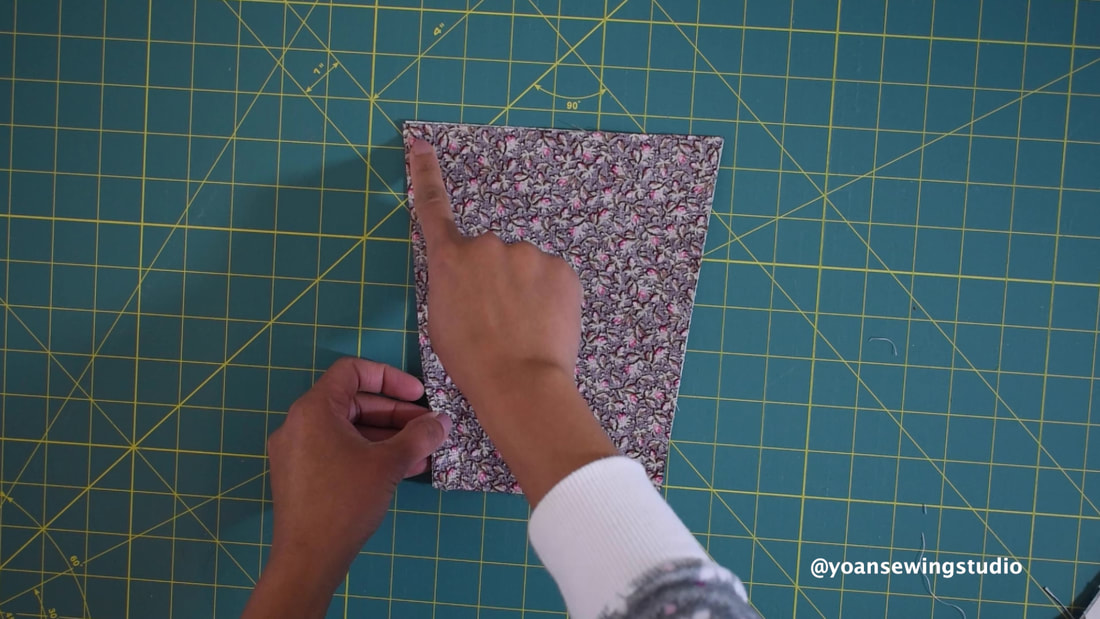
Today I'd like to share 3 adorable foldable bag projects. These bags are lightweight and can be folded into compact size, yet quite roomy and functional. Great for traveling, or to keep in your purse/ car as spare bag. Bag 1Finished bag measurements : Approx. 19" x 14.5" x 4.25" Folded measurements : Approx. 7" x 4" Bag 2Finished bag measurements : Approx. 14.5" x 14" x 5" Folded measurements : Approx. 5" x 3.5" Bag 3Finished bag measurements : Approx. 17" x 16" x 5" Folded measurements : Approx. 7" x 3.5" I broke this project into two part series on my Youtube channel that you may watch below. Happy Sewing!
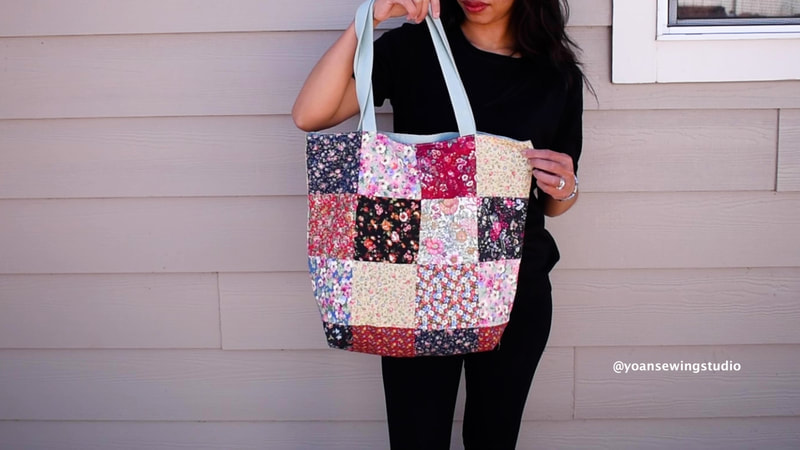
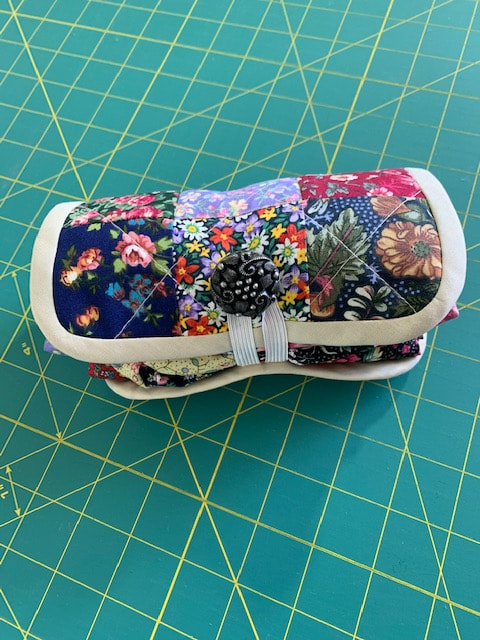
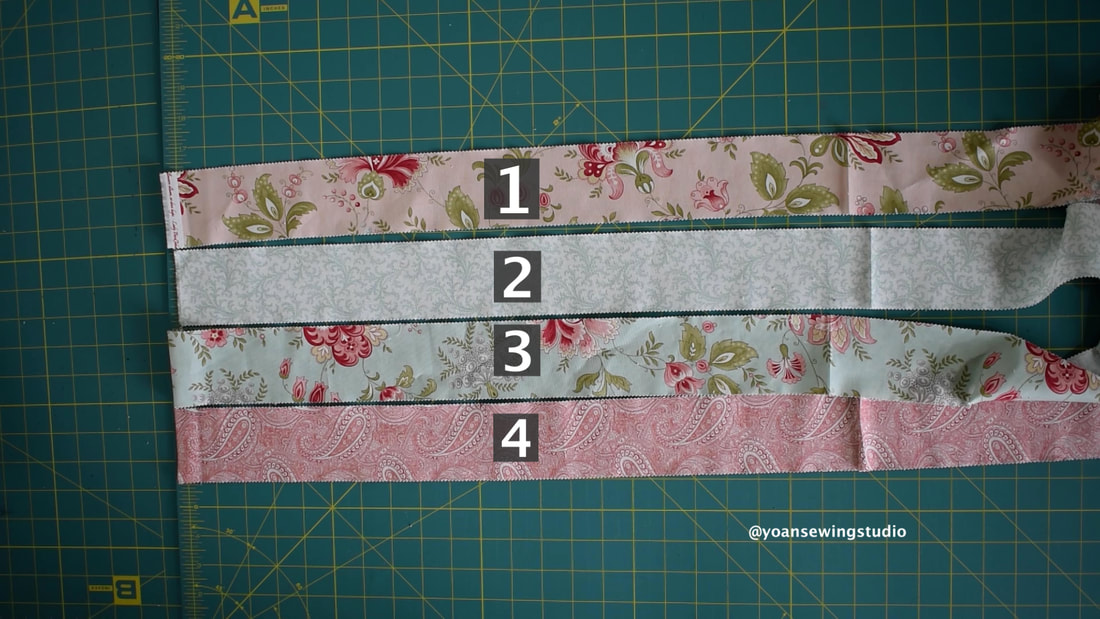
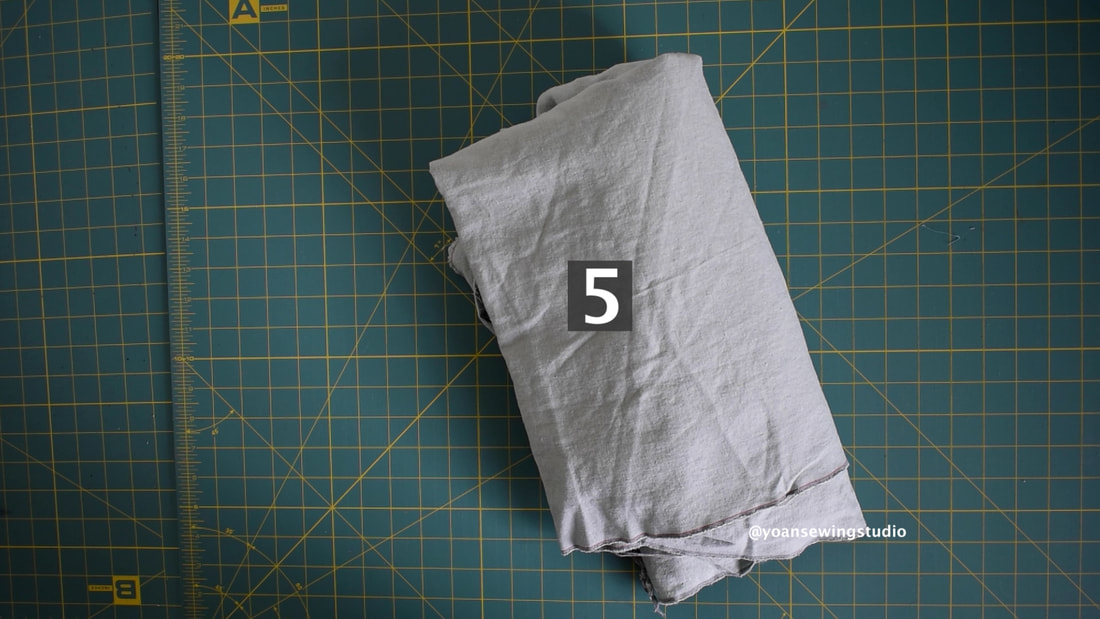
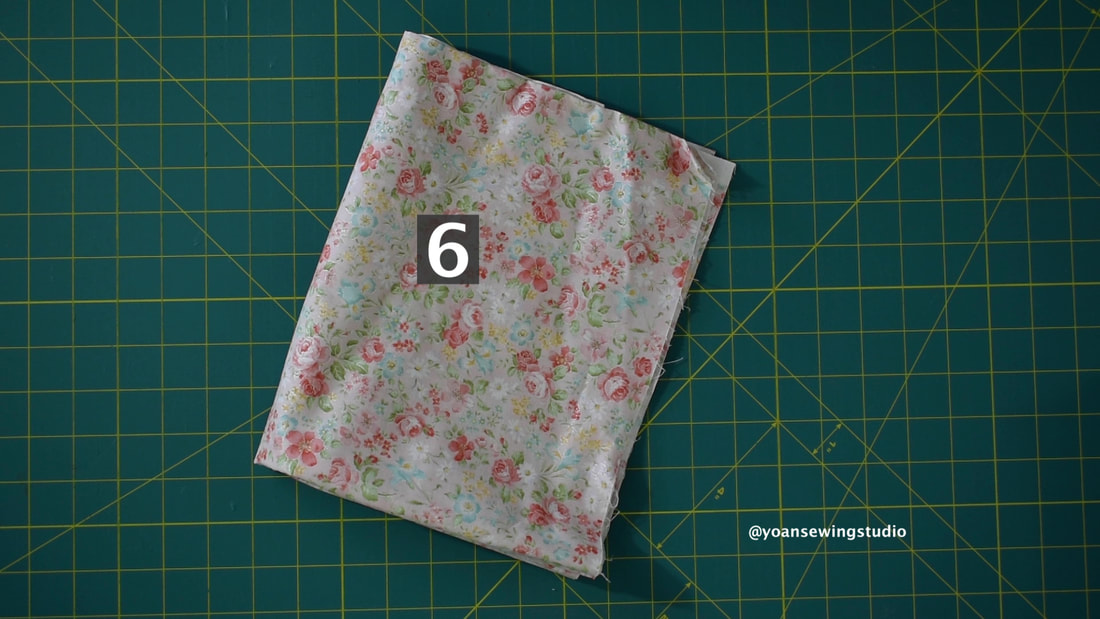
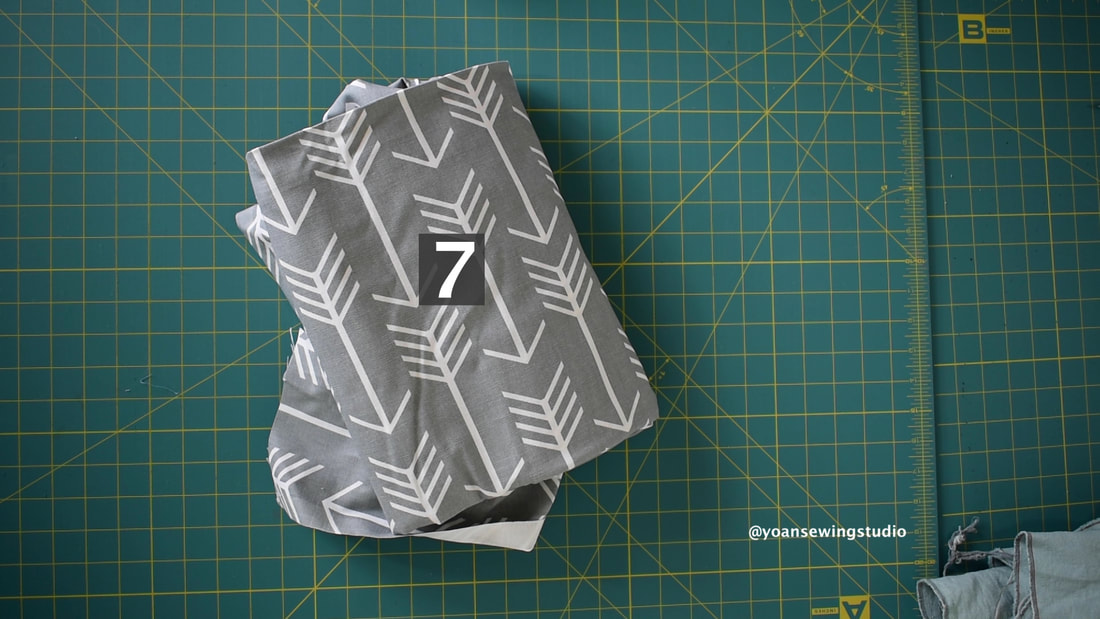
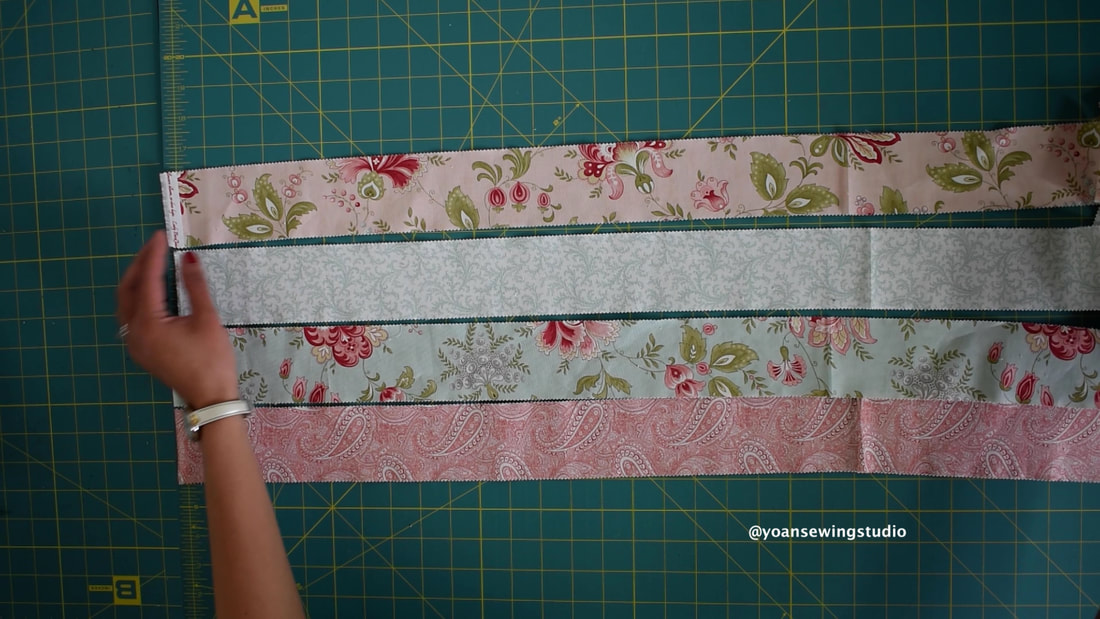
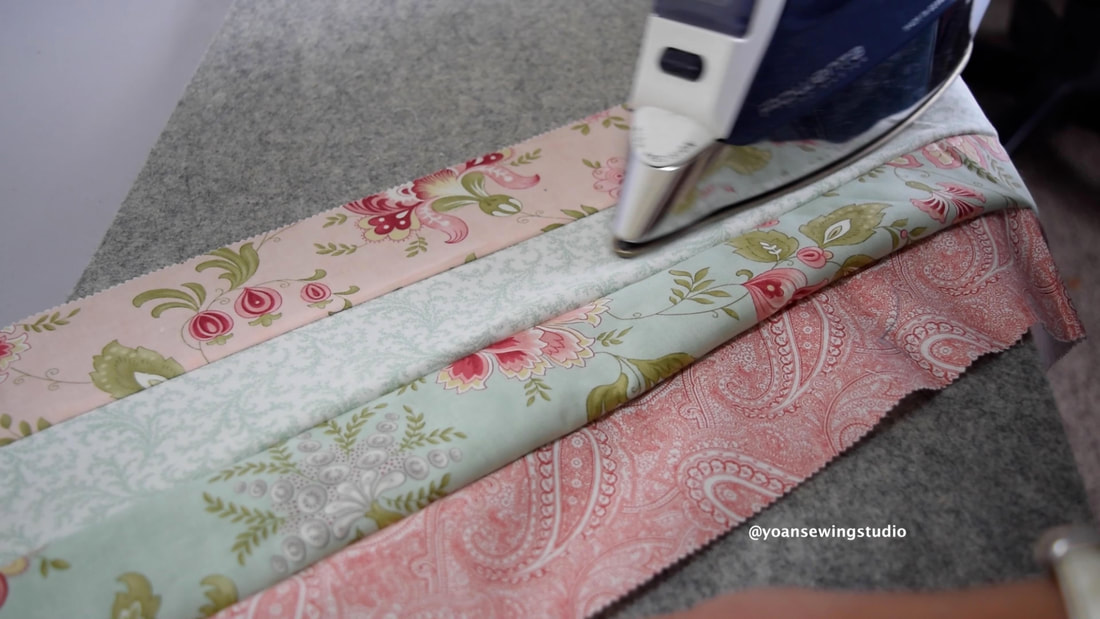
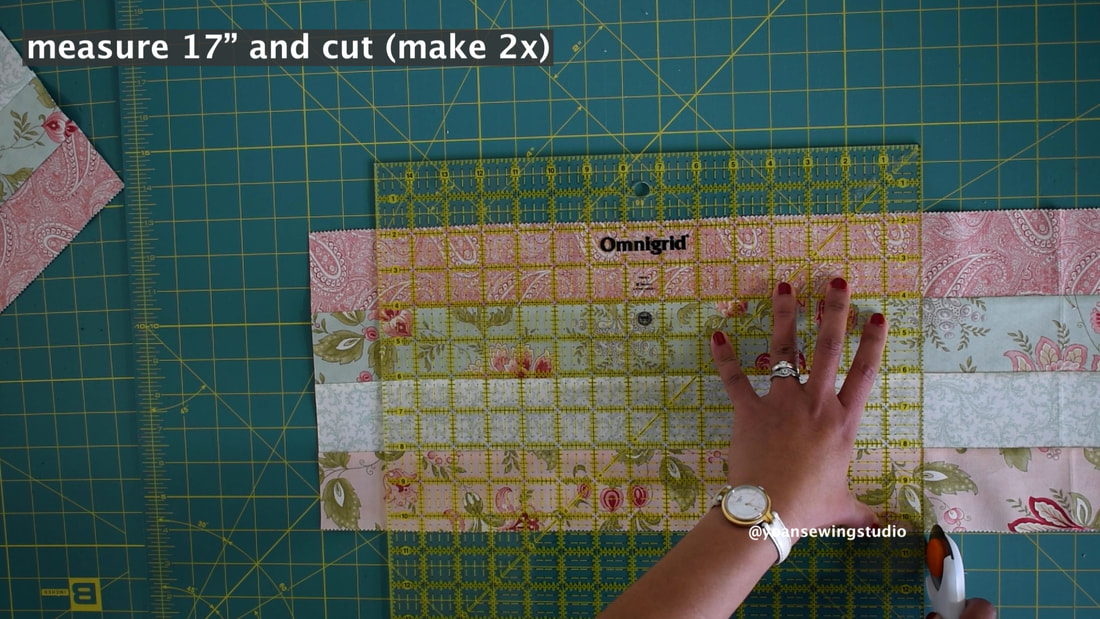
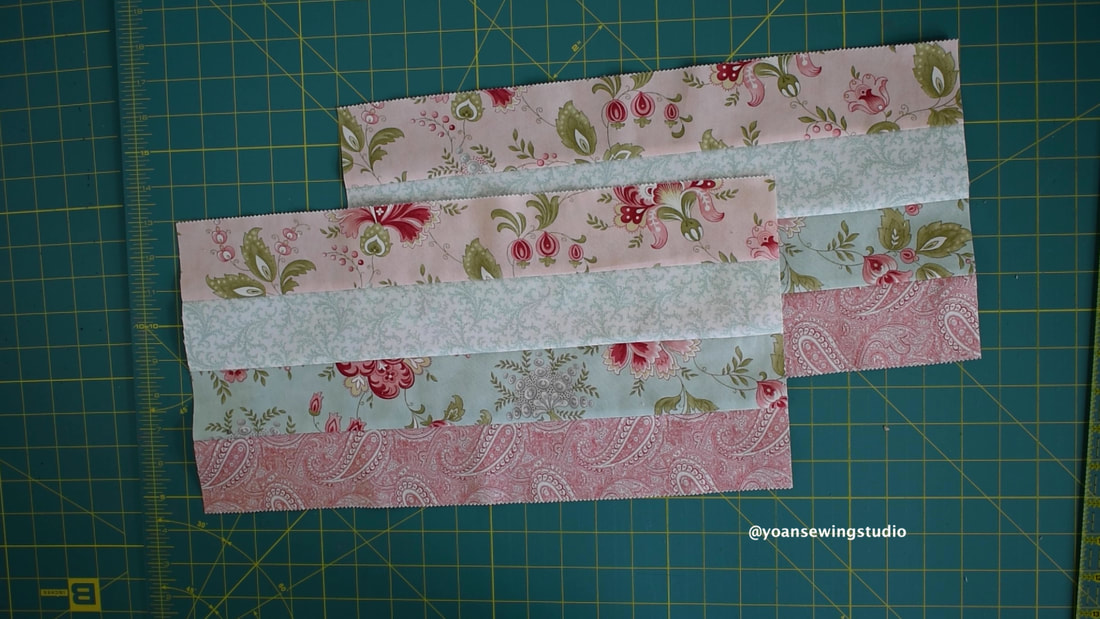
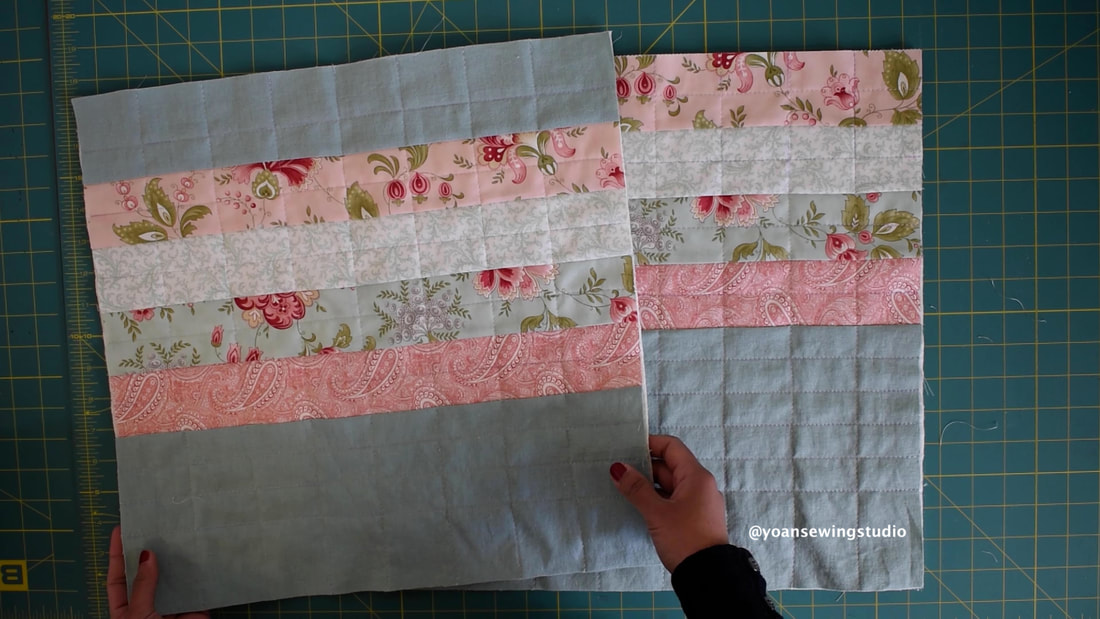
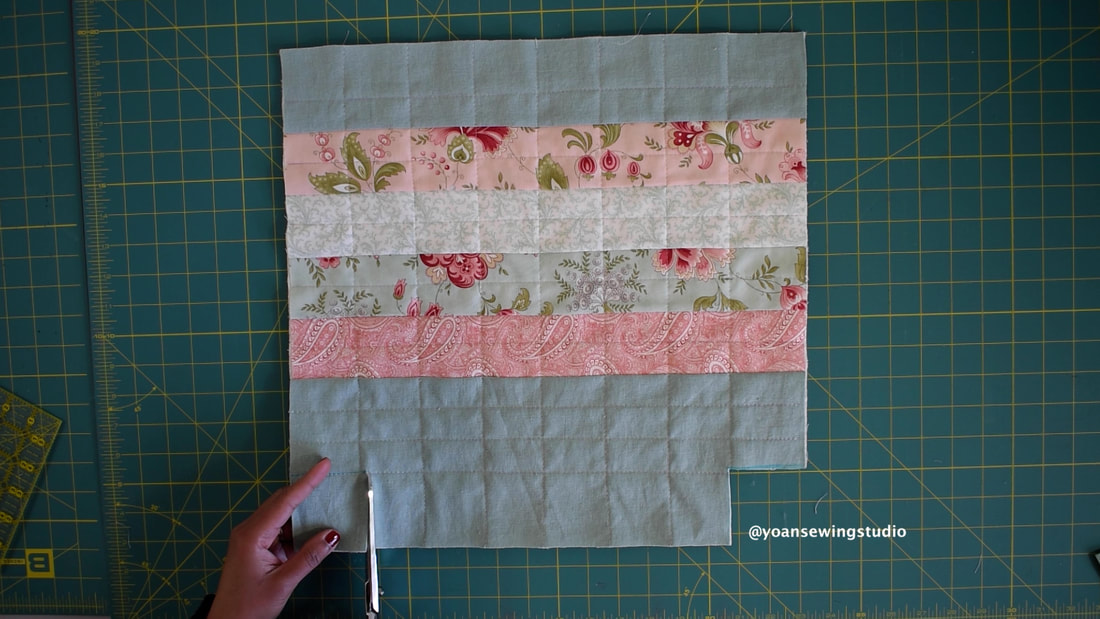
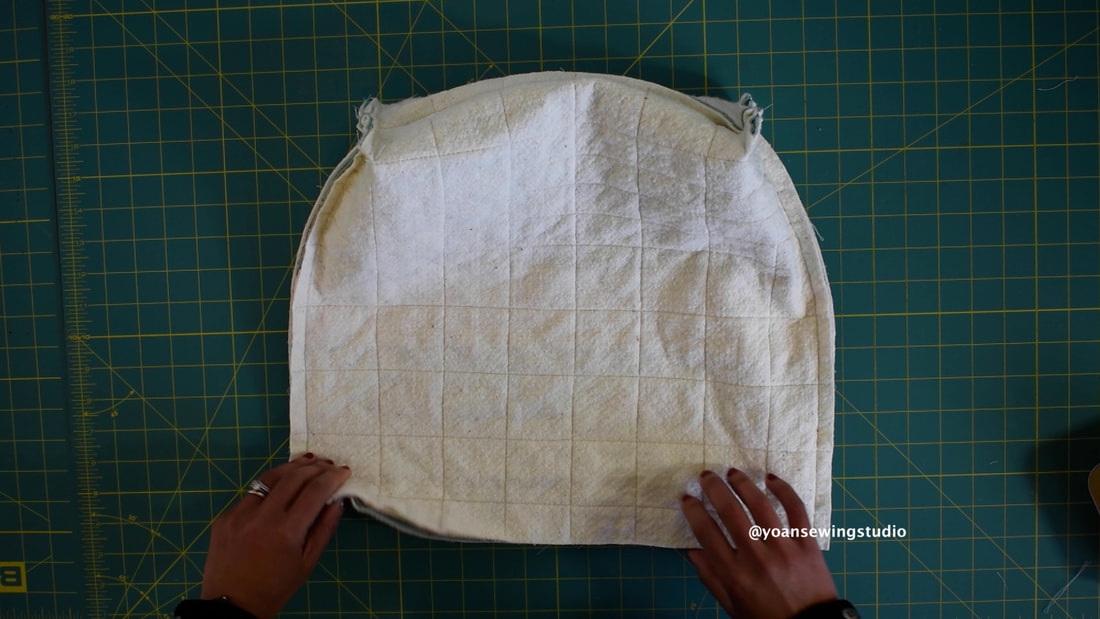
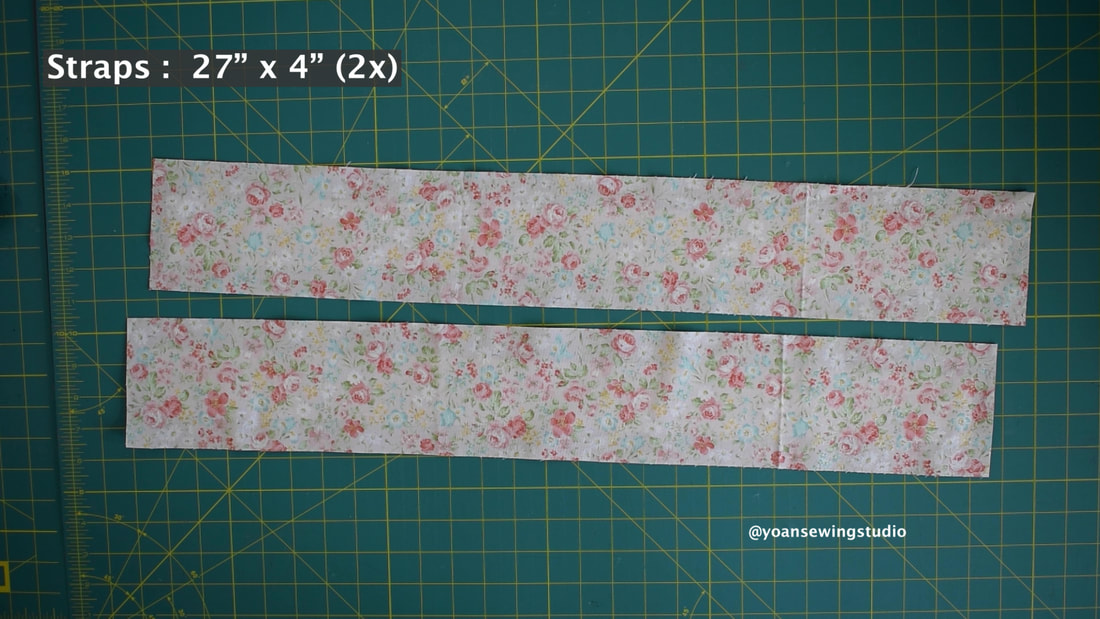
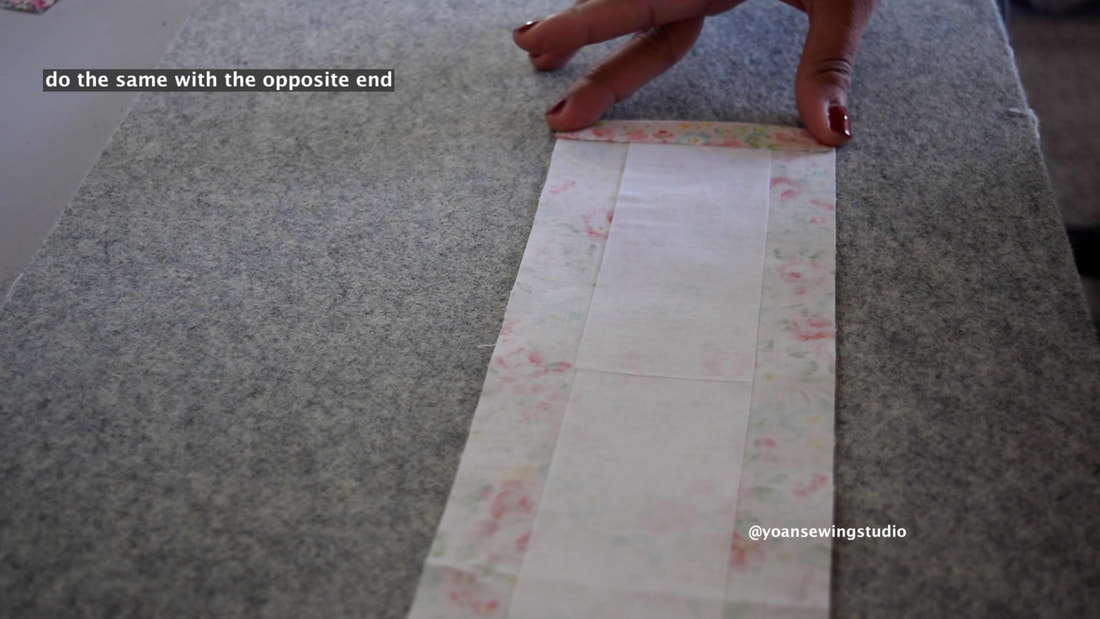
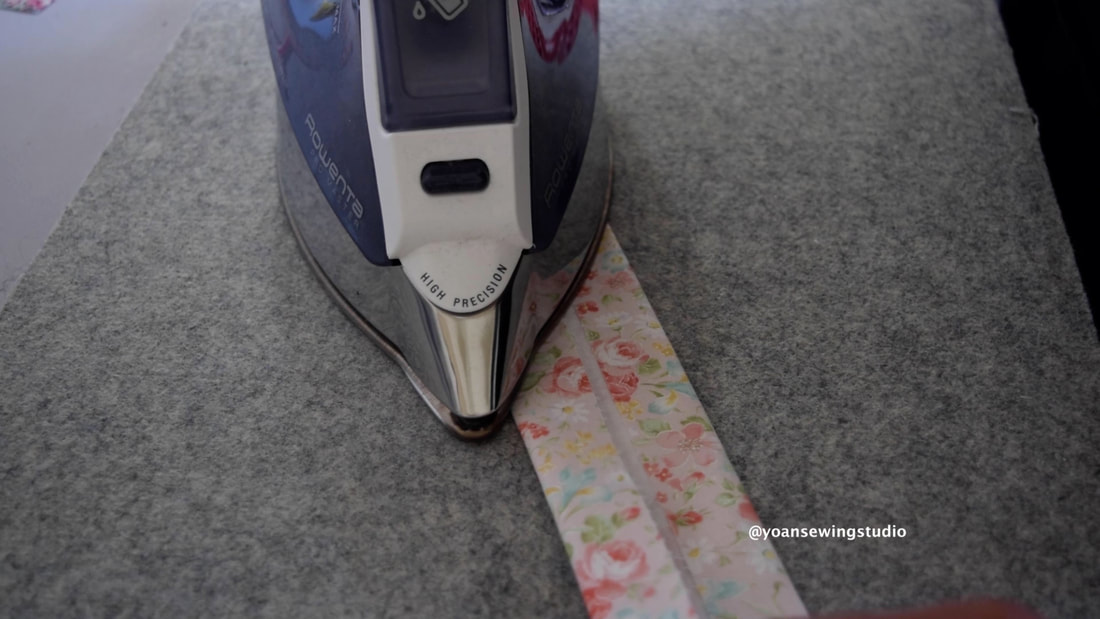
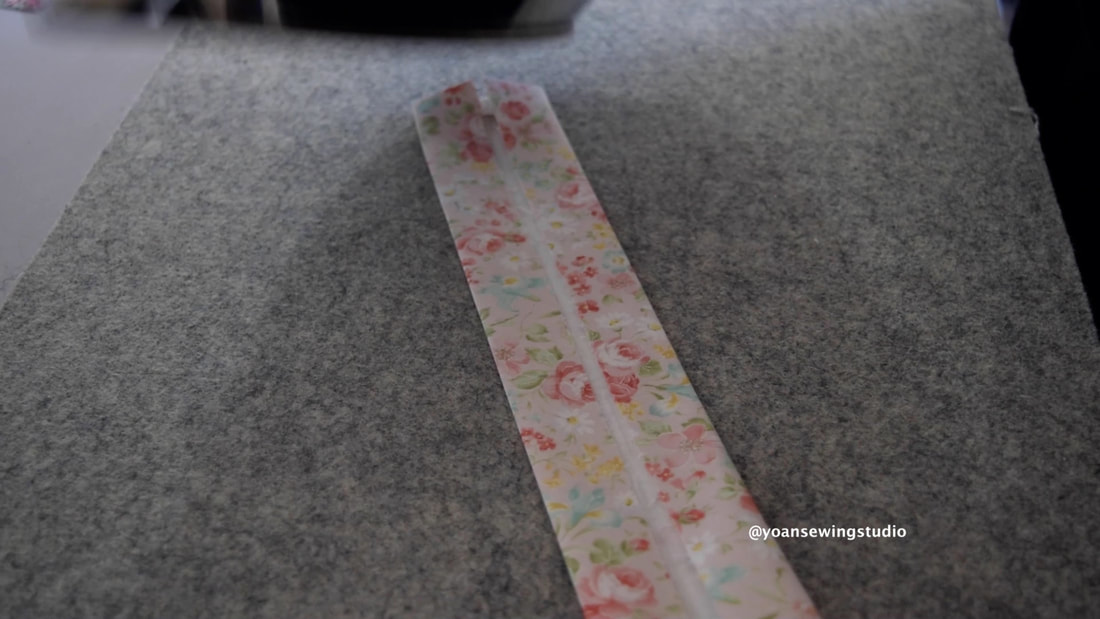
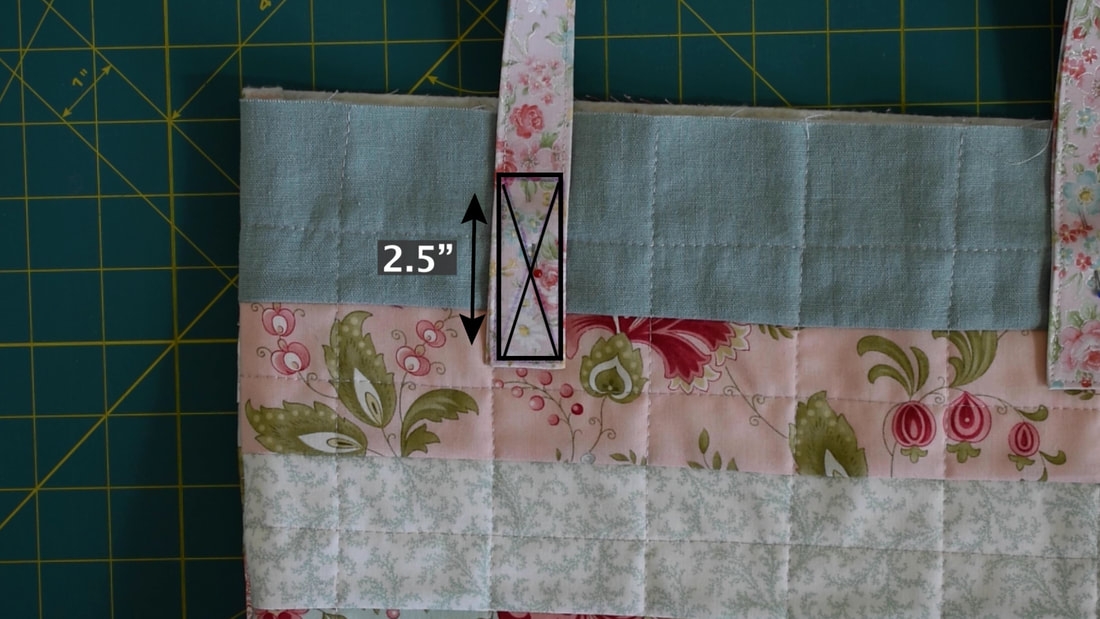
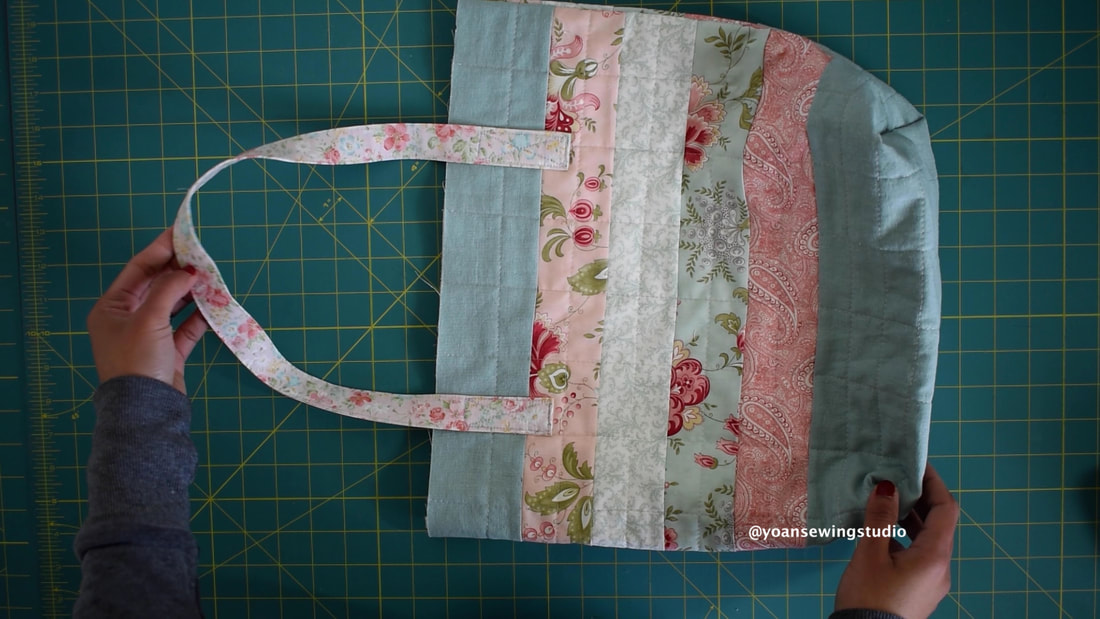
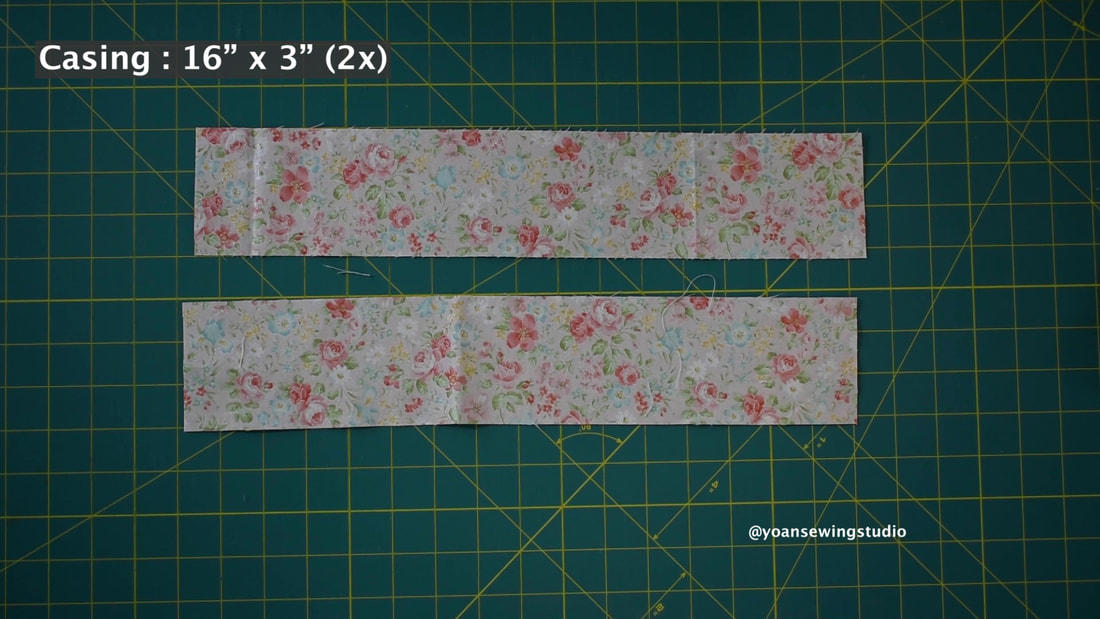
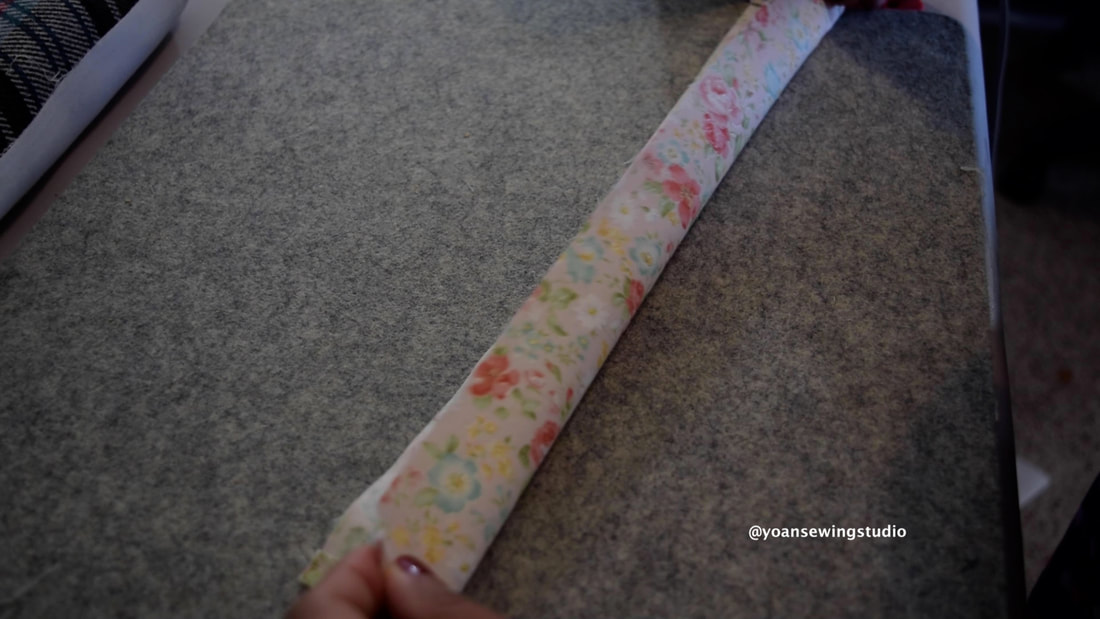
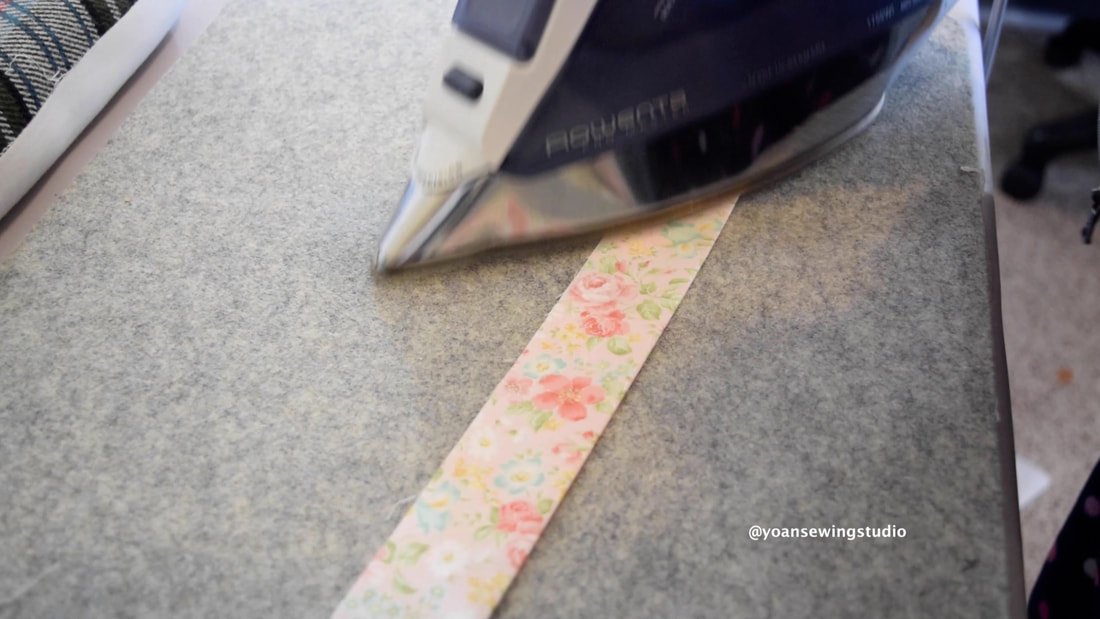
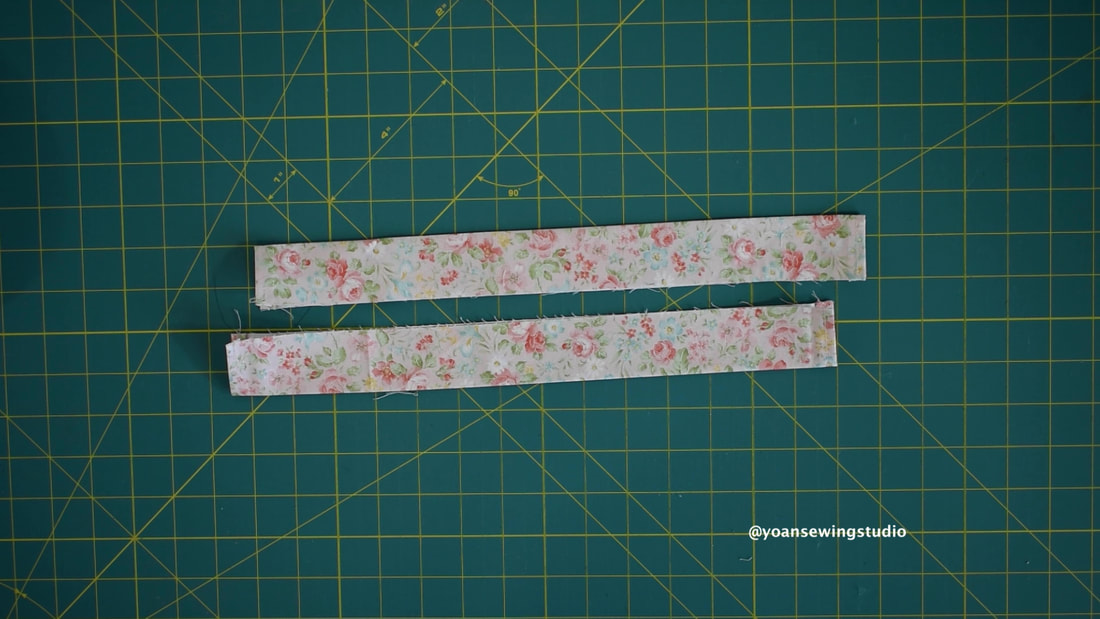
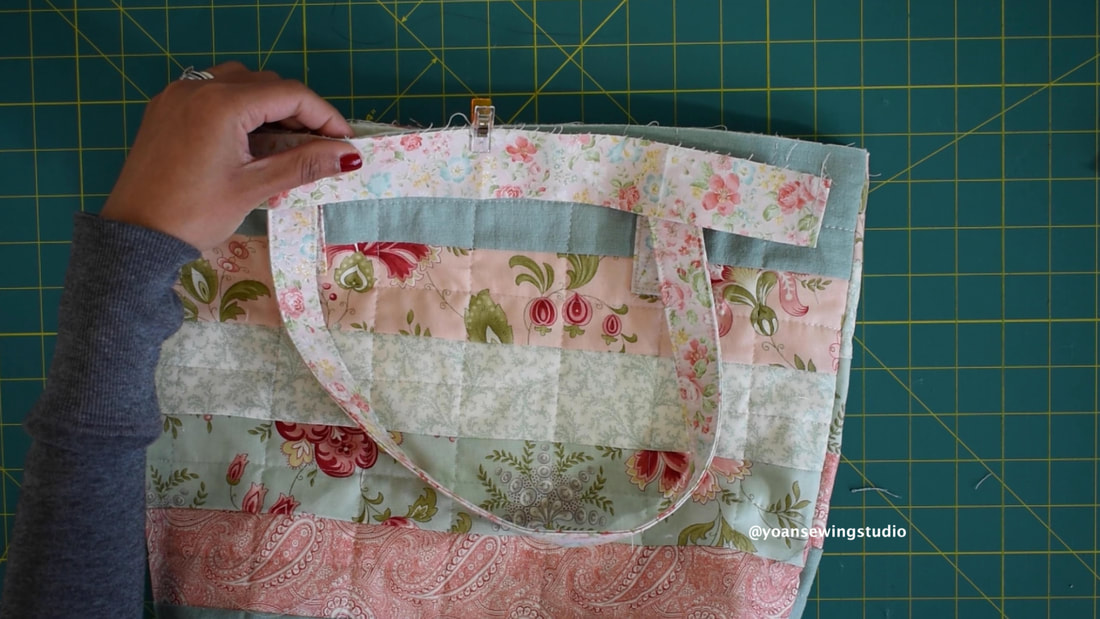
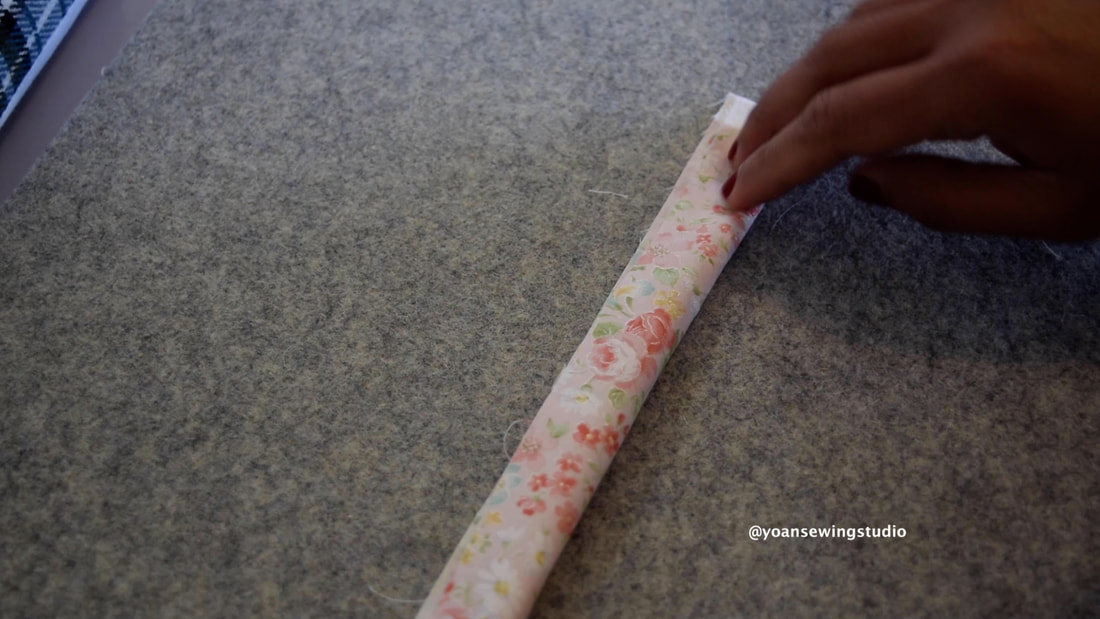
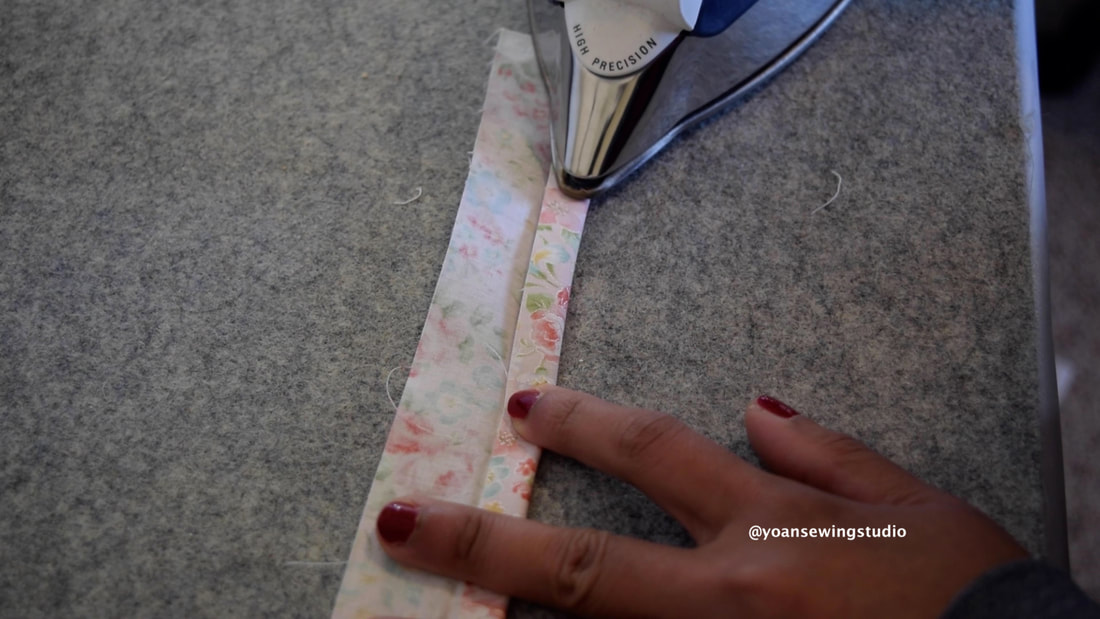
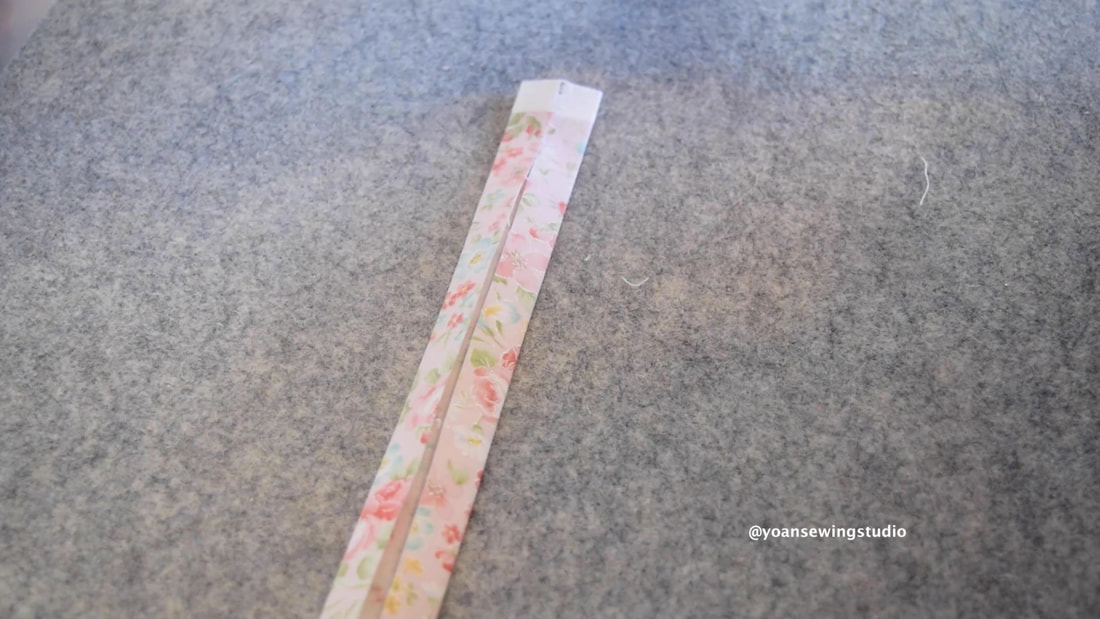
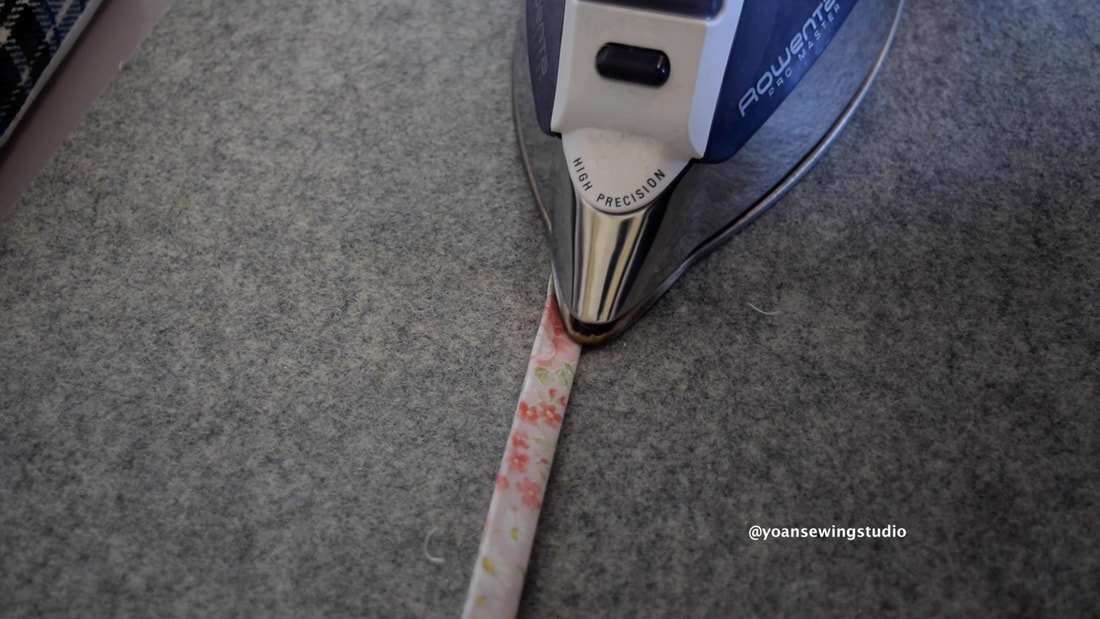
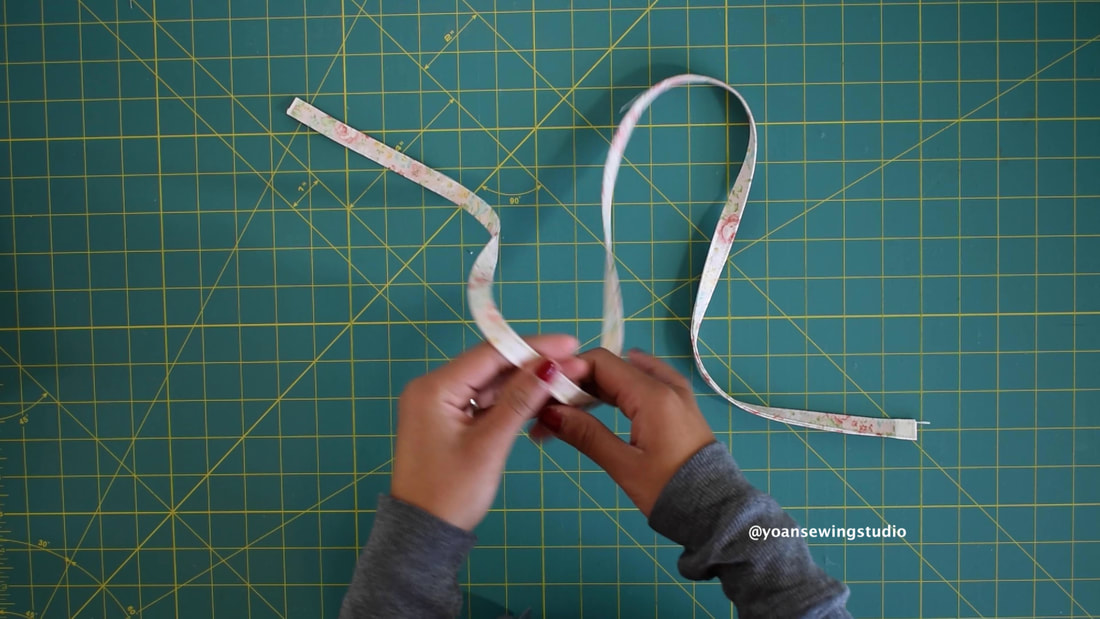
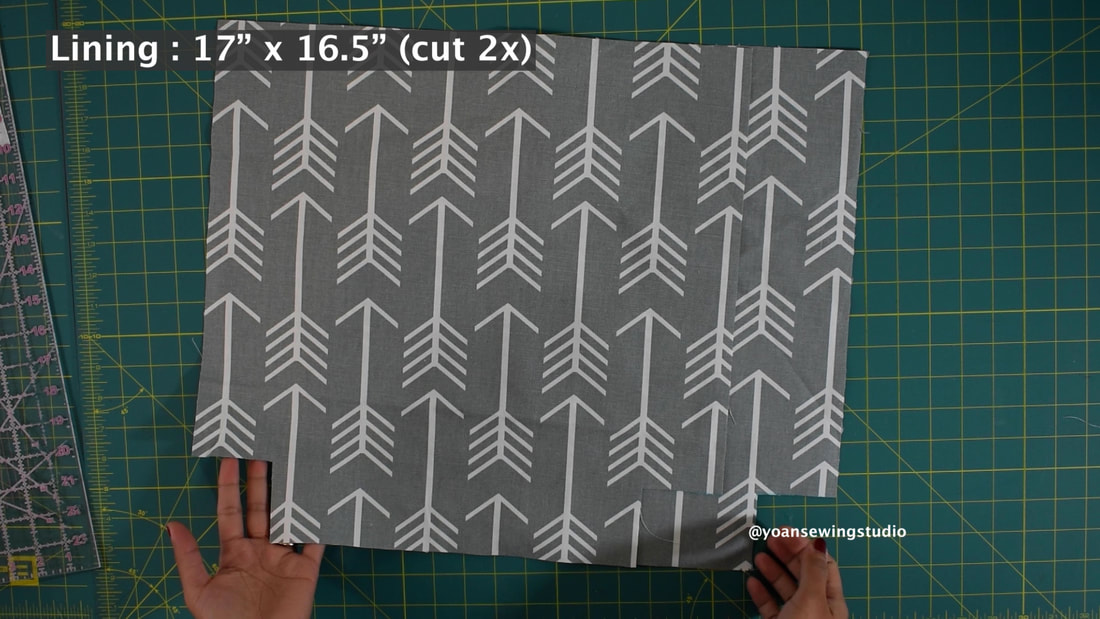
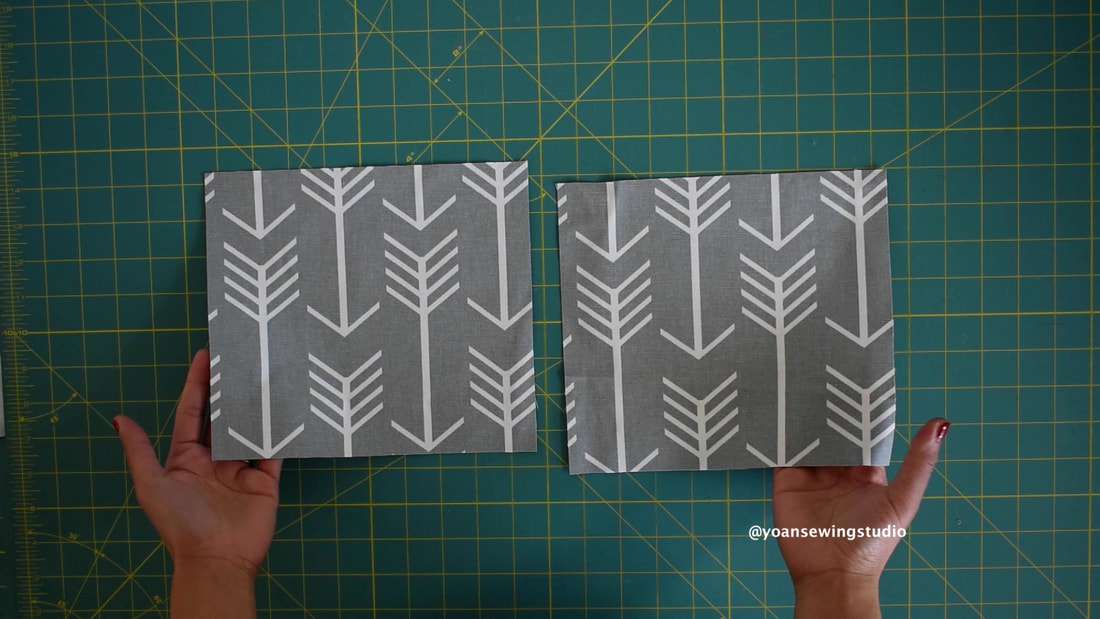
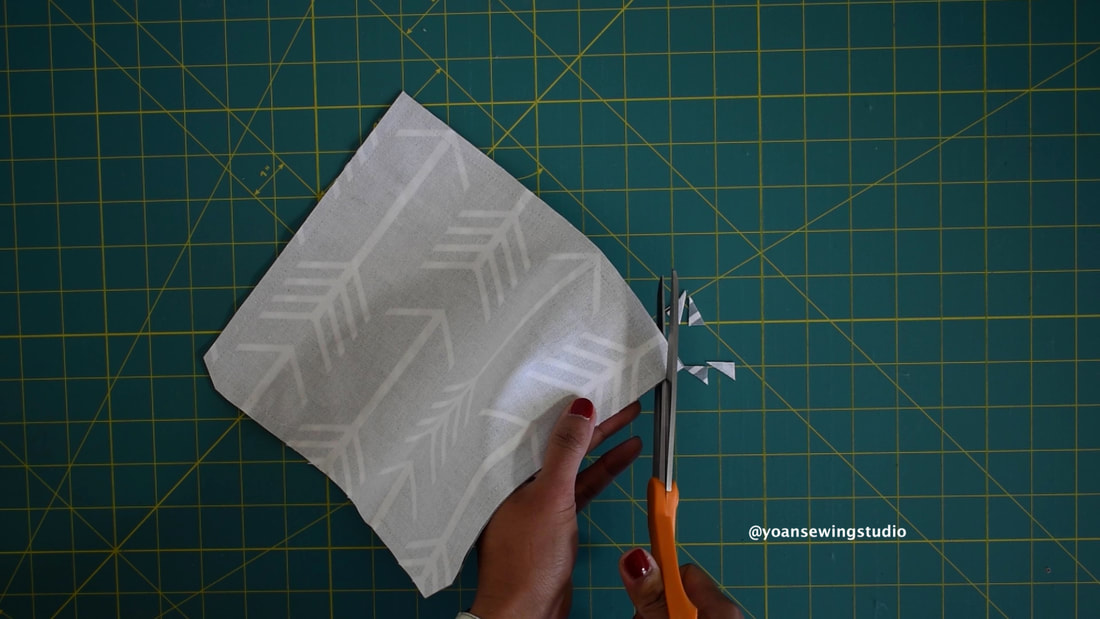
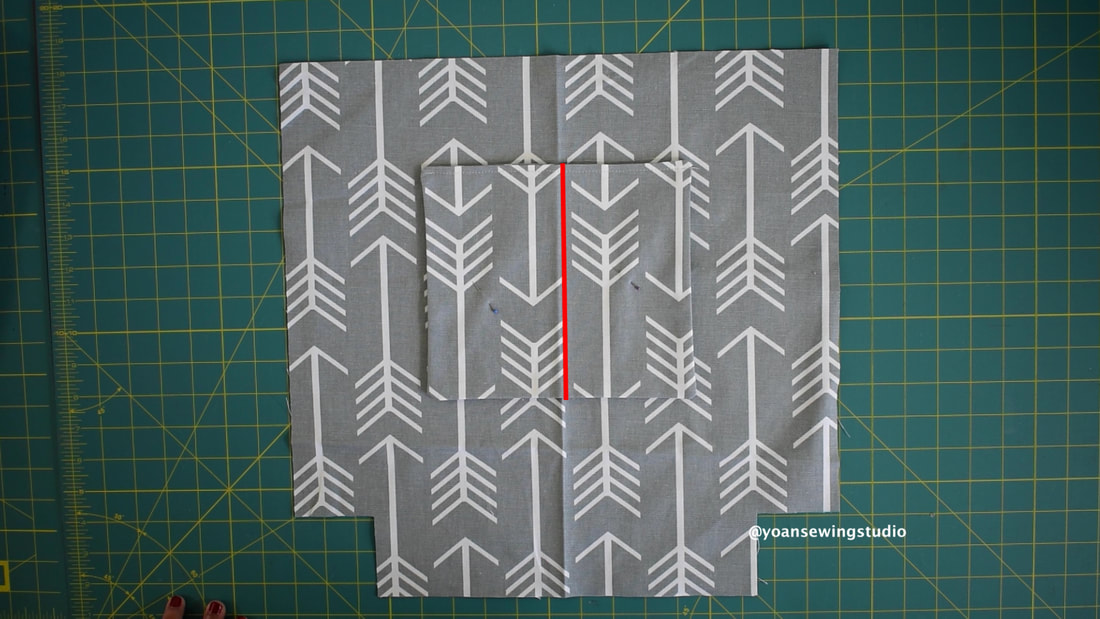
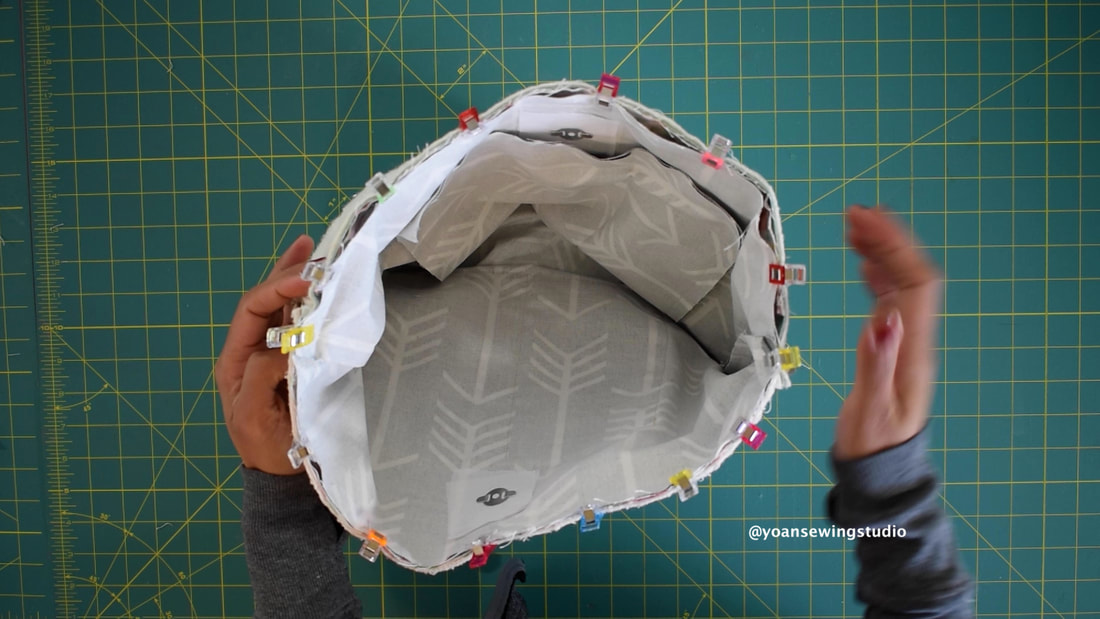
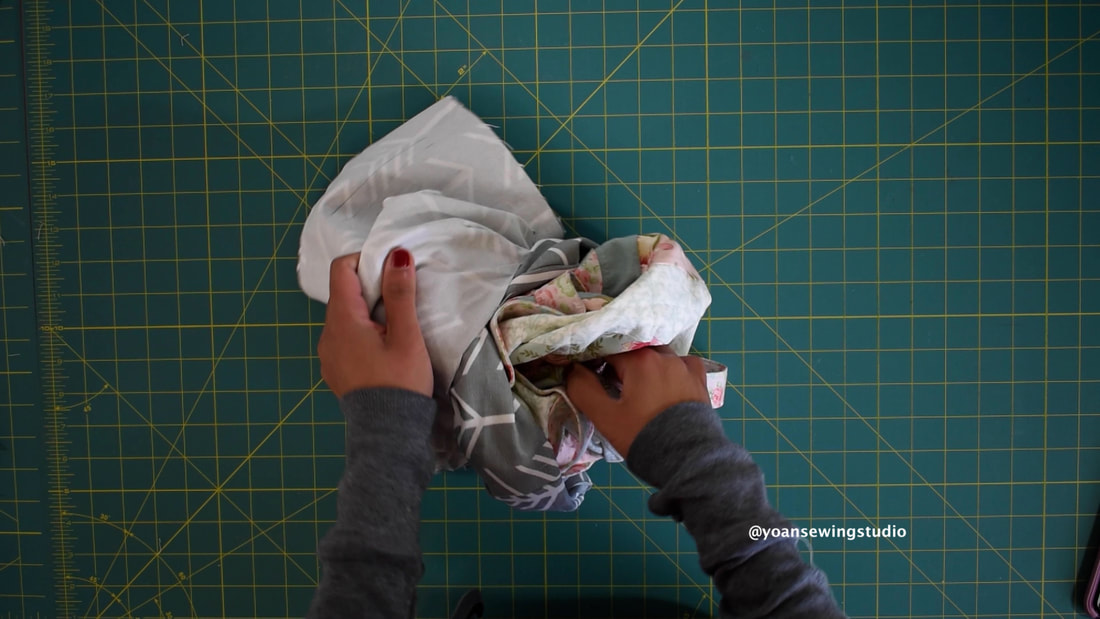
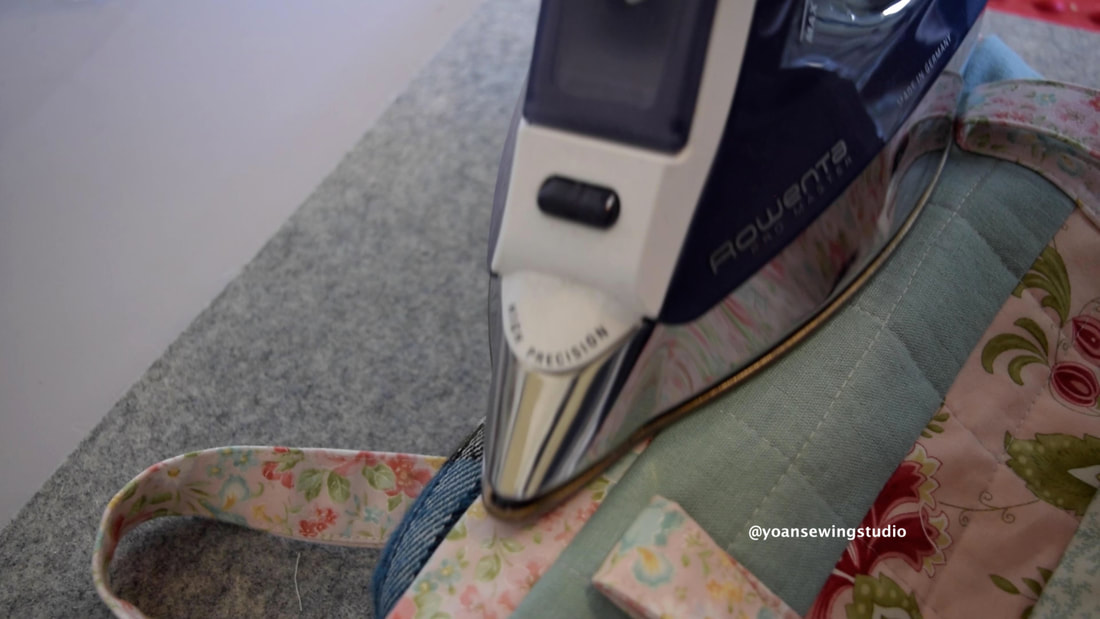
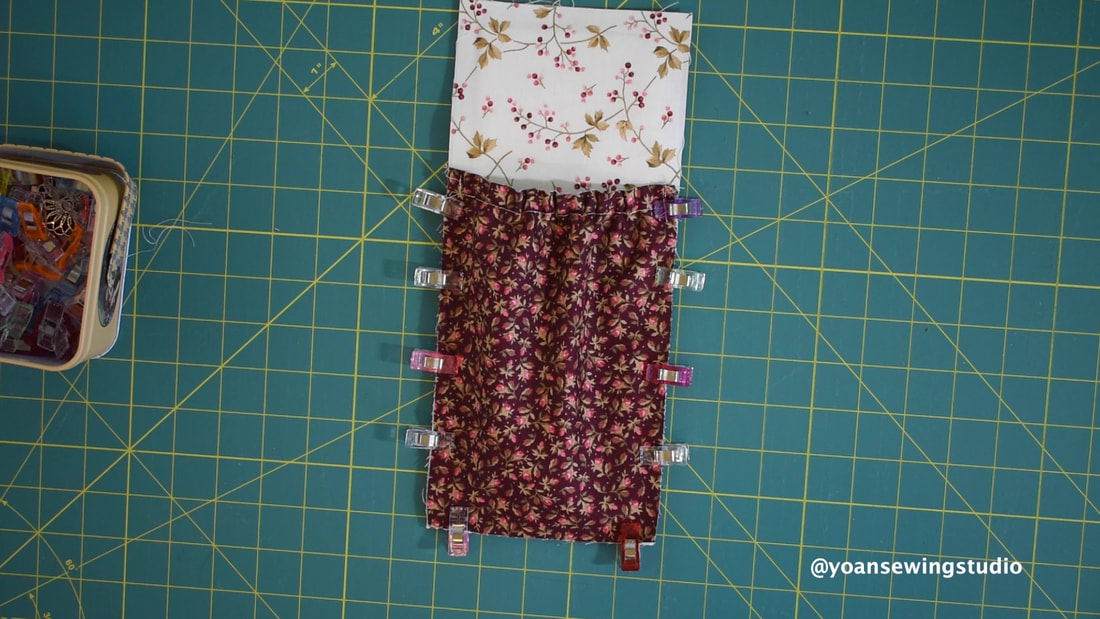
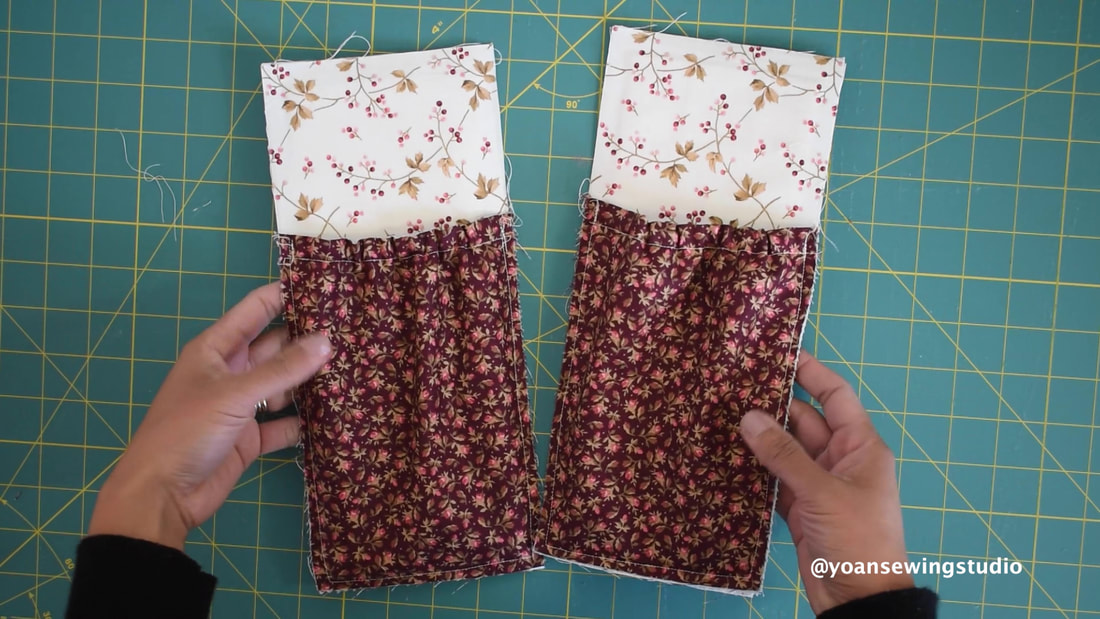
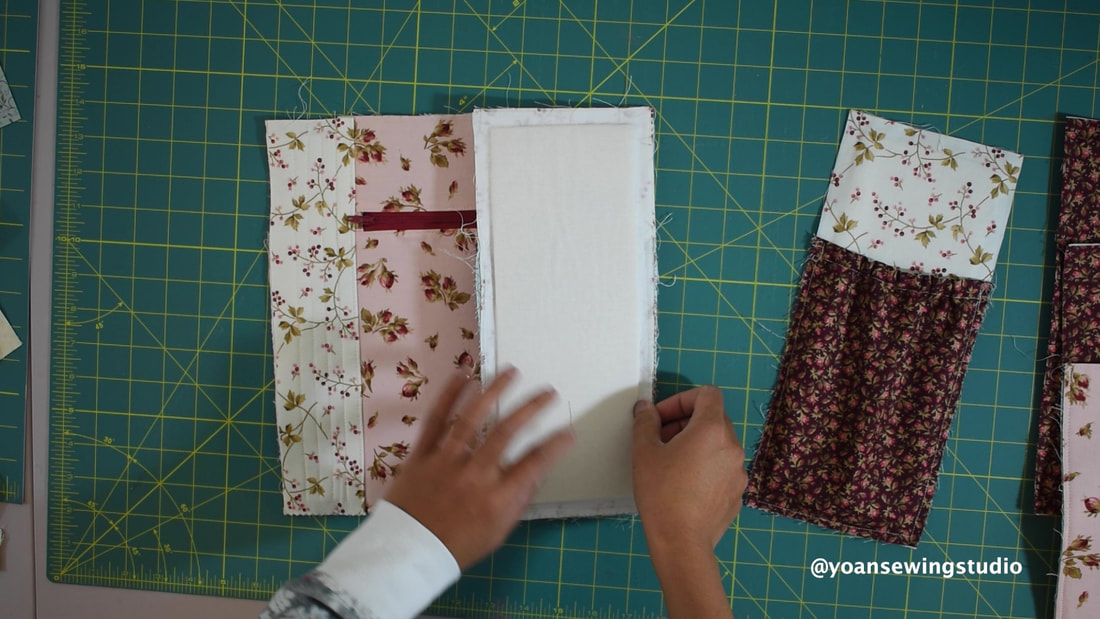
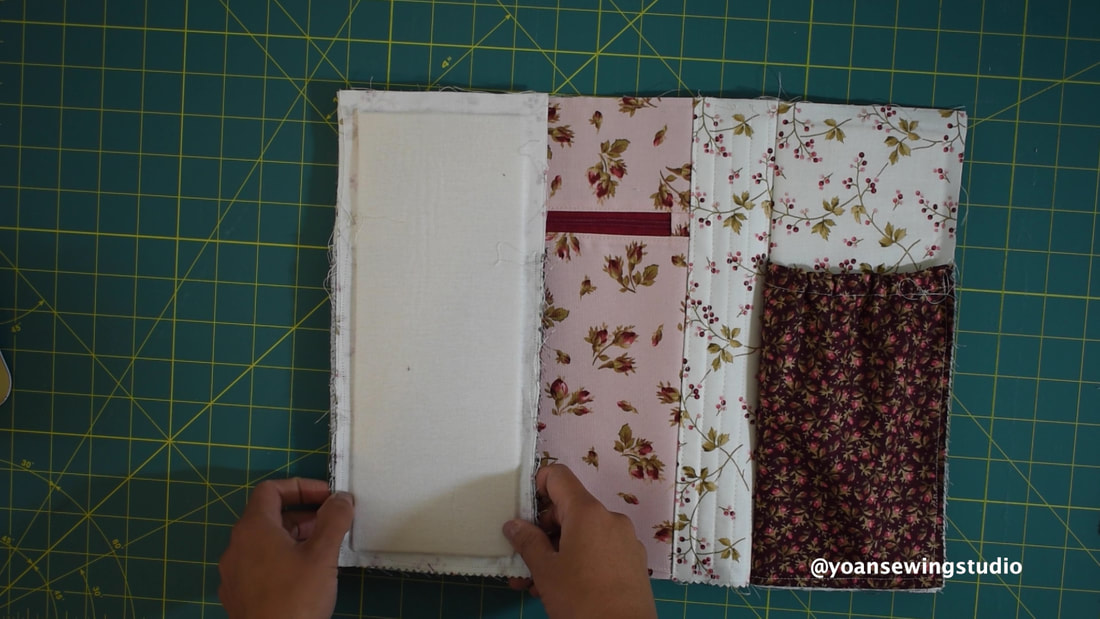
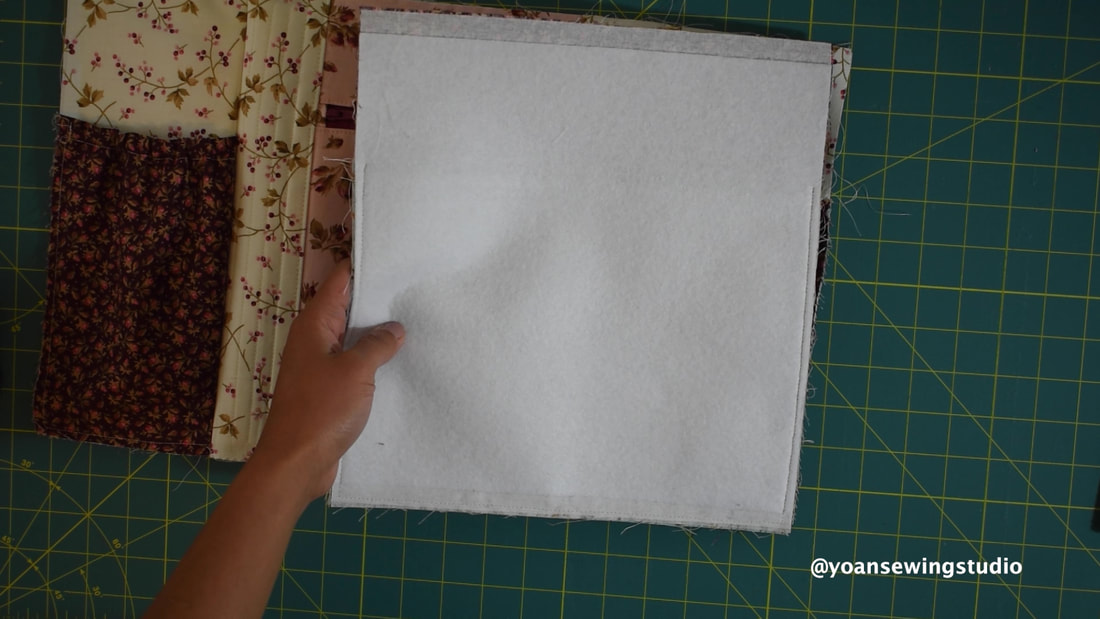
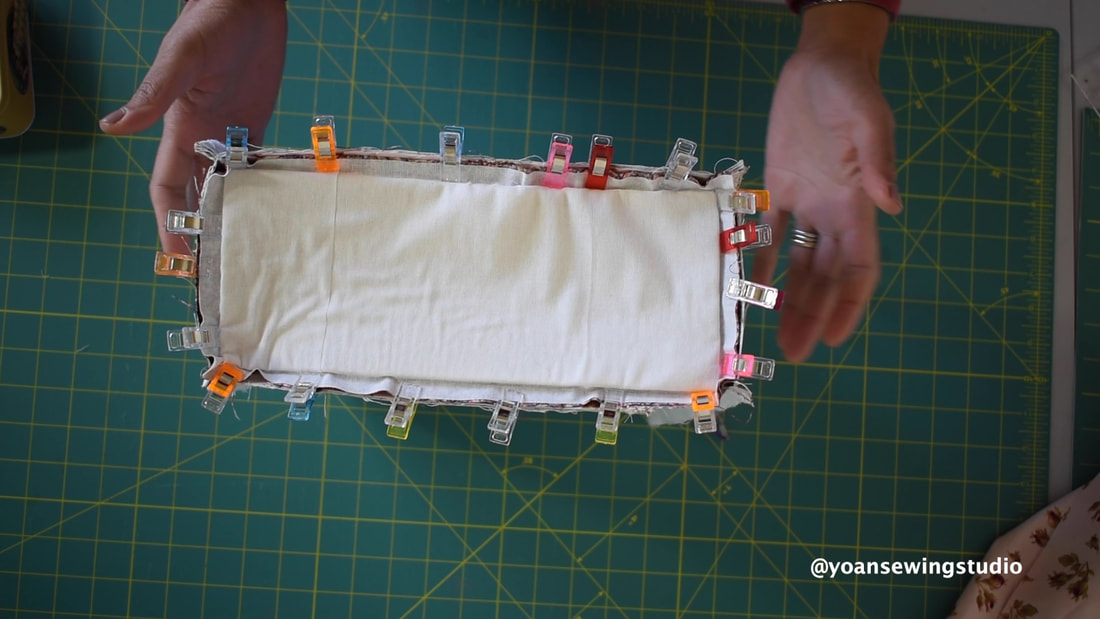
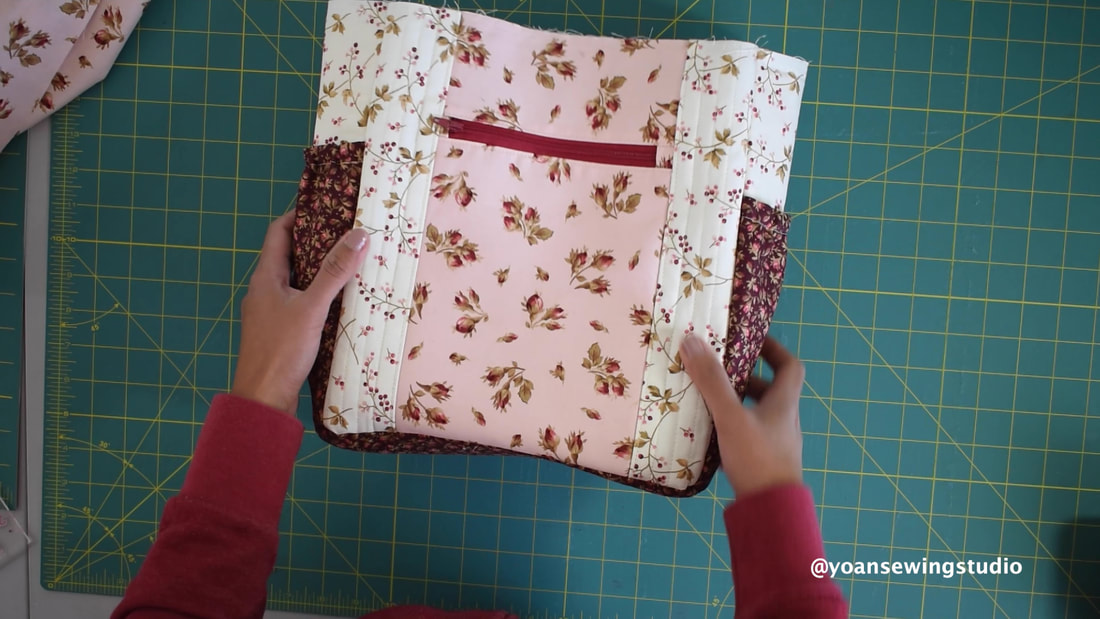
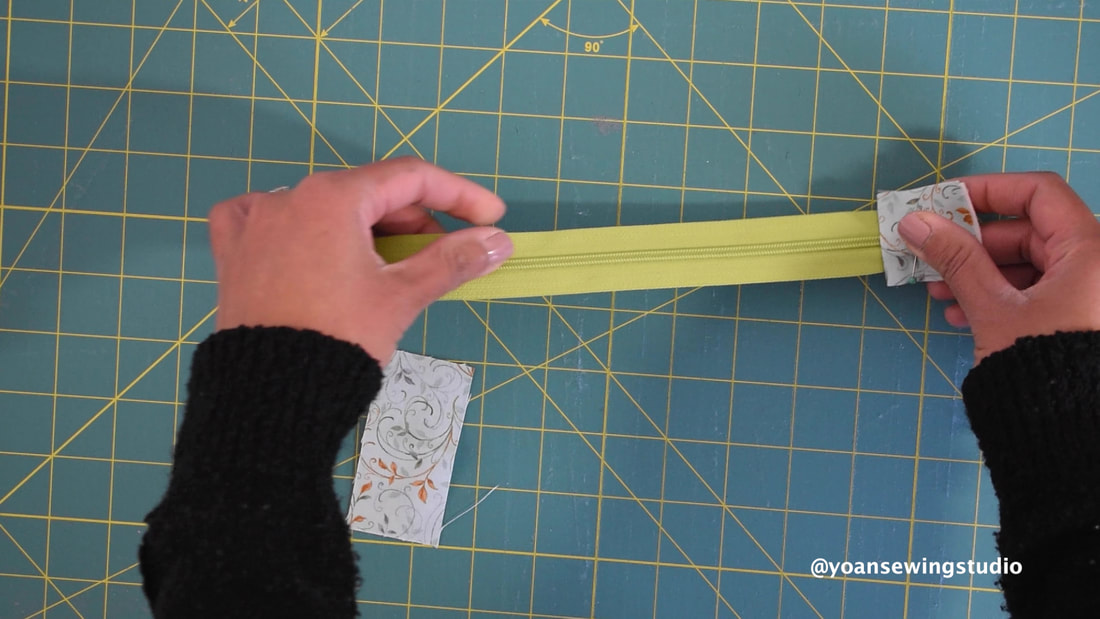
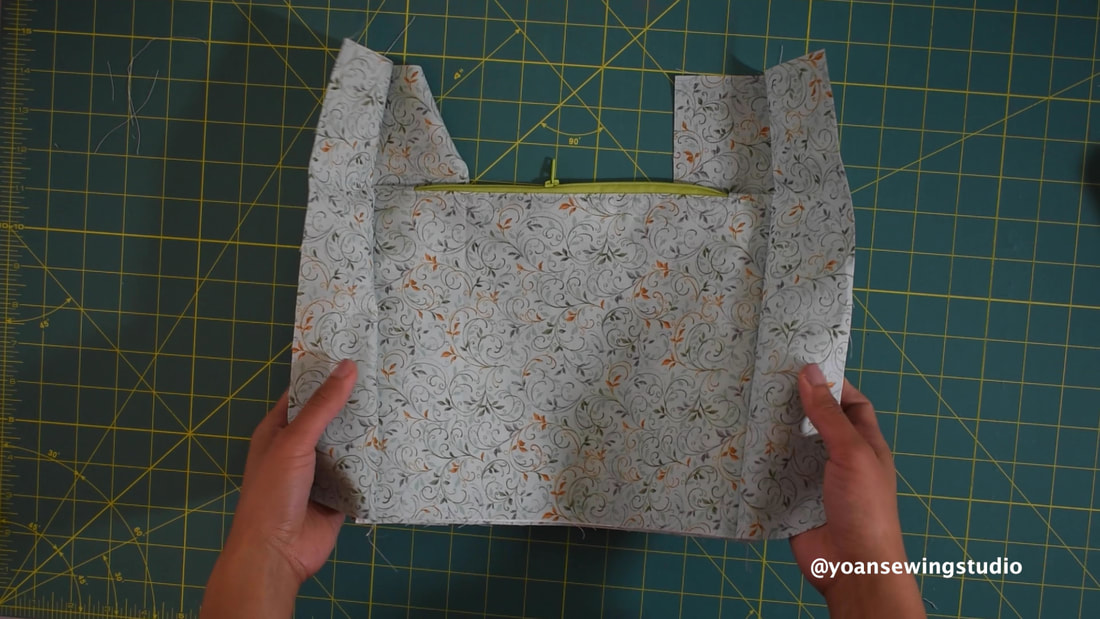
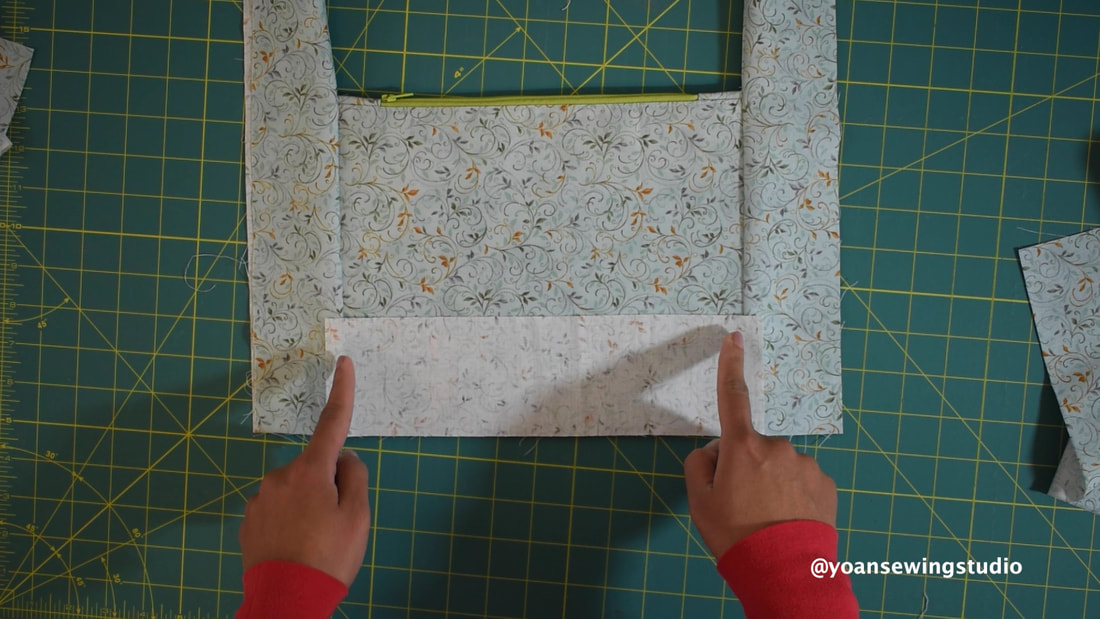
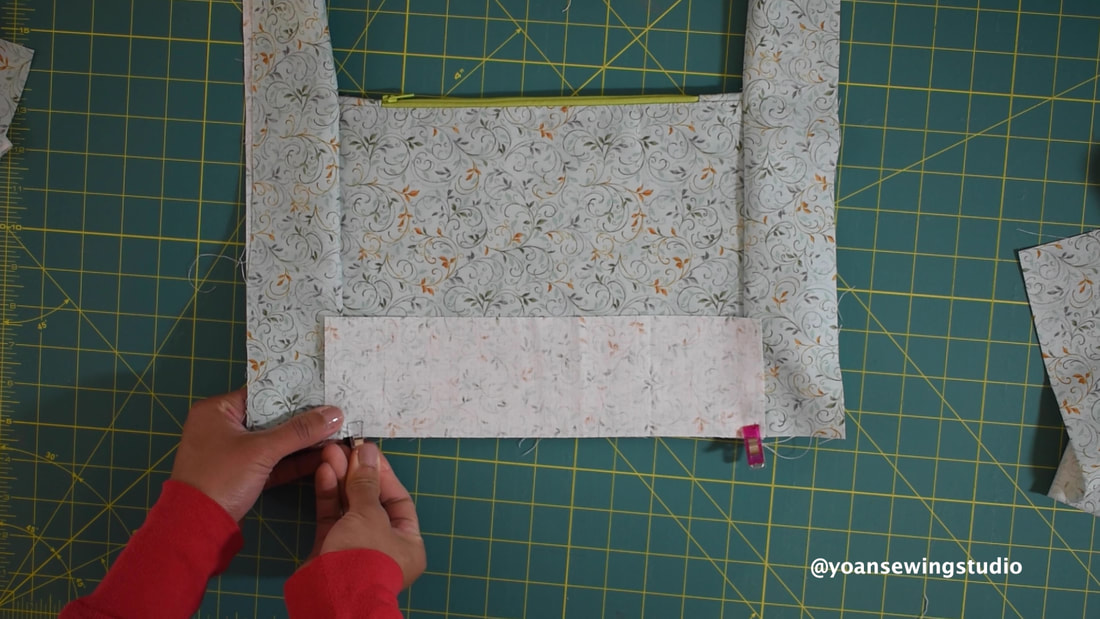
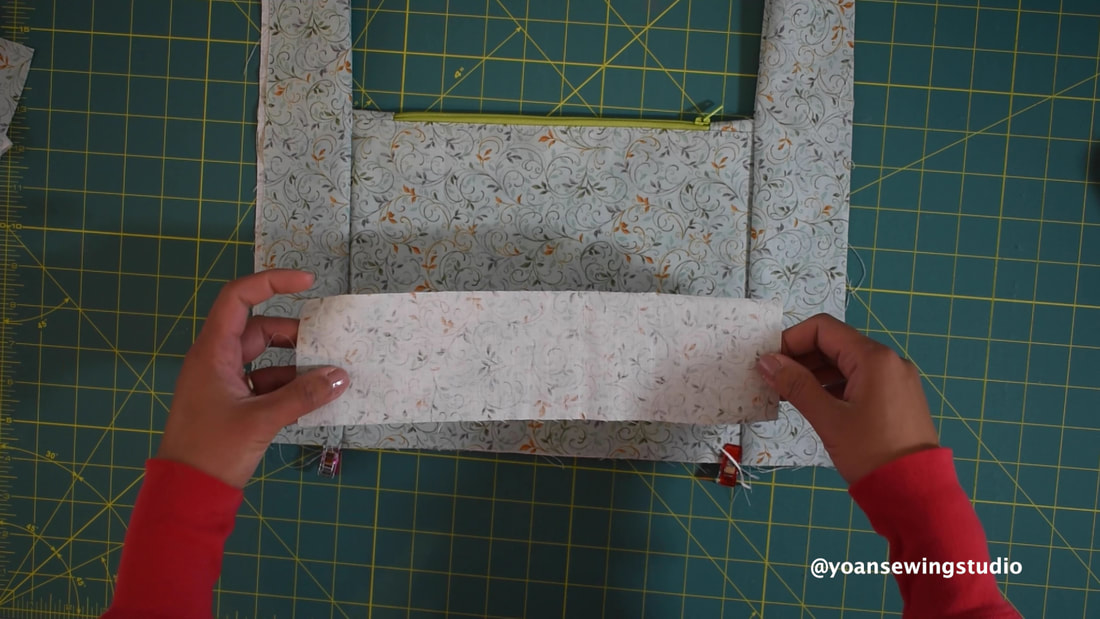
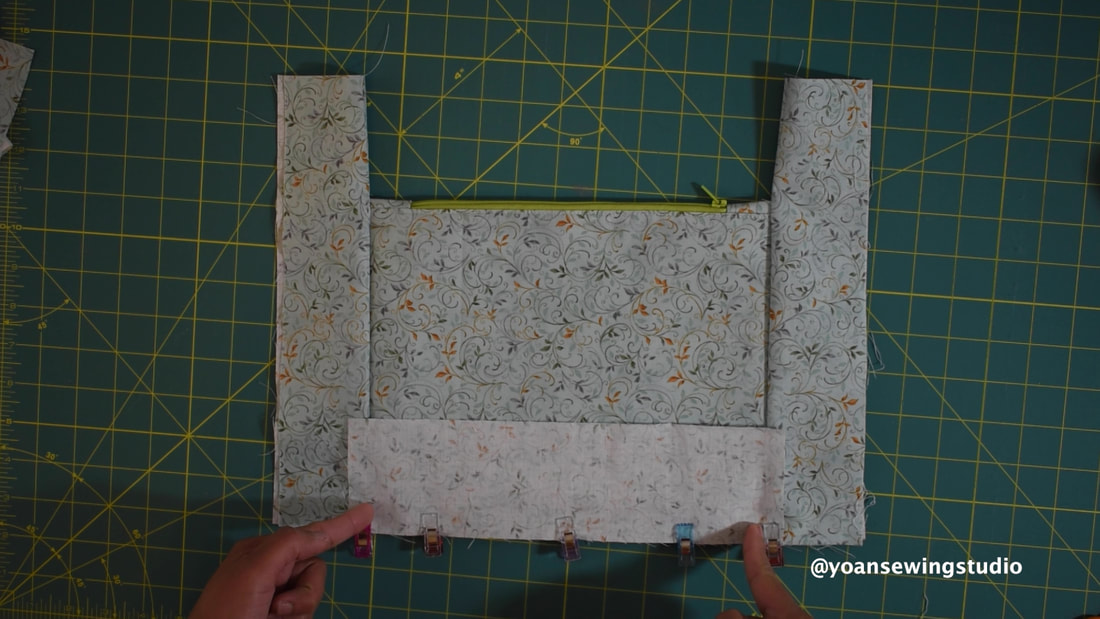
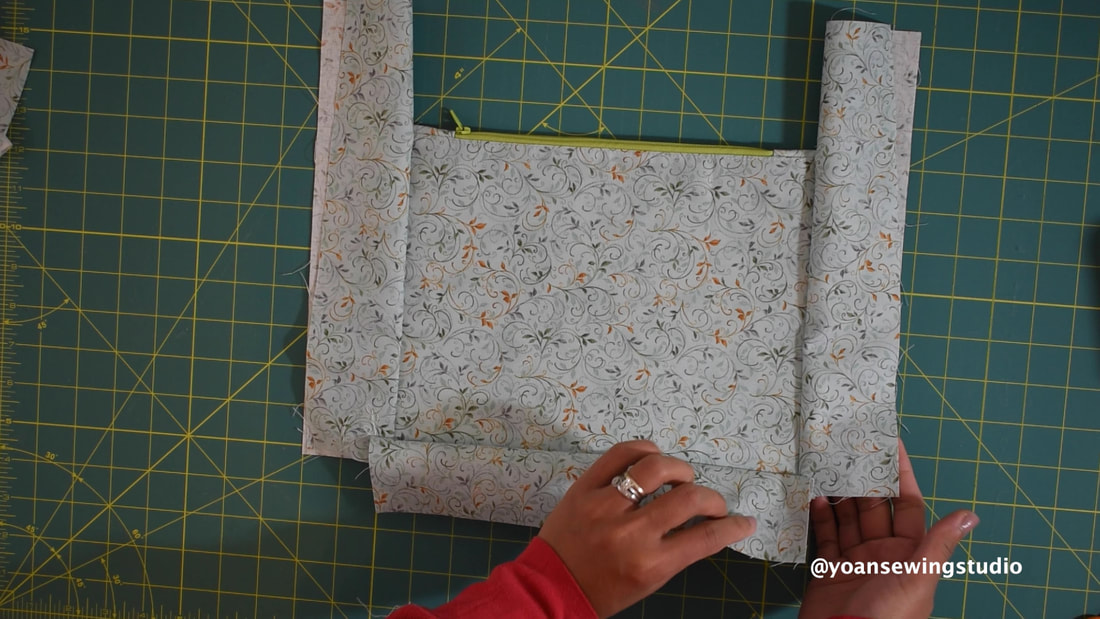
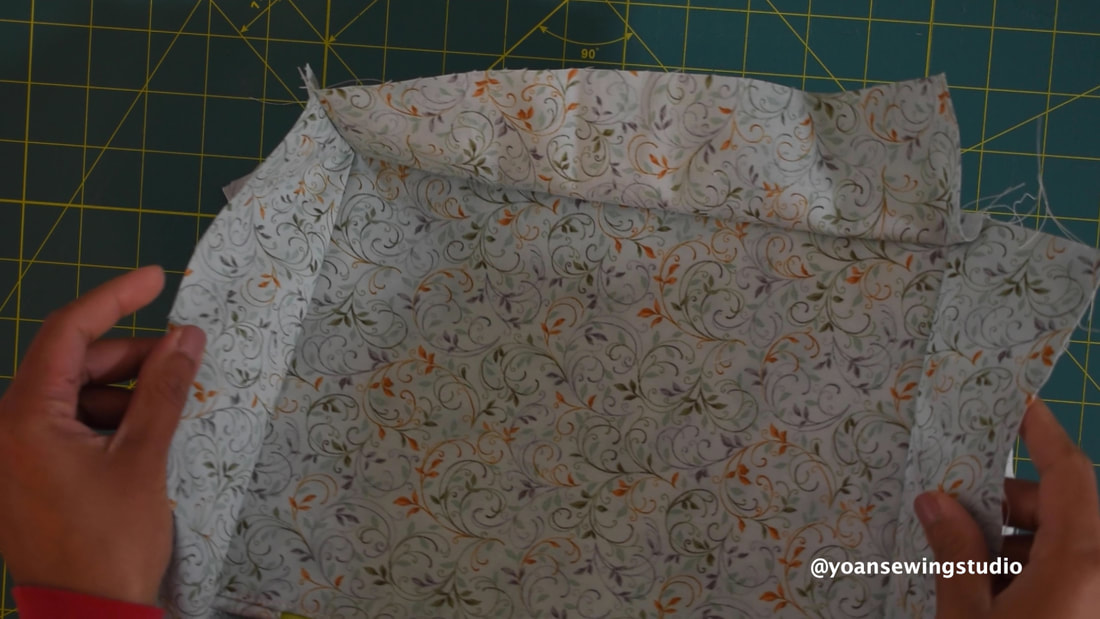
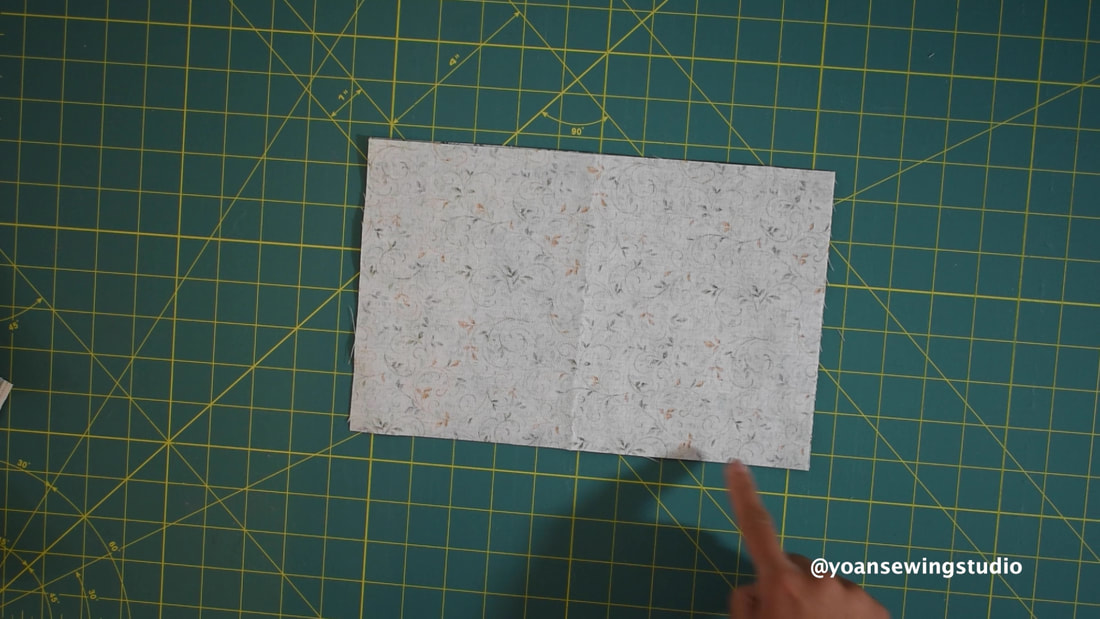
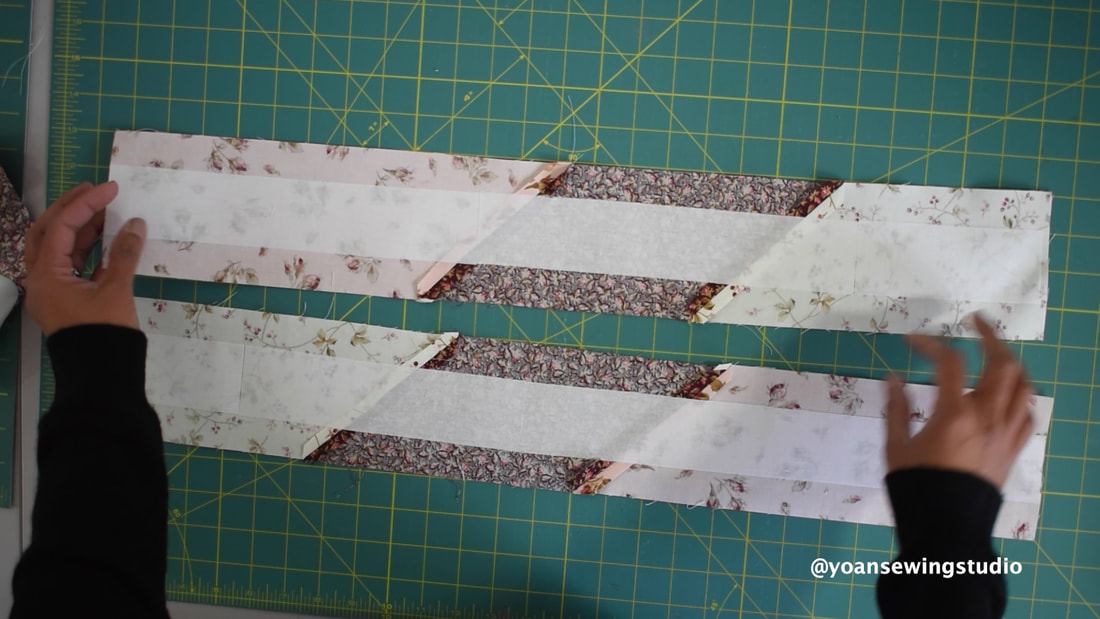
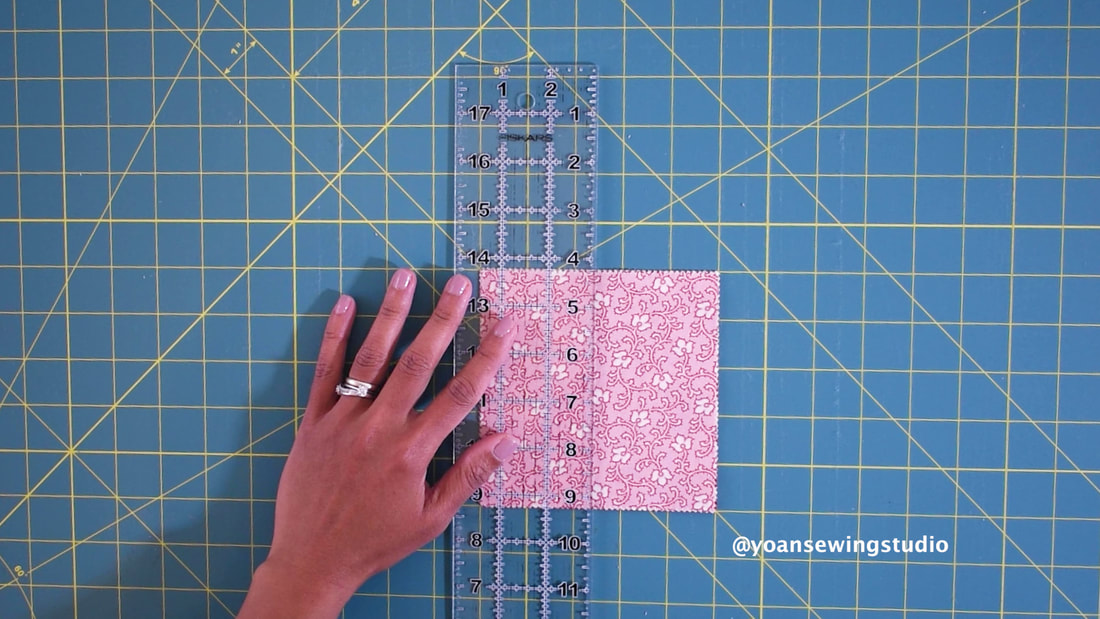
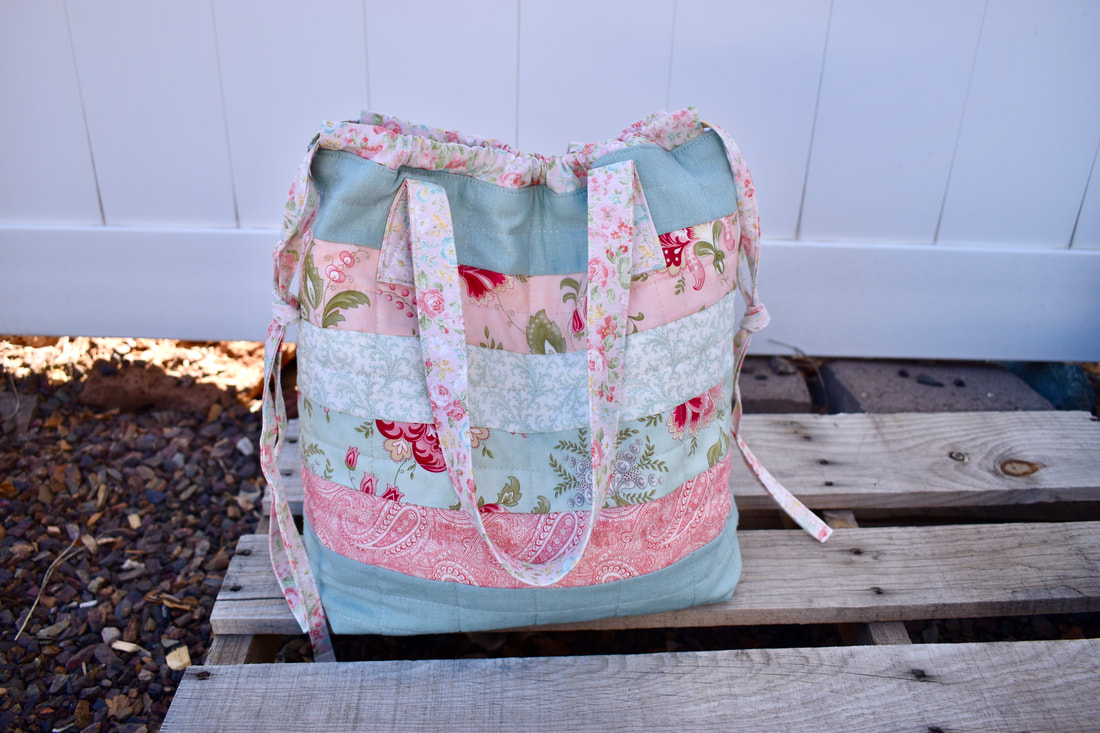 Drawstring Tote by Yoan Sewing Studio Today I'd like to share this cute drawstring bag project with you. This bag is pretty spacious yet lightweight and so much fun to wear. Great project bag for a knitter or crocheter, also great for your daily errands, grocery, or as a spare bag when traveling. The finished measurements of this bag is approx. 12" wide (bottom), 13" tall, 5" deep, the widest point when the top is expanded is about 15". This bag comes with a zipper pocket, 2 slip pockets, and magnetic snap closure. I posted the full video tutorial on my Youtube channel, you can go ahead and watch it here, or keep reading for the written instructions. Let's get started ! suppliesFabric 1,2,3,4 : 4x Jelly Roll Strips (2.5" wide strips cut from the width of fabric) Fabric 5 (accent fabric) : 1 Fat Quarter or 1/4 yard of fabric Fabric 6 (straps, casing, drawstring): 1/3 yard of fabric Fabric 7 (lining) 1/2 yard of fabric Fusible fleece (thermolam) / batting : 17" x 33" Fusible Woven interfacing : 1/6 yard 1 set of Magnetic Snap closure 1 all purpose zipper (at least 7" long) Basic sewing and quilting notions Note: -Feel free to mix and match your fabric in more or less variations. -If using one solid fabric for the exterior (no patchwork), you will need 5/6 yard of fabric Cutting**Exterior** ~Front~ Panel A : 17" x 3" (cut one from fabric 5) Panel B : 17" x 6" (cut one from fabric 5) ~Back~ Panel C : 17" x 8.5" (cut one from fabric 5") Fusible fleece/ batting : 17" x 16.5" (cut 2x) ~ Straps~ From fabric 6 : 27" x 4" (cut 2x) ; you may increase the length if you want longer straps Fusible woven interfacing : 26" x 2" (cut 2x) ~Casing~ From Fabric 6 : 16" x 3" (cut 2x) ~Drawstring ties~ From Fabric 6 : 44" x 2" (cut 2x) ; from the width of fabric, do not trim the selvage ends **Interior** Lining : 17" x 16.5" (cut 2x) from the lining fabric Slip Pockets : 9" x 8" (cut 2x) from the lining fabric Zipper Pocket : 10" x 9" (cut 2x) from the lining fabric *Link to the zipper pocket tutorial here Note : If using solid fabric (no patchwork) cut the exterior pieces the same measurements as the lining pieces. Directions1. Sew all the jelly roll strips together with 1/4" of seam allowance. Press. 2. Trim the selvage ends, measure 17" and cut (make 2x) you should end up with 2 panels measuring 17" x 8.5" 3. Lay out the front exterior panels as shown in the picture below, sew with 1/4" of seam allowance, press. 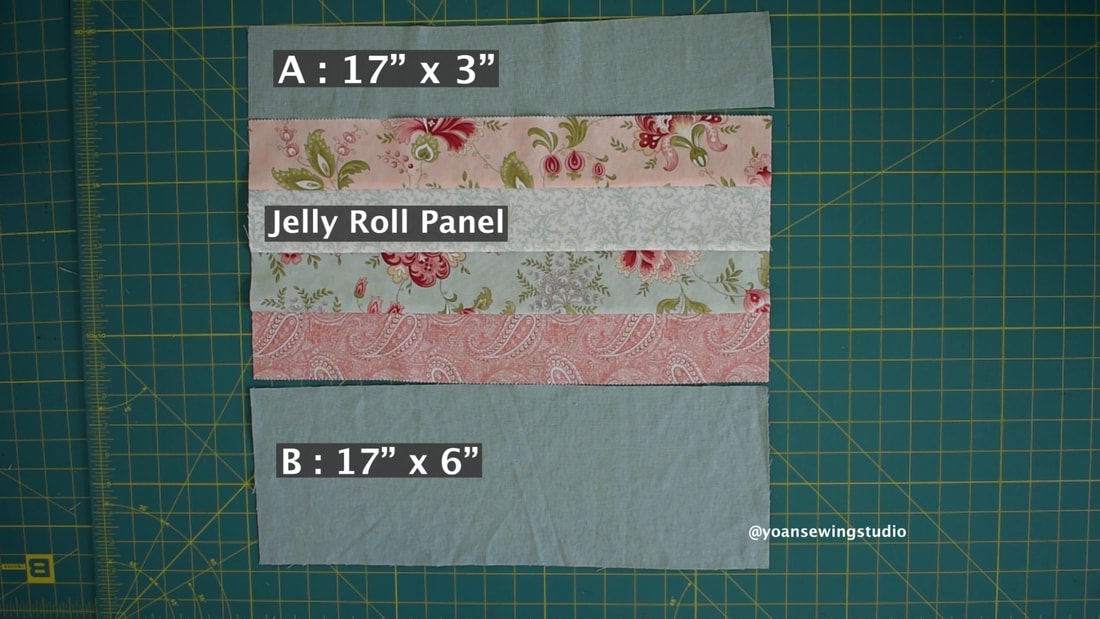 4. Lay out the back exterior just like shown in the picture below, sew with 1/4" of seam allowance, press. 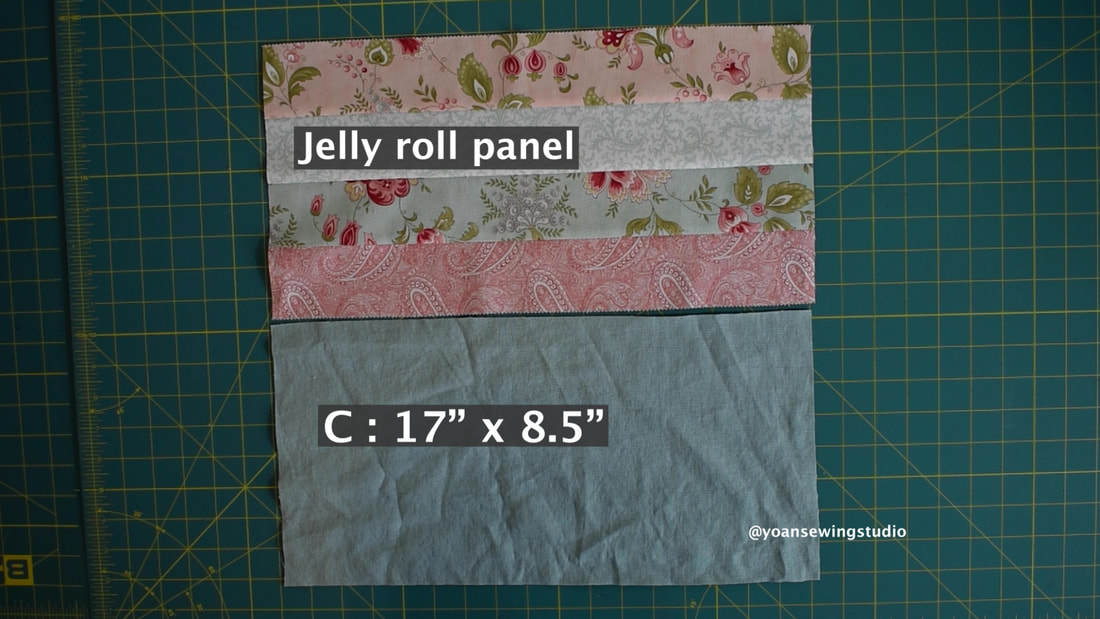 5. Layer the front and back exterior pieces with batting, quilt. If using fusible fleece, fuse it to the wrong side of your fabric 6. Cut 2.5" square notches on both bottom corners to box the bottom of the bag. 7. Lay the front and back exterior pieces right side together, sew the sides and the bottom with 1/2" seam allowance. 8. Open the bottom corner, match the seams, sew with 1/2" seam allowance, repeat the same with the opposite side. 9. Apply fusible woven interfacing on the wrong side of the strap pieces. 10. Fold the short ends of the straps the wrong side 1/2" , press, fold the strap in half, press, fold the side edges towards the center fold, press, then fold everything in half, press. Sew all around with 1/8" of seam allowance, repeat the same with the other one. 11. Position the strap as shown below, draw the stitch line, then sew. Repeat the same with the opposite side. 12. Fold the short end of the casing 1/4", press. Fold one more time 1/4", press. Repeat the same with the opposite end, sew with 1/8" seam allowance. 13. Fold the casing in half, press. Repeat the same with the other one. 14. Place the casing on the right side of the front exterior piece, aligning the raw edges, center the position of the casing. Secure them in place with some sewing clips, then sew along the edges with 1/4" of seam allowance. Repeat the same for the back exterior. 15. Fold the drawstring strip in half, press. Fold the edges towards the center fold, press. Fold everything in half, press. Sew all around with 1/8" of seam allowance, repeat the same with the other strip. 16. Prepare the lining pieces, cut the 2.5" corner notches the same way as you did the exterior pieces. 17. Lay the slip pockets pieces right side together, sew all around with 1/4" seam allowance leaving about 3" of opening to turn the pocket inside out. 18. Clip the corners (be careful not to cut through the stitches),Turn the pocket inside out, fold the raw edges from the opening towards the inside 1/4", press, then topstitch along the top edges. 19. Position you pocket on the right side of one of the lining, about 3.5" down from the top, center the position. Pin them in place. Divide the pocket in to two slots by drawing a straight line mark on the center point of the pocket, then sew on the center point mark, the sides and the bottom of the pocket. 20. Sew the zipper pocket. Follow the exact same steps as in this video 21. Install the magnetic snap closure 22. Assemble the lining exactly the same way as the exterior, leaving about 5" opening at the bottom. 23. Turn the exterior shell wrong side out, turn the lining right side out; Insert the lining into the exterior shell (the right sides of the lining should be touching the right sides of the exterior. 24. Secure them in place with some sewing clips, sew with 1/2" seam allowance. 25. Turn the bag inside out through the opening hole, press along the top edges, then top stitch. Sew the opening hole close. 26. Attach one of the end of the drawstring with a safety pin, then thread the drawstring into the casing using the safety pin to guide it through. Repeat the same with the other side. 27. Even out the drawstring, then secure them together by tying a tight knot. Give your bag a final pressing, enjoy!
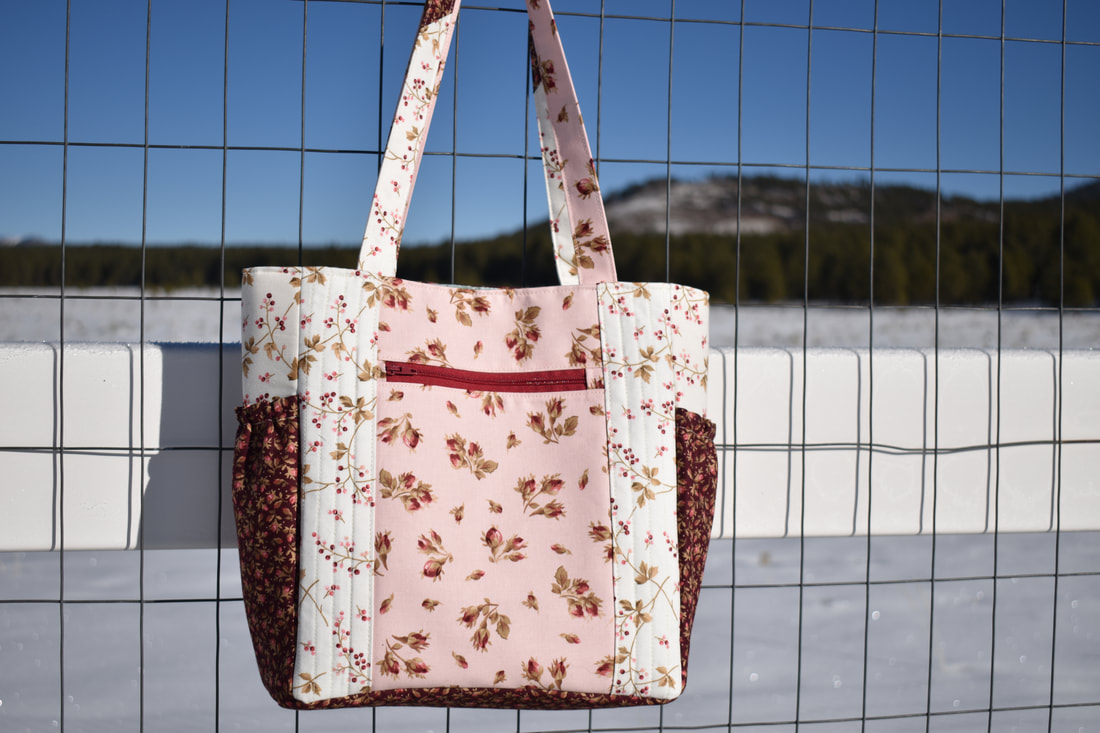
Tote bag with front zipper pocket, side pockets and zipped pocket divider
Finished measurements approx. 12.5" wide x 10" tall x 4" deep
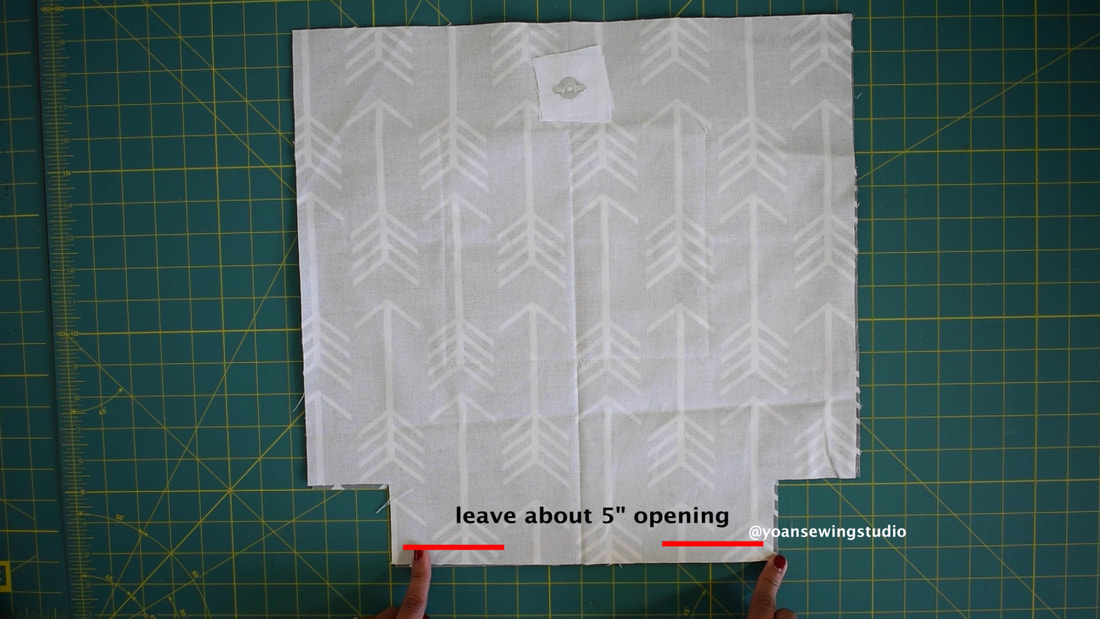
Supplies and Tools 3 Fat Quarters (or 1/3 yard of each fabric if using yardage) 2 yards cotton fabric for the lining 2 yards fusible woven interfacing (20" wide) Fusible fleece (thermolam) 22" x 21" Soft n Stable (sew in foam stabilizer) 34" x 4" 2 x size 3 zipper at least 11" long 10" long elastic (1/4" wide) 1 set of magnetic snap Basic sewing notions Disclaimer : This post contains Amazon affiliate links, thank you for your support!
Cutting Instruction
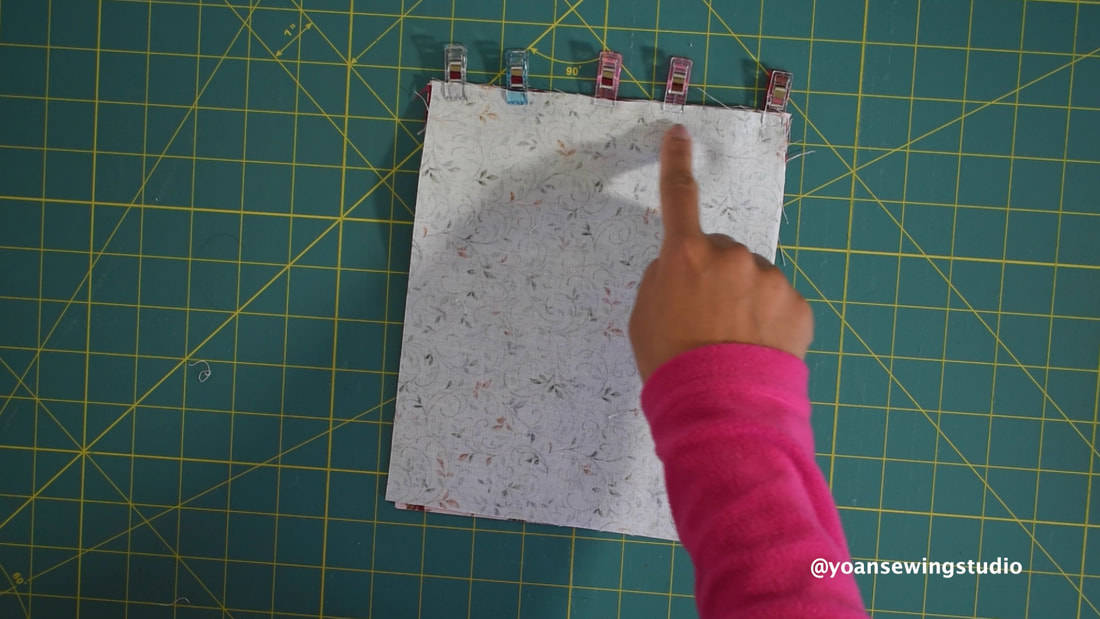
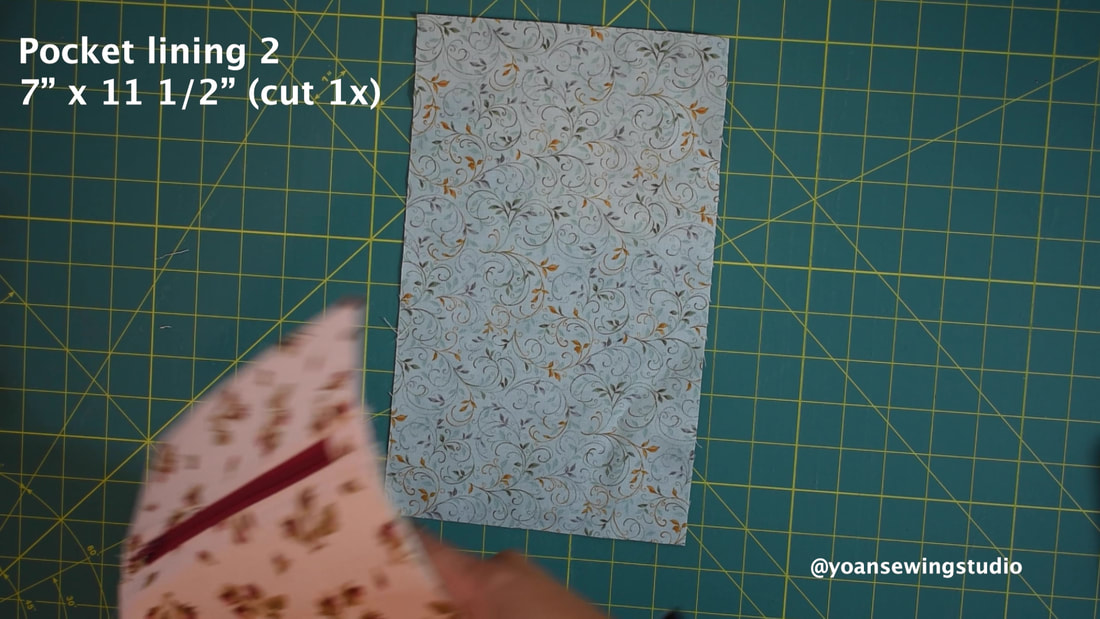
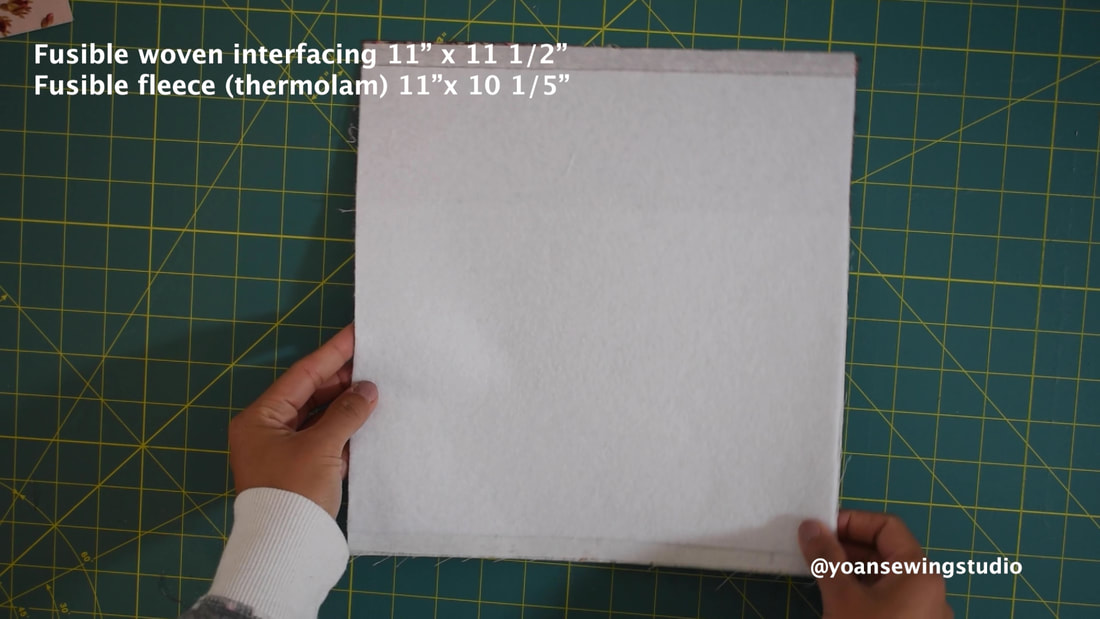
FRONT EXTERIOR ZIPPER POCKET From Fabric 1 7" x 3" (upper panel) cut 1x 7" x 8 1/2" (lower panel) cut 1x From the fusible woven interfacing: 7" x 3" (upper panel) cut 1x 7" x 8 1/2"" (lower panel) cut 1x From Lining Fabric: 7" x 8 1/2" (lining 1 for lower panel) cut 1x 7" x 11 1/2" (lining 2 for the whole zipper panel) cut 1x ***For the zipper tabs 3" x 1" (cut 2x) from fabric 1 FRONT EXTERIOR SIDE PANELS From Fabric 2: 3" x 11 1/2" (cut 2x) From fusible woven interfacing: 3" x 11 1/2" (cut 2x) BACK EXTERIOR SLIP POCKET From Fabric 1: 11" x 8 1/2" (cut 1x) From fusible woven interfacing: 11" x 8 1/2" (cut 1x) From lining fabric 11" x 8 1/2" (cut 1x) BACK EXTERIOR PANEL From fabric 3: 11" x 4" (upper) cut 1x From lining fabric: 11" x 8" (lower) cut 1x From Fusible woven interfacing: 11" x 11 1/2" (cut 1x) ***Fusible Fleece for the front and back exterior 11" x 10 1/2" (cut 2x) SIDE GUSSET From Fabric 2: 5" x 11 1/2" (cut 2x) From Fusible woven interfacing: 5" x 11 1/2" (cut 2x) From Soft n stable 4" x 10 1/2" (cut 2x) BOTTOM GUSSET From Fabric 3: 5" x 11" (cut 1x) From fusible woven interfacing: 5" x 11" (cut 1x) From Soft n Stable: 4" x 10" (cut 1x) EXTERIOR SIDE POCKETS From Fabric 3: 7" x 8" (cut 2x) From lining fabric: 7" x 8" (cut 2x) Cut 2x elastic 5" long POCKET DIVIDER From lining fabric: 11" x 8 1/2" (cut 4x) From fusible woven interfacing: 10" x 7 1/2" (cut 4x) ***For zipper tabs 3" x 1" (cut 2x) from the lining fabric INTERIOR SIDE GUSSET From lining fabric: 3" x 11 1/2" (cut 4x) INTERIOR BOTTOM GUSSET From lining fabric 3" x 11" (cut 2x) INTERIOR FRONT & BACK PANELS From lining fabric: 11" x 11 1/5" (cut 2x) INTERIOR SLIP POCKETS From lining fabric 11" x 7" (cut 4x) STRAPS Cut by joining left over fat quarters or use a solid fabric 26" x 4" (2x) Fusible woven interfacing 26" x 2" (2x) *If you are a metric user you may refer to the below metric conversion guide
I posted the full video tutorial on my Youtube channel, however you my scroll down for the written instruction.
Directions
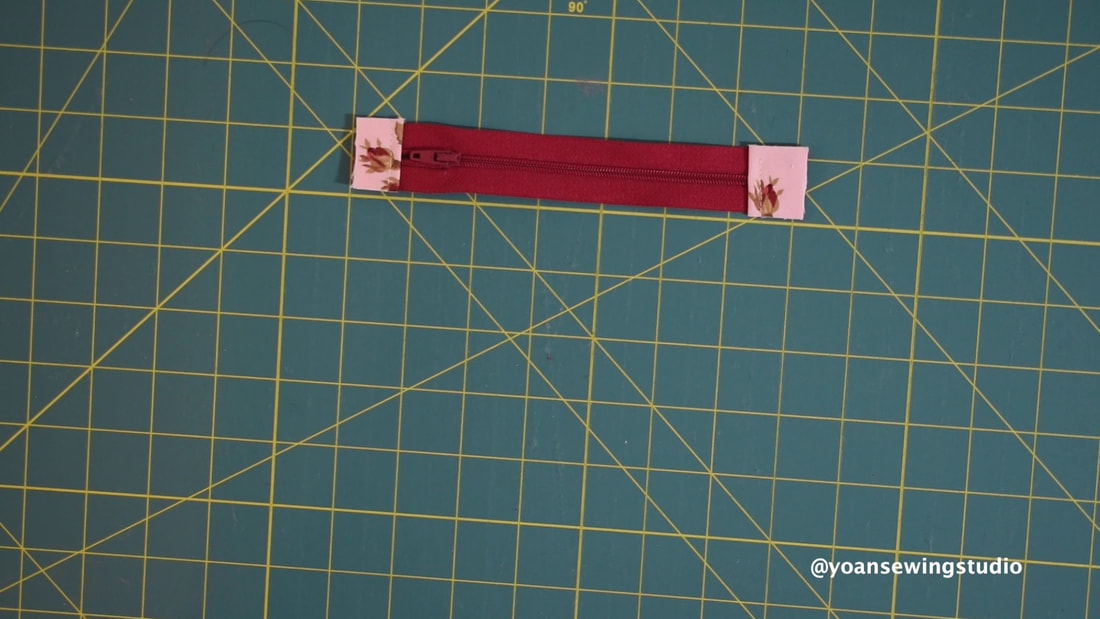
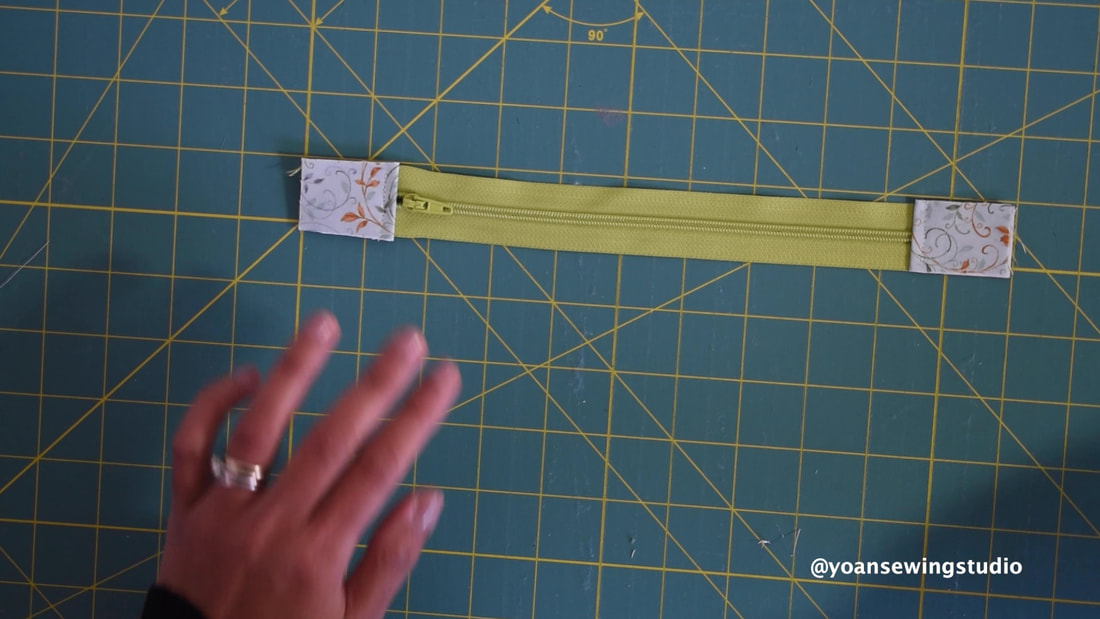
1. Apply the fusible woven interfacing to the following : 1. Front Zipper Tabs 2. Upper and lower front zipper panels 3. Front Side panels 4. Back slip pocket panel 5. Divider pocket pieces including the zipper tabs 2. Sew the zipper tabs to the front zipper, trim excess fabric
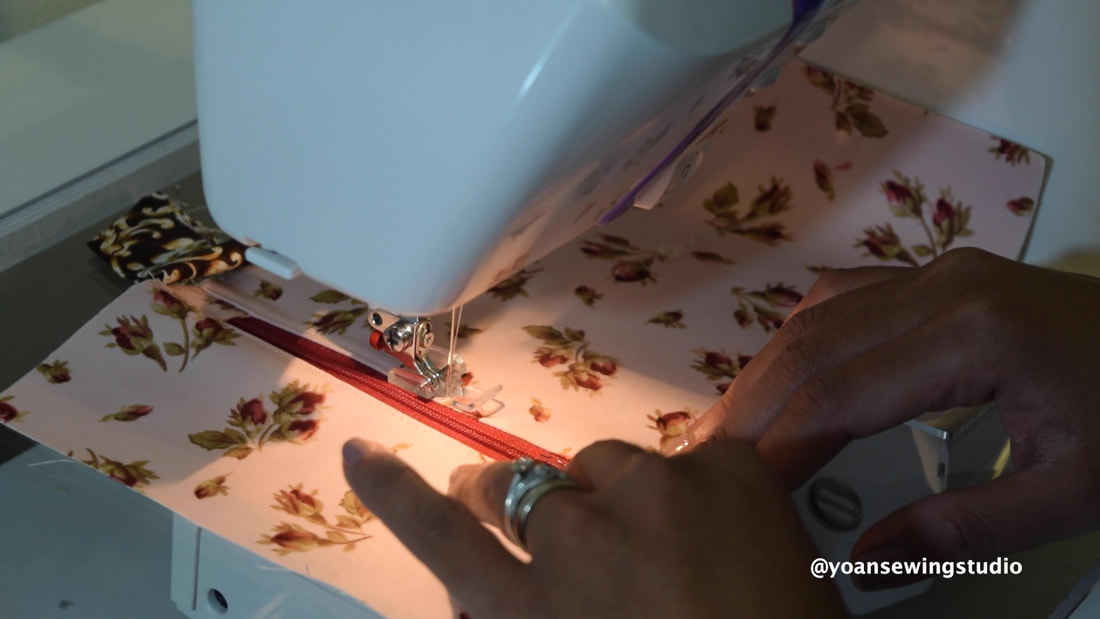
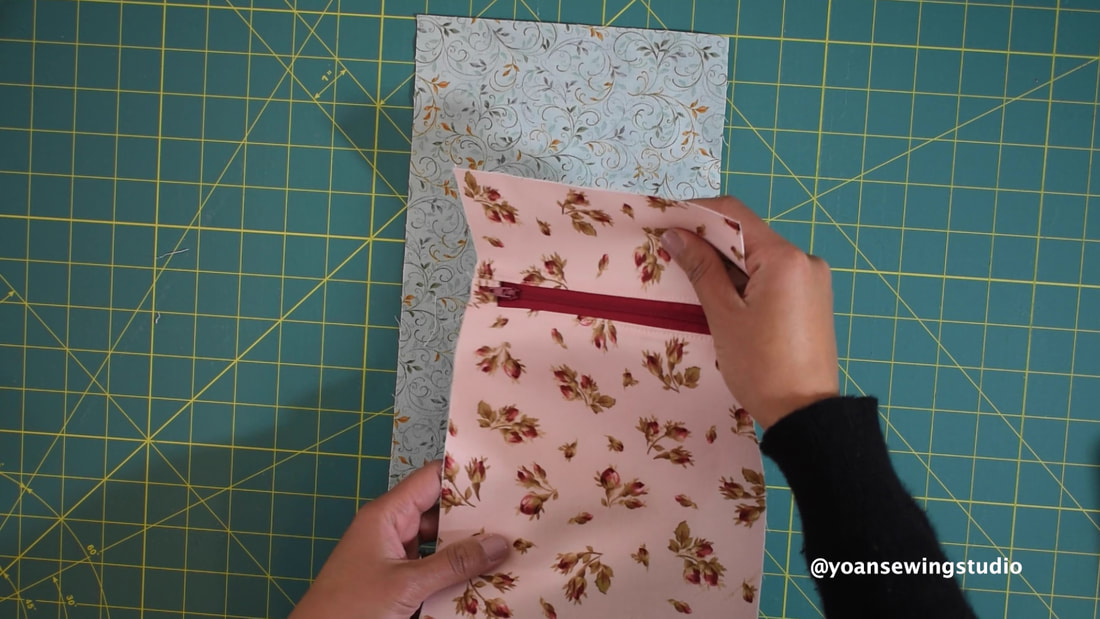
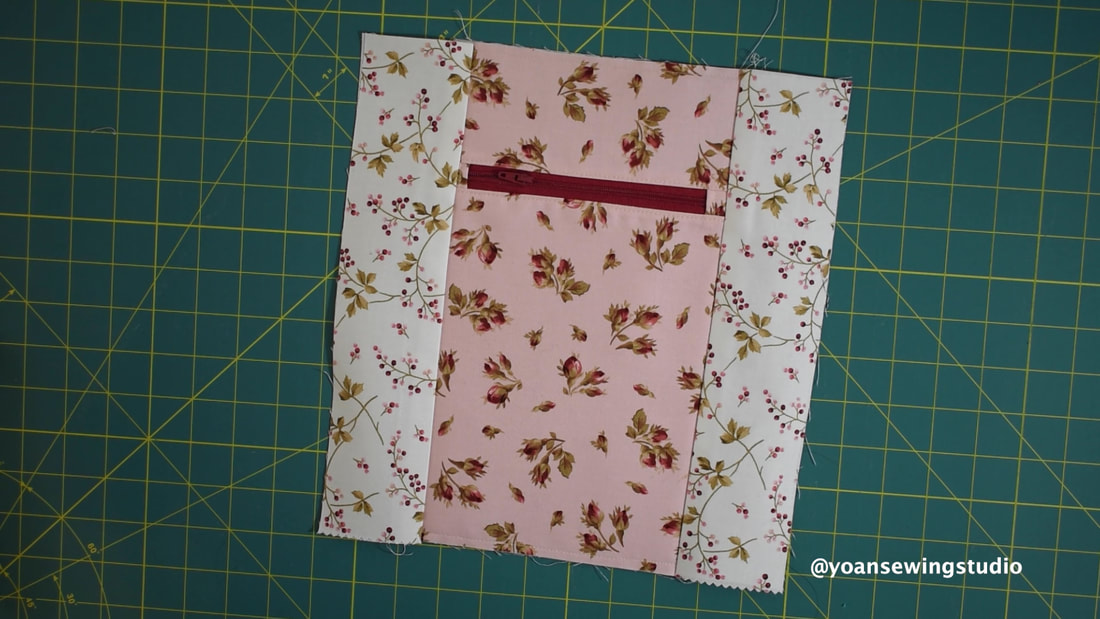
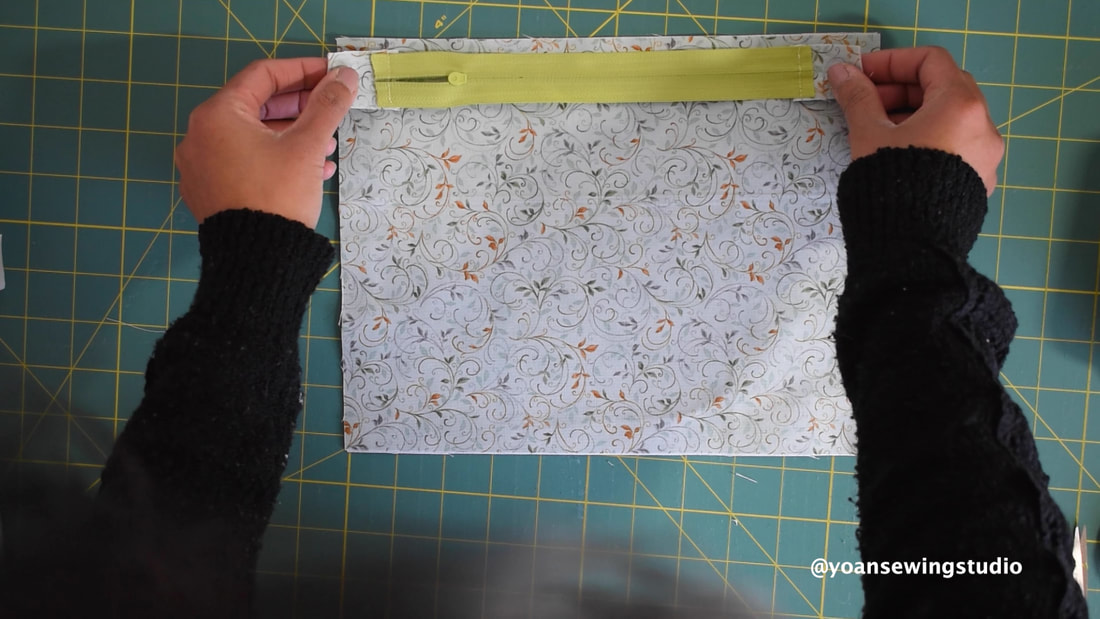
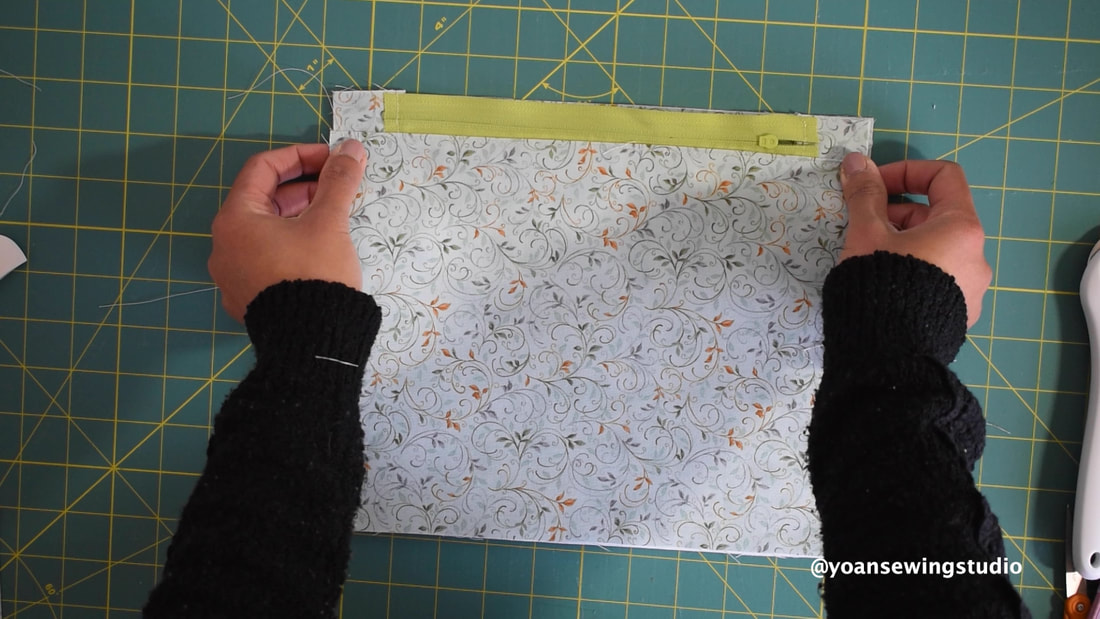
3. Sew the upper front zipper panel to the zipper with 1/4" seam allowance, press, then topstitch
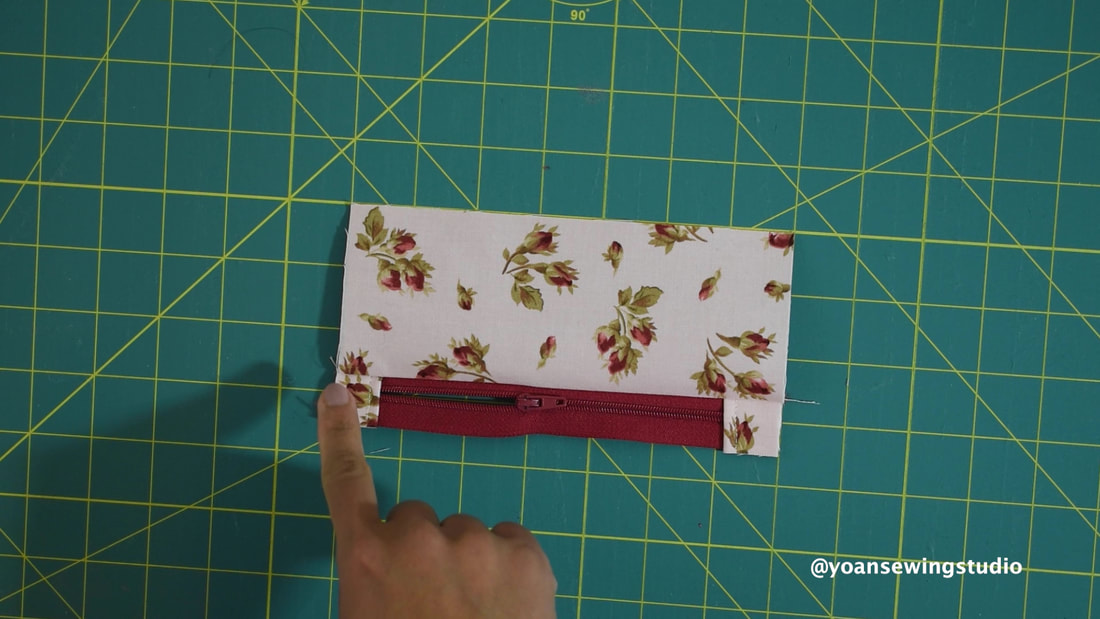
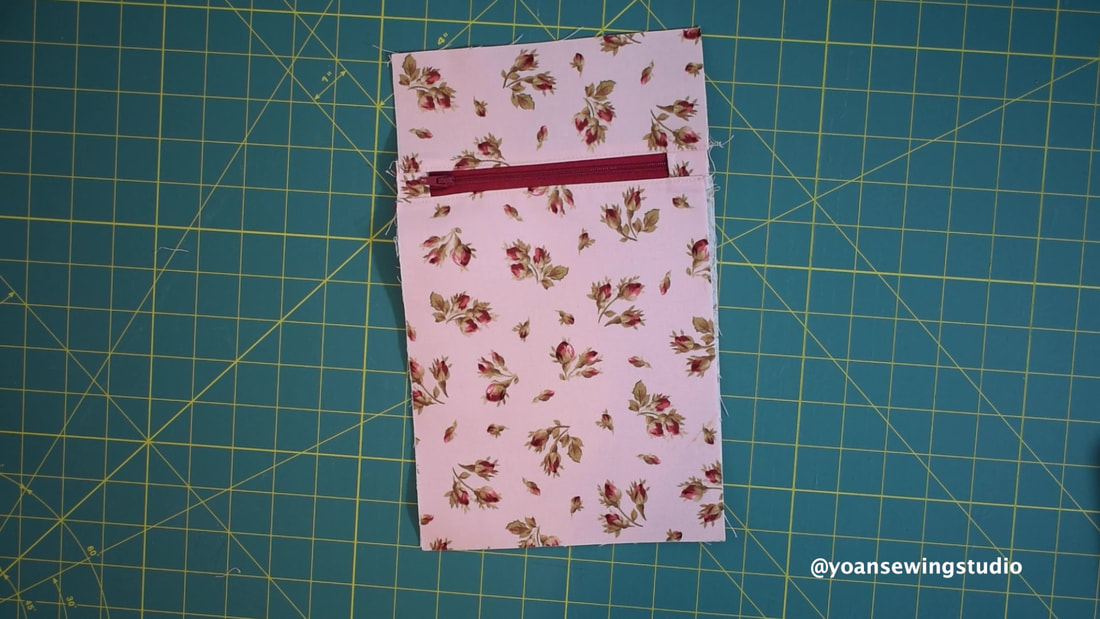
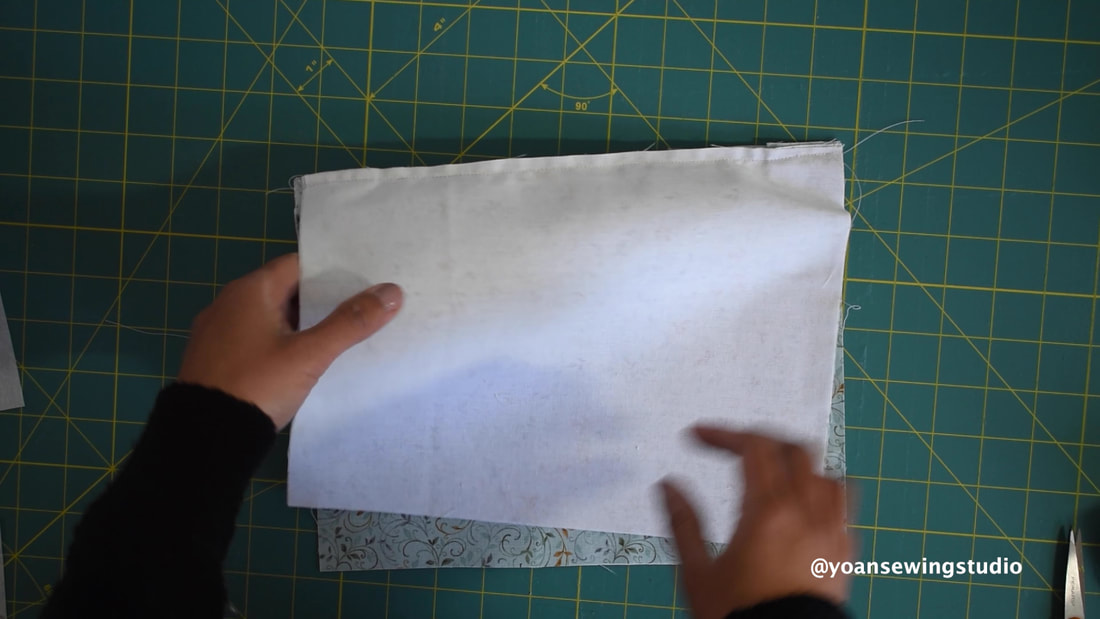
4. Sandwich the lower front zipper panel, with the zipper, and the lining, sew with 1/4" of seam allowance, press, then topstitch
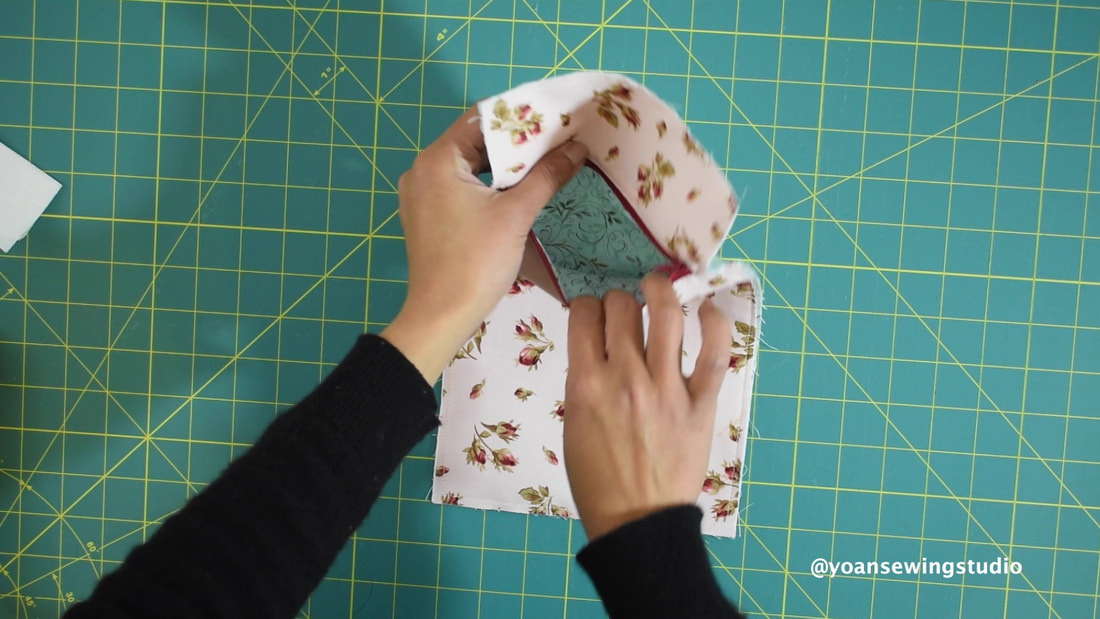
5. Sew the second lining piece to the zipper pocket piece all around with 1/4" of seam allowance
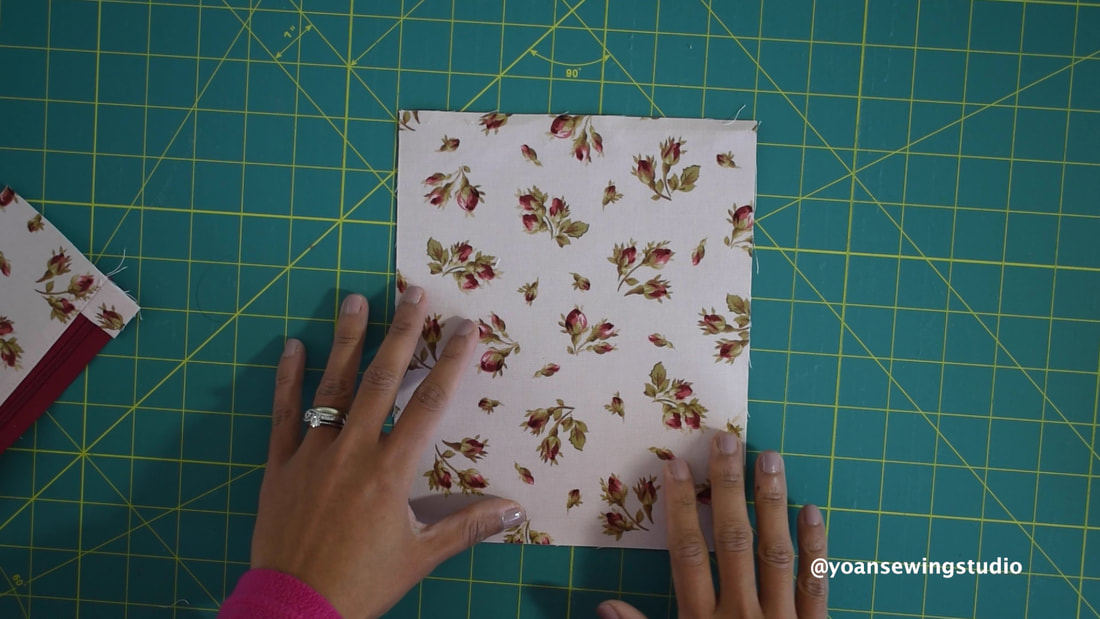
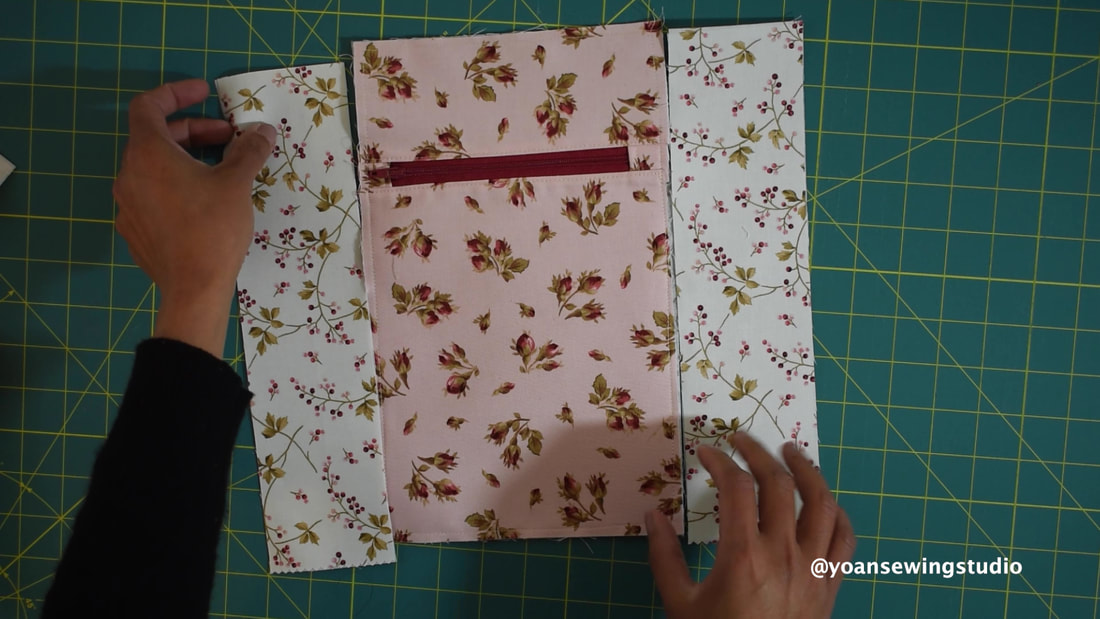
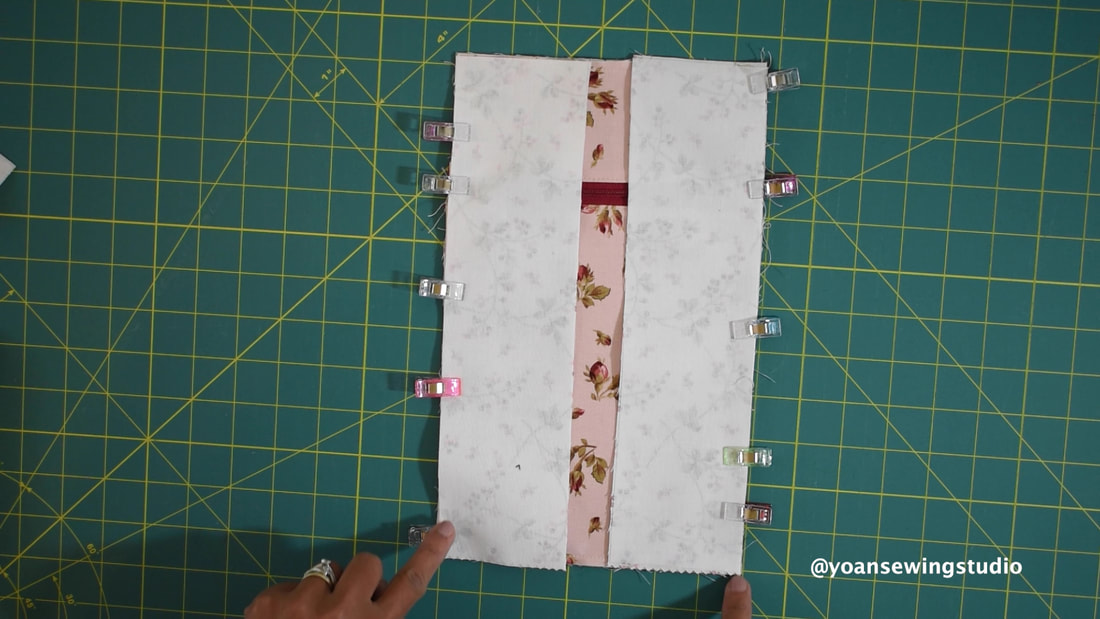
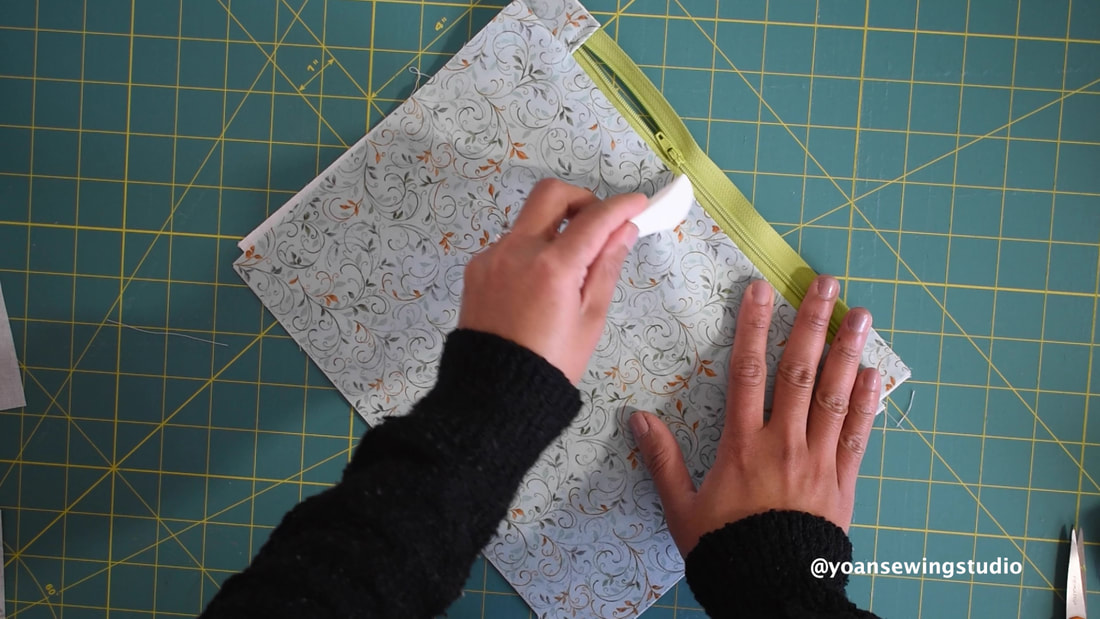
5. Sew the front side panels to both sides of the zipper pocket with 1/2" seam allowance, press towards the side panels.
6. Apply the fusible fleece to the front exterior panel according to the manufacturer's instruction
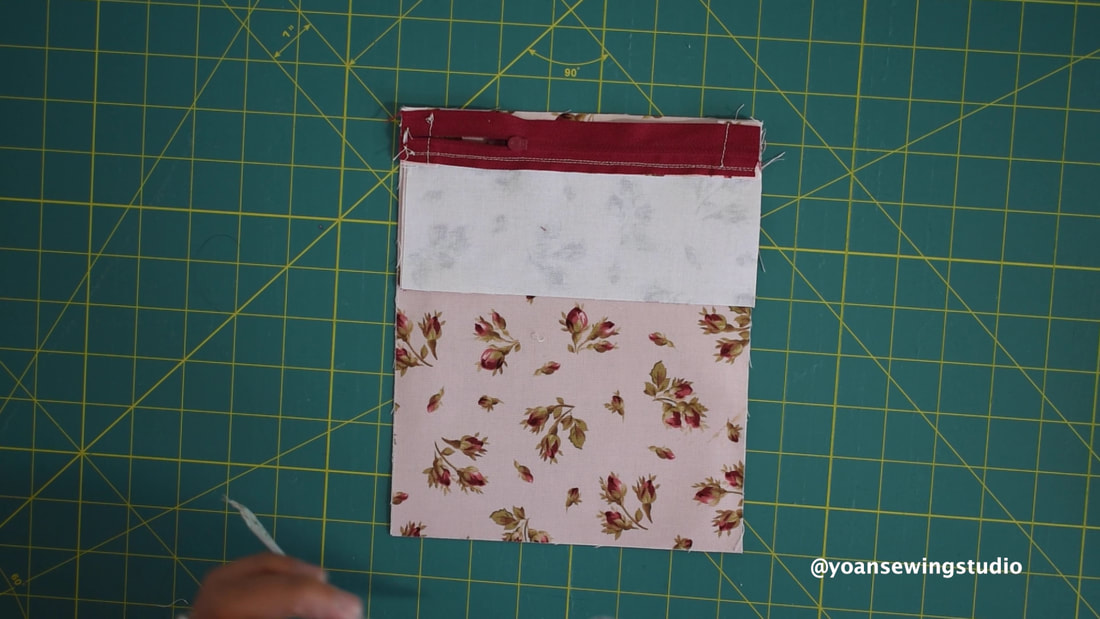
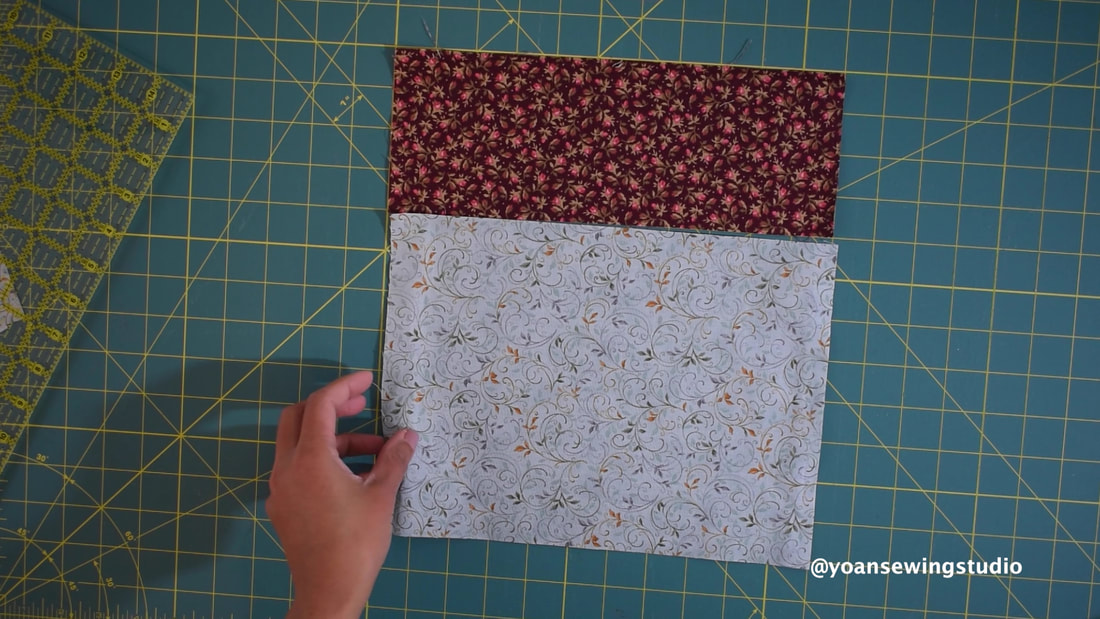
7. Sew the upper and the lower panel of the back exterior with 1/4" of seam allowance, press, then apply the fusible woven interfacing followed with the fusible fleece
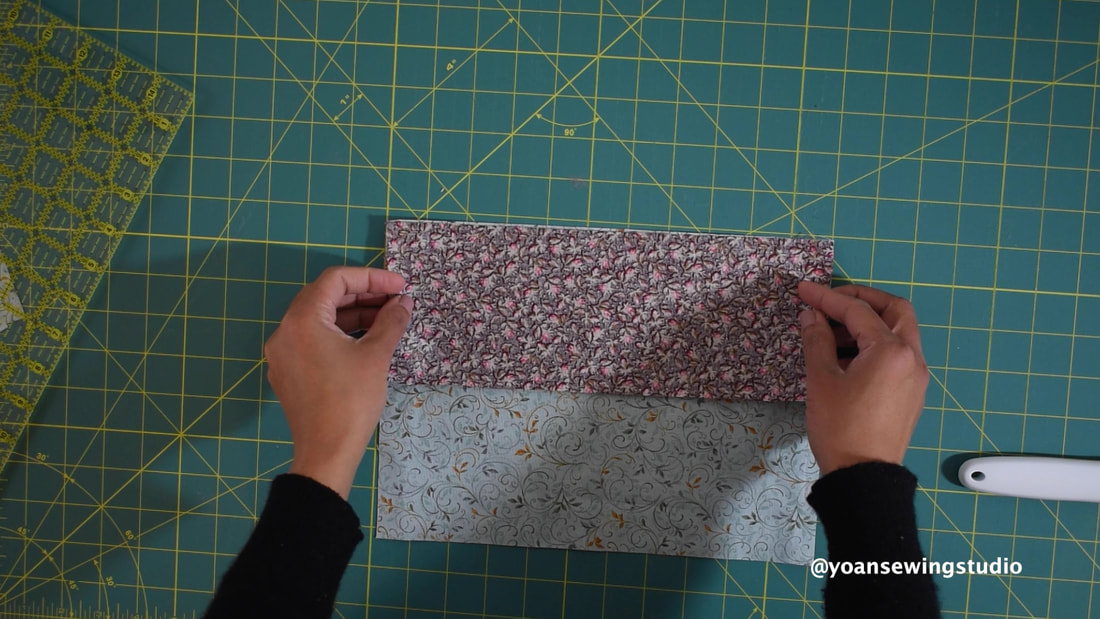
8. Sew the back slip pocket piece with the lining with 1/4" of seam allowance, press, then top stitch along the top edges.
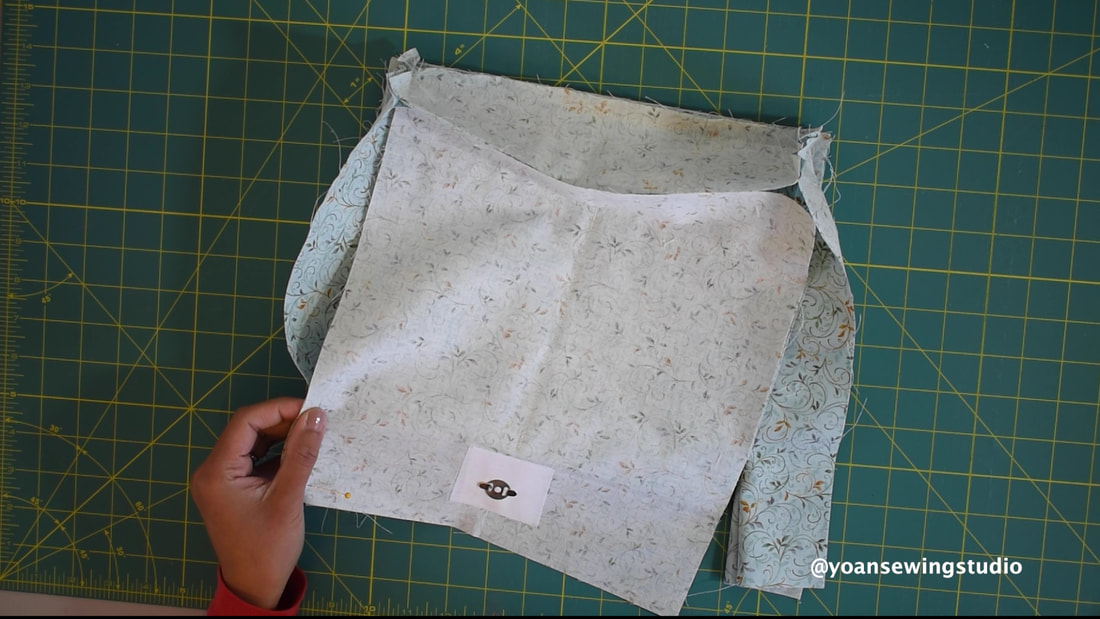
9. Position the back slip pocket on the right side of back panel, alligning the sides and bottom edges, then sew along the sides and the bottom with 1/4" of seam allowance.
10. Place the soft n stable on the wrong side of the gusset piece (center the position) followed with the fusible woven interfacing, then fuse the fusible woven interfacing in place. Repeat the same with the other side gusset piece and the bottom gusset
11. Make an angle cut on both sides of the side pocket panels, do the same for all pieces including the lining.
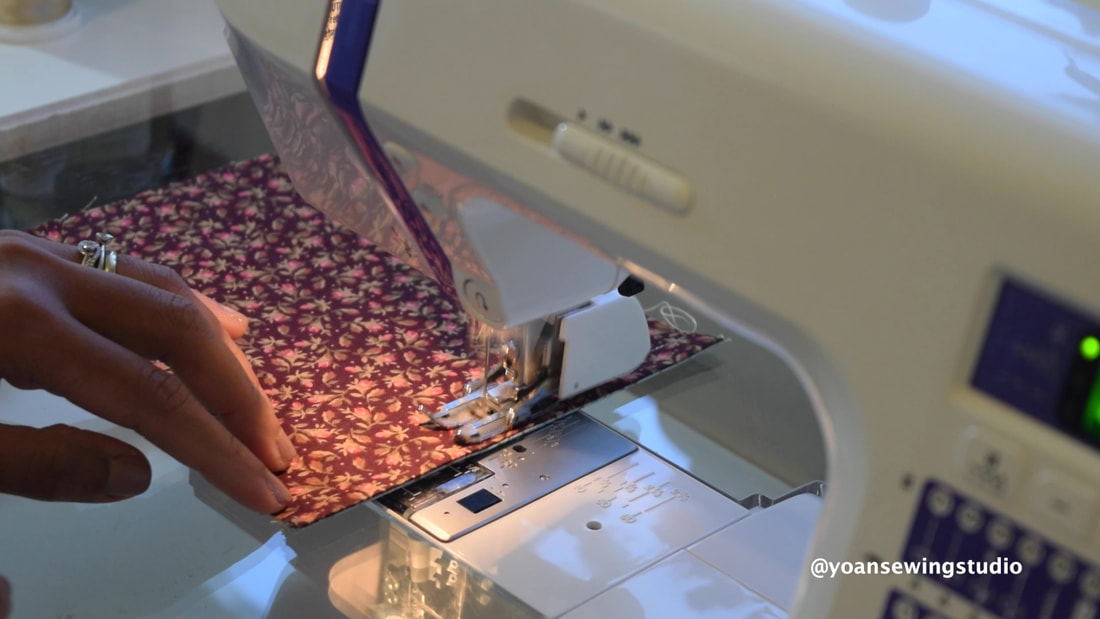
12. Lay the pocket piece with the lining right side together then sew the top edge with 1/4" seam allowance, press the seams open.
13. Fold the pocket piece wrong side together, press, then sew the top with 1/2" seam allowance to create the elastic casing.
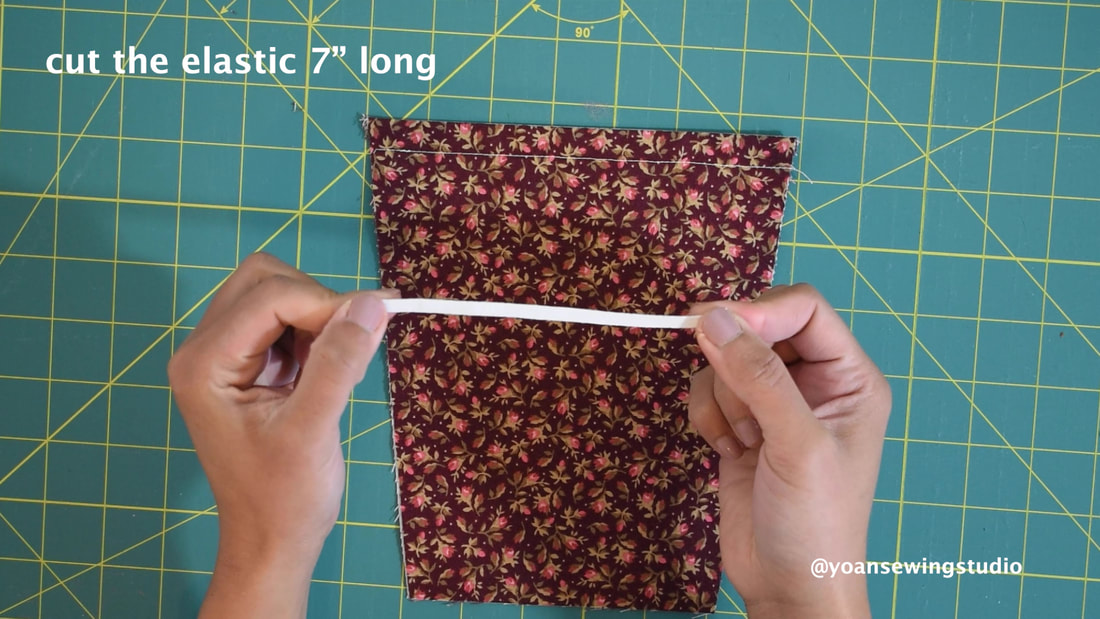
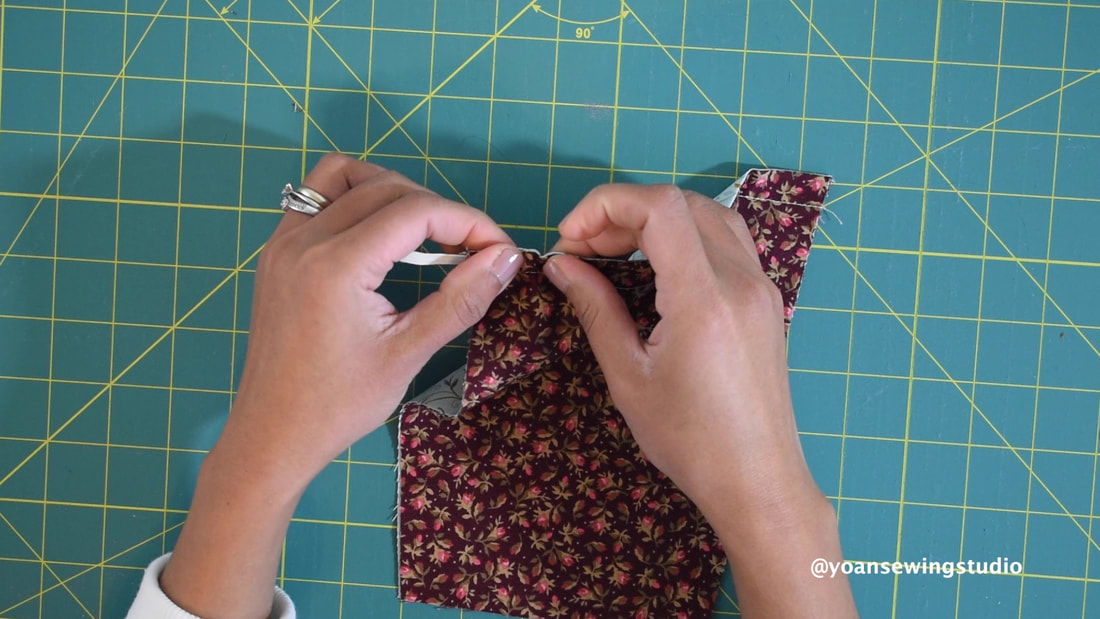
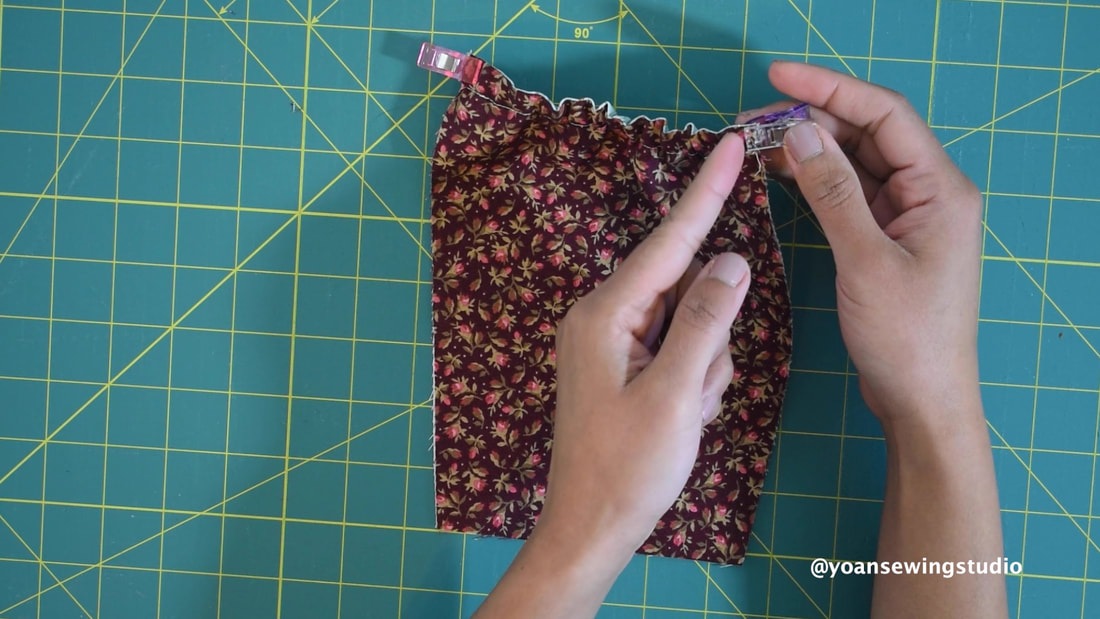
14. Cut 5" long elastic. Thread the elastic to the casing with the help of a safety pin, sew the edges to secure it in place
15: Place the pocket to the right side of the side gusset, aligning the sides and the bottom edges, then sew along the sides and the bottom with 1/4" of seam allowance.
16. Assemble the exterior piece starting from sewing the side gussets to the front panel, then the back panel, then the bottom gusset.
17. Sew the zipper tabs to the zipper for the pocket divider
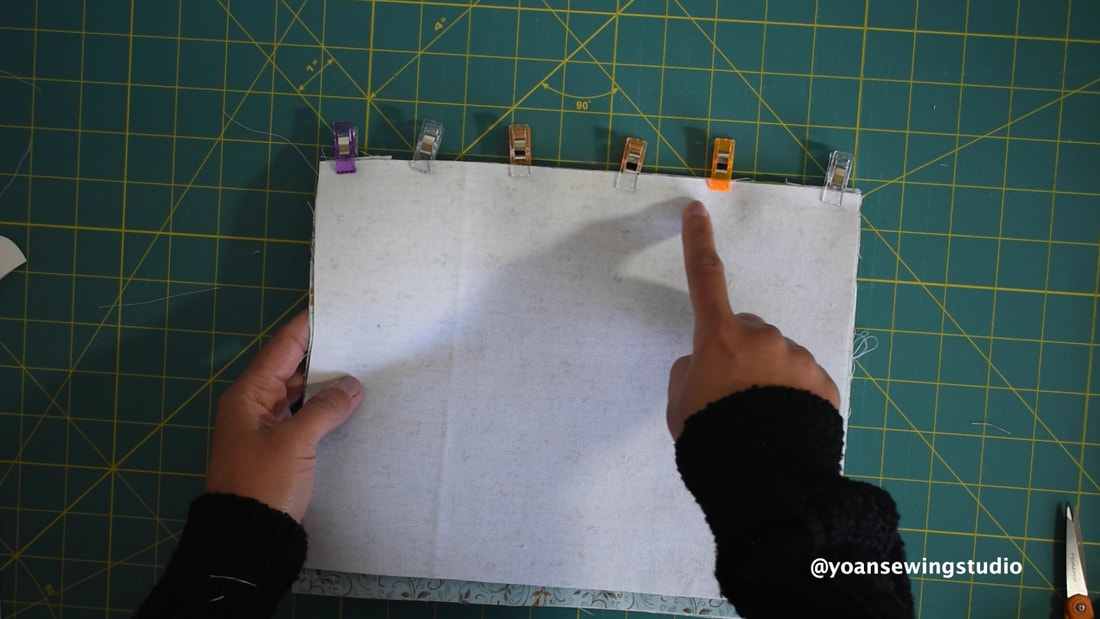
18. Sandwich the pocket divider, zipper, and the second piece of the pocket divider, secure with some sewing clips then sew with 1/4" of seam allowance
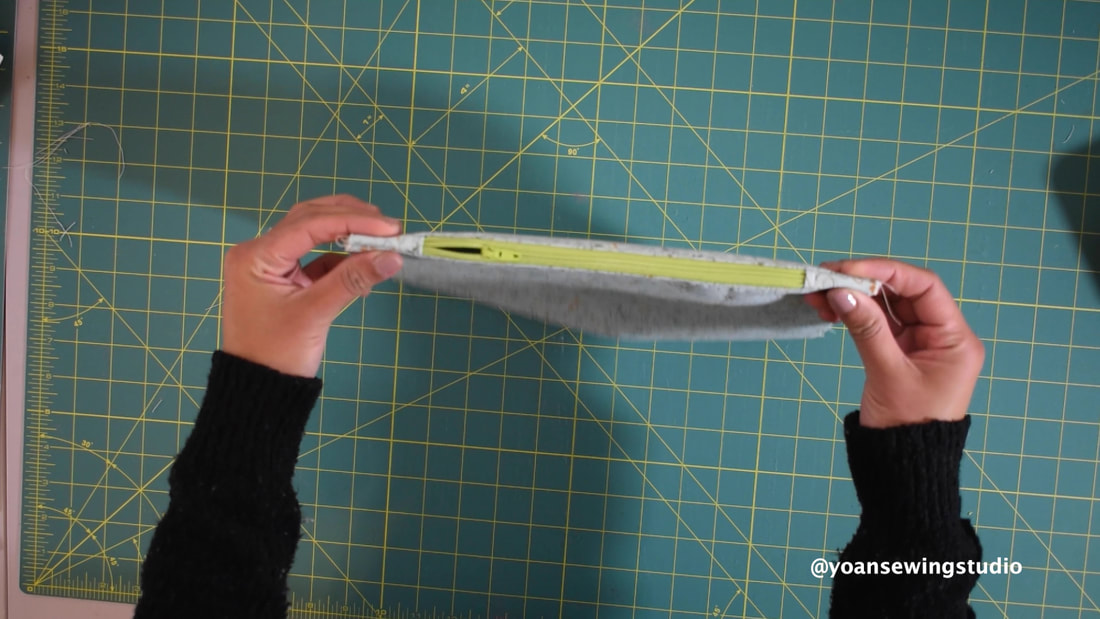
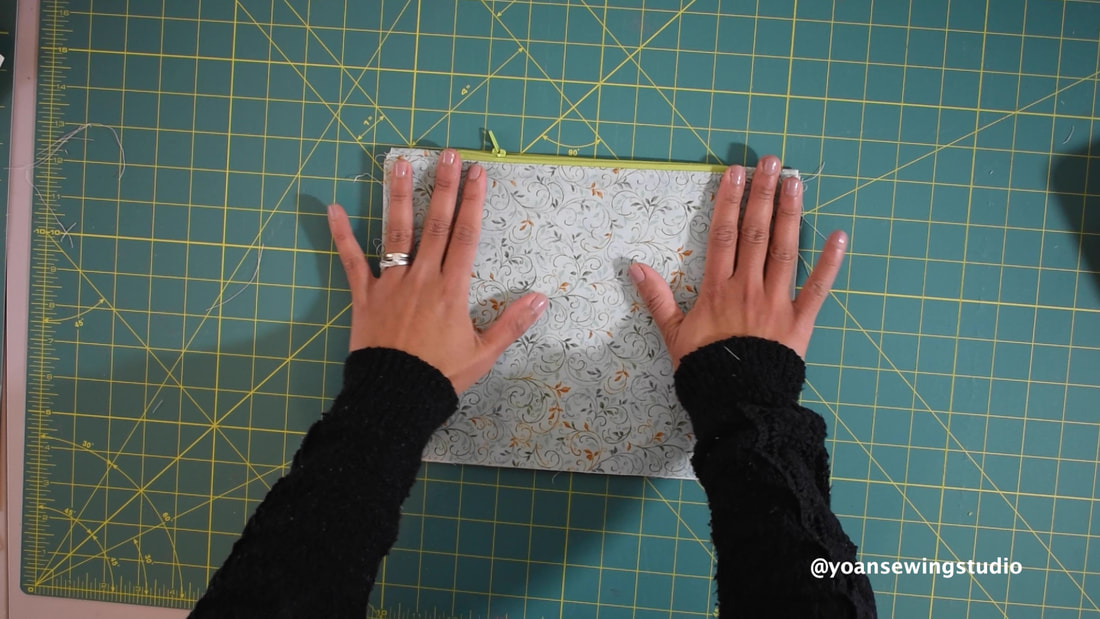
19. Open the sandwich, press the seams, then topstitch.
20. Sandwich the 3rd pocket divider, zipper, and the last pocket divider piece, secure with some sewing clips then sew with 1/4" seam allowance
21. Open the sandwich, press the seams, then topstitch.
22. Fold the zipper in half, with the zipper now positioned on top.
23. Sandwich the side gusset strip, the pocket divider, and the side gusset strip, sew with 1/2" seam allowance. Press towards the side
24. Repeat the same with the other side.
25. Sandwich the bottom gusset strip, the pocket divider, the bottom gusset strip, (there should be 1/2" overlap on both sides for the seam allowance, then sew with 1/2" seam allowance. Do not sew the overlap.
26. Sew the bottom corner of the side gusset to the bottom corner of the bottom gusset with 1/2" seam allowance
27. Repeat the same for all other 3 corners
28. Prepare two of the slip pocket pieces, lay them right side together, then sew the top, and the bottom with 1/4" of seam allowance. Press the seams open, turn the pocket piece right side out, then topstitch along the upper edge.
29. Lay the pocket piece on the right side of the front lining piece, 3" down from the top.
30. Draw a line on the center of the pocket, pin the pocket in place, then sew along the center line, and the bottom as well.
31. Repeat the same for the back slip pockets.
32. Apply the magnetic snap closures on both the front and back panels
33. Sew the front and back panel to the gussets with 1/2" of seam allowance.
34. Use left over fat quarters to make the straps by extracting 4" strips then join them together.
35. Apply the fusible woven interfacing to the straps, then press straps to make 1" wide straps.
36. Sew both edges of the straps with 1/8" seam allowance
37. Fold the raw edges of the exterior 1/2" towards the wrong side, press. Fold the raw edges of the lining 3/4" towards the wrong side, press.
39. Position the straps to the exterior piece, 1/2" away from the side seams, secure in place with some sewing clips.
40. Insert the interior piece in to the exterior piece, secure everything with some sewing clips, the sew with 1/4" of seam allowance.
Voila! The bag is done. If you are a bit lost with the instructions, you can always refer to the video tutorial, or reach out to me directly through comments below, contact form, or social media. Happy Sewing!
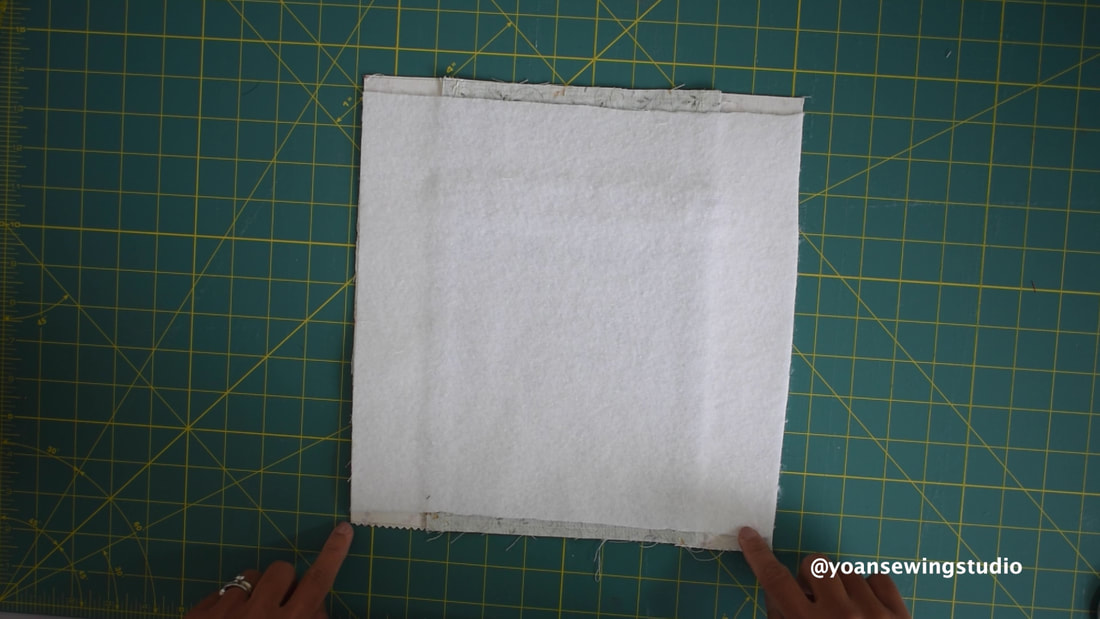
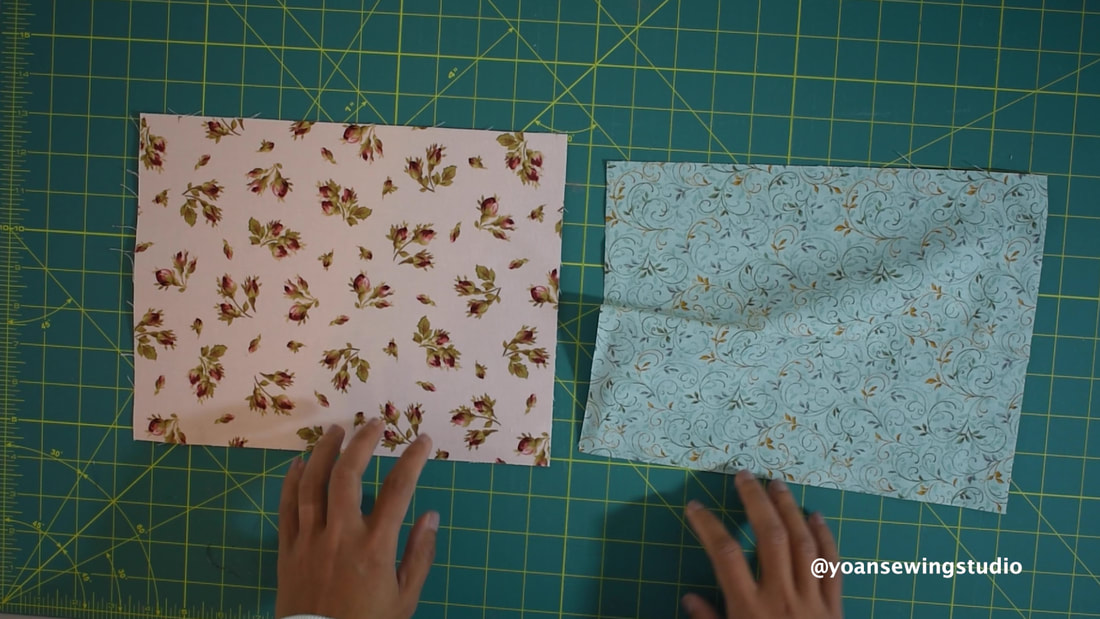
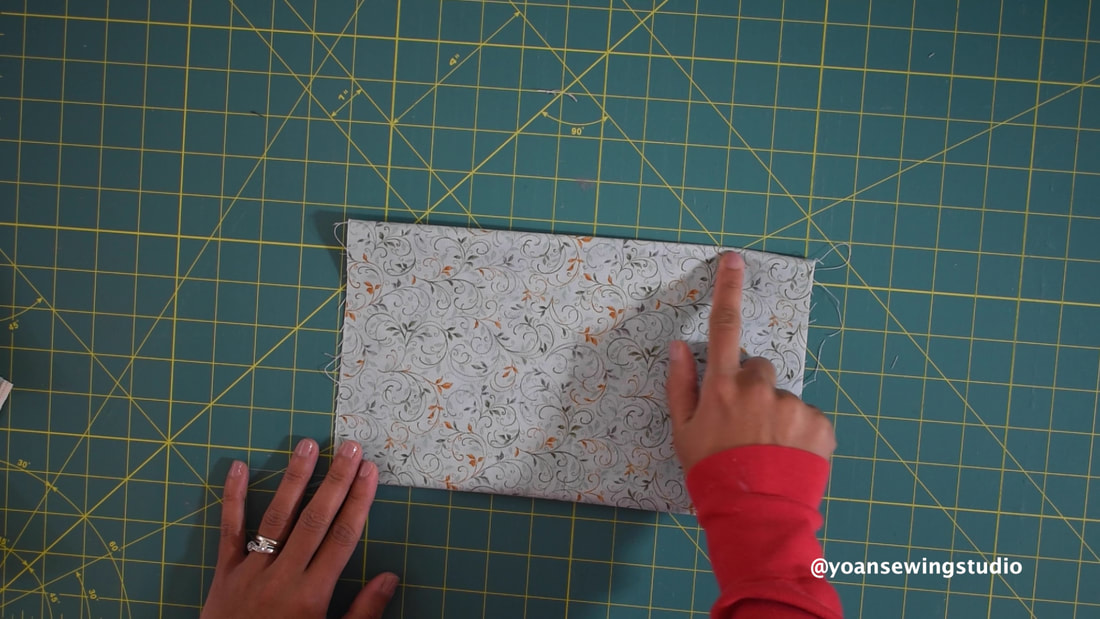
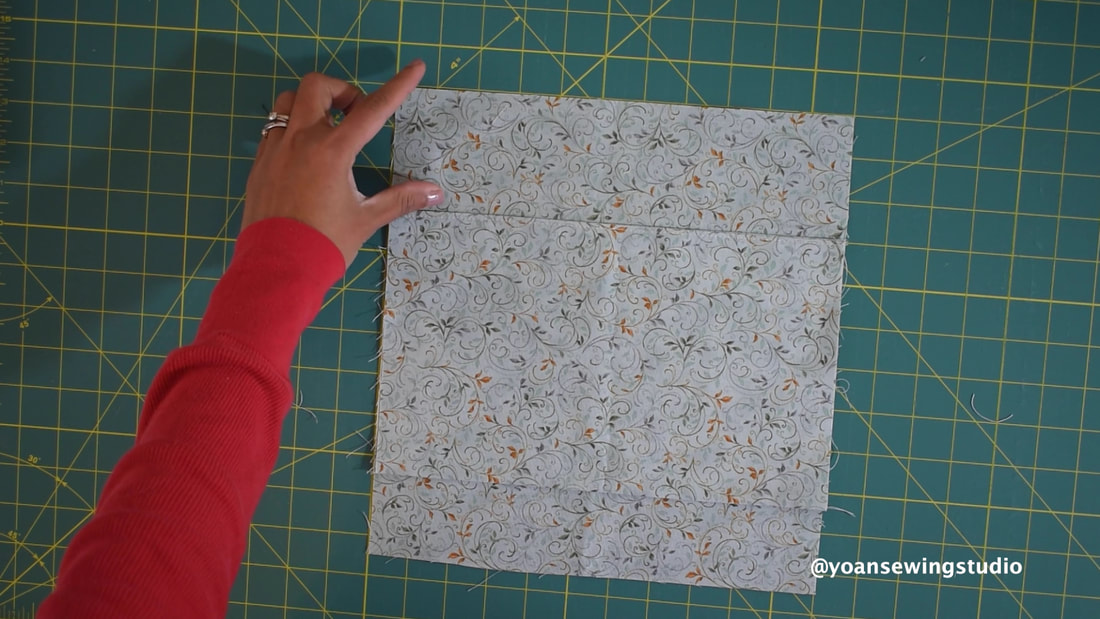
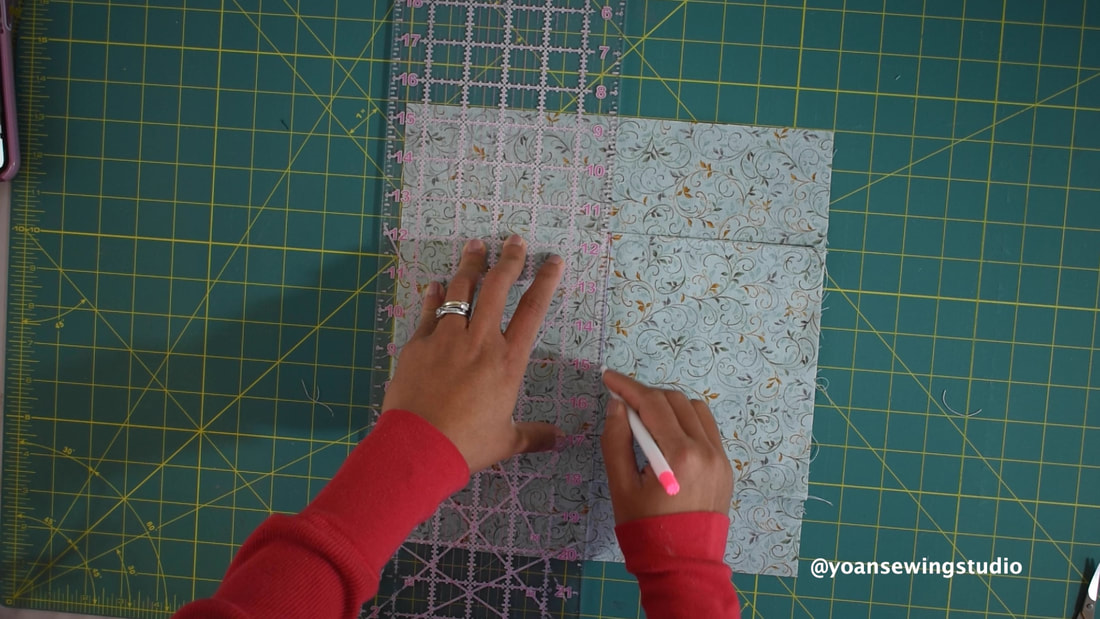
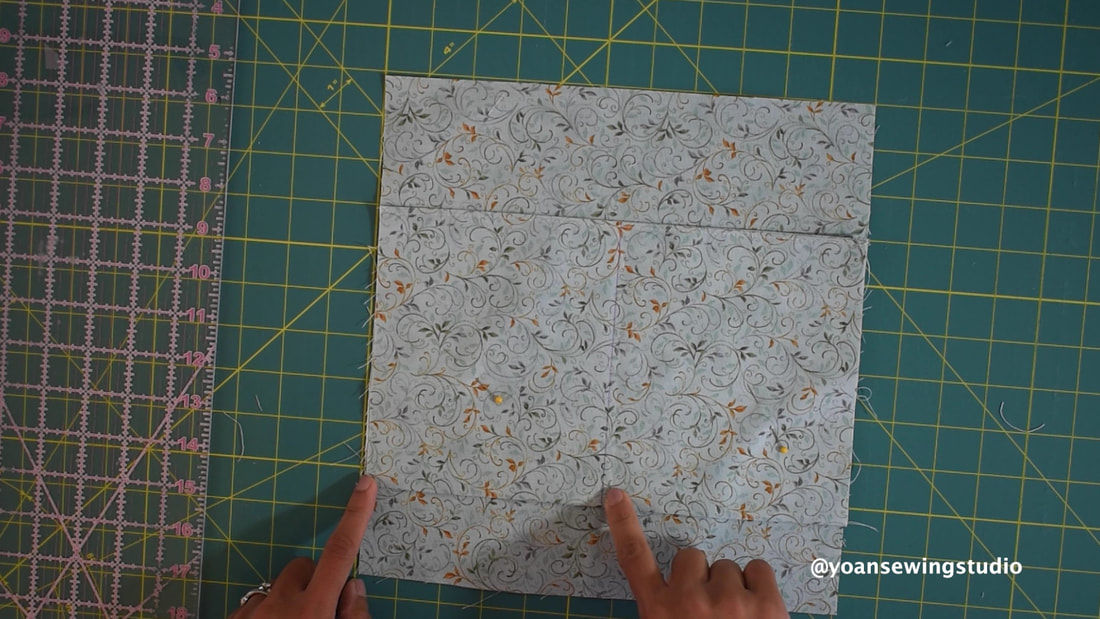
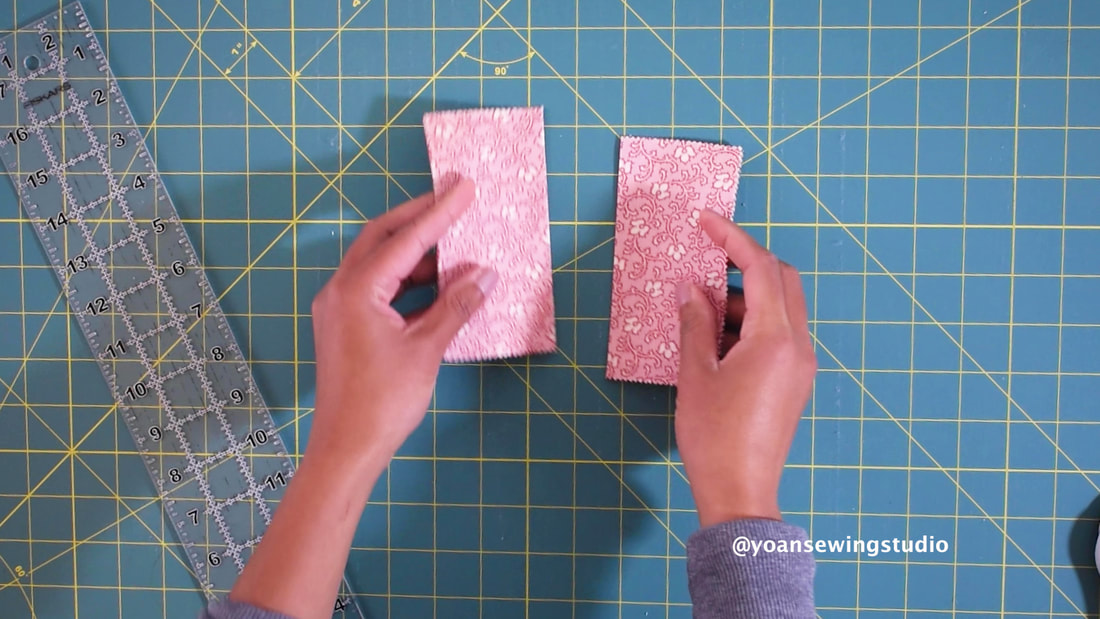
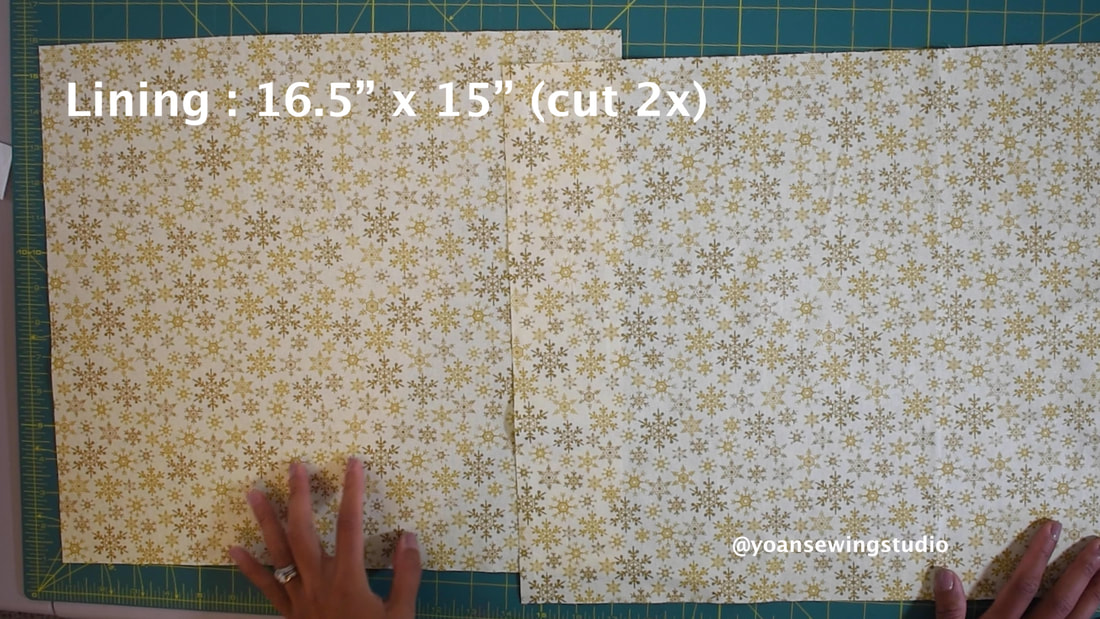
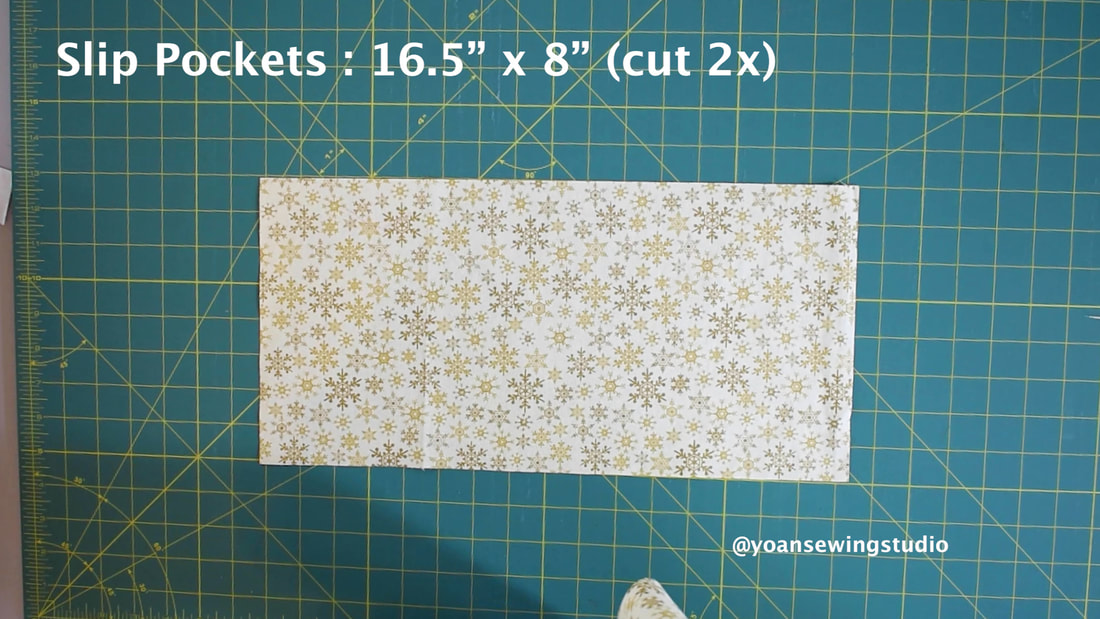
 Four Charming Projects with one Charm Pack This is the 3rd project for the Charming Project series, and in this post I'm going to share this beautiful tote bag project with you. 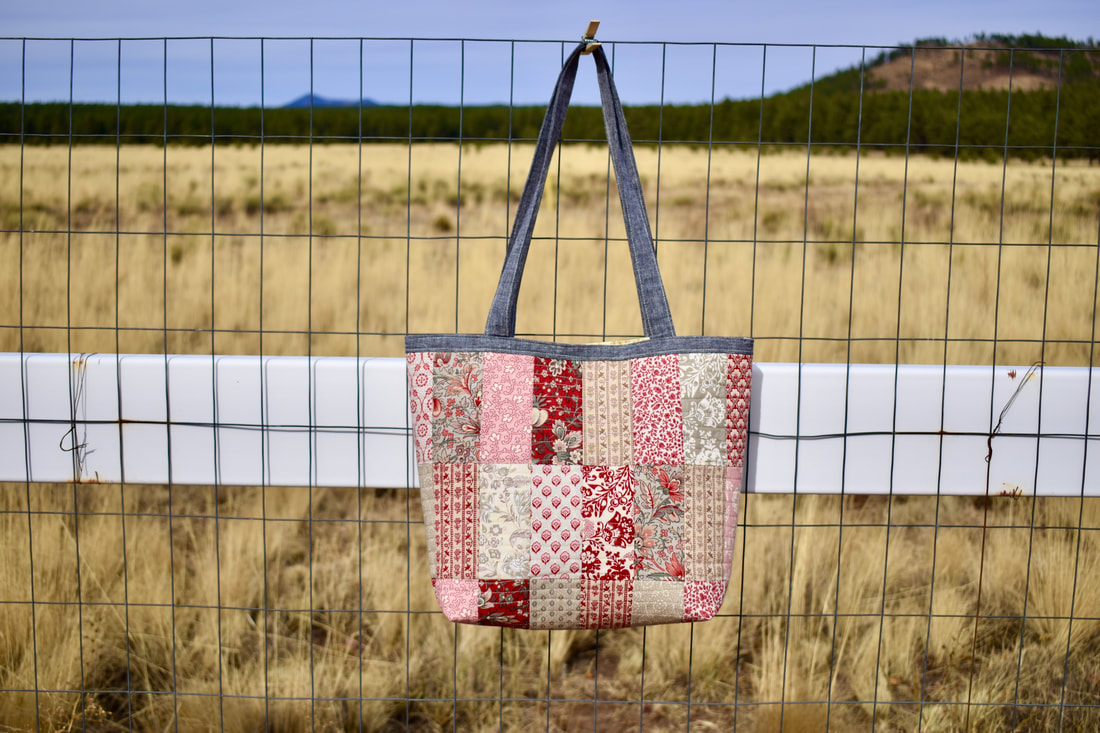 The finished measurement of this tote is about 14" x 11.5", a nice mid size tote, that is not only adorable but also very functional. Supplies 16 pcs of Charm Pack 1/3 yard of fabric (for the accent and straps) Fusible woven interfacing (I use Pellon shape flex 101) Fusible Fleece (I use thermolam Pellon TP971F) *Feel free to use interfacing of your choice 1 Set of magnetic snap closure 1 Nylon zipper (at least 7" long) **Disclaimer : This post contains affiliate links, which means I earn a small percentage of commission when you make a purchase through those links with no additional cost. Thank you for your support! ==Cutting== *Front Exterior Top accent strip 16.5" x 1.5" *Back Exterior Top accent strip 16.5" x 1.5" Lower accent 16.5" x 9.5" *Lining 16.5" x 15" (Cut 2x) *Pockets Slip pockets 16.5" x 8" (cut 2x) Zipper pocket 10" x 9" (cut 2x) *Interfacing Fusible woven interfacing 16.5" x 15" (cut 2x for front and bag exterior) Fusible Fleece 16.5" x 14.5" (cut 2x for front and bag exterior) To start with, cut all 16x of the charm packs in halves
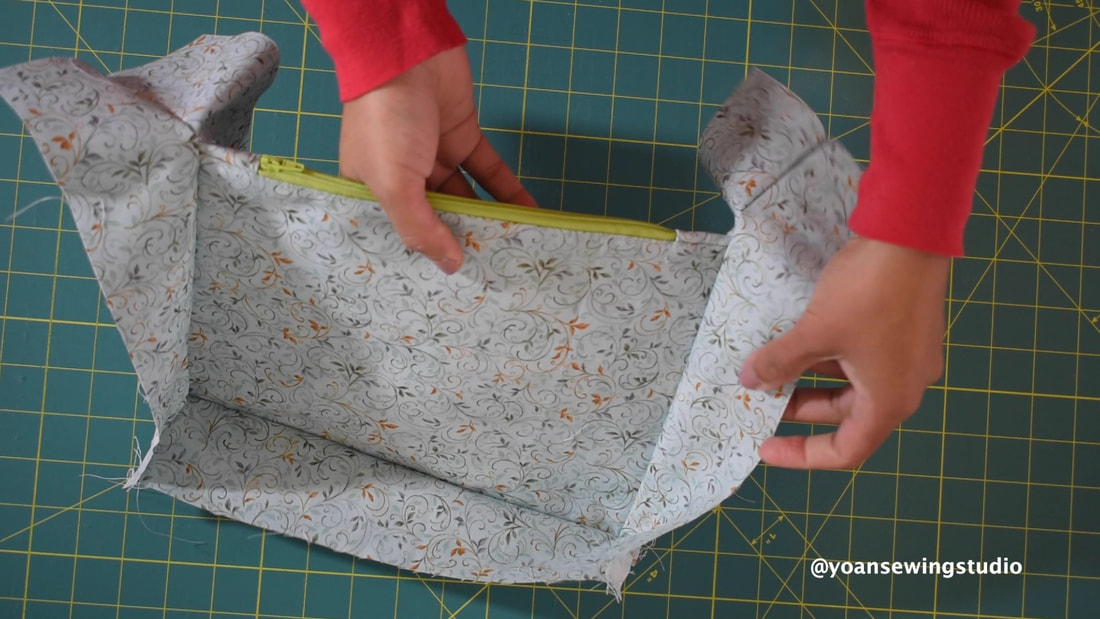
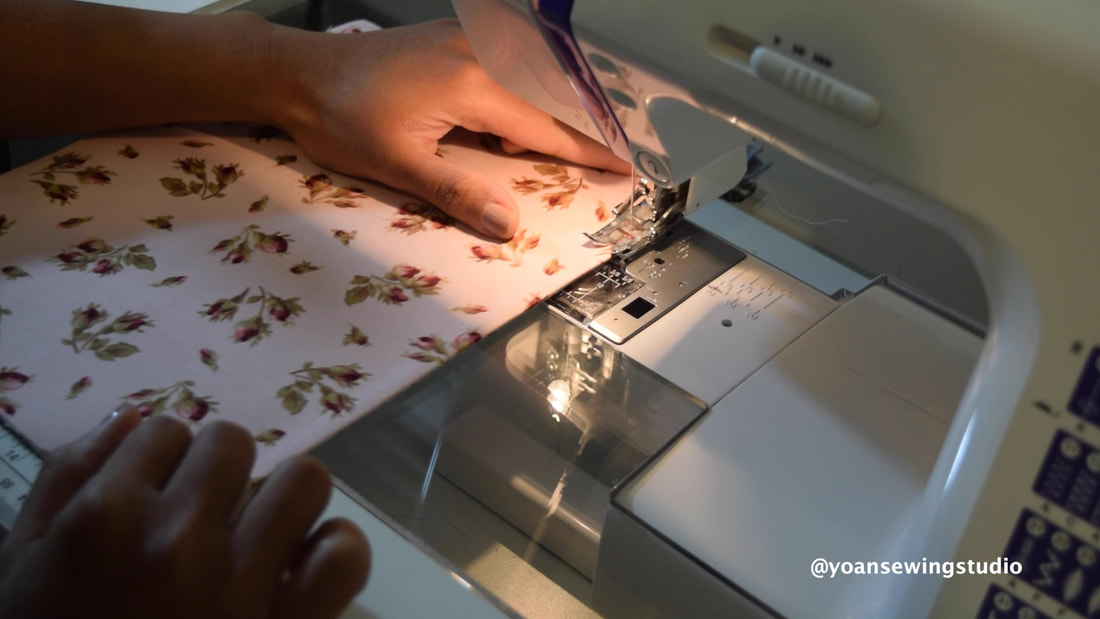
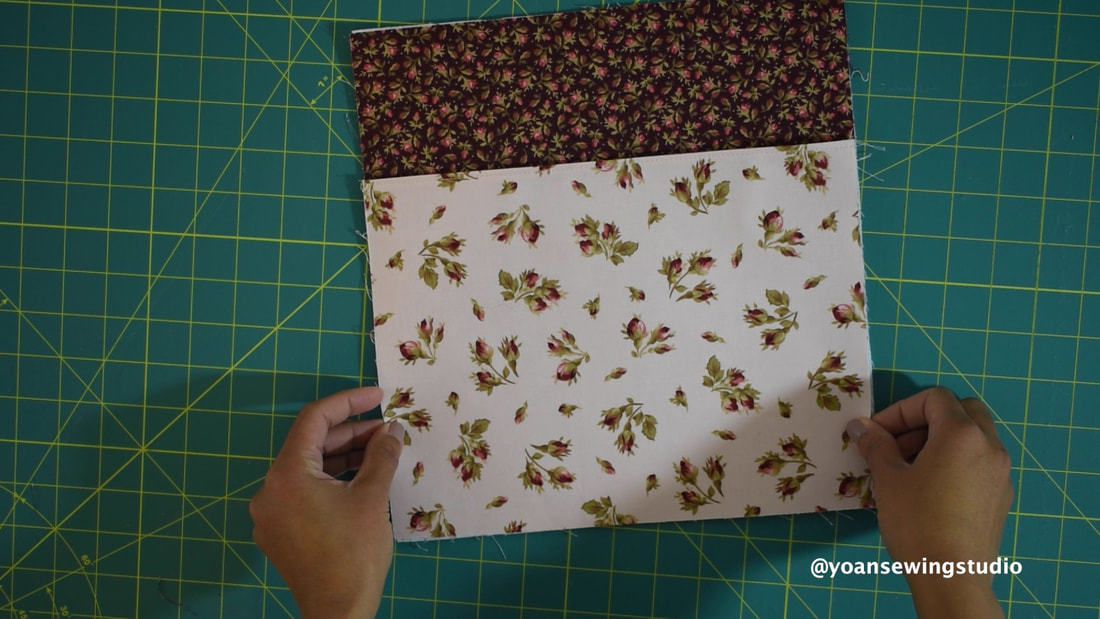
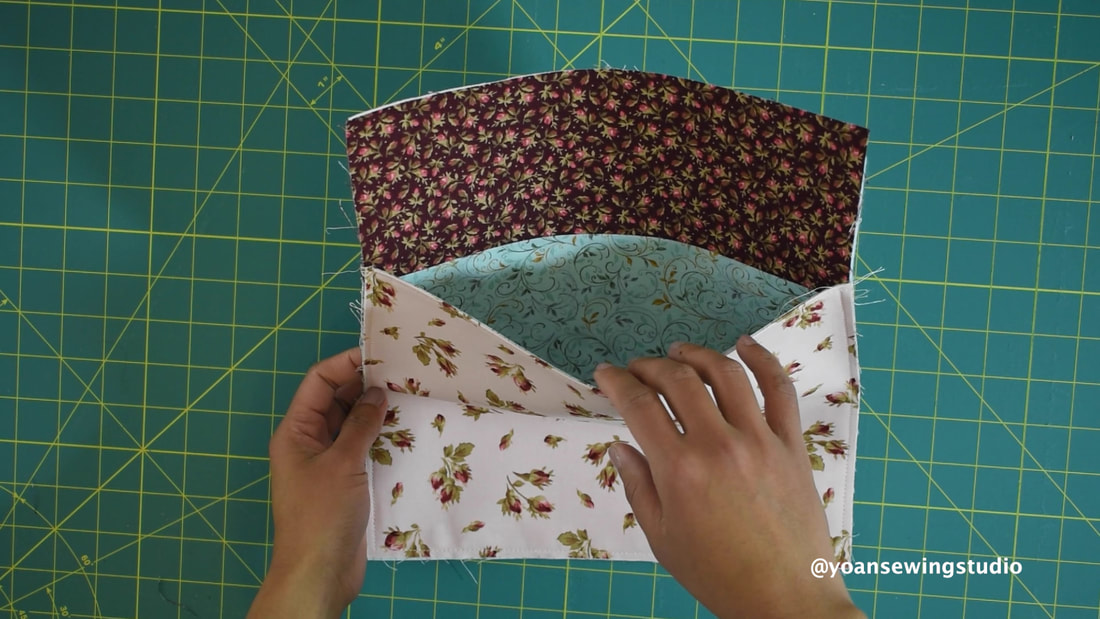
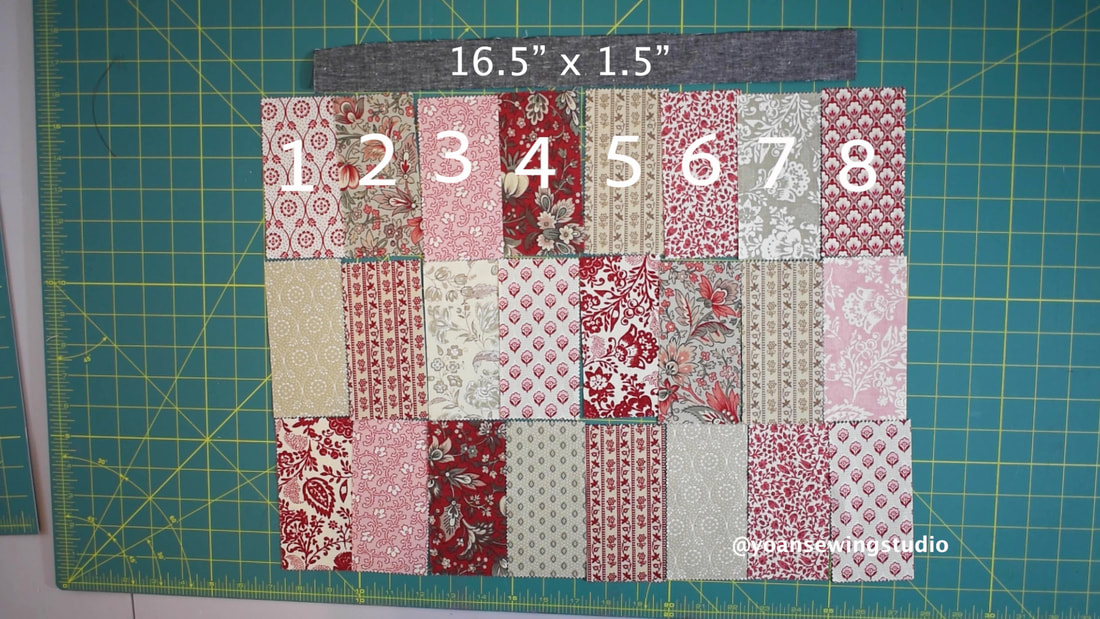 Front Patchwork Layout - The Charming Tote 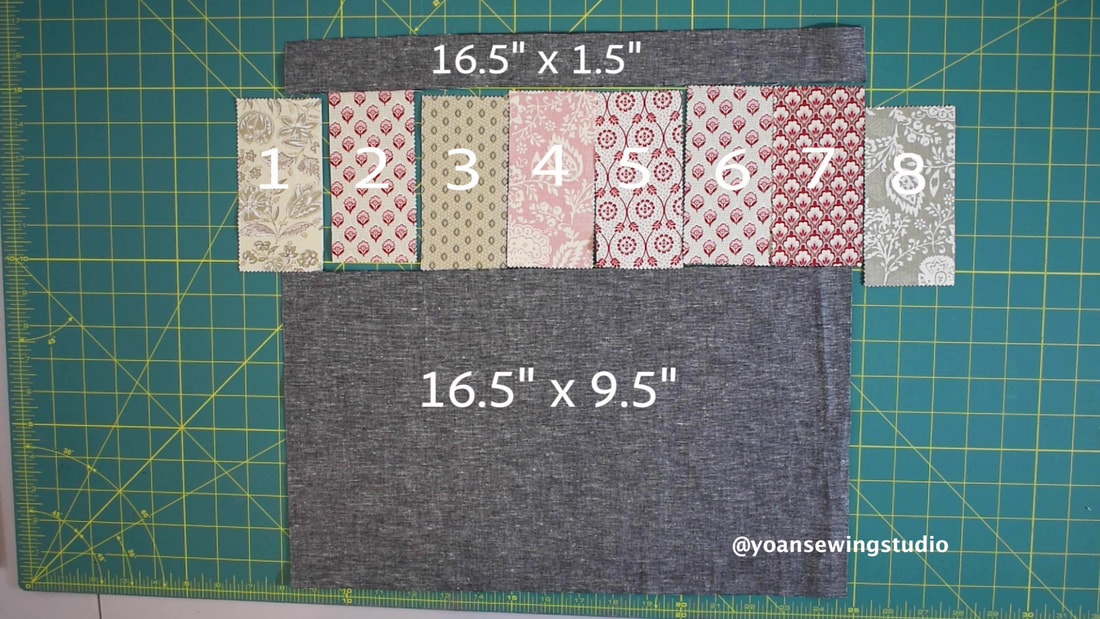 Back Patchwork Layout - The Charming Tote Piece them together with 1/4" of seam allowance 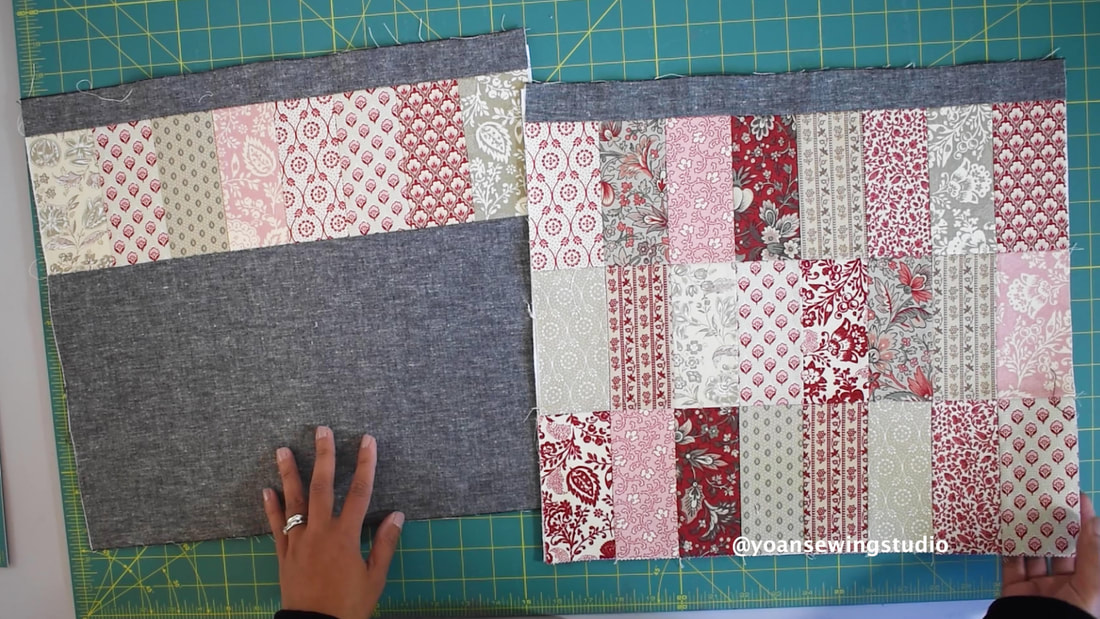 Sew the straps 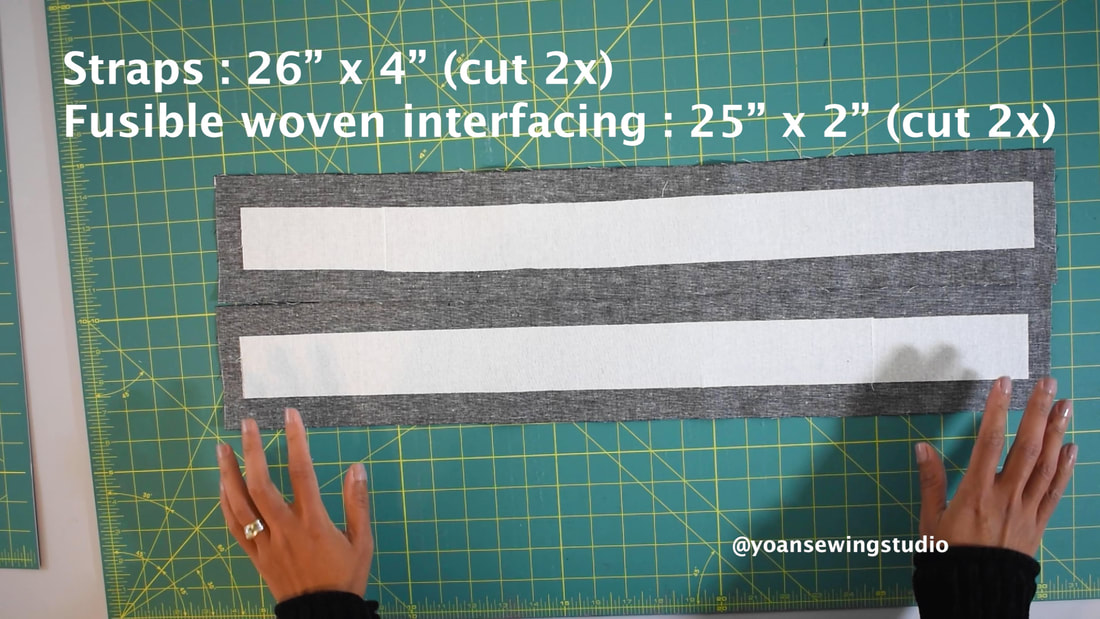 Attach the straps to the bag exterior pieces 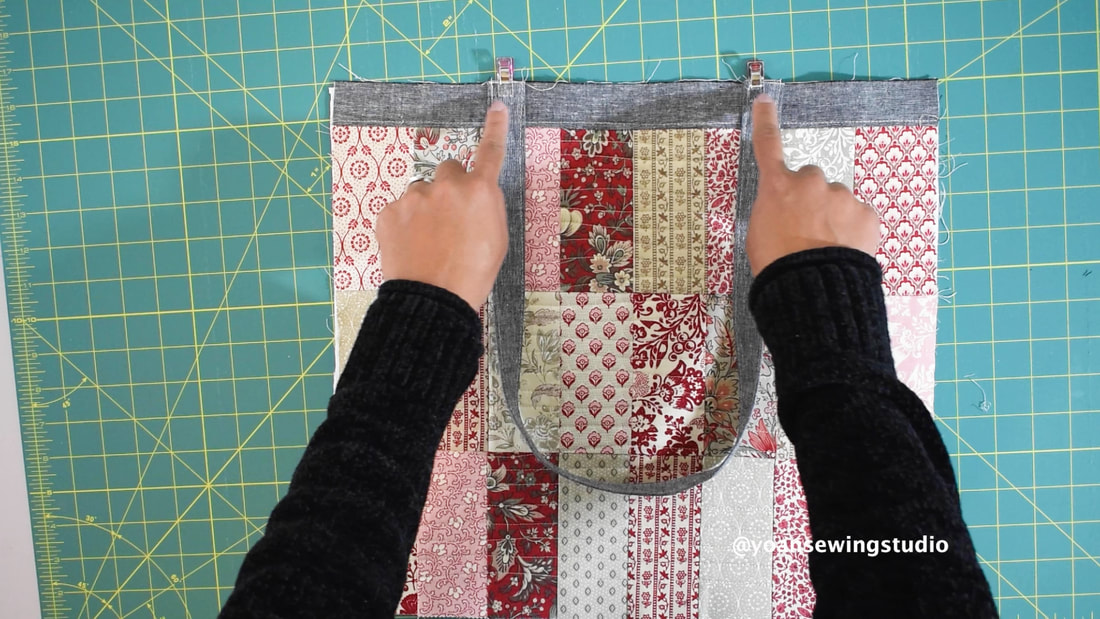 Now work on the lining and the pockets
For detailed instructions, watch the video tutorial on my Youtube channel Happy Sewing!
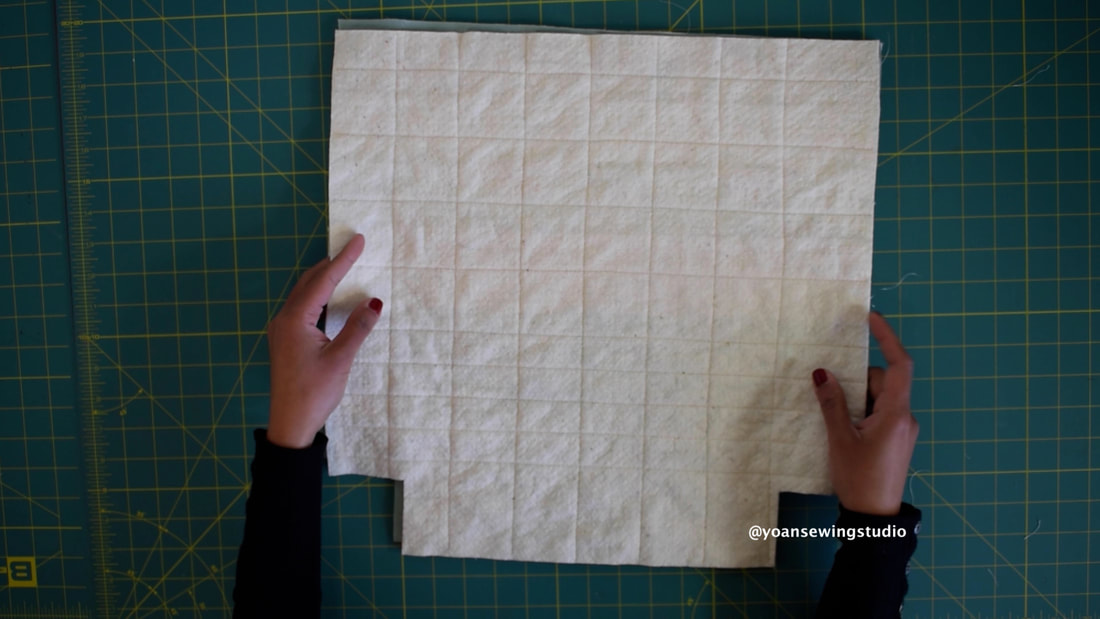
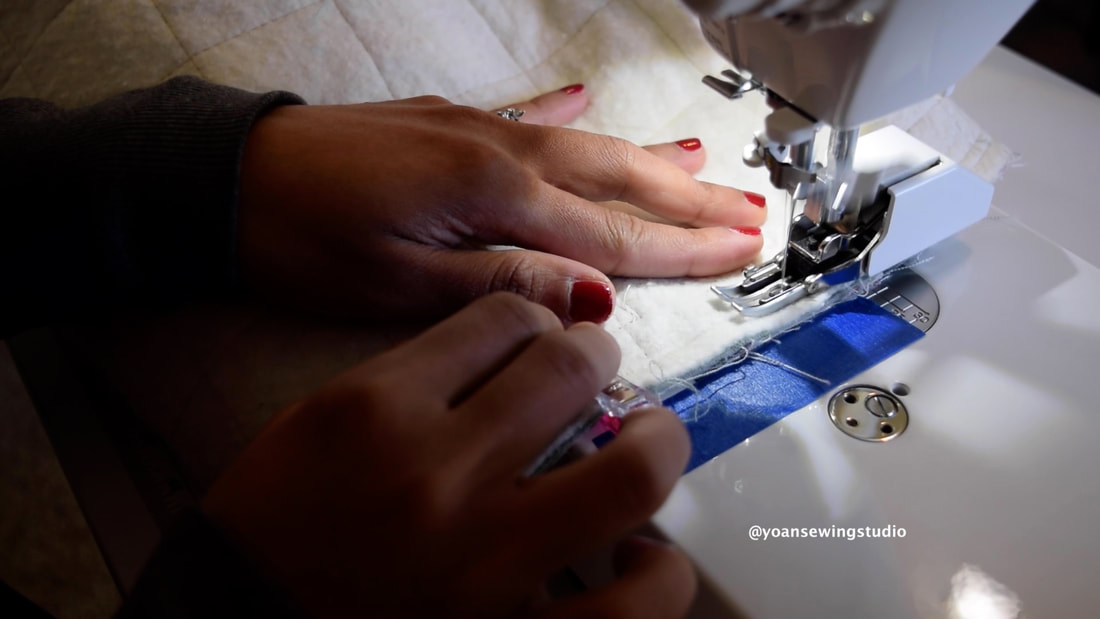
If you are a quilter, the term "quilt as you go" might sound pretty familiar, and you probably have made a few project with that particular method, which simply means piecing the patchwork directly on the piece of batting.
I love using this technique to make small projects such as coaster (mug rug), placemat, table topper, and of course this adorable tote bag that I made using my favorite scraps. 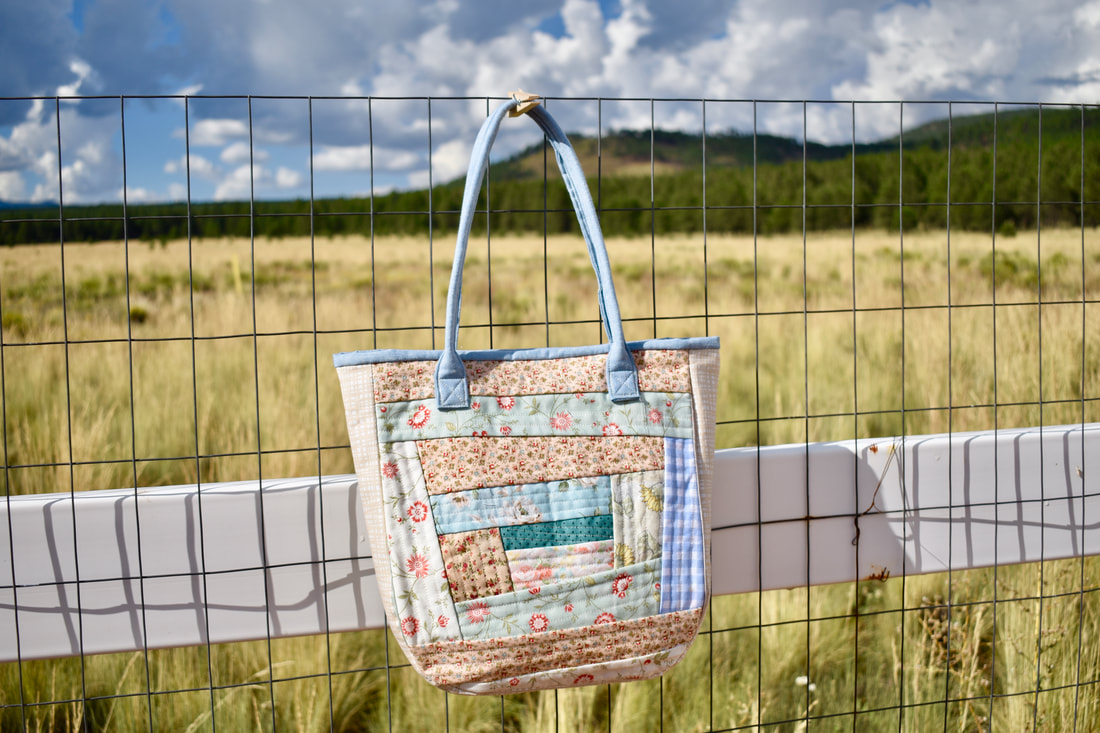
Scrappy tote bag made with "quilt as you go" technique
I posted the full tutorial of this project on my Youtube Channel, that you may watch below :
Click to set custom HTML
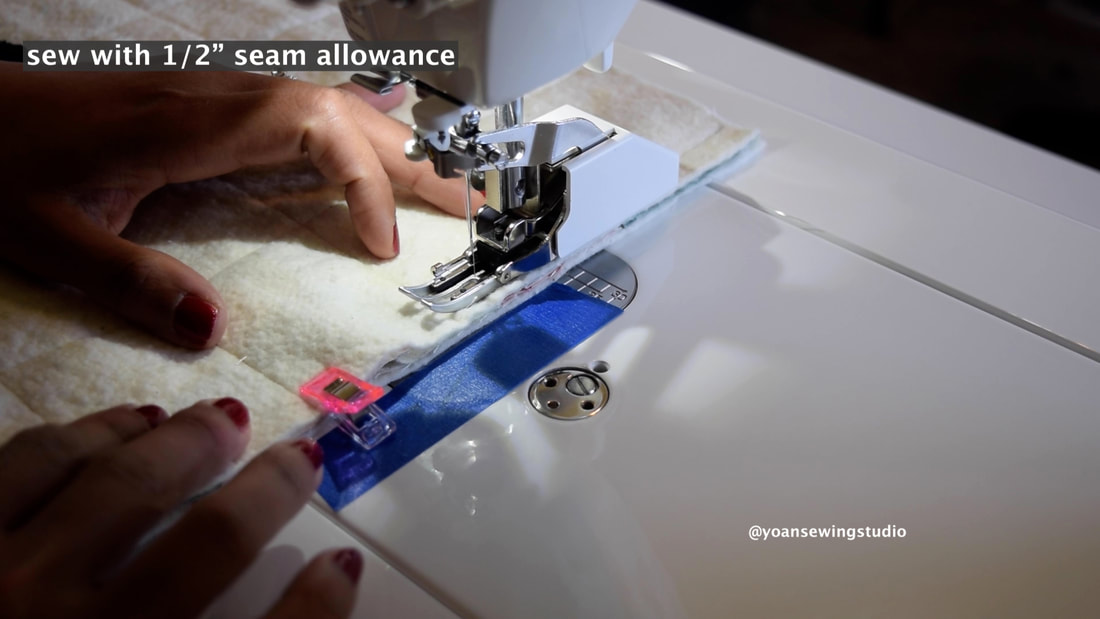
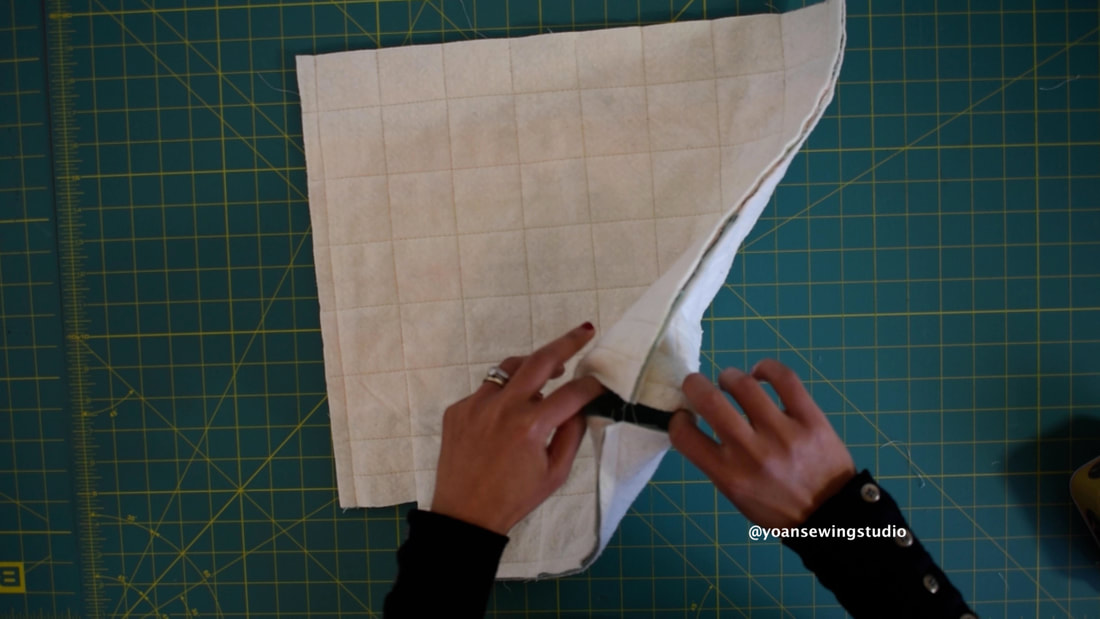
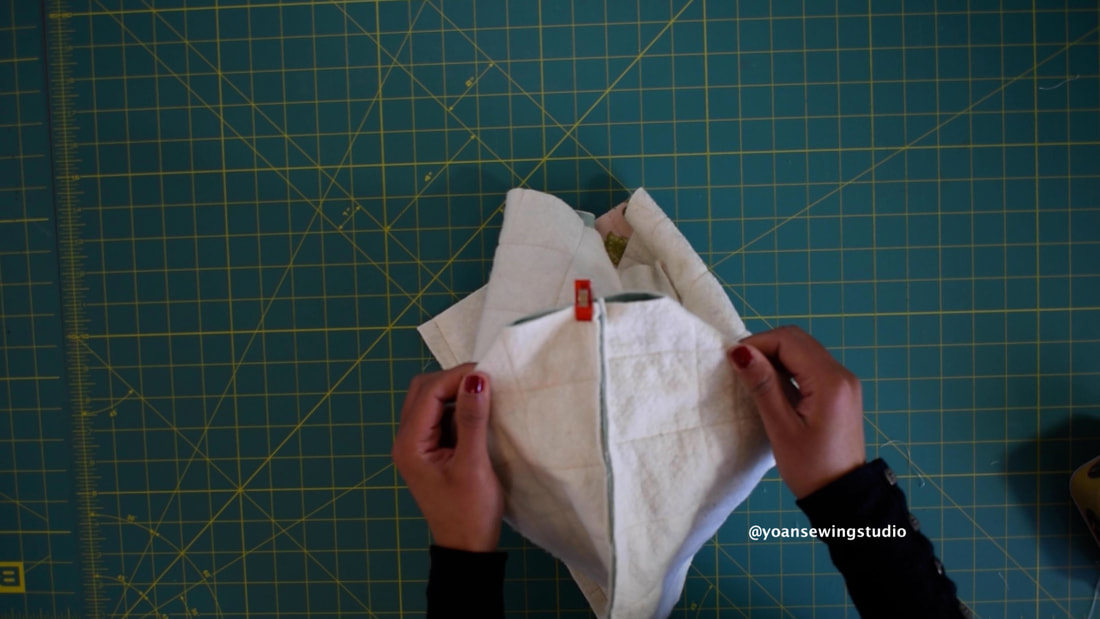
Supplies : - Assorted strips of fabric scraps - 2 x scraps of quilt batting (at least 13" x 13") - Backing fabric (optional) - 1/8 yard quilt weight fabric for the gusset - 1/4 yard quilt weight fabric for the handles and binding - Fusible fleece - 1/2 yard fabric for the bag interior (lining, lining gusset, and pocket) - 1 set of magnetic snap - Nylon Zipper (at least 6") ========================================= Measurements ~Exterior shell~ Front and back exterior : Make two blocks measuring 12" x 12" Gusset : Cut a strip of fabric 4" wide, and the length should be the same (or a bit longer) then the perimeter of the side and bottom exterior shell) Gusset interfacing: Cut a fusible fleece measuring 3" wide, the length should be the same as your gusset Straps : Cut two 24" x 4" Strap interfacing : Cut two from the fusible fleece 23" x 2" ~Interior~ Front and back interior : Cut two pieces the exact same as the front and back interior Gusset : Cut one strip the exact same measurement as the exterior gusset Slip pockets : Cut two 12" x 8" ZIpper Pocket : Cut two 9" x 7" If you have any questions please do not hesitate to leave me a comment below. Happy Sewing!!
The Olivia quilted patchwork tote bag is such a darling bag that will surely brighten up your day. This bag comes with 2 exterior pockets, and four interior pockets.
The patchwork of this bag is made out of charm packs (5" squares), and you will need 16 pcs only. If you have some charm packs perhaps leftover from previous project, you can pull them out, or simply purchase a fresh new one from your favorite fabric line. Check out the fulll tutorial on my YouTube channel and consider subscribing so you won't miss any future upload.
Finished tote bag measurements :
Approx : 15" x 14" x 4" Supplies 16 charm packs (5" squares) 7/8 yard accent fabric (fabric C) 1/2 yard lining fabric Quilt batting (or interfacing of your choice) 1/4 yard backing fabric if using quilt batting(use cheap fabric, muslin, or scraps) fusible woven interfacing (I used pellon SF101) nylon zipper (at least 8") 4 D rings (1") 1 set of magnetic snap
Cutting measurements
~Exterior~ To make the block : Cut the charm packs into 3 1/2" x 5" (fabric A) and 1 1/2" x 5" (Fabric B) Exterior Top From Fabric C cut two 16 1/2" x 2 1/2" Exterior bottom From Fabric C cut two 16 1/2" x 9 1/2" Pocket Binding : Cut 2 1/2" wide strip for the binding
~Interior~
Facing From fabric C cut two 16 1/2" x 3" Lining From lining fabric cut two 16 1/2" x 13 1/2" Zipper pocket : From the lining fabric cut two 11" x 9" Slip Pocket From the lining fabric cut two 16 1/2" x 8" Straps From Fabric C cut two 22" x 4" Straps interfacing From the fusible interfacing cut two 21" x 2" Strap anchors From fabric C cut four 4" x 4" Disclaimer : This post contains affiliate links
Happy sewing!!
|
Categories
All
©
Yoan Sewing Studio | All Rights Reserved
|


 RSS Feed