|
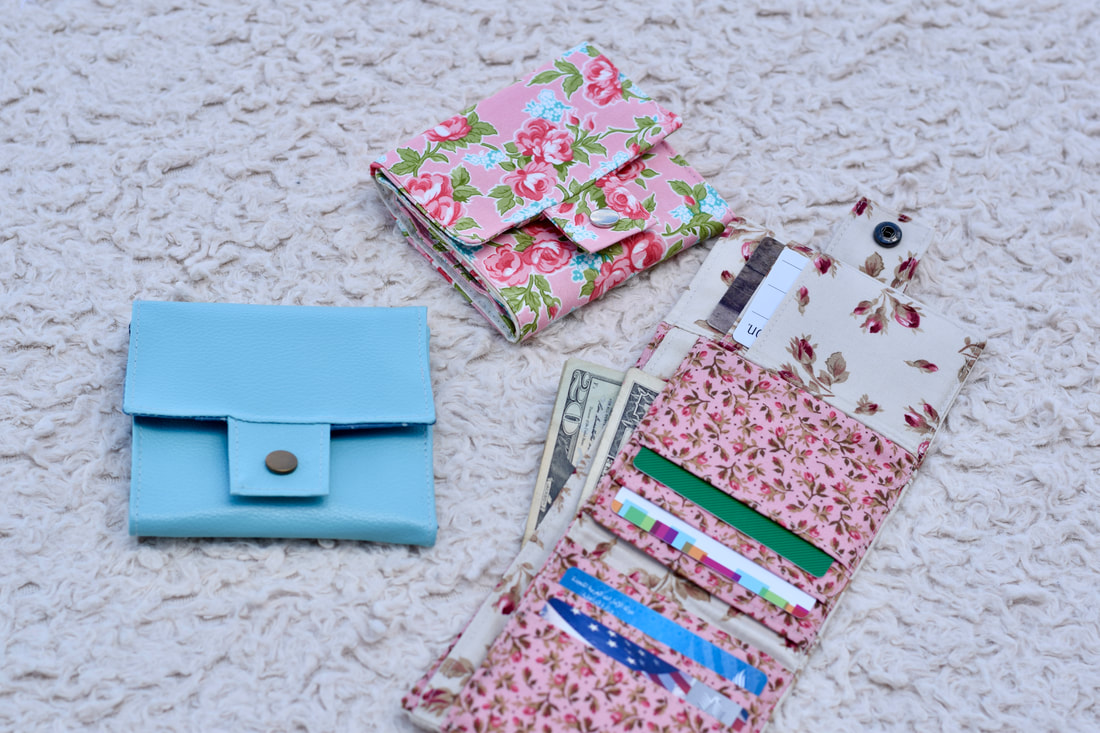
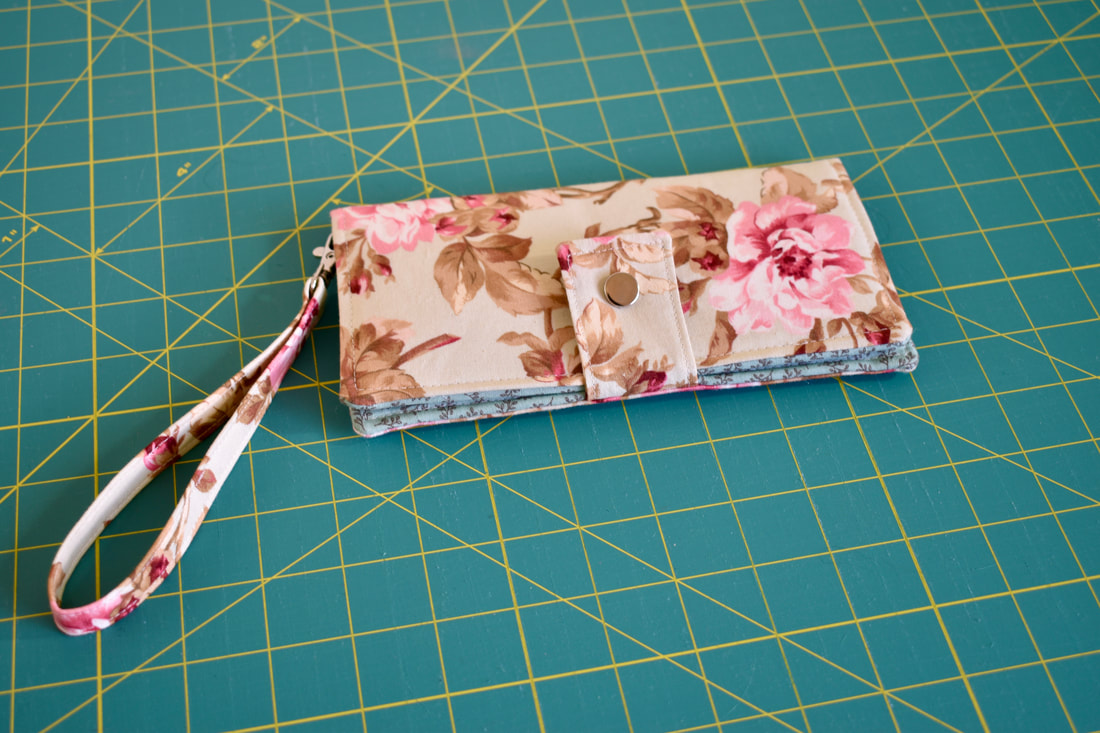
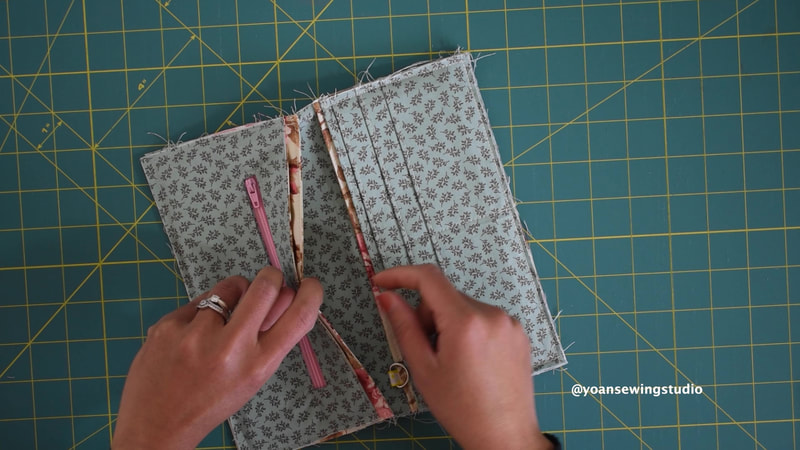
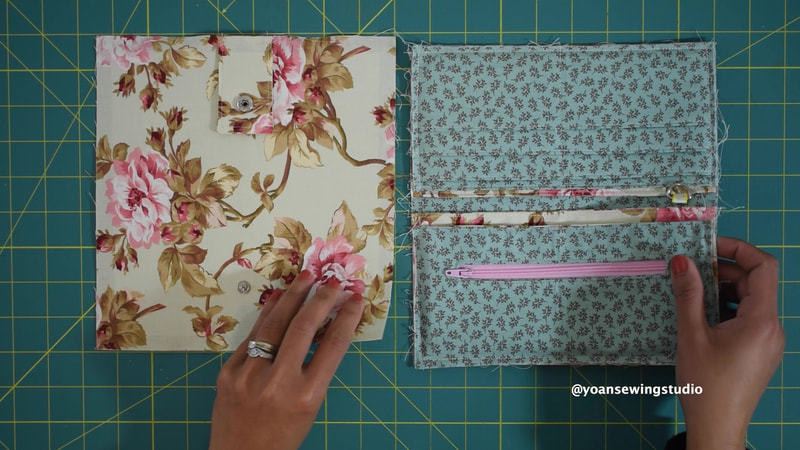
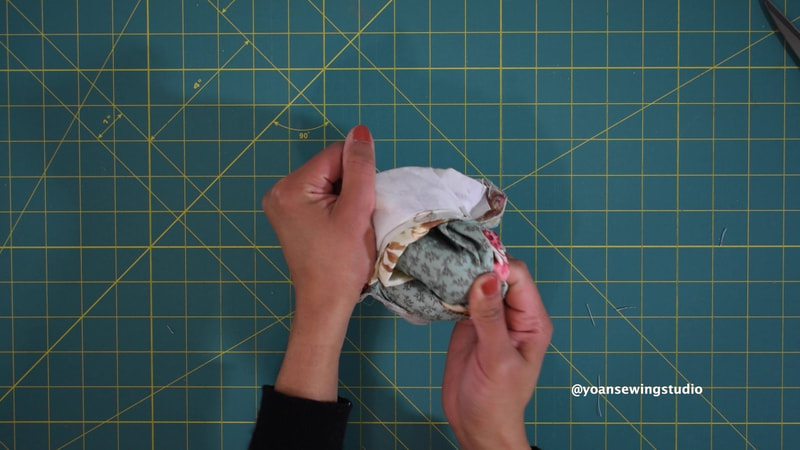
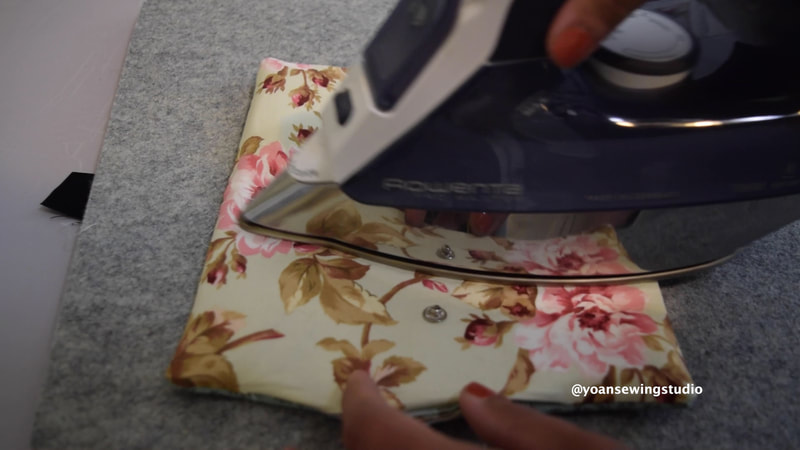
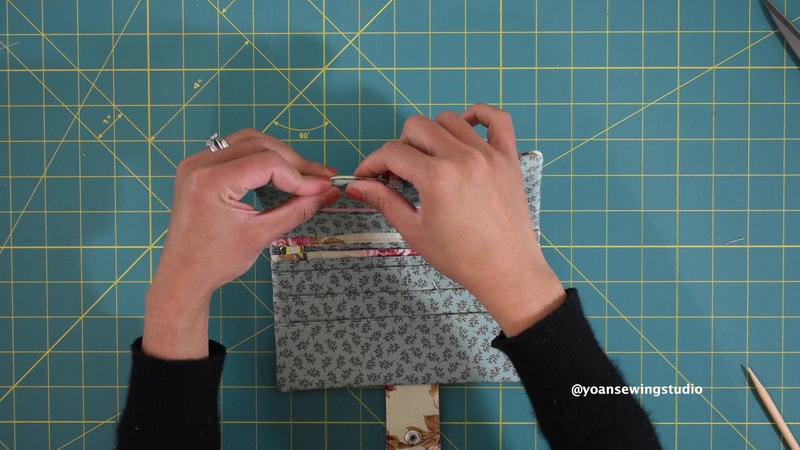
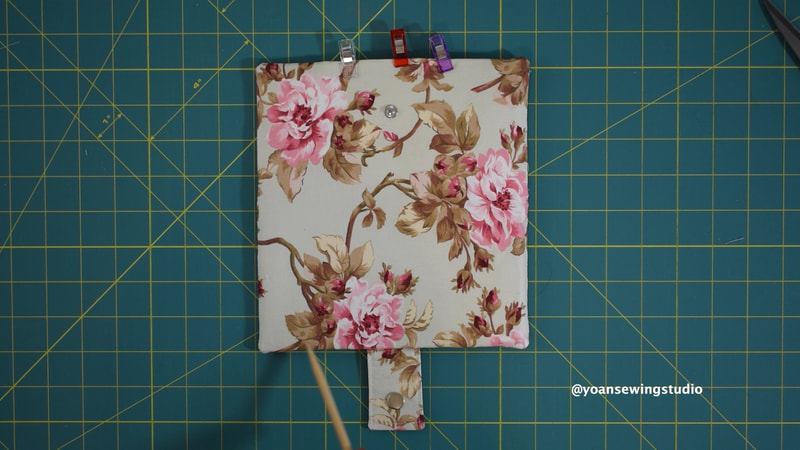
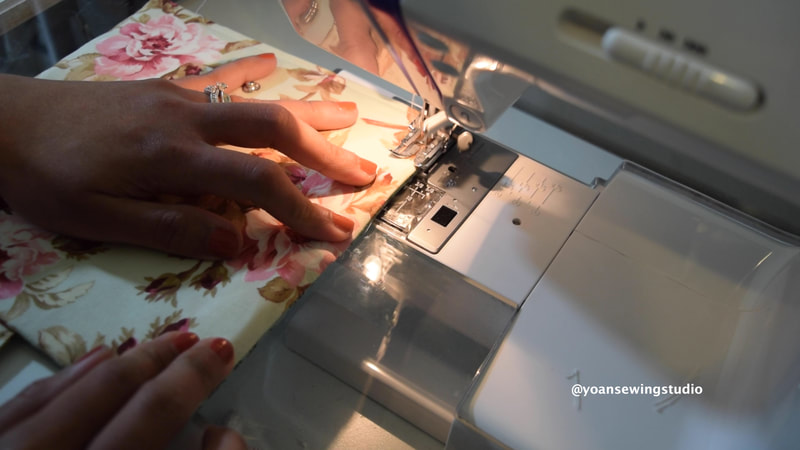
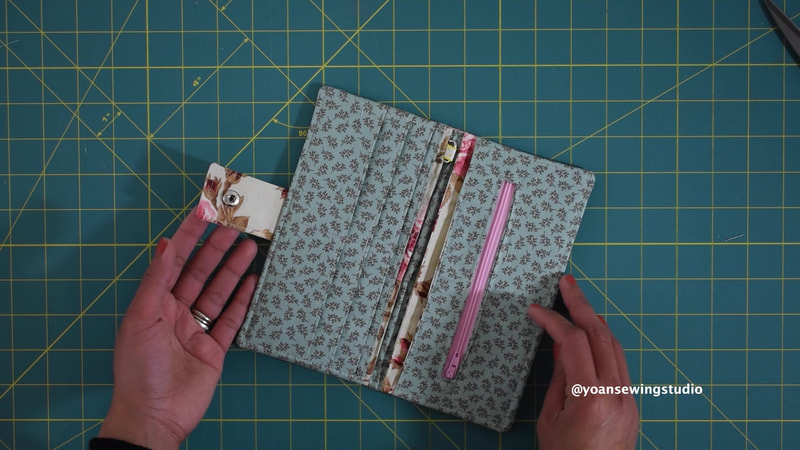
Today I am so excited to share with you this adorable yet very functional Small Trifold Wallet project.
Finished wallet measurements : approximately 4 1/2" x 4 1/4" (11.4 x 10.8 cm) when folded. Features : 6x card slots (each slot may hold up to 2 cards) 2x hidden slots (to store more cards, receipt, etc) 2x money compartments 1x external zipper pocket Button snap closure Optional RFID blocking; you may purchase RFID blocking fabric here.
This post contains affiliate links. I may earn a small percentage of commission when you make a purchase through any of link provided with no additional charge. Thank you for your support.
Watch the full video tutorial on my Youtube channel.
0 Comments
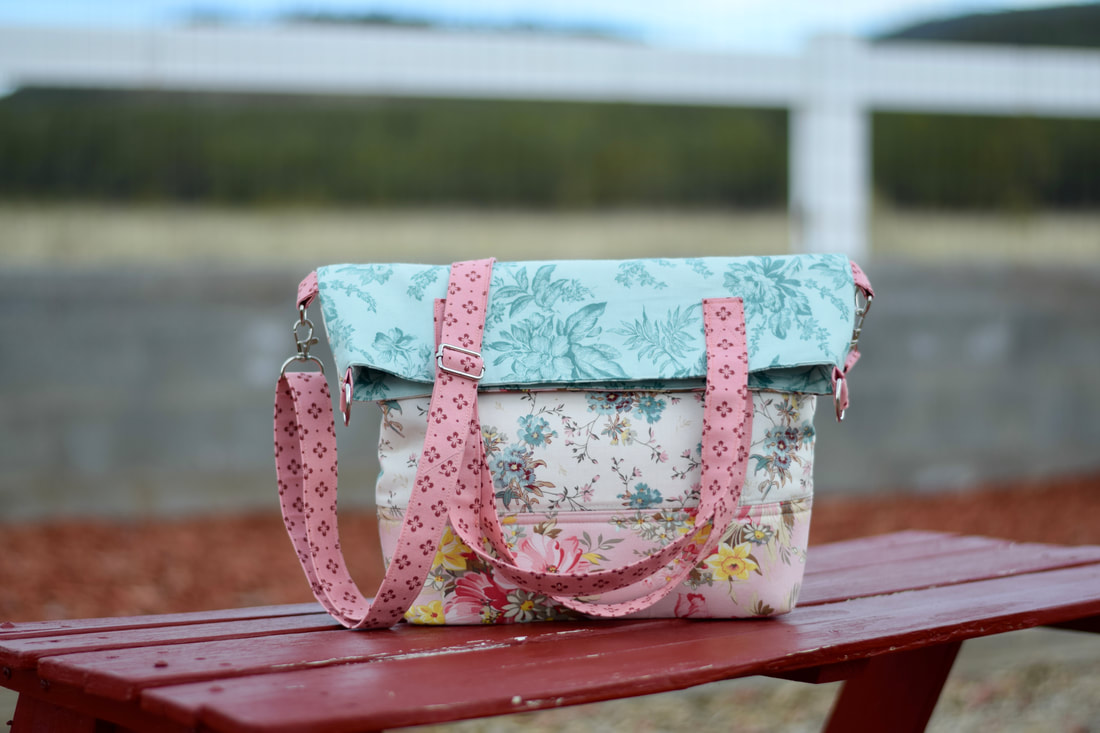
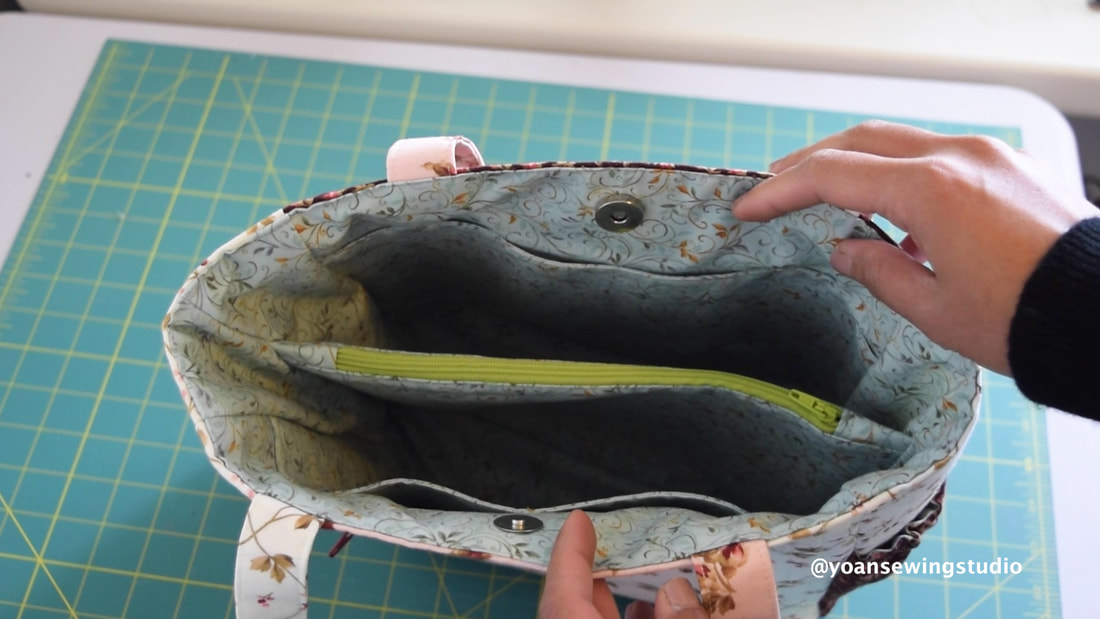
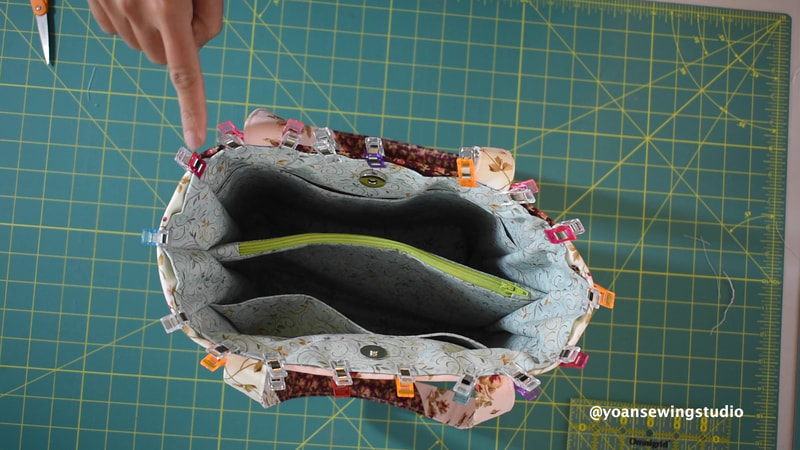
The Blooms convertible bag is a refreshing new bag pattern for your to make. This bag has enough features to be functional and versatile, you can wear this full size for larger capacity, or wear it in "fold-over" style for smaller, more compact look.
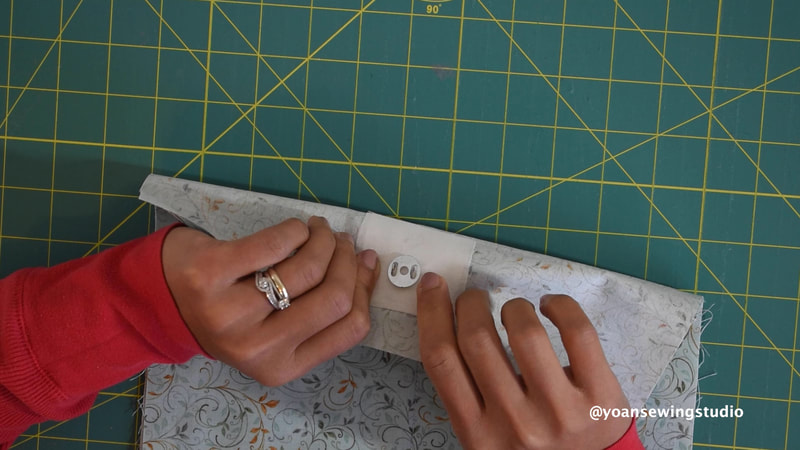
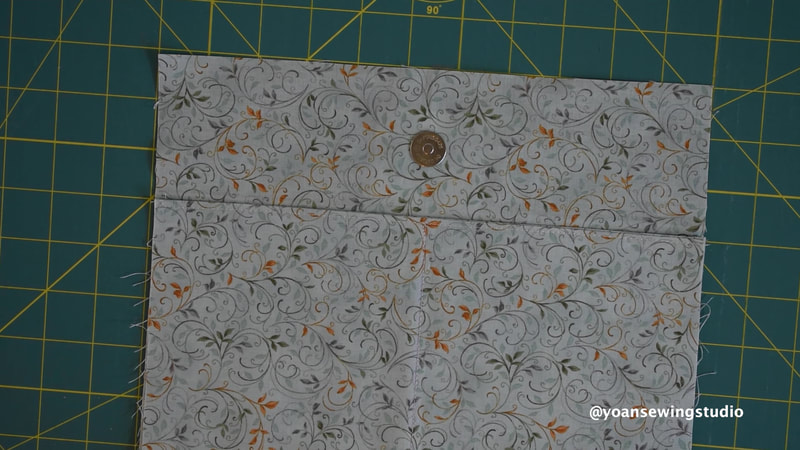
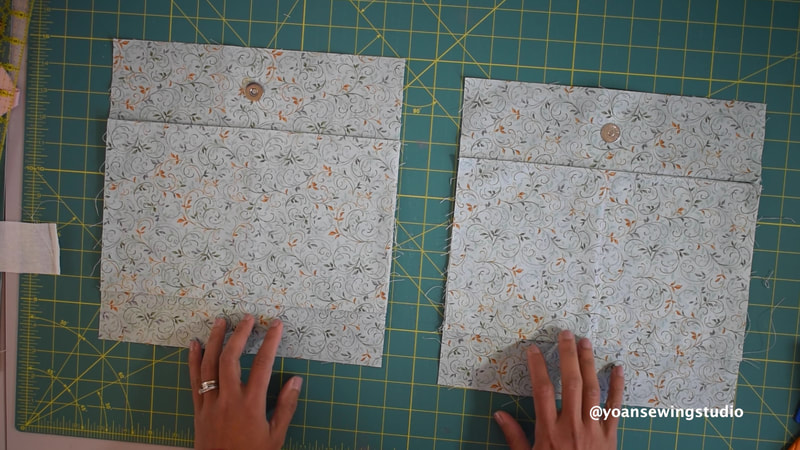
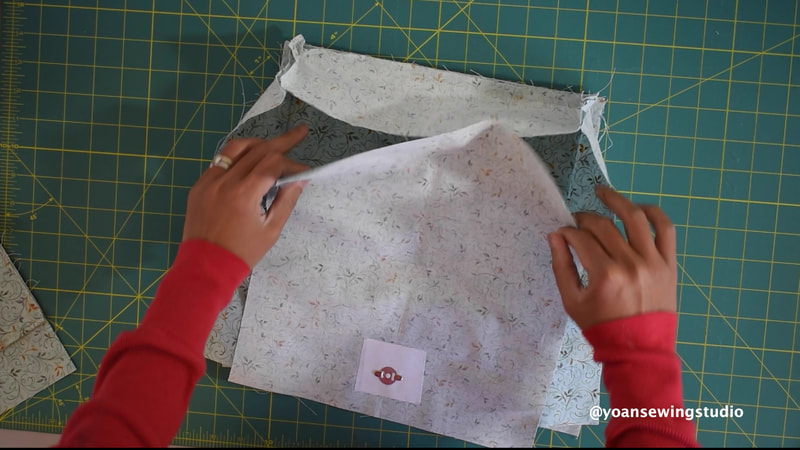
Finished bag measurements (approximate) Full Size : 14" x 14" x 4" (35.6 x 35.6 x 10 cm) Fold-over size : 14" x 10" x 4" (35.6 x 25.4 x 10 cm) Features 1 x external zipper pocket 1x external slip pocket Handles Adjustable strap Magnetic snap closure 1x internal zipper pocket 3x internal slip pockets
This post contains affiliate links. I may earn a small percentage of commission when you make a purchase through any of these links. Thank you for your support.
Watch the full video tutorial on my Youtube channel.
Happy Sewing.
Yoan
Update 3/31/22: I changed the measurements of panel 2 to 9" x 6 1/2" (23 x 16.5 cm), to accommodate differences when installing the zipper. After you finished installing the front zipper pocket, measure the height of your front exterior, trim off the bottom part (if any excess) so that your front exterior panel will measure 7 1/2" (19 cm) tall.
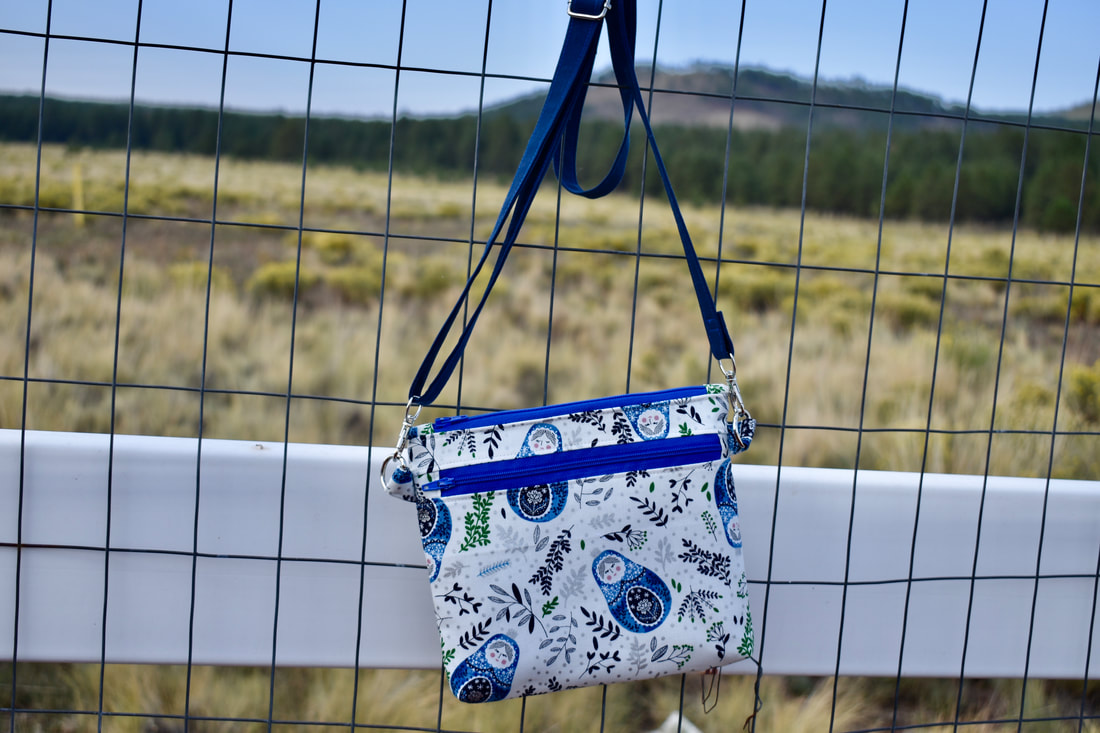
The mini crossbody bag project is a fun, fat quarter friendly project for you to sew. I love the compactness and the functionality of this darling little bag, which just enough to carry your necessities such as cellphone, small wallet, sunglasses, face covering, keys, chapstick, etc. Finished bag measurements : 8” x 7” x 1“ (20.3 x 17.8 x 2.5 cm) Features : Zipper closure Front zipper pocket Back exterior pocket with magnetic snap closure Interior slip pockets Adjustable strap Please note that this project is designed for cotton quilting fabric. If you opt for heavier fabric, you need to adjust the interfacing accordingly, you may leave out the fusible fleece, or leave out all the interfacing altogether depending on the thickness of your fabric. I do not recommend very heavy fabric for this project.
Disclaimer :
This post contains affiliate links; I receive a small percentage of commission when you make a purchase of qualifying products through any of those links with no additional cost. Thank you for your support!!
Happy sewing!!
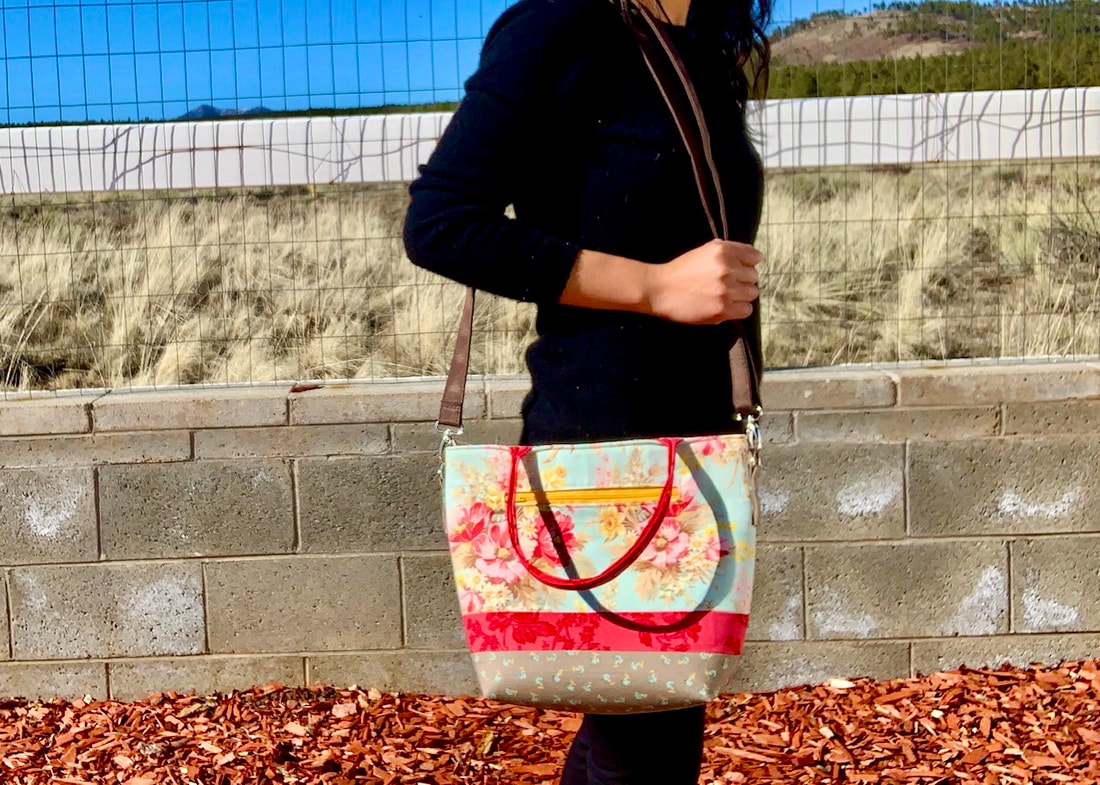
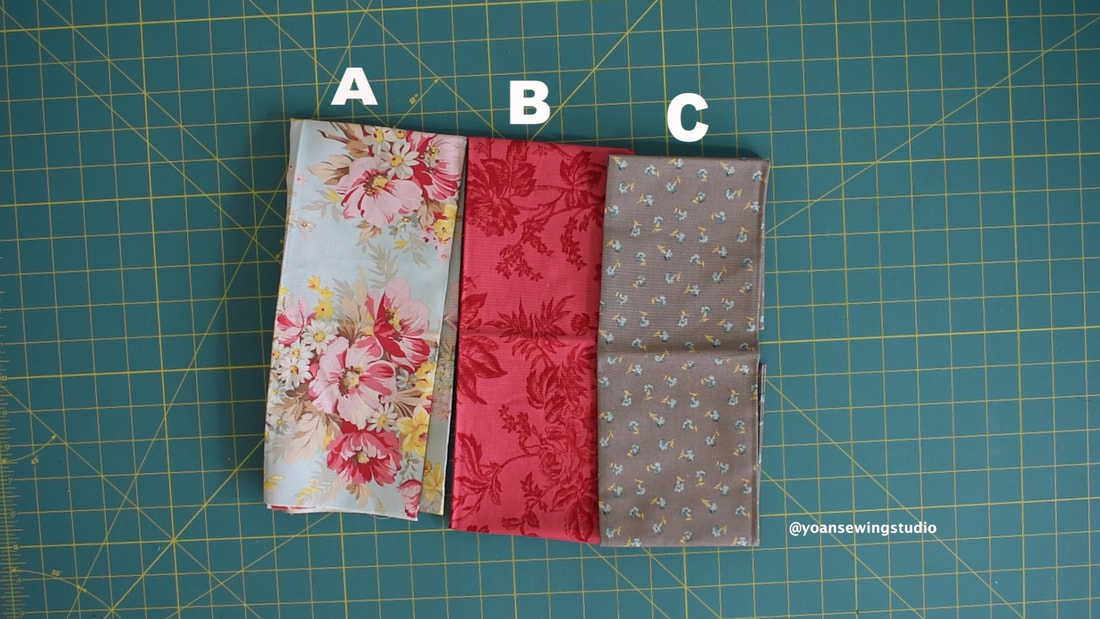
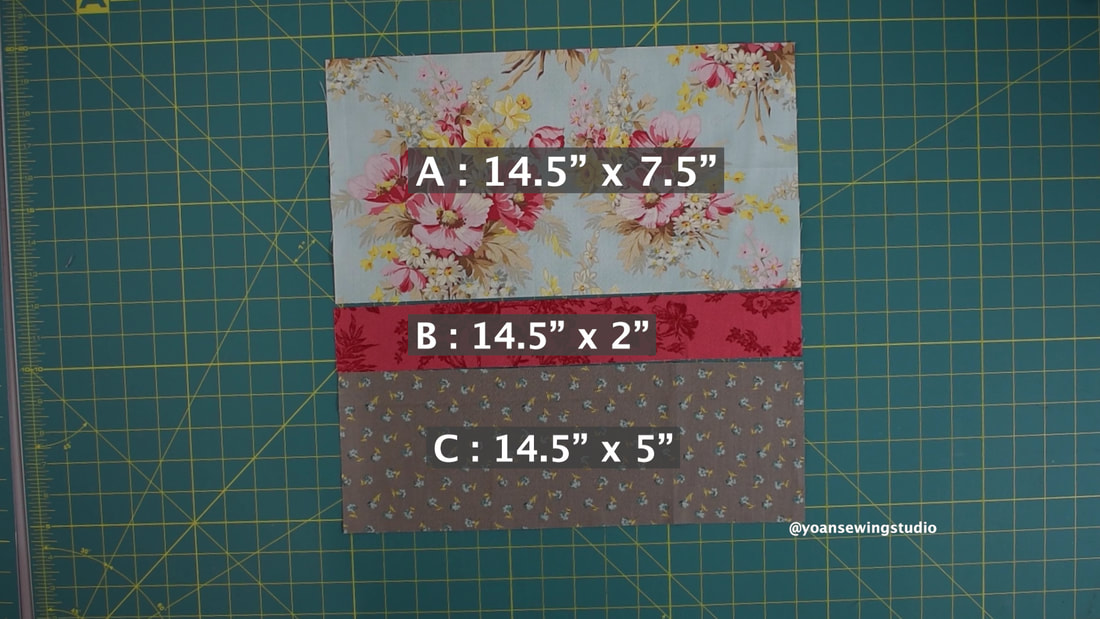
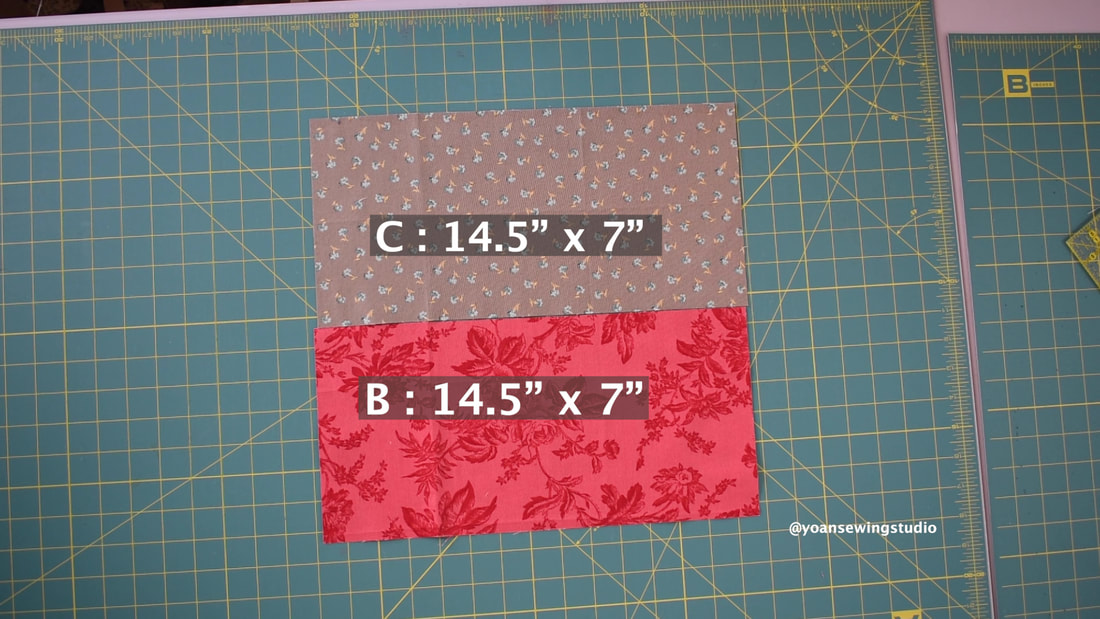
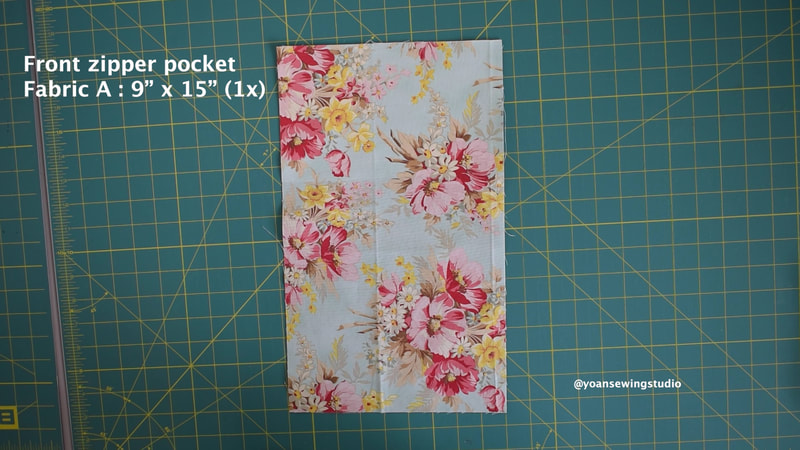
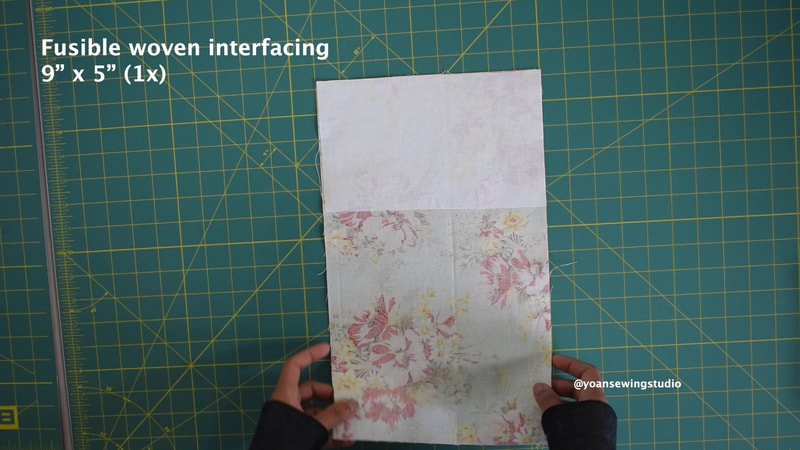
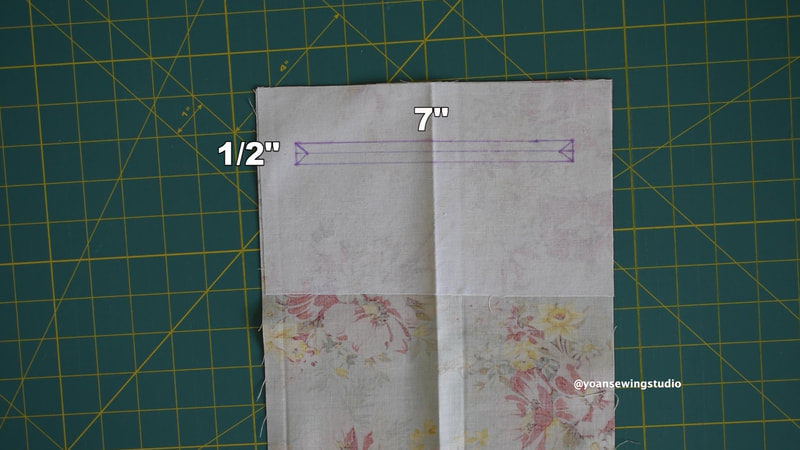
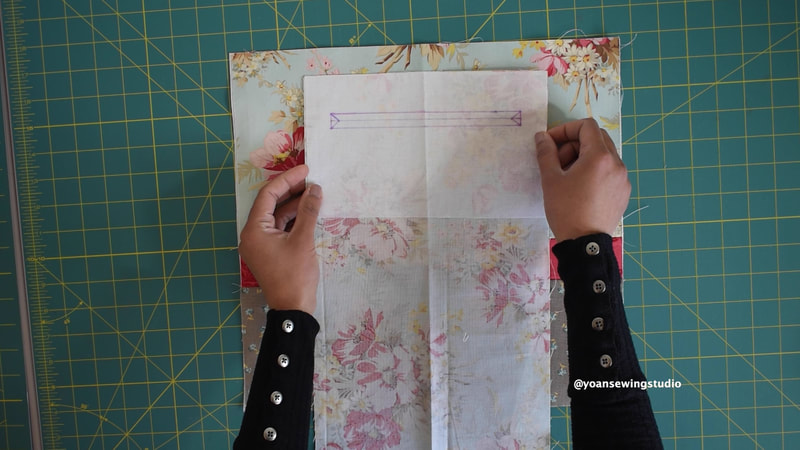
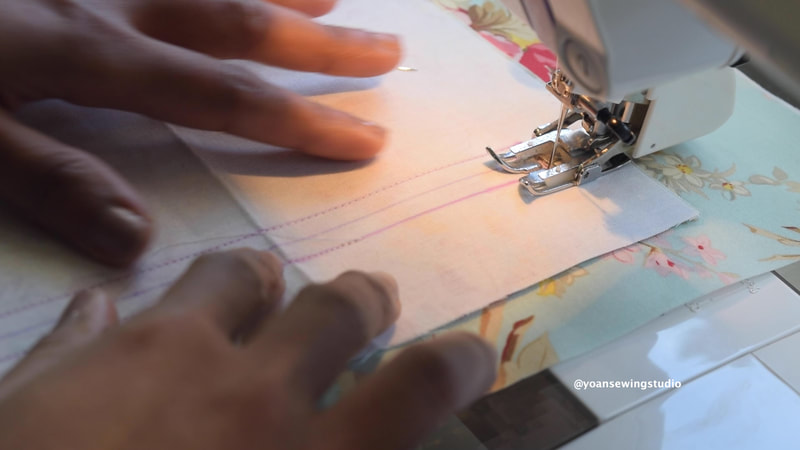
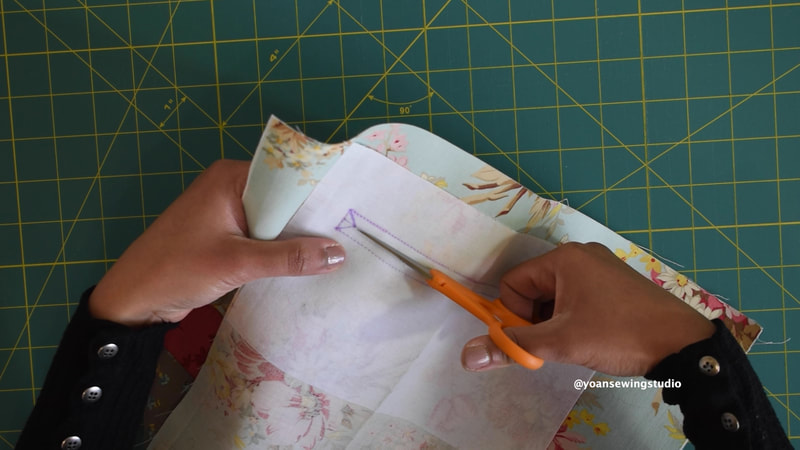
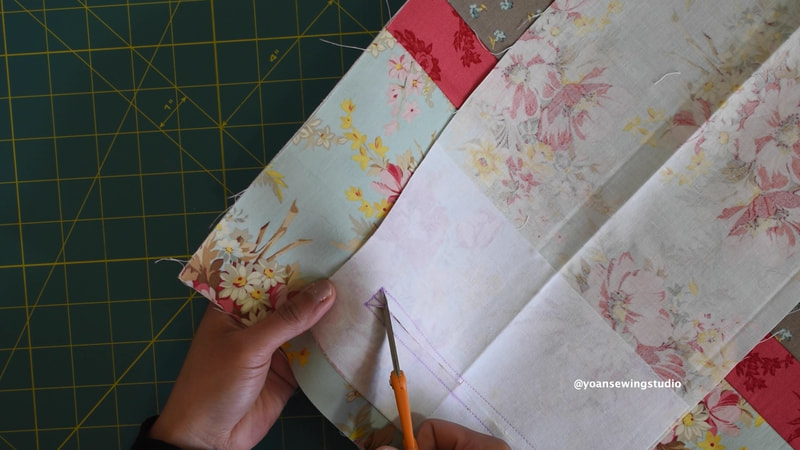
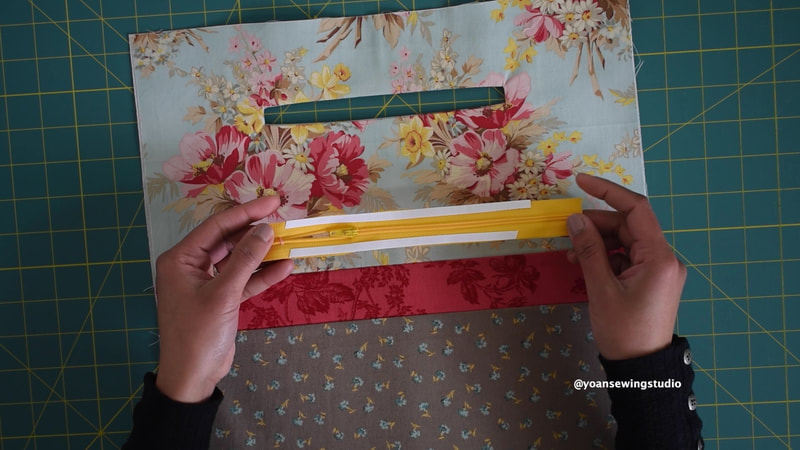
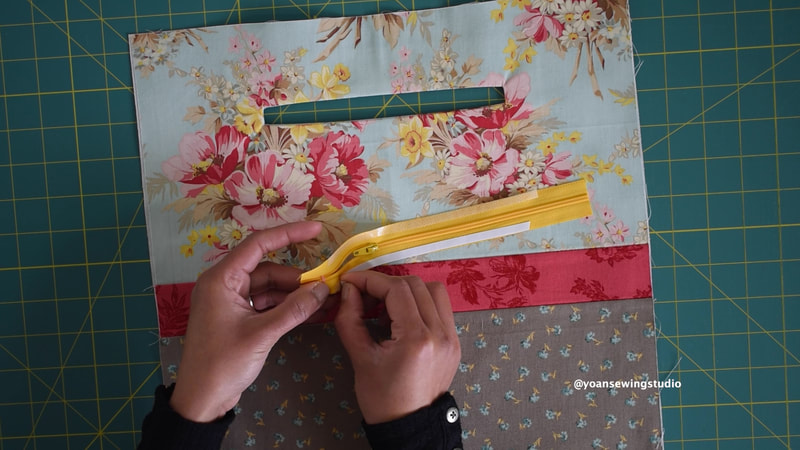
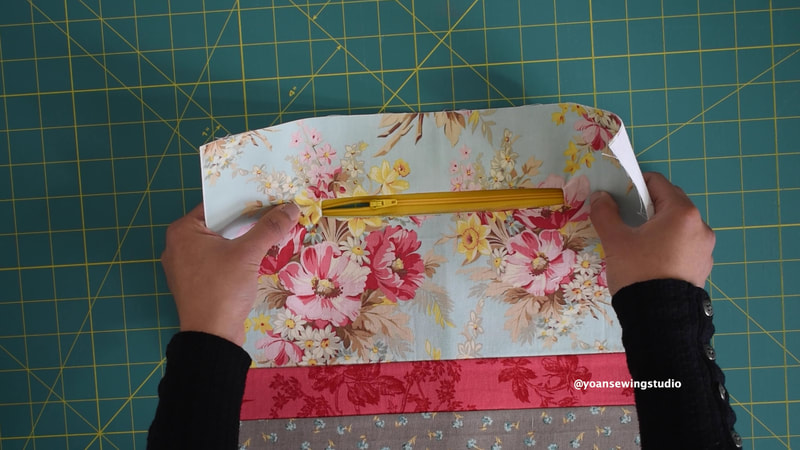
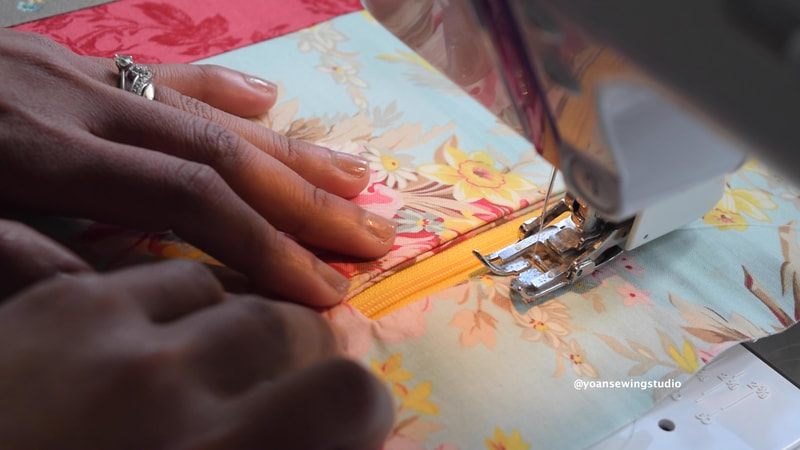
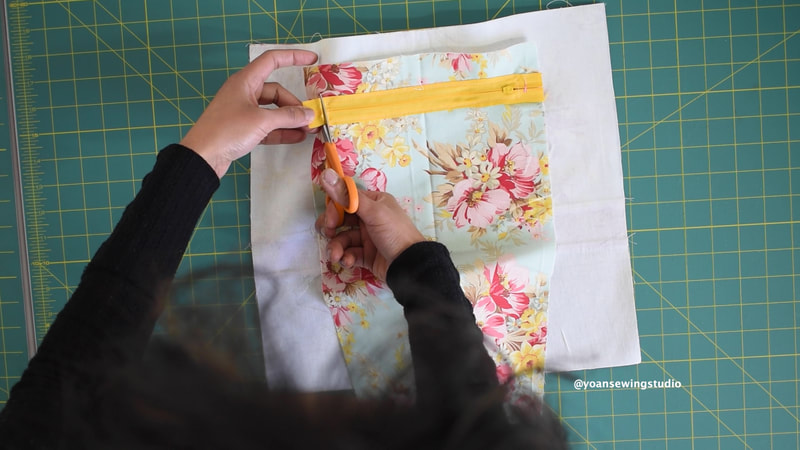
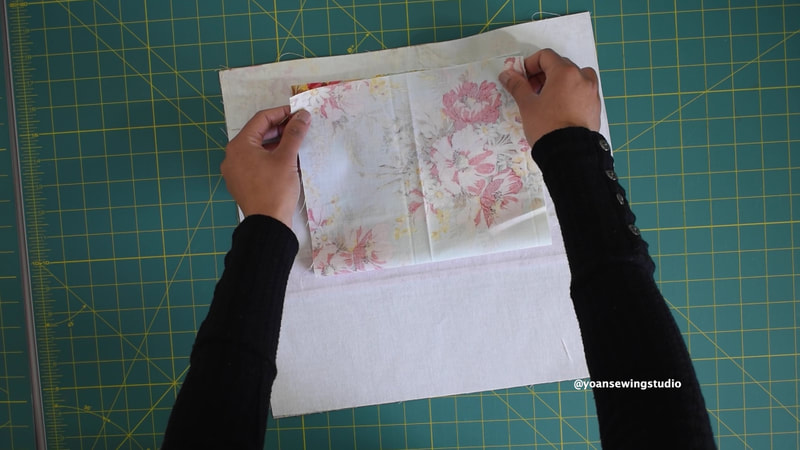
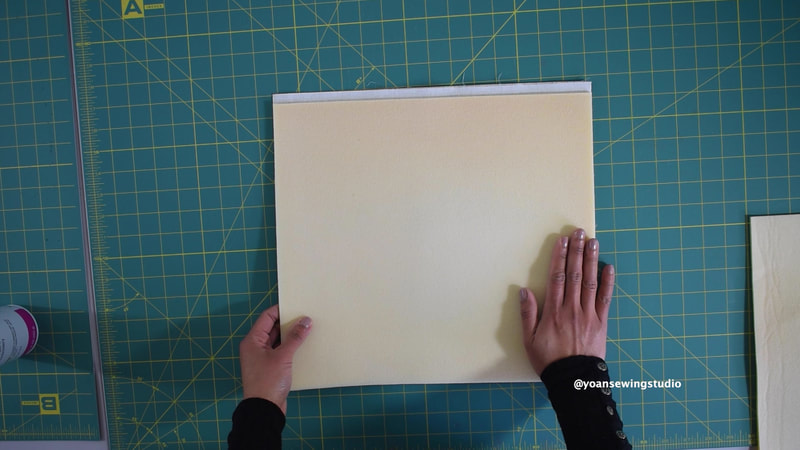
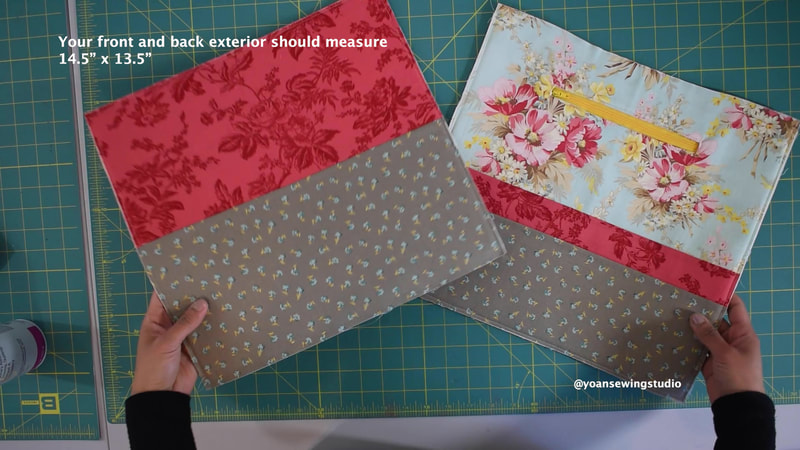
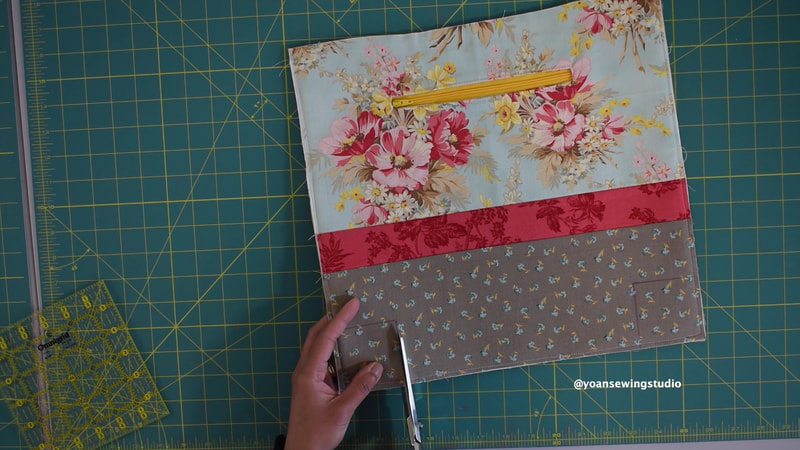
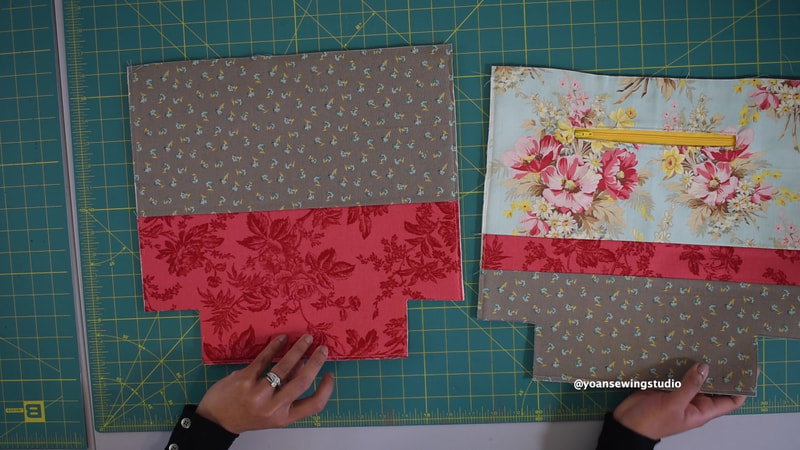
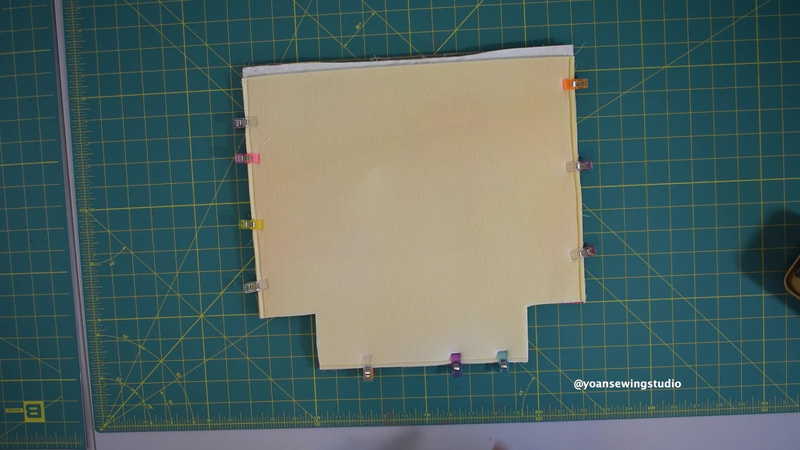
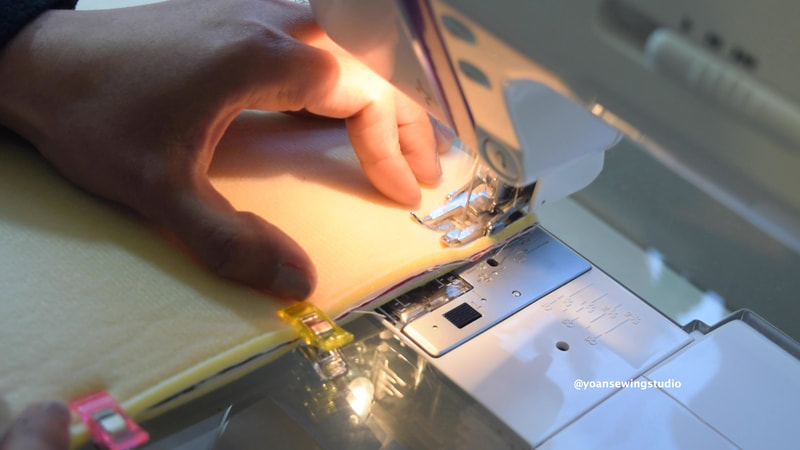
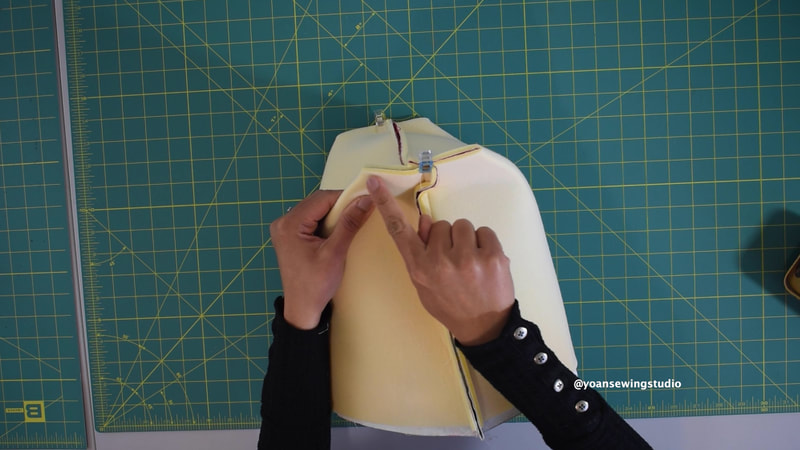
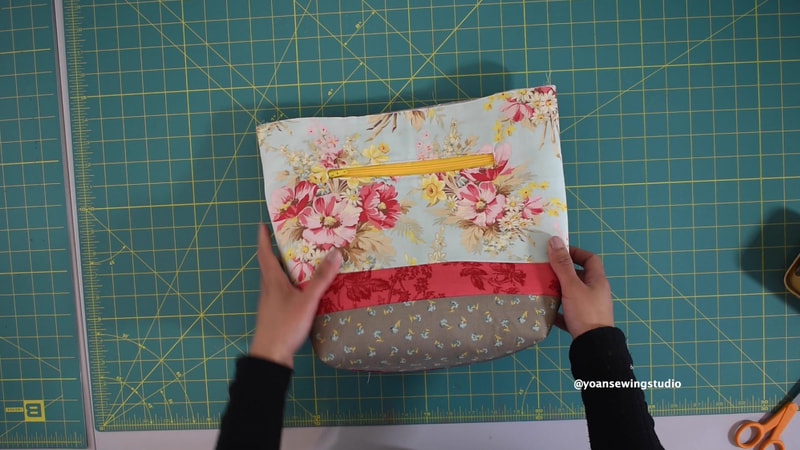
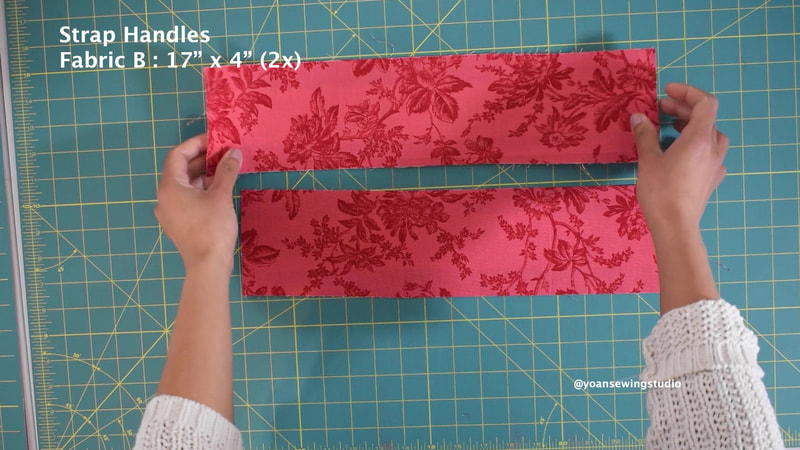
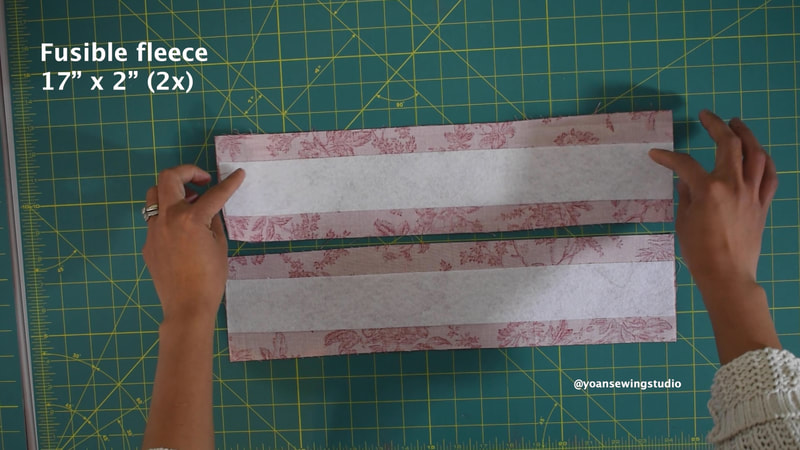
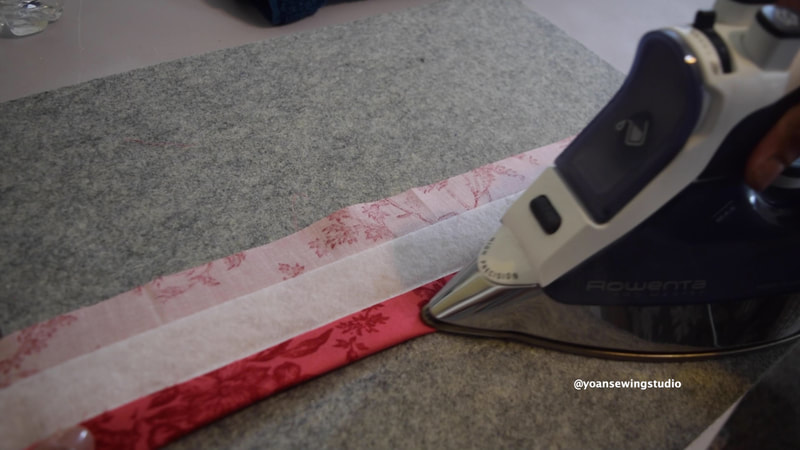
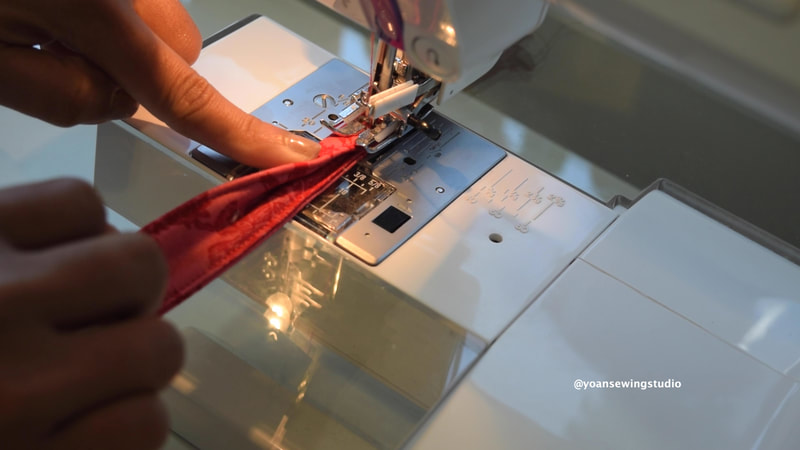
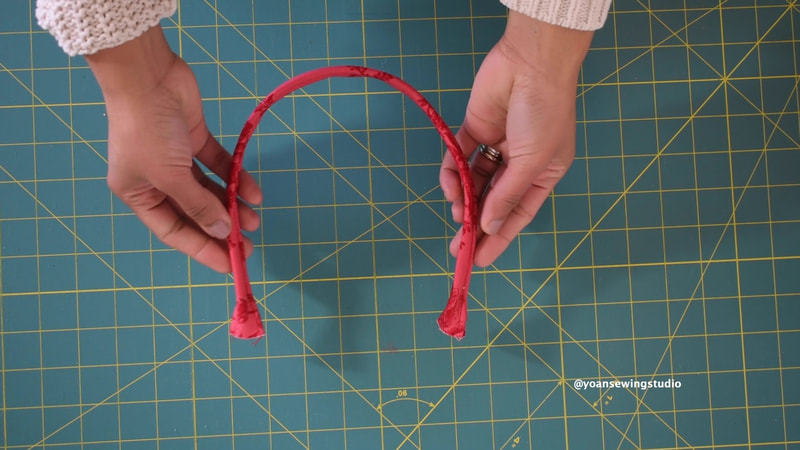
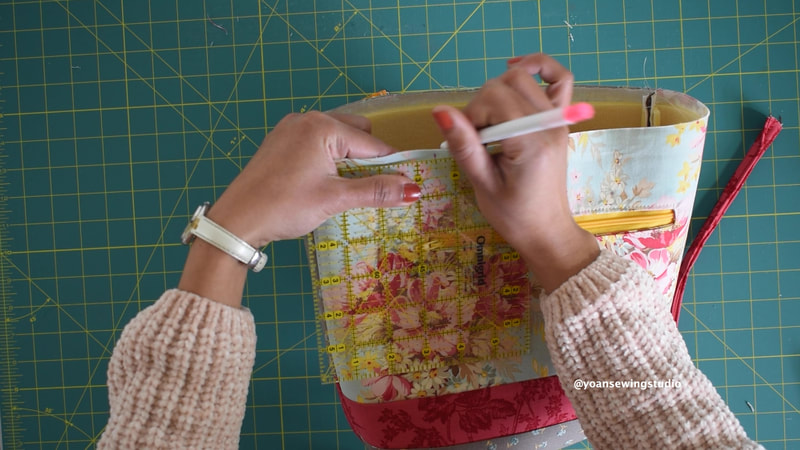
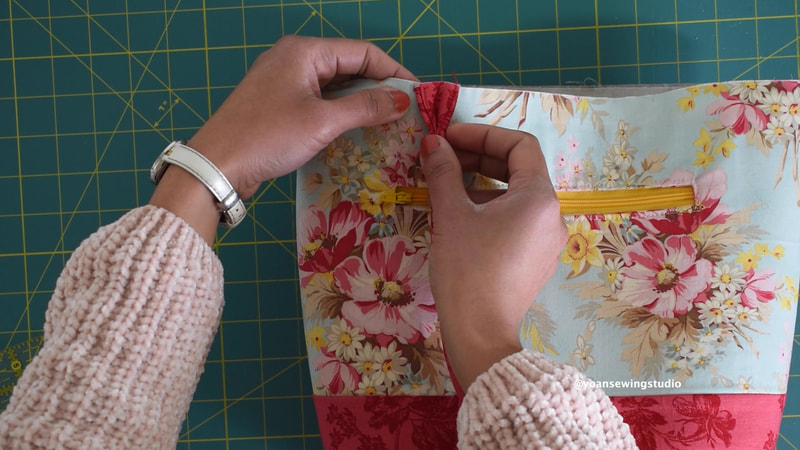
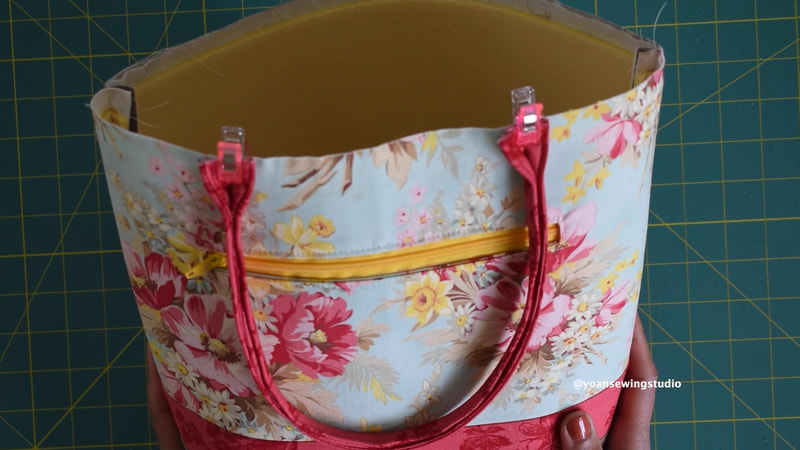
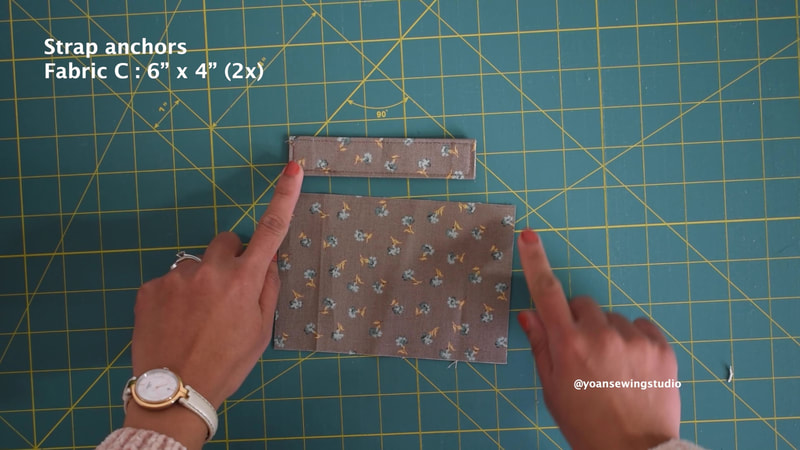
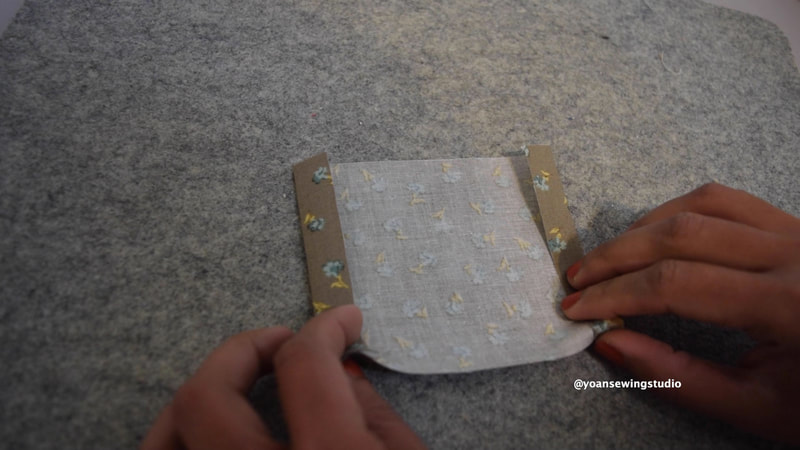
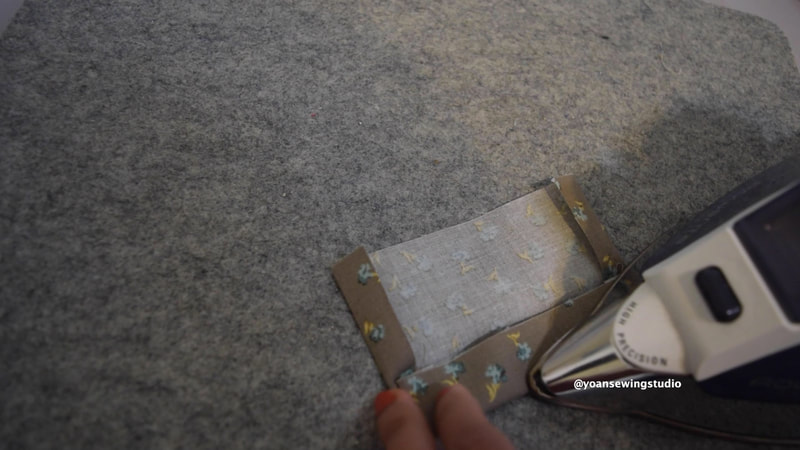
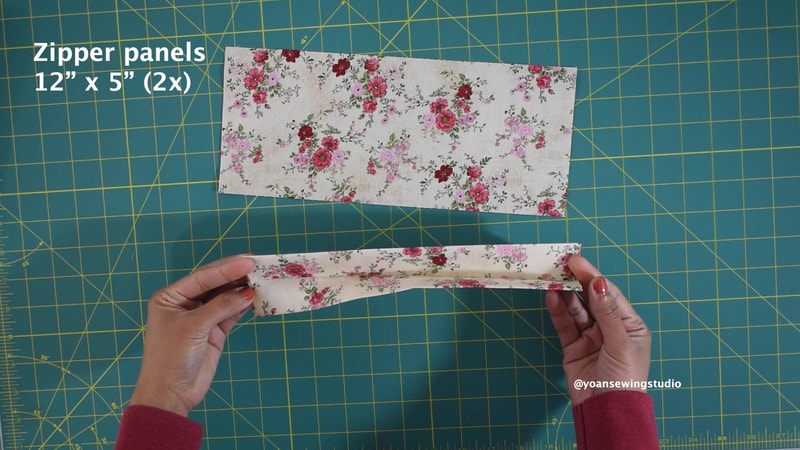
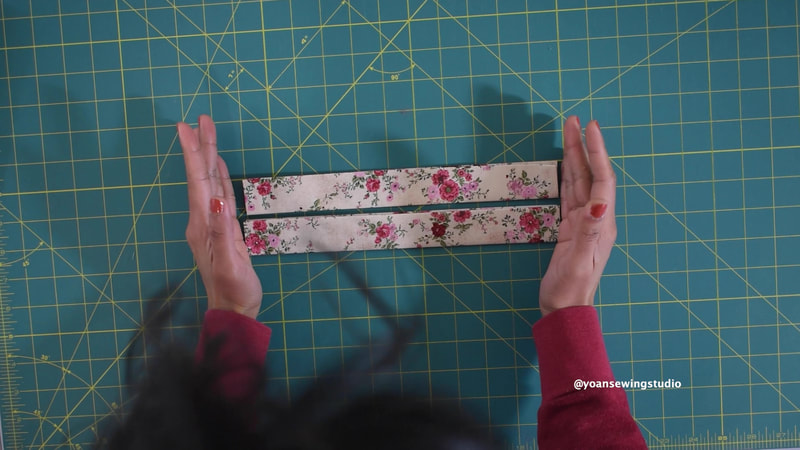
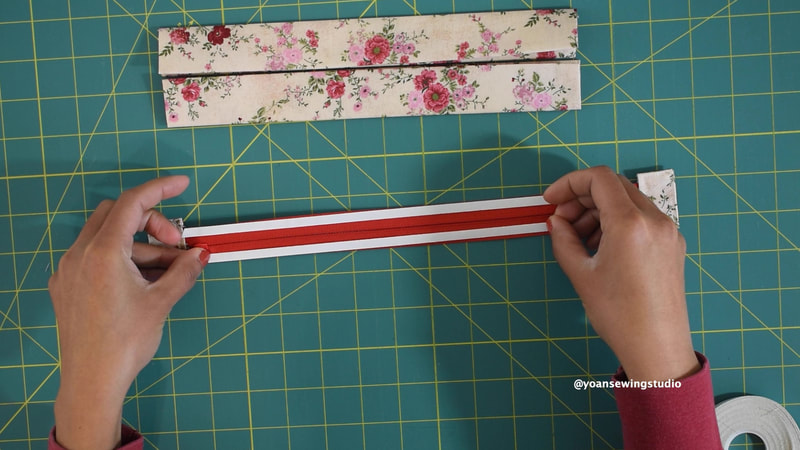
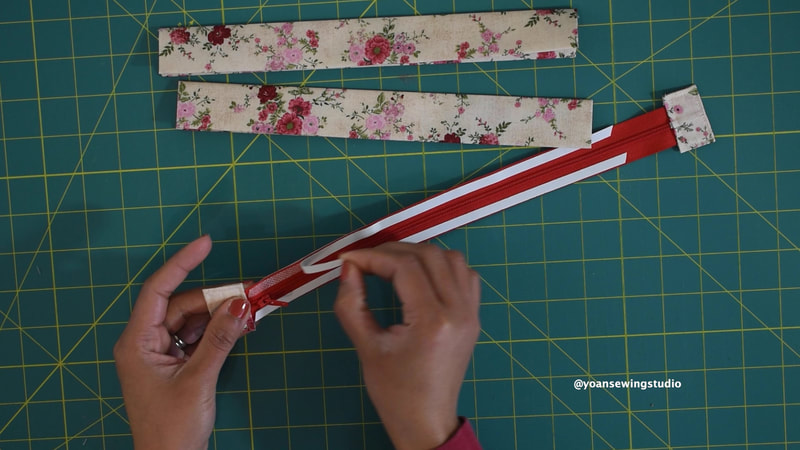
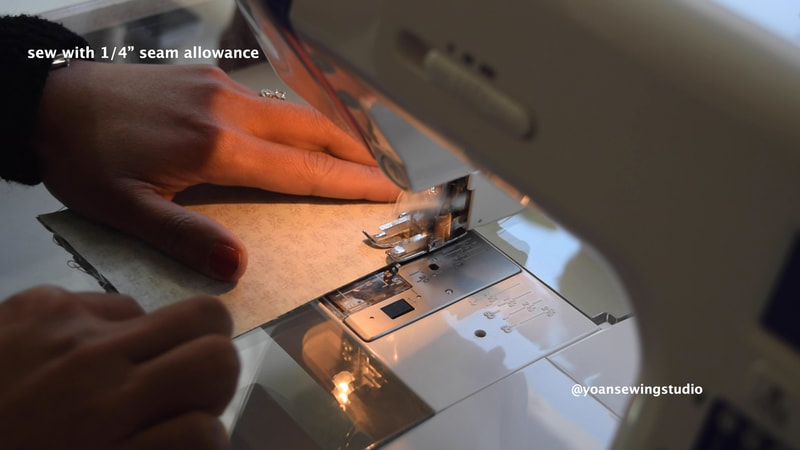
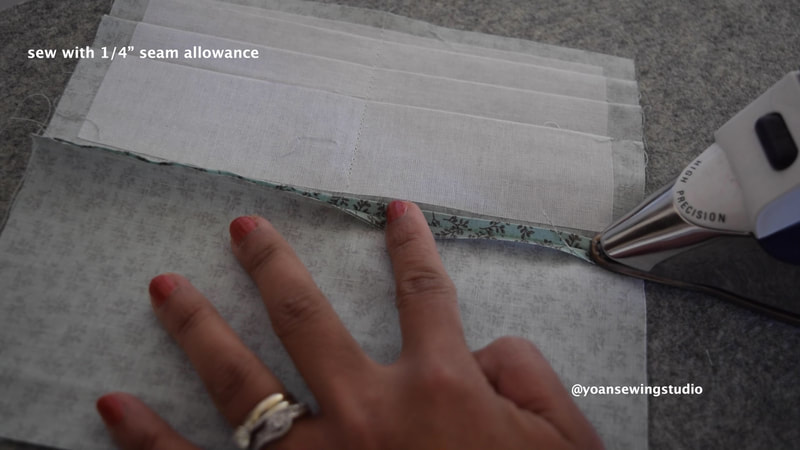
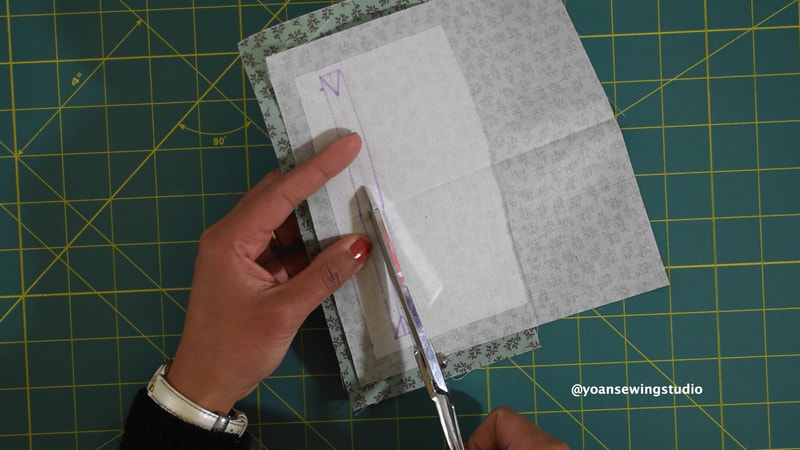
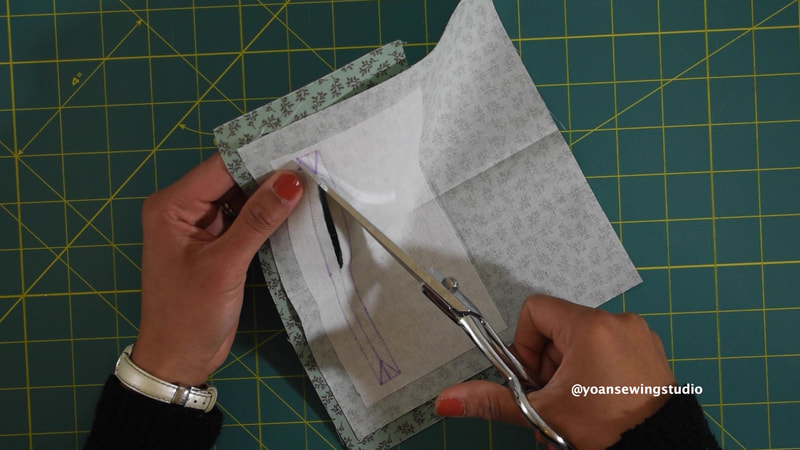
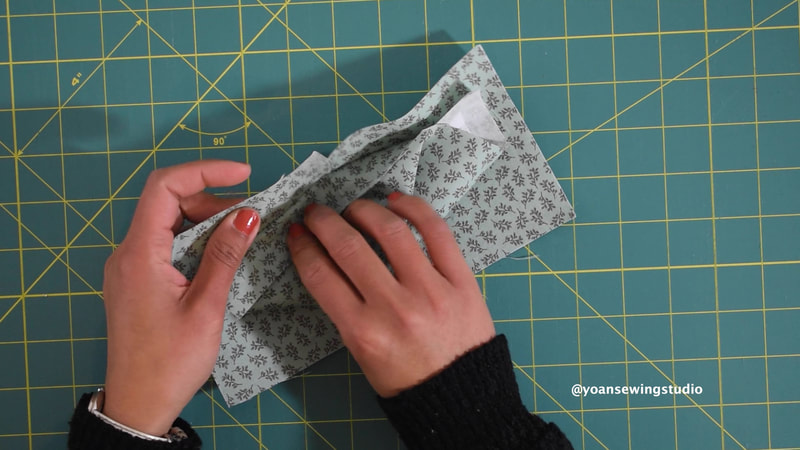
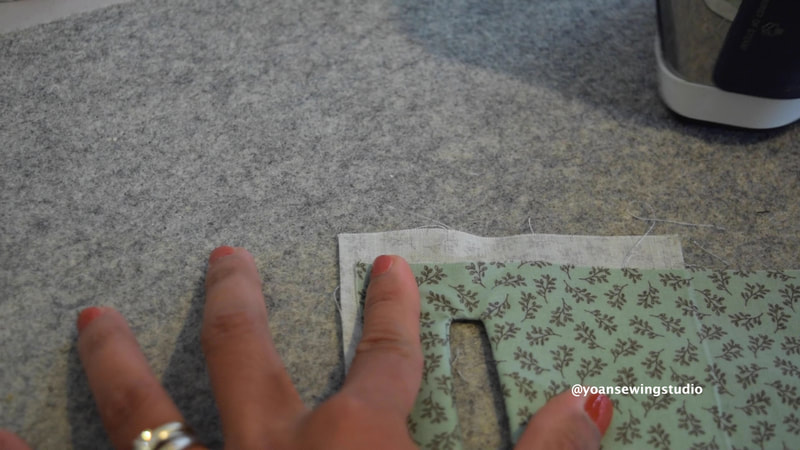
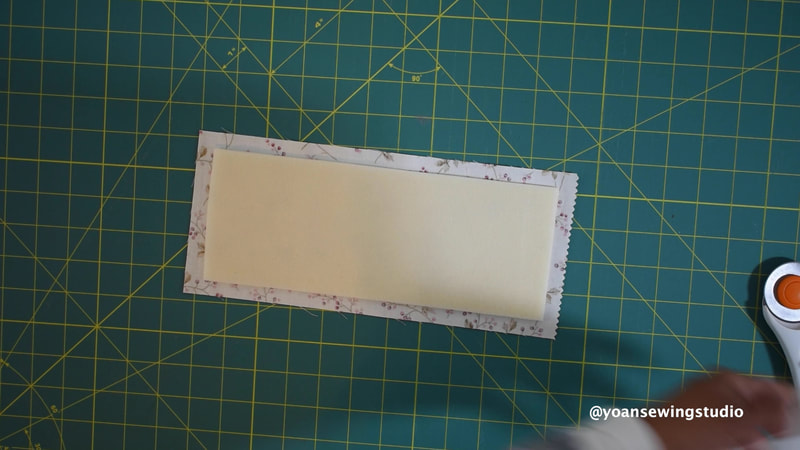
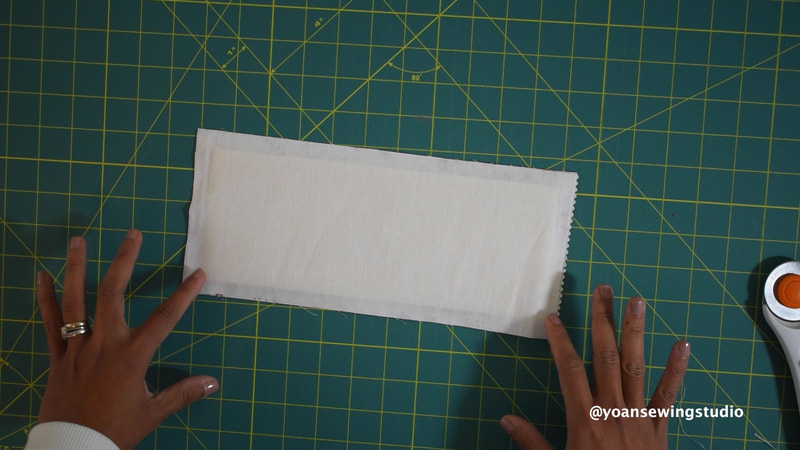
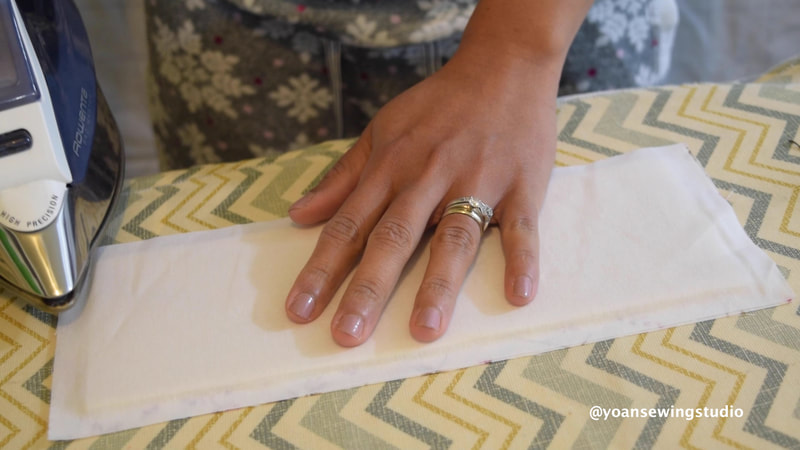
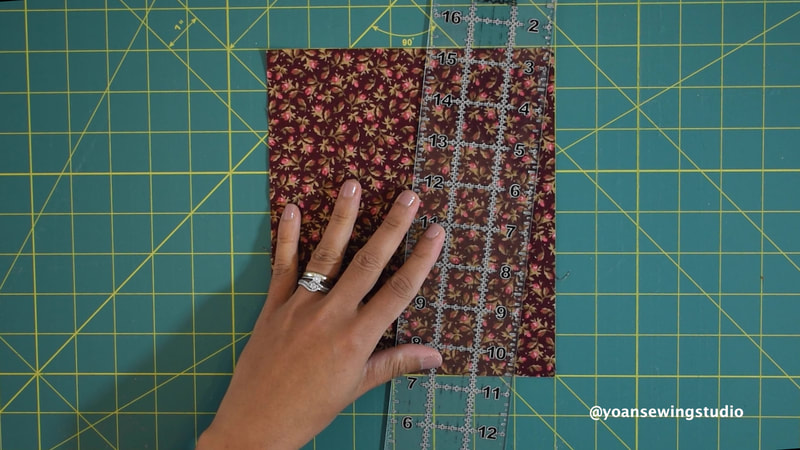
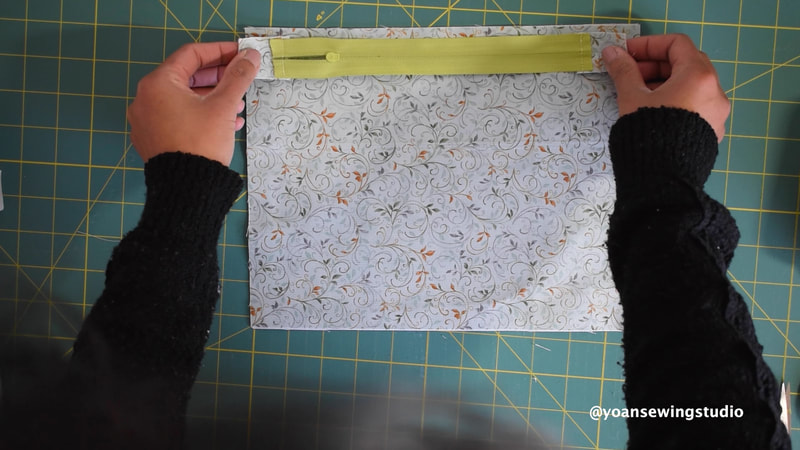
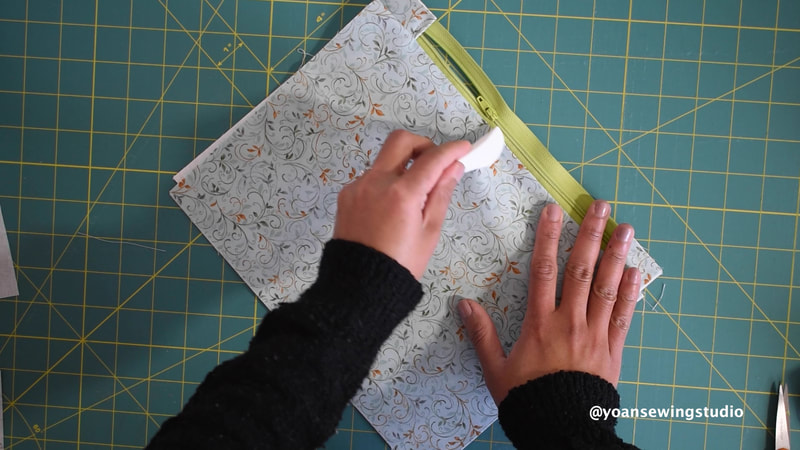
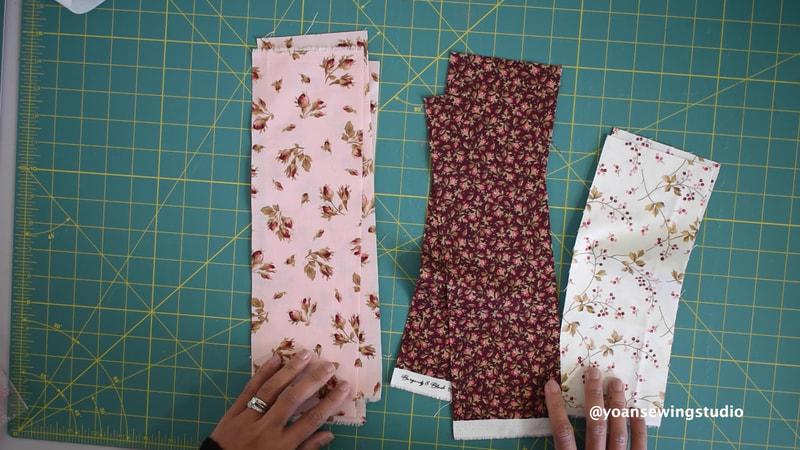
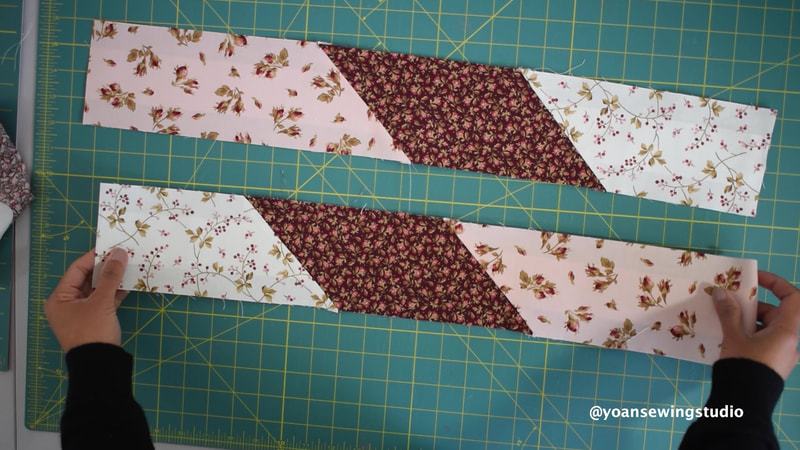
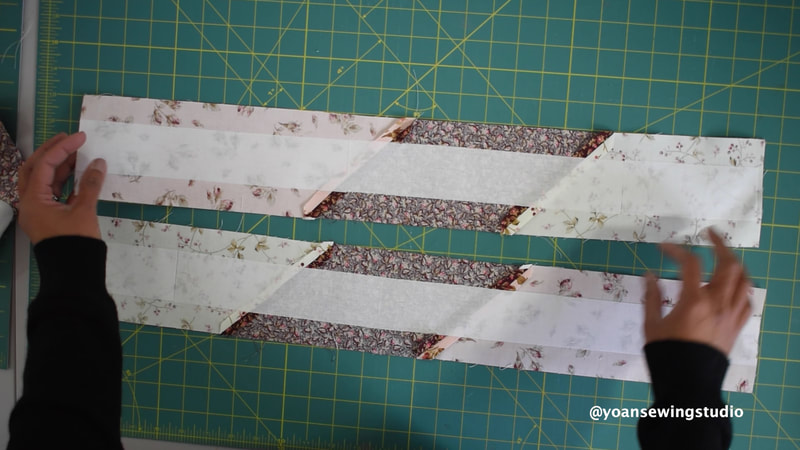
Here's a new bag for you to sew to use up some of your fat quarters collection. The Dahlia bag is a charming bag to be added to your bag collection. Some of the features that this bag has : Front Zipper pocket Recessed Zipper closure 3 internal slip pockets 8" drop Handle straps Adjustable strap The finished measurements of this bag is approx. 12.5" (wide) x 10" (tall) x 5" (deep). The use of foam stabilizer (soft and stable), gives this bag a great structure without being too rigid. I posted the full video tutorial on my Youtube channel, that you can watch here, you may scroll down below for the list of supplies, cutting instruction, and written instruction. SUPPLIESFabric A,B,C, 3x Fat quarters (or 3x 1/4 yard of fabric) 2/3 yard cotton lining fabric 3/4 yard fusible woven interfacing (20" wide) 29" x 13" sew in foam stabilizer (I recommend By Annie Soft and Stable) Fusible Fleece (or batting) 34" x 2" 7" zipper 12" zipper Adjustable Strap (I used ready made) *If making your own strap, cut a 50-60" x 4" fabric; or you can also use webbing strap 1" D rings (2x) 1" swivel hook (2x) *if making your own strap 1" adjuster slider *if making your own strap CuttingExterior Shell ~Front Exterior ~ From fabric A : 14.5" x 7.5" (1x) From Fabric B : 14.5" x 2" (1x) From fabric C : 14.5" x 5" (1x) ~Back Exterior~ From Fabric B : 14.5" x 7" (1x) From fabric C : 14.5" x 7" (1x) From Fusible Woven Interfacing : 14.5" x 13.5" (2x) From foam stabilizer : 14.5" x 13" (2x) ~Front Zipper Pocket~ From fabric A : 9" x 15" (1x) From fusible woven interfacing 9" x 5" (1x) ~Handle Straps~ From fabric B: 17" x 4" (2x) From Fusible fleece 17" x 2" (2x) ~Strap Anchors~ From Fabric C : 6" x 4" (2x) Interior ~Zipper panels~ From lining fabric 12" x 5" (2) ~Zipper tabs ~ From lining fabric 3" x 2" (2x) ~Lining~ From lining fabric 14.5" x 13.5" (2x) ~Slip Pockets~ From lining fabric 14.5" x 12.5" (1x) the fabricfront exterior layoutBack exterior layoutDirections1. Sew the front and back exterior pieces with 1/4" of seam allowance, press. 2. Apply the fusible woven interfacing on both the front and back exterior pieces. 3. Apply the fusible woven interfacing on the upper top part of the front zipper pocket. 4. Draw the zipper template on the wrong side of the front pocket piece. 5.Lay the pocket piece, on the right side of the front exterior piece, 1" down from the top (centered the position), sew along the perimeter of the zipper template. 6. Cut the center line and the corner triangles of the zipper template (be careful not to cut through the stitches) 7. Turn the pocket piece to the wrong side, press. 8. Apply basting tape on the edges of the zipper tape, peel the top layer off. 9. Position the zipper template on the zipper, sew all around the edges. 10. Trim the excess zipper off, fold the pocket in half, sew along the sides and top with 3/8" of seam allowance. 11. Place the foam stabilizer on the wrong side of the exterior pieces, (you can baste with spray basting, then sew the sides and bottom edges with 1/4" seam allowance. 12. Draw and cut 2.5" squares on both bottom corners of your exterior pieces. 13. Lay the front and back exterior right sides together, sew with 1/2" seam allowance. 14. Box the corners 15. Apply the fusible fleece on the wrong side of the handle straps pieces (center the position) 16. Fold the strap in half, press, fold the edges towards the centerfold, press, fold everything in half, press (you should end up with 1" strap) repeat the same with the other piece. 17. Sew along the side edges with 1/8" of seam allowance, starting from the open edge. 18. Mark 1" from both ends of the strap, pinch the strap in half, and sew with 1/8" seam allowance, starting and stopping at the 1" mark. 19. Mark 3.5" from the side seams of the bag, place the strap right by the mark, secure with some sewing clips, then sew with 1/4" seam allowance. Repeat the same with the other side. 20. Prepare the strap anchors. Fold the shorter sides of the strap anchors towards the wrong side 1/2", press, fold the longer side in half, press, fold the edges towards the center fold, press. Fold everything in half, press. Your strap anchor should end up measuring 5" x 1" 21. Sew all around the edges with 1/8" seam allowance 22. Feed the strap anchor through the d-ring, sew as close as you can to the d-ring. 23. Measure 1" down at the side seams, place the strap anchor aligning the highest point of the d ring with the 1" point. Secure in place with a pin or basting glue, then sew 3 straight lines to secure the strap anchor in place. Repeat the same with the other one. 24. If making your own strap, this is the time to do it. 25. Sew and apply the zipper tabs to the end of the zipper. 26. Fold and press the zipper panels the same way as the strap anchors. Your zipper panels should end up measuring 11" x 1" (make sure both panels are the same size). 27. Apply basting tape on the edges of the zipper tape, both wrong side and right side. 28. Insert the zipper tape to the fold of the zipper panel, sew the sides and the bottom edges with 1/8" of seam allowance 29. Repeat the same with the other side. 30. Fold the slip pocket piece in half right side together, sew with 1/4" seam allowance, press the seams open, turn the pocket piece inside out, press, and top stitch along the upper top. 31. Divide the pocket piece into 3 slots, mark with disappearing fabric marker. 32.Lay the slip pocket on the right side of one of the lining, 4" down from the top. Sew on the marking lines, the sides, and the bottom as well. 33. Lay the zipper panel on the right side of the lining 1.5" down from the top, aligning the center point of the zipper panel with the center point of the lining. Sew with 1/8" seam allowance. 34. Repeat the same with the other side. 35. Assemble the lining exactly the same way as the exterior shell, leaving about 5' of opening at the bottom. 36. Turn the lining piece right side out, and turn the exterior piece wrong side out. 37. Insert the lining into the exterior shell, secure them in place with some sewing clips, then sew with 1/2" seam allowance. 38. Turn the bag inside out, top stitch along the edges.
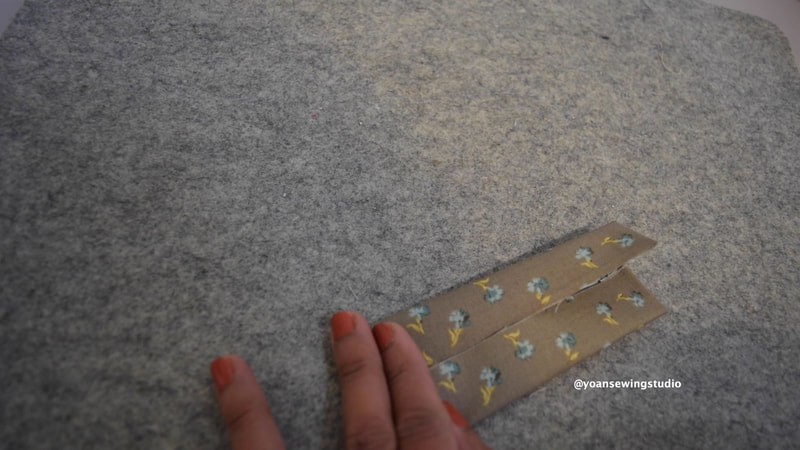
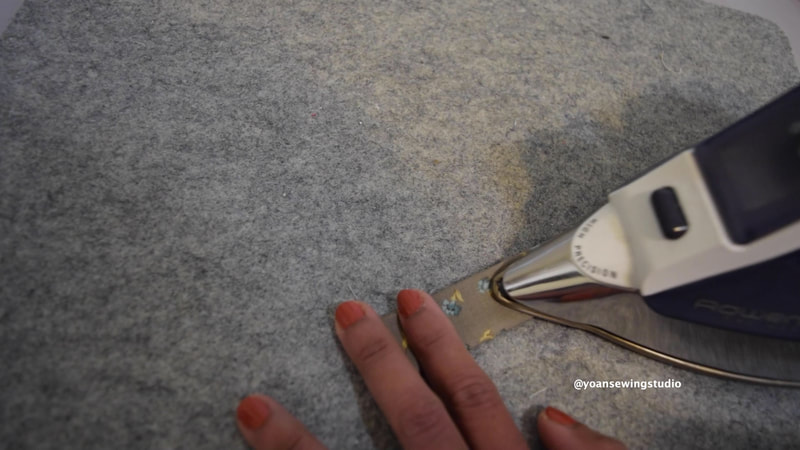
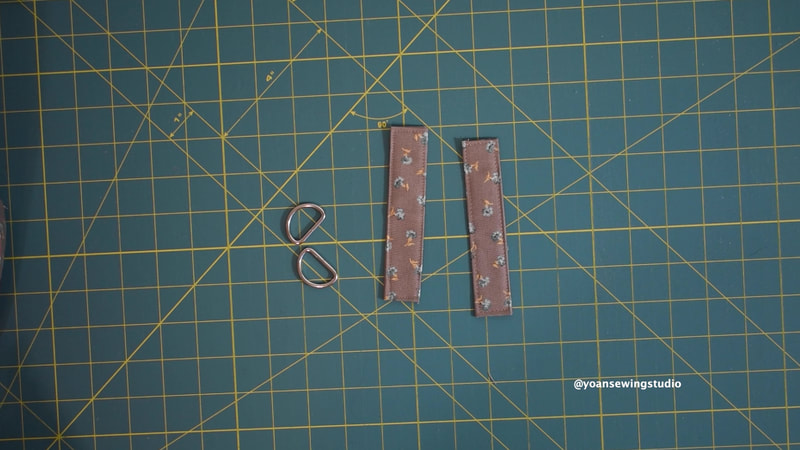
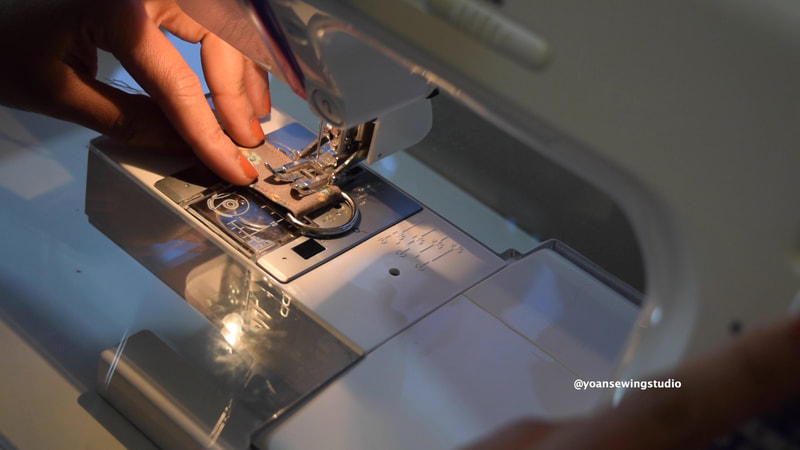
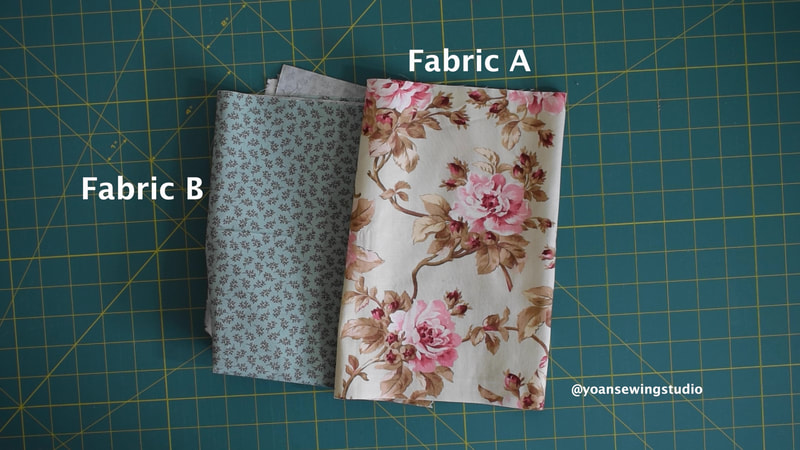
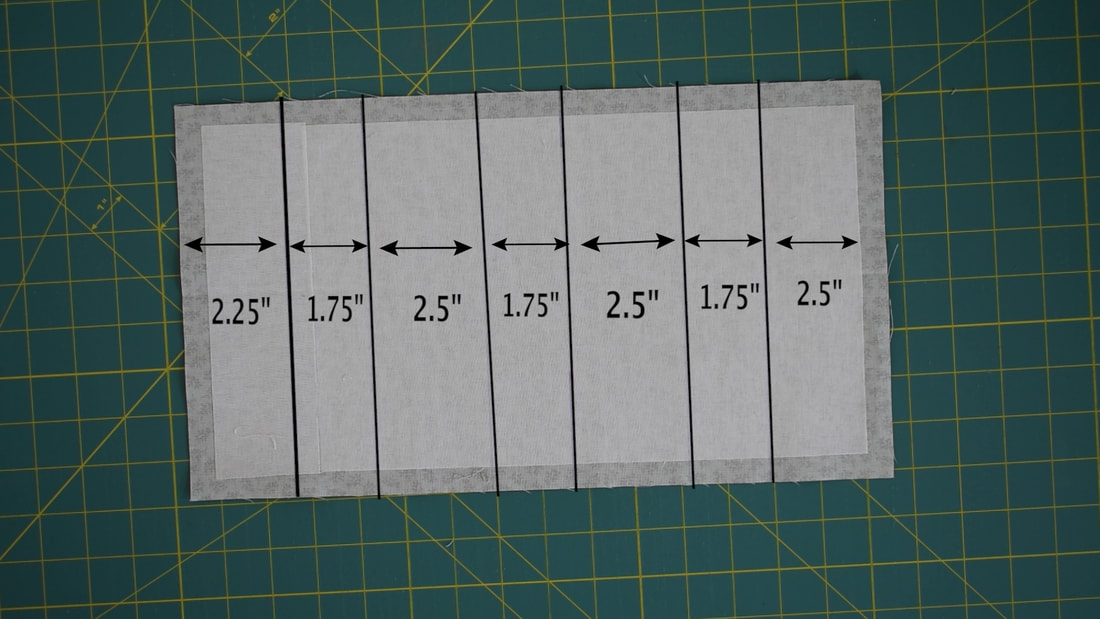
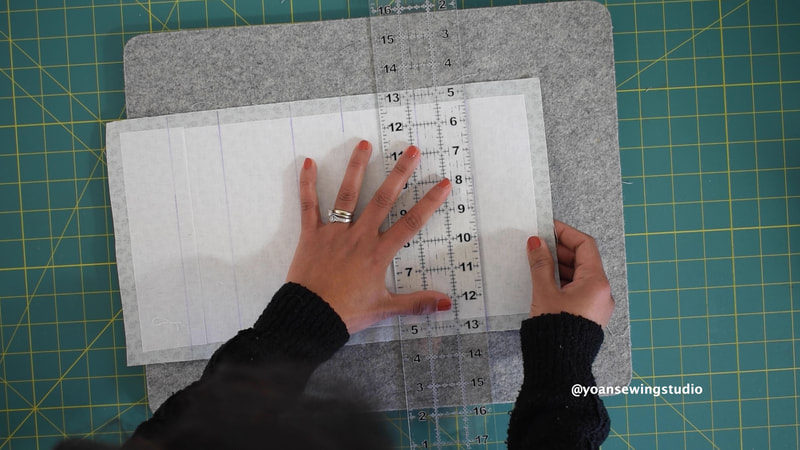
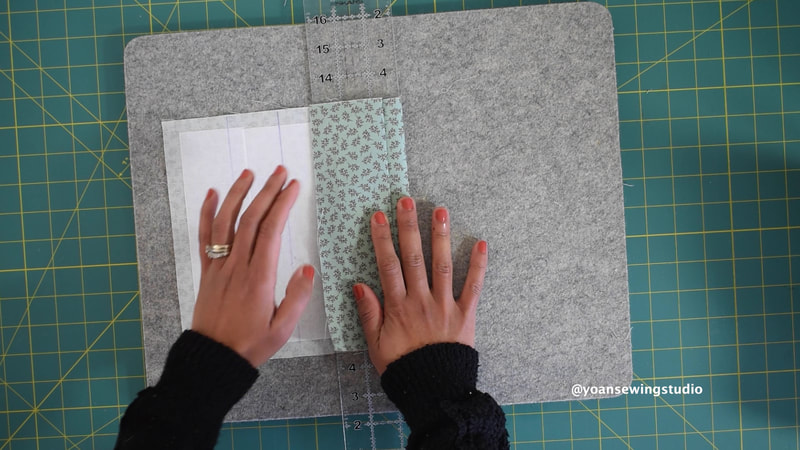
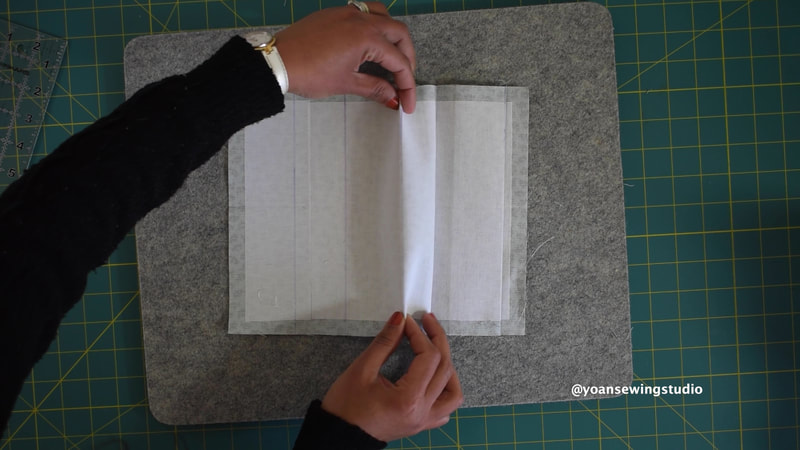
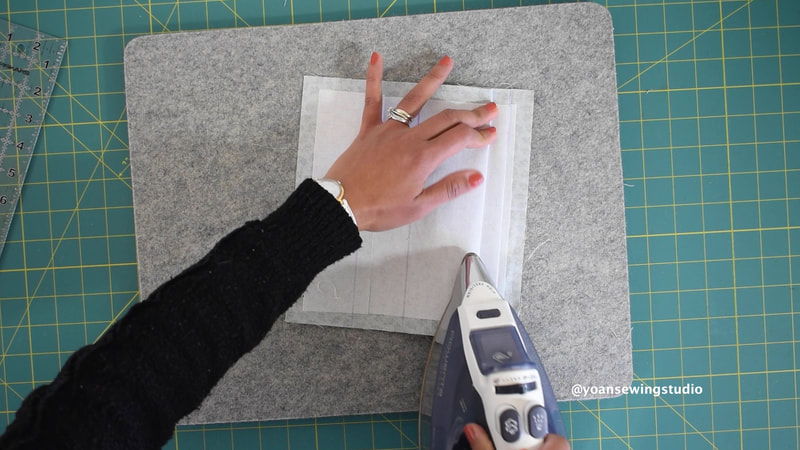
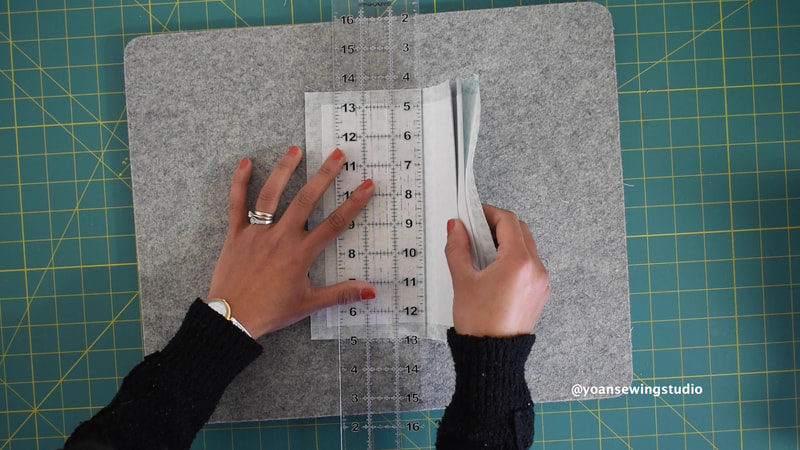
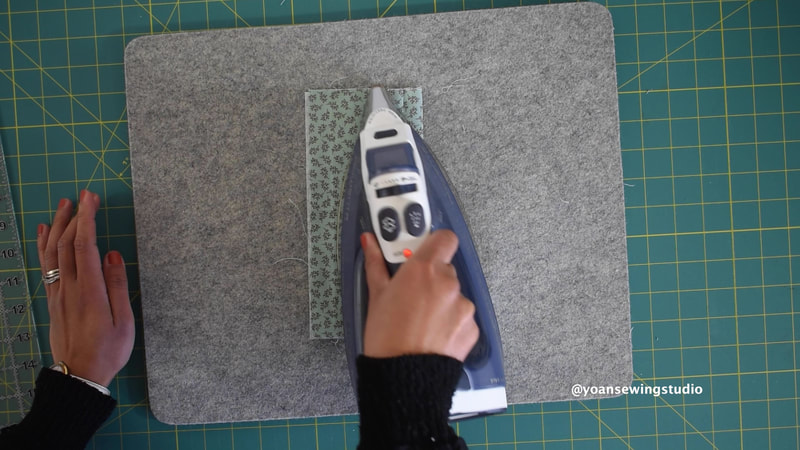
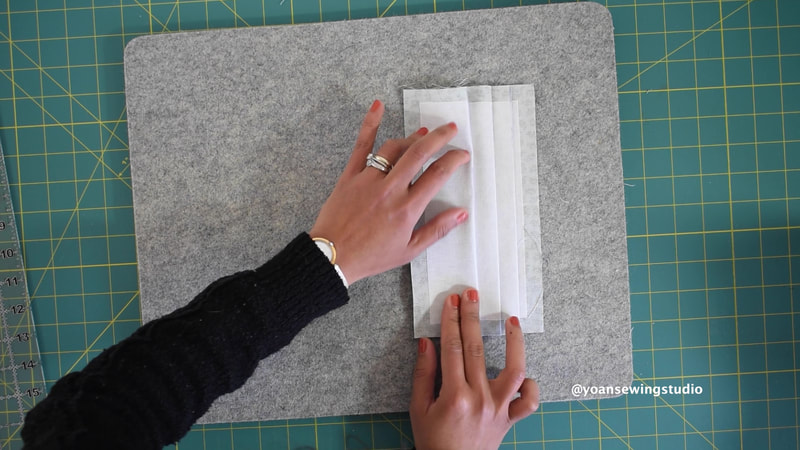
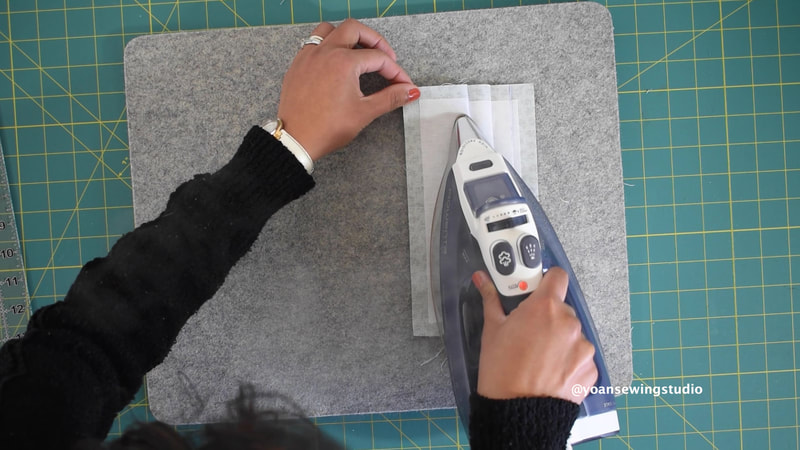
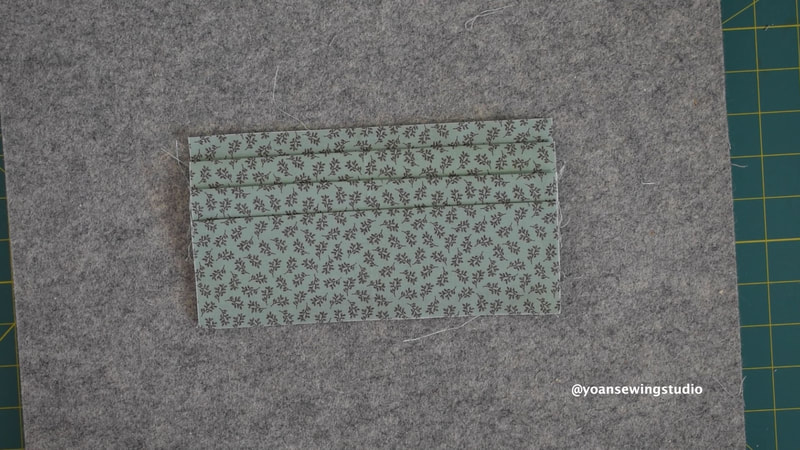
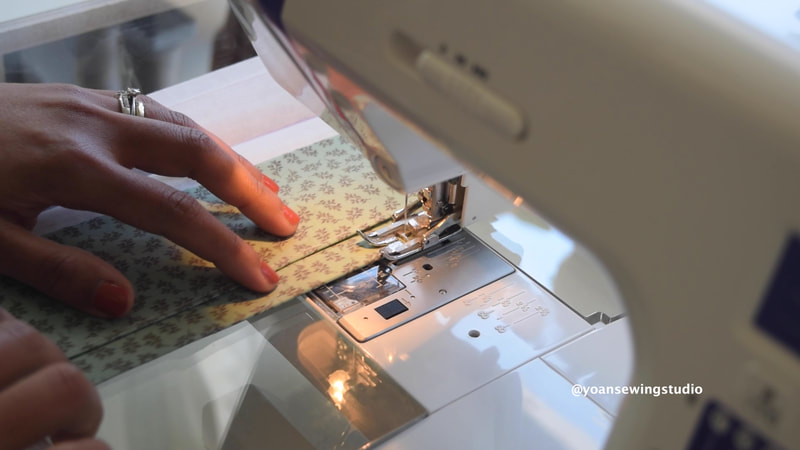
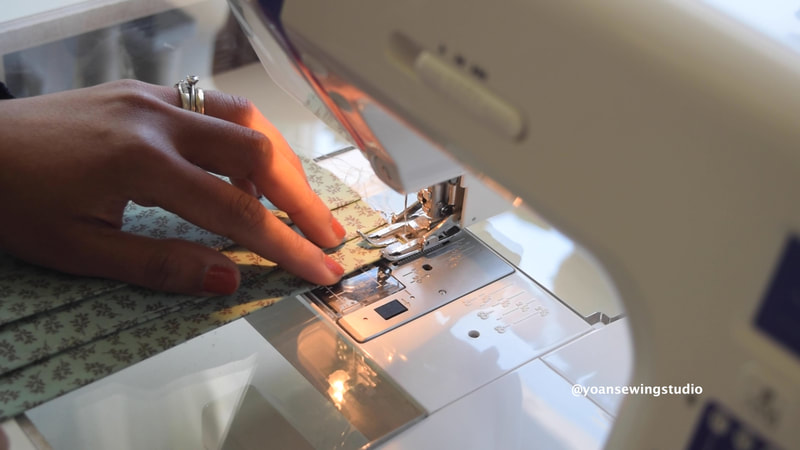
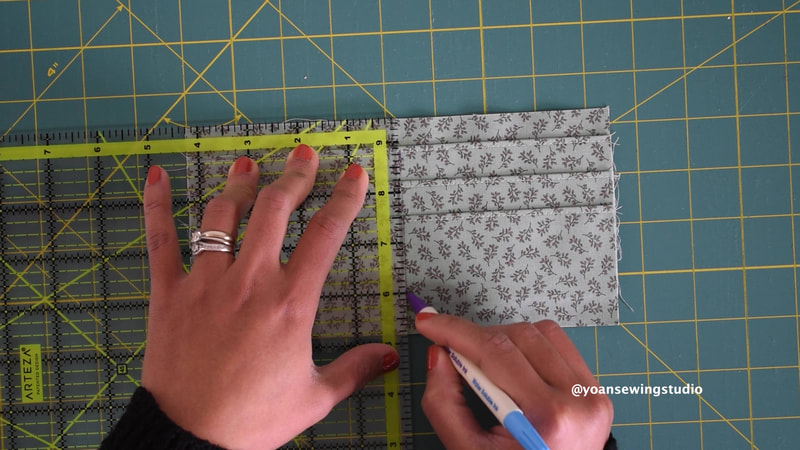
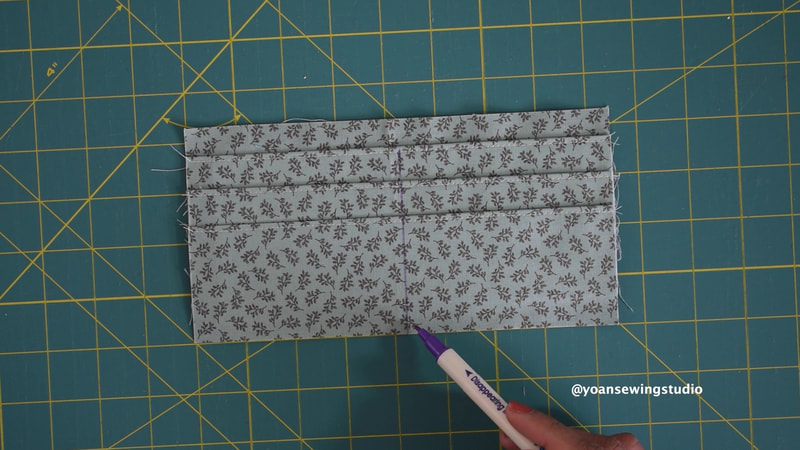
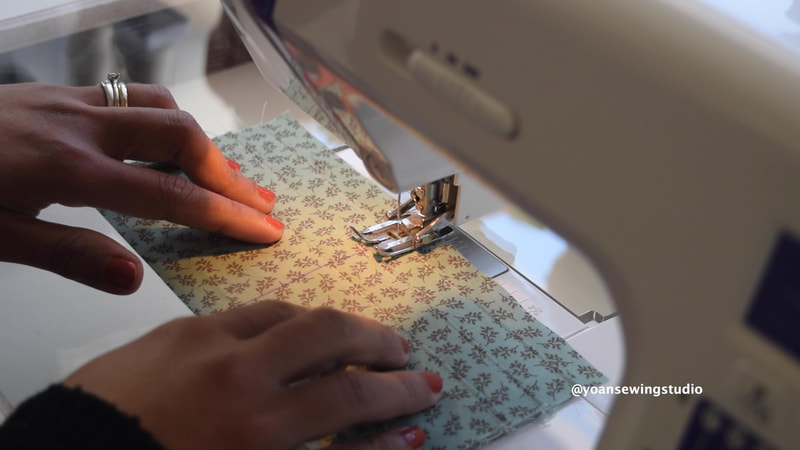
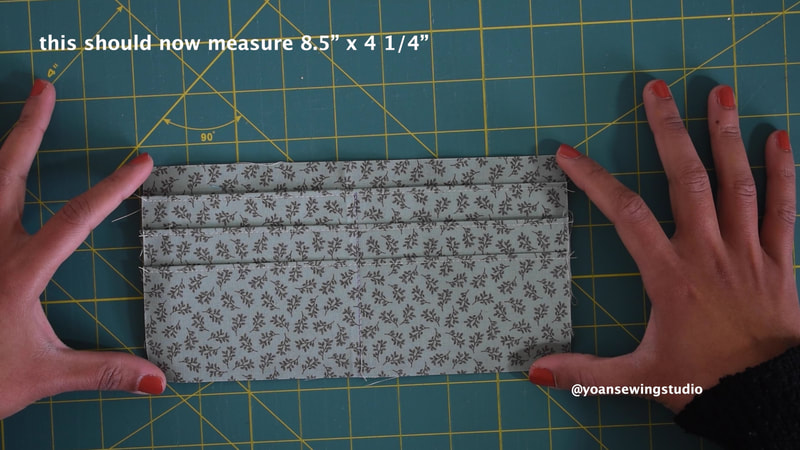
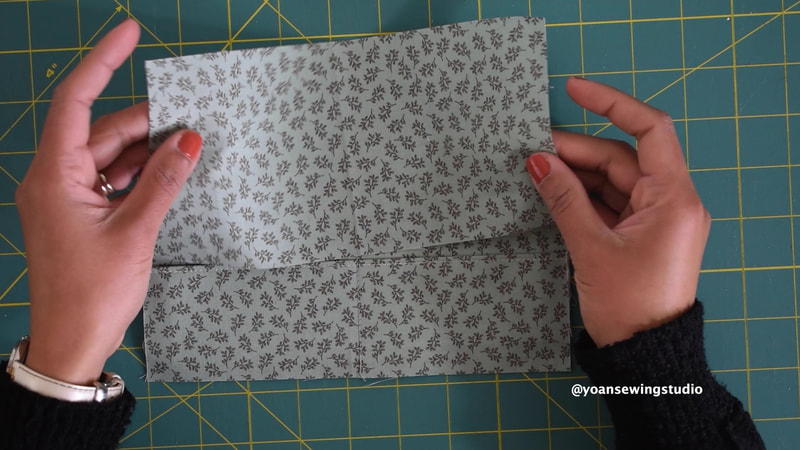
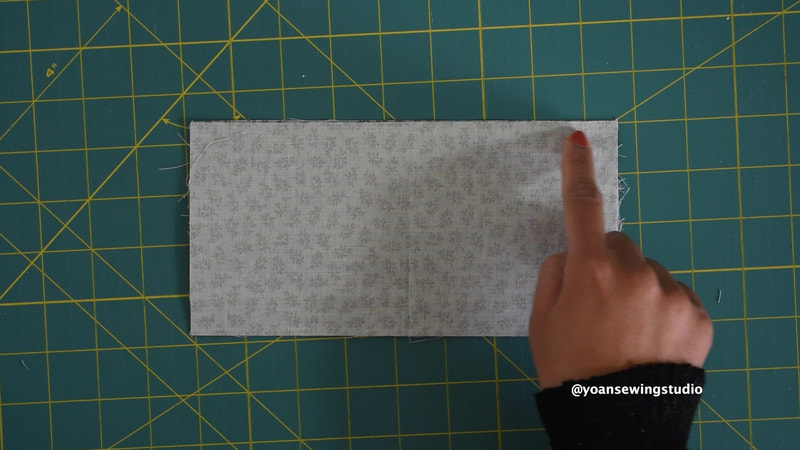
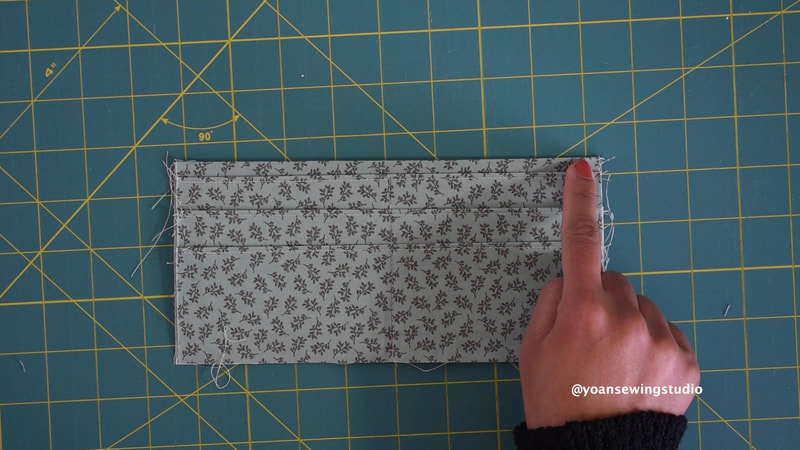
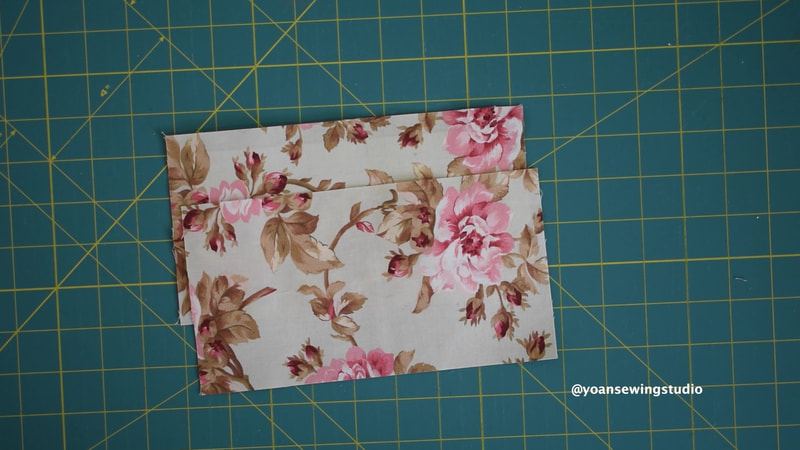
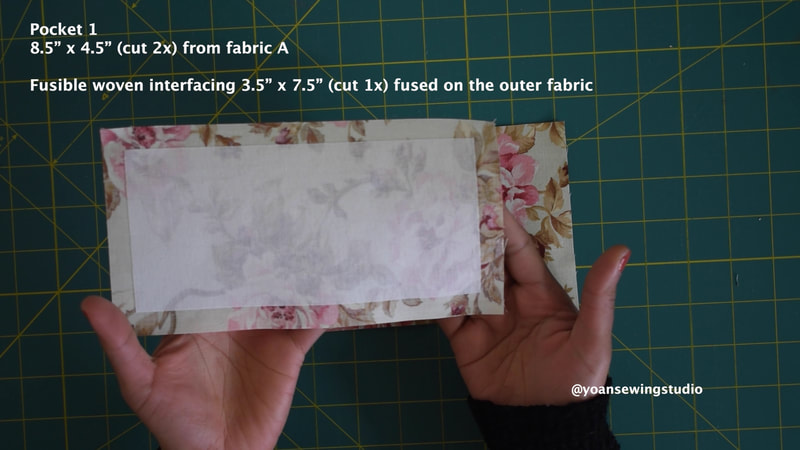
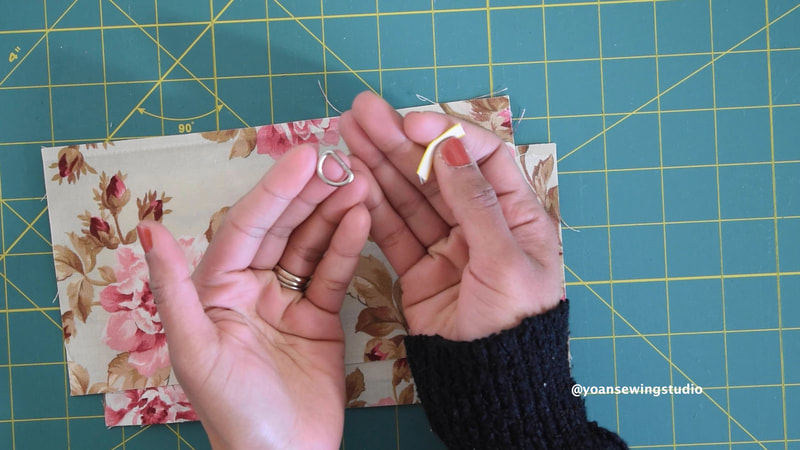
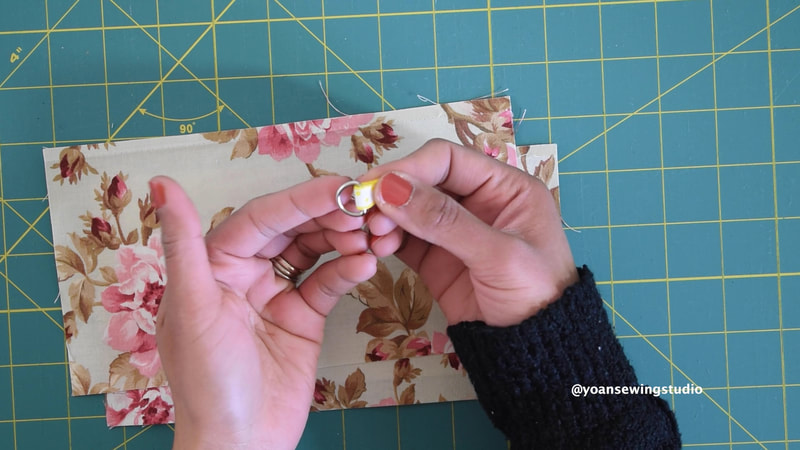
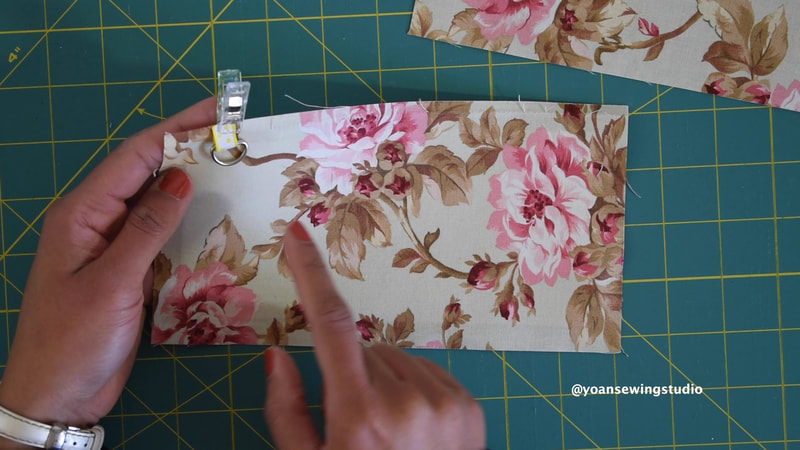
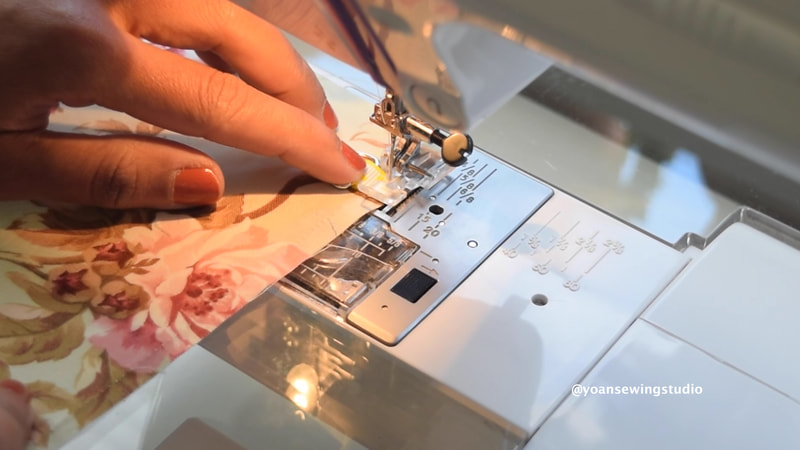
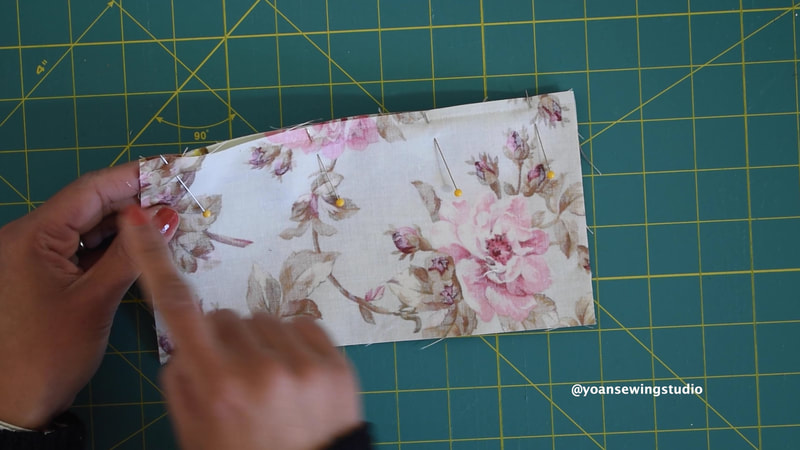
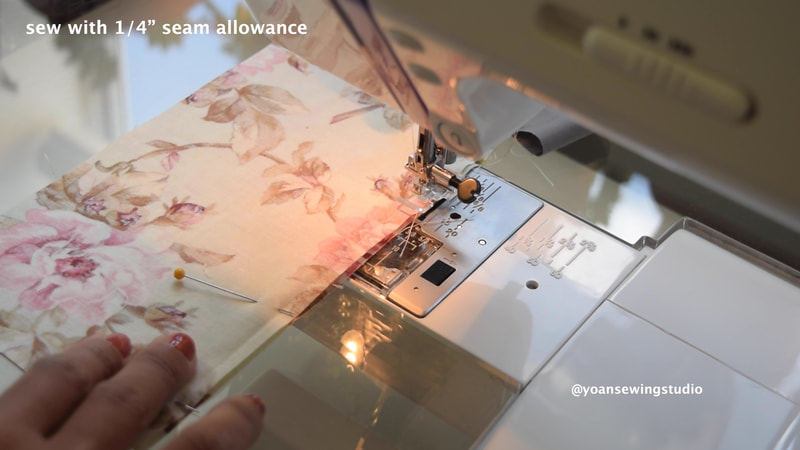
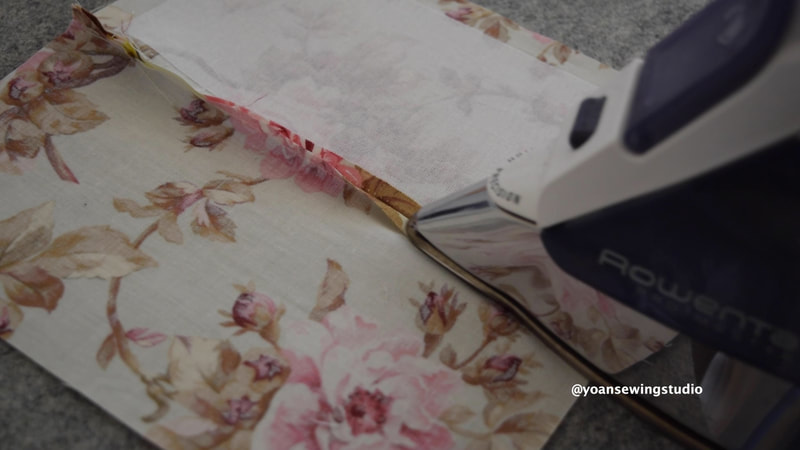
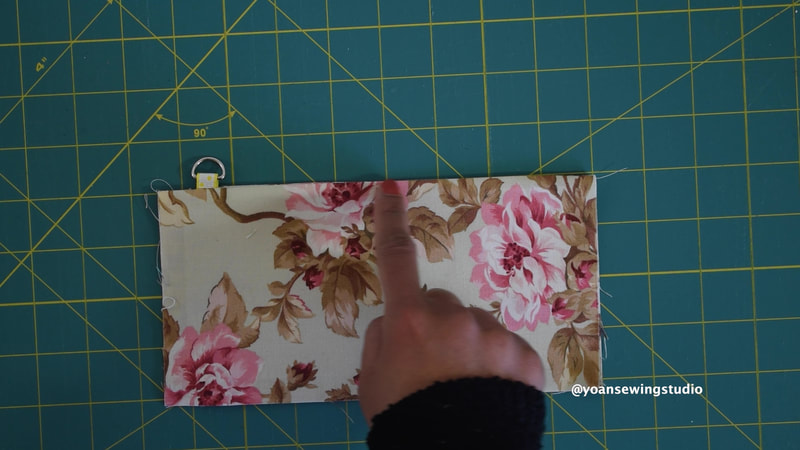
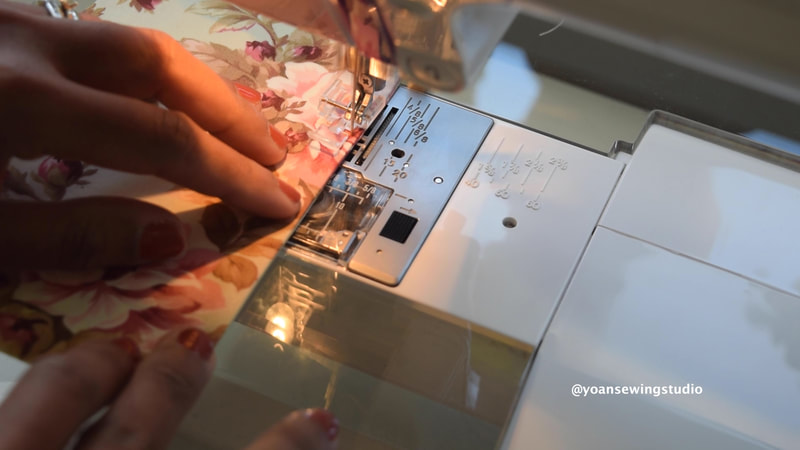
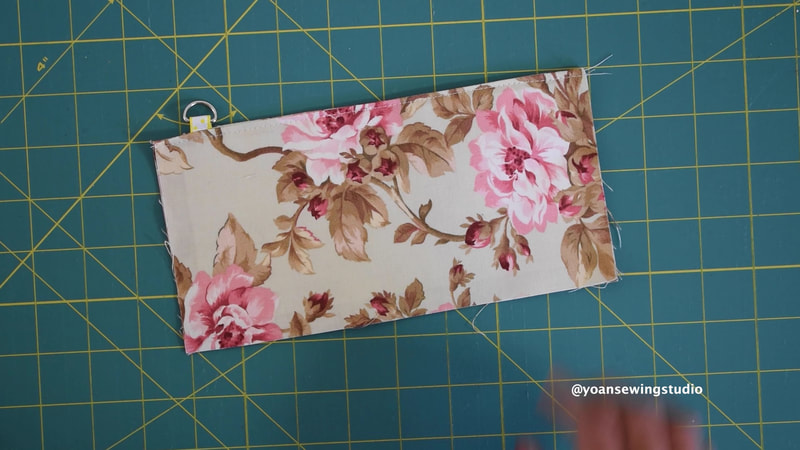
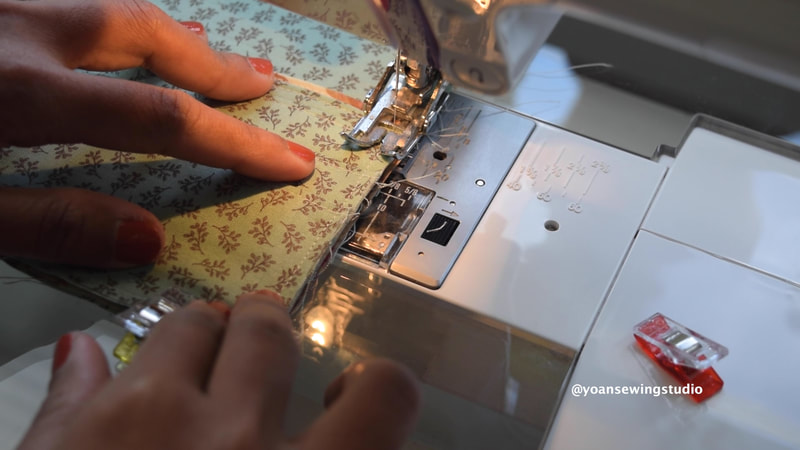
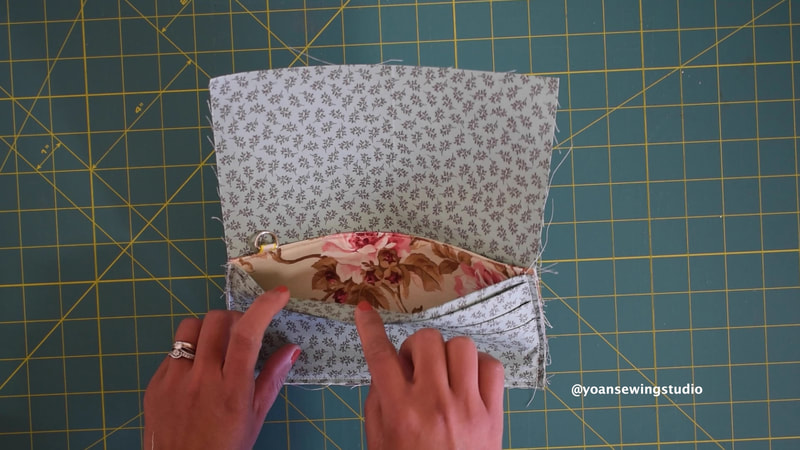
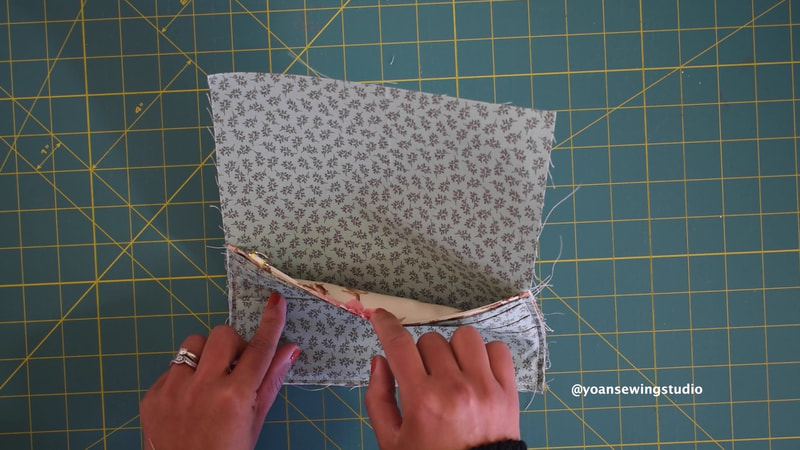
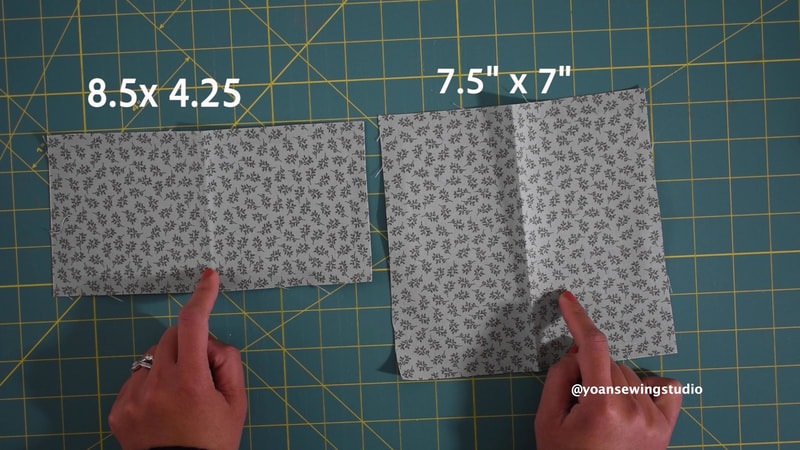
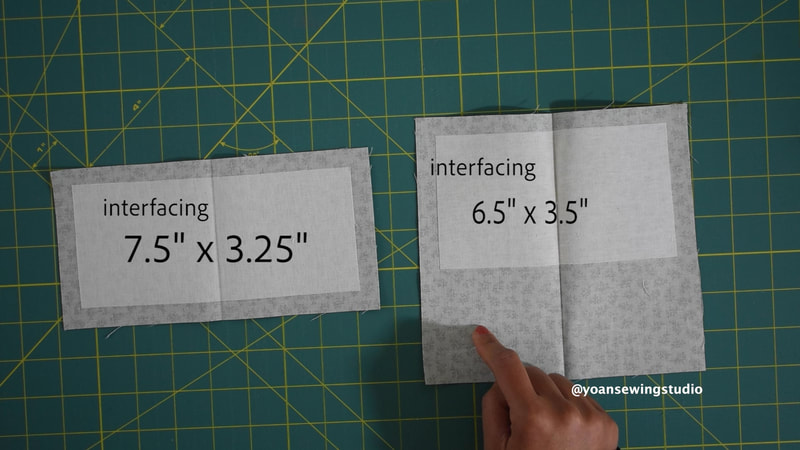
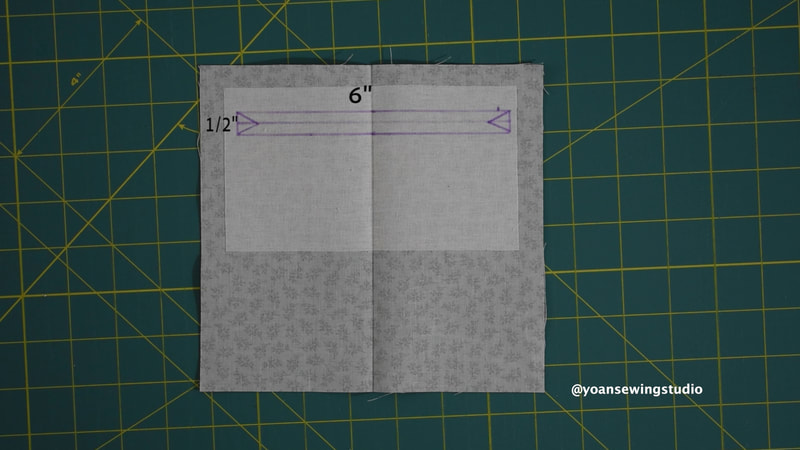
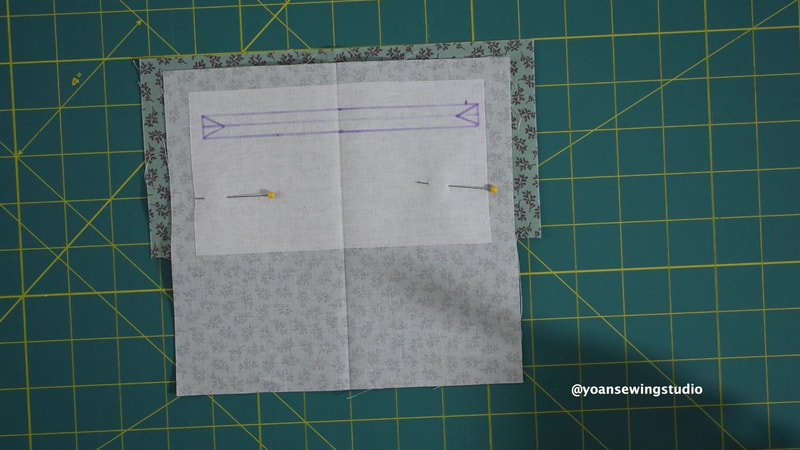
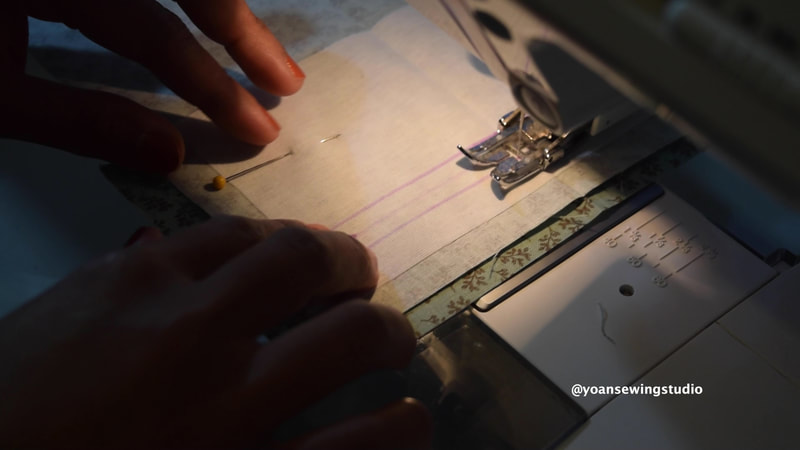
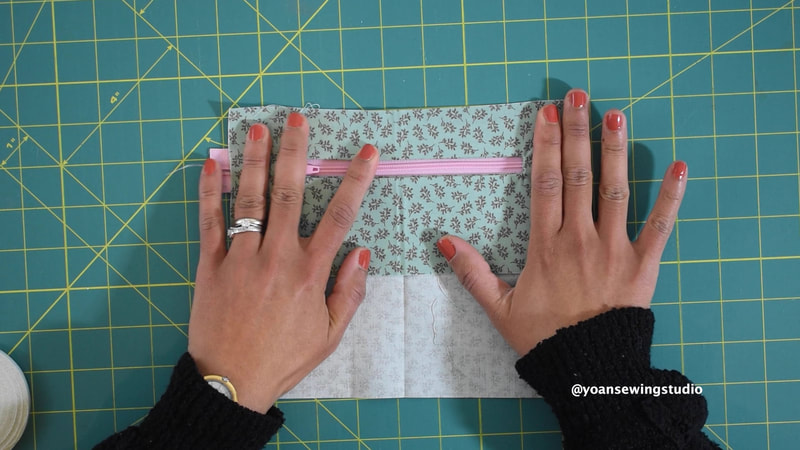
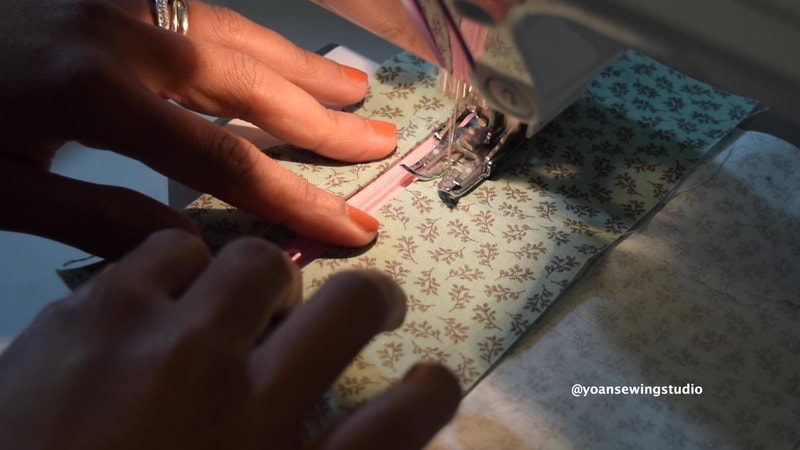
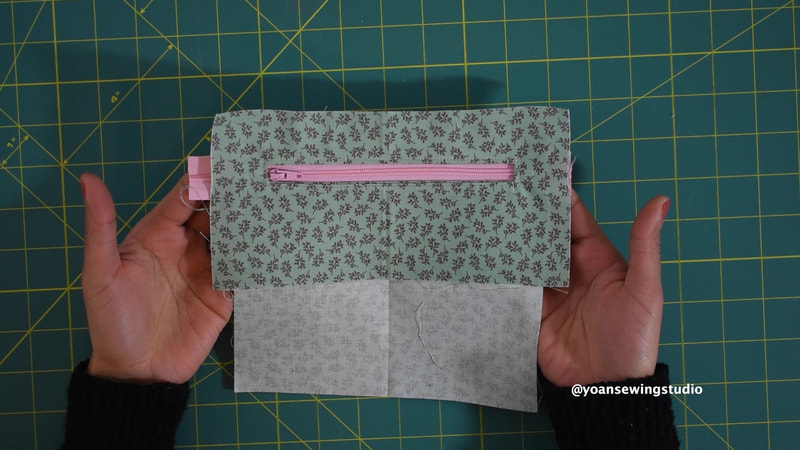
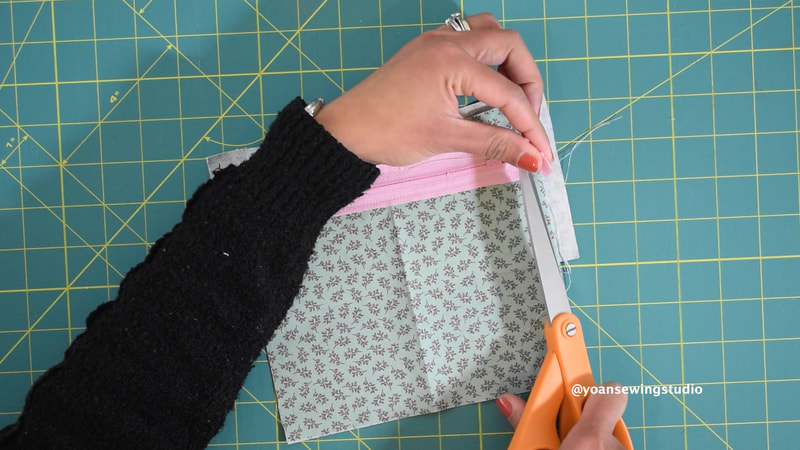
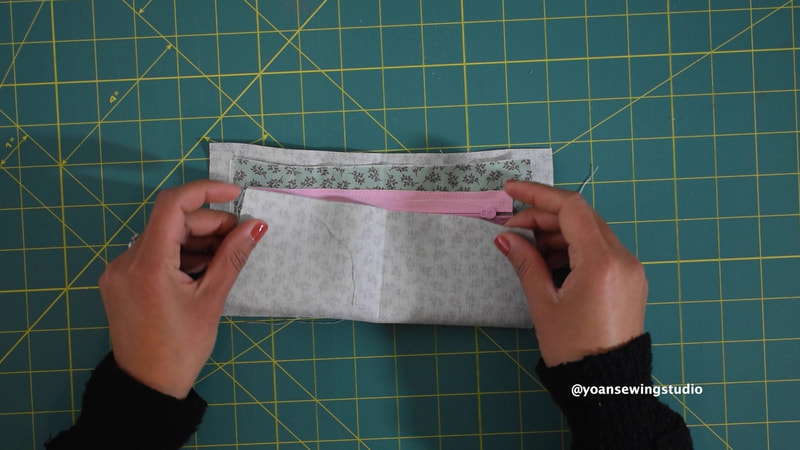
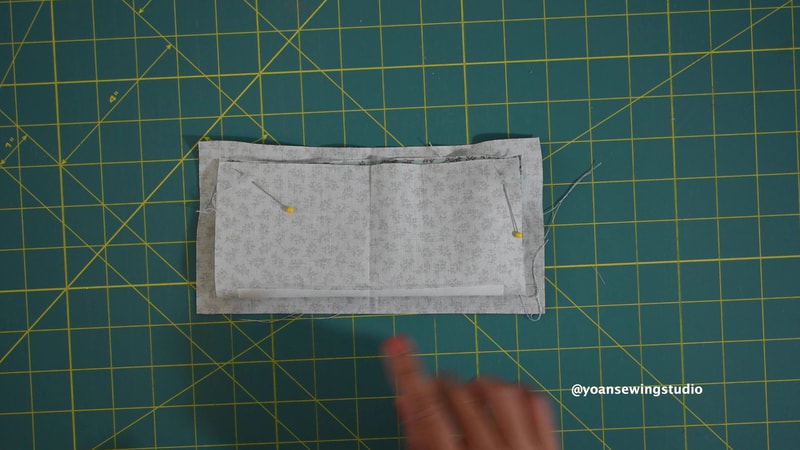
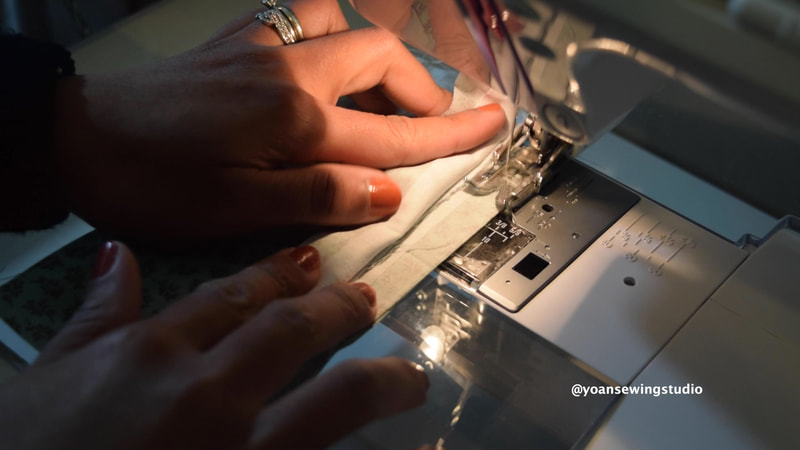
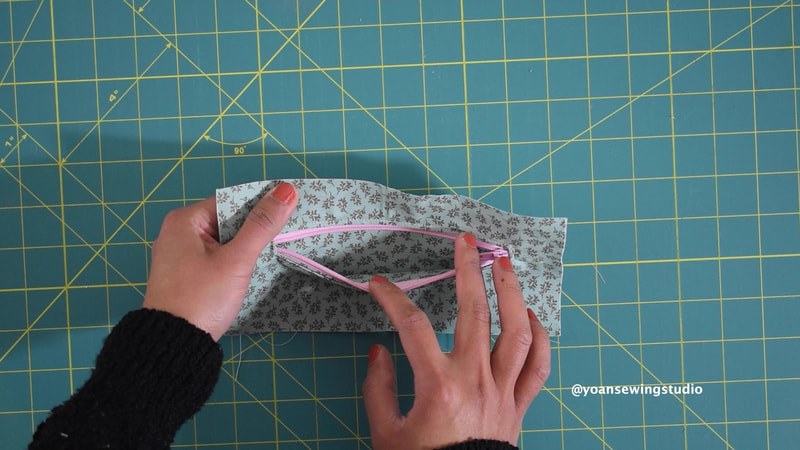
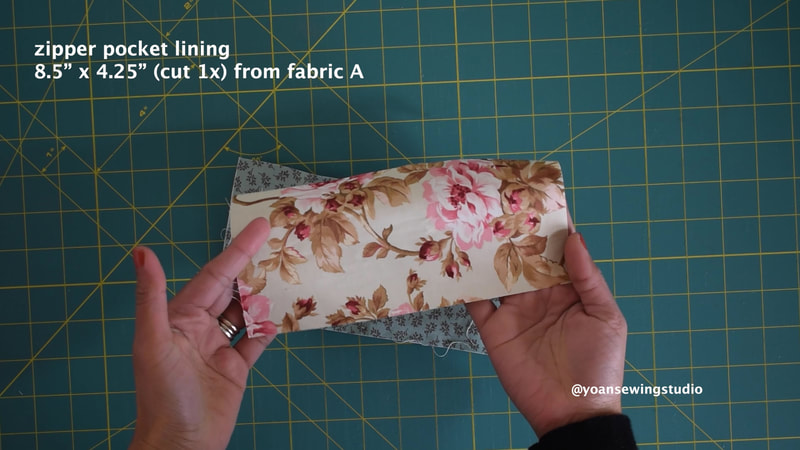
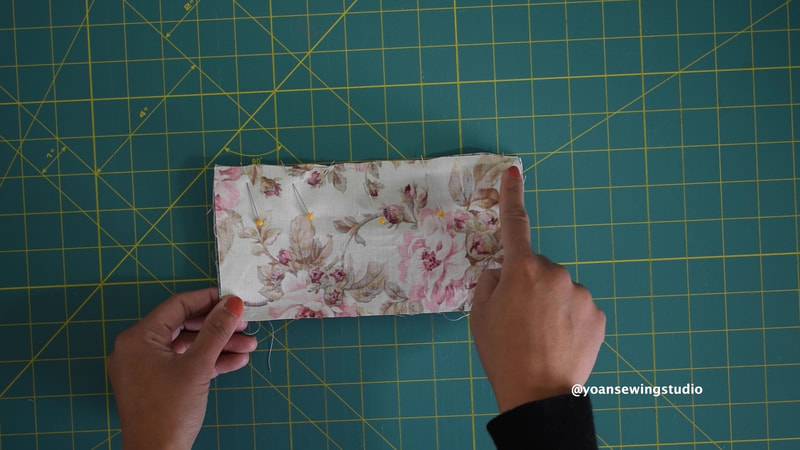
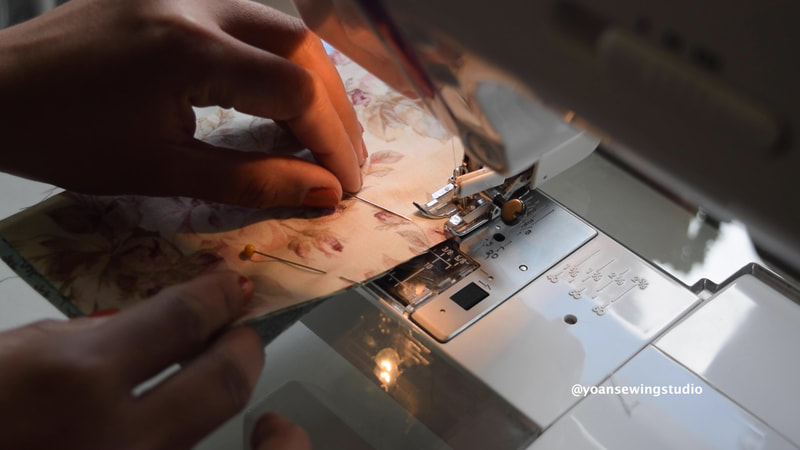
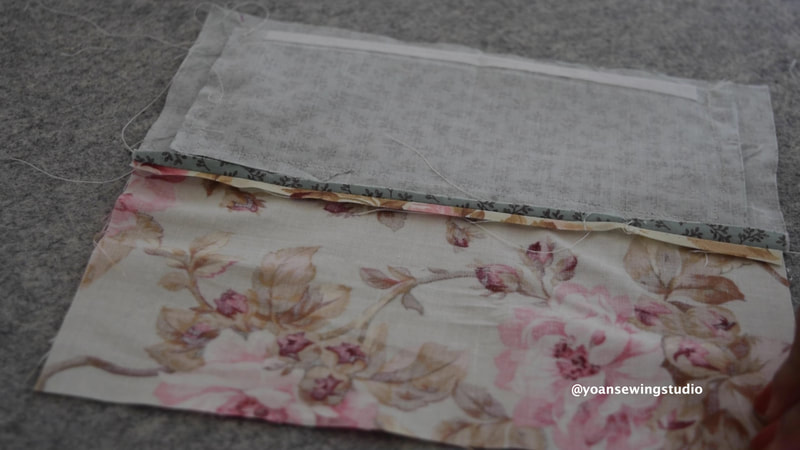
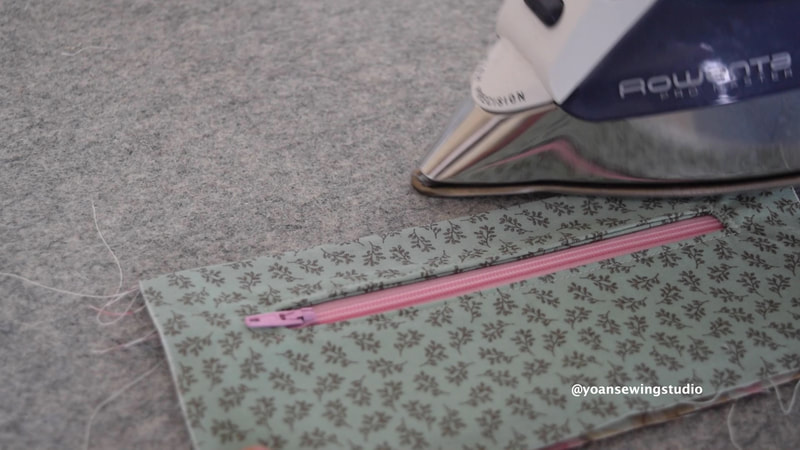
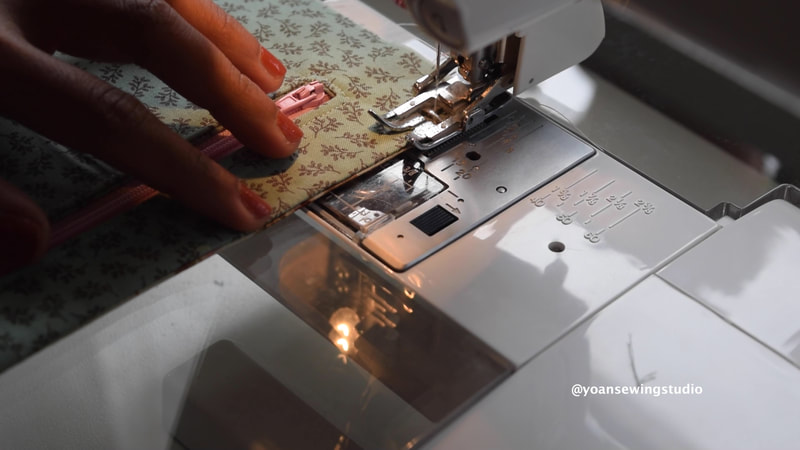
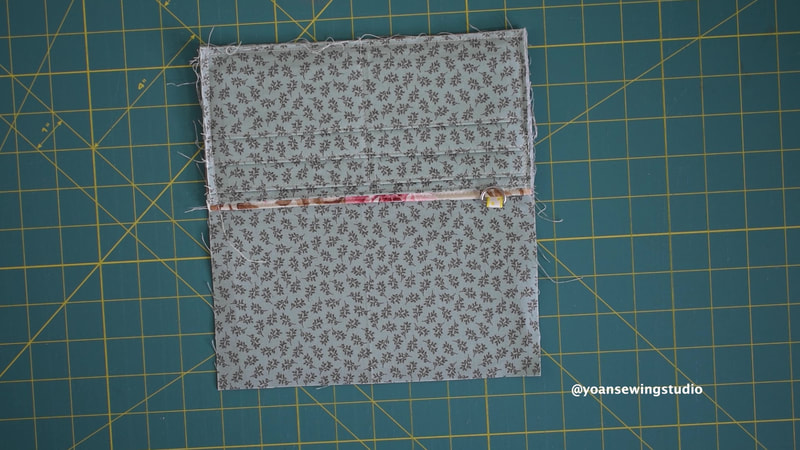
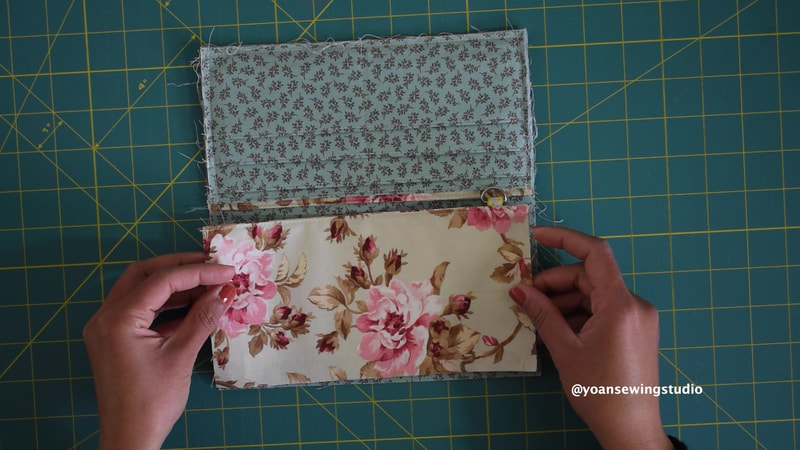
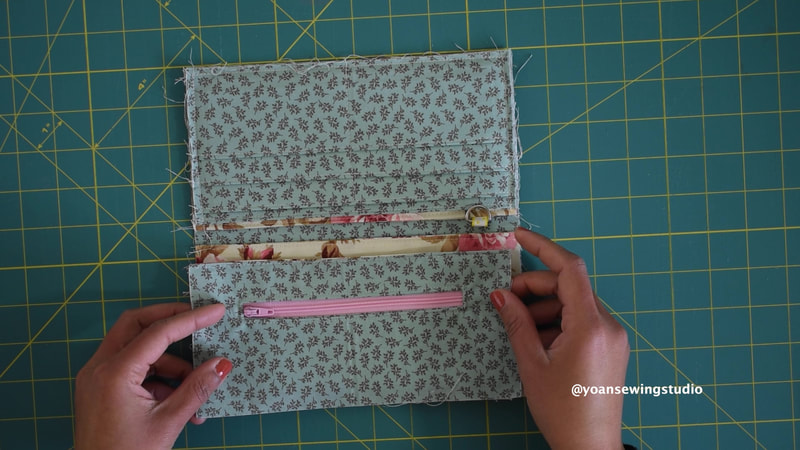
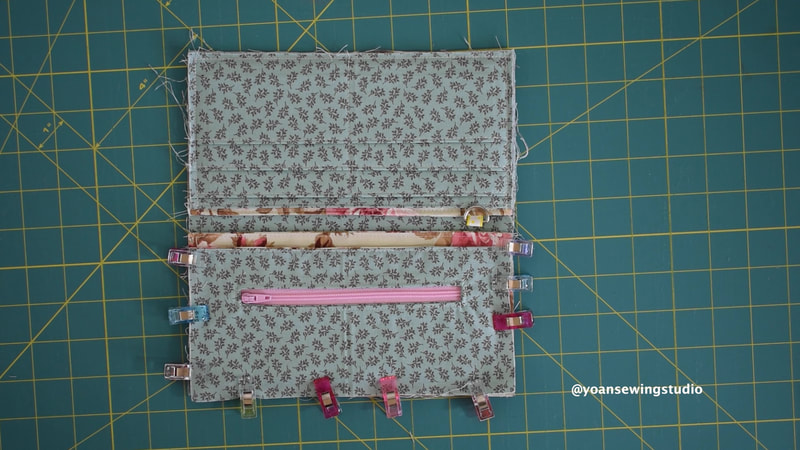
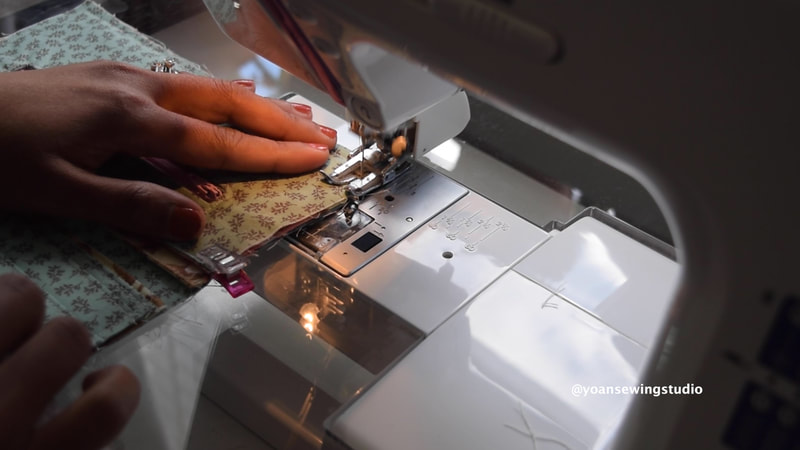
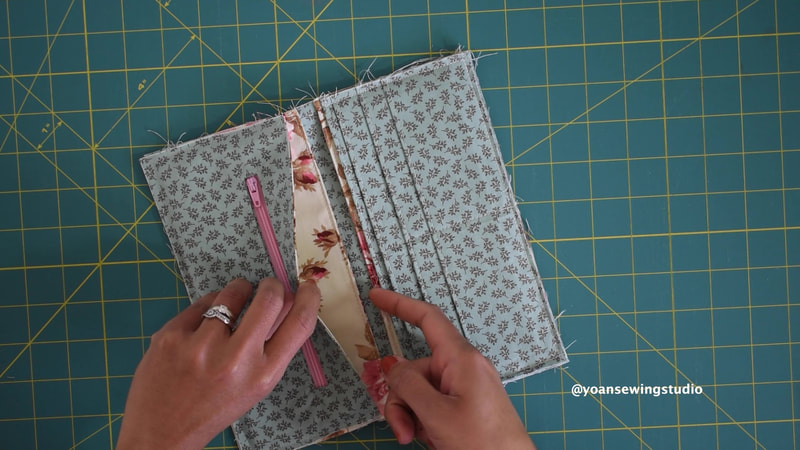
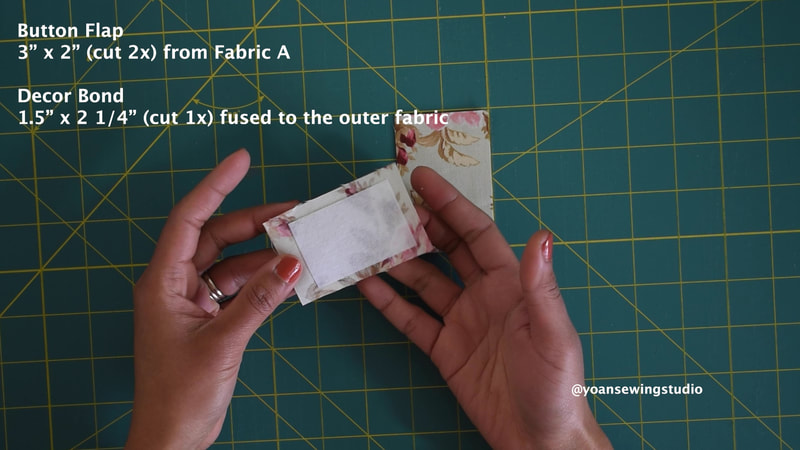
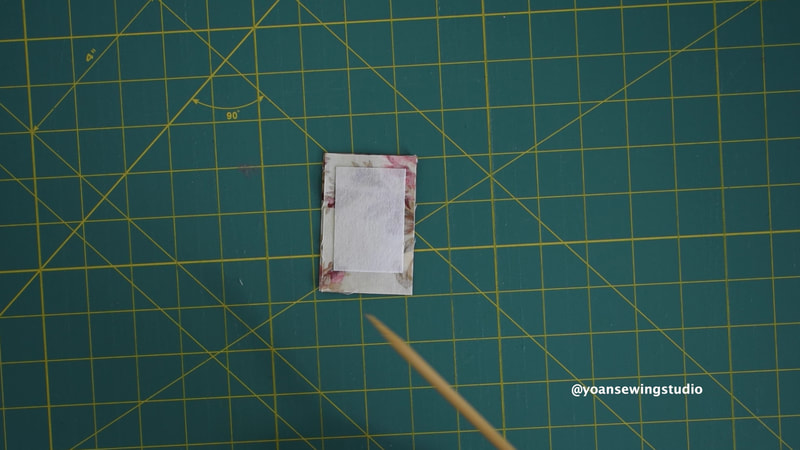
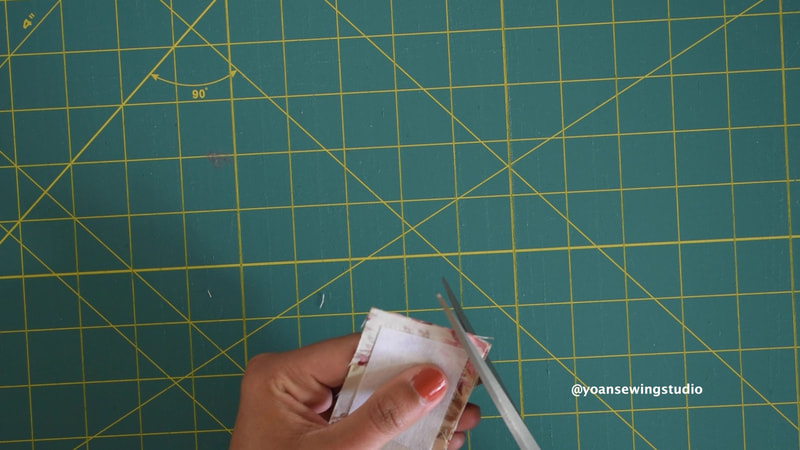
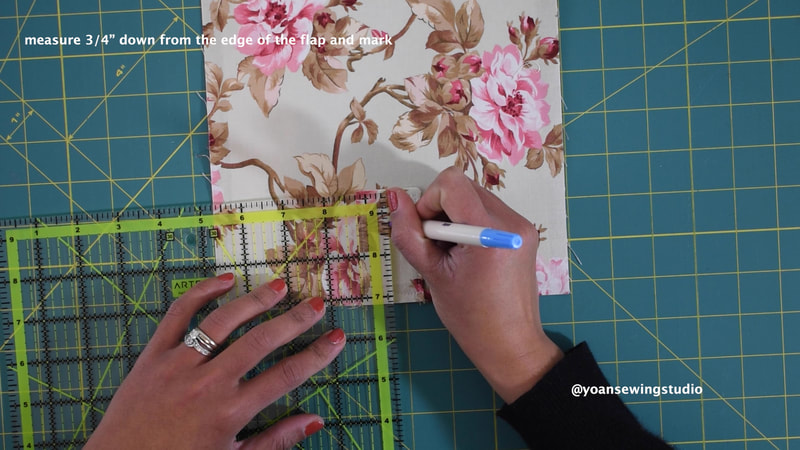
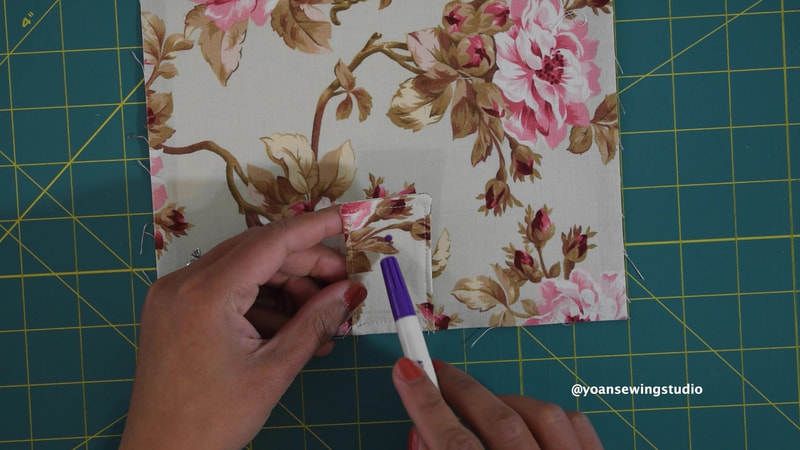
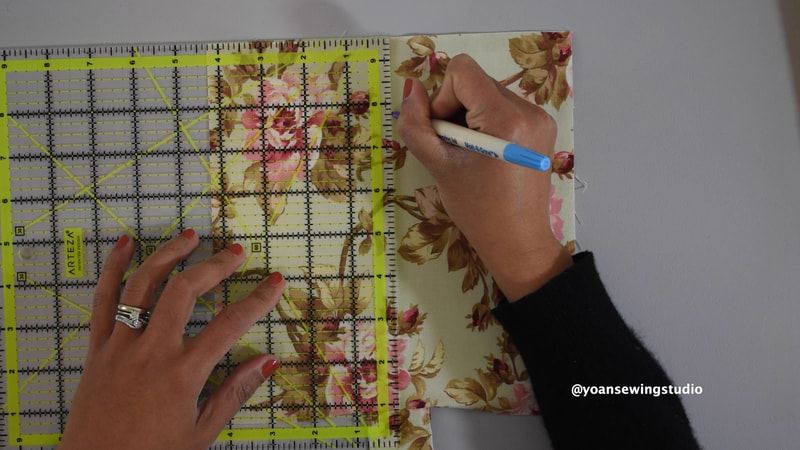
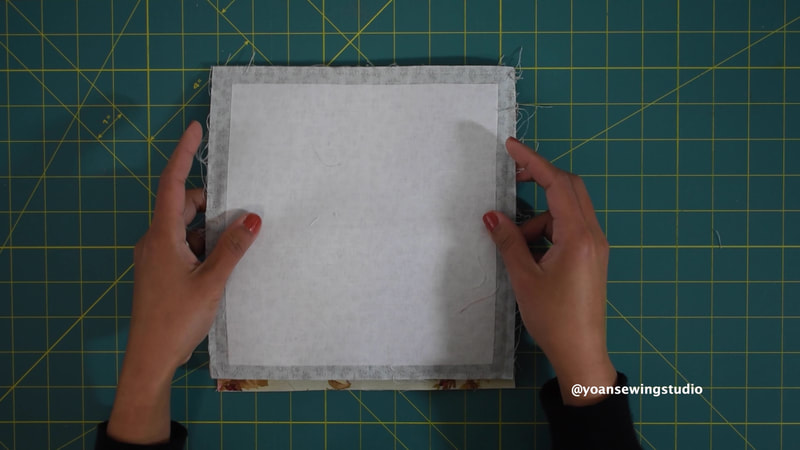
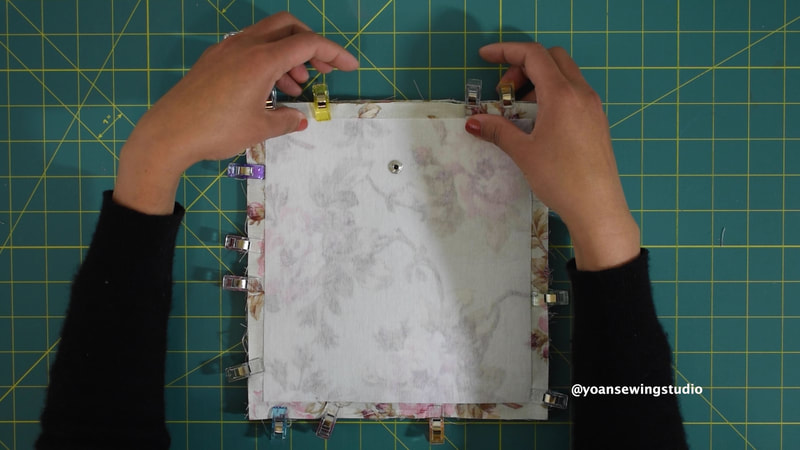
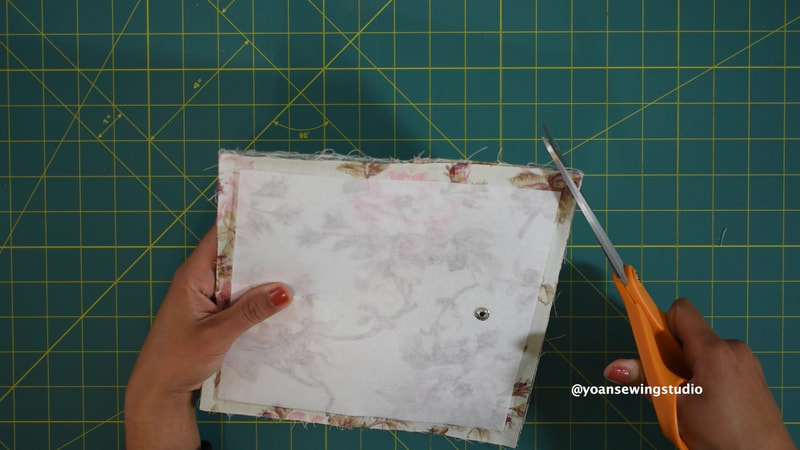
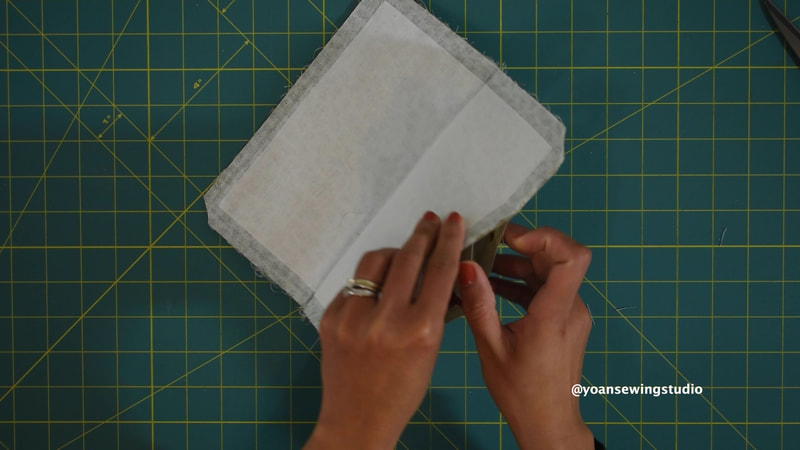
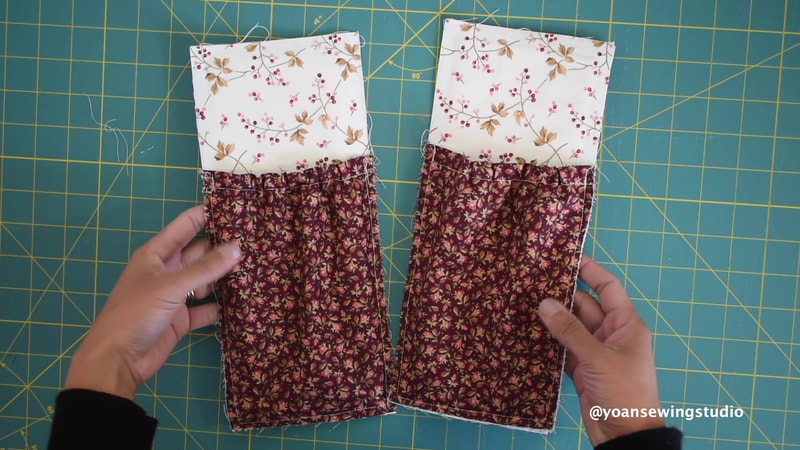
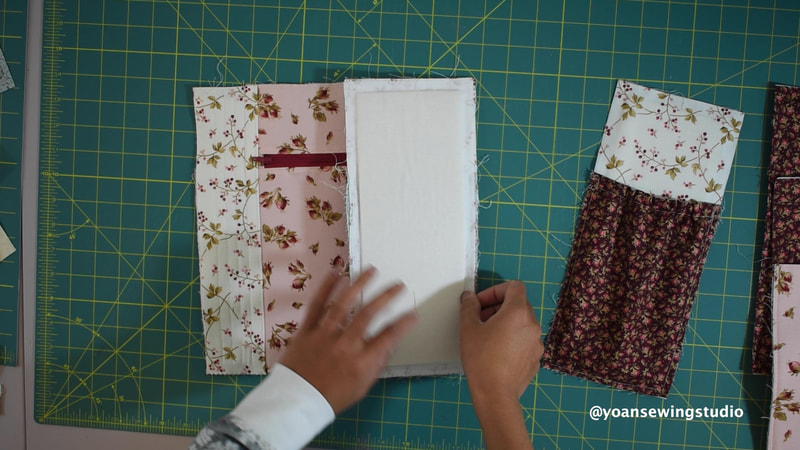
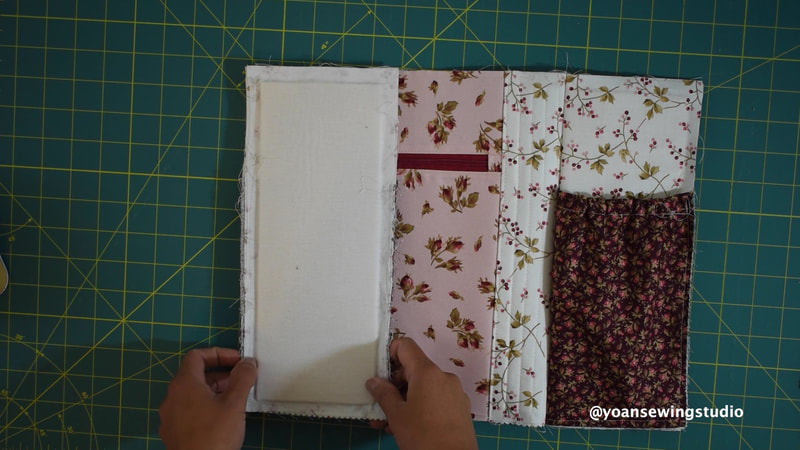
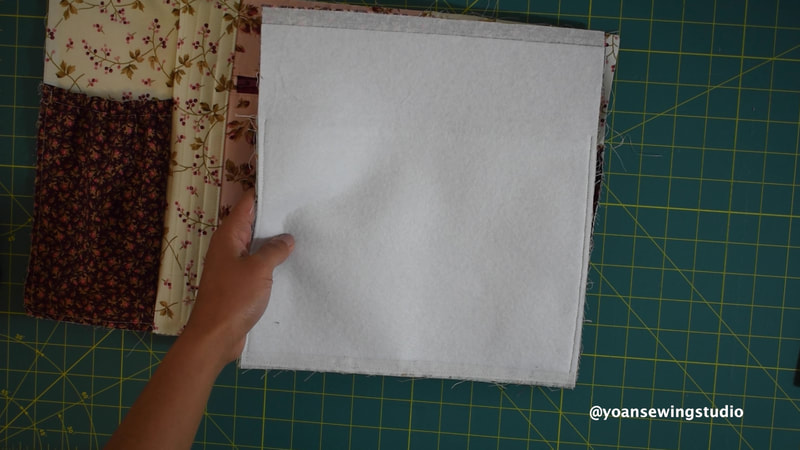
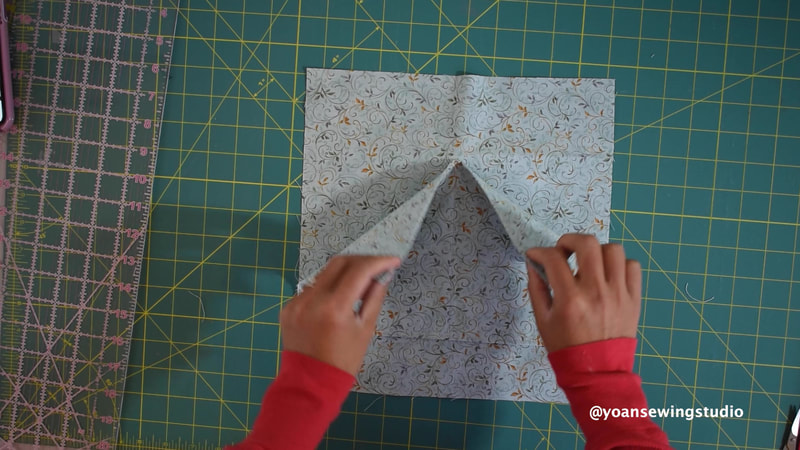
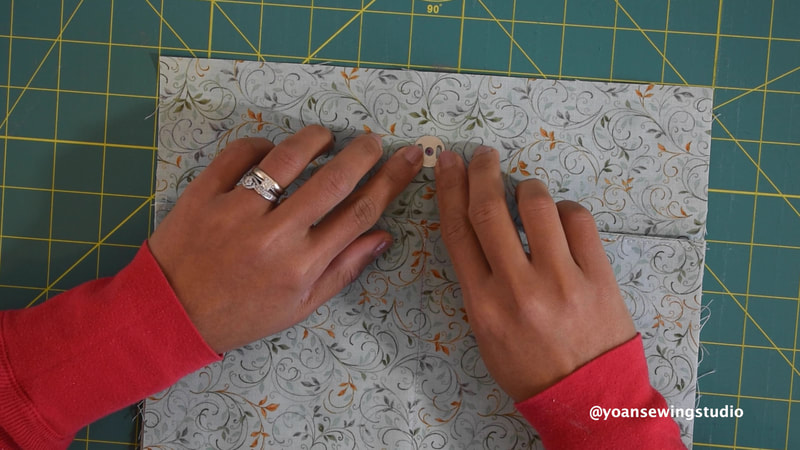
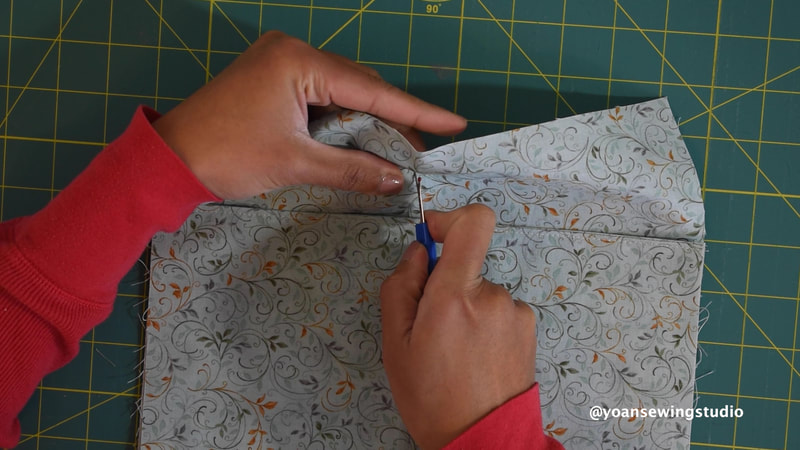
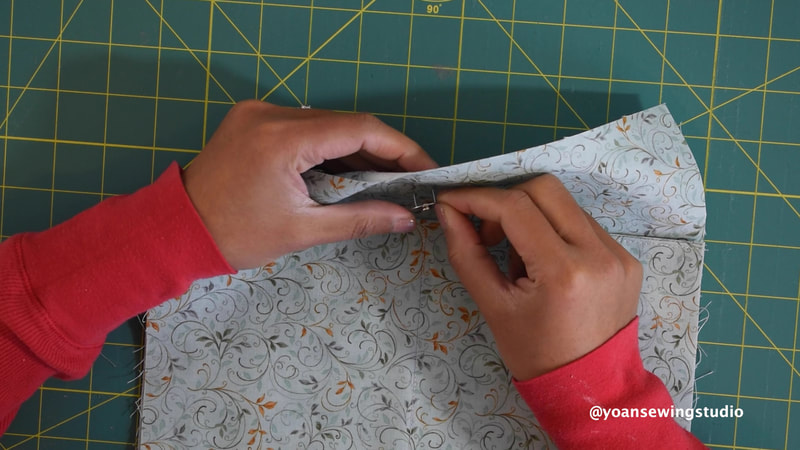
39. Sew the opening hole close. 40. Give the bag a good final pressing, attach the adjustable straps, and you are done! Here's a new wallet for you to sew. This is a simple slim bifold wallet, that comes with 6 card pockets, a zipper pocket, 4 compartments to keep your cash, cellphone, cheque book, or passport. The added wristlet strap, allows you to carry this wallet itself pretty much everywhere. I posted the full tutorial on my Youtube channel, however you may scroll down below for the list of supplies, cutting measurements, and written instructions. SUPPLIES 2 x Fat Quarters or 2x 1/4 yard of cotton fabric Decor Bond 10" x 10" (alternative : decovil, fusible fleece/thermolam or your preferred mid-heavy weight interfacing) *note : if you use fusible fleece, your wallet will turn out on the softer side 1/2 yard Fusible Woven interfacing (20" wide) 1 all purpose zipper (at least 6" long) 1/2" D ring 1/2" swivel hook 1 scrap of ribbon (1" x 1/2") Metal Snap Closure (alternative: magnetic snap, velcro, button) Basic sewing notions CUTTING Wallet Exterior -From Fabric A 8.5" x 9" (cut 1x) -From Decor Bond 7.5" x 8" (cut 1x) Wallet Interior -From Fabric B 8.5" x 9" (cut 1x) -From Fusible Woven Interfacing 7.5" x 8" (cut 1x) Card Pockets -From Fabric B 8.5" x 15" (1x) -From Fabric B 4.25" x 8.5" (1x) - for the lining -From Fusible Woven interfacing 7.5" x 14" (cut 1x) Pocket 1 & Pocket 2 -From Fabric A 8.5" x 4.5" (cut 4x) -From Fusible Woven Interfacing 7.5" x 3.5" (cut 2x) *fuse the interfacing to the outer fabric Zipper Pocket -From Fabric B 8.5" x 4.25" (cut 1x) - outer pocket -From Fabric B 7.5" x 7" (cut 1x) - Inner pocket -From Fabric A 8.5" x 4.25"(cut 1x) - lining -From Fusible Woven interfacing 7.5" x 3.25" (cut 1x) - outer pocket -From Fusible Woven interfacing 6.5" x 3.5" (cut 1x) - Inner Pocket Button Flap -From Fabric A 3" x 2" (cut 2x) -From Decor Bond 2.25" x 1.5" (cut 1x) Wristlet Strap -From Fabric A 13" x 2" -From Fusible woven interfacing 12" x 1" DIRECTIONS 1. Cut your fabric and apply the interfacing as instructed on the above cutting instructions. Center the position of the interfacing on your fabric. 2. Draw the pleat lines on wrong side of the pocket piece 3. Fold the first 2.5" line towards the wrong side, press. Then fold the next line (1.75" line) towards the right, press. 4. Fold the next 2.5" line towards the wrong side, press, then fold the next 1.75" line towards the right, press. 5. Repeat the same till you get to the last line. Do the final pressing. 6. Top stitch along the pleat lines. 7. Draw a line on the center of the pocket starting from the first pleat, all the way down. Sew on the line to divide the card slots. 8. Your pocket piece should now measure 8.5" x 4.25" . Take the card pocket lining piece, lay them right side together, then sew the top edge with 1/4" of seam allowance. 9. Press the seams open, fold wrong side together, press, top stitch the top edges, then sew along the sides and the bottom with 1/4" of seam allowance 10. Prepare the pocket 1 pieces, the d ring, and the ribbon. 11. Feed the ribbon through the d ring, lay them on the top edge of the outer pocket piece, 3/4" away from the left. then stitch along the edges with 1/4" of seam allowance (tips : use a zipper foot for easier move) 12. Lay the pocket pieces right side together, pin, then sew with 1/4" of seam allowance 13. Press the seams open, fold wrong side together, press, then topstitch along the top edges. 14. Lay the wallet interior piece right side up, lay the pocket 1 right side up, then the card pocket right side up, aligning the sides and the bottom edges. Secure them with some sewing clips, then sew along the sides and the bottom with 14" of seam allowance. 15. Prepare the zipper pocket pieces, draw the zipper template on the wrong side of the inner pocket piece, 1" down from the top edge, center the position. 16. Lay the inner pocket on the right side of th outer pocket, 3/8" down from the edge of the outer pocket, pin them in place, then sew along the perimeter of the zipper template. 17. Cut the center line, and the corner triangles, be careful not to cut through the stitches. Turn your inner pocket piece to the wrong side, press. 18. Apply the basting tape on the edges of the zipper tape, peel the top layer off, place the zipper template on top of the zipper, center the position of the zipper teeth, finger press along the zipper tape to make sure that the basting tape is sticking to the fabric. Sew along the edges of the zipper template. 19. Trim off the excess zipper, fold the inner pocket in half, aligning the bottom edges with the top edges, pin them in place, then sew along the sides and the top edges. 20. Take the zipper pocket lining piece, lay that on the zipper pocket right side together, pin the top edges then sew with 1/4" of seam allowance. 21. Press the seams open, fold wrong side together, press, then top stitch along the top edges. 22. Sew pocket 2 the same way you did the pocket 1 (minus the strap anchor), refer to step 12 & 13. 23. On the opposite side of the card pockets, lay the pocket 2 right side up, then lay the zipper pocket right side up, aligning the sides and the bottom edges, secure them in place with some sewing clips, then sew along the sides and the bottom with 1/4" of seam allowance. 24. Lay the flap pieces right side together, sew the sides and the bottom with 1/4" of seam allowance 25. Clip the corners, be careful not to cut through the stitches, turn the flap inside out, press. 26. Position the flap on the center of the back side of the wallet right side together, sew with 1/4" of seam allowance. 27. Mark 3/4" from the edge of the flap (center the position). Mark 1 1/4" down from the edge of the front side of the wallet (center the position). 28. Install the button closure. 29. Sew the wristlet strap watch the tutorial here. 30. Lay the wallet exterior and interior right side together, (the card pocket should be facing the flap side (or the back side). Secure them in place with some sewing clips, leaving about 4" of opening at the front side, sew with 3/8" of seam allowance. 31. Clip all the corners, be careful not to cut through the stitches. Turn the wallet inside out through the opening hole, press. 32. Fold the raw edges from the opening hole towards the inside (3/8"), secure with some sewing clips, then top stitch all around. 33. Give your wallet a final pressing, attach the wristlet strap, enjoy!
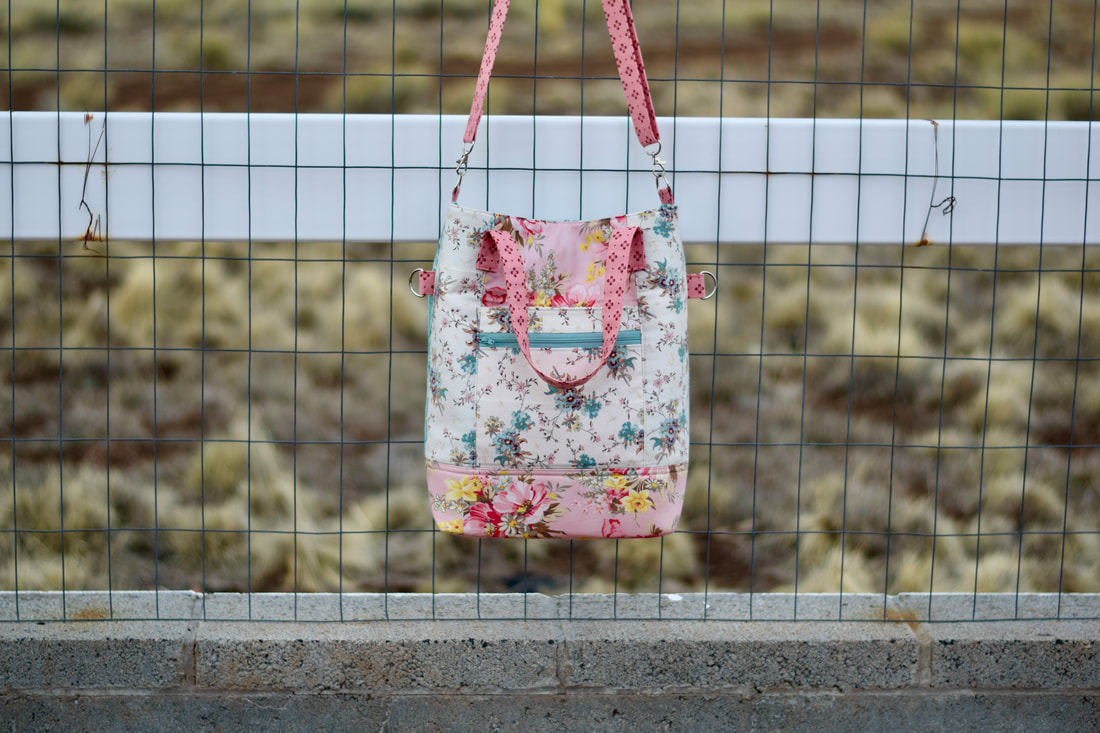
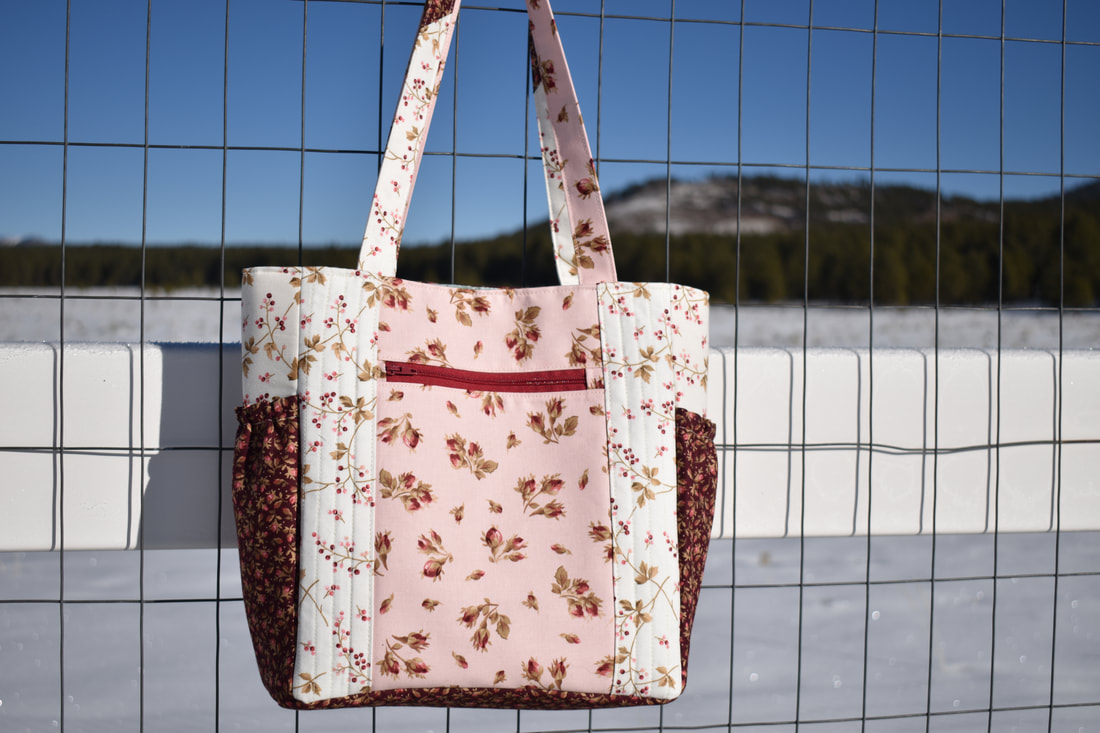
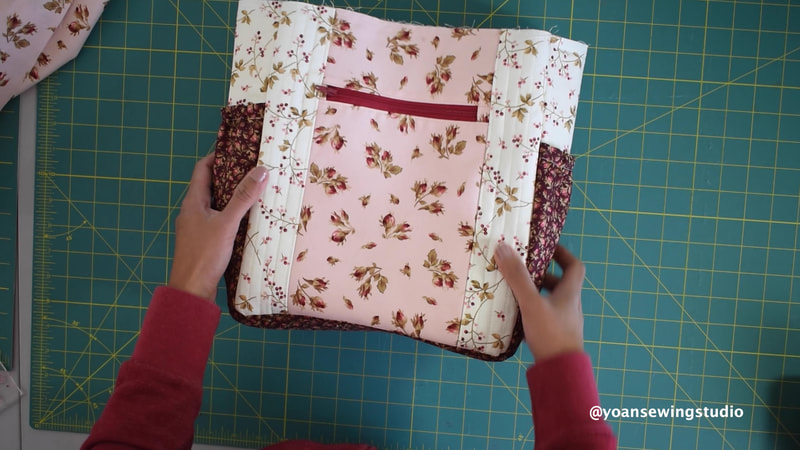
Finished measurements approx. 12.5" wide x 10" tall x 4" deep
Supplies and Tools 3 Fat Quarters (or 1/3 yard of each fabric if using yardage) 2 yards cotton fabric for the lining 2 yards fusible woven interfacing (20" wide) Fusible fleece (thermolam) 22" x 21" Soft n Stable (sew in foam stabilizer) 34" x 4" 2 x size 3 zipper at least 11" long 10" long elastic (1/4" wide) 1 set of magnetic snap Basic sewing notions Disclaimer : This post contains Amazon affiliate links, thank you for your support!
Cutting Instruction
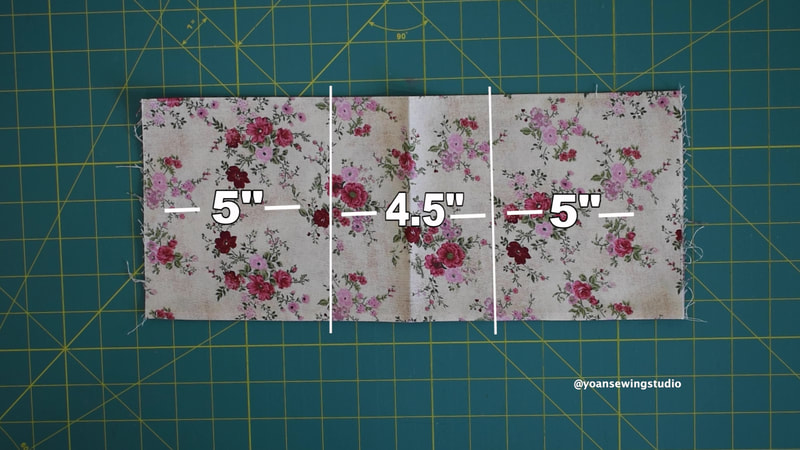
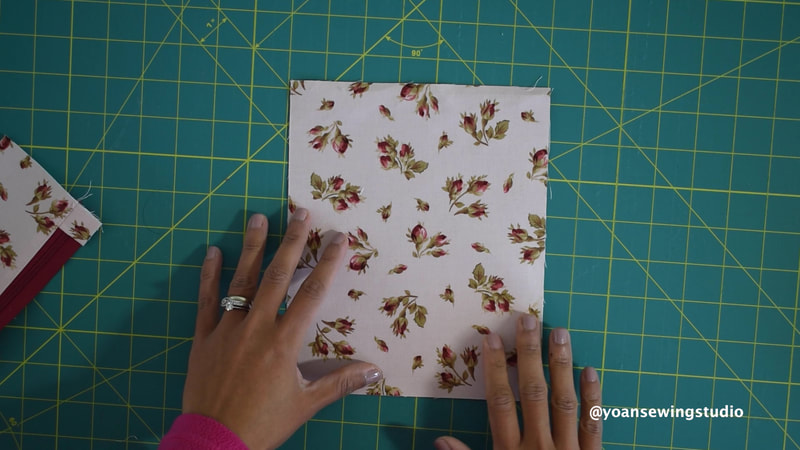
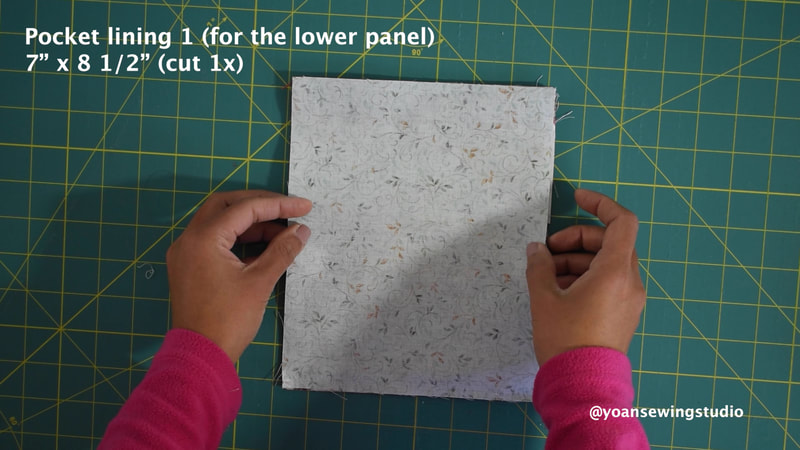
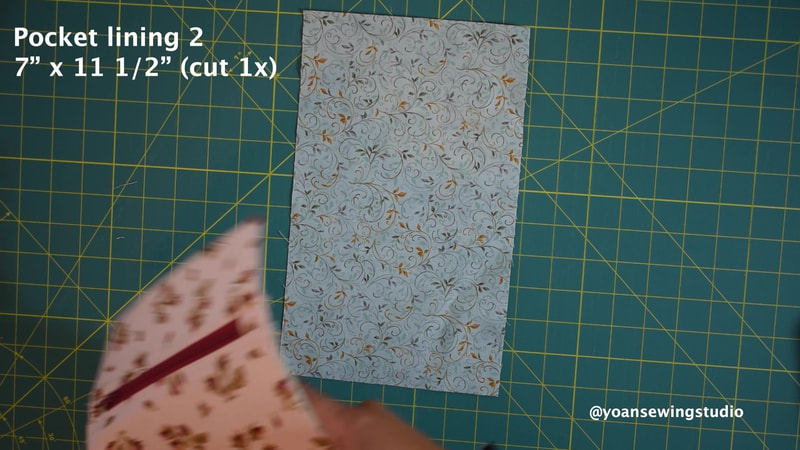
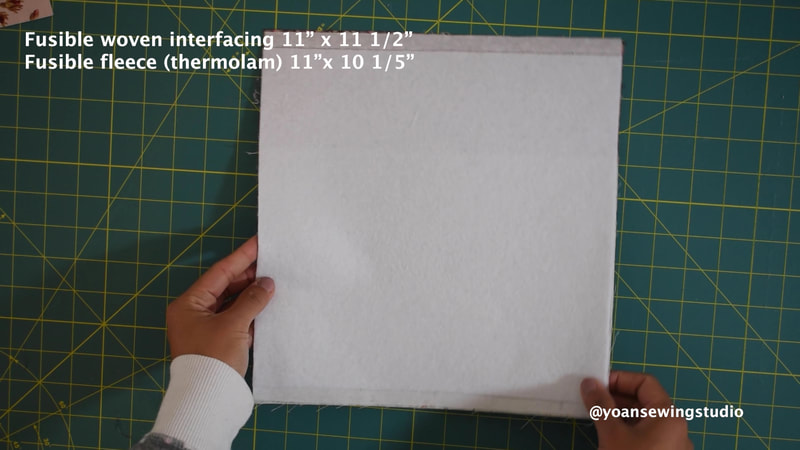
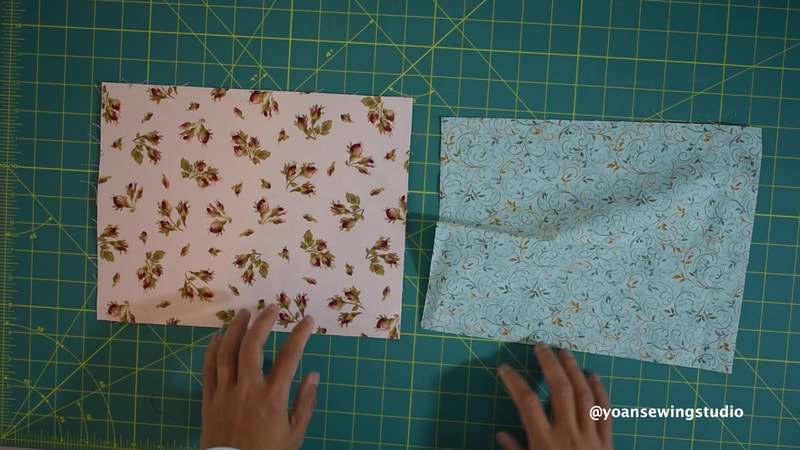
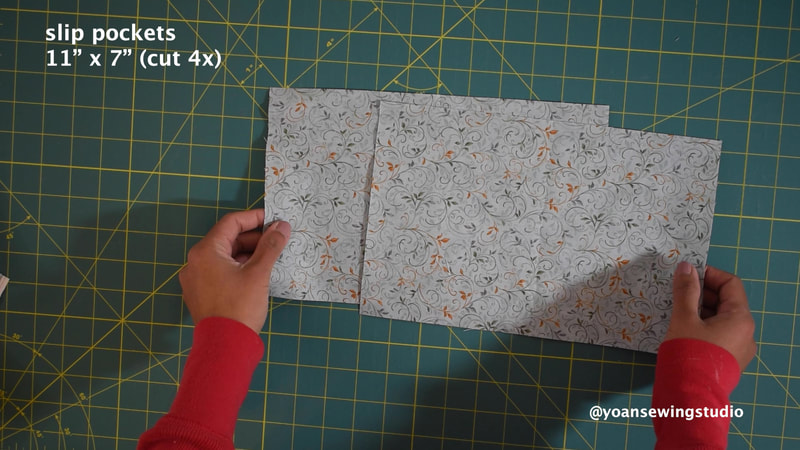
FRONT EXTERIOR ZIPPER POCKET From Fabric 1 7" x 3" (upper panel) cut 1x 7" x 8 1/2" (lower panel) cut 1x From the fusible woven interfacing: 7" x 3" (upper panel) cut 1x 7" x 8 1/2"" (lower panel) cut 1x From Lining Fabric: 7" x 8 1/2" (lining 1 for lower panel) cut 1x 7" x 11 1/2" (lining 2 for the whole zipper panel) cut 1x ***For the zipper tabs 3" x 1" (cut 2x) from fabric 1 FRONT EXTERIOR SIDE PANELS From Fabric 2: 3" x 11 1/2" (cut 2x) From fusible woven interfacing: 3" x 11 1/2" (cut 2x) BACK EXTERIOR SLIP POCKET From Fabric 1: 11" x 8 1/2" (cut 1x) From fusible woven interfacing: 11" x 8 1/2" (cut 1x) From lining fabric 11" x 8 1/2" (cut 1x) BACK EXTERIOR PANEL From fabric 3: 11" x 4" (upper) cut 1x From lining fabric: 11" x 8" (lower) cut 1x From Fusible woven interfacing: 11" x 11 1/2" (cut 1x) ***Fusible Fleece for the front and back exterior 11" x 10 1/2" (cut 2x) SIDE GUSSET From Fabric 2: 5" x 11 1/2" (cut 2x) From Fusible woven interfacing: 5" x 11 1/2" (cut 2x) From Soft n stable 4" x 10 1/2" (cut 2x) BOTTOM GUSSET From Fabric 3: 5" x 11" (cut 1x) From fusible woven interfacing: 5" x 11" (cut 1x) From Soft n Stable: 4" x 10" (cut 1x) EXTERIOR SIDE POCKETS From Fabric 3: 7" x 8" (cut 2x) From lining fabric: 7" x 8" (cut 2x) Cut 2x elastic 5" long POCKET DIVIDER From lining fabric: 11" x 8 1/2" (cut 4x) From fusible woven interfacing: 10" x 7 1/2" (cut 4x) ***For zipper tabs 3" x 1" (cut 2x) from the lining fabric INTERIOR SIDE GUSSET From lining fabric: 3" x 11 1/2" (cut 4x) INTERIOR BOTTOM GUSSET From lining fabric 3" x 11" (cut 2x) INTERIOR FRONT & BACK PANELS From lining fabric: 11" x 11 1/5" (cut 2x) INTERIOR SLIP POCKETS From lining fabric 11" x 7" (cut 4x) STRAPS Cut by joining left over fat quarters or use a solid fabric 26" x 4" (2x) Fusible woven interfacing 26" x 2" (2x) *If you are a metric user you may refer to the below metric conversion guide
I posted the full video tutorial on my Youtube channel, however you my scroll down for the written instruction.
Directions
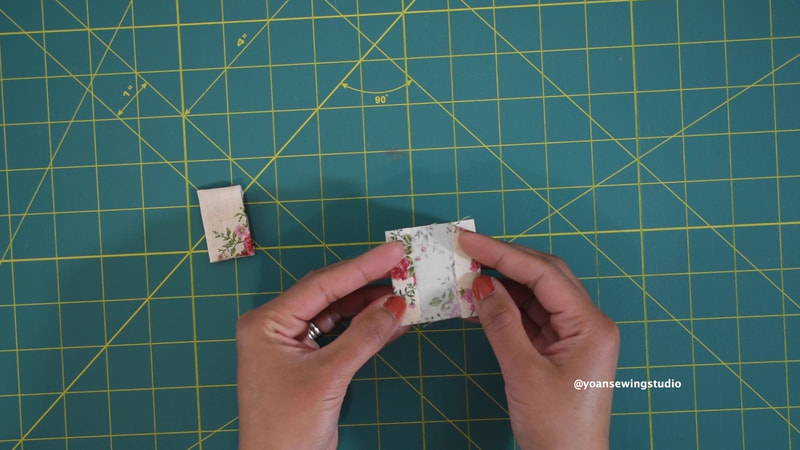
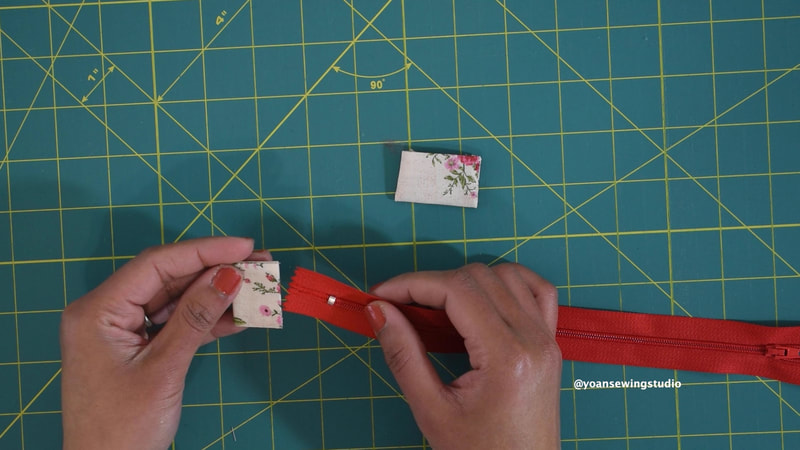
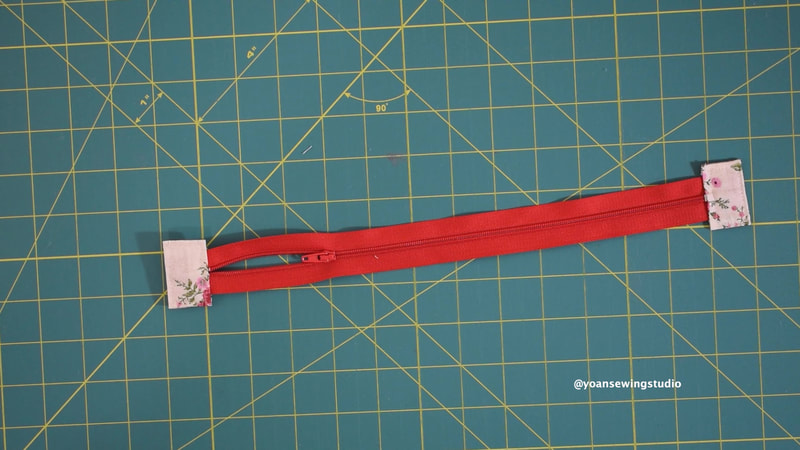
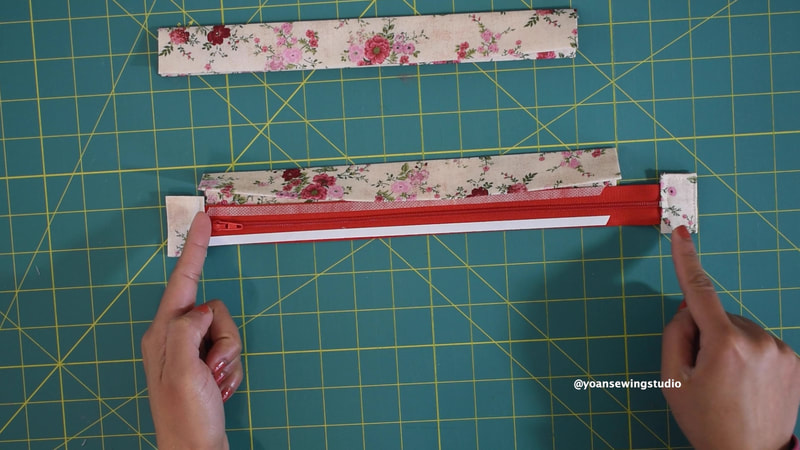
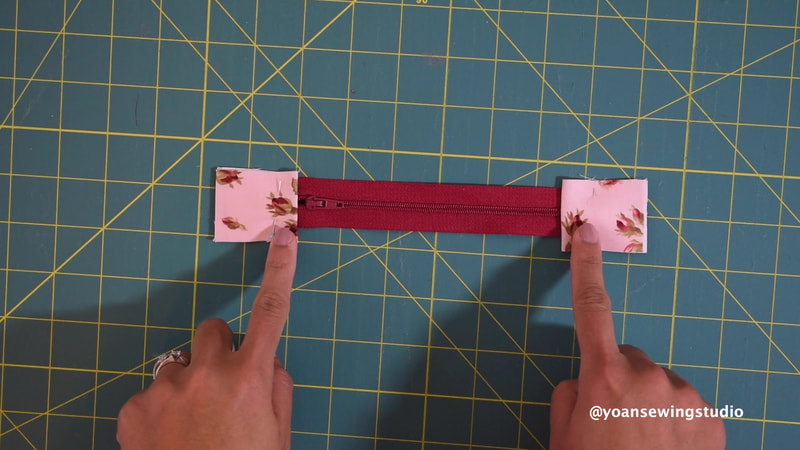
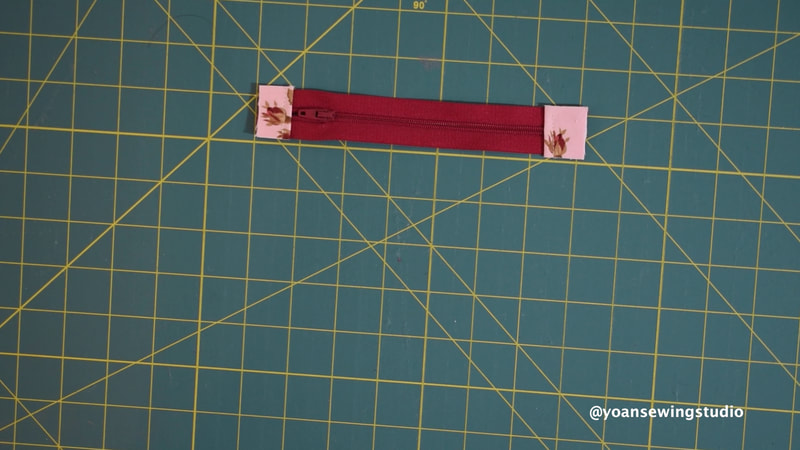
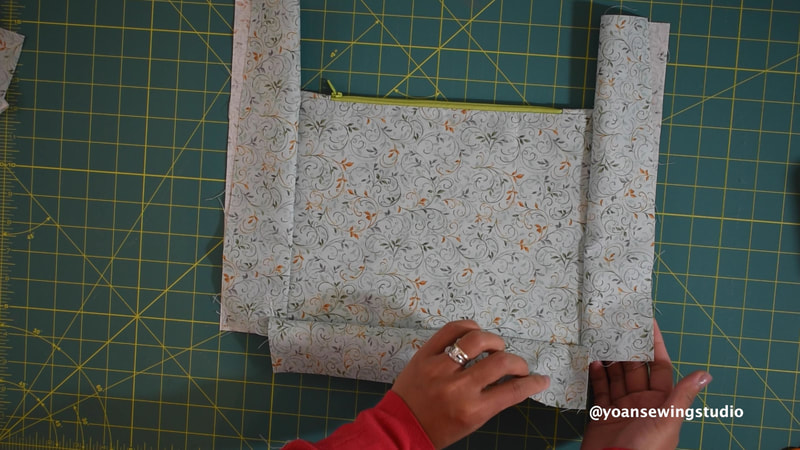
1. Apply the fusible woven interfacing to the following : 1. Front Zipper Tabs 2. Upper and lower front zipper panels 3. Front Side panels 4. Back slip pocket panel 5. Divider pocket pieces including the zipper tabs 2. Sew the zipper tabs to the front zipper, trim excess fabric
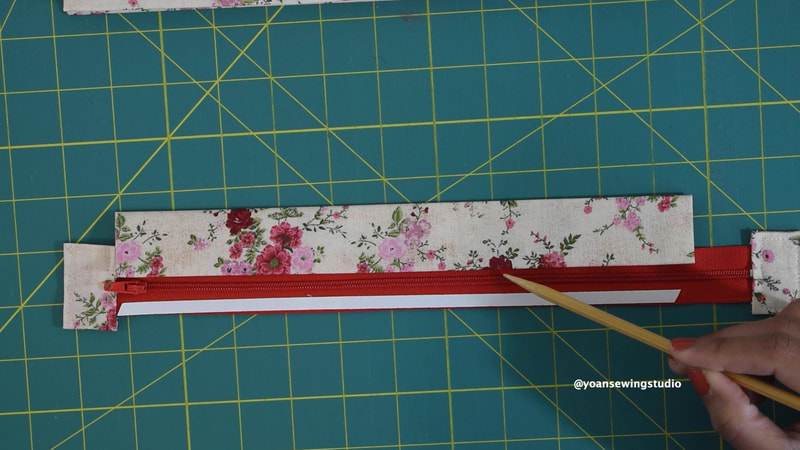
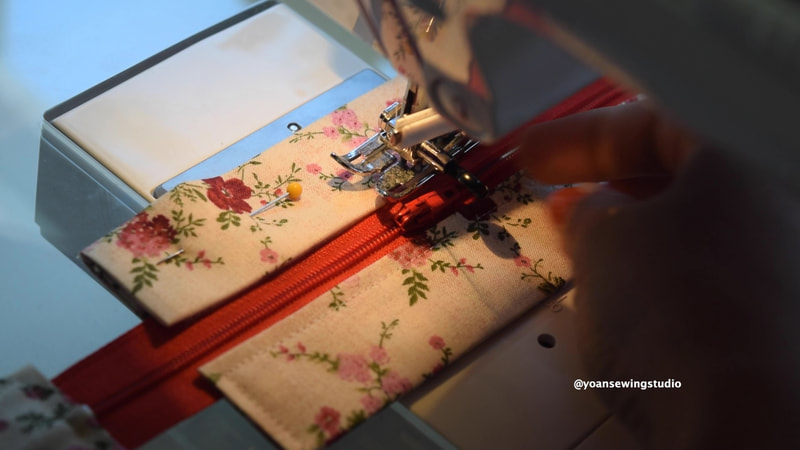
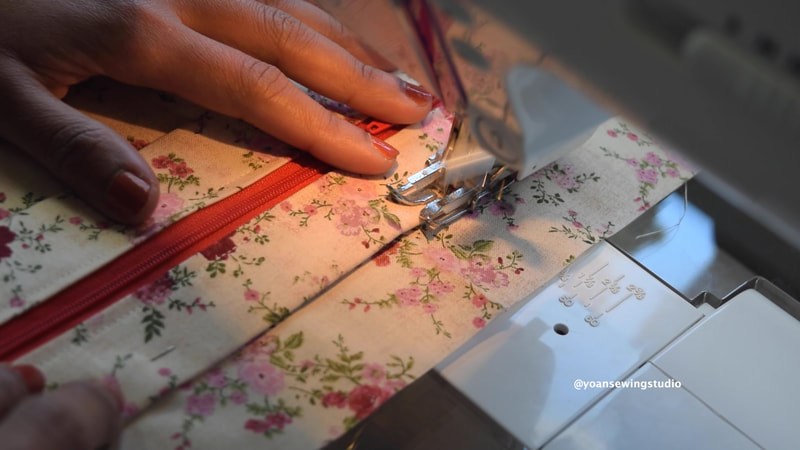
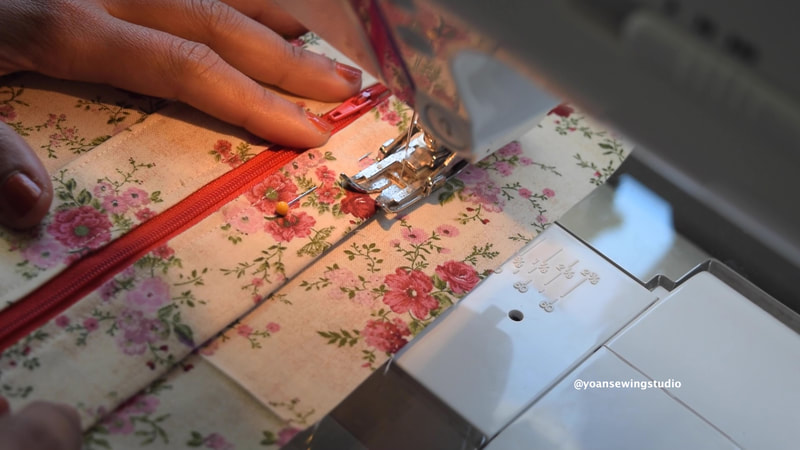
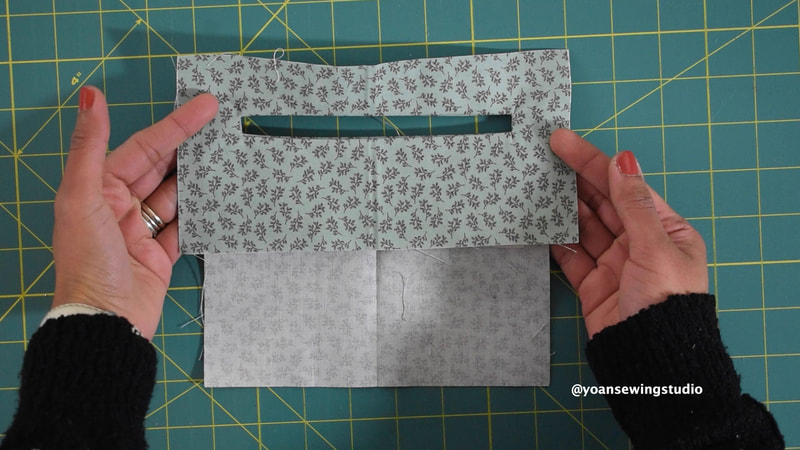
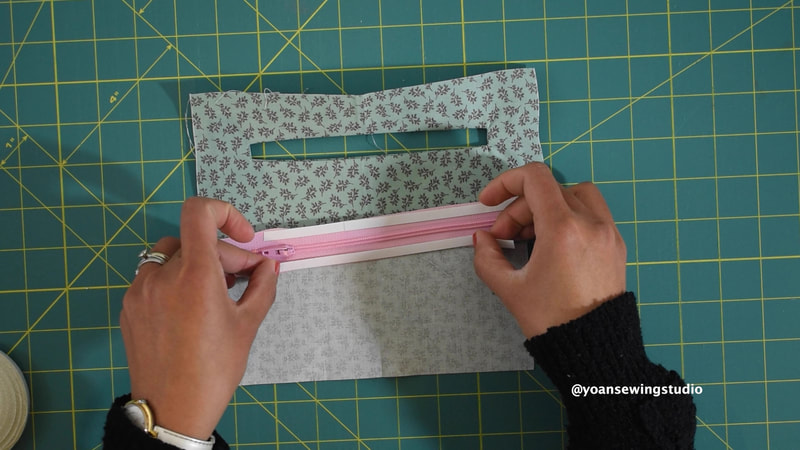
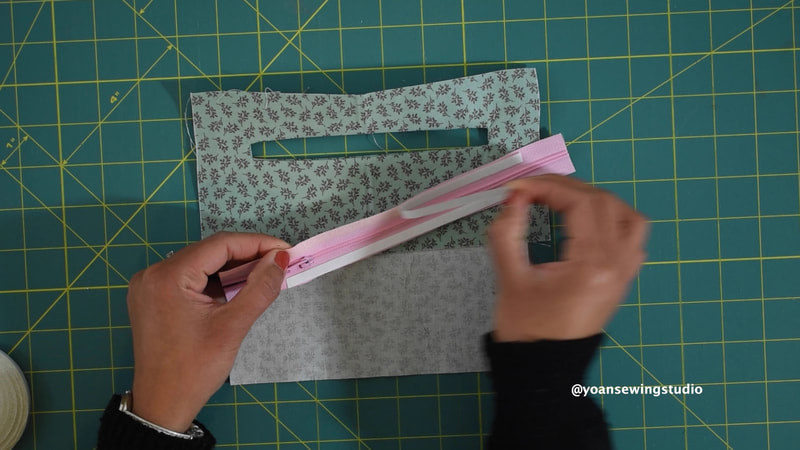
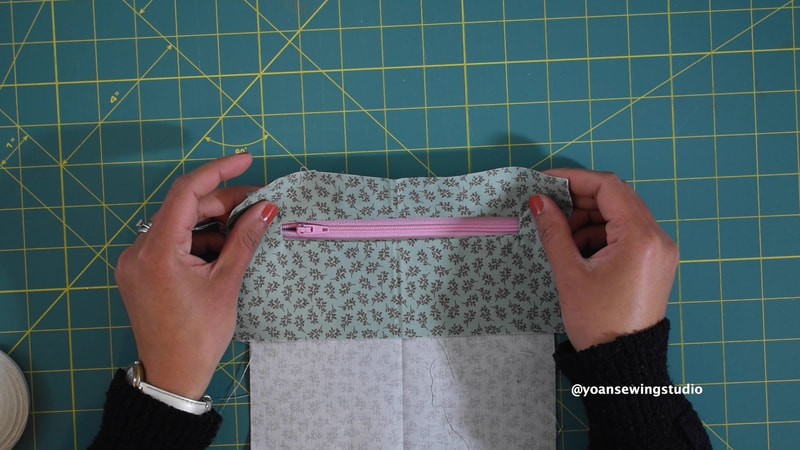
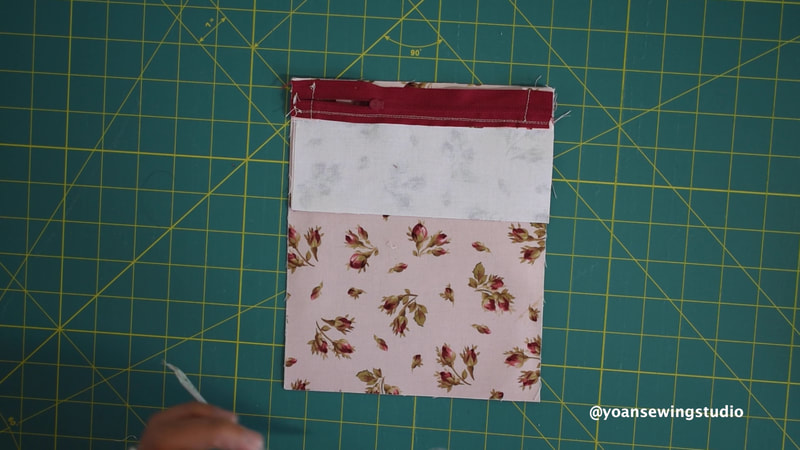
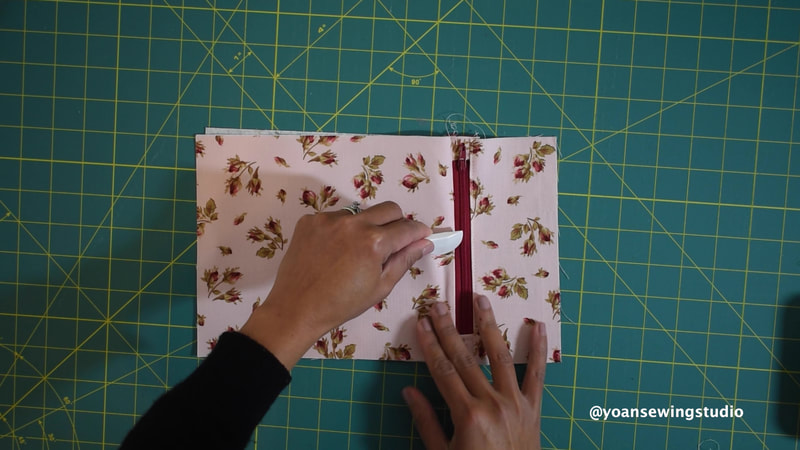
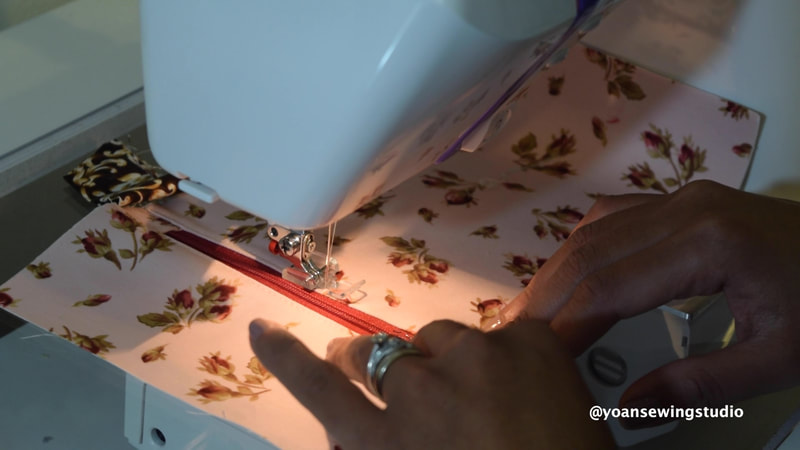
3. Sew the upper front zipper panel to the zipper with 1/4" seam allowance, press, then topstitch
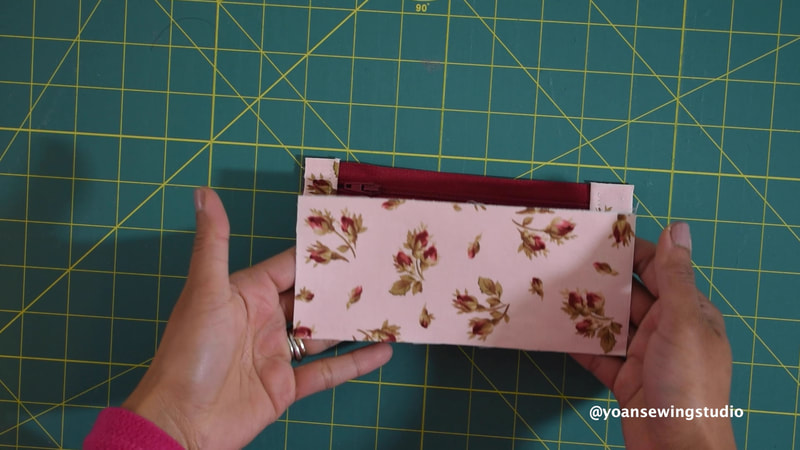
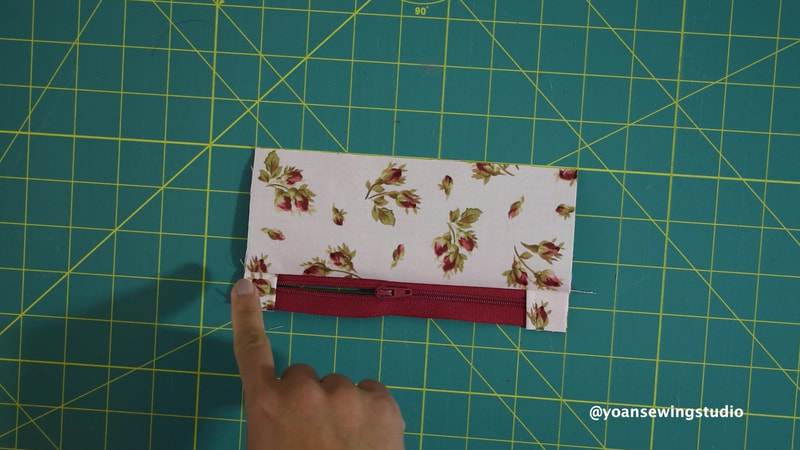
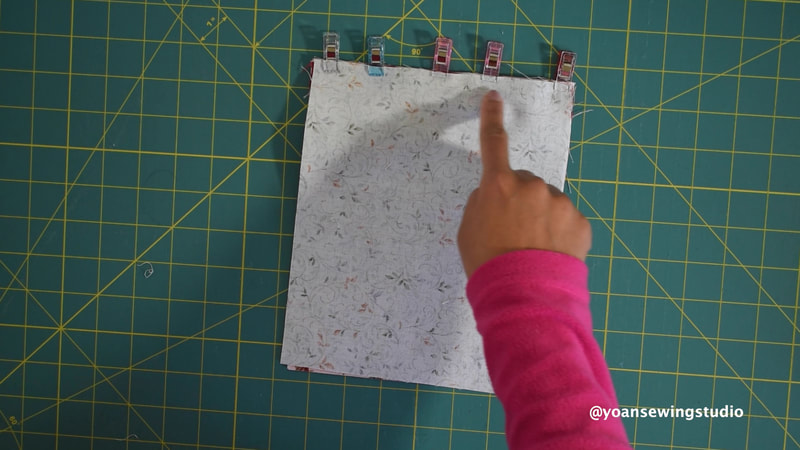
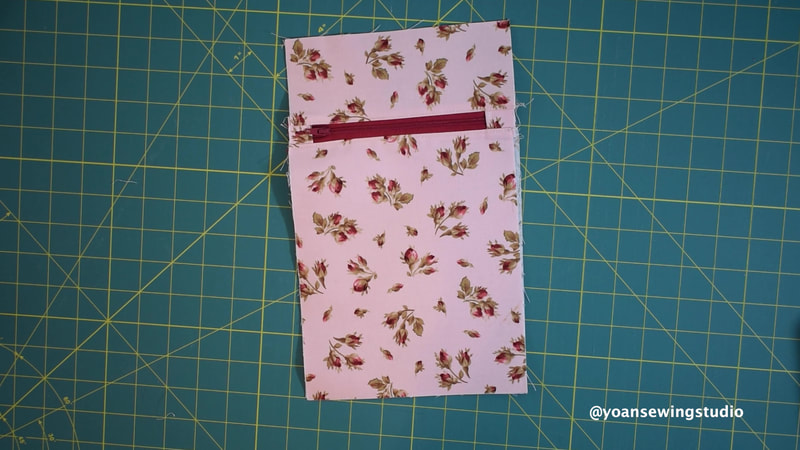
4. Sandwich the lower front zipper panel, with the zipper, and the lining, sew with 1/4" of seam allowance, press, then topstitch
5. Sew the second lining piece to the zipper pocket piece all around with 1/4" of seam allowance
5. Sew the front side panels to both sides of the zipper pocket with 1/2" seam allowance, press towards the side panels.
6. Apply the fusible fleece to the front exterior panel according to the manufacturer's instruction
7. Sew the upper and the lower panel of the back exterior with 1/4" of seam allowance, press, then apply the fusible woven interfacing followed with the fusible fleece
8. Sew the back slip pocket piece with the lining with 1/4" of seam allowance, press, then top stitch along the top edges.
9. Position the back slip pocket on the right side of back panel, alligning the sides and bottom edges, then sew along the sides and the bottom with 1/4" of seam allowance.
10. Place the soft n stable on the wrong side of the gusset piece (center the position) followed with the fusible woven interfacing, then fuse the fusible woven interfacing in place. Repeat the same with the other side gusset piece and the bottom gusset
11. Make an angle cut on both sides of the side pocket panels, do the same for all pieces including the lining.
12. Lay the pocket piece with the lining right side together then sew the top edge with 1/4" seam allowance, press the seams open.
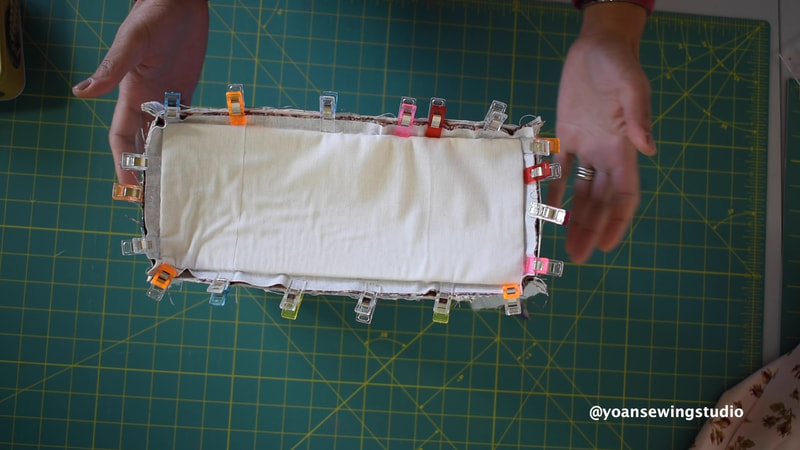
13. Fold the pocket piece wrong side together, press, then sew the top with 1/2" seam allowance to create the elastic casing.
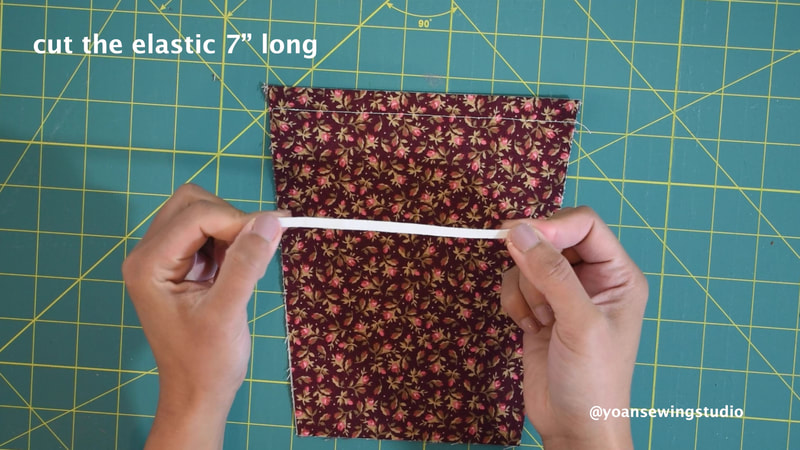
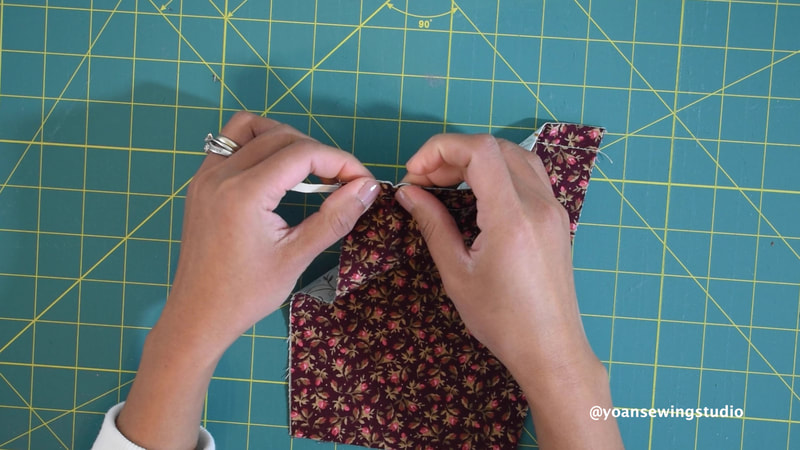
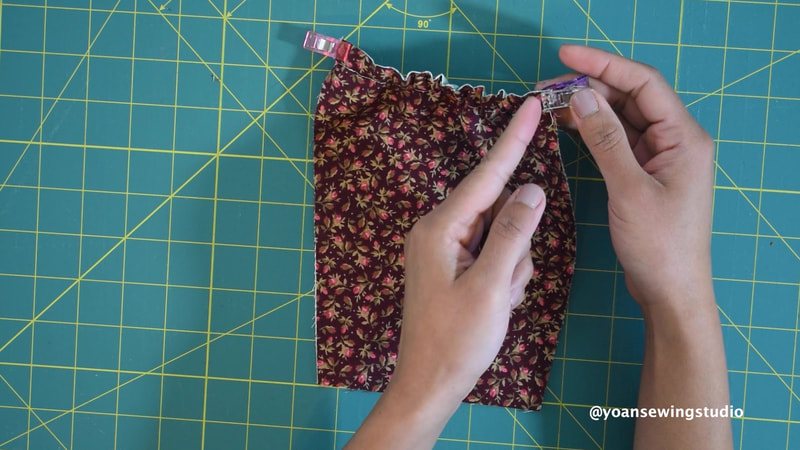
14. Cut 5" long elastic. Thread the elastic to the casing with the help of a safety pin, sew the edges to secure it in place
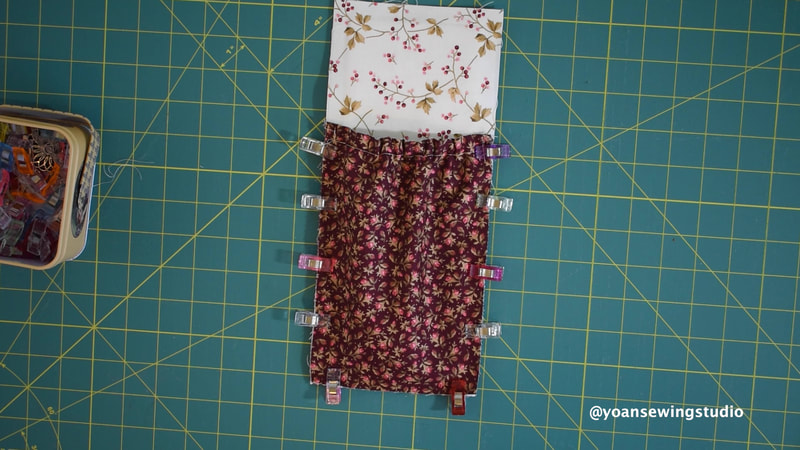
15: Place the pocket to the right side of the side gusset, aligning the sides and the bottom edges, then sew along the sides and the bottom with 1/4" of seam allowance.
16. Assemble the exterior piece starting from sewing the side gussets to the front panel, then the back panel, then the bottom gusset.
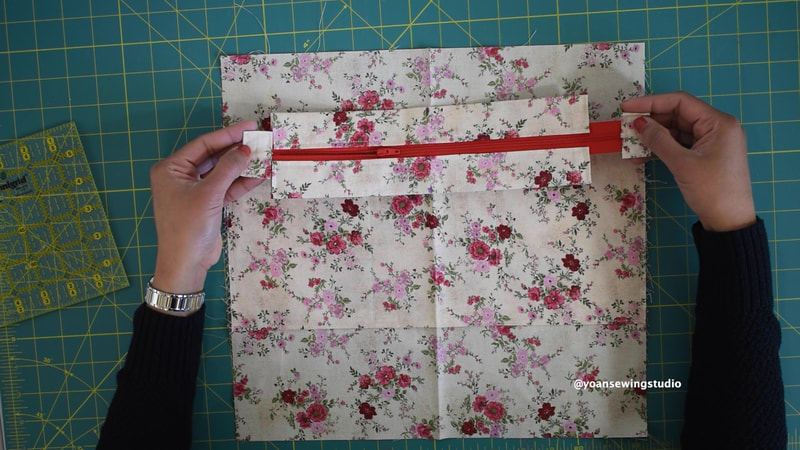
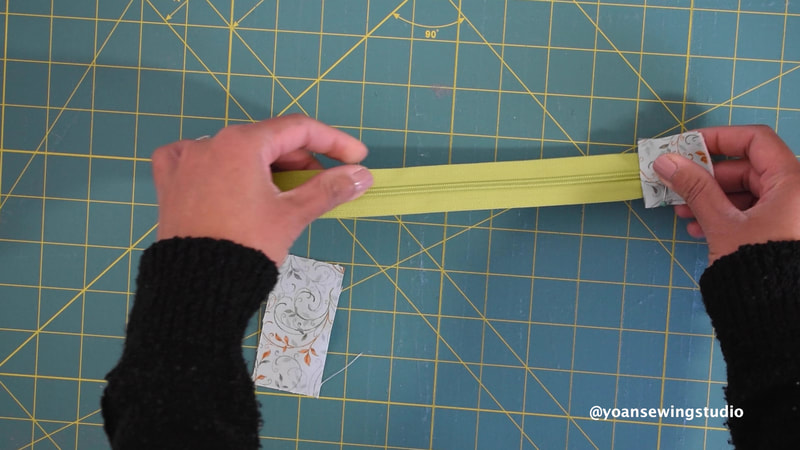
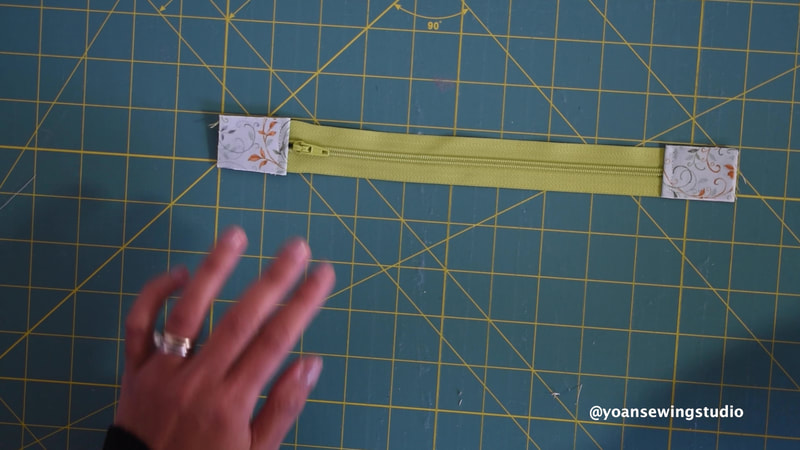
17. Sew the zipper tabs to the zipper for the pocket divider
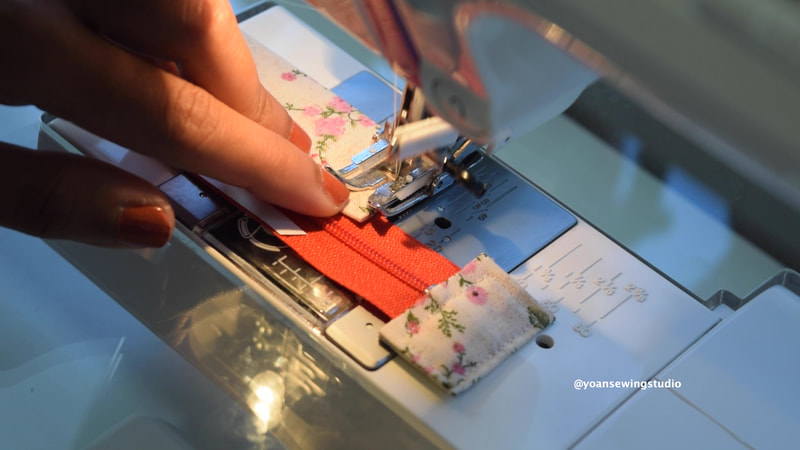
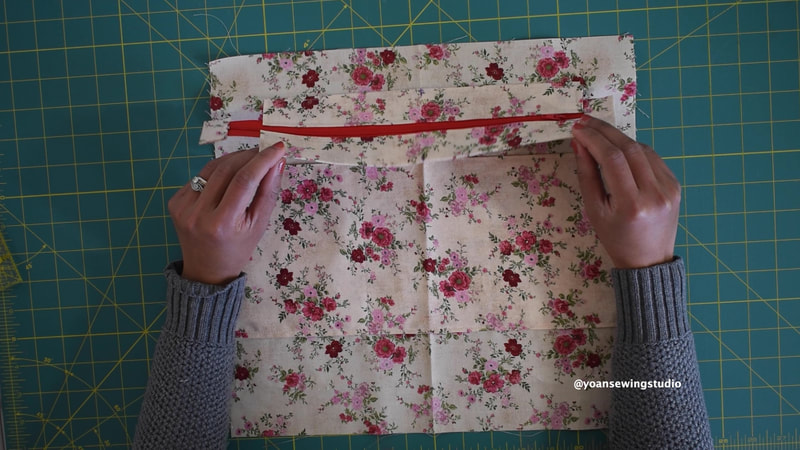
18. Sandwich the pocket divider, zipper, and the second piece of the pocket divider, secure with some sewing clips then sew with 1/4" of seam allowance
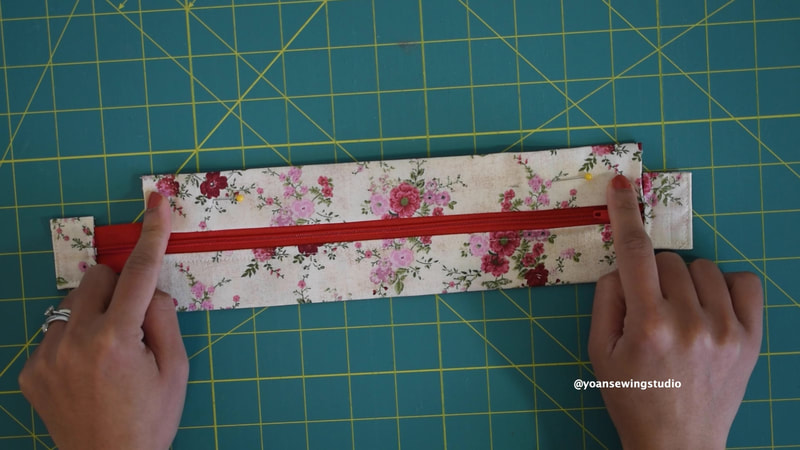
19. Open the sandwich, press the seams, then topstitch.
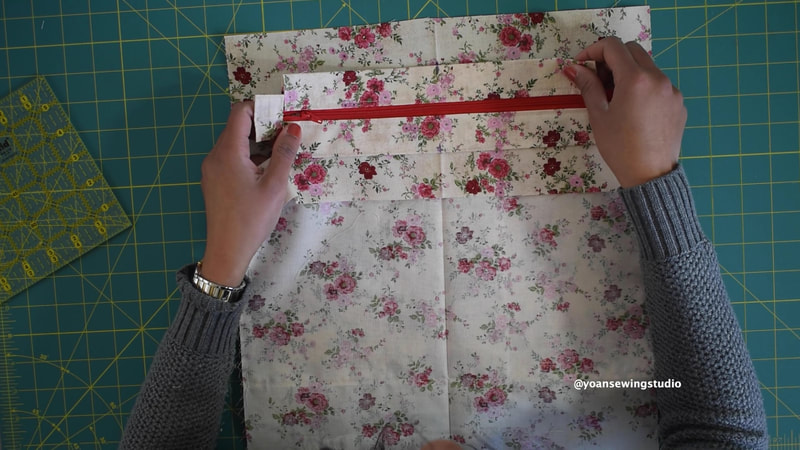
20. Sandwich the 3rd pocket divider, zipper, and the last pocket divider piece, secure with some sewing clips then sew with 1/4" seam allowance
21. Open the sandwich, press the seams, then topstitch.
22. Fold the zipper in half, with the zipper now positioned on top.
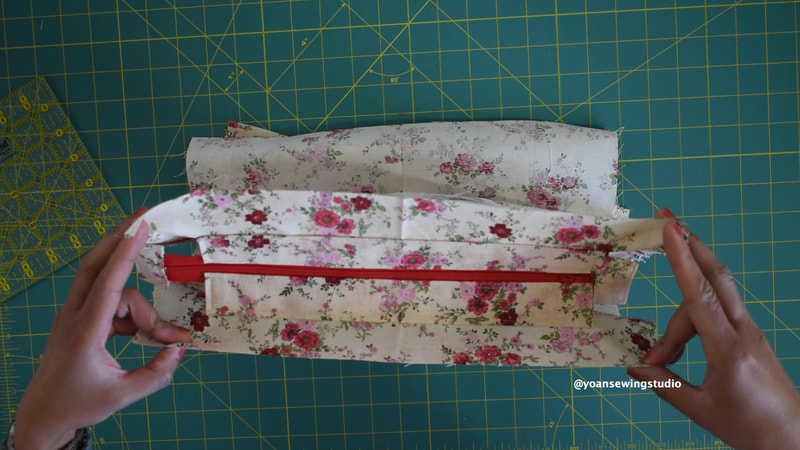
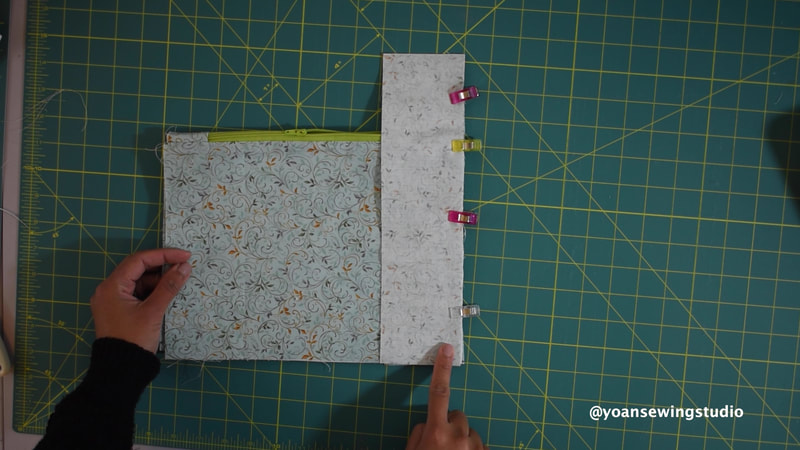
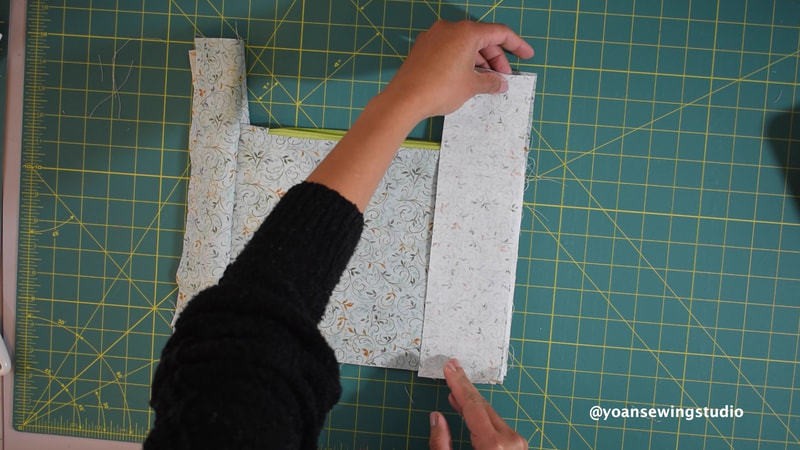
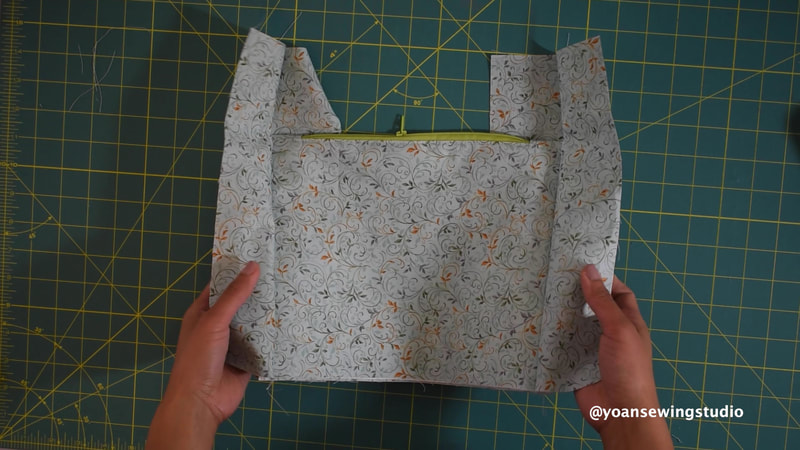
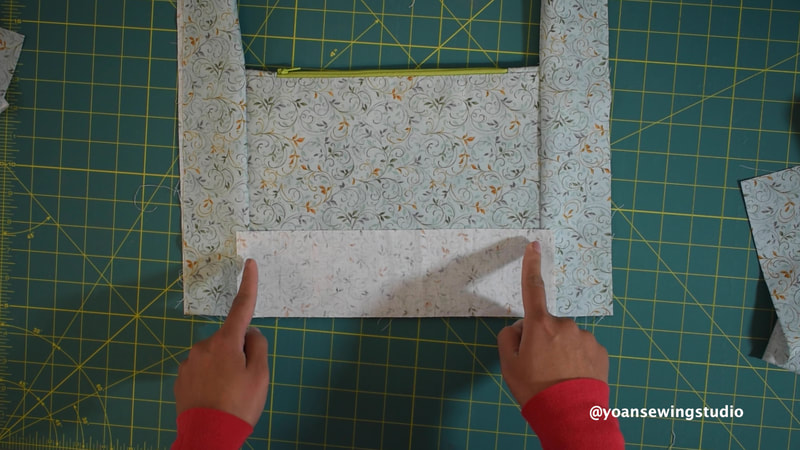
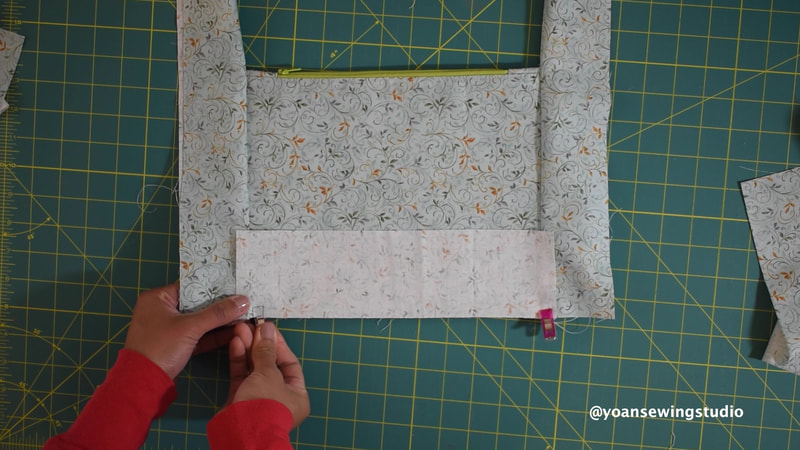
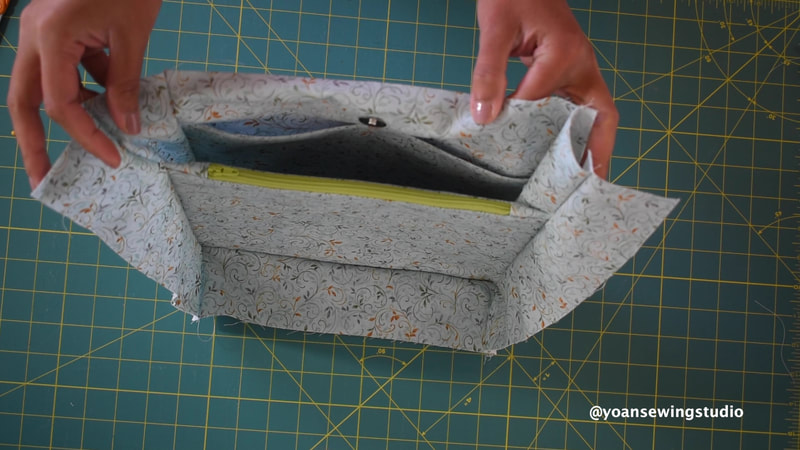
23. Sandwich the side gusset strip, the pocket divider, and the side gusset strip, sew with 1/2" seam allowance. Press towards the side
24. Repeat the same with the other side.
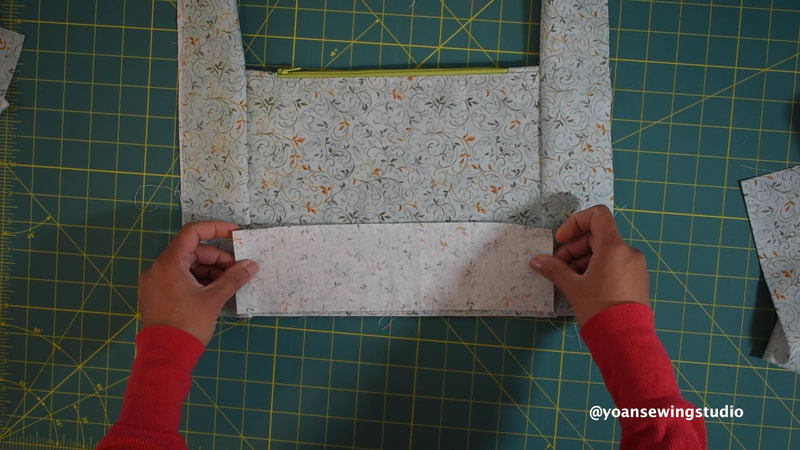
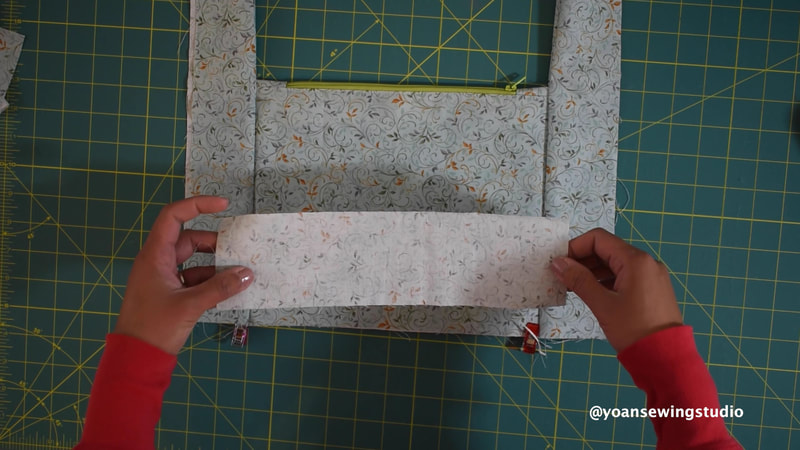
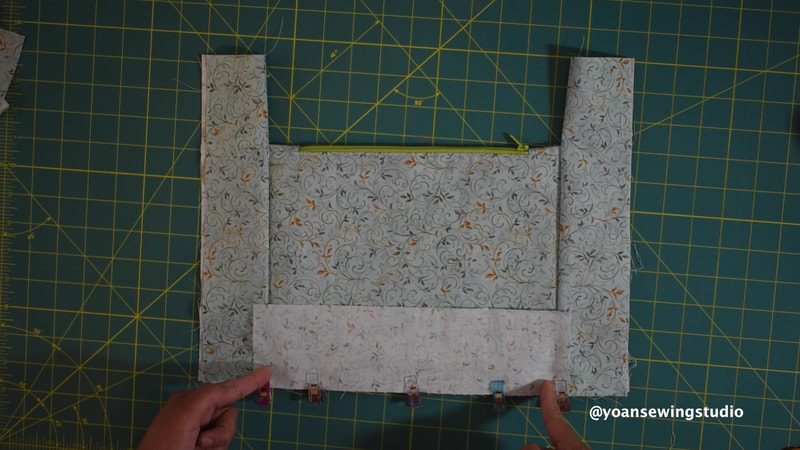
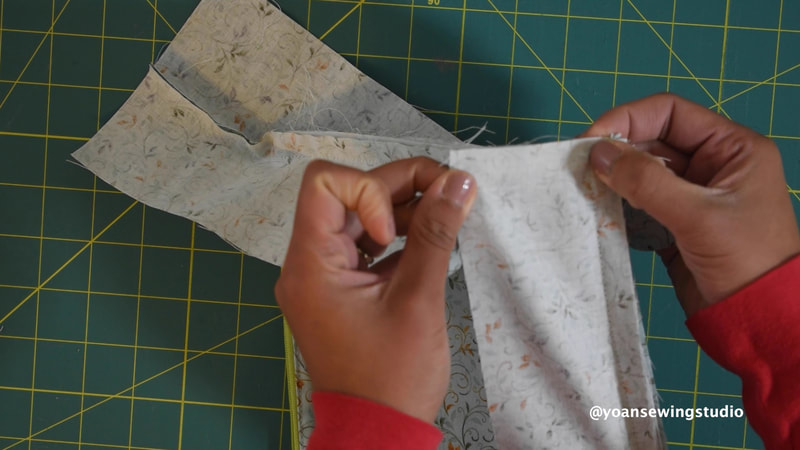
25. Sandwich the bottom gusset strip, the pocket divider, the bottom gusset strip, (there should be 1/2" overlap on both sides for the seam allowance, then sew with 1/2" seam allowance. Do not sew the overlap.
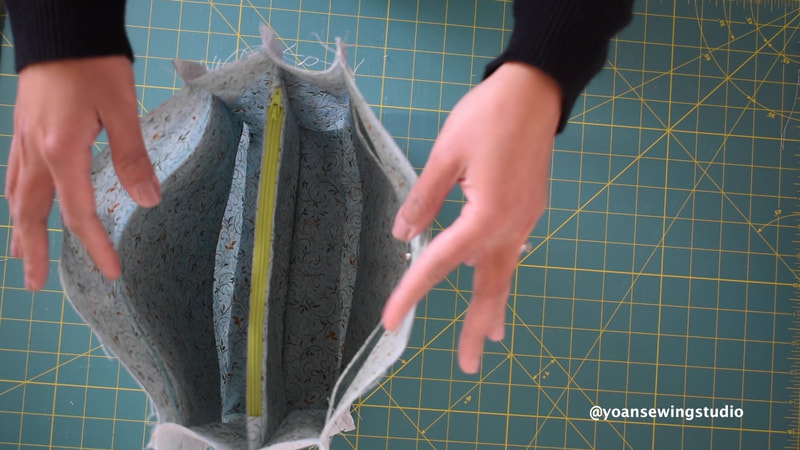
26. Sew the bottom corner of the side gusset to the bottom corner of the bottom gusset with 1/2" seam allowance
27. Repeat the same for all other 3 corners
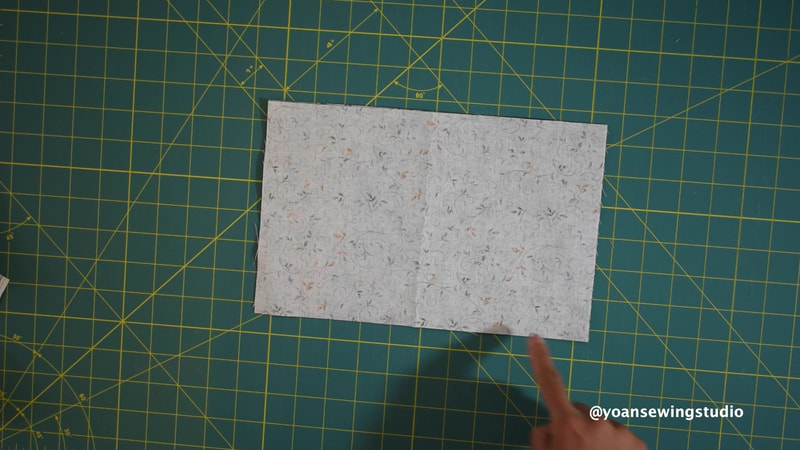
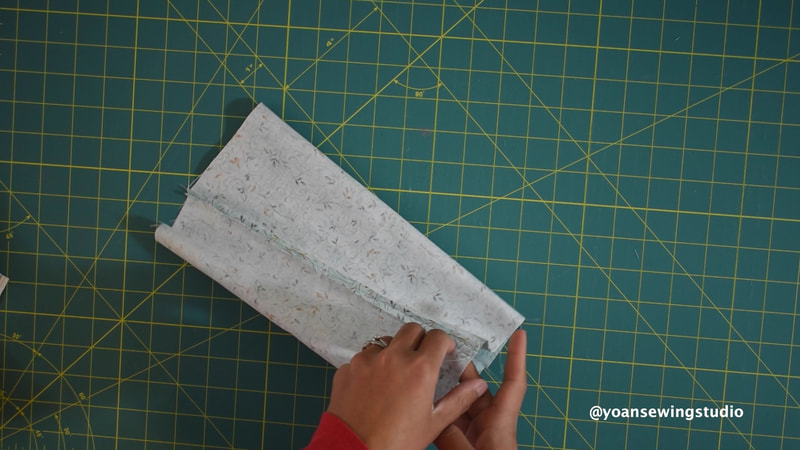
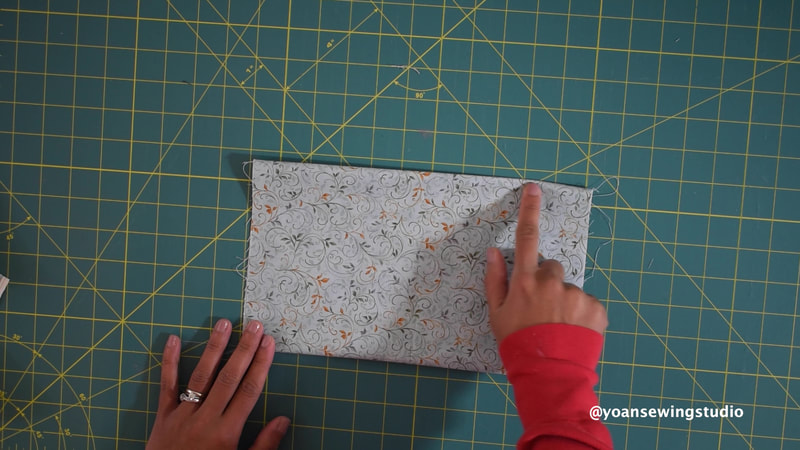
28. Prepare two of the slip pocket pieces, lay them right side together, then sew the top, and the bottom with 1/4" of seam allowance. Press the seams open, turn the pocket piece right side out, then topstitch along the upper edge.
29. Lay the pocket piece on the right side of the front lining piece, 3" down from the top.
30. Draw a line on the center of the pocket, pin the pocket in place, then sew along the center line, and the bottom as well.
31. Repeat the same for the back slip pockets.
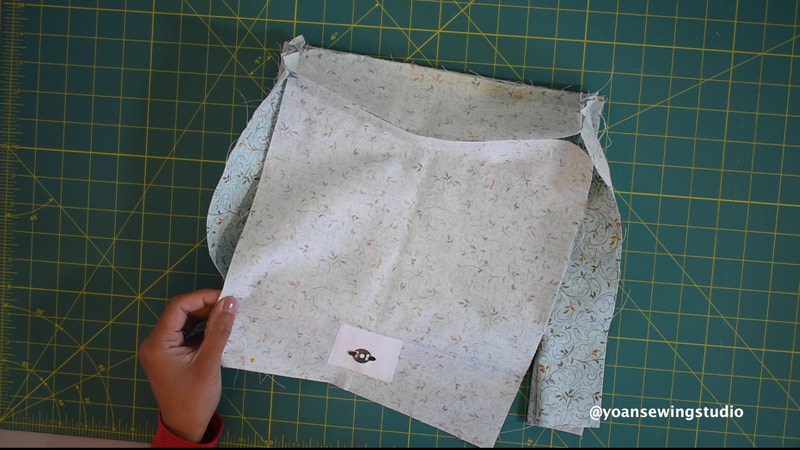
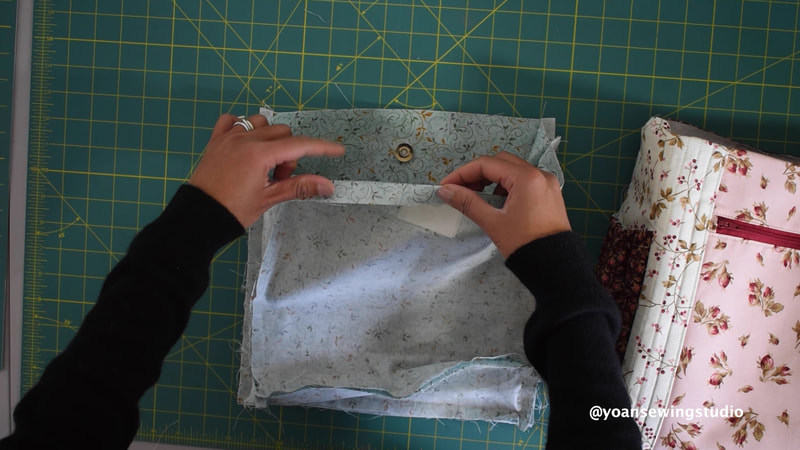
32. Apply the magnetic snap closures on both the front and back panels
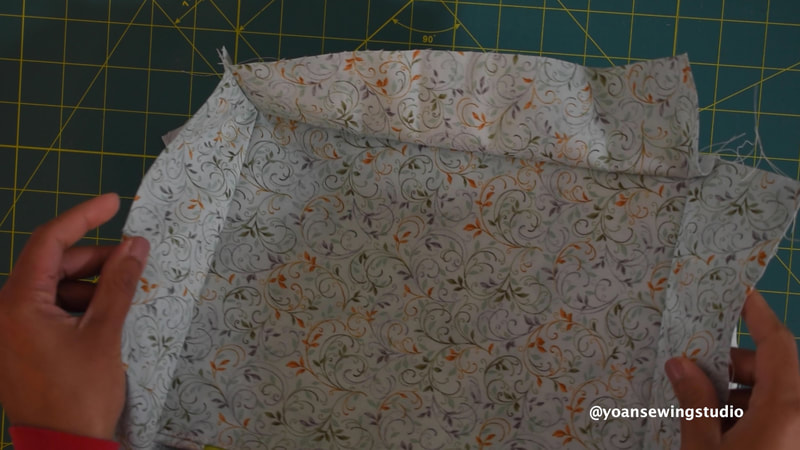
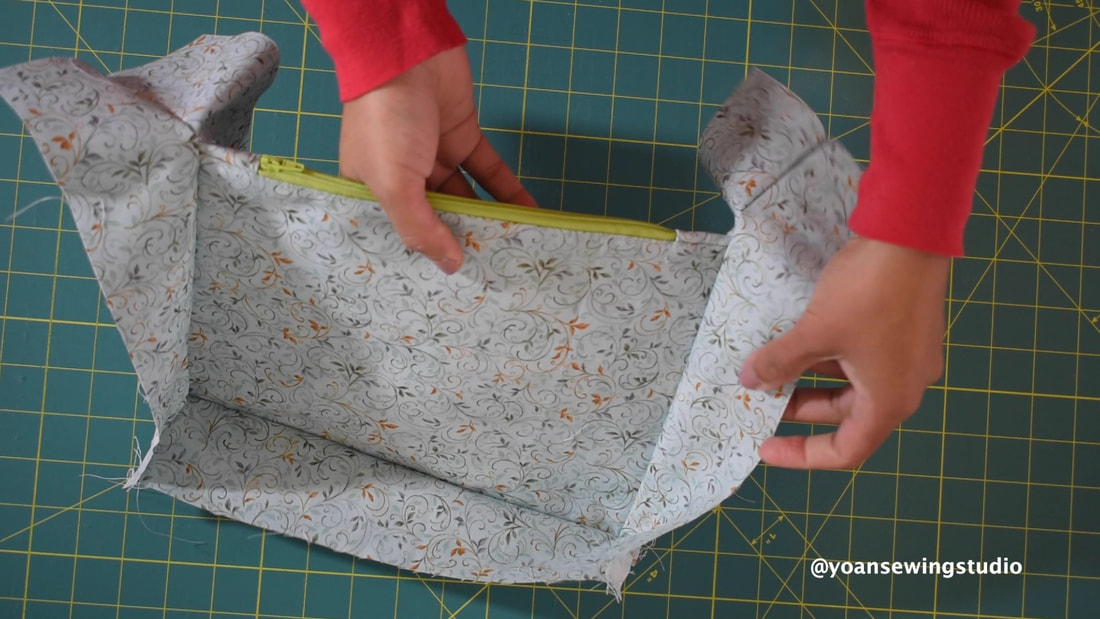
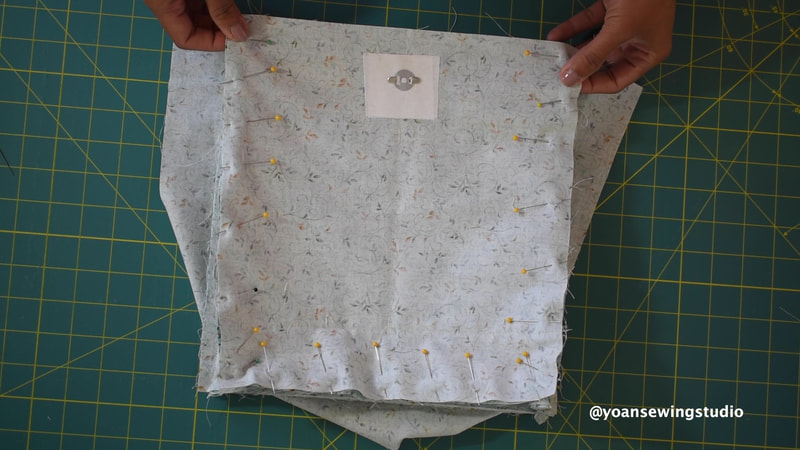
33. Sew the front and back panel to the gussets with 1/2" of seam allowance.
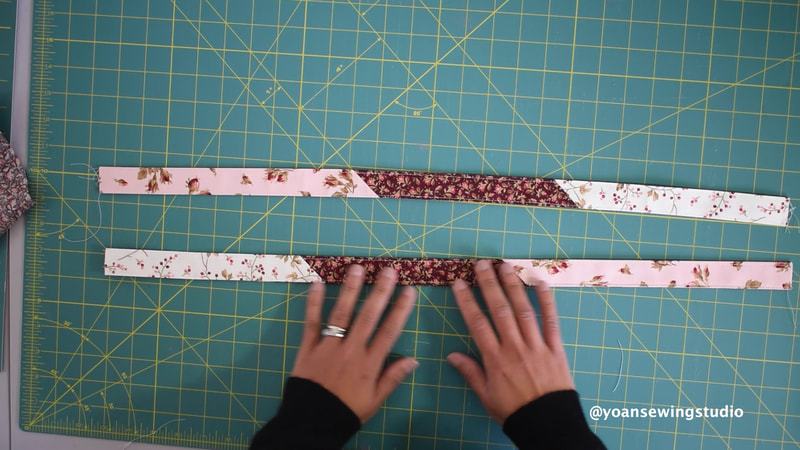
34. Use left over fat quarters to make the straps by extracting 4" strips then join them together.
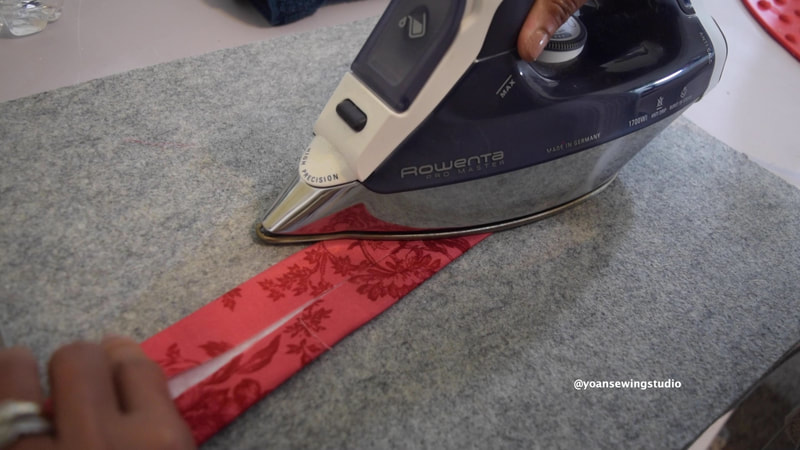
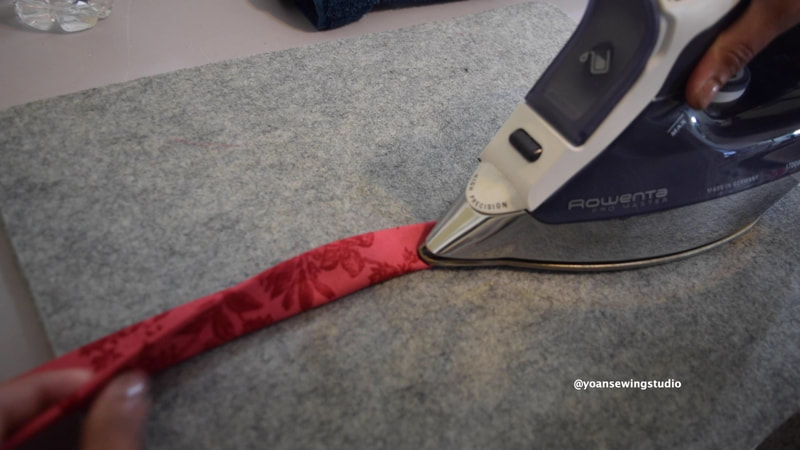
35. Apply the fusible woven interfacing to the straps, then press straps to make 1" wide straps.
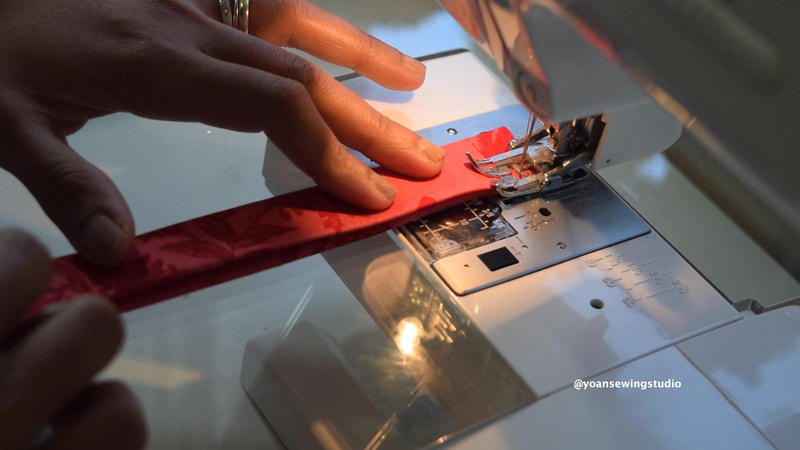
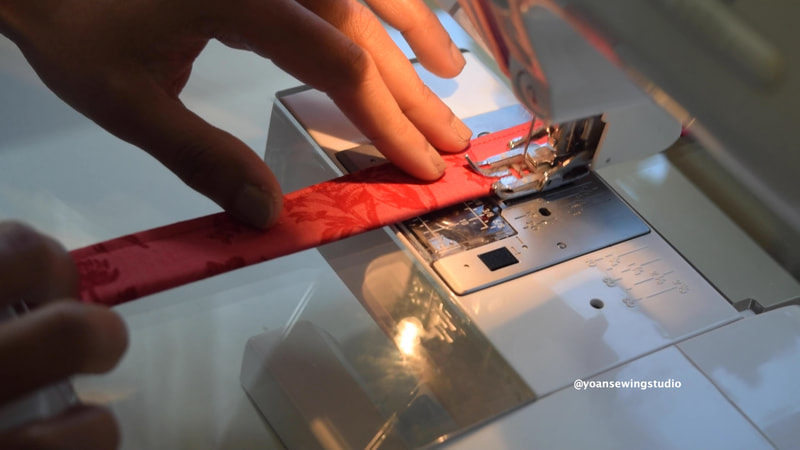
36. Sew both edges of the straps with 1/8" seam allowance
37. Fold the raw edges of the exterior 1/2" towards the wrong side, press. Fold the raw edges of the lining 3/4" towards the wrong side, press.
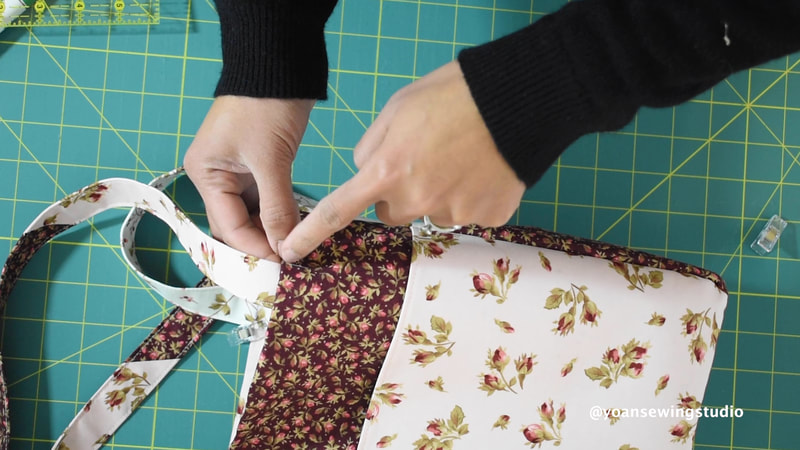
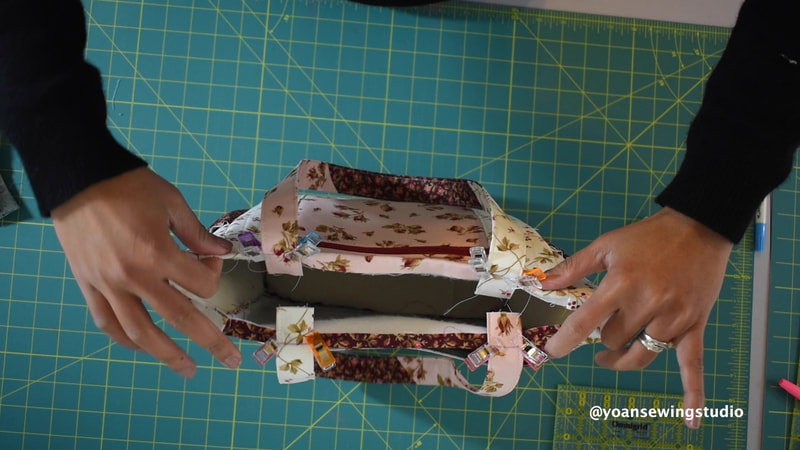
39. Position the straps to the exterior piece, 1/2" away from the side seams, secure in place with some sewing clips.
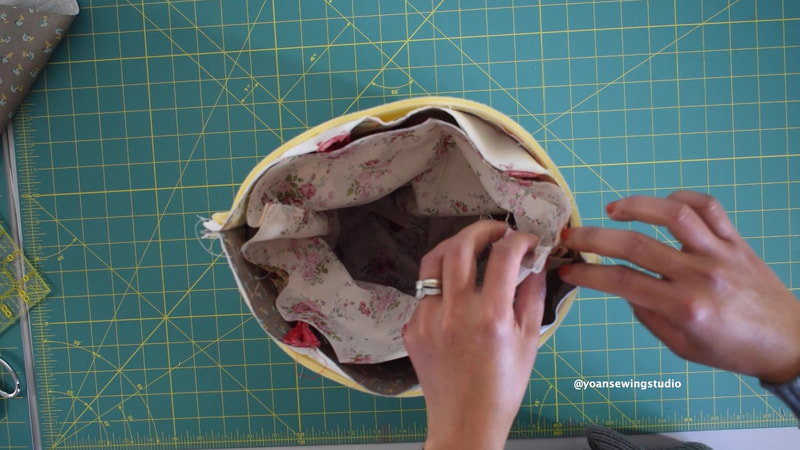
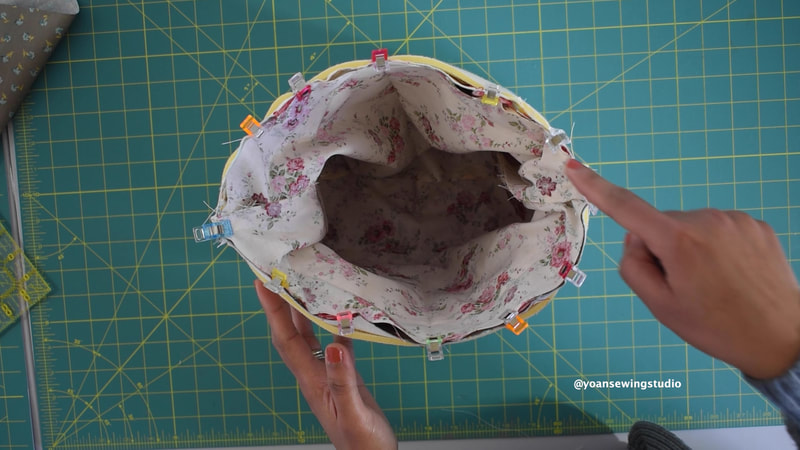
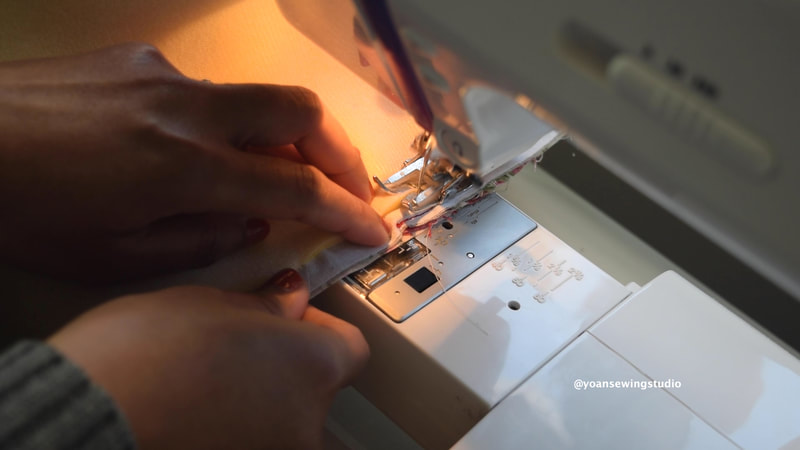
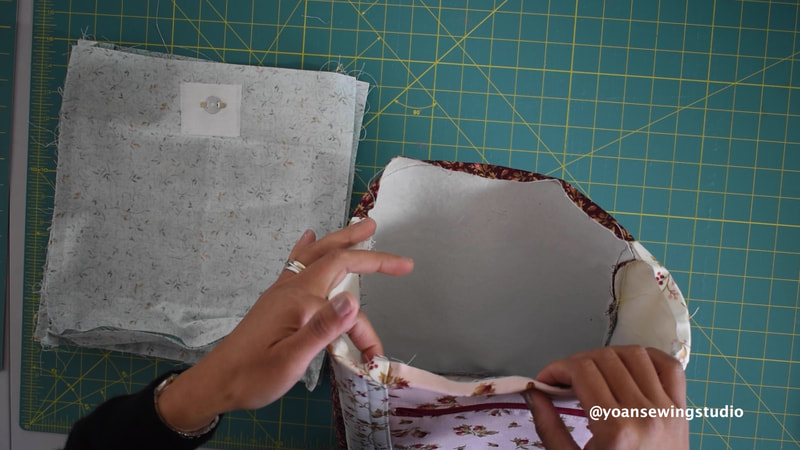
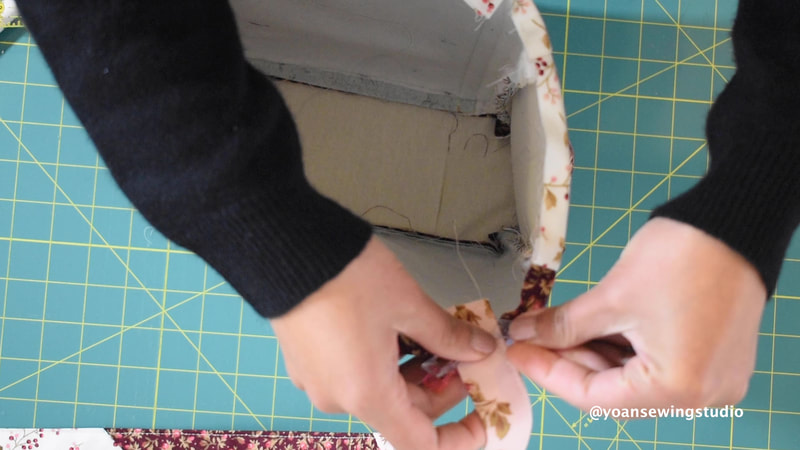
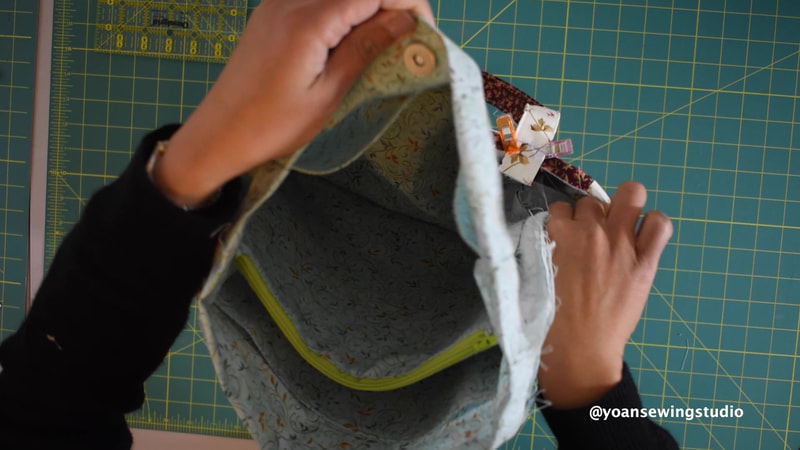
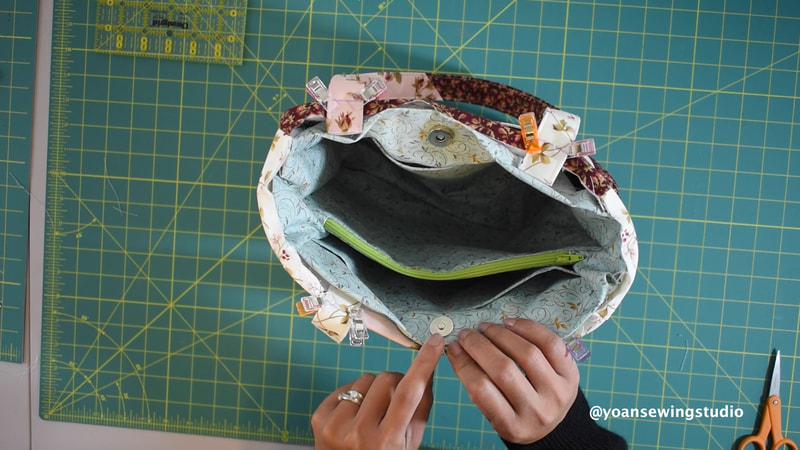
40. Insert the interior piece in to the exterior piece, secure everything with some sewing clips, the sew with 1/4" of seam allowance.
Voila! The bag is done. If you are a bit lost with the instructions, you can always refer to the video tutorial, or reach out to me directly through comments below, contact form, or social media. Happy Sewing!
|
Categories
All
©
Yoan Sewing Studio | All Rights Reserved
|




 RSS Feed