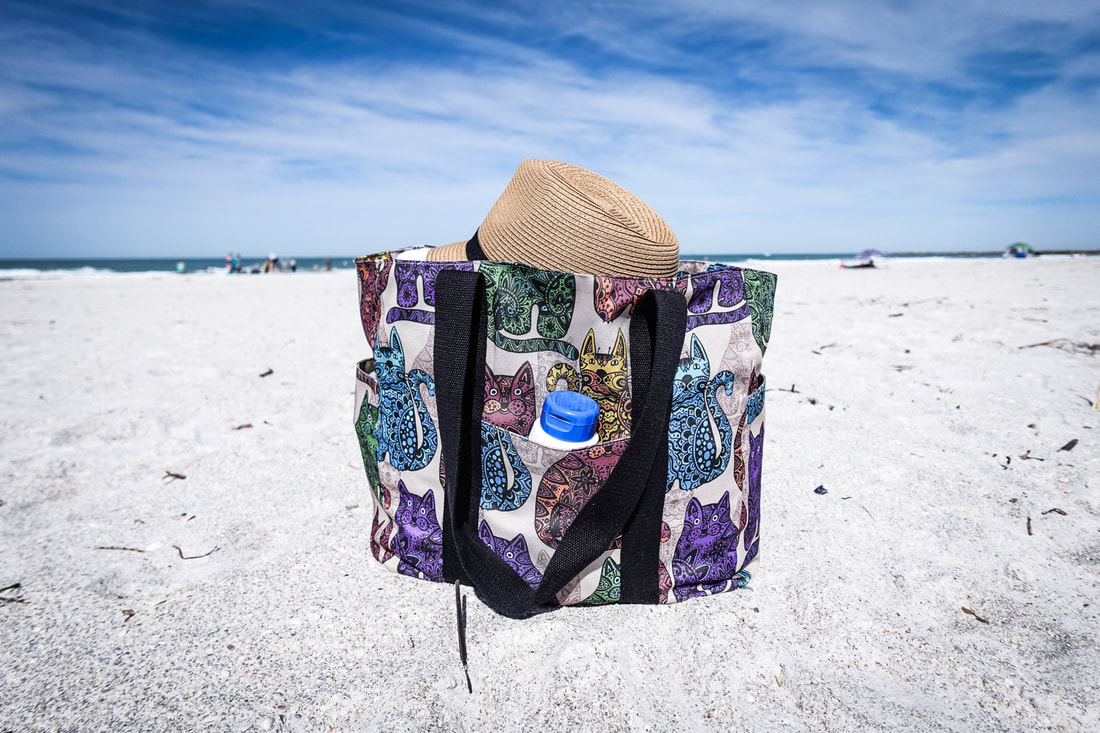
 Waterfront Beach Bag by YoanSewingStudio The Waterfront Beach Bag is the perfect bag for your beach/lake/pool adventures this summer (or anytime of the year you book your vacation for).
This is a large tote bag that will fit all of your beach/ water activity essentials. I designed this bag to be light and packable thus it will take a little space in your luggage. Finished bag measurements : approx. 15" w x 13 1/2" t x 6 1/2" d (28 x 34.3 x 16.5 cm).
1 Comment
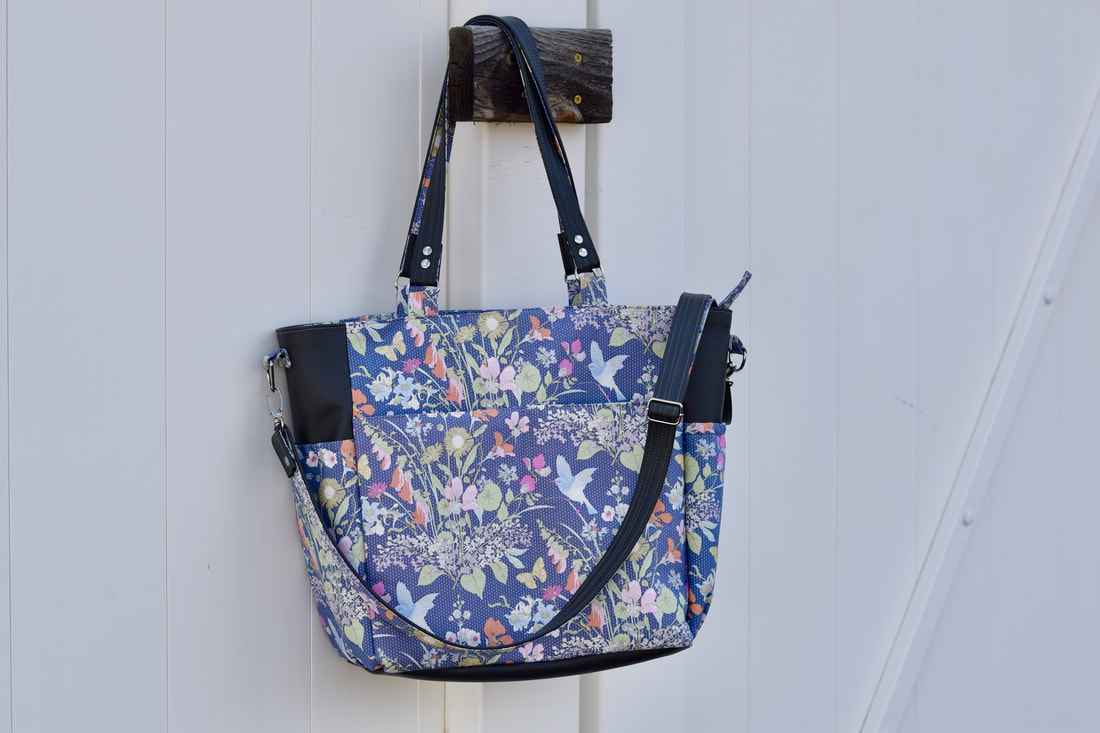
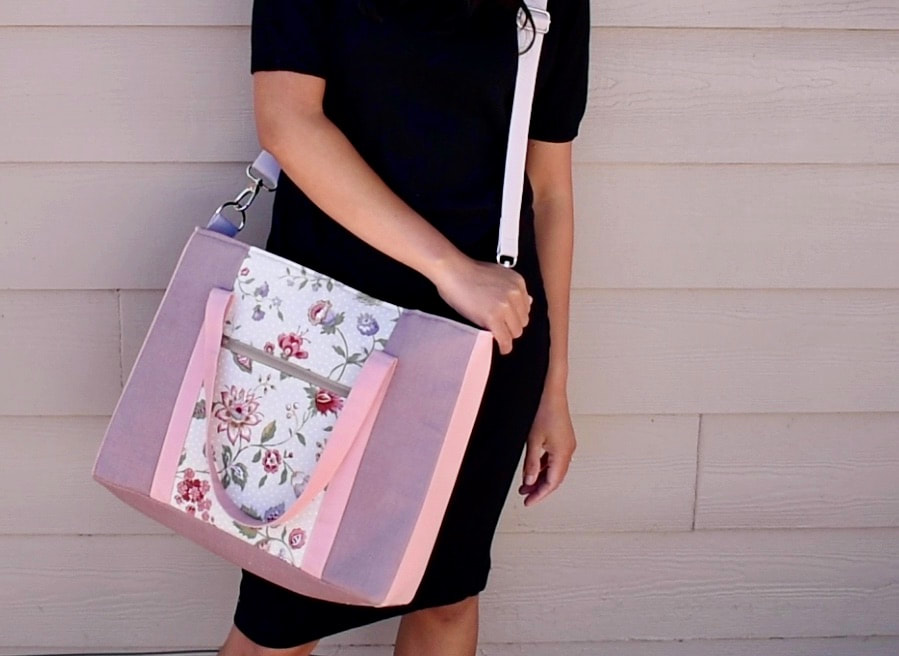
Multipurpose diaper bag by Yoan Sewing Studio
Today I am bringing you the diaper bag project. This is the kind of diaper bag that doesn't scream diaper bag! It is pretty fun and stylish and can be used for many different purpose too. You can use this bag as a work bag, weekender, or for a day trip, travelling, etc.
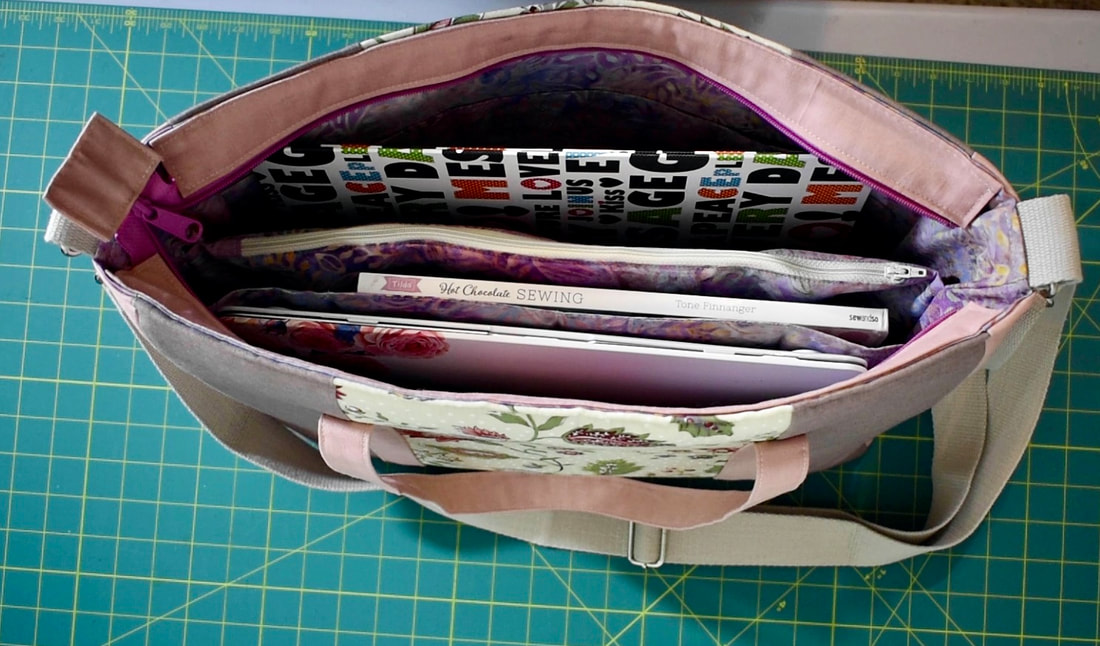
You can wear this bag as a shoulder strap (for easy access) or as a crossbody (to allow both hands free). The inner compartment can also fit a 13" laptop comfortably.
Finished bag measurements (approx. 16 1/2" x 12" x 5 1/2")
Features: 2x front zipper pockets 1x large back exterior pocket (with magnetic snap closure) 2x elasticated side pockets Shoulder straps Adjustable strap Zipper closure 2x interior elasticated pockets 1x zipper pocket
Follow me on my Youtube channel, and Subscribe so you won't miss any future upload.
Disclosure : This post contains affiliate links, I may earn a commission when you make a purchase of qualifying items through any of those links.
I hope you enjoy this project. Happy Sewing.
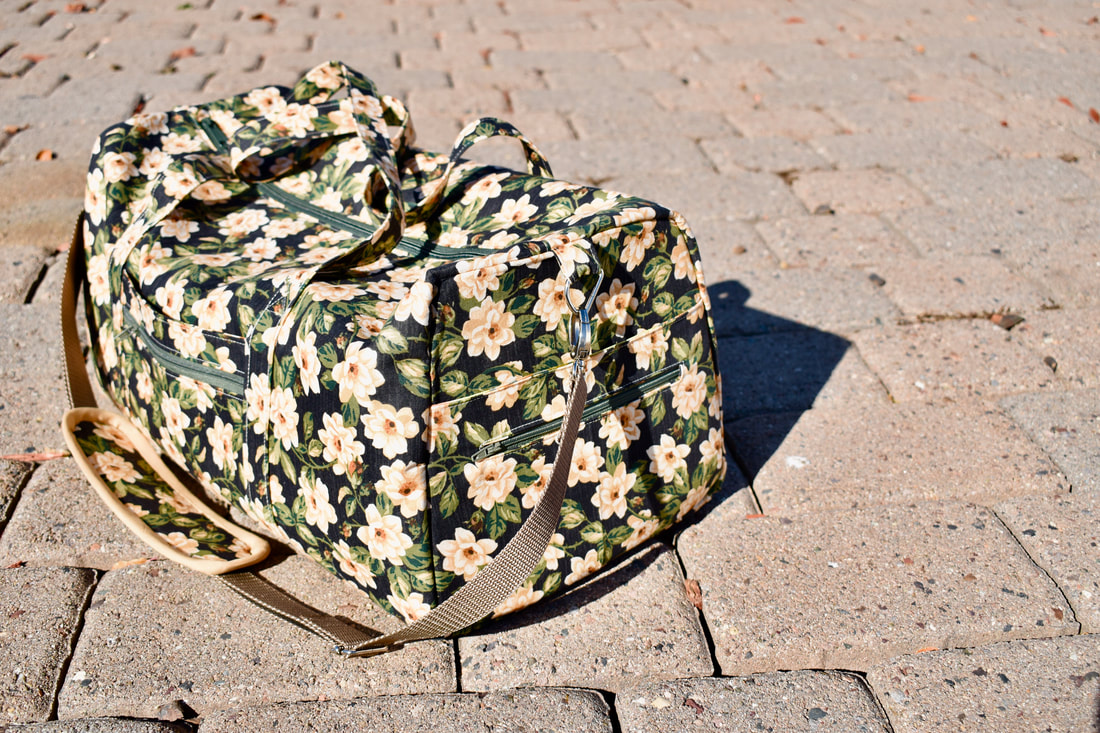
The Duffel Bag Project by Yoan Sewing Studio
Here's a duffel bag tutorial that so many of you have requested. This is a medium size duffel bag that is quite roomy, yet not overly large. Perfect for a weekend trip, short vacation, etc.
Finished bag measurements : Approx. 18 1/2" (w) x 8 1/2" (h) x 9" (d) (47 x 21.6 x 23 cm) Features 1 external front zipper pocket 1 external front slip pocket 2 external side slip pockets 1 external side zipper pocket 3 clear vinyl internal slip pockets 1 internal zipper pocket Handles and adjustable strap strap cushion
I divided this tutorial into 3 videos
Part 1 : Bag exterior, side panels, handles - watch it here Part 2 : Bag Interior, assembly - watch it here Part 3 : Sewing the strap cushion - watch it here
Disclaimer : This post may contain affiliate links, which means I receive a small percentage of commission when you make a purchase of qualifying items through any of those links. Thank you for your support!!
I hope you enjoy this tutorial, Happy Sewing!!
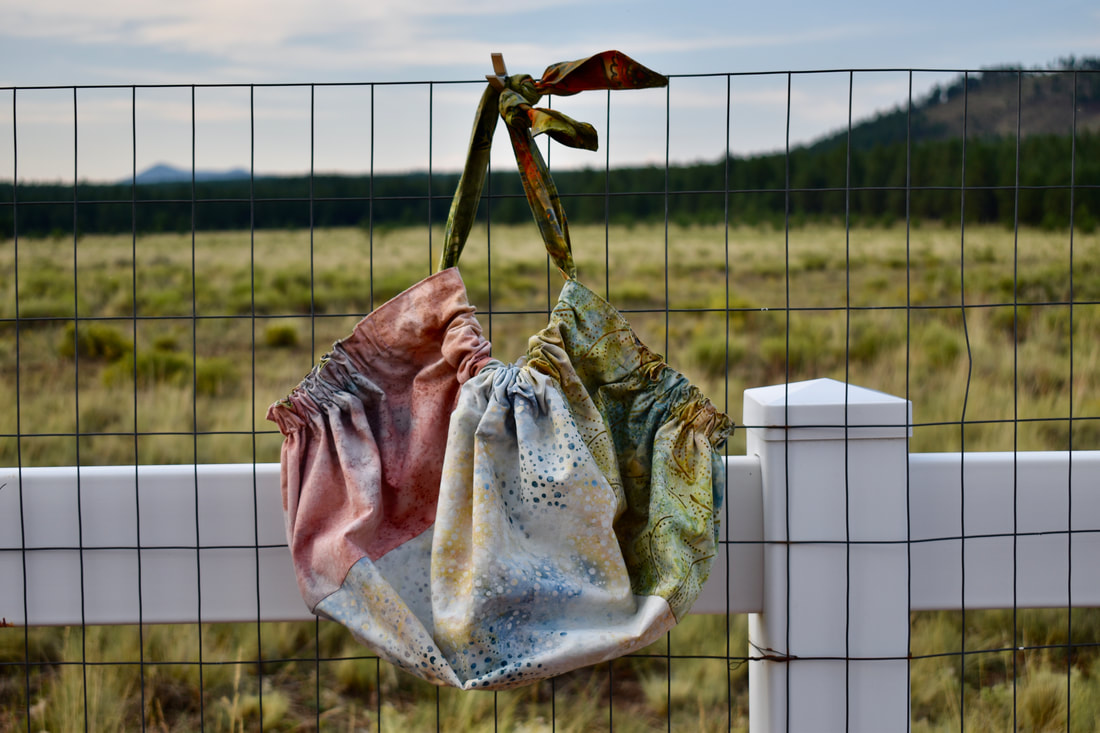
Batik Hobo Bag Project - Yoan Sewing Studio
This darling hobo bag is lightweight, yet quite deep and spacious. Great to be used as a beach bag, shopping bag, overnight bag, etc.
Finished bag Measurements : 16" (widest bottom) x 13" tall x 7" deep
As usual I posted the video on my Youtube Channel, and you may also get the PDF cutting diagrams and brief instructions by clicking the button below.
Disclaimer : This post may contain affiliate links, which means I earn a small percentage of commission when you make a purchase through those links. Thank you for your support!
Happy Sewing!
The Laptop Bag Project - Yoan Sewing Studio
Here's a new project for you if you want to take your bag making adventure to a new level. This bag is all you need to carry your laptop, books, folders, binders, etc. Great to be used as office bag, college bag, teacher's bag or for traveling or business trip, when you need to carry your laptop with you.
Dimension : Approx. 17" x 12.5" x 4"
Features : - Zipper closure - Adjustable strap - Front zipper pocket - Large compartments to store up to 15" laptop, folders, binders, books, etc - Zipped pocket divider (can be used to store the laptop charger) - Padded pocket for smaller size laptop or tablet - 3 internal slip pockets Disclaimer : This post contains Amazon affiliate links, thank you for your support!
Click the button below to download the cutting diagram and brief written instructions.
and of course watch the video tutorial on my Youtube channel, for detailed demonstration.
Happy Sewing!!
You may notice that I seldom use other fabric than cotton quilting fabric for most of my bags. The reason is simple...I'm a quilter, and I always have quilt fabrics in my stash, plus, I simply love the abundance of gorgeous prints and colors that quilting fabrics tend to offer.
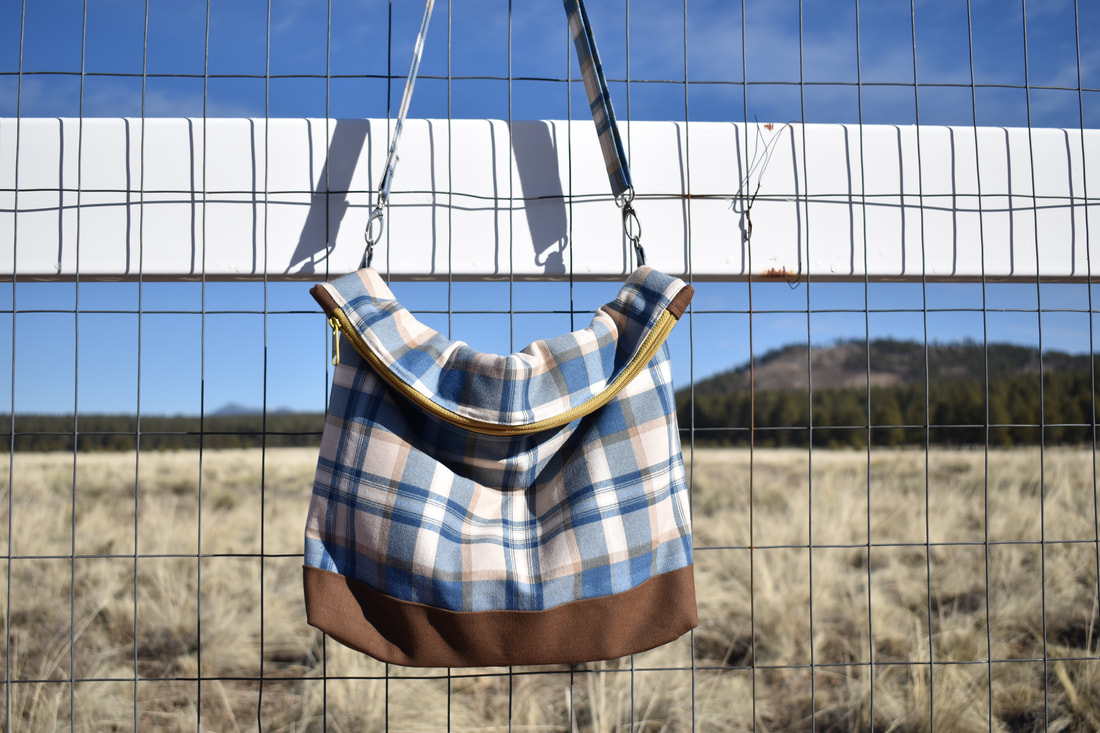
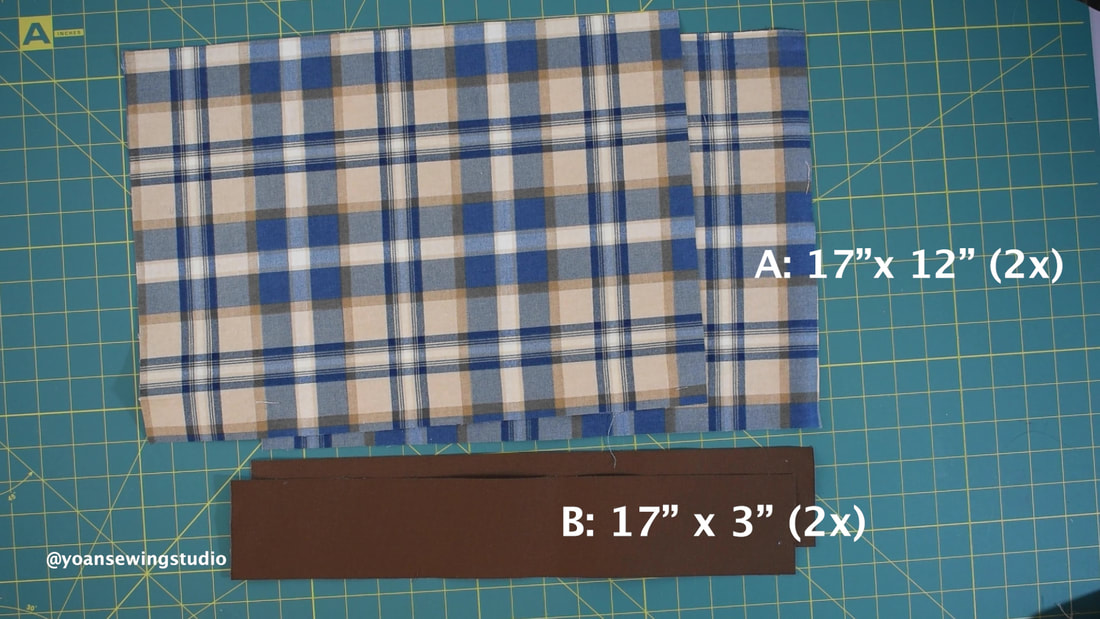
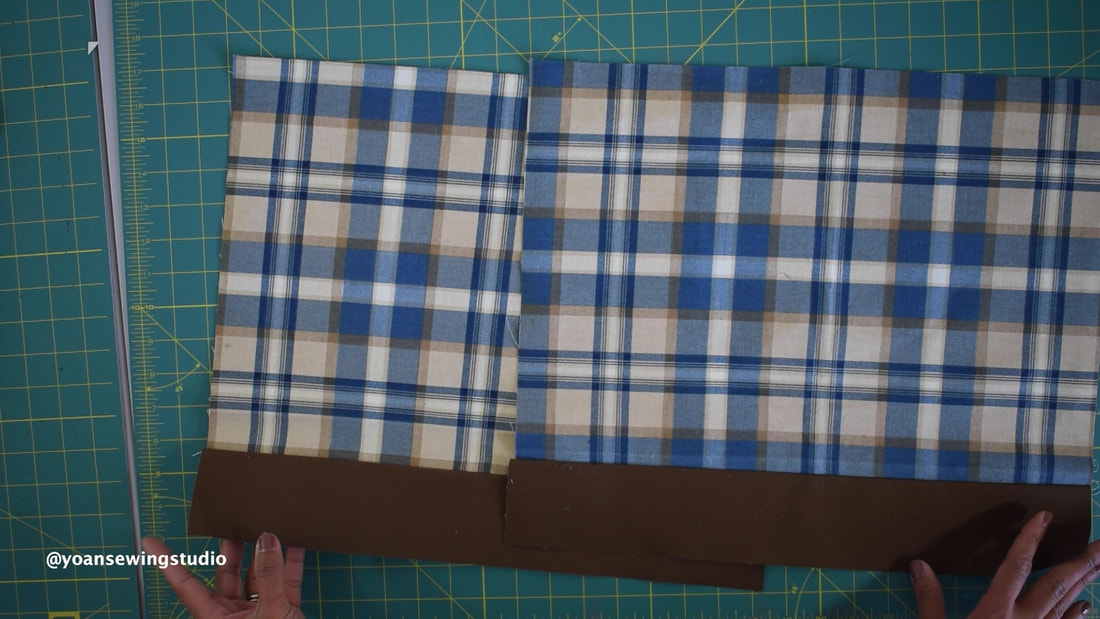
However, this year I'd like to explore various different fabrics, those that are heavier in weight, with different textures, yet still can be sewn with domestic sewing machine. So I went to Joann, and after roaming around their home decor fabric section, I found this plaid canvas in blue and beige shades and thought ...Bingo!! This is exactly what I want for my next bag project. I also needed an accent fabric, so I picked this duck canvas in brown color. 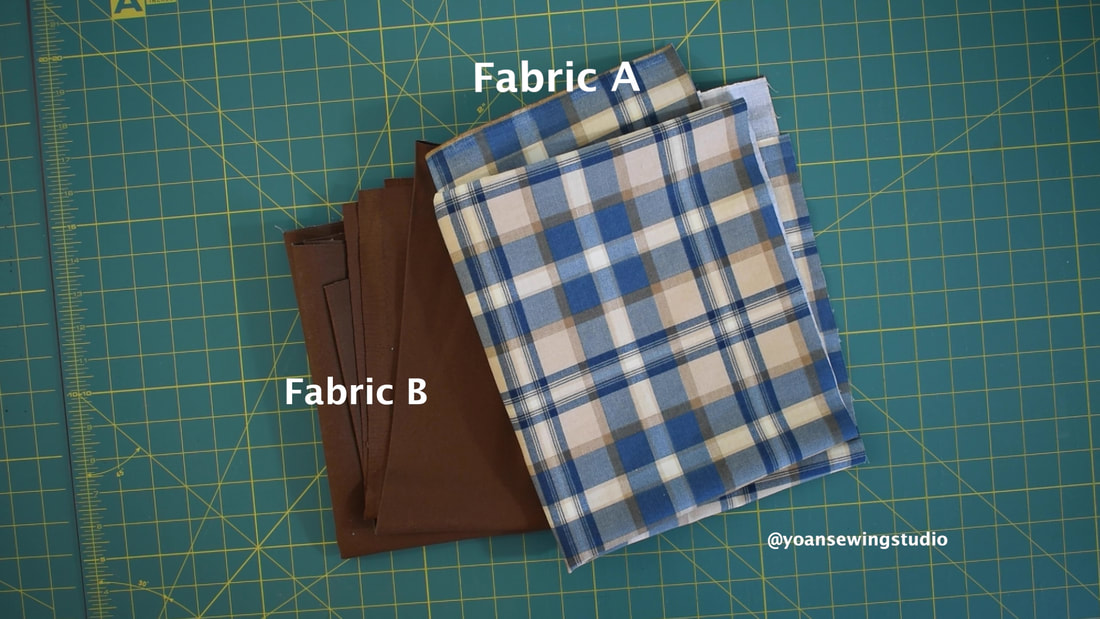
Other than canvas fabric you may also use denim, linen, lightweight leather/faux leather, and of course quilt weight fabric.
I posted the full tutorial on my Youtube channel, or may also continue scrolling to read the written instructions.
SUPPLIES
Fabric Fabric A (main fabric): 1/2 yard Fabric B : 1/4 yard Lining fabric 1/2 yard *based on 45" width of fabric Interfacing Fusible fleece 17" x 14.5" (2x) Peltex 70 sew-in interfacing 11" x 3" Fusible woven interfacing 12" x 4" Zipper and hardwares Purse zipper (at least 16" long) All purpose zipper (for the pocket) at least 7" long 1" d-rings (2x) 1" swivel hooks (2x) 1" adjuster slider Basic Sewing notions
CUTTING
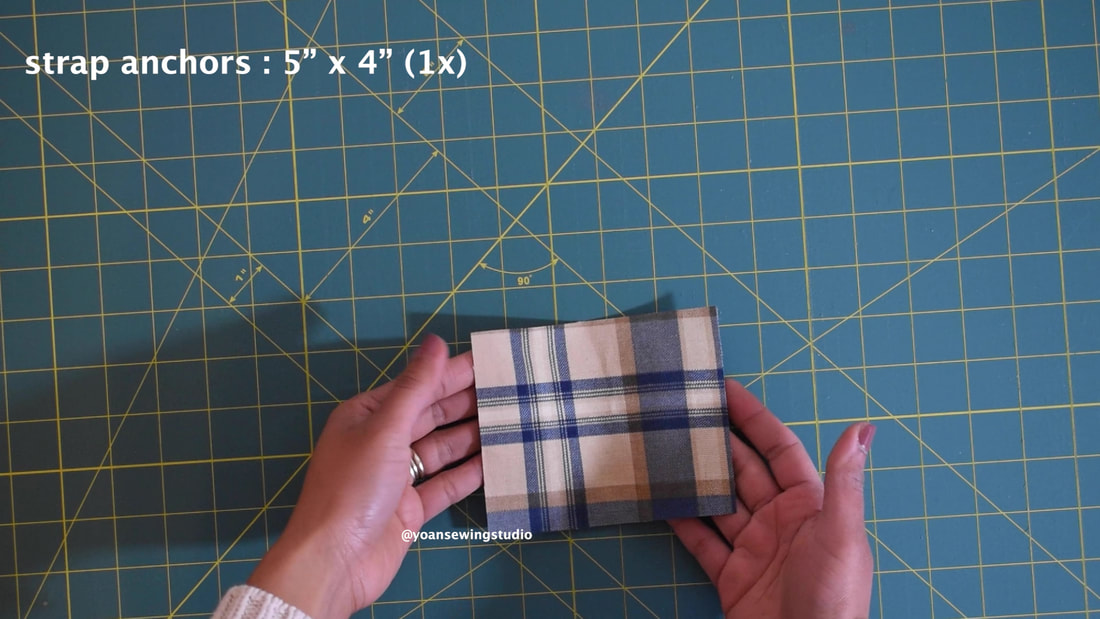
Front & Back exterior From fabric A : 17" x 12" (cut 2x) From fabric B : 17" x 3" (cut 2x) Front and back lining From lining fabric : 17" x 14.5" (cut 2x) Bottom gusset From Fabric B : 12" x 4" (cut 1x) From Lining Fabric : 11" x 3" (cut 1x) Internal slip pockets From lining fabric : 17" x 7" (cut 2x) Zipper pockets From lining fabric : 10" x 9" (cut 2x) Zipper tabs From fabric B : 3" x 2" (cut 2x) Strap Anchors From fabric A : Cut 5" x 4" (cut 1x) Strap Cut a 4" strip measuring about 50"-60" long Disclaimer : This post contains Amazon Affiliate links, which means I earn a small percentage of commission when you make a purchase through those links with no additional costs. Thank you so much for your support.
DIRECTIONS
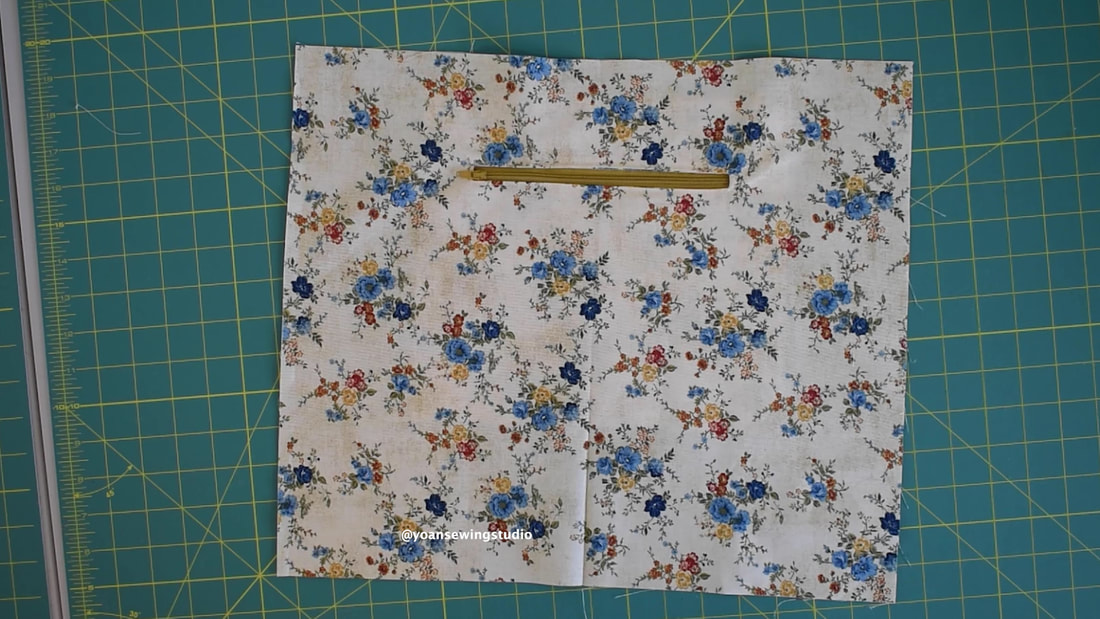
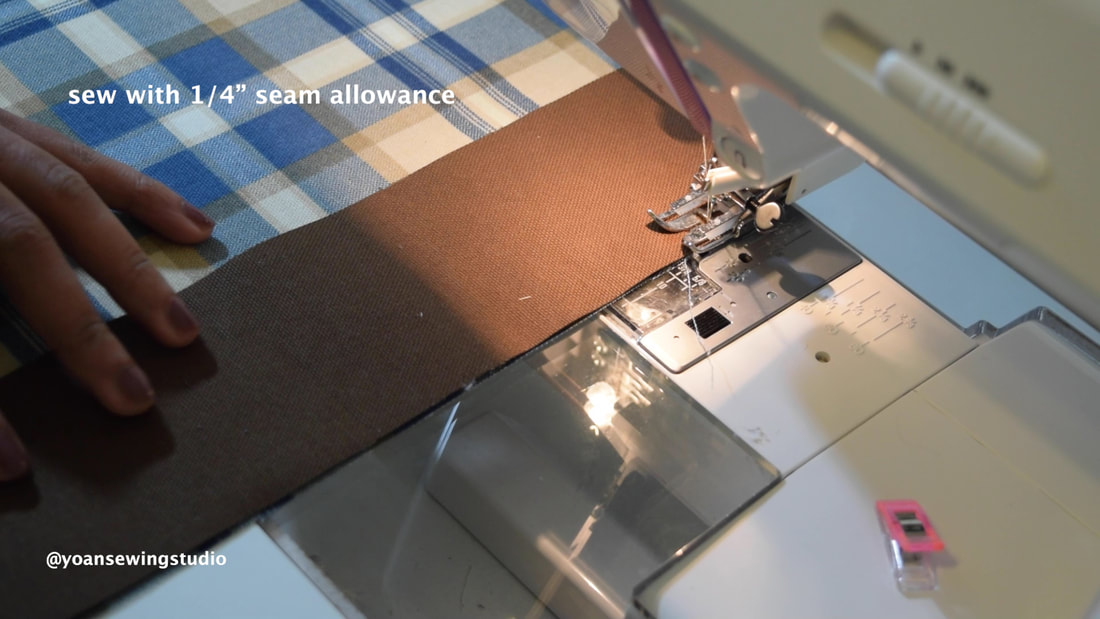
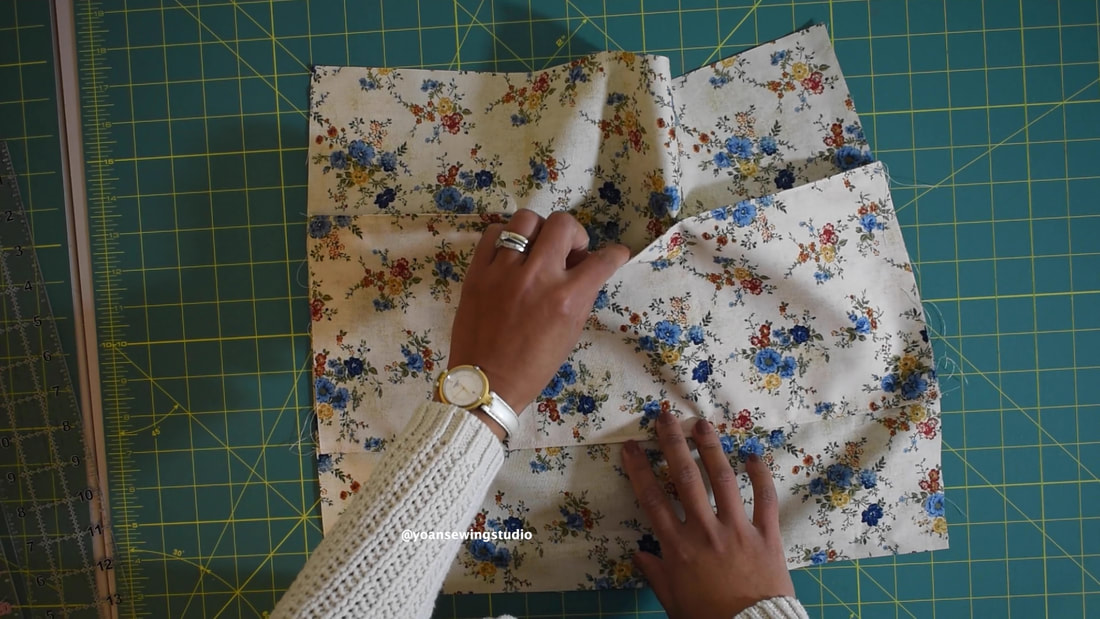
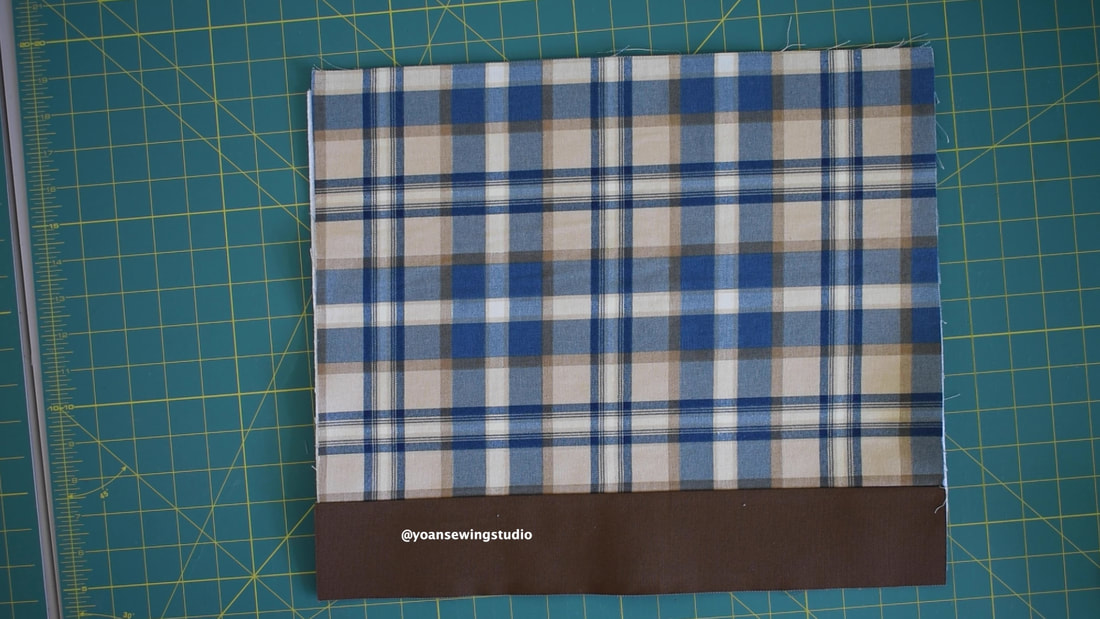
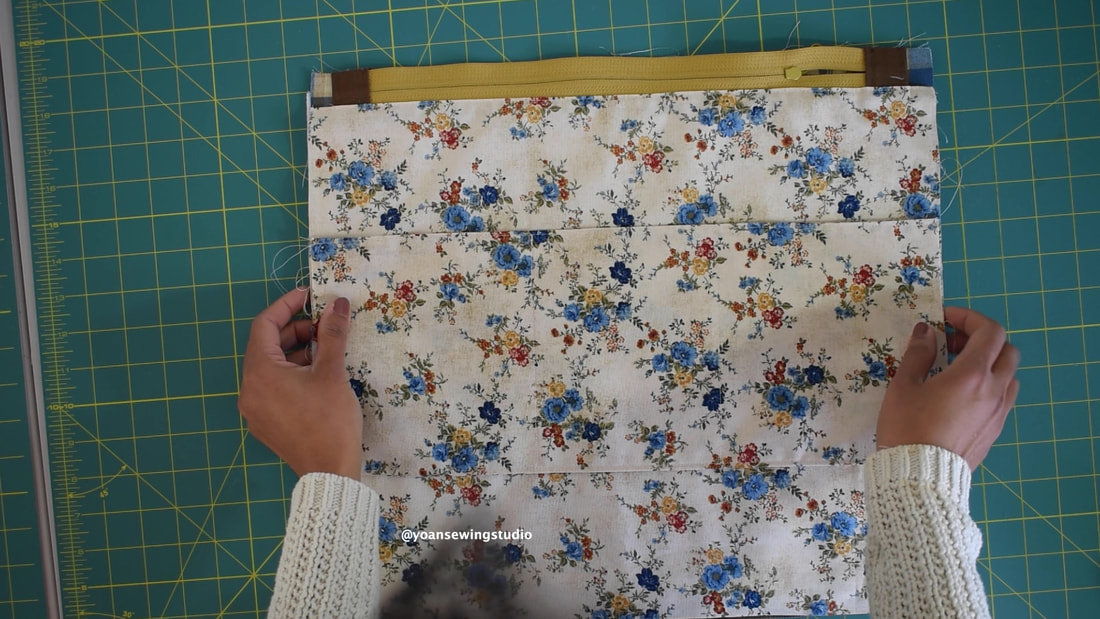
1. Cut your fabric pieces according to the above cutting instructions 2. Sew the front fabric A panel with the front Fabric B panel with 1/4" of seam allowance, press, repeat the same for the back exterior.
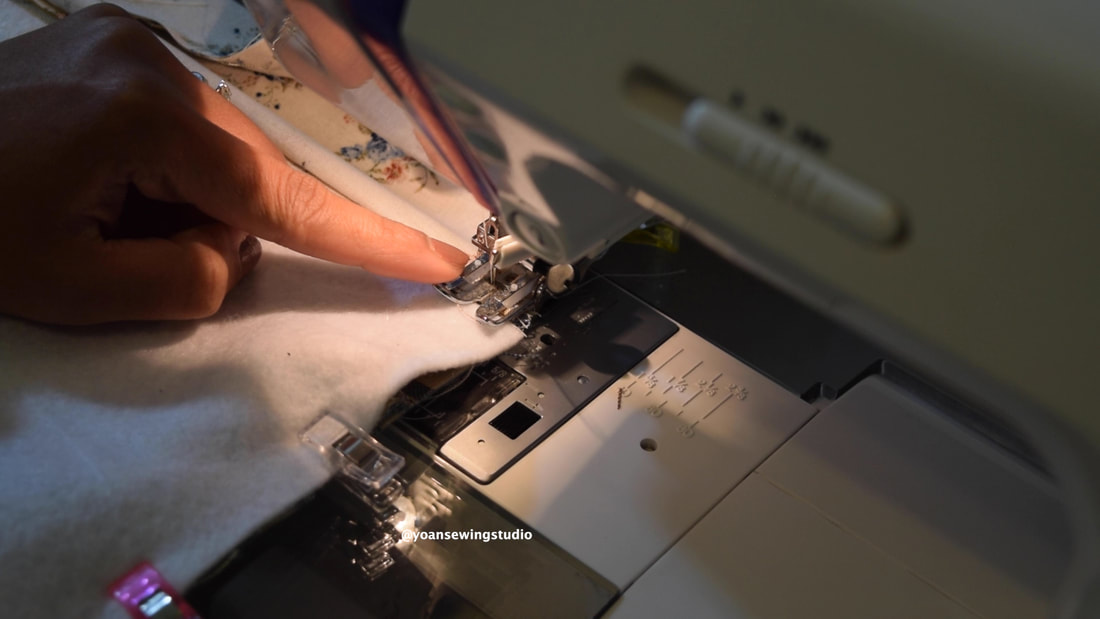
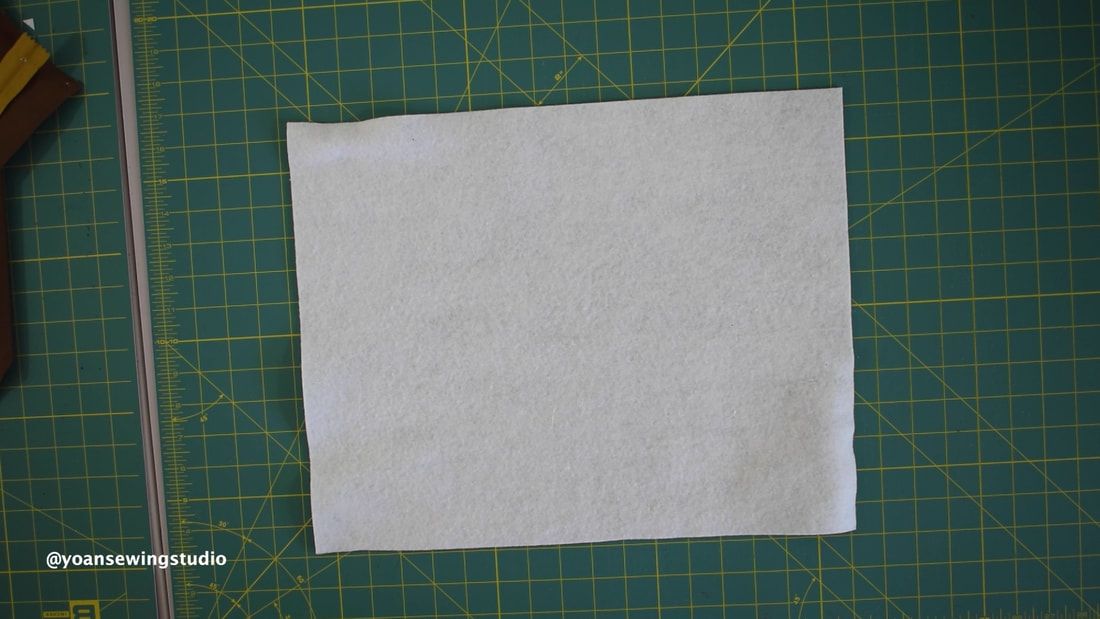
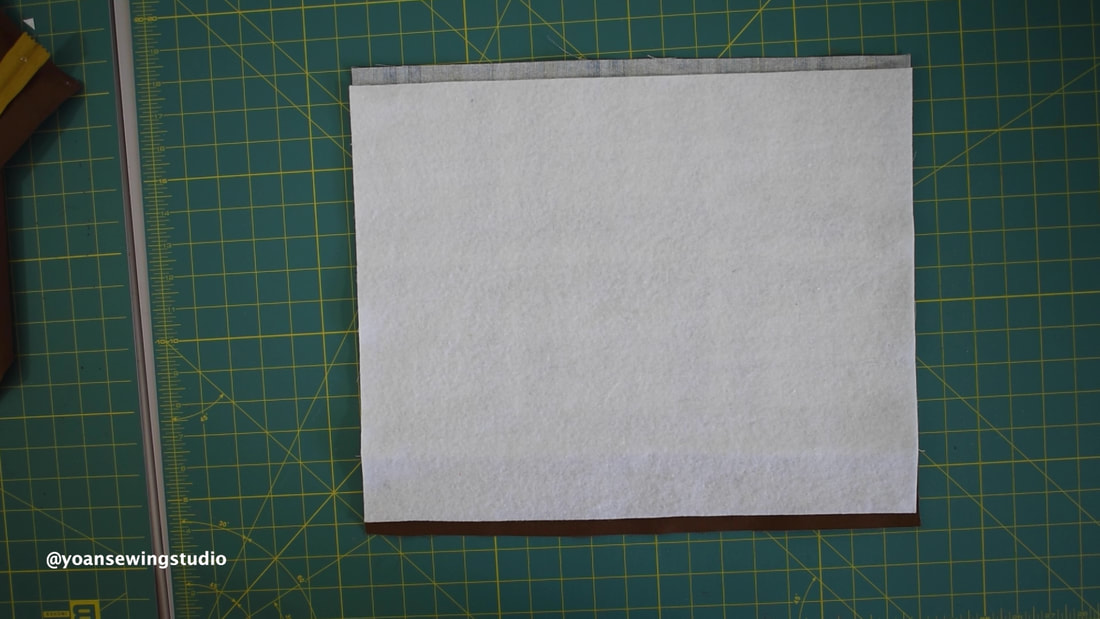
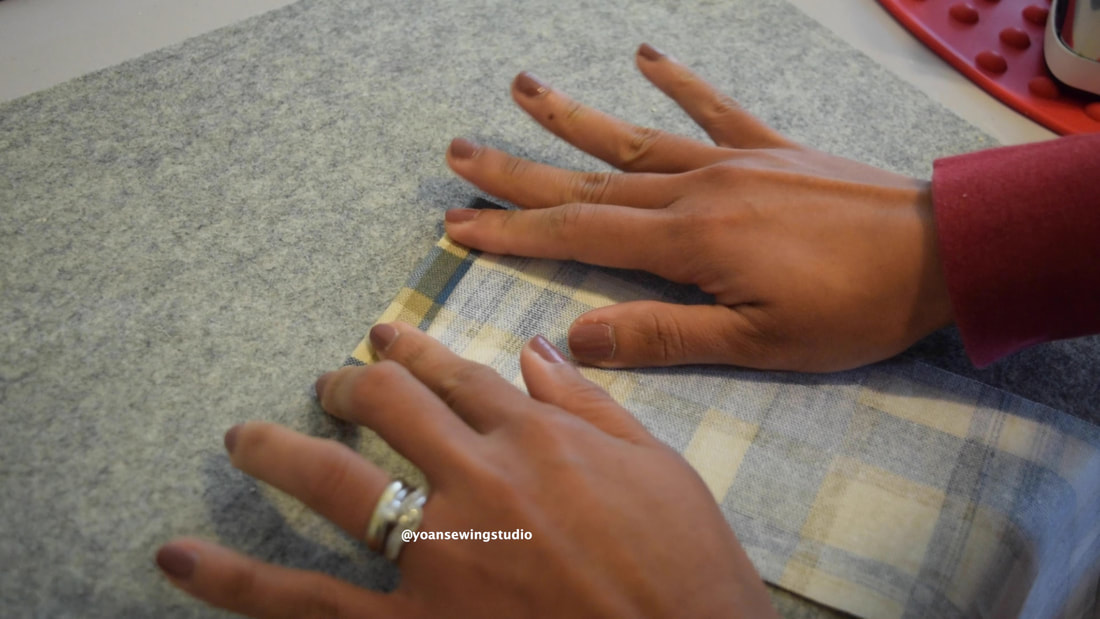
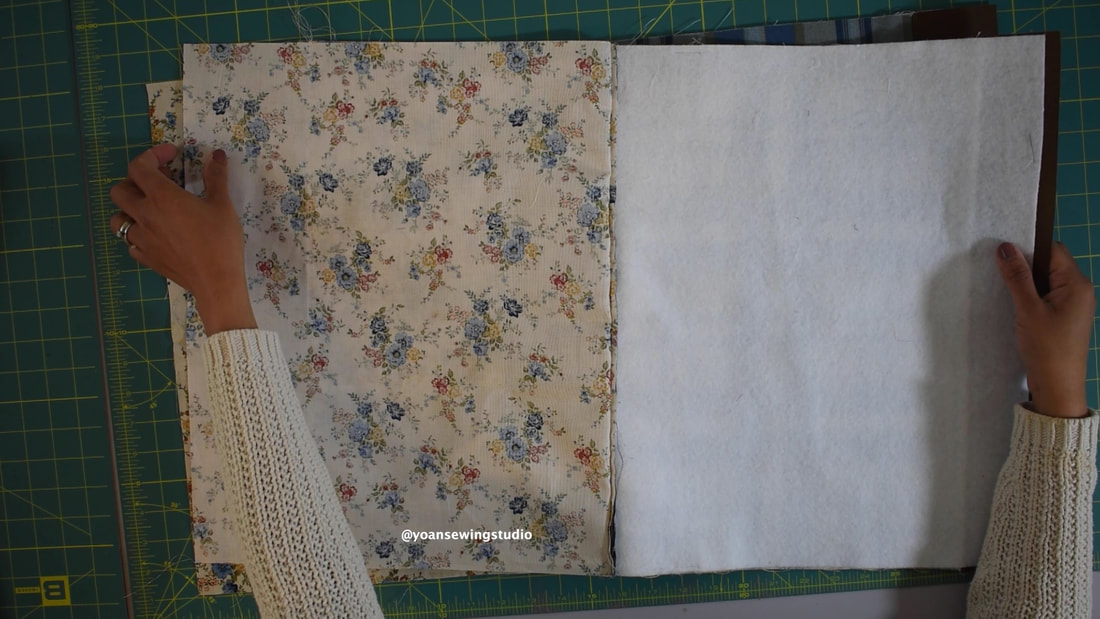
3. Apply the fusible fleece on both front and back exterior (center the position)
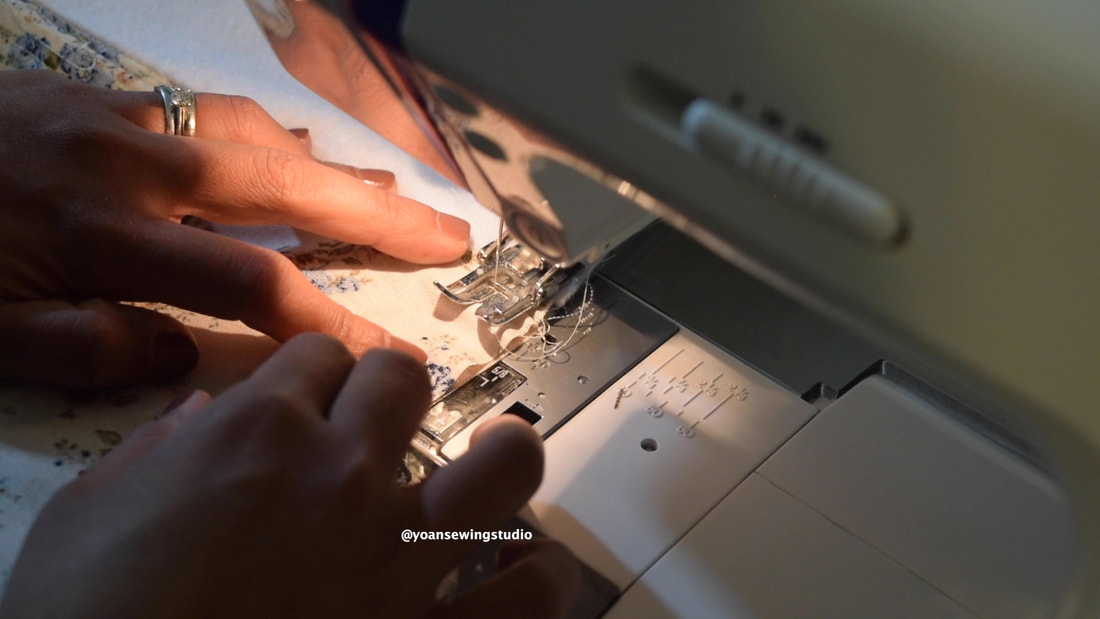
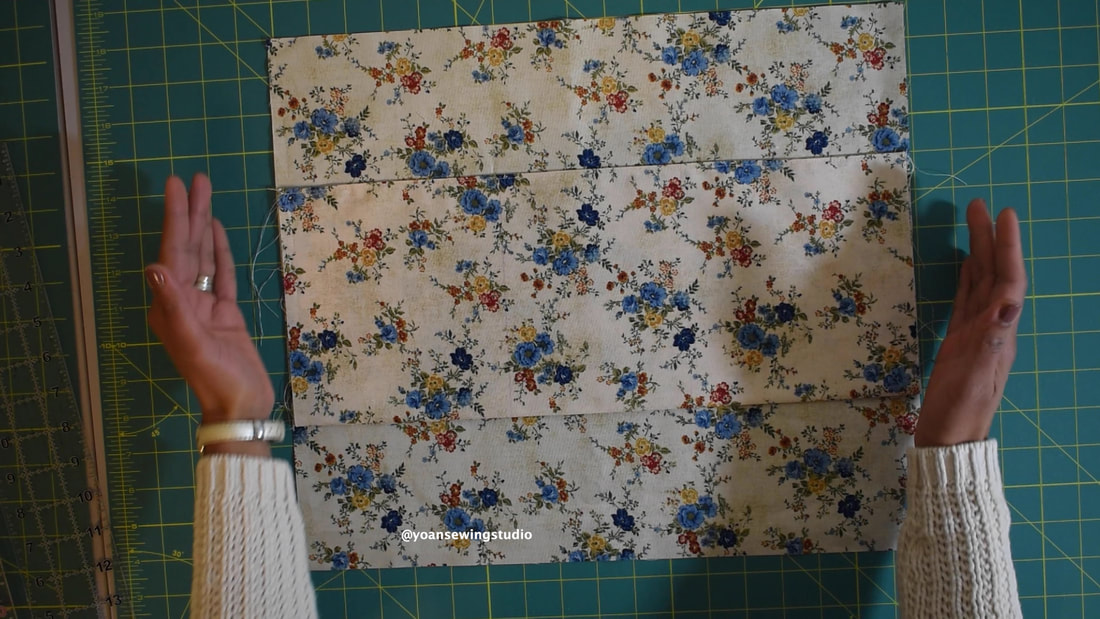
4. Lay the slip pocket pieces right side together, sew with 1/4" of seam allowance, press, turn the pocket inside out, press again, top stitch along the top edges.
5. Use fabric marker to draw 2 lines to (6" from both ends of the pocket), position the pocket on the right side of the lining, 4" down from the top, then sew along the marked lines, and the bottom edges of the pocket.
6. Sew the zipper pocket, you may watch the tutorial here.
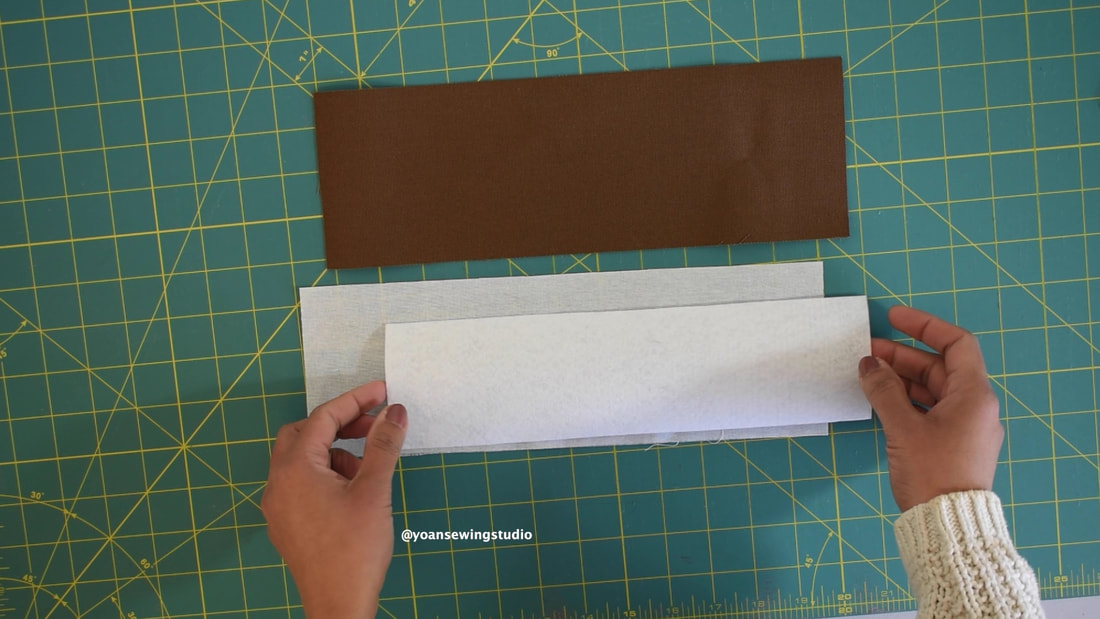
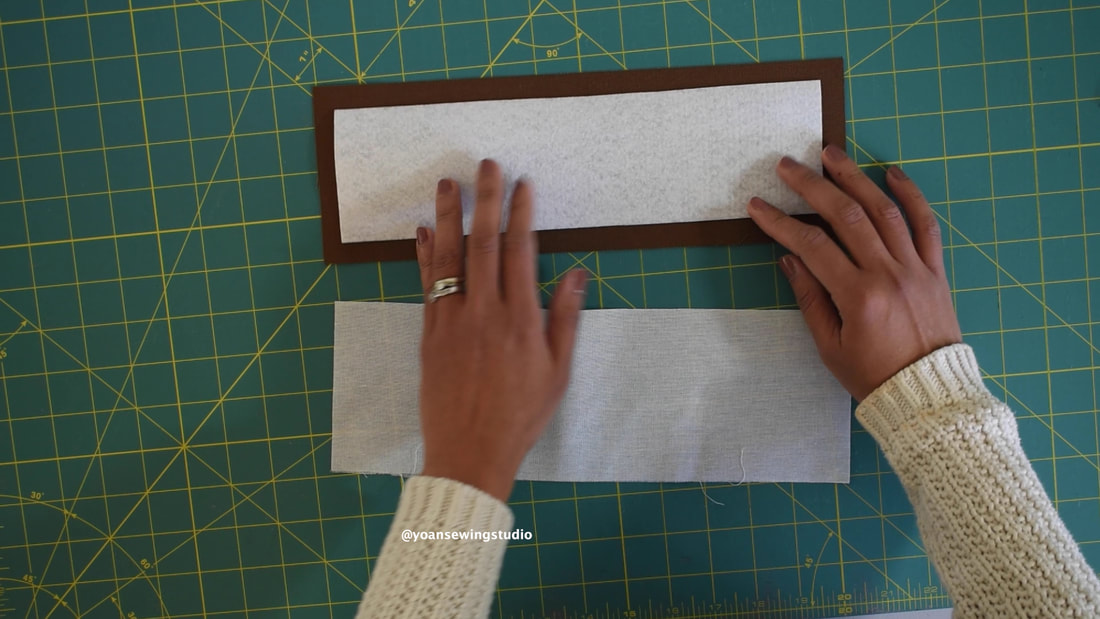
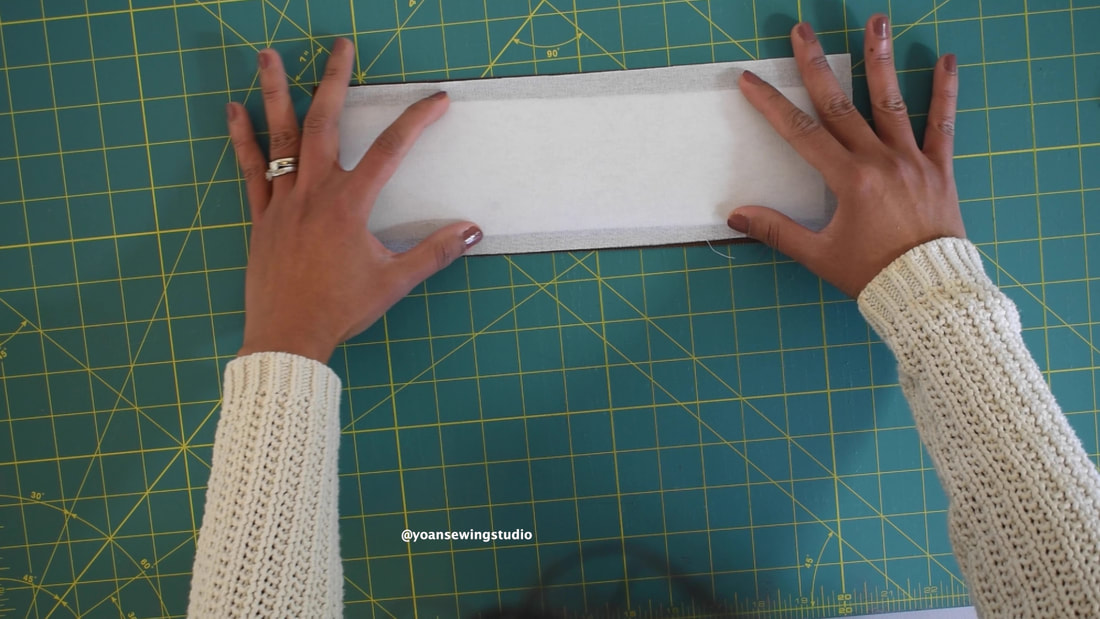
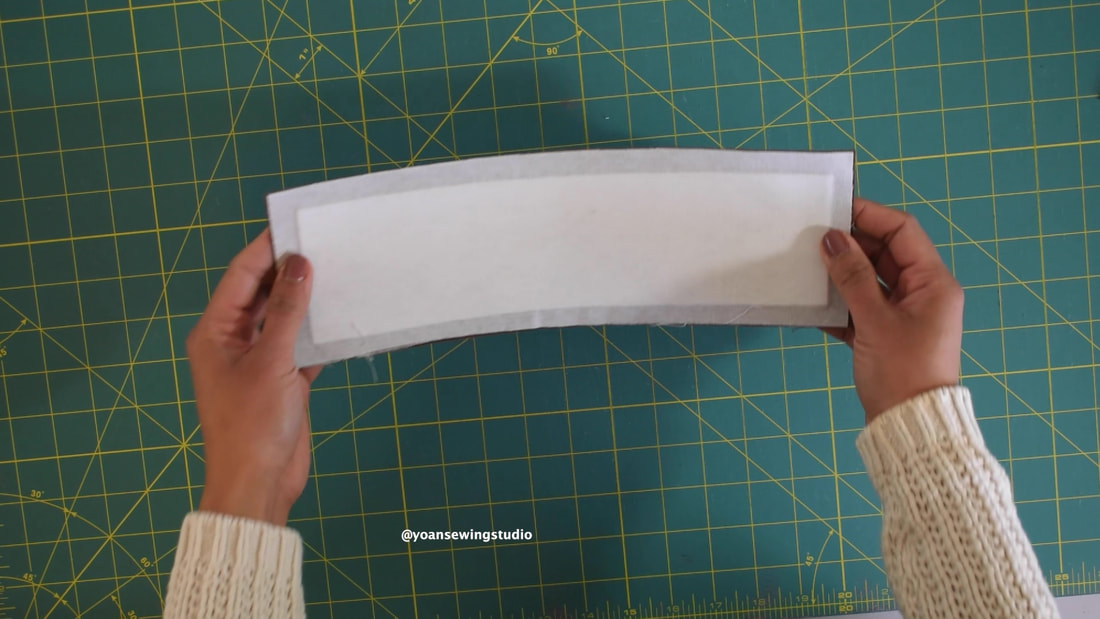
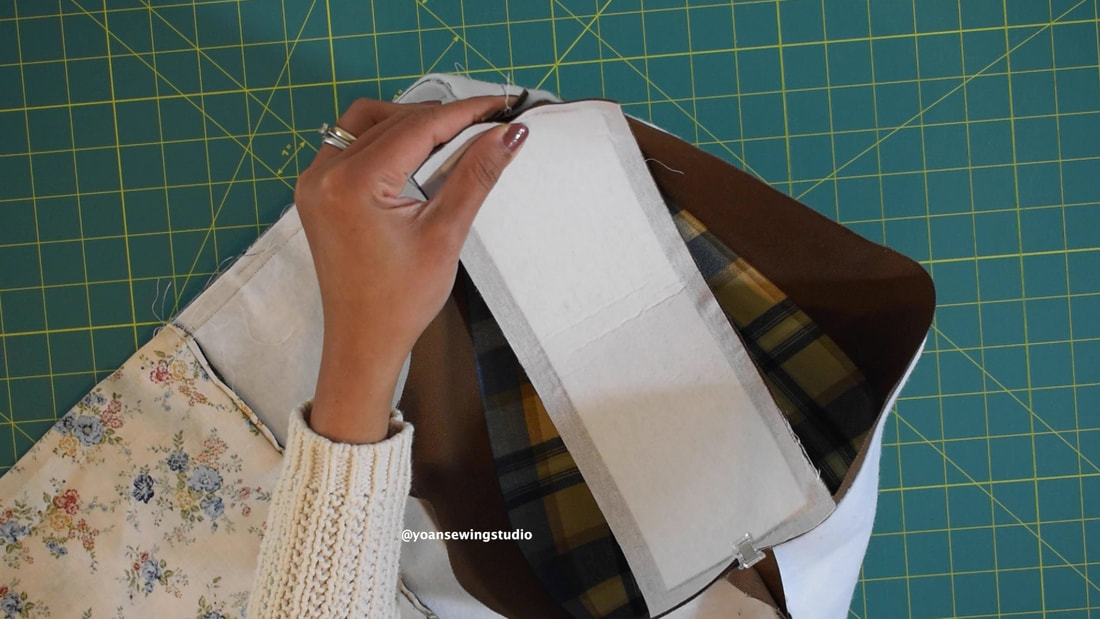
7. Apply the interfacings to the bottom gusset; layout the peltex on the wrong side of the gusset, then lay the fusible woven interfacing on top of the peltex glue side down, then fuse them in place (the woven interfacing will seal the peltex in place).
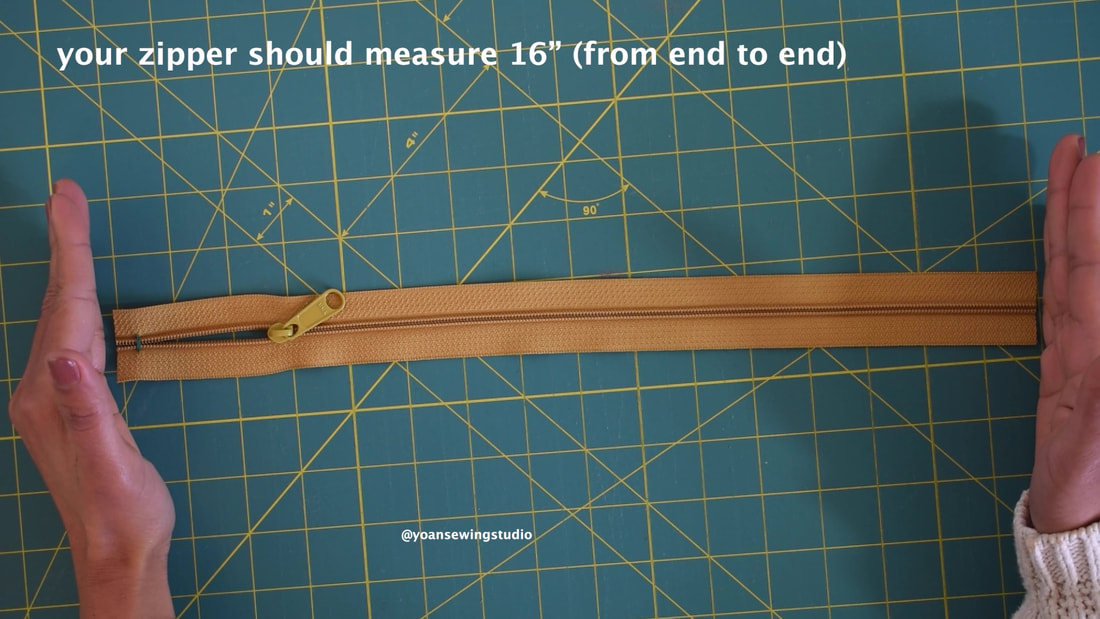
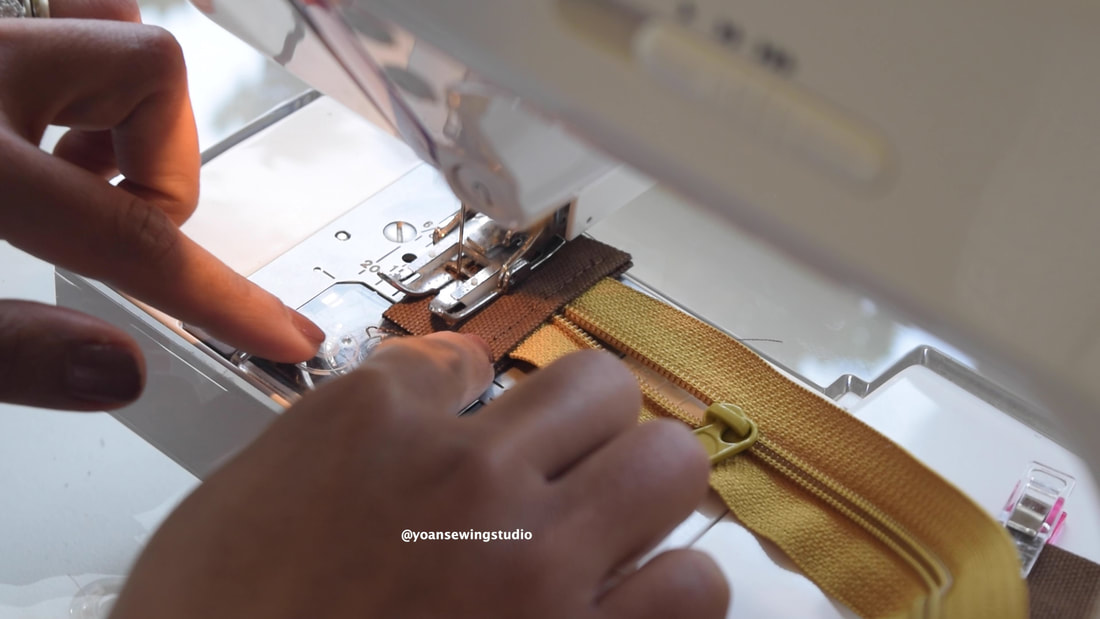
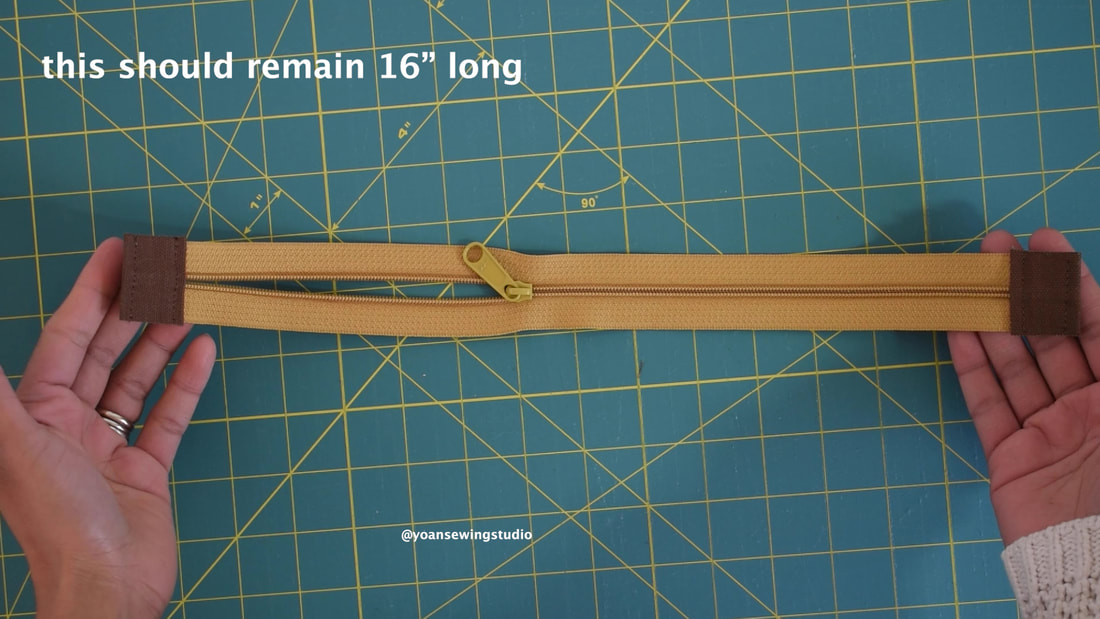
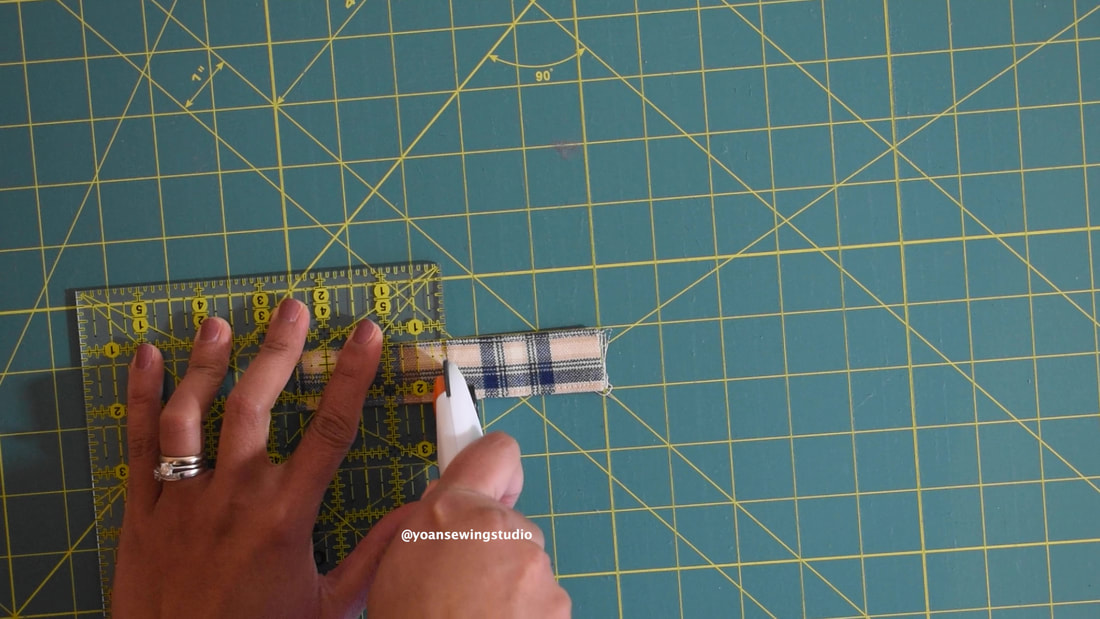
8. Trim your purse zipper to measure exactly 16" (from one end to another)
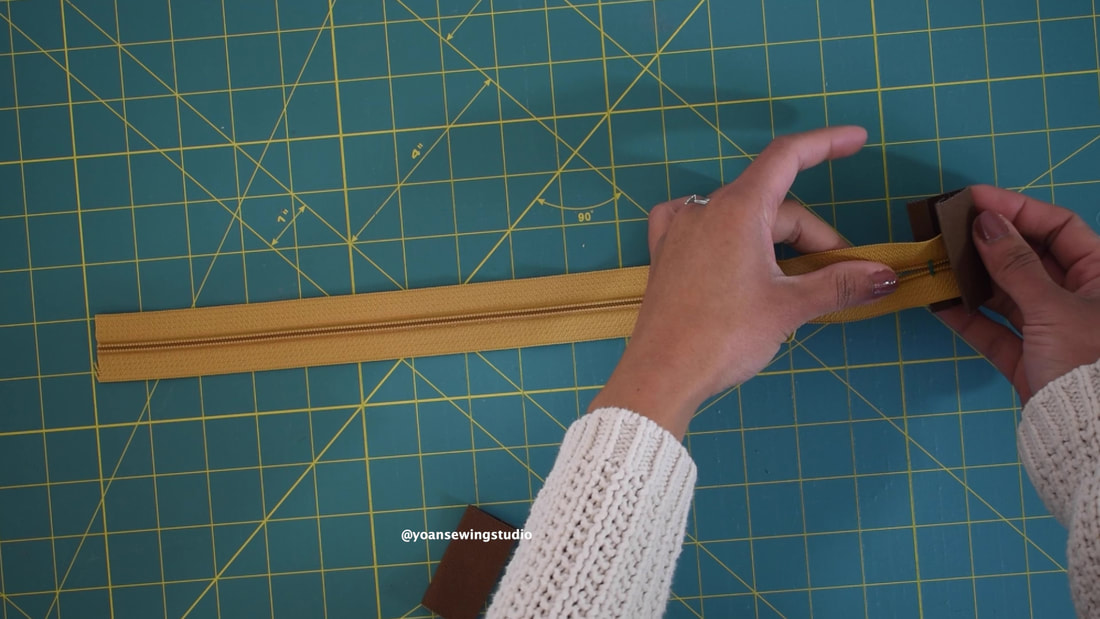
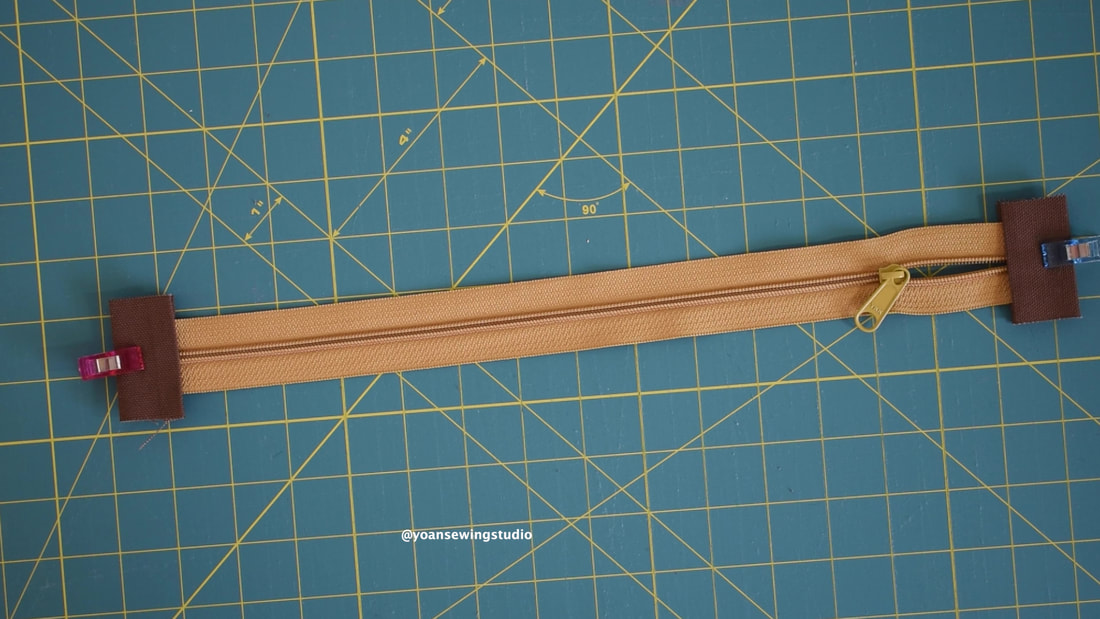
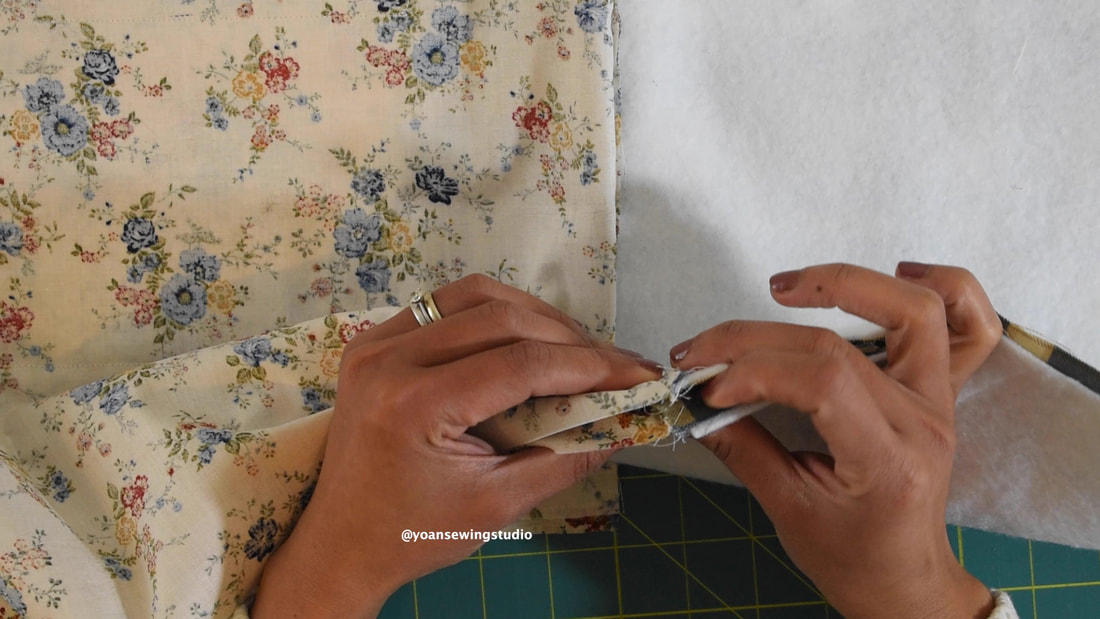
9. Fold the edges of the zipper tabs 1/4", press, then fold in half (meeting the folded edges), press
10. Insert the edges of the zipper into the fold of the zipper tab, all the way in. Sew along the edges with 1/8" of seam allowance, trim excess fabric of the zipper tabs.
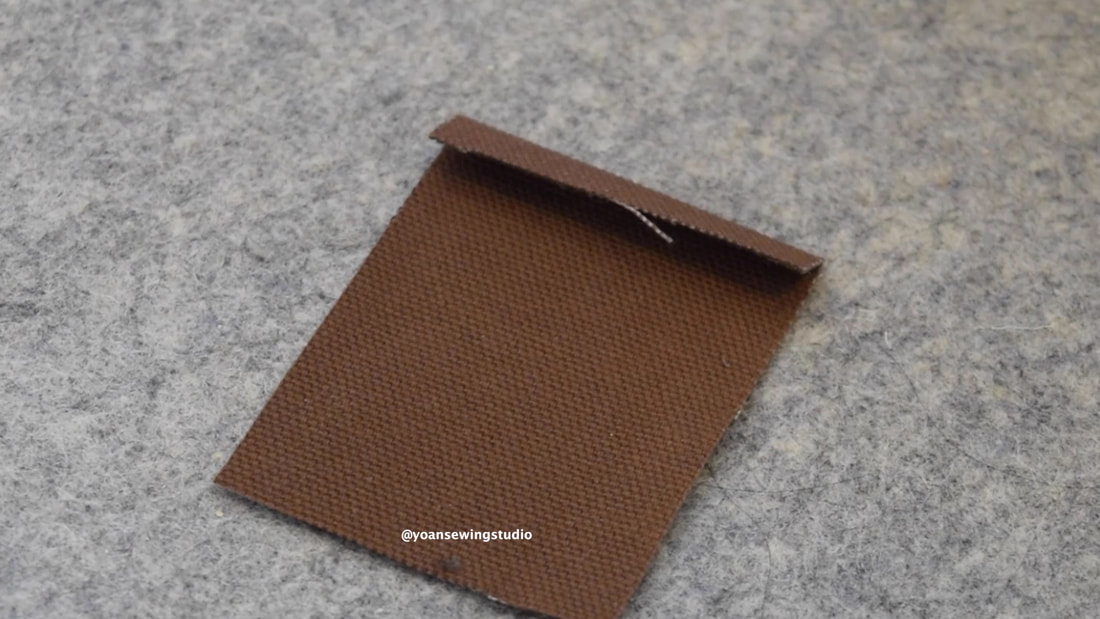
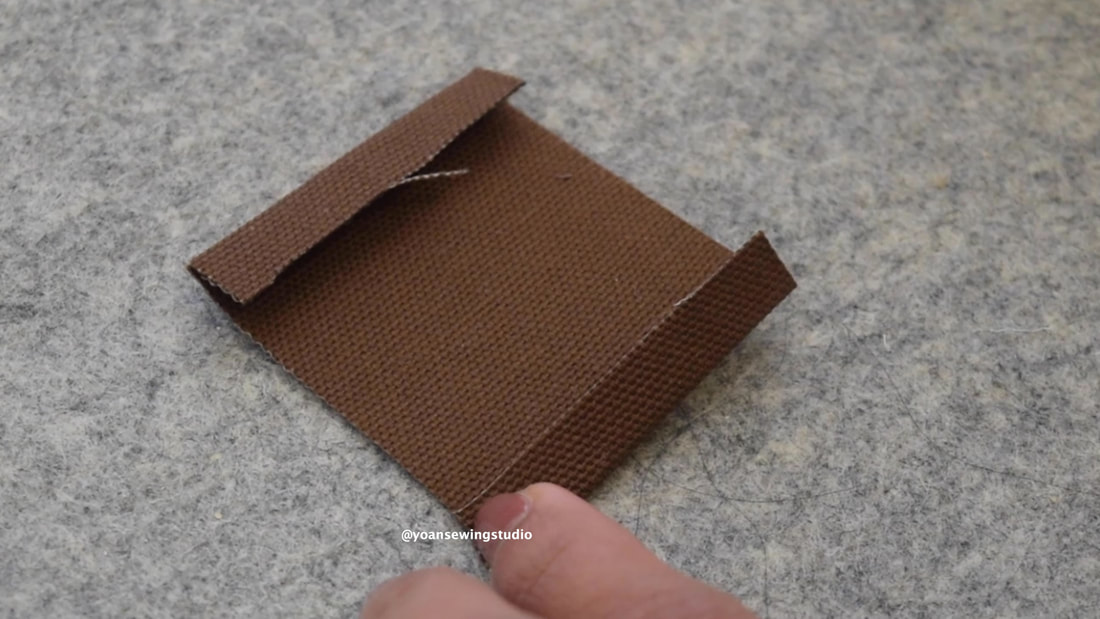
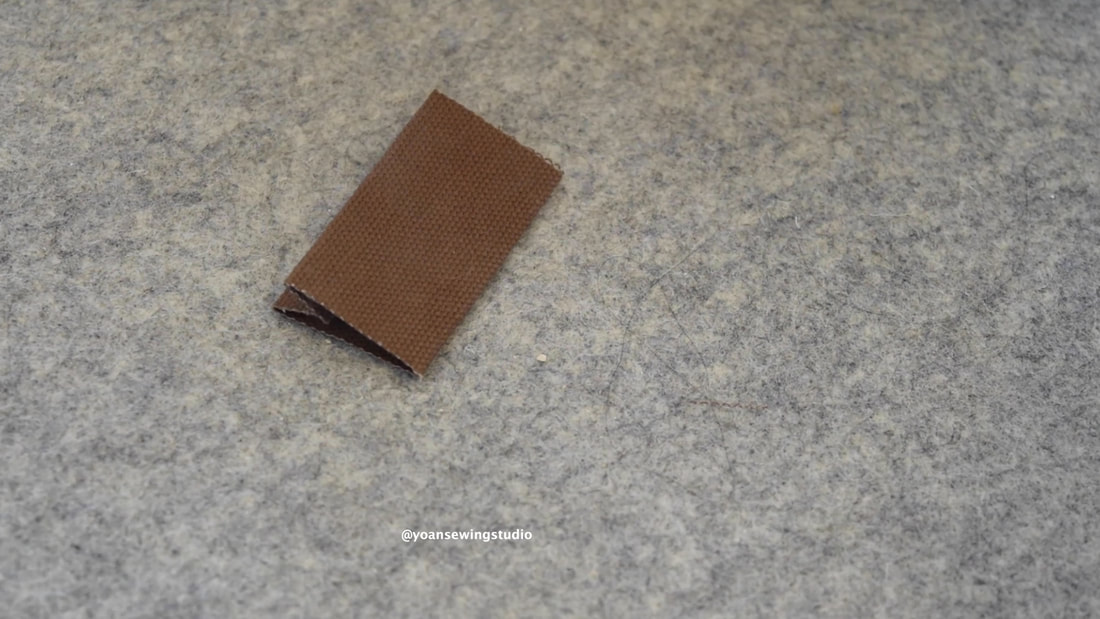
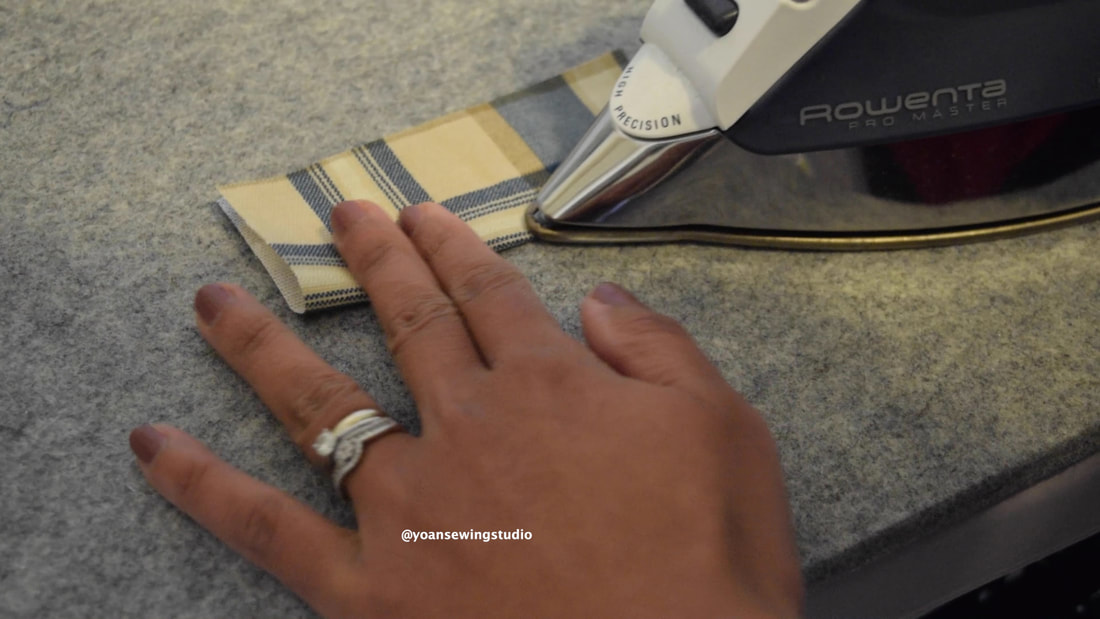
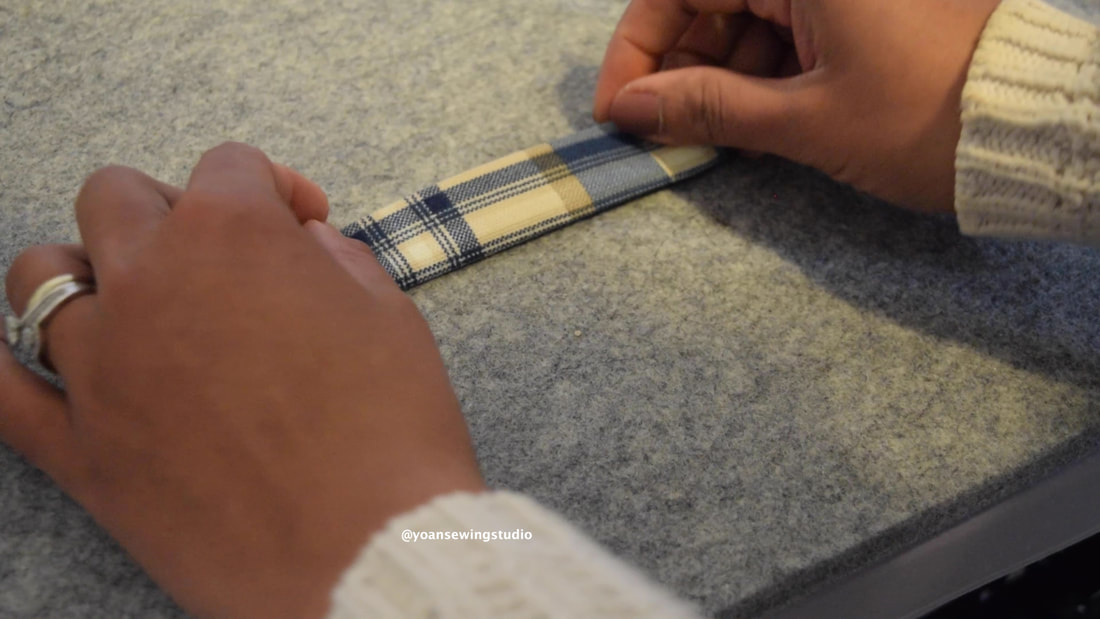
11. Prepare the strap anchor, fold it in half widthwise, press. Open the fold, fold the edges towards the center fold, press. Fold everything in half, press (you should end up with a 5" x 1" strip.
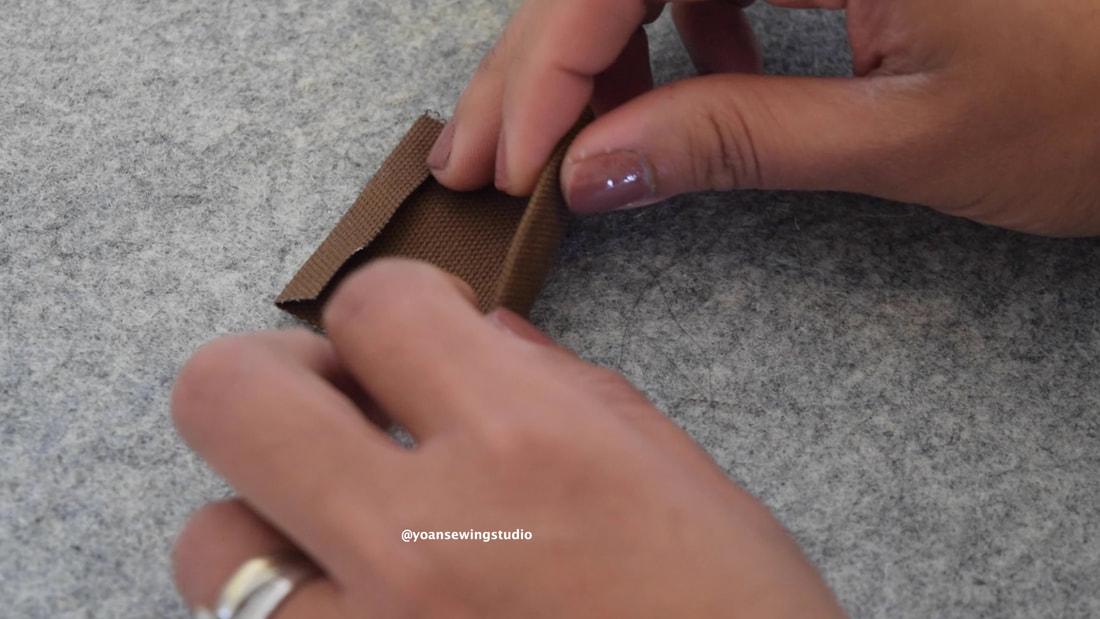
12. Sew the side edges of the strap anchor with 1/8" of seam allowance, cut the strip in half.
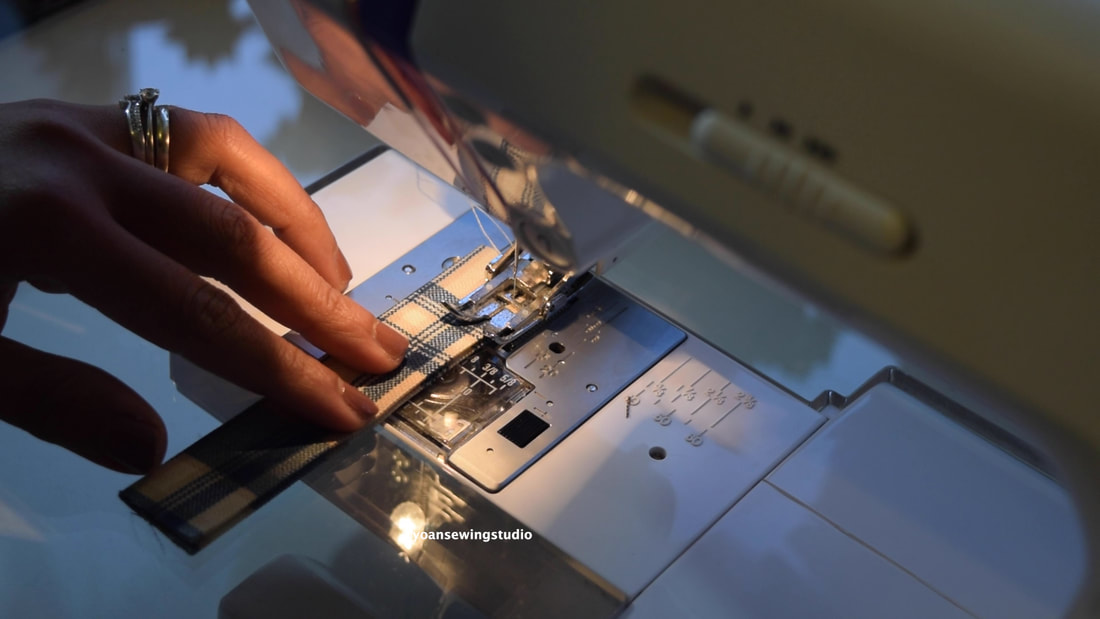
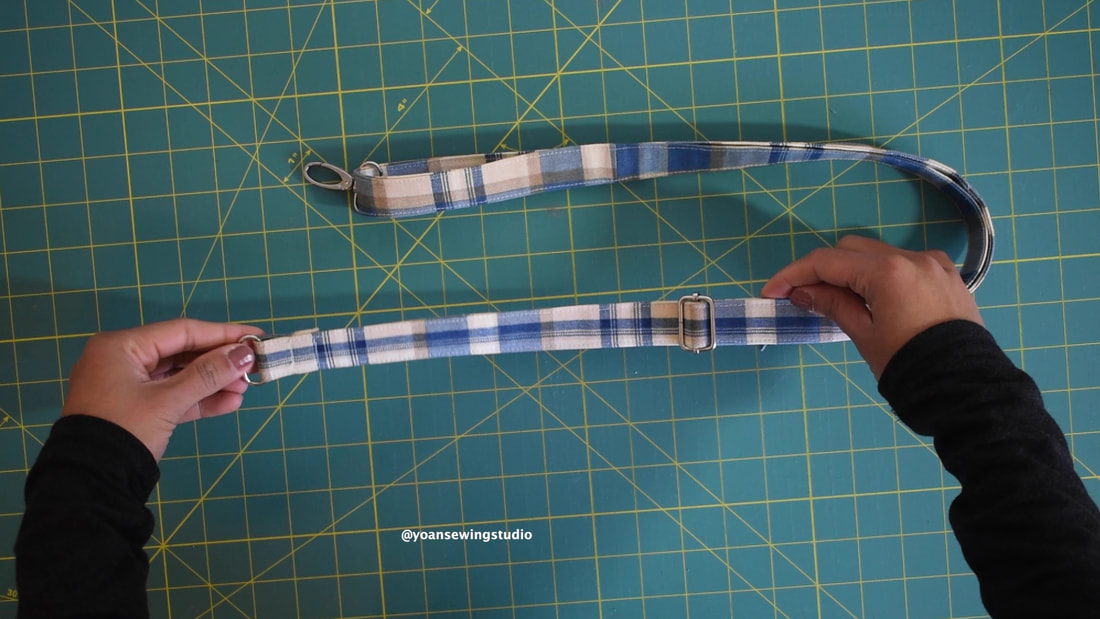
13. Fold the end of the strap 1/2", press, do the same with the opposite end, then proceed the fold and pressing method the same way as the strap anchors. Sew all around the edges with 1/8" of seam allowance. Attach the hardwares (the swivel hooks and the adjuster slider)
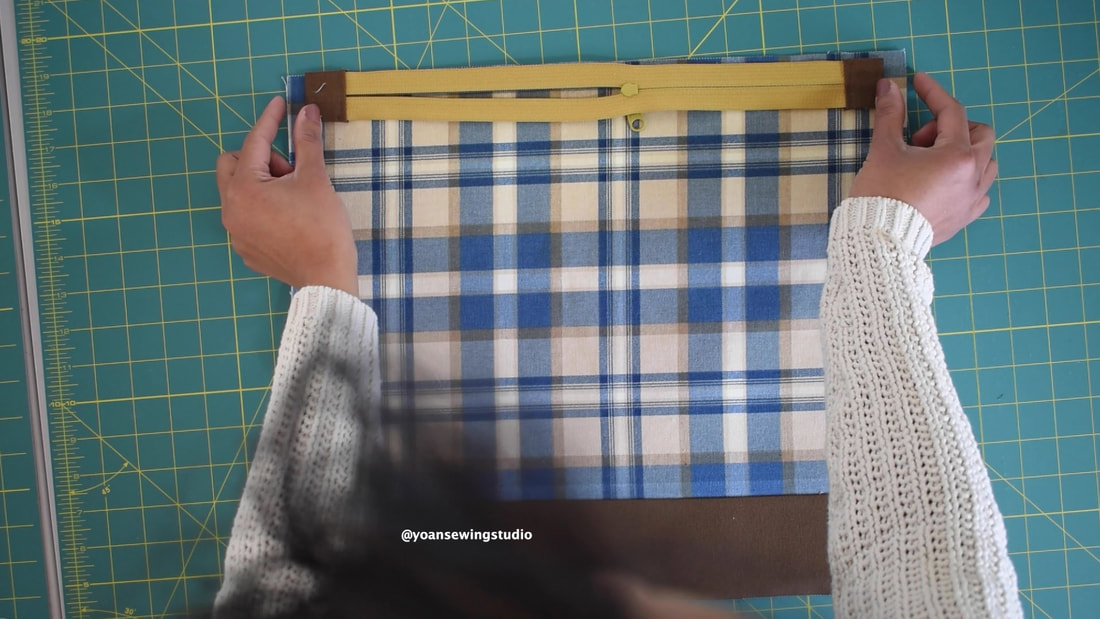
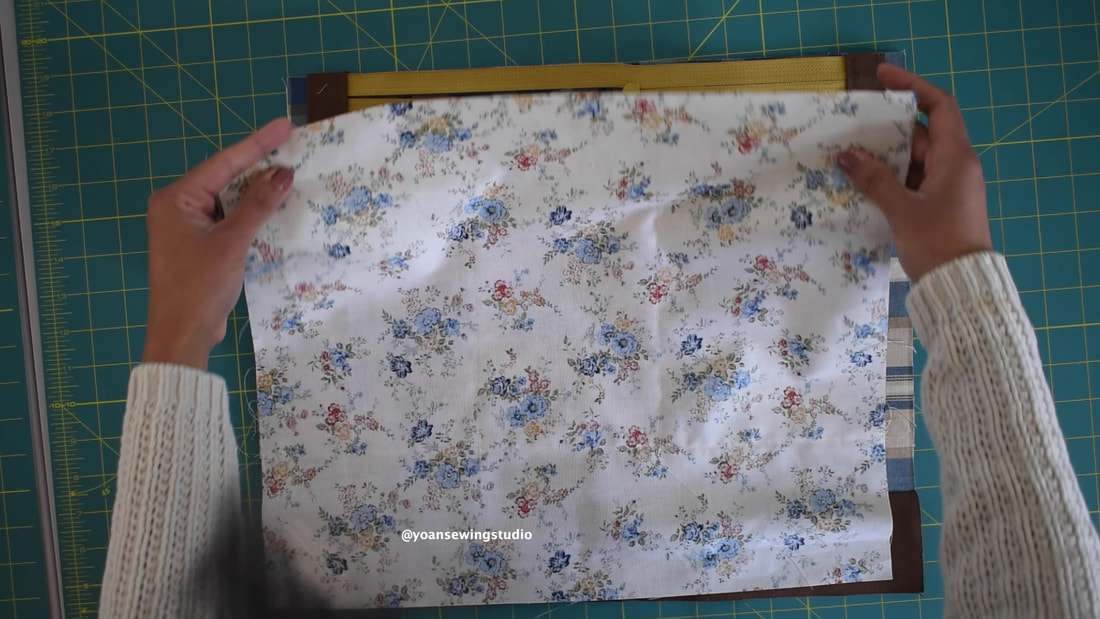
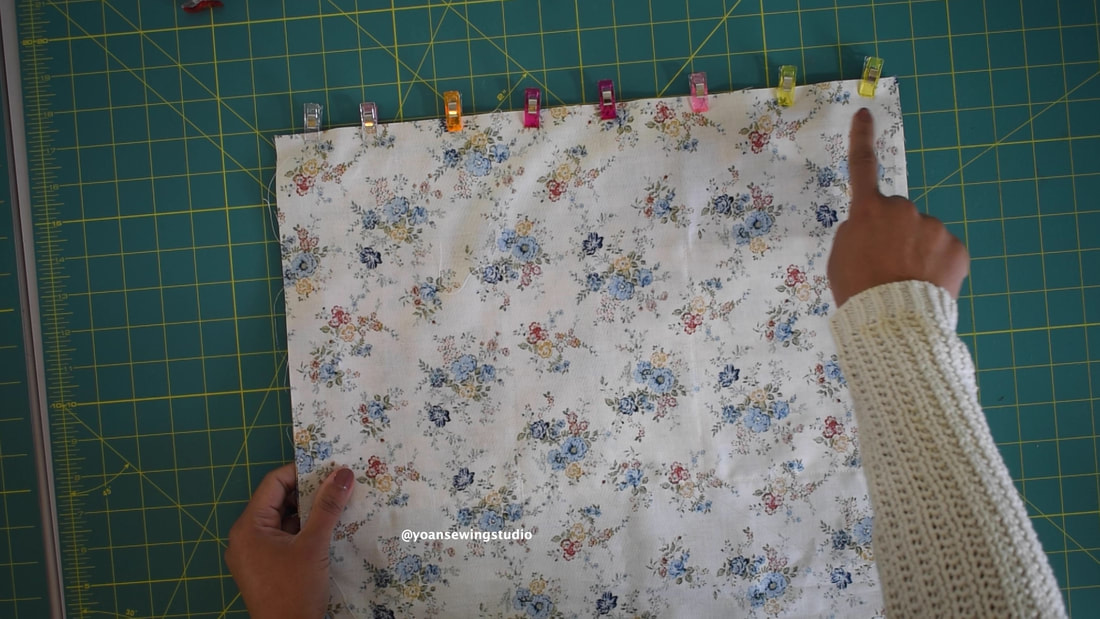
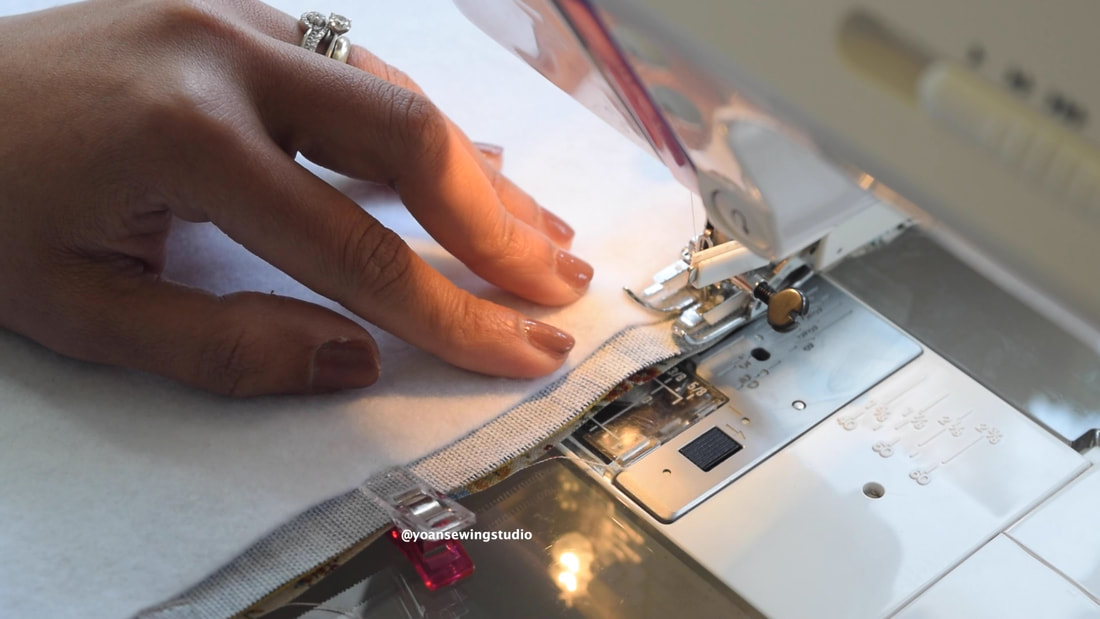
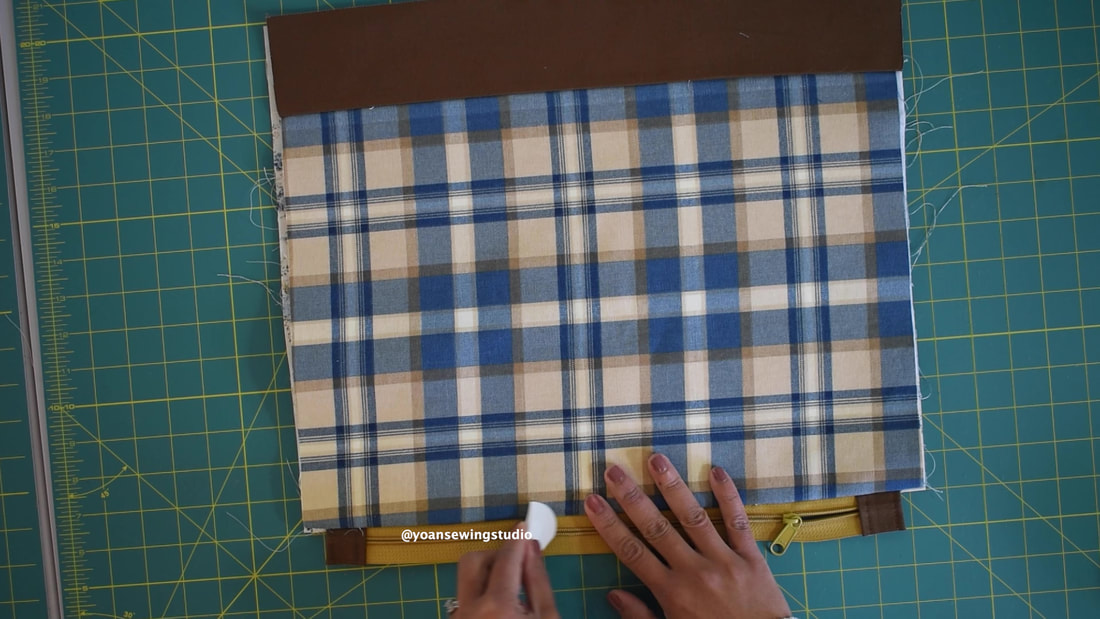
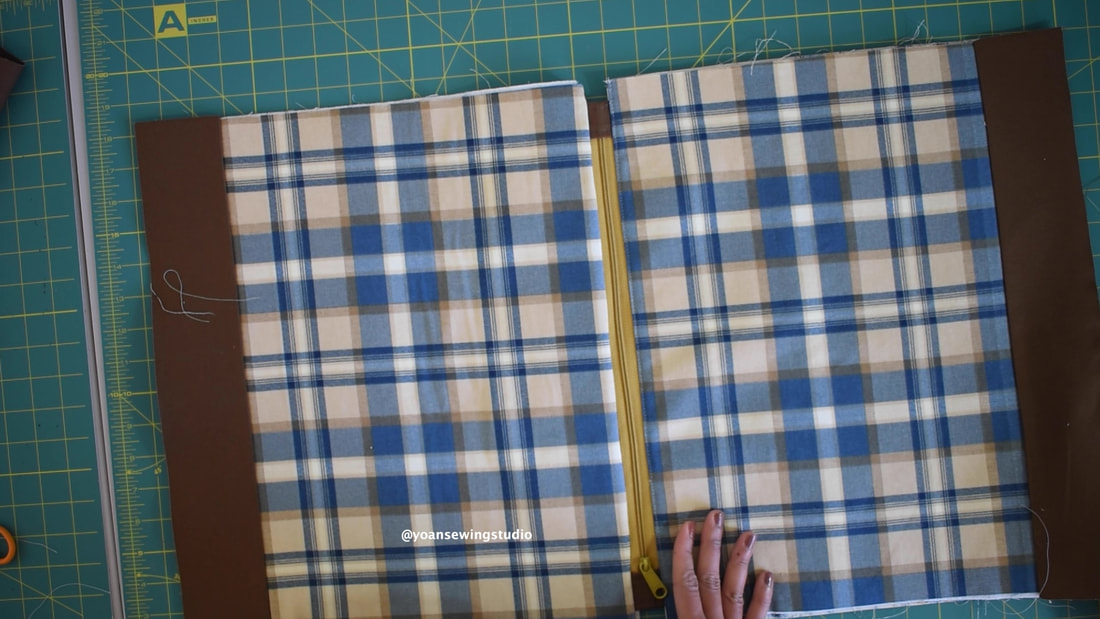
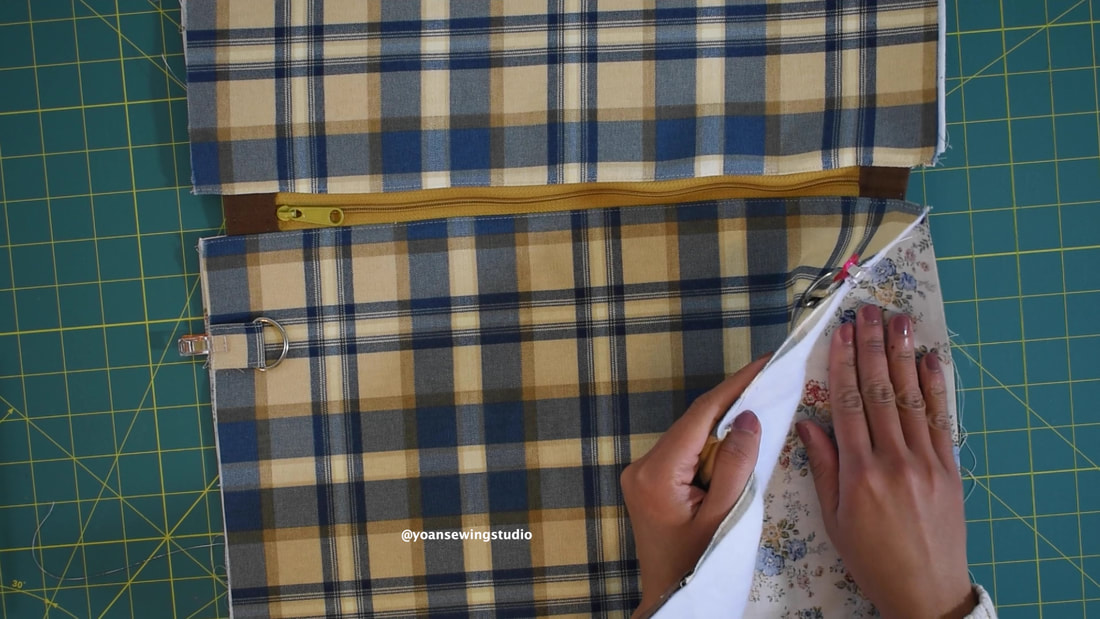
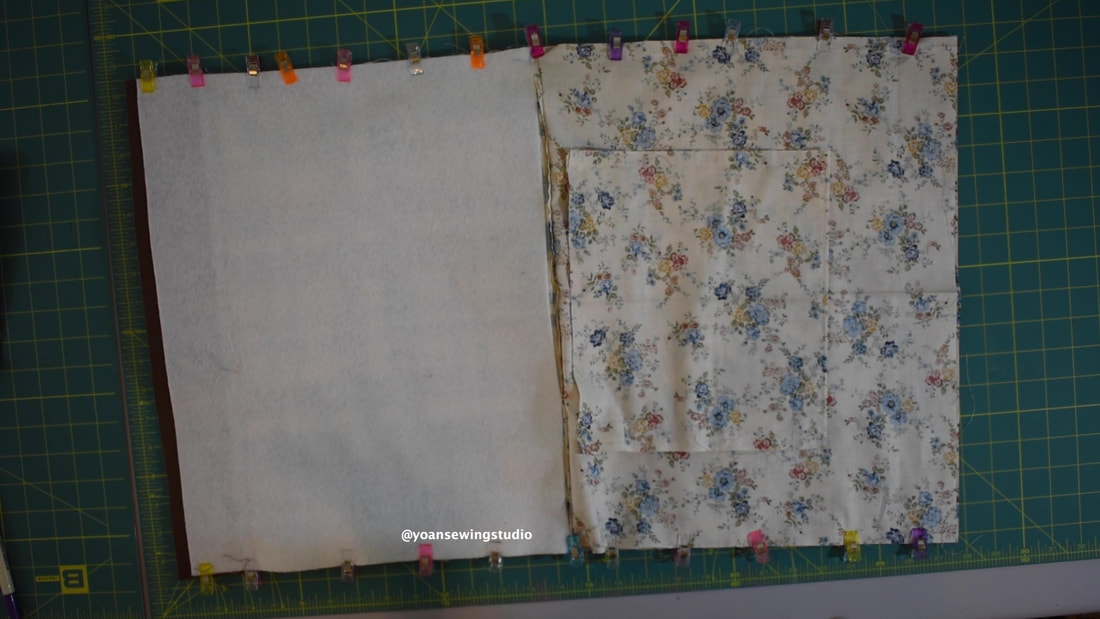
14. Lay the front exterior piece right side up, lay the zipper right side down (center the position of the zipper, there should be 1/2" gap on both sides), lay the lining right side down, secure the sandwich with some sewing clips then sew with 3/8" seam allowance.
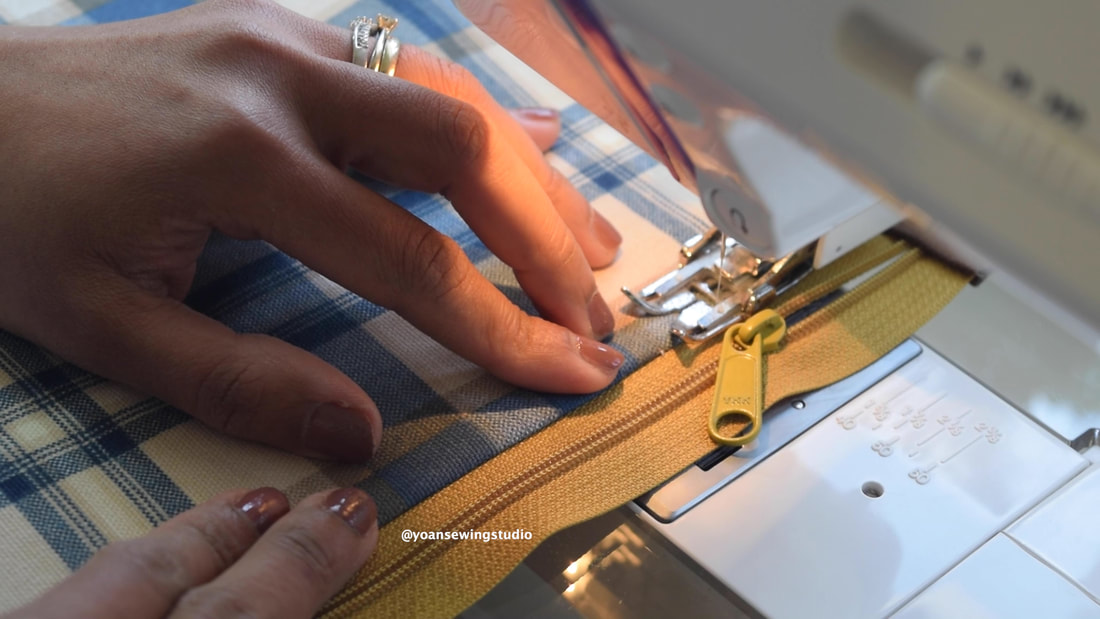
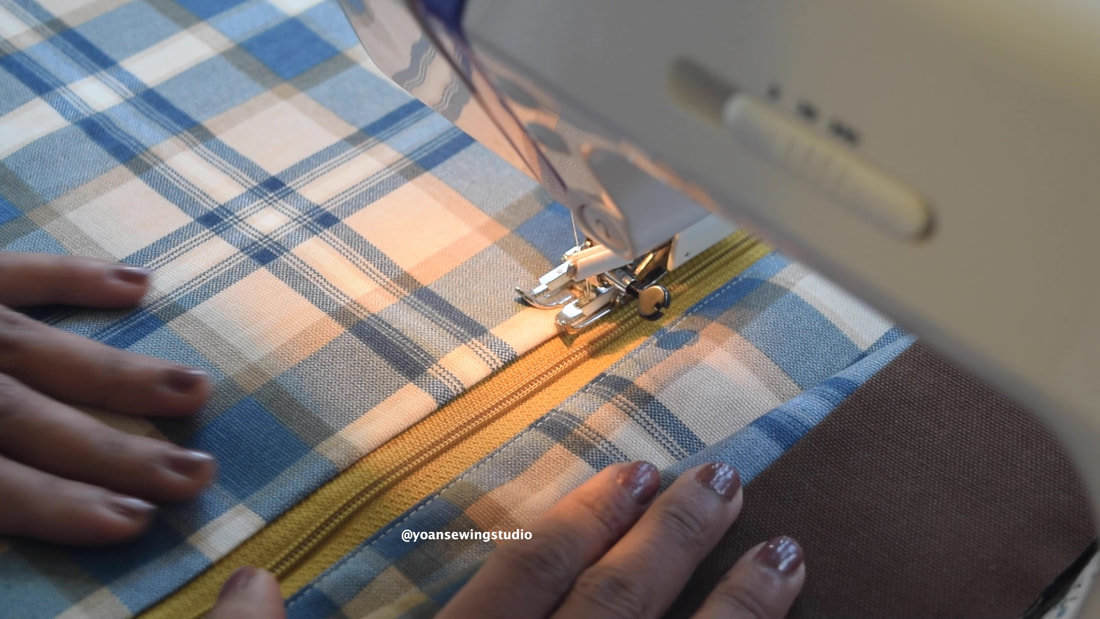
15. Separate the zipper from the fabric, press, then topstitch.
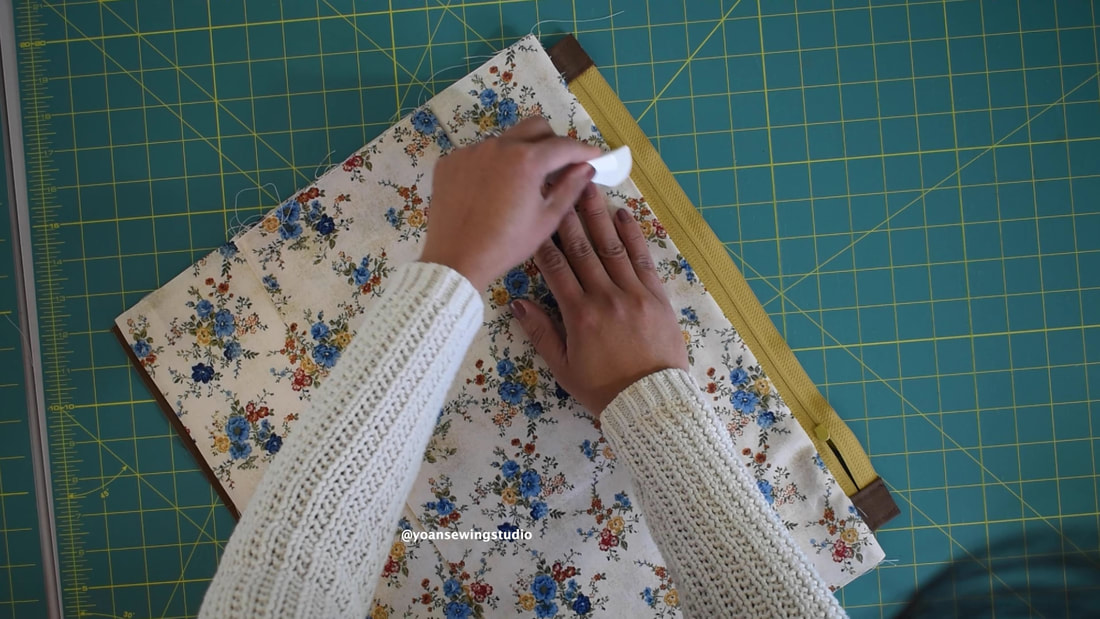
16. Lay the back exterior right side up, lay the zipper right side down, lay the lining right side down, secure everything with fabric clips then sew along the edges with 3/8" seam allowance. Separate the zipper from the fabric, press, then topstitch.
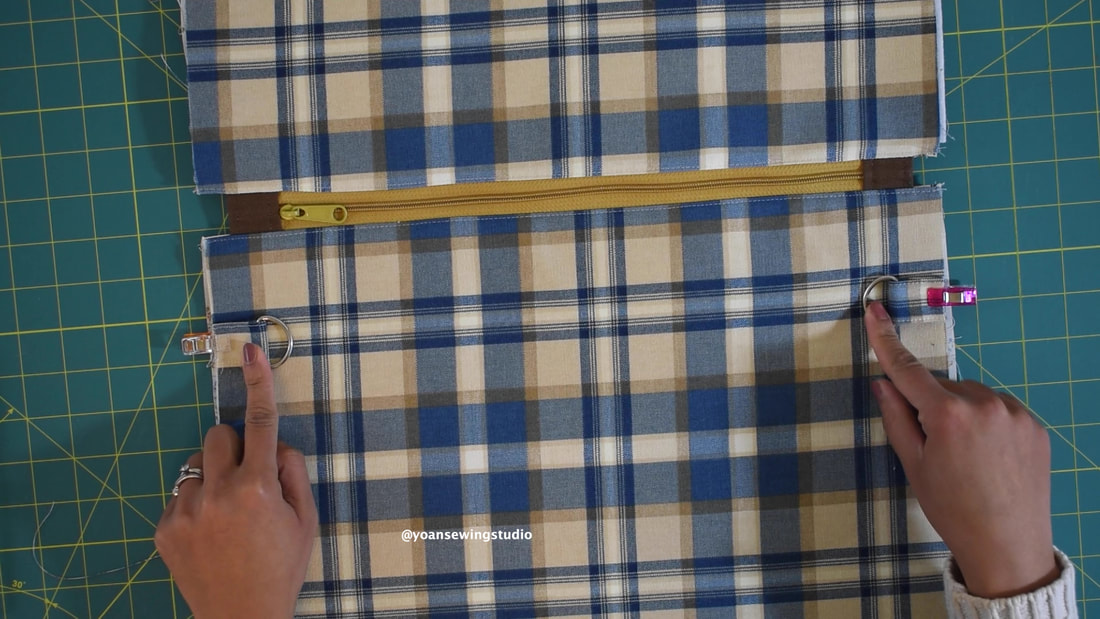
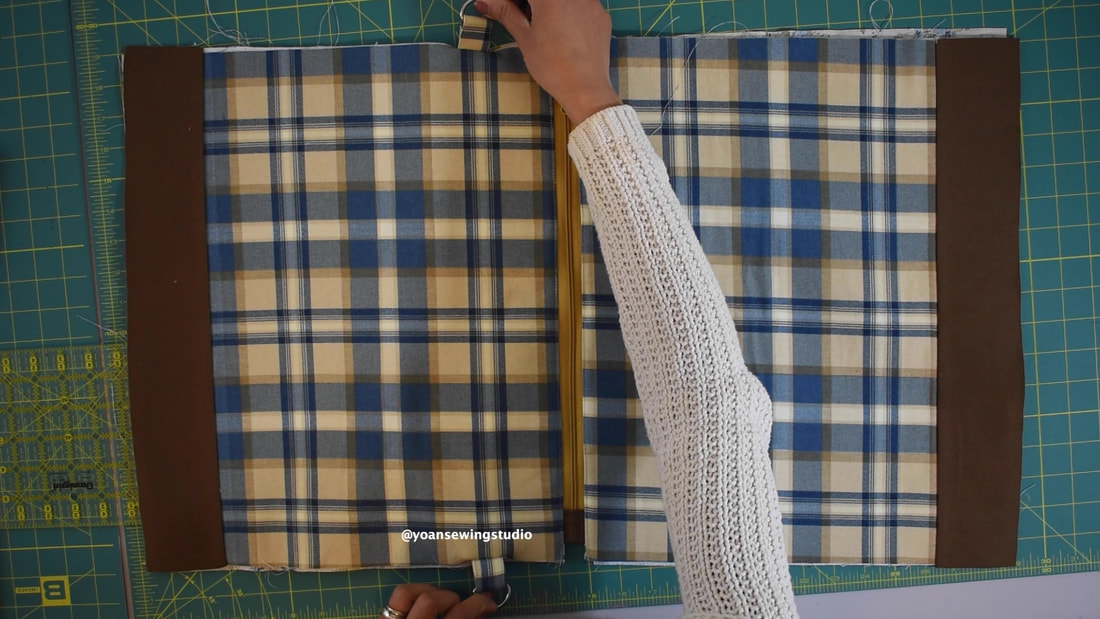
17. Feed the strap anchors over the d-rings, position them 2.5" from the top edge, sew with 1/4" of seam allowance (do not sew the lining)
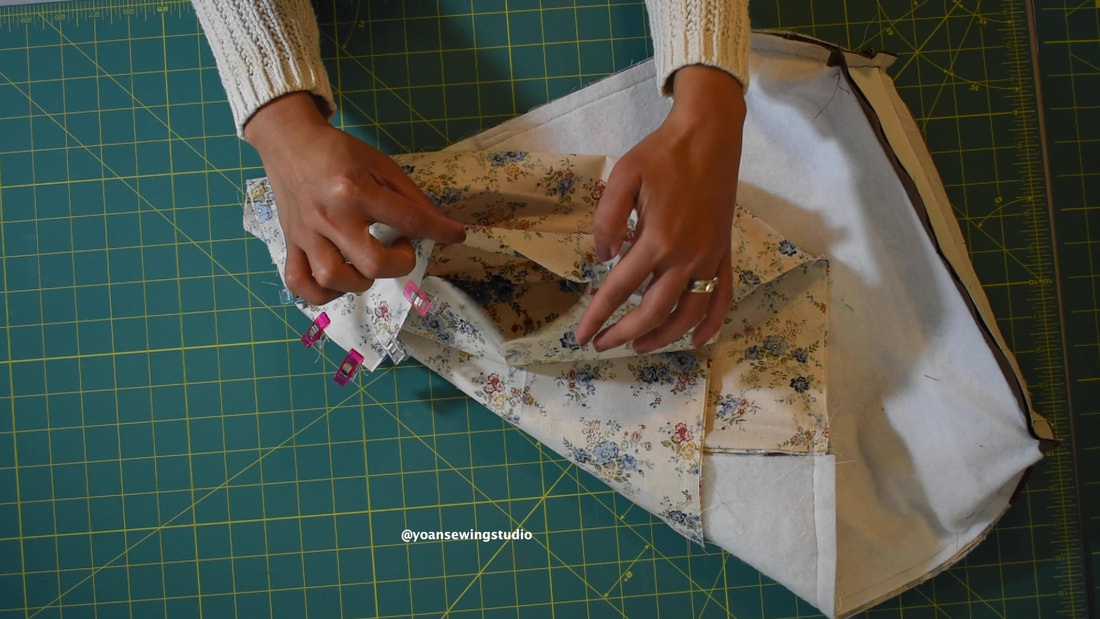
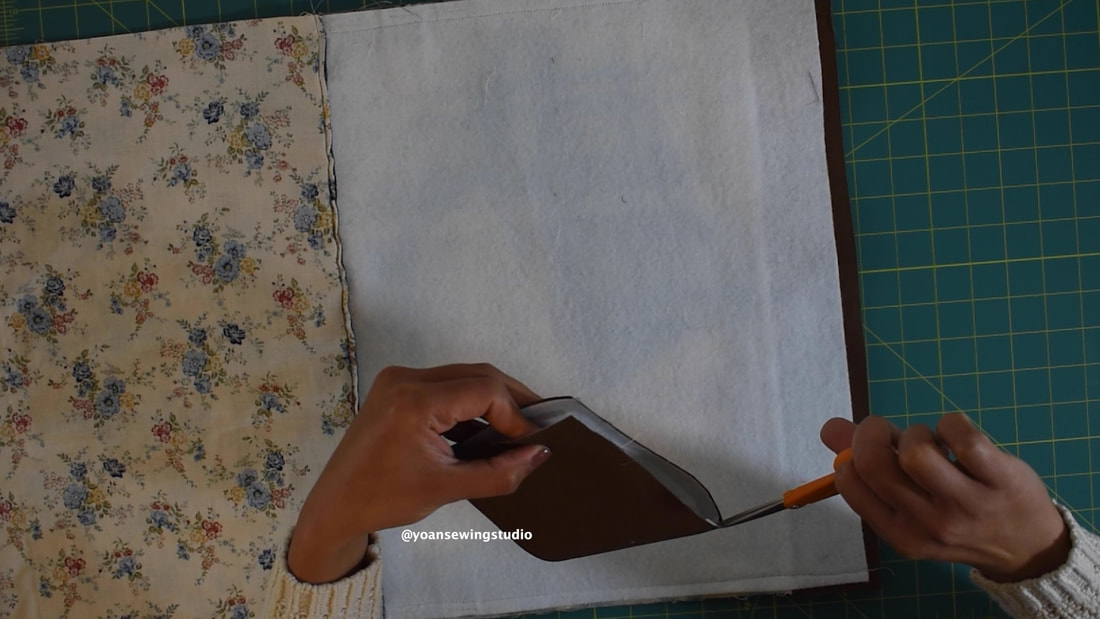
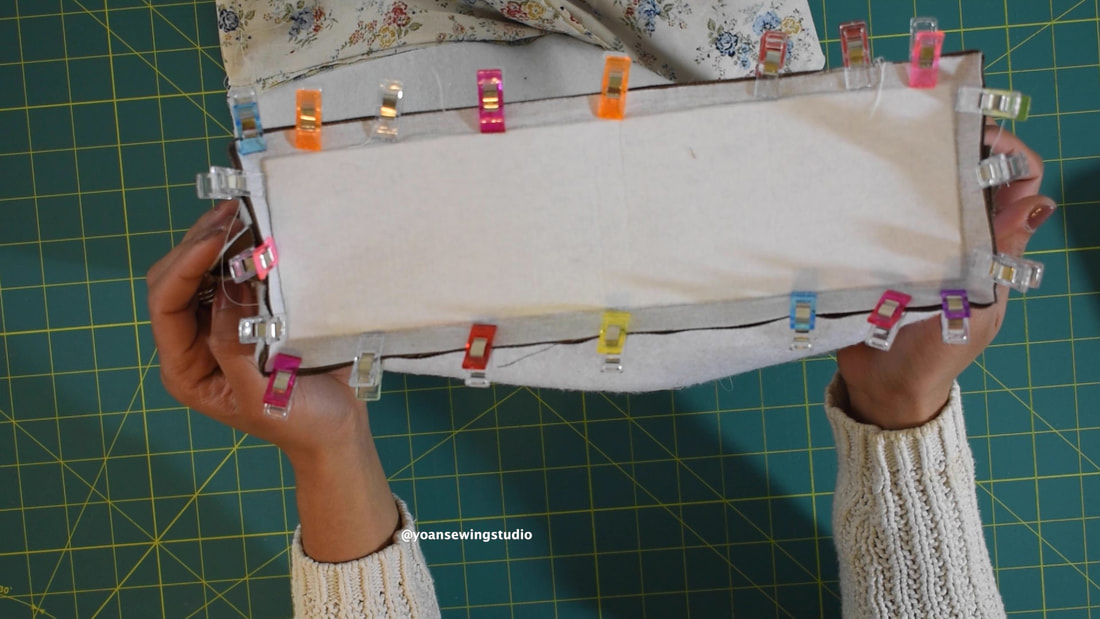
18. Separate the exterior from the lining (make sure to unzip your zipper at least halfway, secure the sides with some sewing clips; make sure to match the zipper seams.
19. Start sewing from the top of the exterior, with 1/2" seam allowance. When starting, you want to position your needle next to the zipper tab (make sure not so sew over with)
20. Then sew from the top of the lining (simply continue the previous stitch line), again making sure your needle wouldn't bump into the zipper tab.
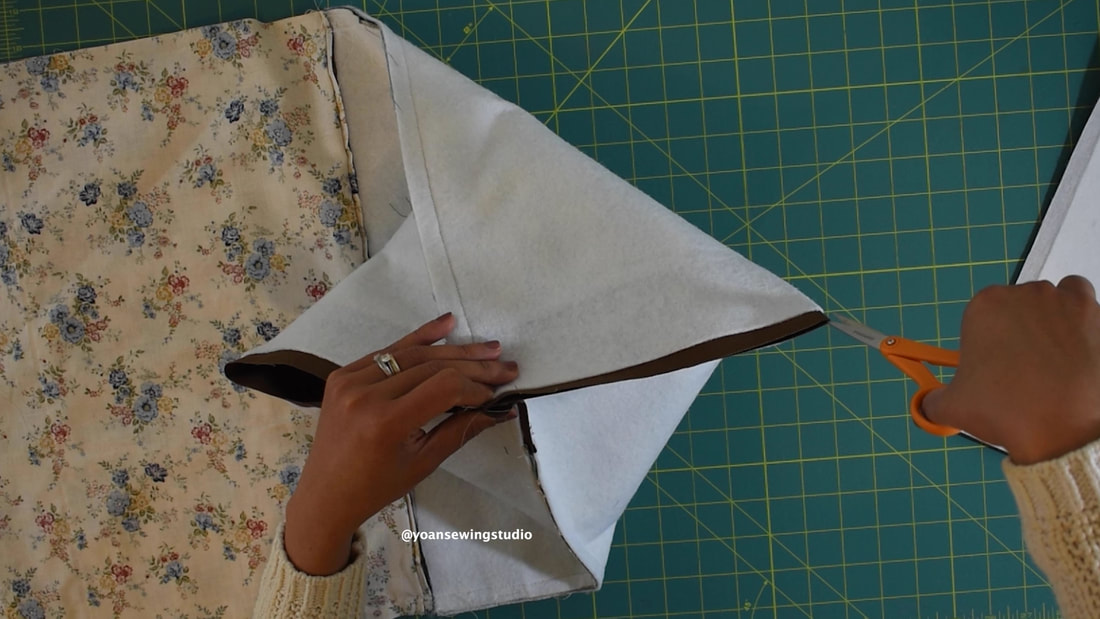
21. Sew the opposite side the same way.
22. Find the center point of all 4 sides of the bottom gusset by folding it in half then make a little notch with your scissors.
23. Match the side seams of the bag then cut some notches at the center points.
24. Attach the gusset the the bottom of the bag matching the notches first, then sew with 1/2" of seam allowance.
25. Sew the lining gusset the same way, leave about 6" of opening to turn the bag inside out.
26. Turn the bag inside out through the opening hole.
27. Sew the opening hole close 28. Attach the strap 29. Enjoy! 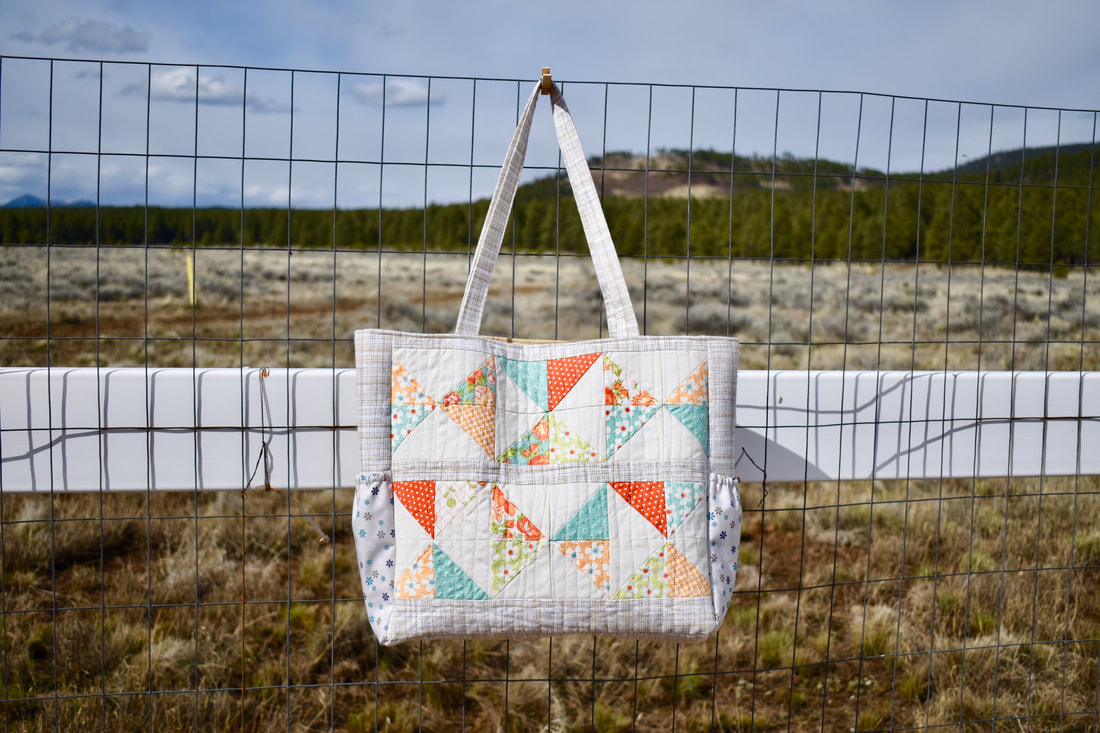
The Irene tote bag is a large size tote bag, with lovely patchwork design, and several internal and external pockets.
This is a great bag for your a day trip, road trip, market day, or casual daily errands. The patchwork itself is made out of half square triangles that were extracted from charm packs (5" squares). I have put together the pattern for the front exterior shell on pdf format that you may download below : DOWNLOAD THE FRONT EXTERIOR PATCHWORK DIAGRAM :
Watch the full tutorial on my youtube channel :
~Supplies and Tools~
12 Charm Packs (6 prints, 6 light solid color) 1 yard quilt weight fabric (accent fabric) 1 yard quilt weight fabric (lining) Fusible woven interfacing Fusible fleece One set of magnetic snap Nylon zipper (at least 7" long) Basting tape Hera Marker Sewing Clips Square ruler
~Cutting Measurements~
Front Exterior Shell - Make 24 pcs half square triangle out of the charm packs - Cut two 15 1/2 " x 1 1/2" strips from the accent fabric - Cut one 15 1/2" x 3" Back Exterior Shell : Cut one 15 1/2" x 14 1/2" out of the accent fabric Side panels : Cut two 14 1/2" x 5" out of the accent fabric Bottom Gusset : Cut one 15 1/2" x 5" Side Exterior pocket : Cut two 7" x 8" rectangles Fusible woven interfacing : Cut two 15 1/2" x 14 1/2" (front and back exterior) Cut two 14 1/5" x 5" (side panels) Cut one 15 1/2" x 5" (bottom gusset) Fusible Fleece: Cut two 14 1/2" x 13 1/2" (front and back exterior) Cut two 13 1/2" x 4" (side panels) Cut two 14 1/2" x 4" (bottom gusset) Lining Cut two 15 1/2" x 14 1/2" (front and back exterior) Cut two 14 1/5" x 5" (side panels) Cut one 15 1/2" x 5" (bottom gusset) Interior zipper pocket : Cut two 10" x 7" rectangles Interior slip pockets Cut one 14" x 12" Straps Cut two 27" x 4" strips out of the accent fabric Cut two 27" x 2" strips out of the fusible woven interfacing
If you have any questions, don't hesitate to leave me a comment.
Happy sewing!! |
Categories
All
©
Yoan Sewing Studio | All Rights Reserved
|
||


 RSS Feed