 This new (enlarged) version of the beloved Dainty wallet project offers extra card slots (6 slots), larger compartments, and faux leather/cork accent (flap & d-ring tab). Finished wallet measurements : 4 3/4" x 5 1/4" (12 x 13.3 cm) Features : 6x card slots 2x compartments (great for folded notes or extra cards) Button flap closure D-ring tab Compact and slim Get the PDF cutting instructions by clicking the above black button or here. This post may contain affiliate links. Commission earned when you make a purchase through any of these links with no additional charge. Thank you for your support. After you download the pattern, watch the full video tutorial of the Dainty wallet 2 and sew along with me. Don't forget to subscribe to my Youtube channel so you won't miss any future upload. Happy sewing!
0 Comments
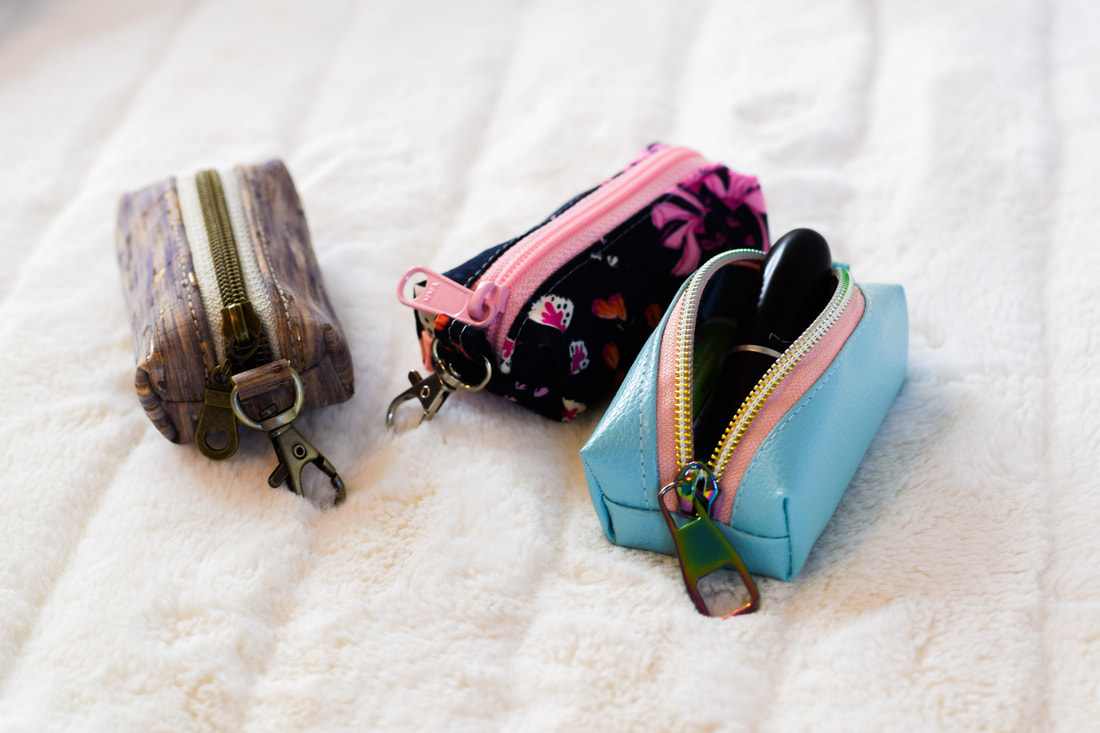 Lipstick/Chapstick pouches by YoanSewingStudio These adorable pouches are perfect to store your lip essentials from chapstick, lipstick, lip balm, etc.
Although this project is labeled as the "lipstick pouch", you may also use these pouches to keep other little items such as USB charger, headset, medicine, coins, money, anything that may fit in them. Finished pouch measurements : approximately 4" x 2" x 1" (10 x 5 x 1 cm). Features include : • Zipper closure • Swivel Hook 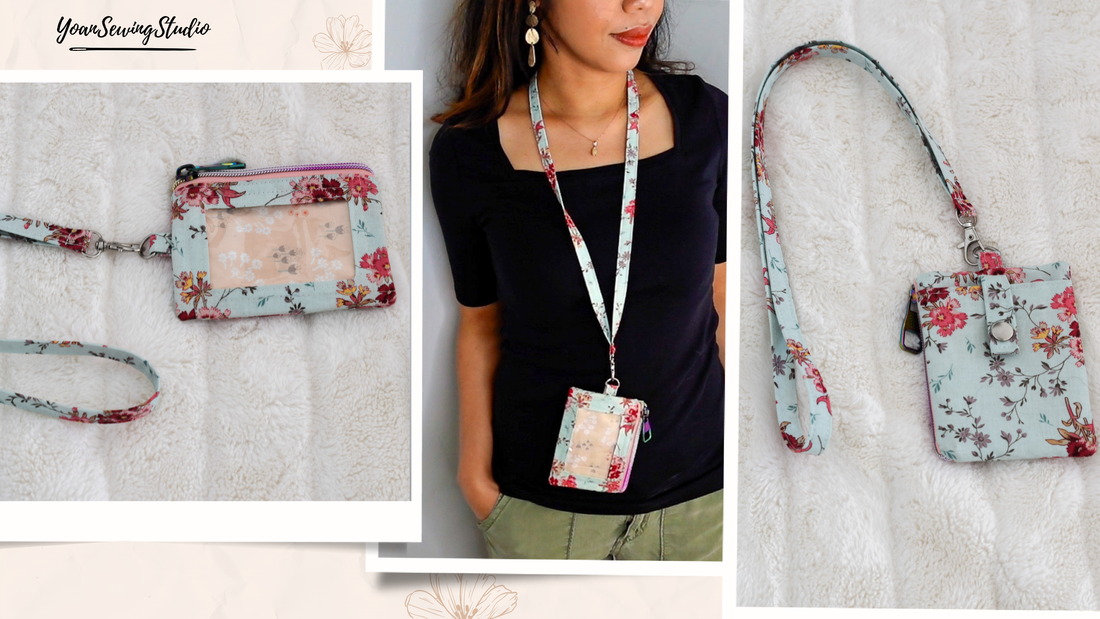 You will love this zippered ID wallet for everyday use. This minimalist yet charming little wallet will not only fit your ID, it can also accommodate few extra cards, cash, chap stick, coupon, receipt, etc.
Finished wallet measurements : 4 3/4" x 3 1/2" (12 x 9 cm). 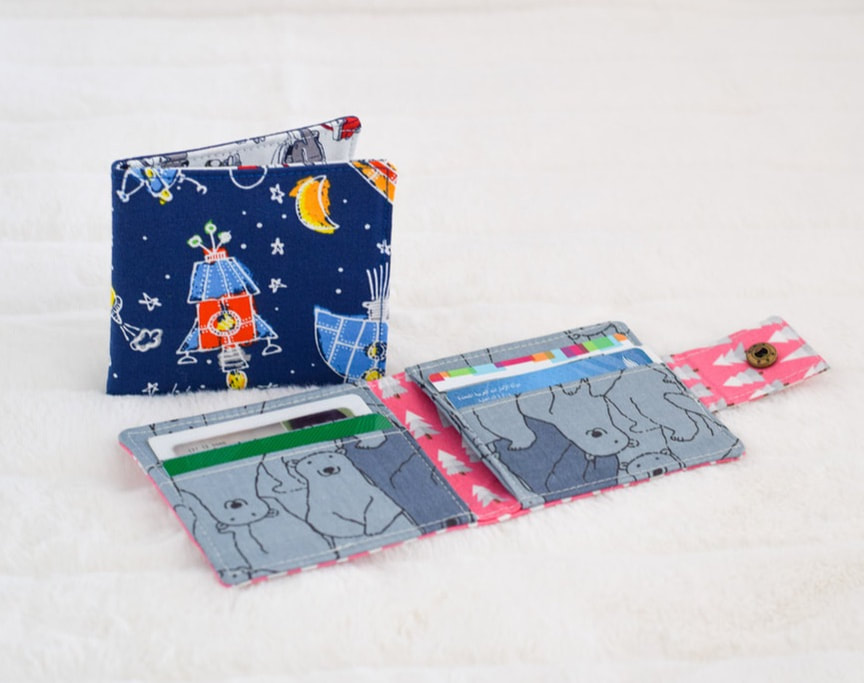
Kids bifold wallet project by yoansewingstudio
I can't never share enough of wallet projects indeed :). I've been wanting to make a simple wallet for my son to be his first wallet. I managed to create one for him (the one with blue rocket/space fabric - leftover from making his quilt few years ago).
I like the outcome so much, then I thought why not make another one (the pink one with button snap closure to add variation to this pattern). Although these wallets are labeled for "kids", they can be made for adult too, especially if you like minimalistic wallet style. 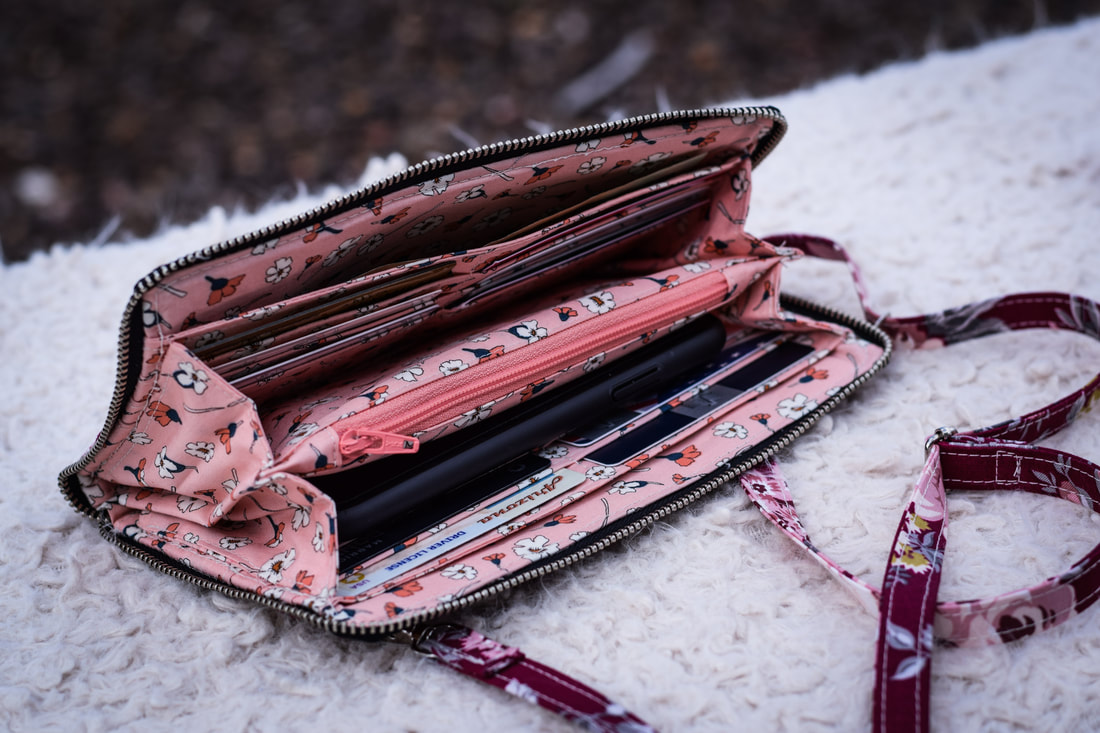
zip around wallet purse by yoansewingstudio
The zip around wallet purse is such a versatile addition in your collection. It has everything that a wallet should function for, from credit card slots, cash compartments, zipper pocket, enough room to carry your cellphone, with bonus adjustable strap and a wristlet strap.
Finished wallet measurements : approx. 8" x 4 1/2" (20.3 x 11.5 cm) Features: 6x card slots (each slot can accommodate up to 2x cards) 1x zipper pocket 2x slip pocket compartments (for cash, passport, boarding pass, etc) 2x middle compartments (perfect for cellphone) Adjustable strap Wristlet strap 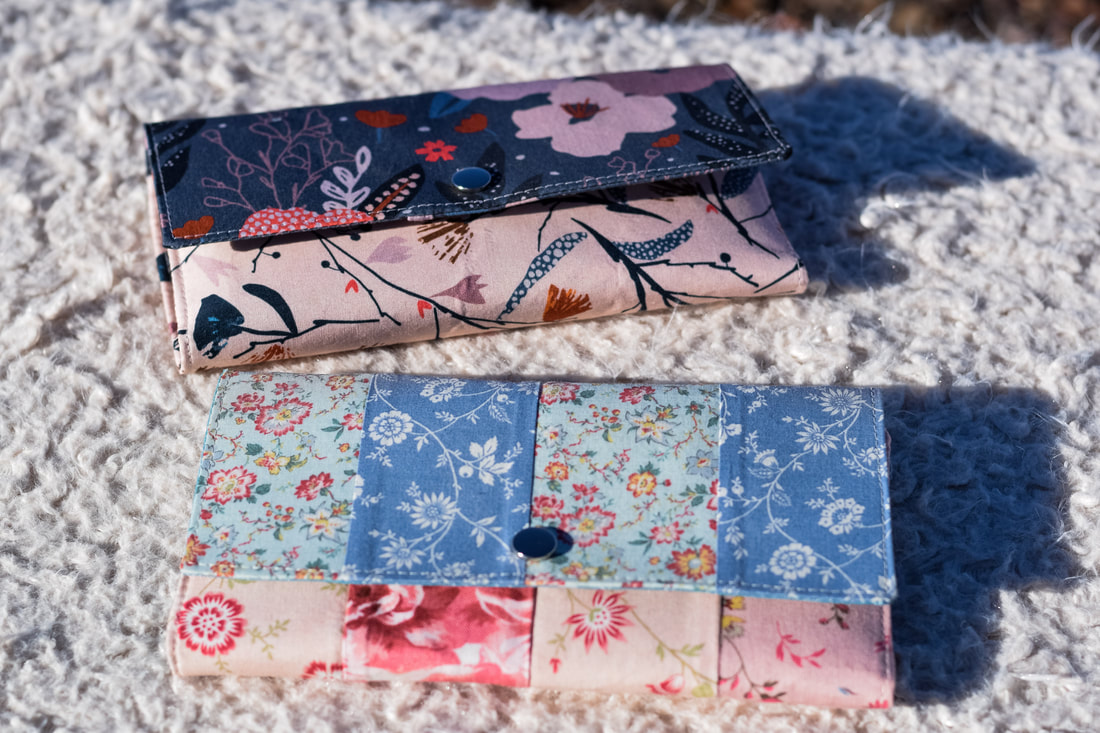
Anisa Trifold Wallet by Yoan Sewing Studio
Here's a new wallet pattern that I'm so excited to share with you this year. If you're looking for a pretty wallet that can carry lots of cards, along with your phone, passport, cash, receipt, coins, etc, yet simple enough to make, the Anisa wallet might be the one for you.
Wallet finished measurements : approx. 7 3/4" x 4 1/4" (19.6 x 10.8 cm) when closed. 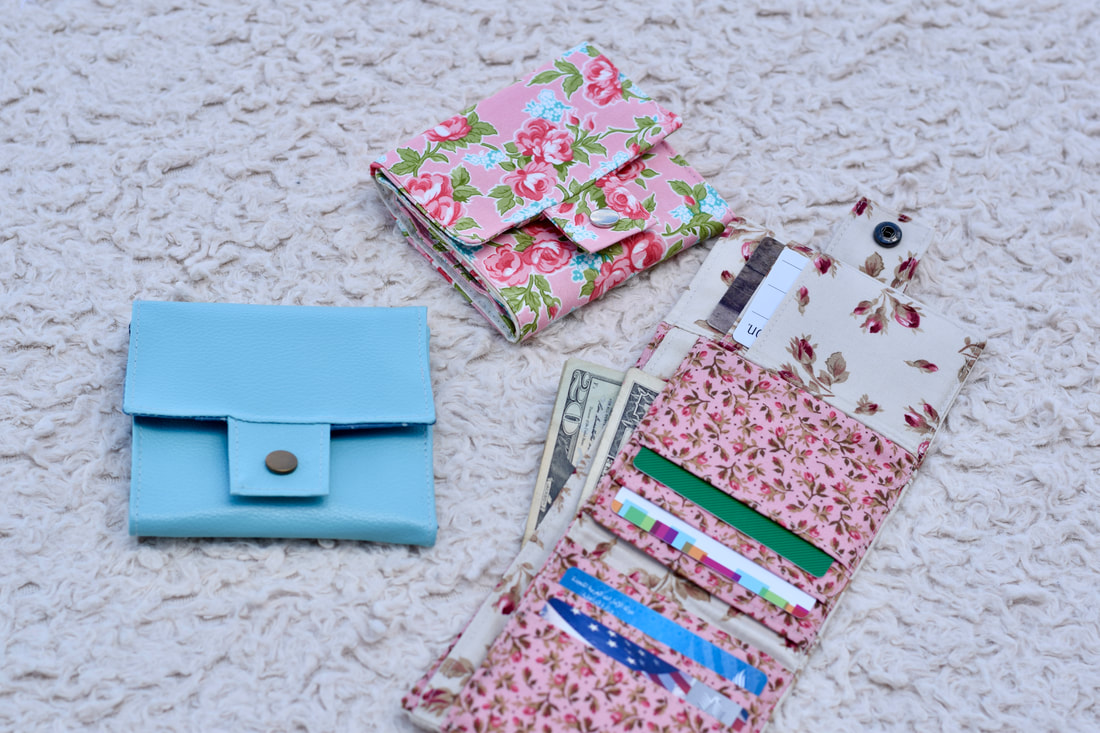
Today I am so excited to share with you this adorable yet very functional Small Trifold Wallet project.
Finished wallet measurements : approximately 4 1/2" x 4 1/4" (11.4 x 10.8 cm) when folded. Features : 6x card slots (each slot may hold up to 2 cards) 2x hidden slots (to store more cards, receipt, etc) 2x money compartments 1x external zipper pocket Button snap closure Optional RFID blocking; you may purchase RFID blocking fabric here.
This post contains affiliate links. I may earn a small percentage of commission when you make a purchase through any of link provided with no additional charge. Thank you for your support.
Watch the full video tutorial on my Youtube channel.
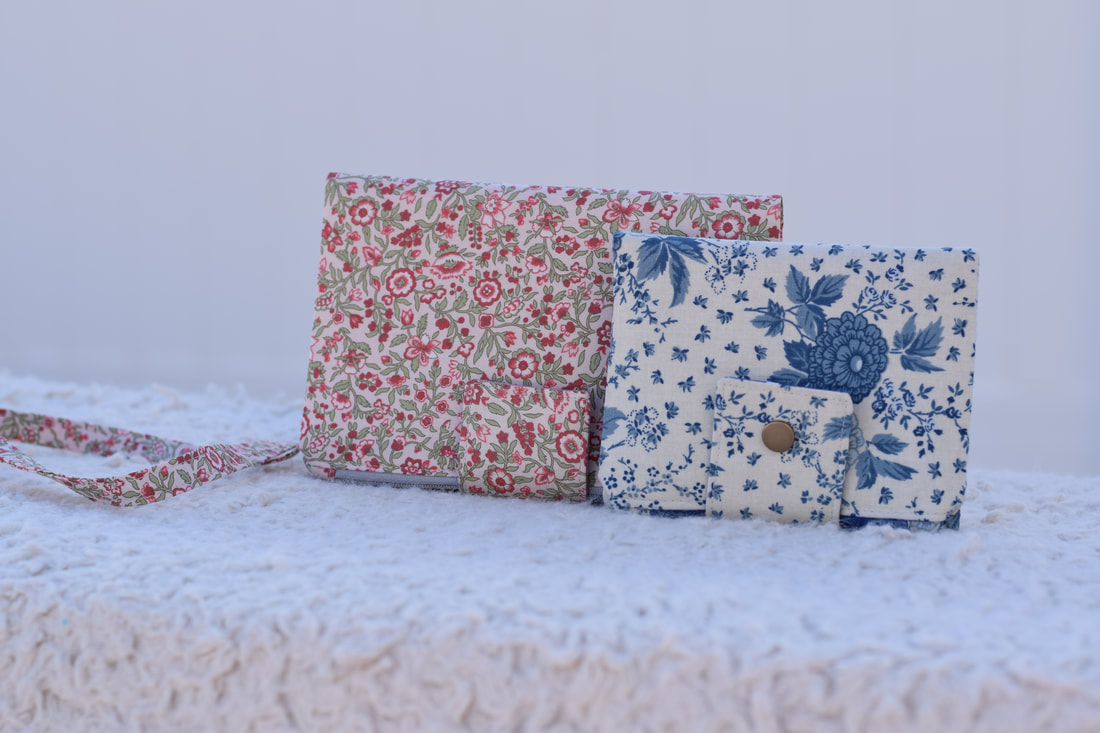
Duo Bifold Wallet by Yoan Sewing Studio
Duo Bifold Wallet Project
Large Wallet Finished measurements : 7 1/2" x 5" (19 x 12.7 cm)- when folded Features : 8 card pockets 2x compartments (for cash/ cellphone) 1x Zipper pocket Magnetic snap or button snap closure Adjustable Strap Wristlet Strap (optional) Small Wallet Finished Measurements : 5 1/2" x 4 1/2" (14 x 11.4 cm) - when folded Features : 8 card pockets 2x compartments (for folded notes, or extra cards) 1x zipper pocket Magnetic snap or button snap closure
Click the buttons below to download the PDF pattern (cutting instructions)
This post contains affiliate links. I may earn a small percentage of commission when you make a purchase through any of these links with no additional charge. Thank you for your support.
Watch the full video tutorial on my Youtube channel, remember to subscribe so you won't miss any new upload.
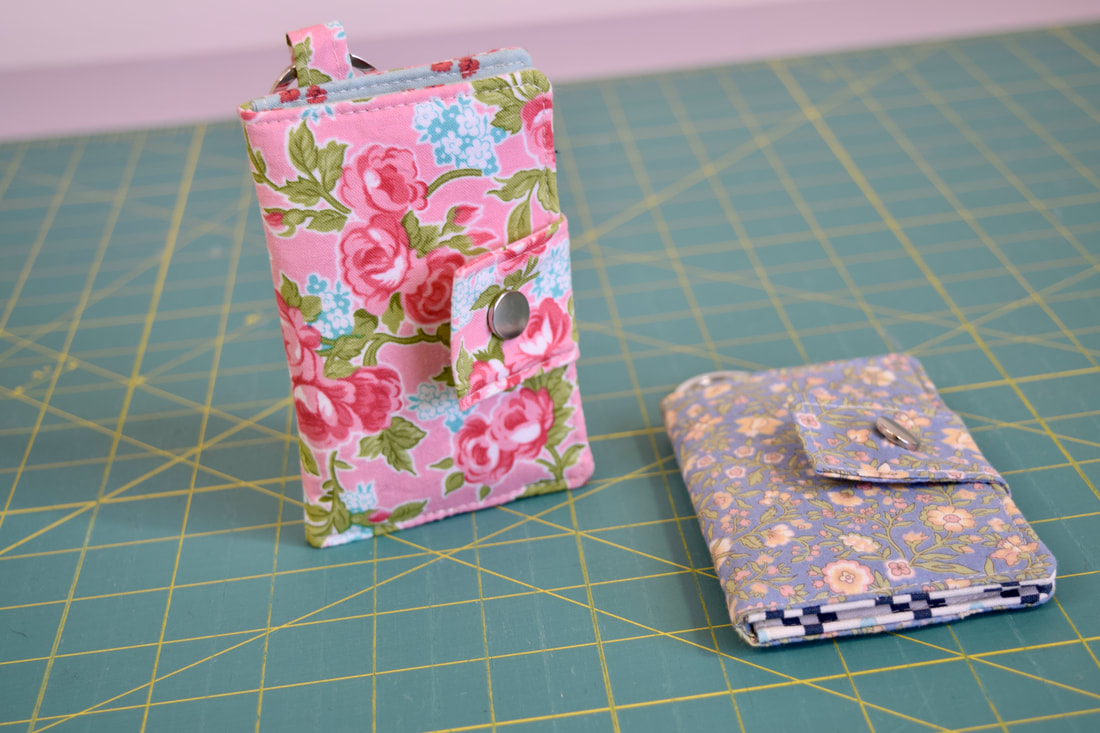
Dainty Keychain Wallet by Yoan Sewing Studio
The Dainty wallet, is a darling little wallet that is perfect for your daily errands. If you like a simple wallet to carry few cards, and a bit of cash, this will be the one for you.
Finished wallet measurements : Approx. 3" x 4 3/4" (7.6 x 12 cm) when folded. Features : 4x card slots 2x little compartments (for folded notes or few extra cards) Keychain ring Button flap closure
Disclaimer : This post may contain affiliate links; I may earn a small percentage of commission when you make a purchase of qualifying items through any of those links with no additional charge. Thank you for your support.
Hope you enjoy this project. Thanks for stopping by and happy sewing.
Yoan 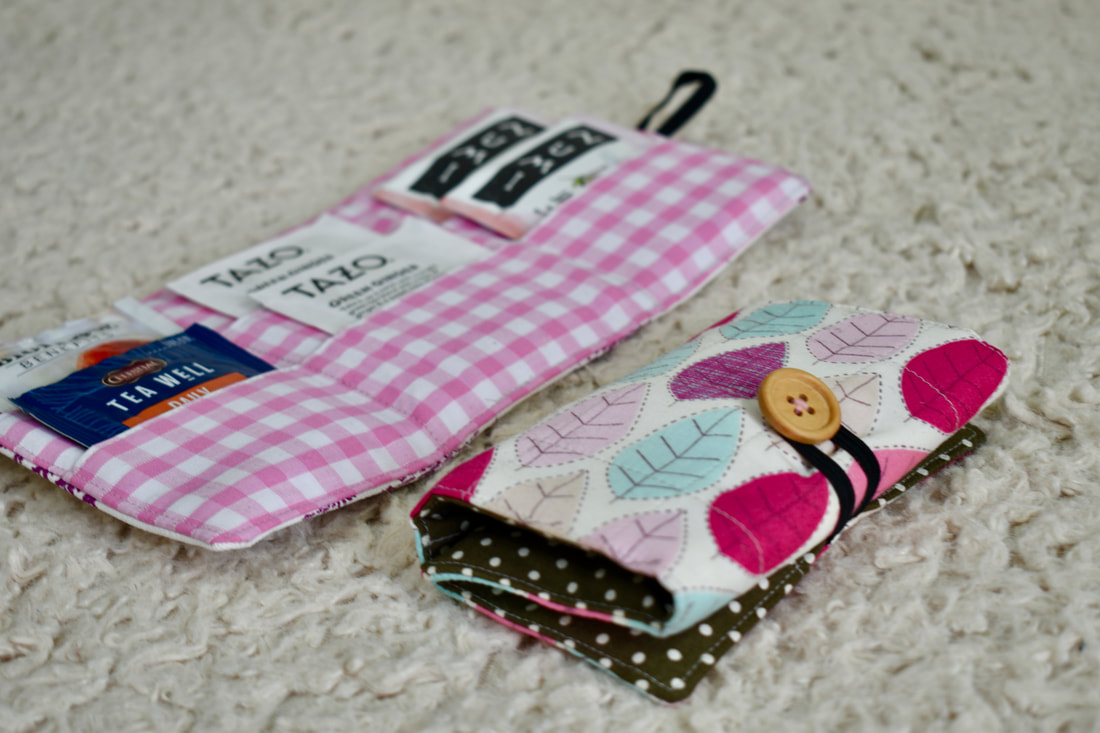 The trifold tea wallet is a delightful little project for you to do in one afternoon with your cup of tea. Perfect to carry your favorite tea bags, or to be given to any tea lover you know. Finished wallet measurements : 3 1/2" x 5" (8.9 x 12.7cm) when folded. Features 6x tea slots (each slot can fit up to 2x standard size tea bags). Up to 12x tea bags capacity Button & elastic closure. In this episode, I also do a fun unboxing session of two fabulous products from HOCHANDA. HOCHANDA is The UK's leading craft channel dedicated to crafts, arts, and hobby essentials with endless creative options and crafting supplies. You can watch them 24/7, they do a lot of awesome crafting shows and demonstration, along with many offers and wide variety of products for you to choose. 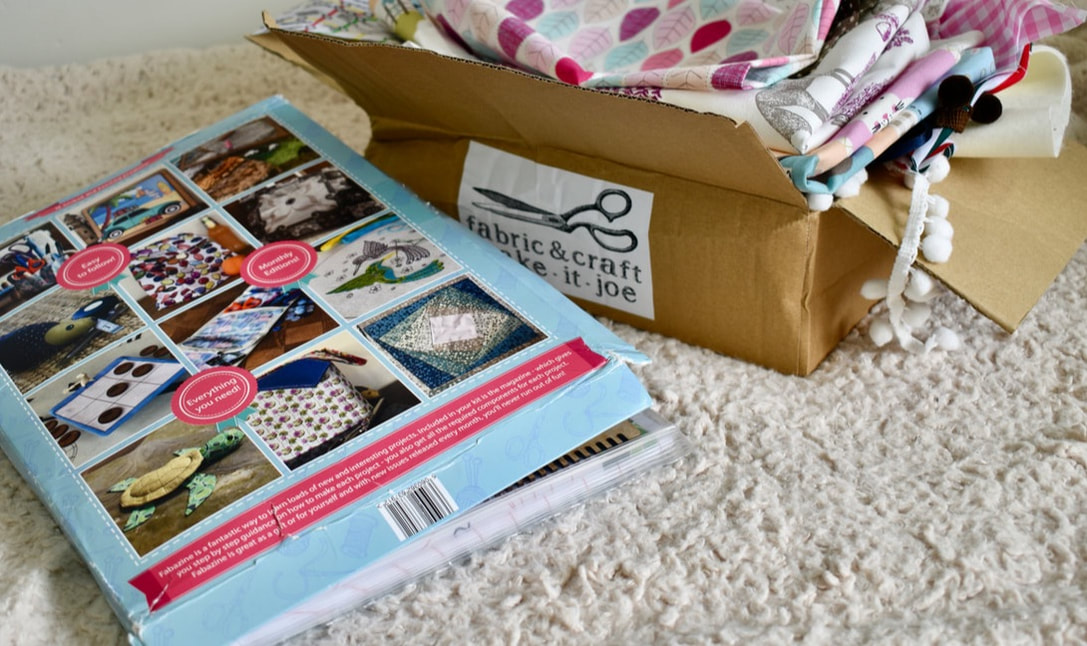 Fabazine and make-it-joe variety box from Hochanda Products that are featured in the unboxing session: Craft Yourself Silly - Fabazine Fabazine comes with 12 unique and exciting projects. A fantastic way to learn new things without being too overwhelming. I was so excited when I saw the weaving loom, since I have been interested in weaving for a while, so this will be a great way for me to start learning. Make-it-Joe variety stash box Make-it-Joe variety stash box is the ultimate soft craft surprise stash box packed full of fabrics in a variety of designs, weights, sizes, mixed with bits and bobs and more. I was pleasantly surprised with the contents that come with it, and decided to use some of the fabrics and supplies from the box to make the tea wallets. Disclosure : I received the products for free from Hochanda as part of the collaboration. If you're interested in shopping with HOCHANDA, you may use the following voucher codes to get a special discount. For USA : YSS2021 Get a $10 off your first order with Hochanda (min. spend $25, the minimum spend is excluding the shipping cost, offer only valid for new customer). For UK (and everywhere else outside the USA) : YSSUK2021 Get a £6 off your first order with Hochanda (min. spend £15; the minimum spend is excluding the shipping cost, offer only valid for new customer). Disclosure: I receive a commission when you use the above voucher code. Thank you for your support. Hope you enjoy making this wallet.
Happy Sewing! |
Categories
All
©
Yoan Sewing Studio | All Rights Reserved
|
 RSS Feed