double zipped foldable bags by Yoan Sewing Studio
Double Zipped Foldable Bag by Yoan Sewing Studio
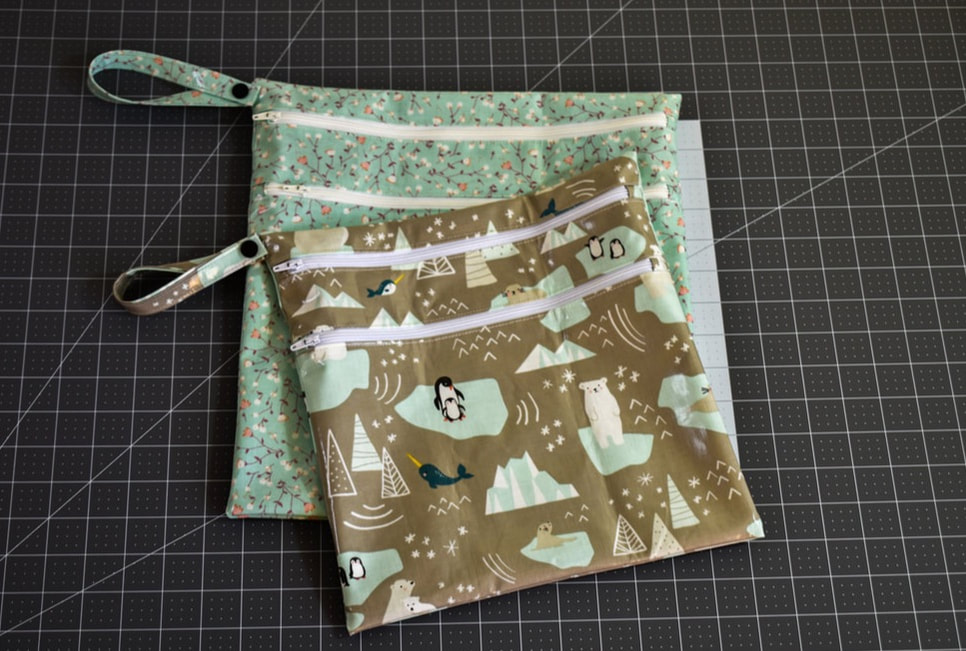
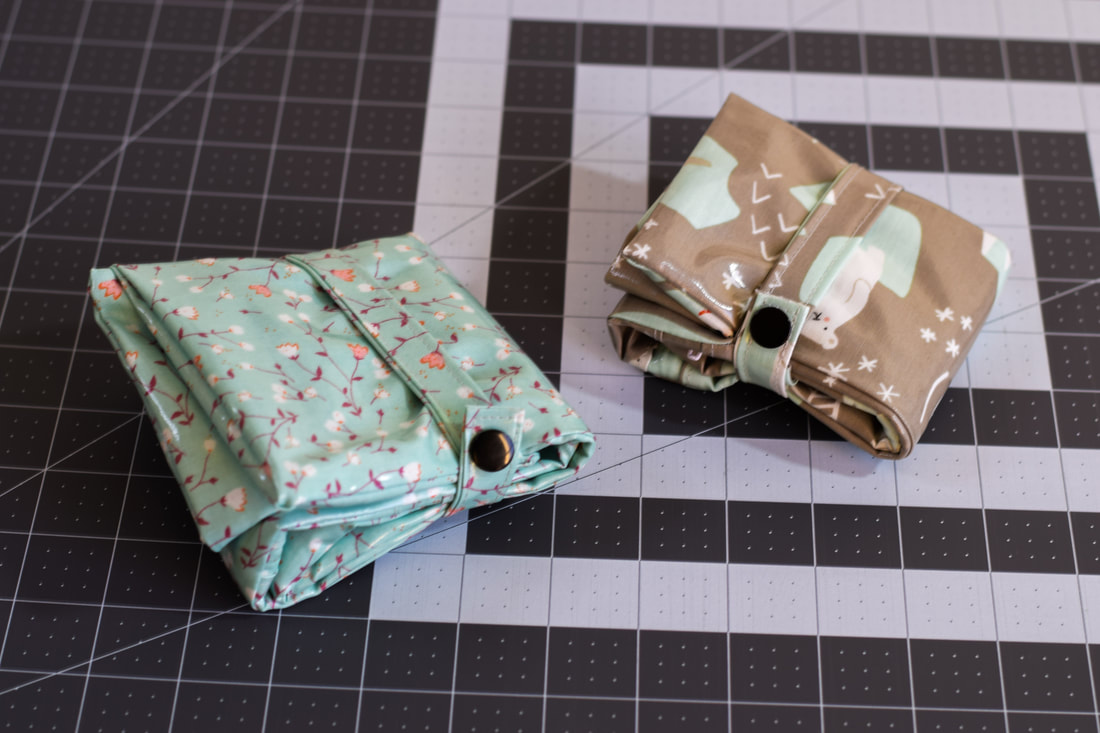
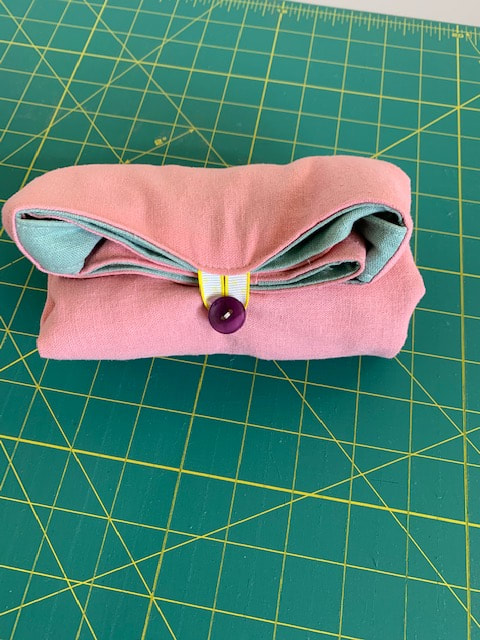
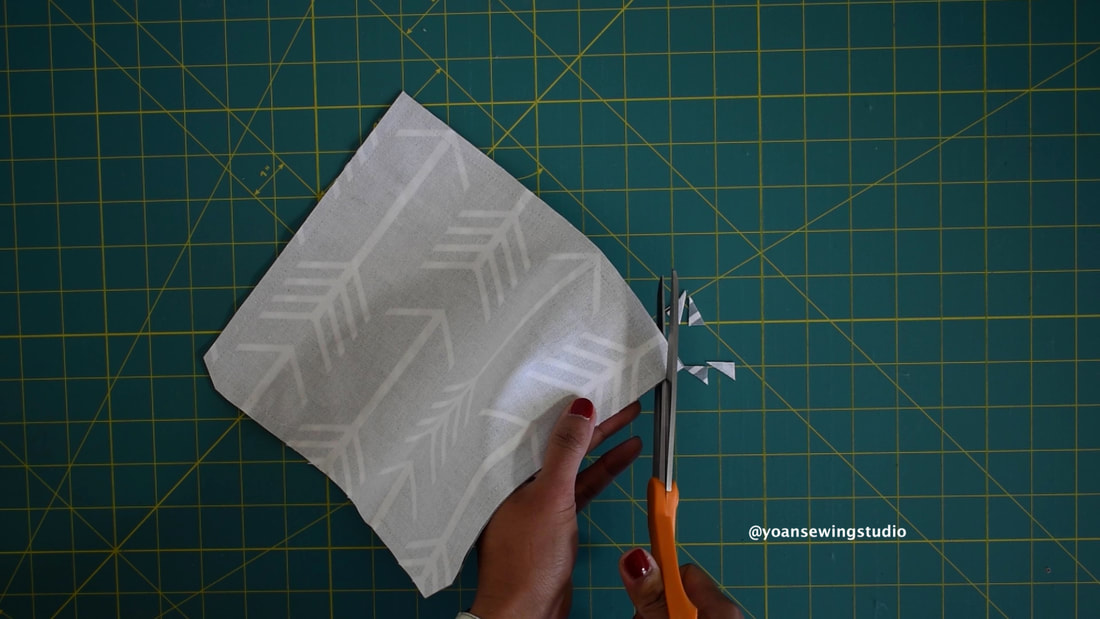
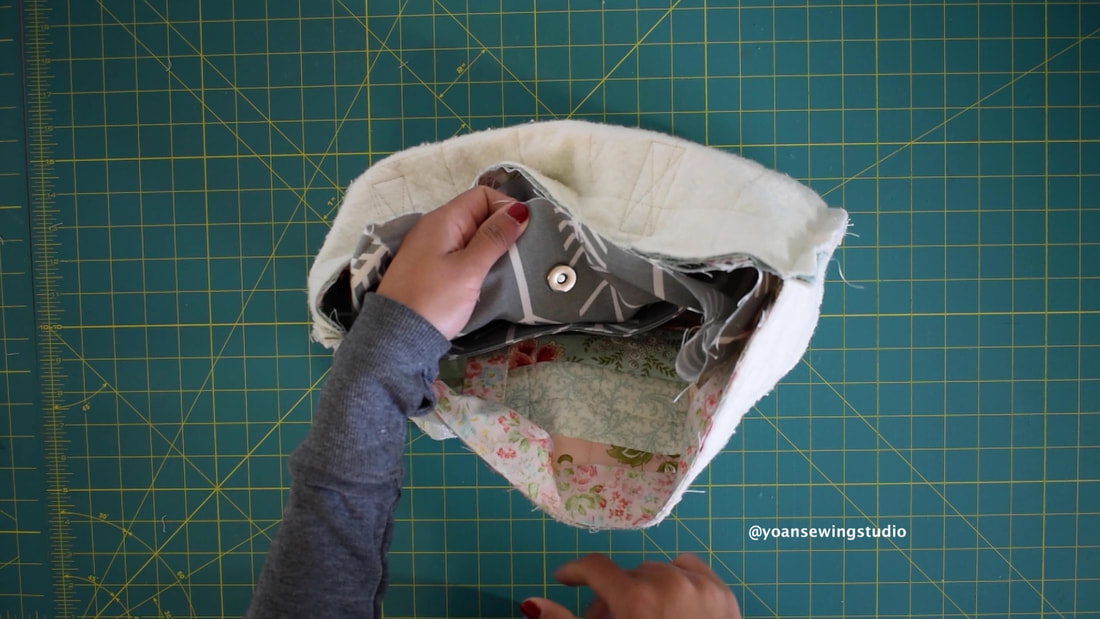
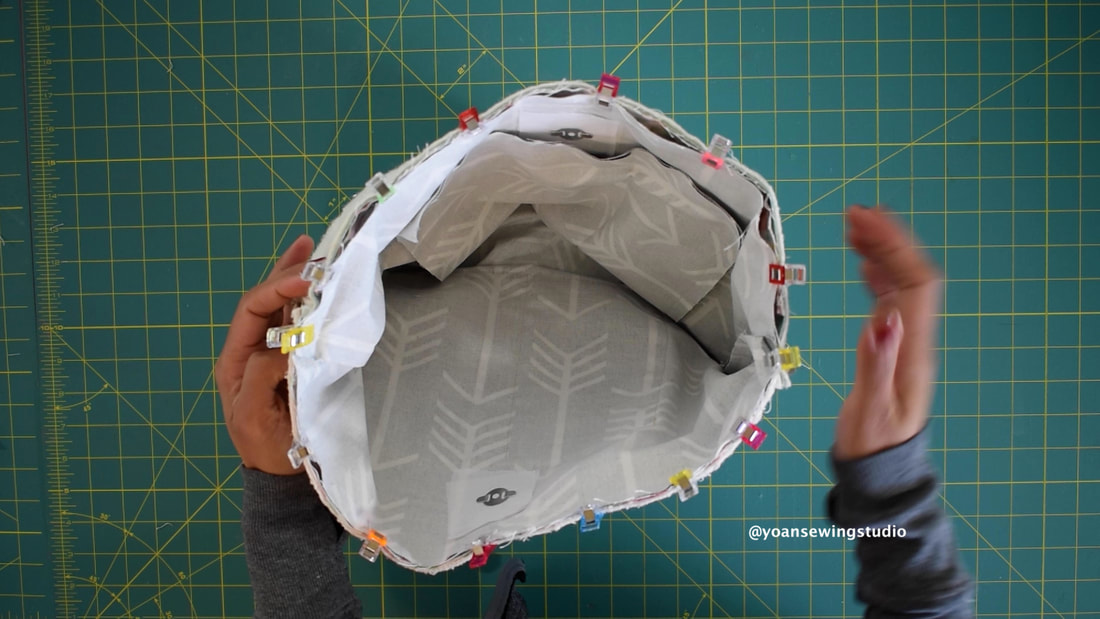
These double zippered foldable bags are light, water resistant, and super functional. Perfect for traveling, gym, accompanying a diaper bag, and will make a great baby shower or holiday gift also.
Finished bag measurements : Large bag : 12 1/4" x 13 1/2" (31 x 34.3 cm) unfolded; 4 1/2" x 4 1/2" (11.5 x 11.5 cm) when folded. Small Bag : 11 x 11 1/4" (28 x 28.5 cm) unfolded; 4" x 4" (10 x 10 cm) when folded. Features include -2x Zipper compartments (the lower zipper compartment can be used to carry damp/wet items) -hanging/tying strap -water resistant fabric -button snap to secure the bag when folded Click the buttons below to the PDF pattern (cutting instructions) & the video tutorial.
0 Comments
festive shoulder bag by yoansewingstudio
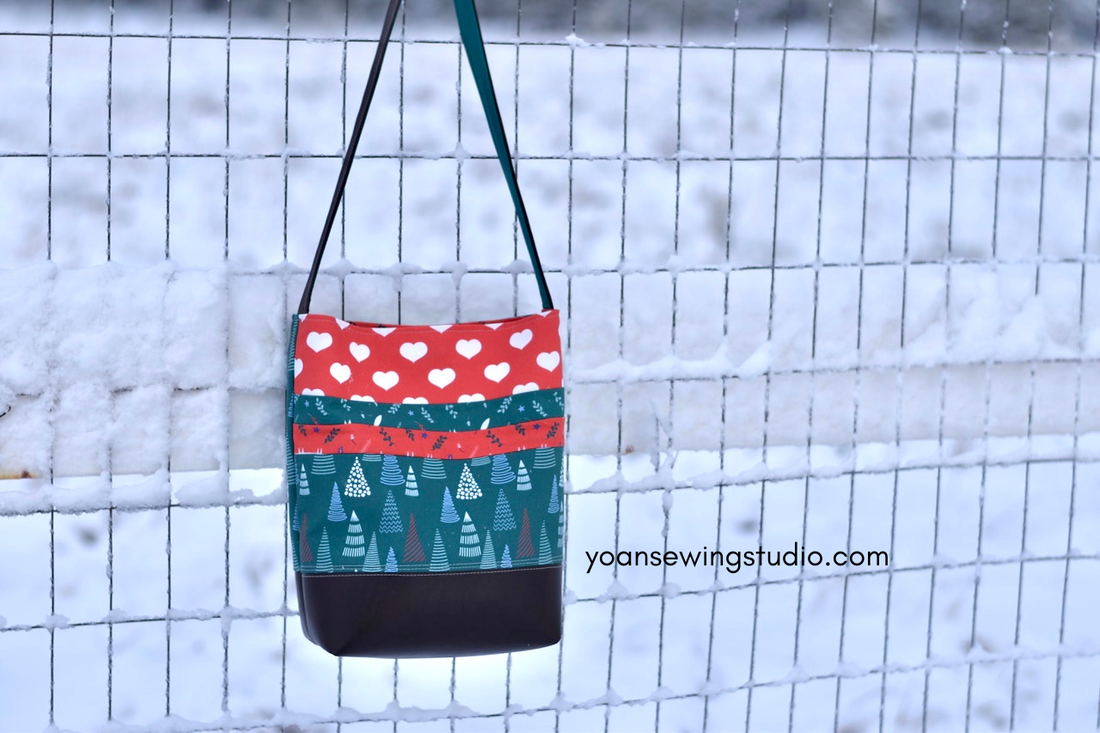
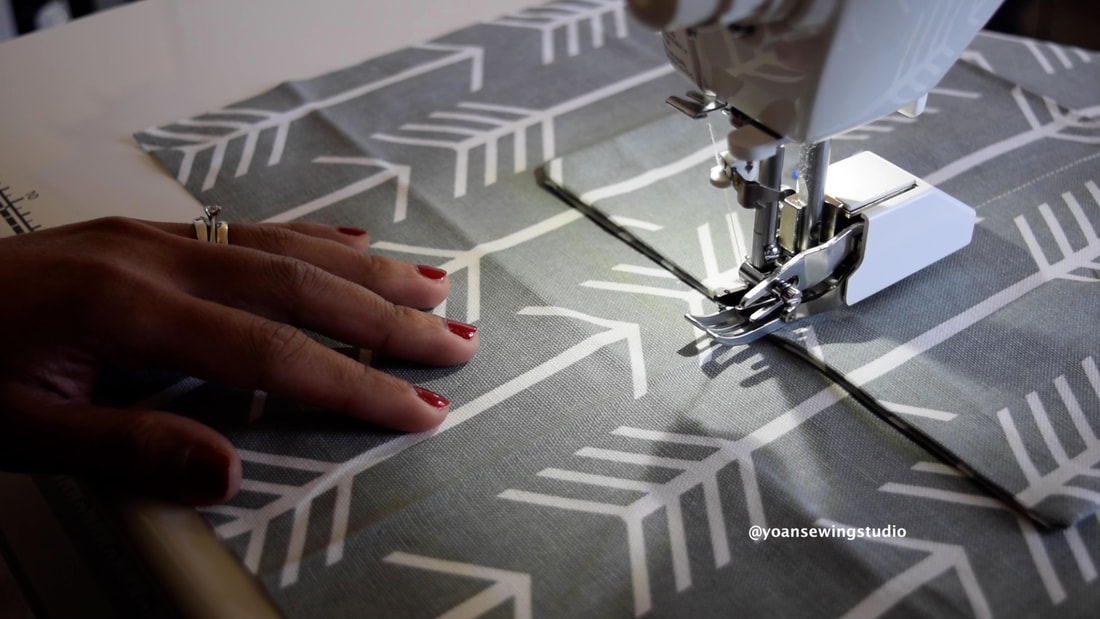
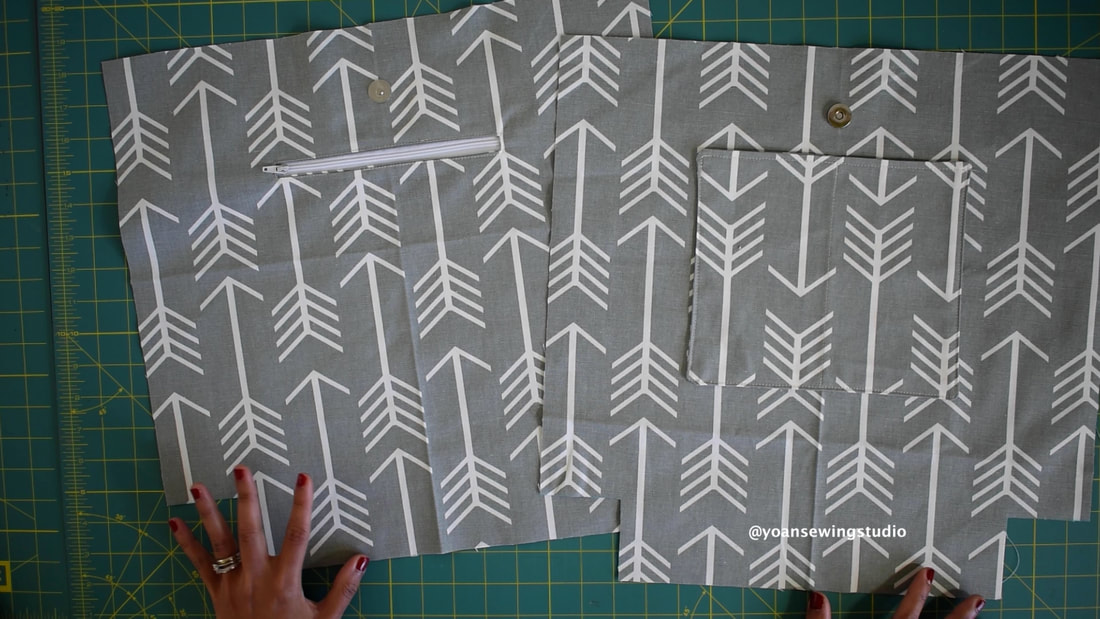
For this holiday special, I'm bringing you the festive shoulder bag project. This is a simple yet charming bag project that you can create for yourself, or as a last minute Christmas gift. Although this bag is created in festivity theme, you can certainly make this at any time of the year, in different color palette.
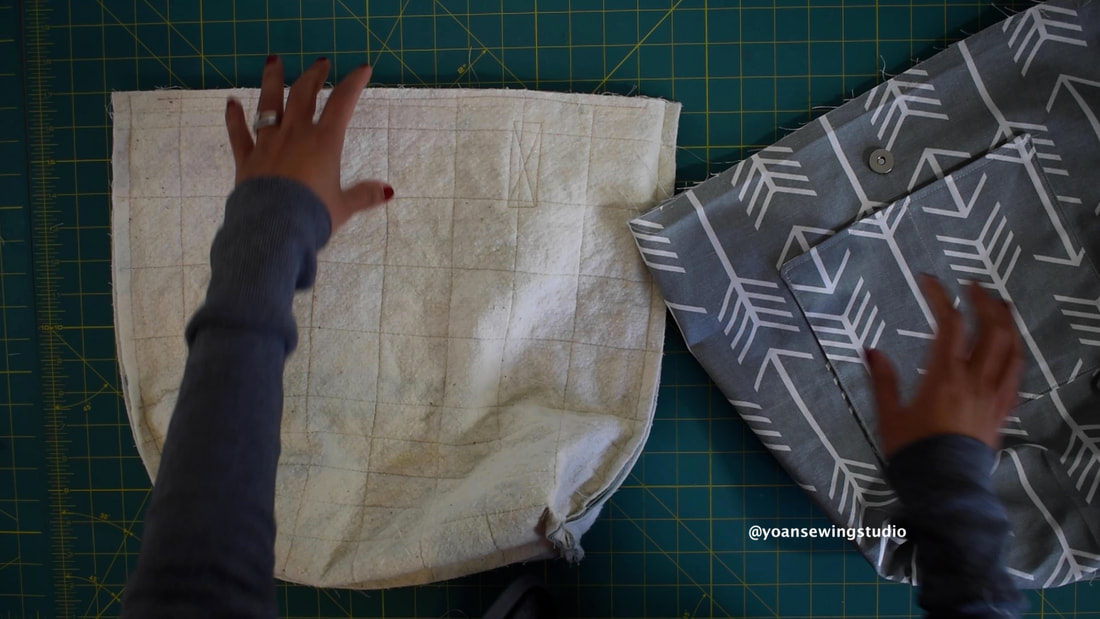
Finished bag measurements : 11" x 11 1/2" x 4" (28 x 29.2 x 5 cm) Features 1x external zipper pocket Magnetic snap closure 1x internal zipper pocket 1x large slip pocket 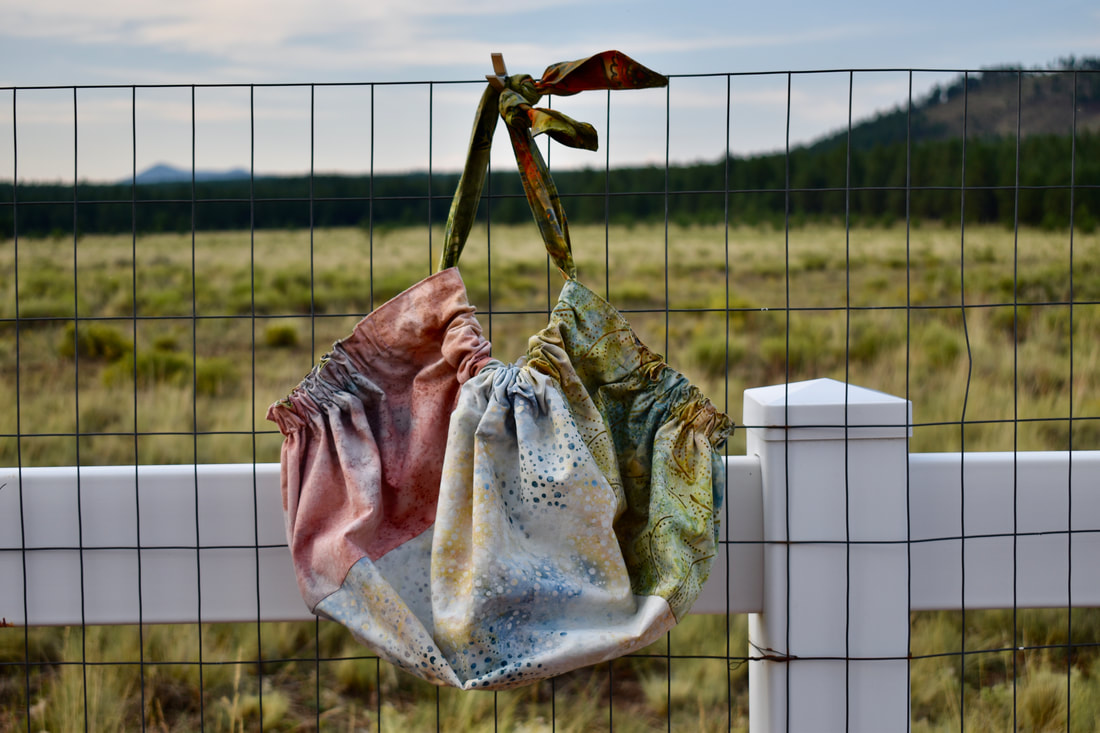
Batik Hobo Bag Project - Yoan Sewing Studio
This darling hobo bag is lightweight, yet quite deep and spacious. Great to be used as a beach bag, shopping bag, overnight bag, etc.
Finished bag Measurements : 16" (widest bottom) x 13" tall x 7" deep
As usual I posted the video on my Youtube Channel, and you may also get the PDF cutting diagrams and brief instructions by clicking the button below.
Disclaimer : This post may contain affiliate links, which means I earn a small percentage of commission when you make a purchase through those links. Thank you for your support!
Happy Sewing!
Today I'd like to share 3 adorable foldable bag projects. These bags are lightweight and can be folded into compact size, yet quite roomy and functional. Great for traveling, or to keep in your purse/ car as spare bag. Bag 1Finished bag measurements : Approx. 19" x 14.5" x 4.25" Folded measurements : Approx. 7" x 4" Bag 2Finished bag measurements : Approx. 14.5" x 14" x 5" Folded measurements : Approx. 5" x 3.5" Bag 3Finished bag measurements : Approx. 17" x 16" x 5" Folded measurements : Approx. 7" x 3.5" I broke this project into two part series on my Youtube channel that you may watch below. Happy Sewing!
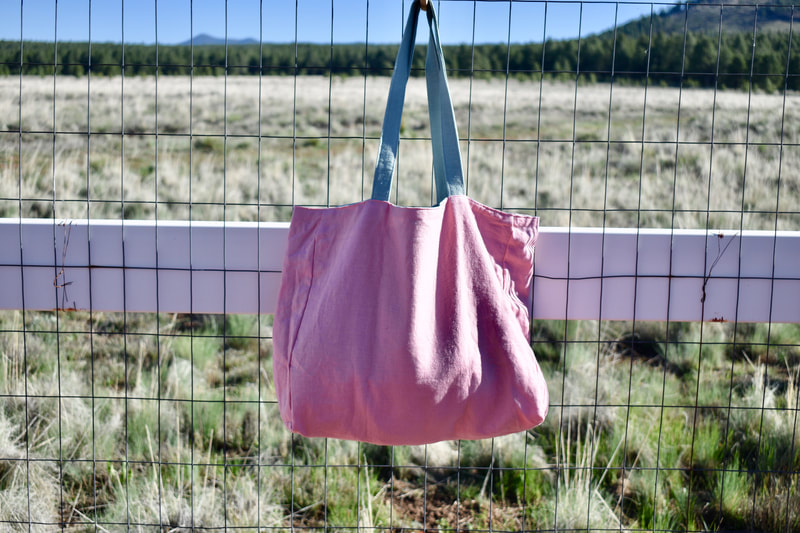
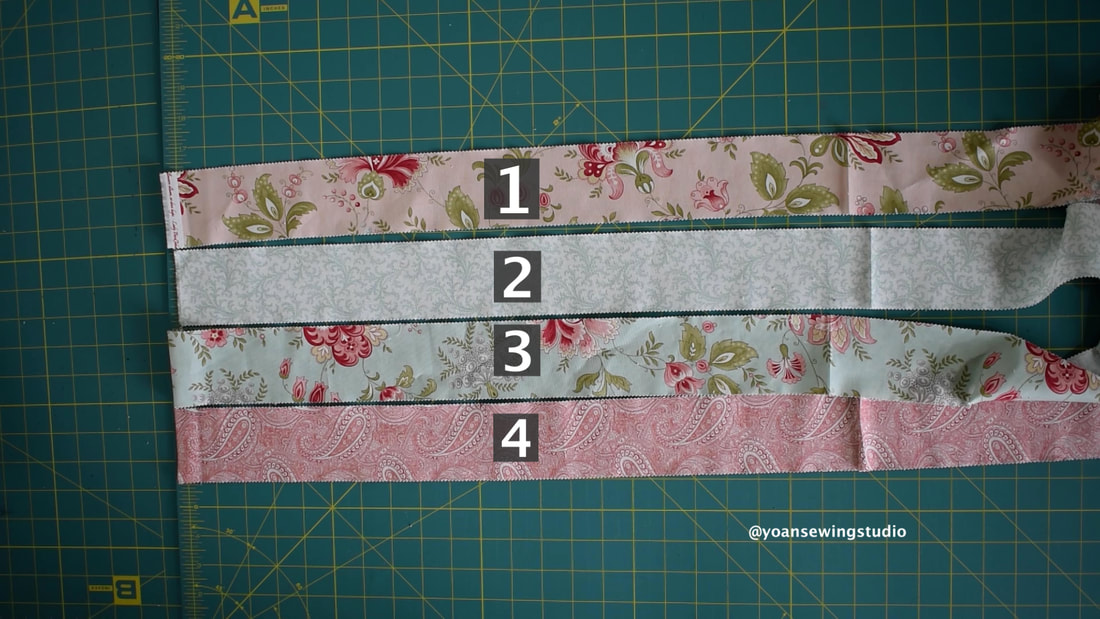
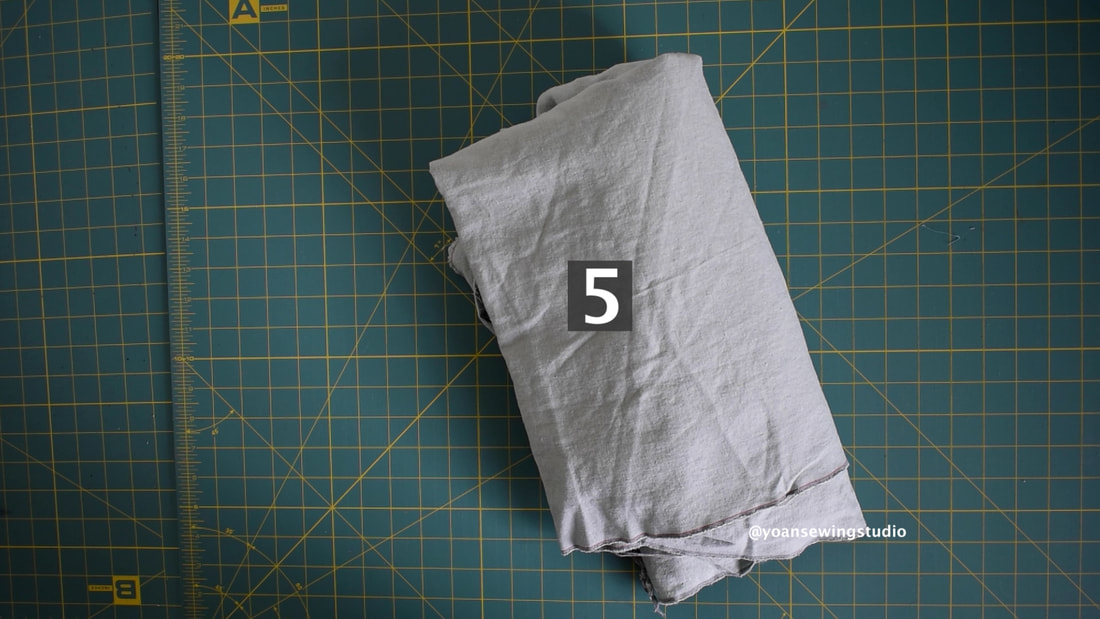
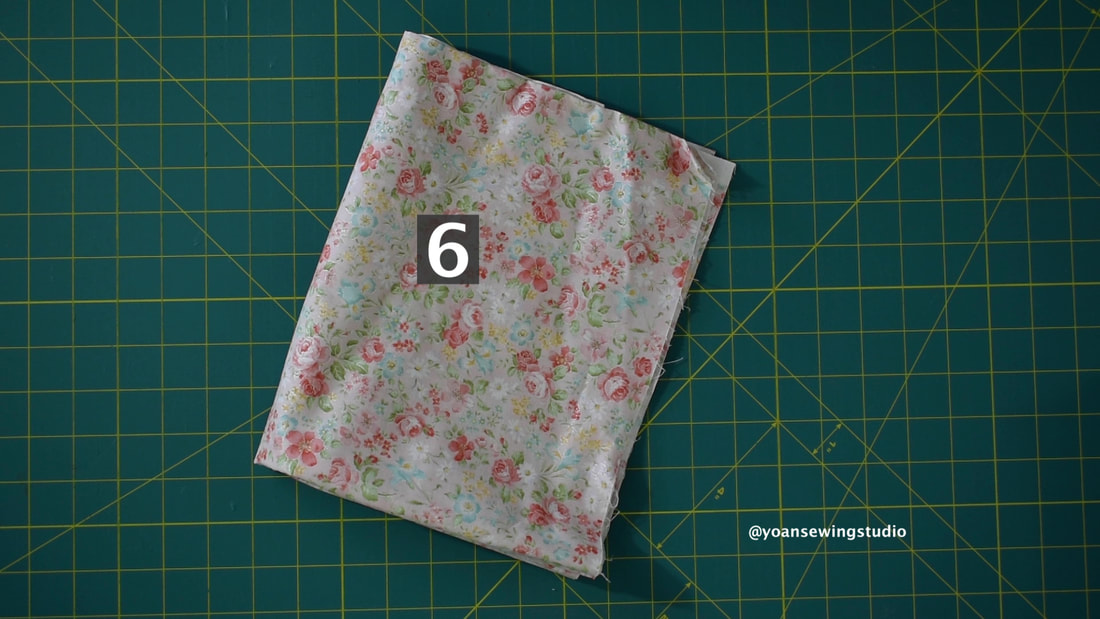
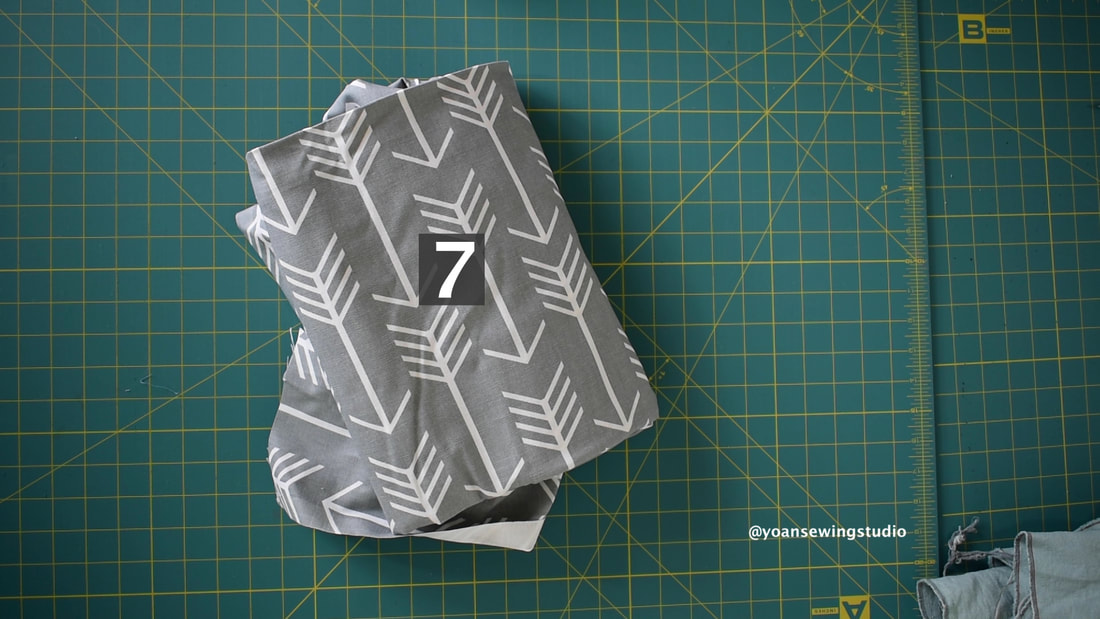
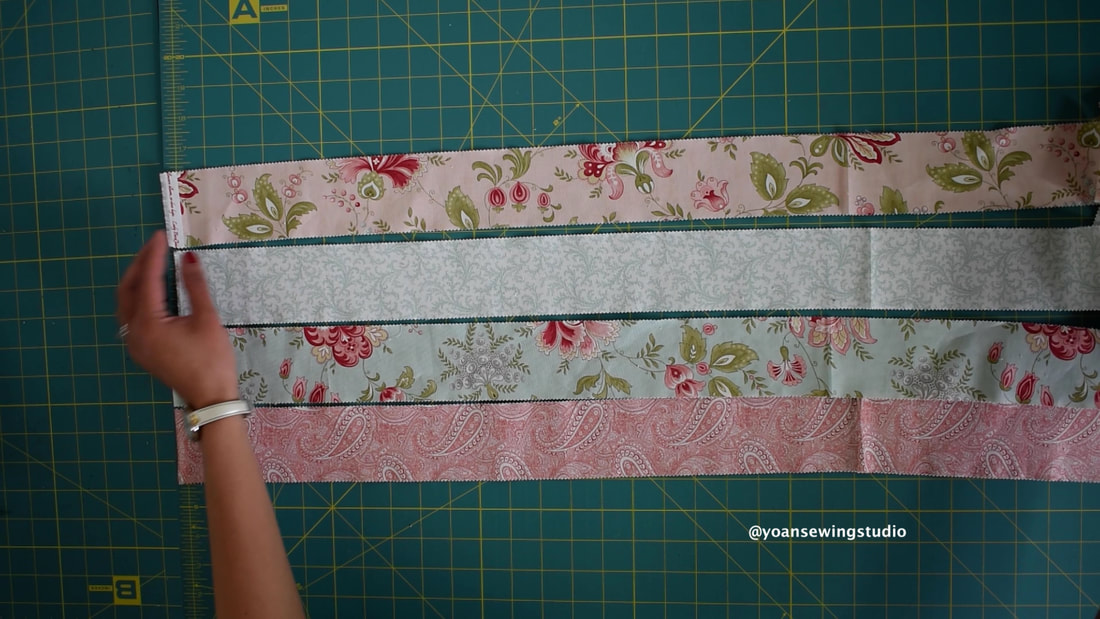
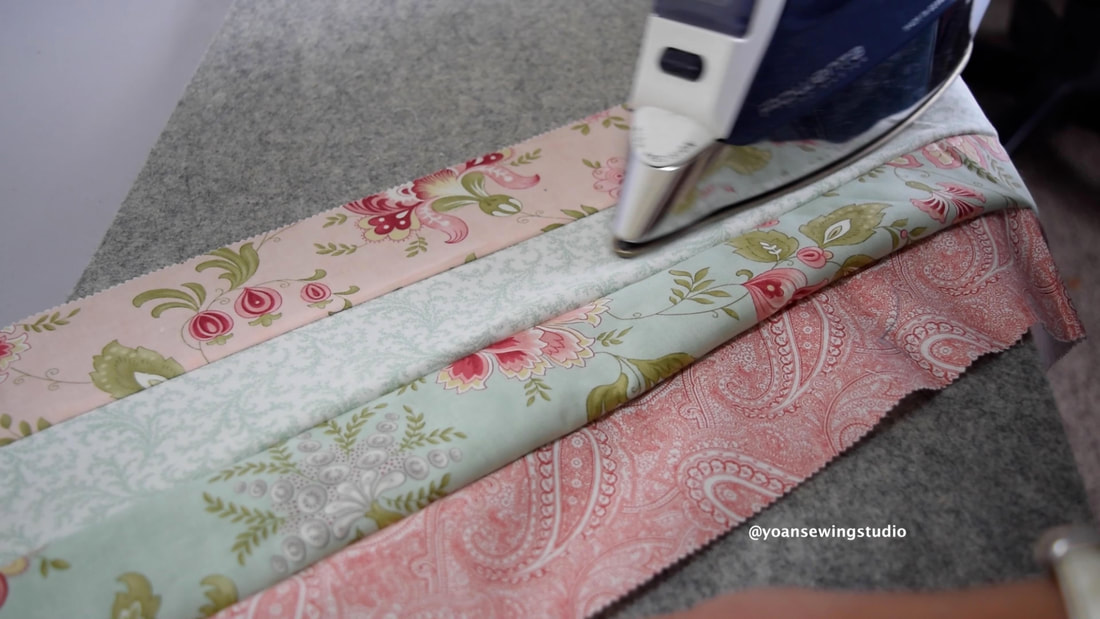
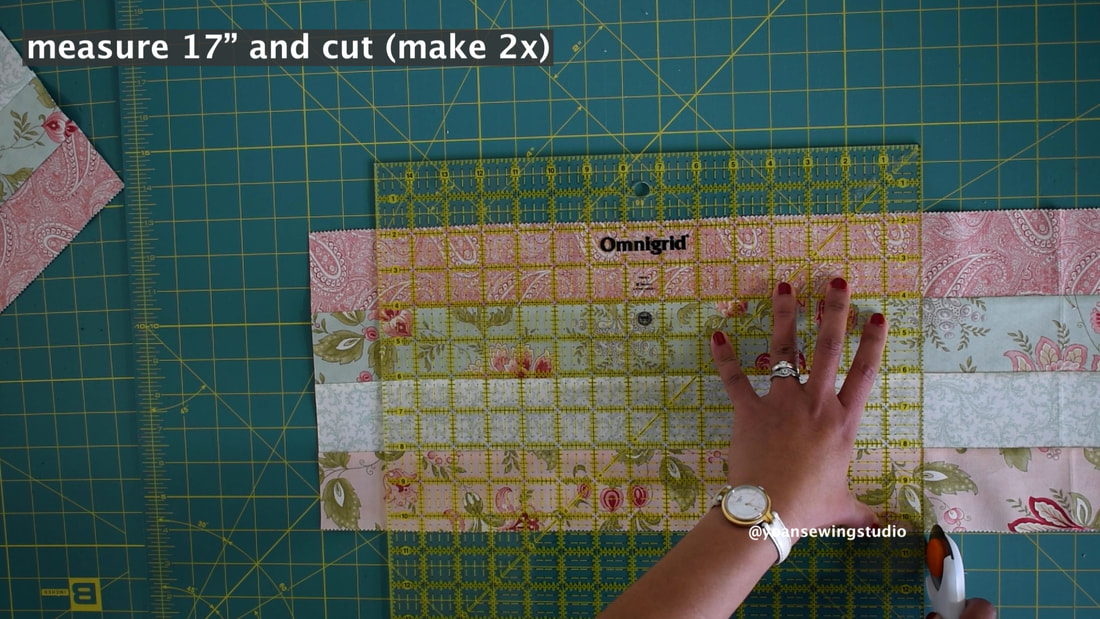
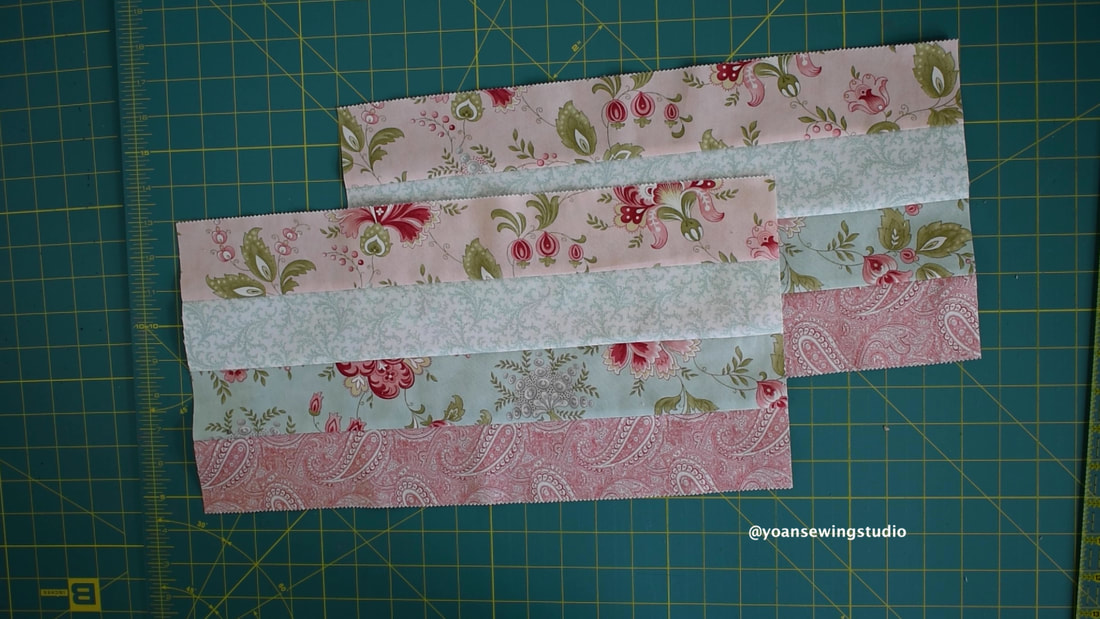
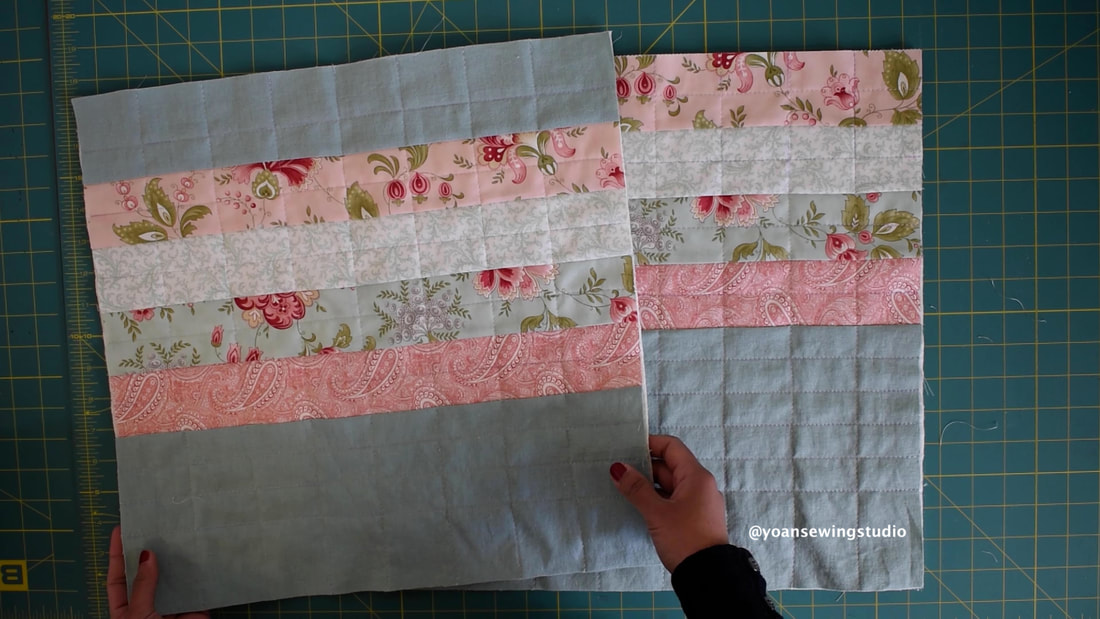
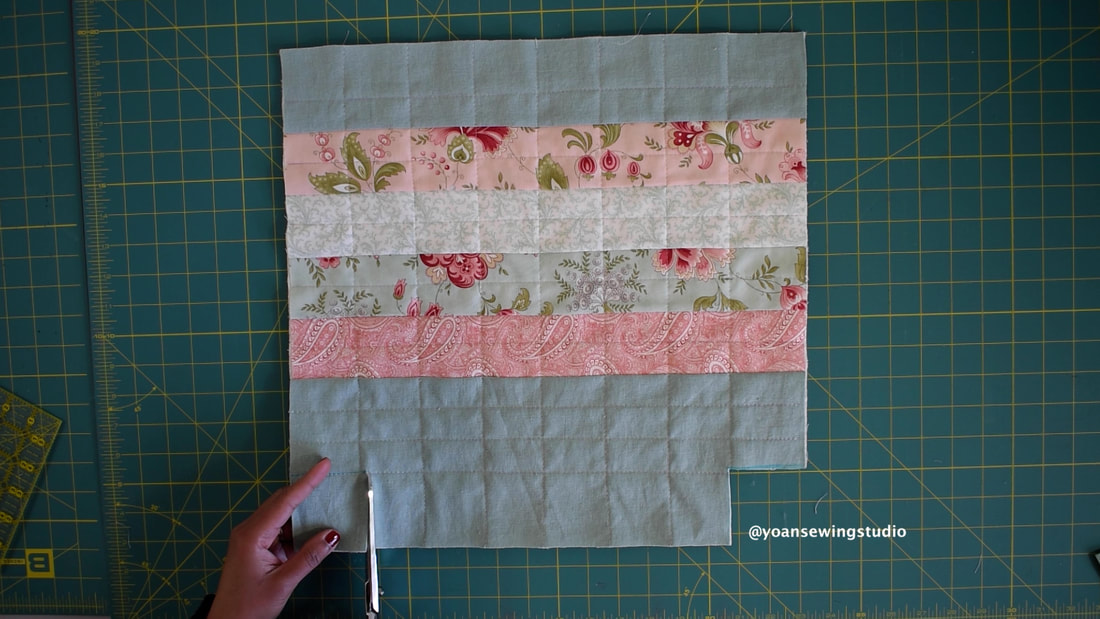
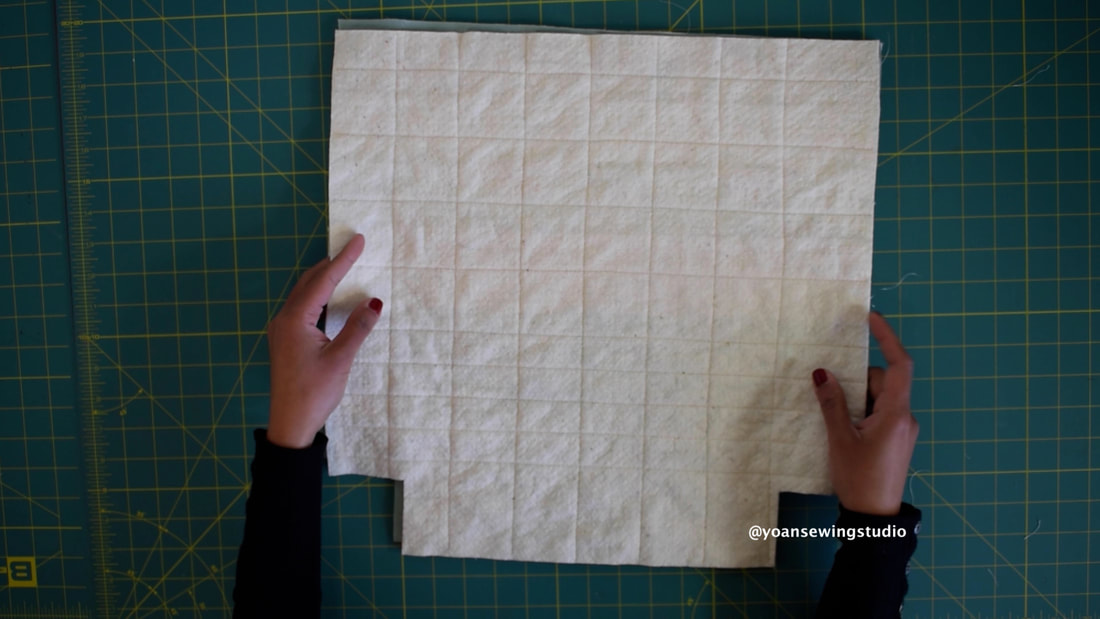
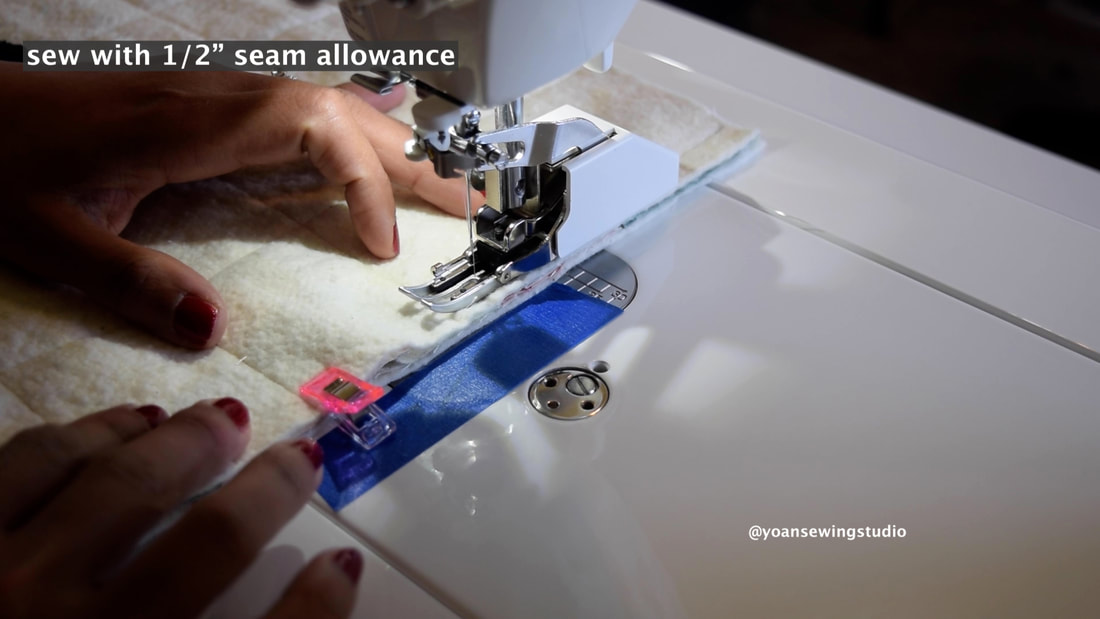
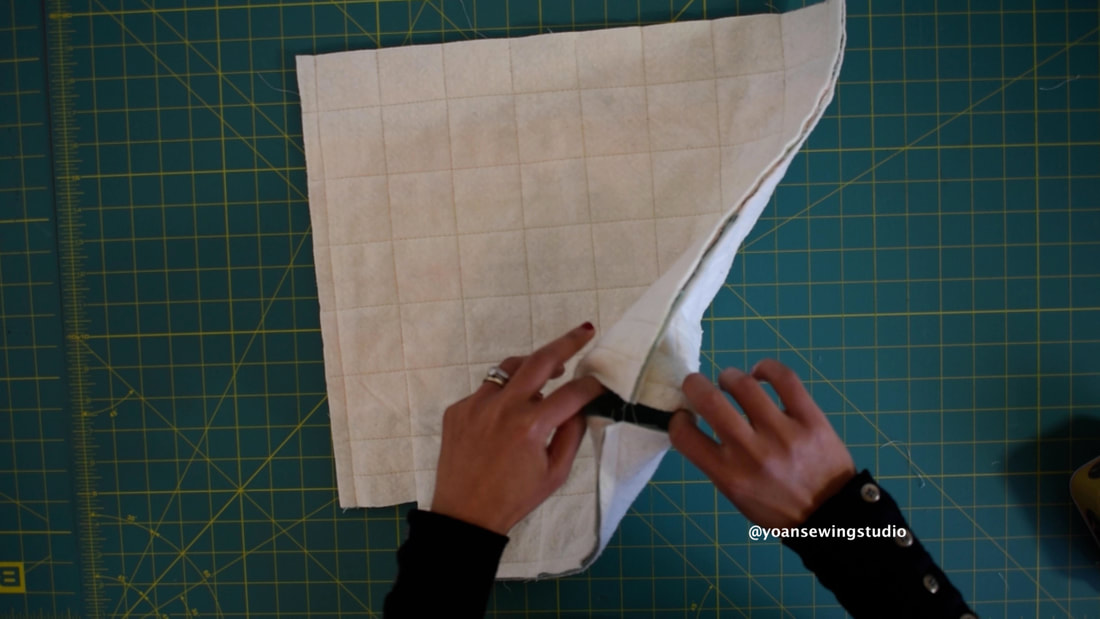
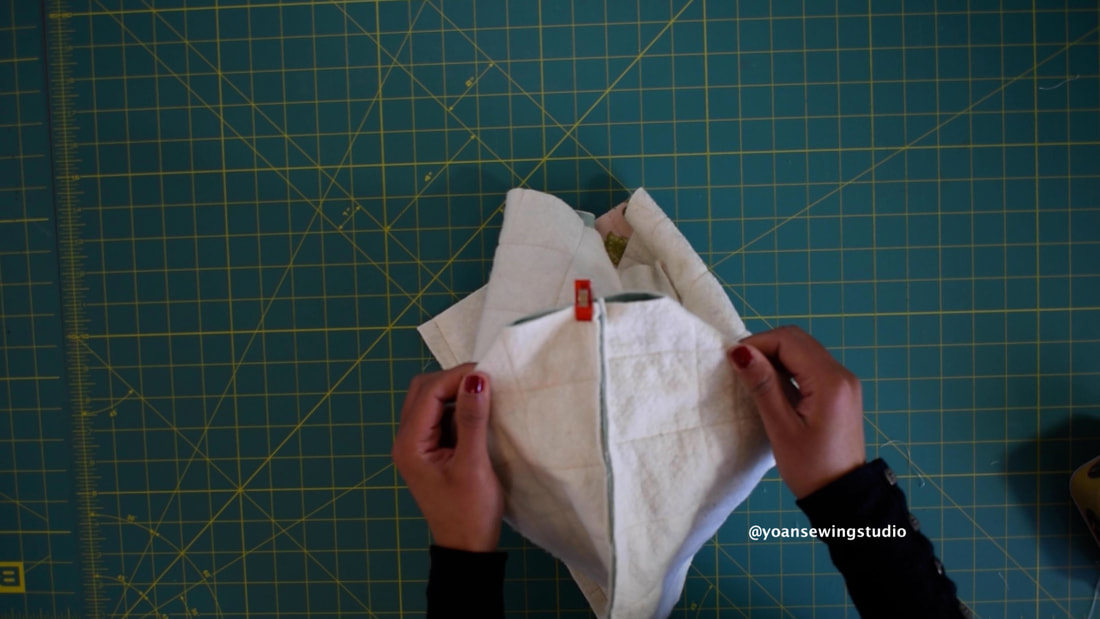
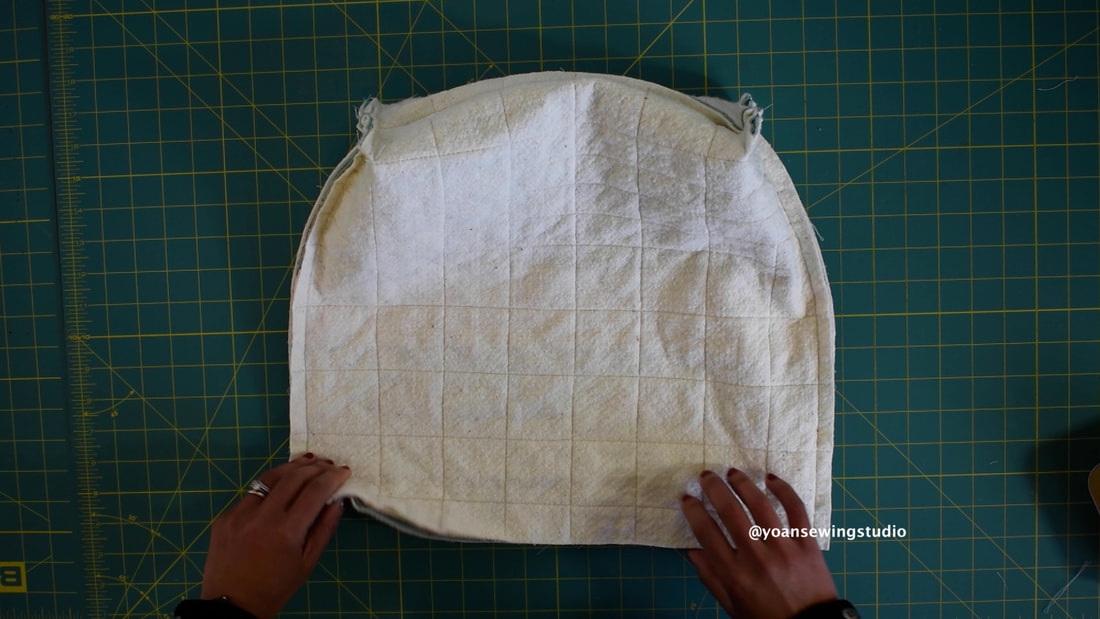
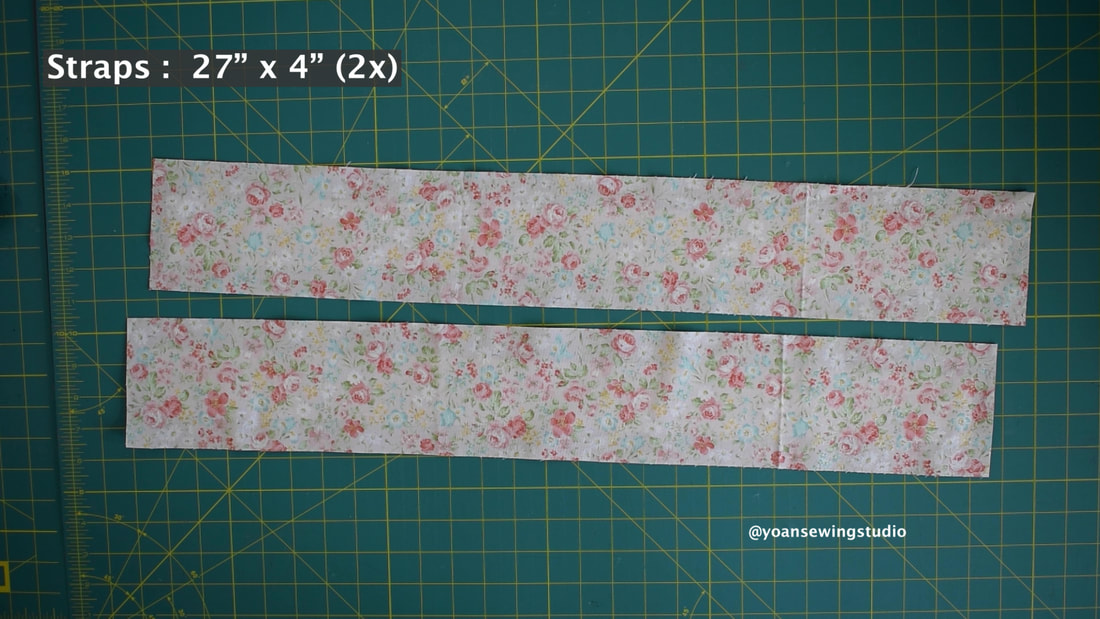
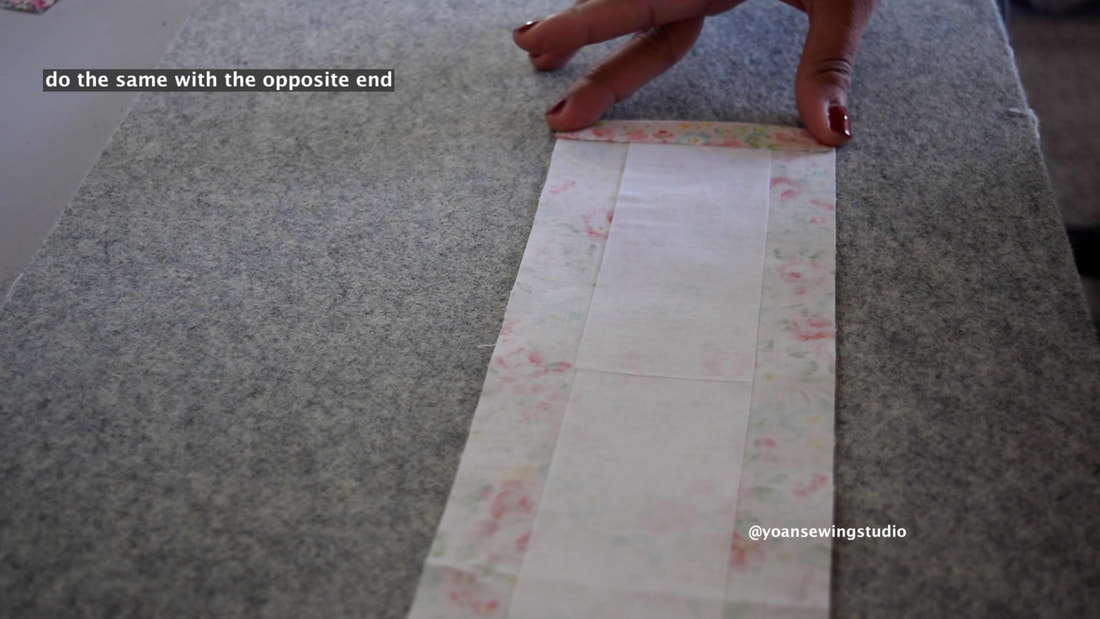
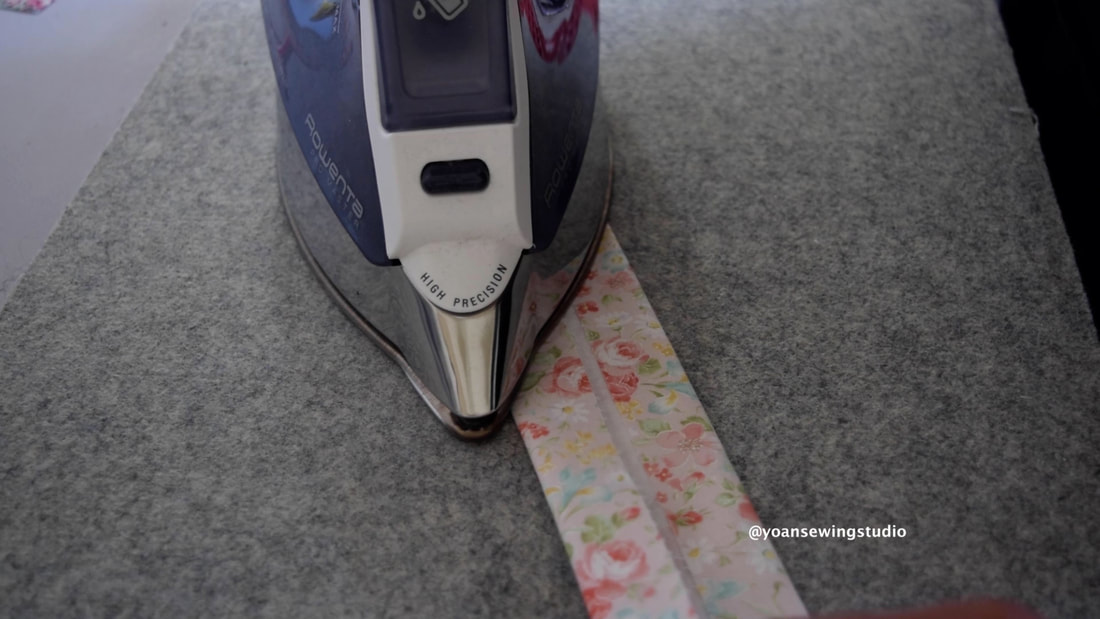
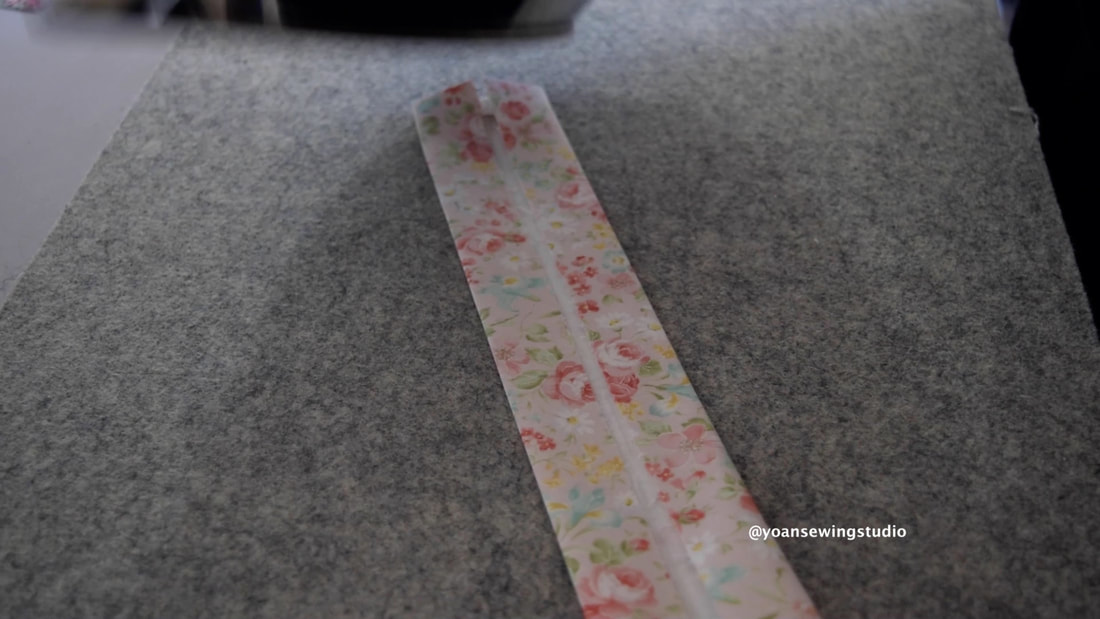
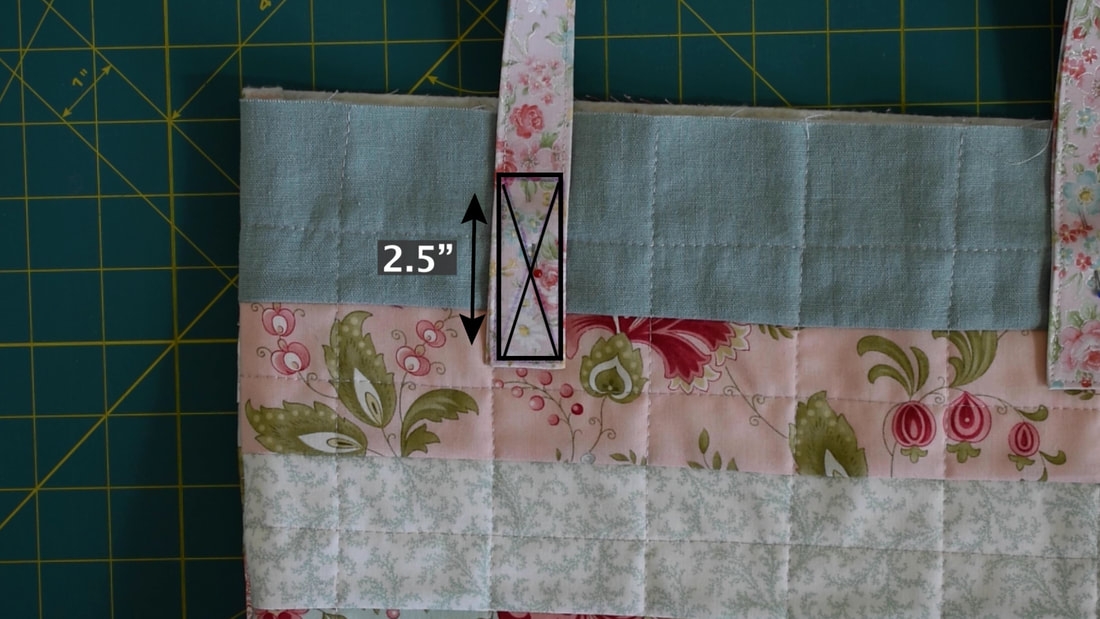
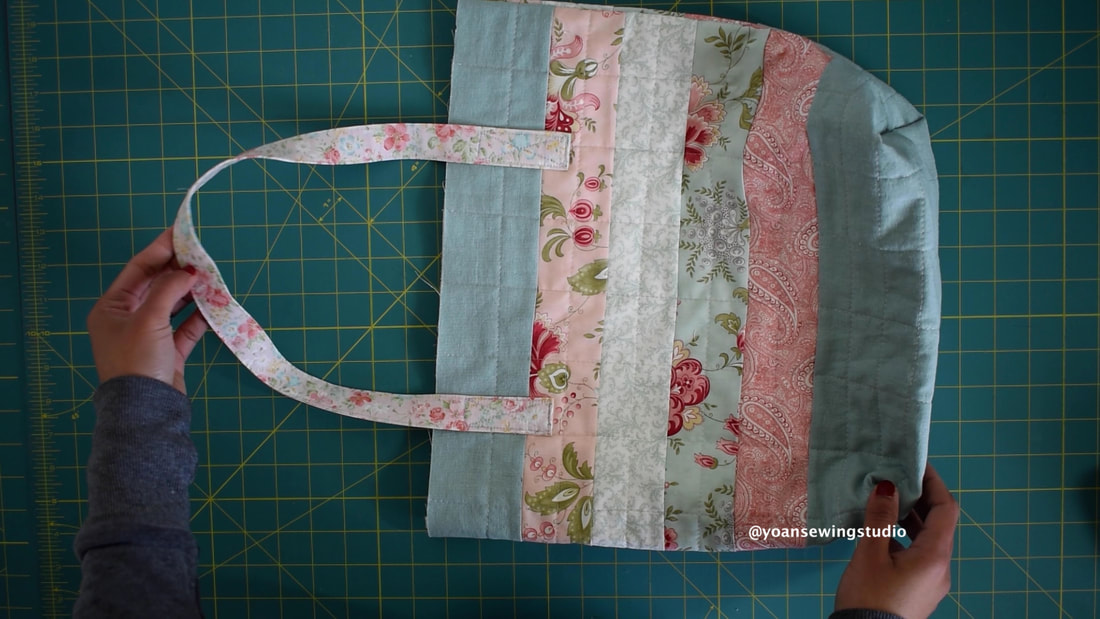
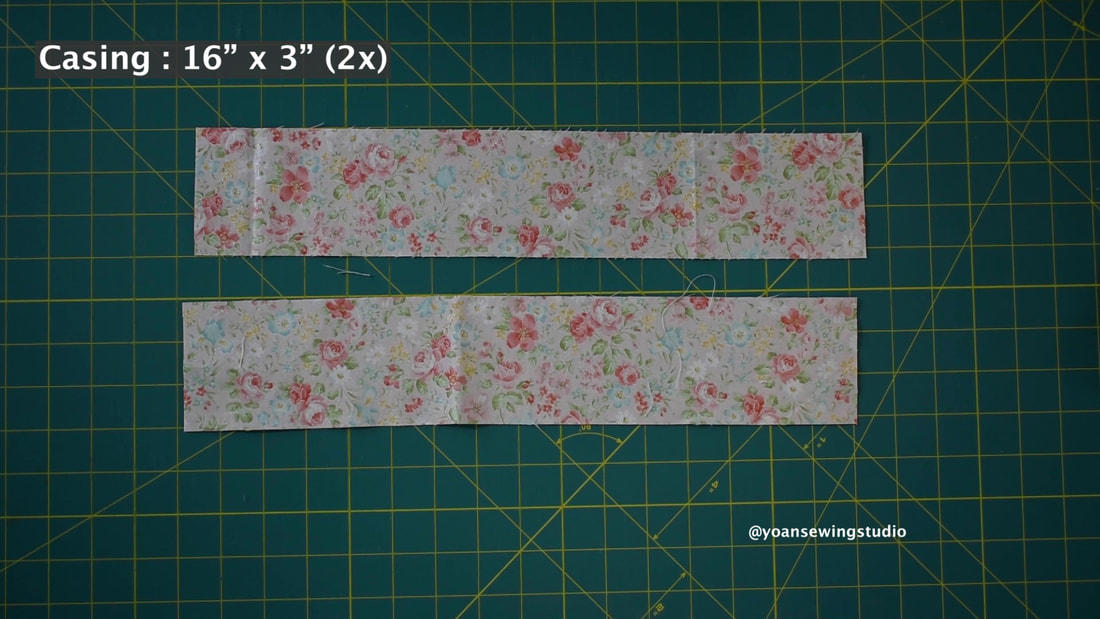
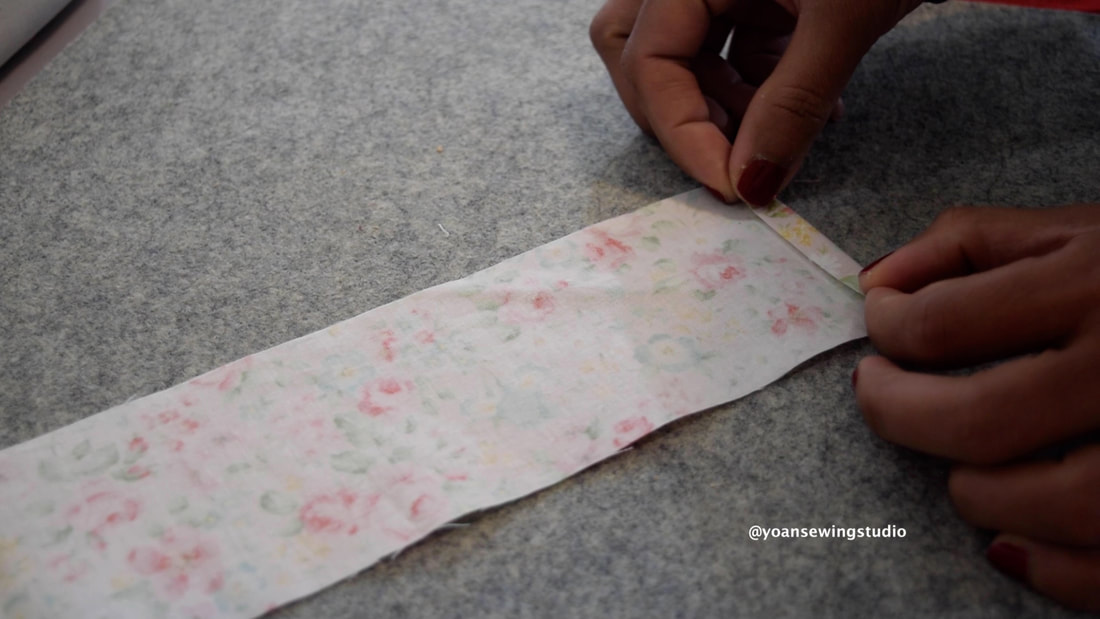
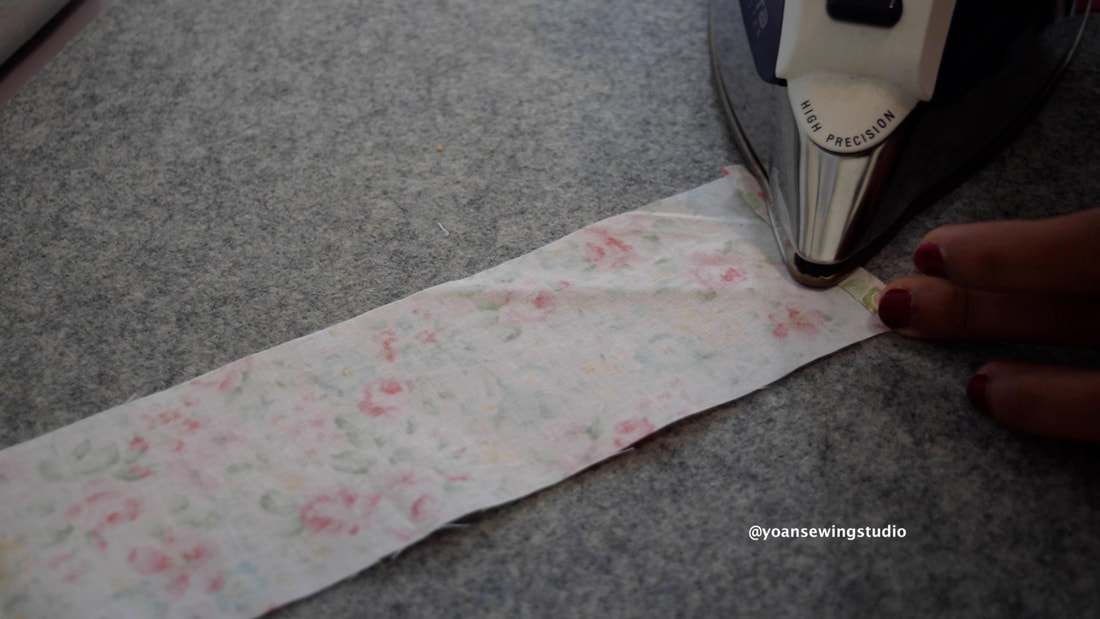
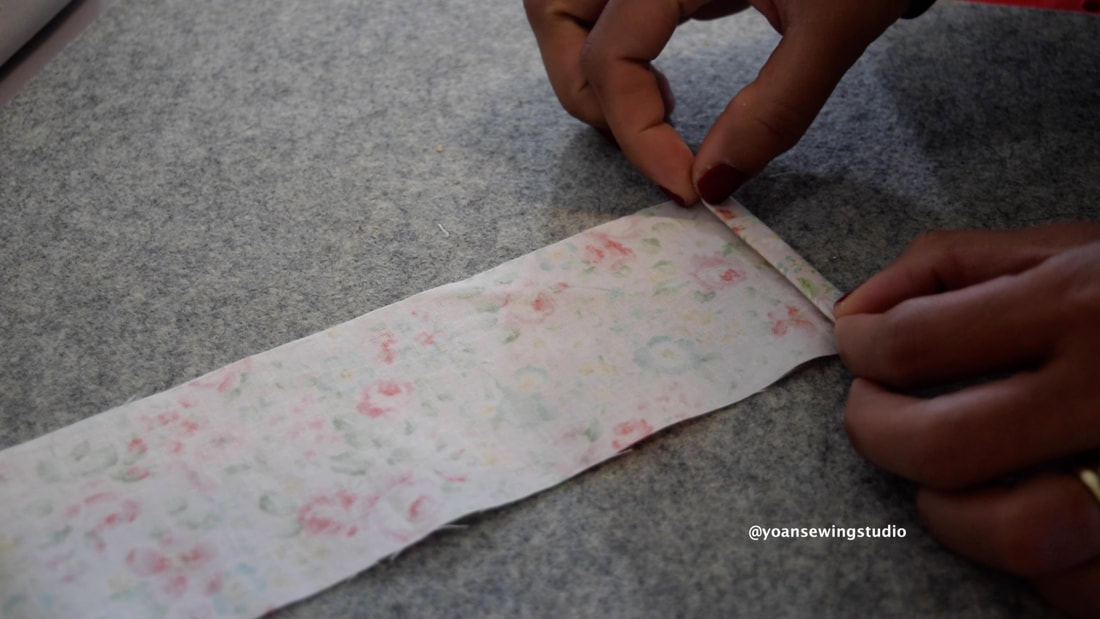
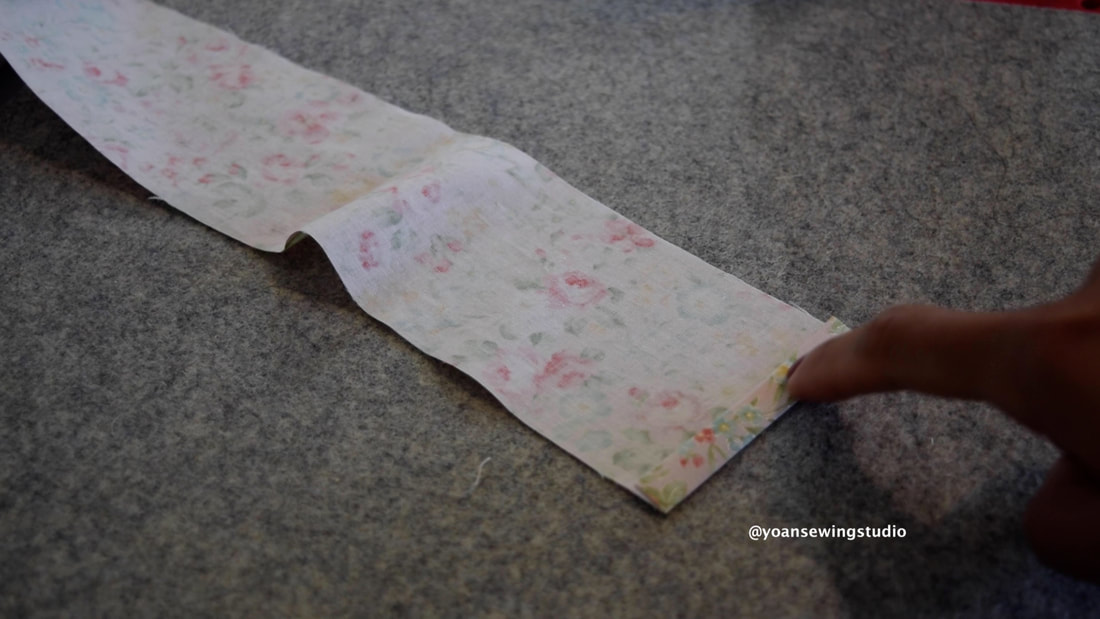
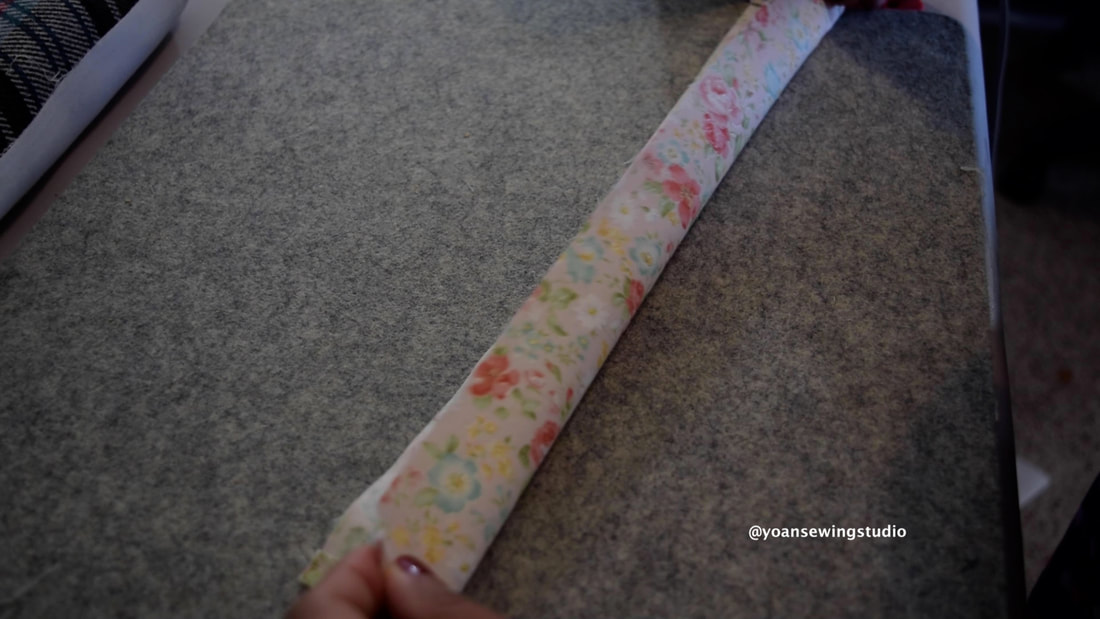
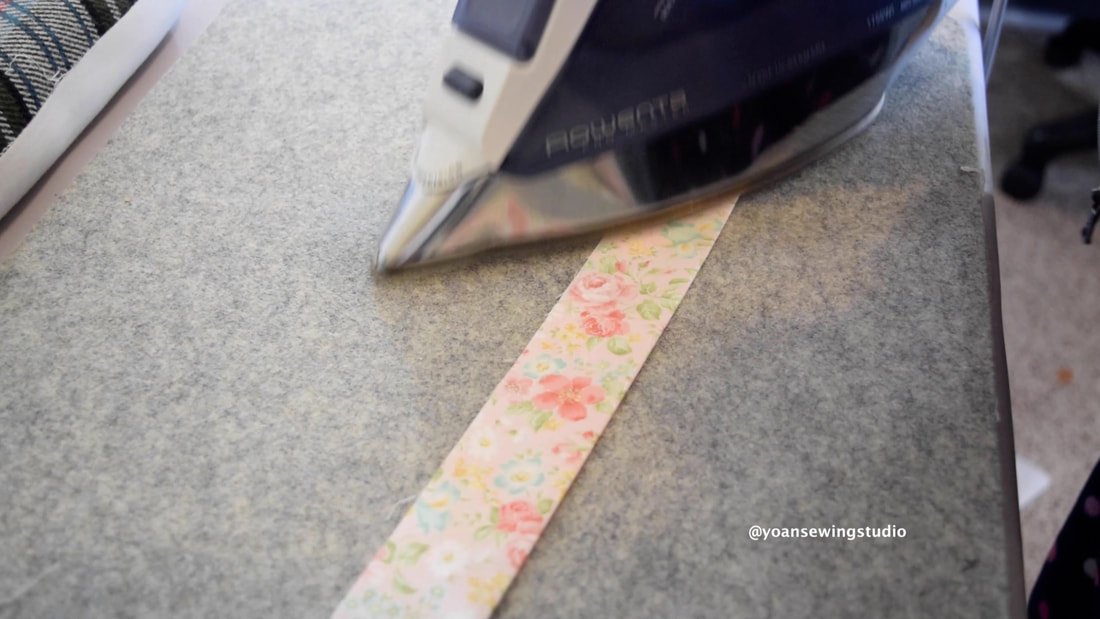
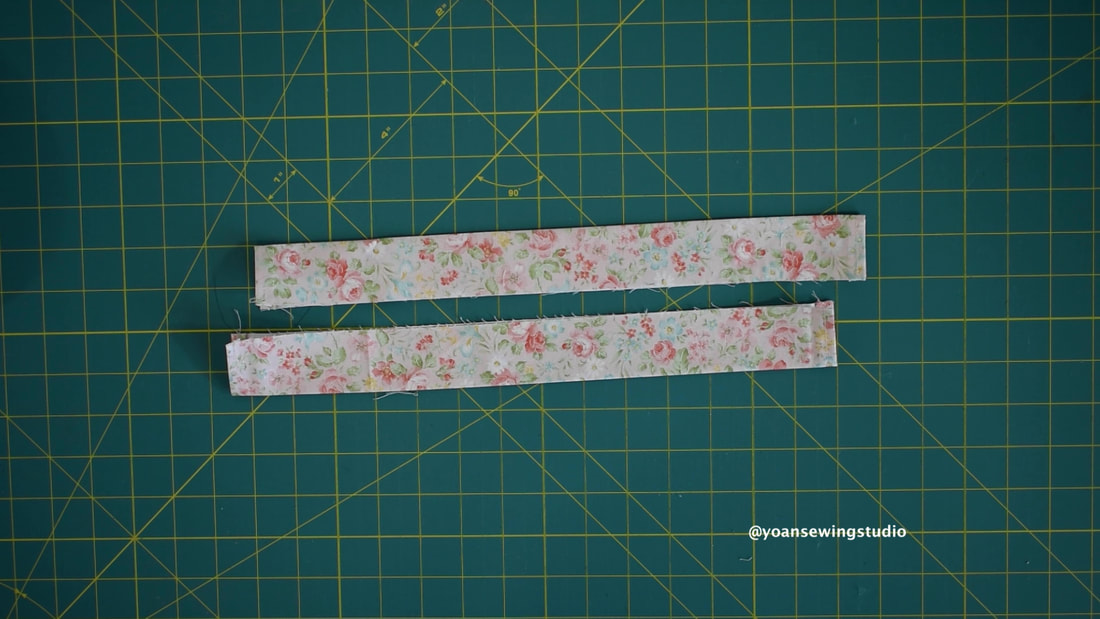
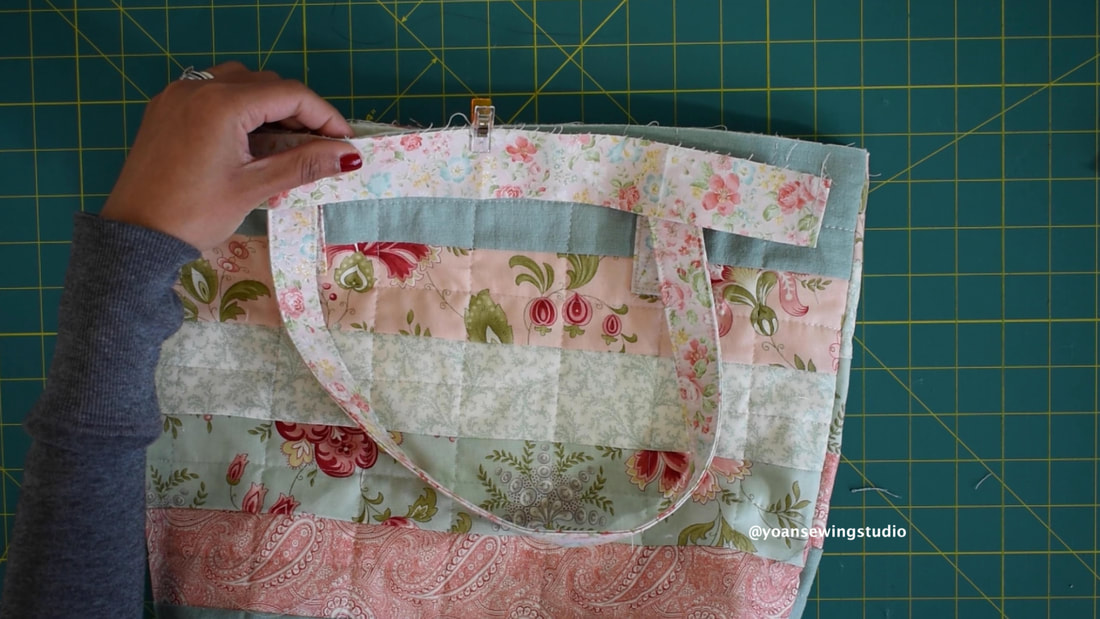
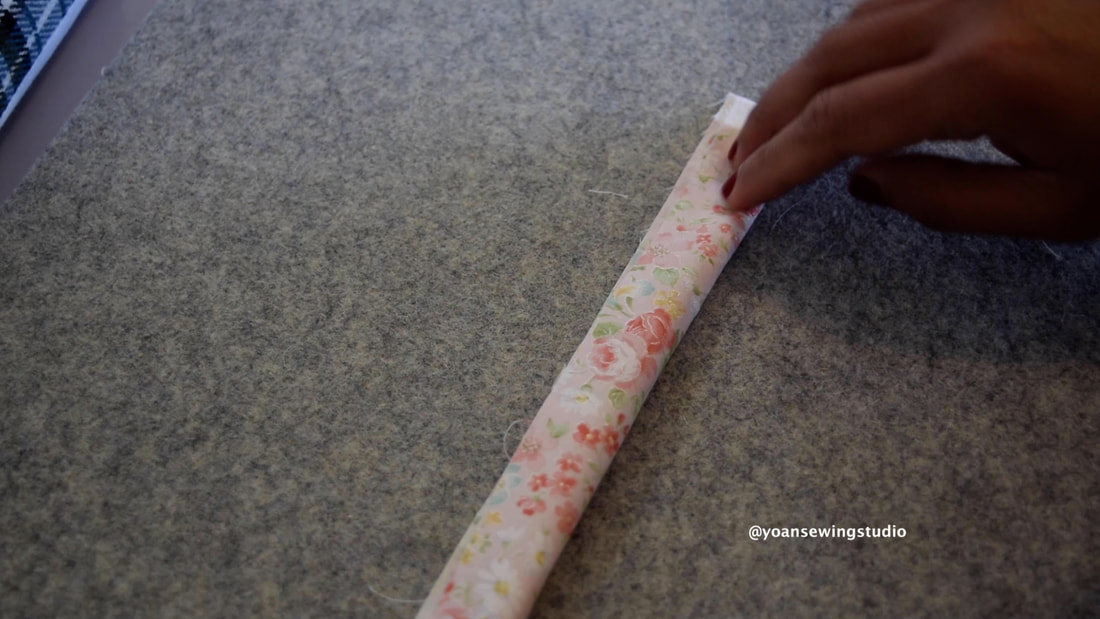
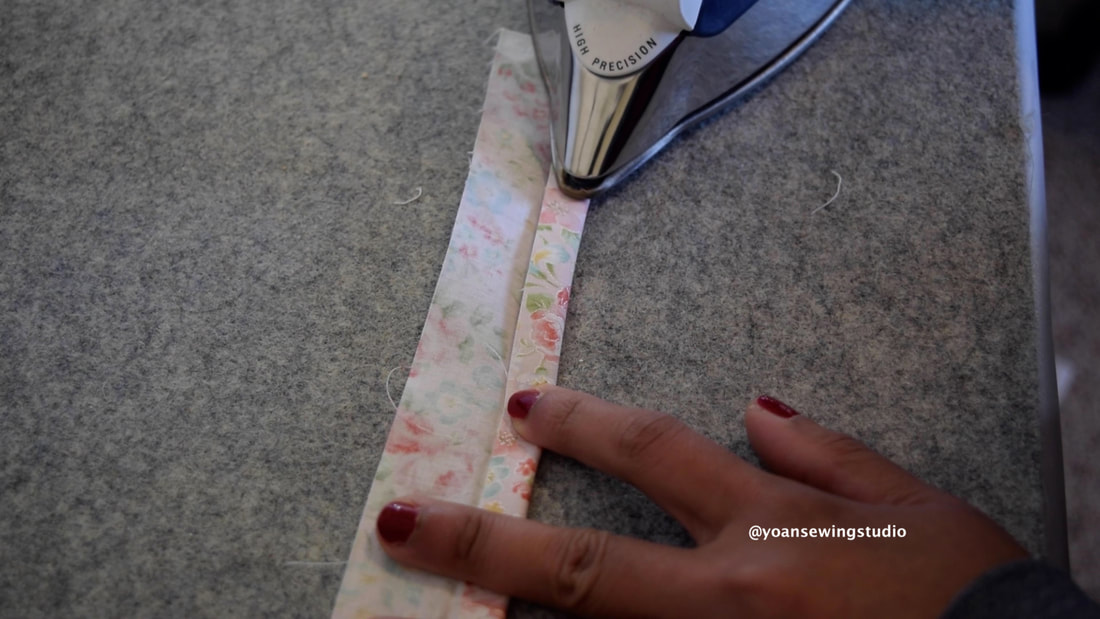
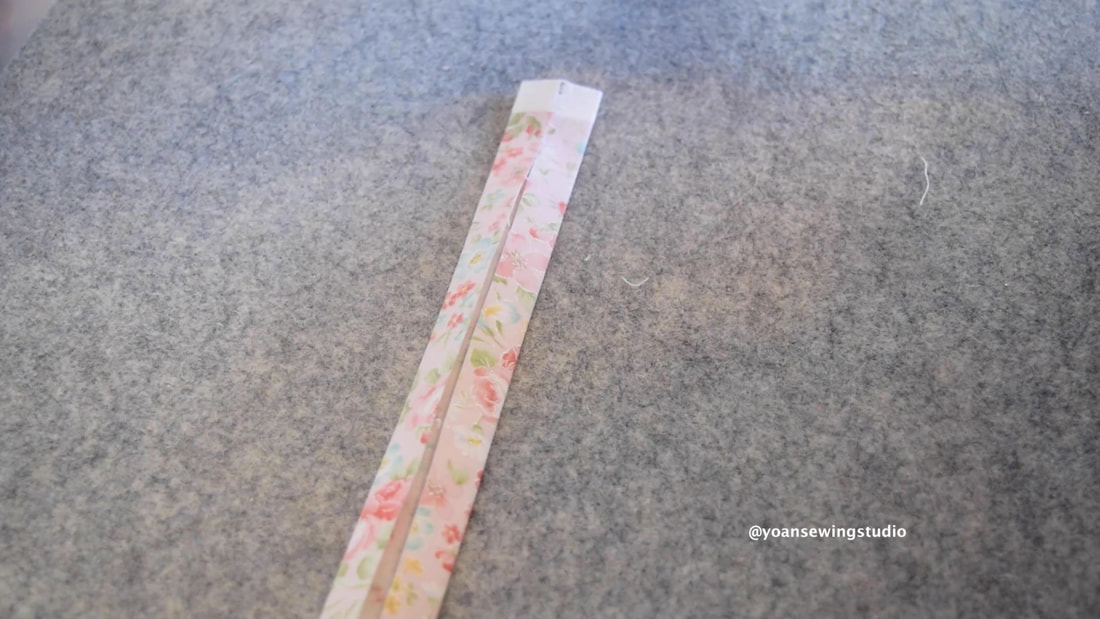
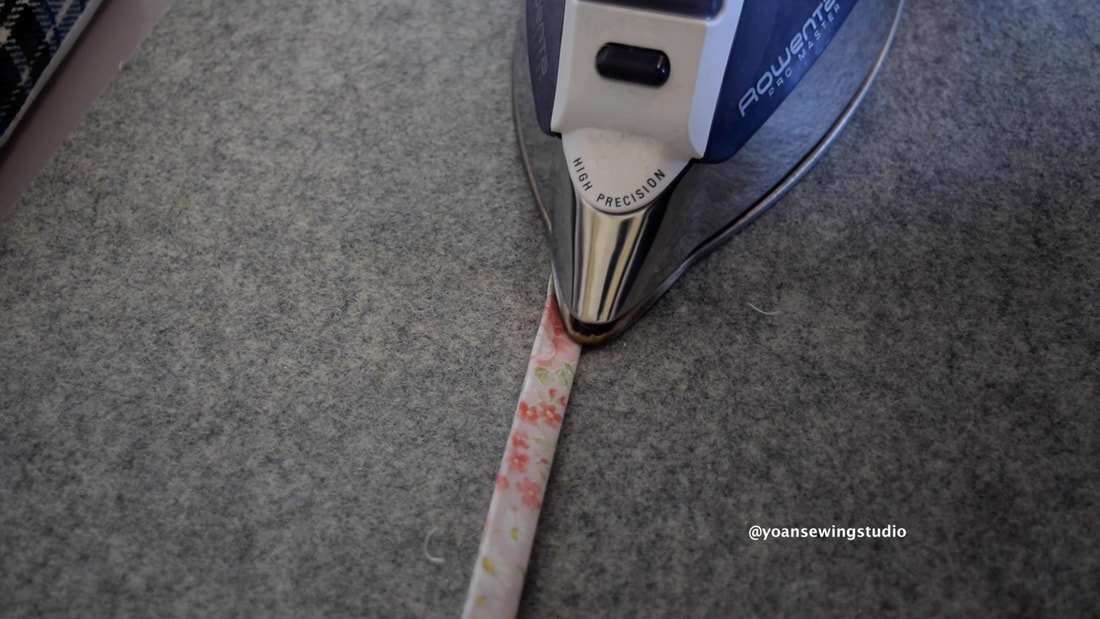
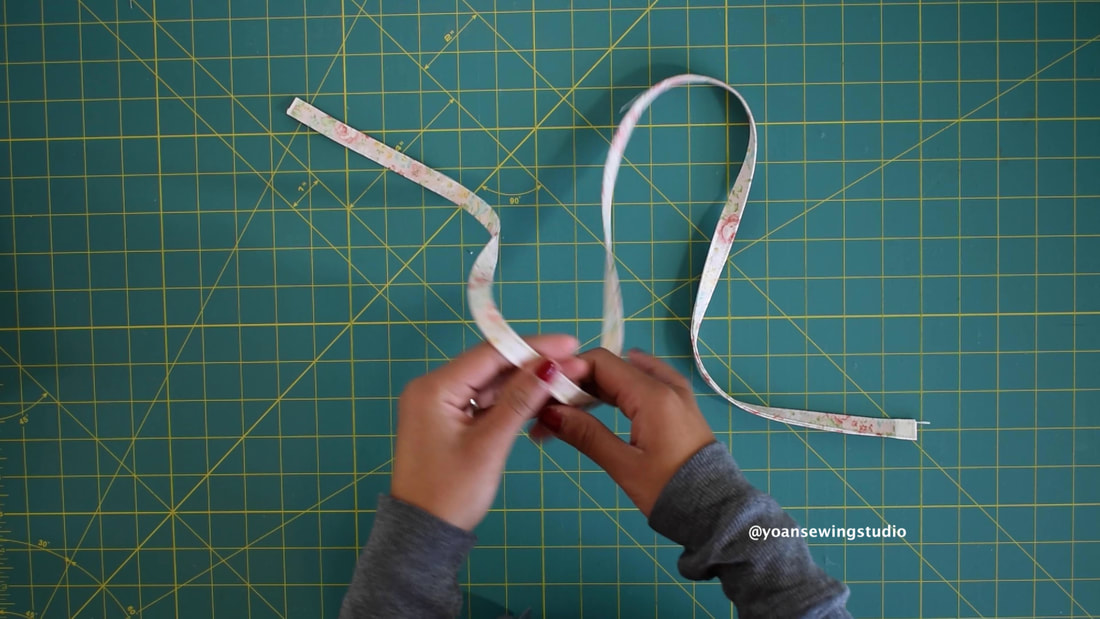
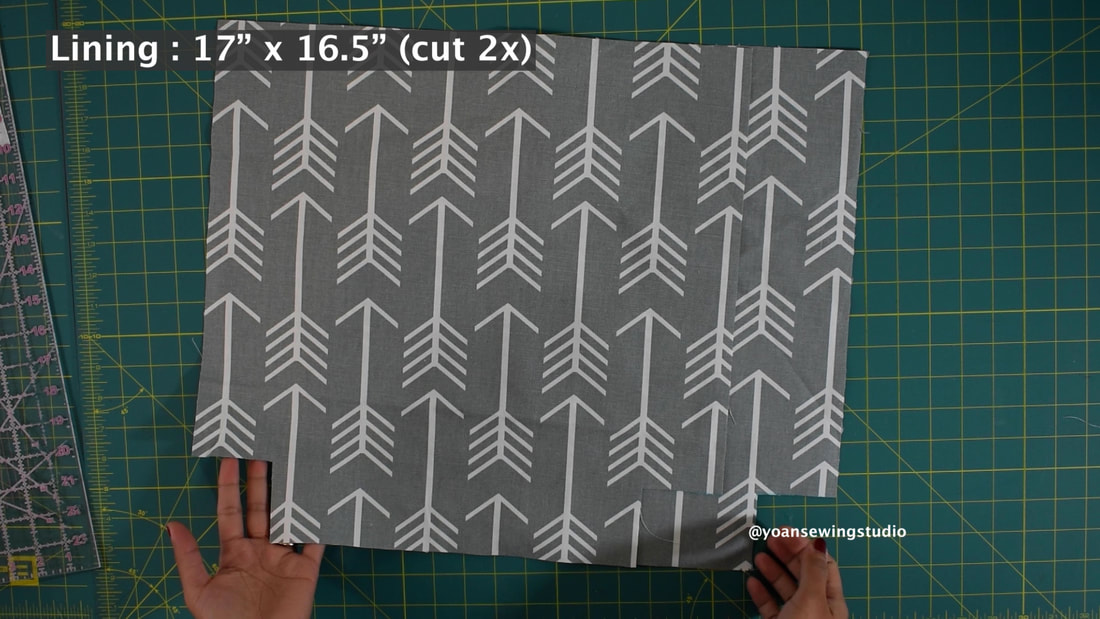
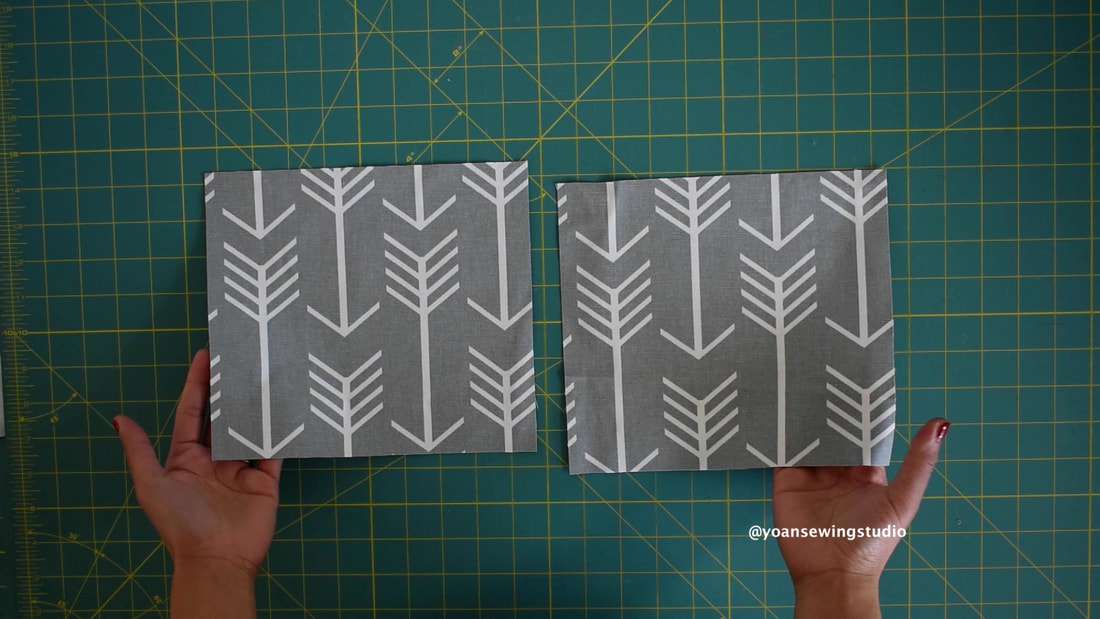
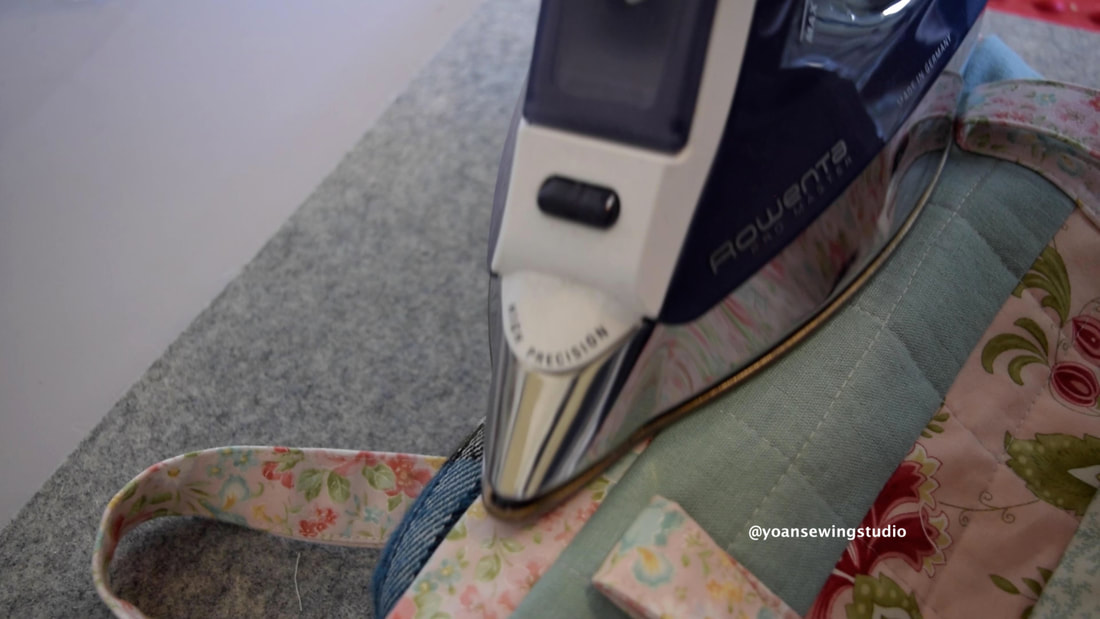
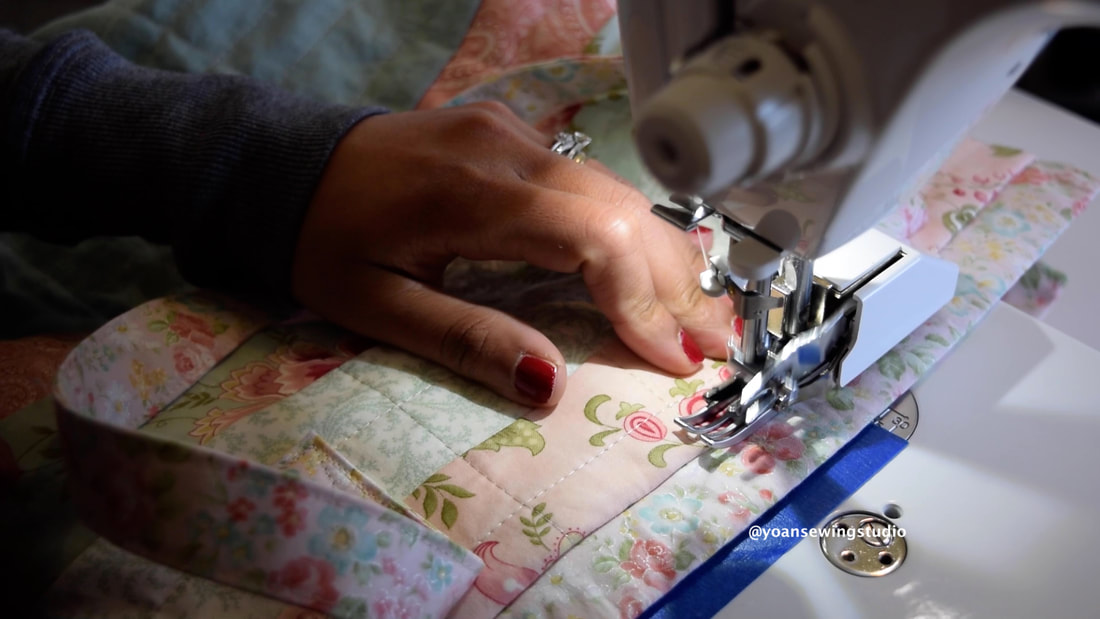
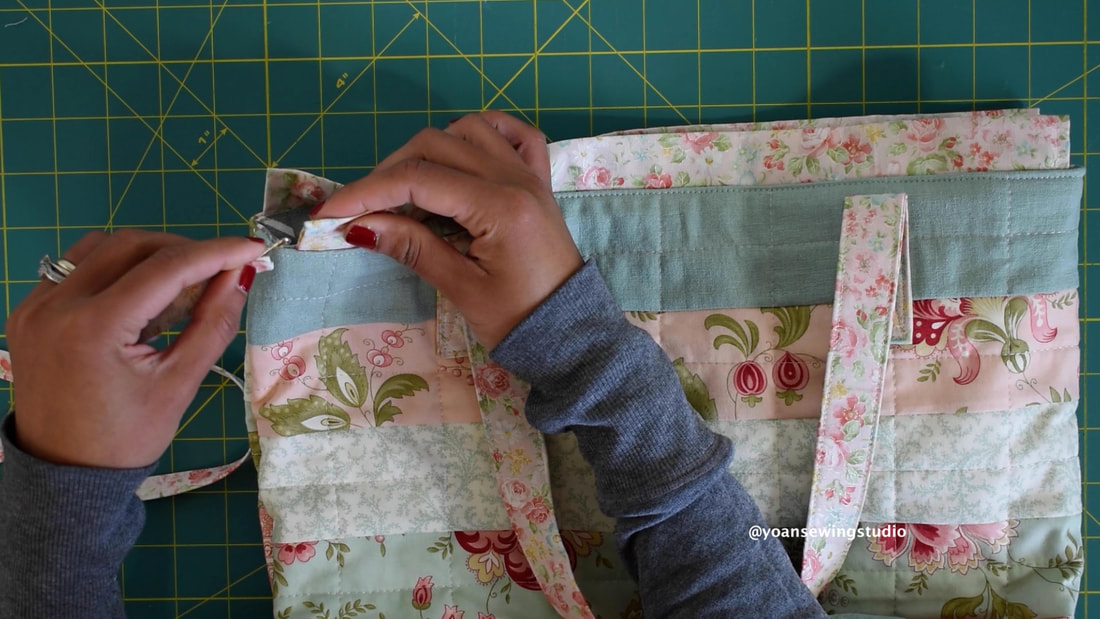
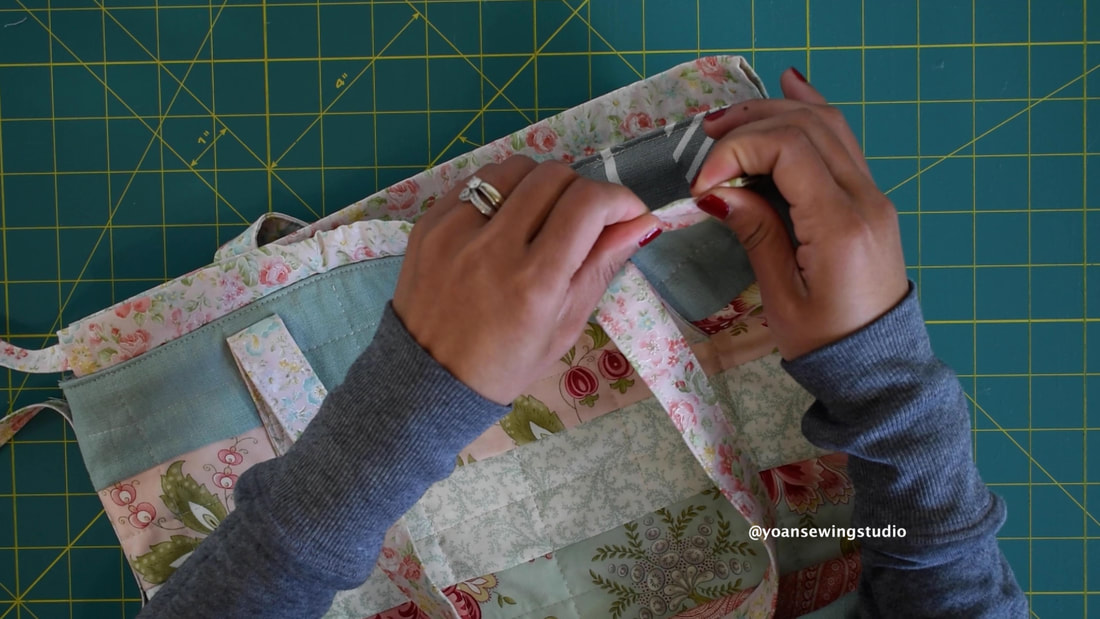
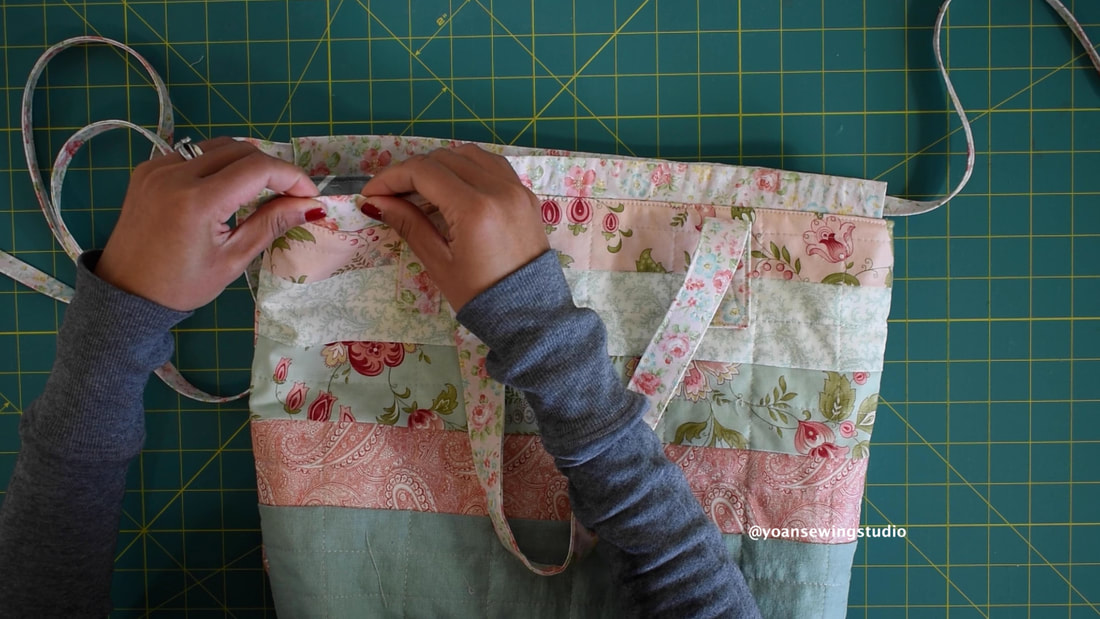
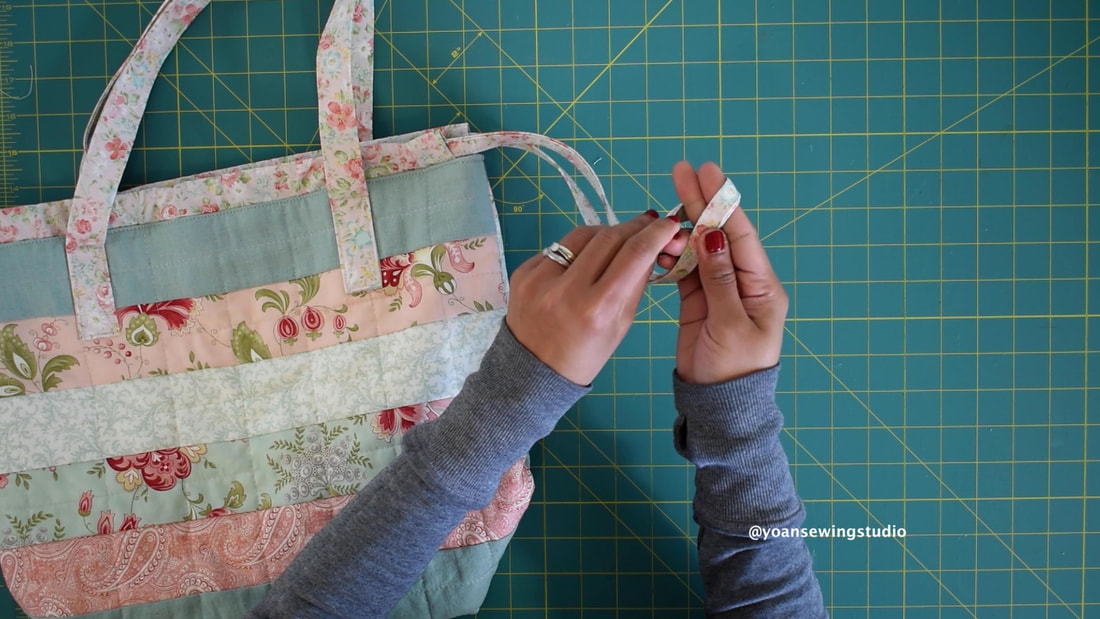
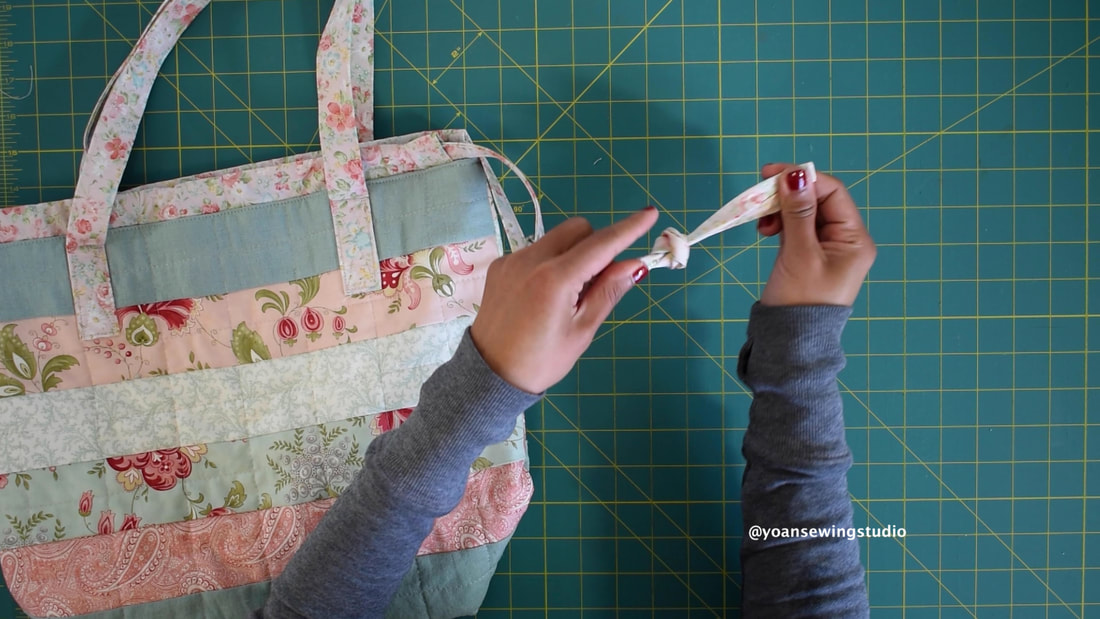
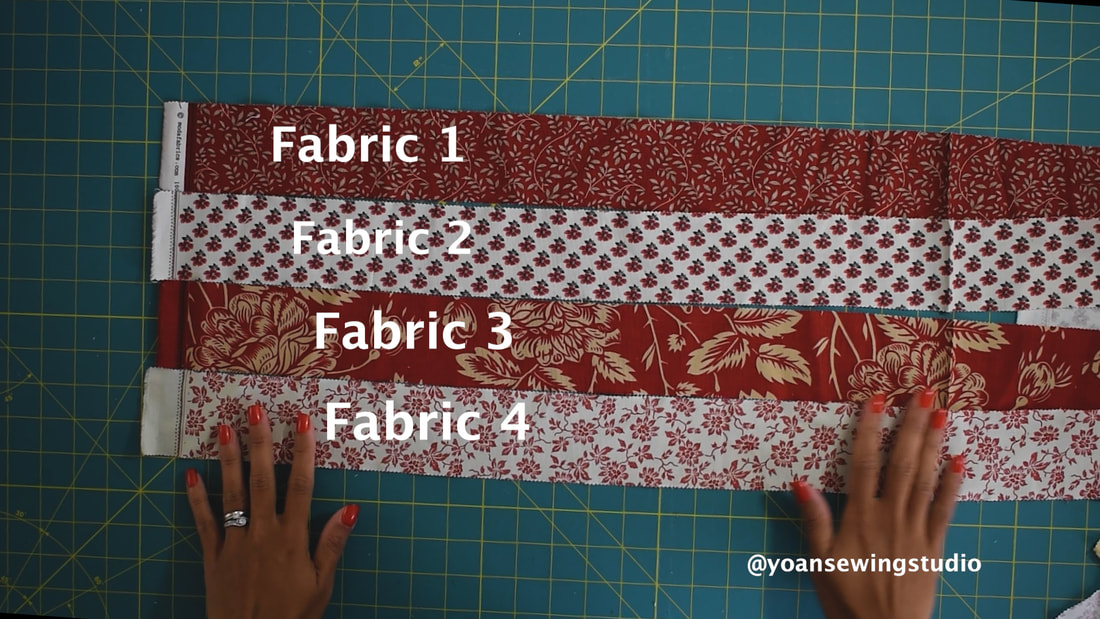
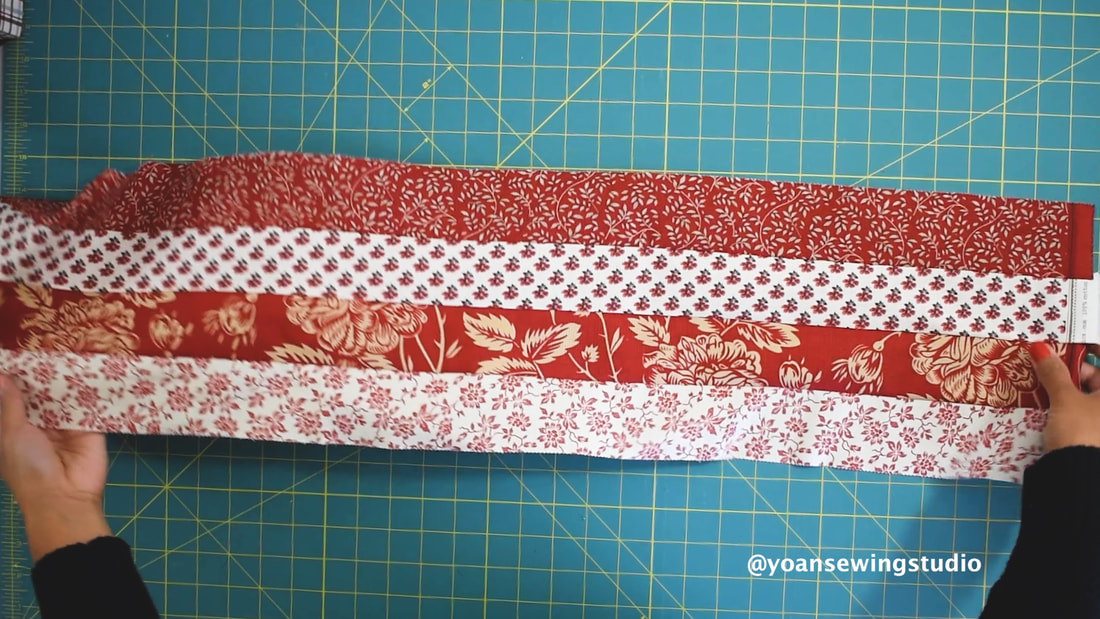
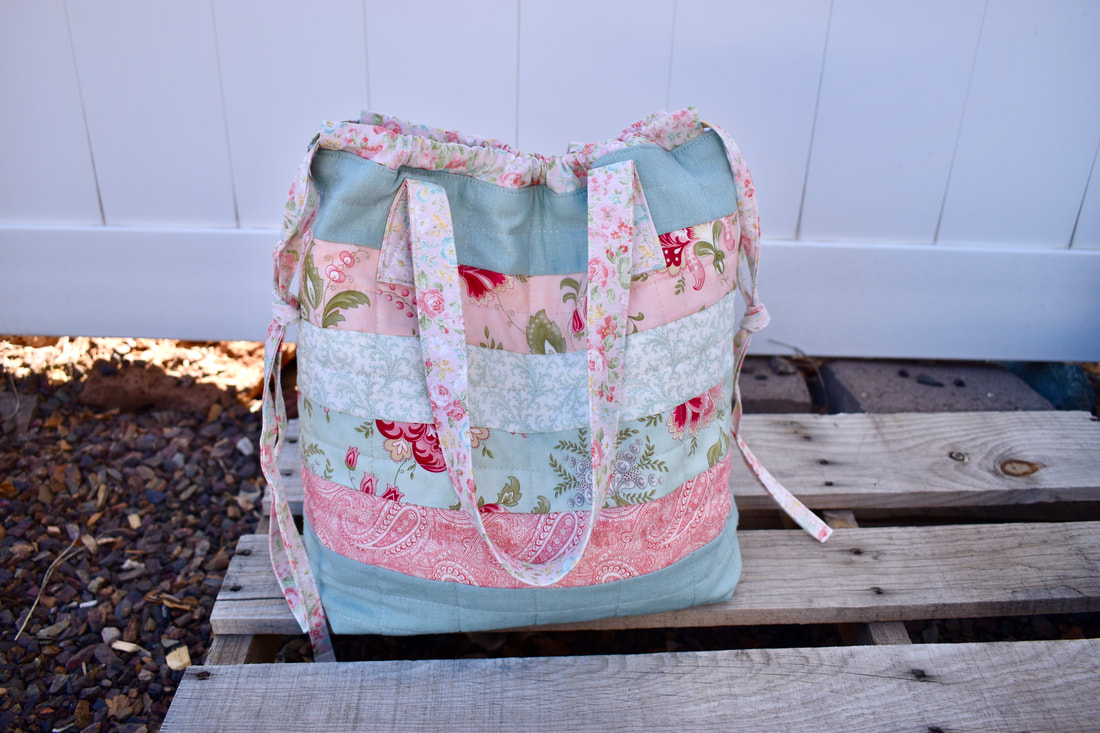 Drawstring Tote by Yoan Sewing Studio Today I'd like to share this cute drawstring bag project with you. This bag is pretty spacious yet lightweight and so much fun to wear. Great project bag for a knitter or crocheter, also great for your daily errands, grocery, or as a spare bag when traveling. The finished measurements of this bag is approx. 12" wide (bottom), 13" tall, 5" deep, the widest point when the top is expanded is about 15". This bag comes with a zipper pocket, 2 slip pockets, and magnetic snap closure. I posted the full video tutorial on my Youtube channel, you can go ahead and watch it here, or keep reading for the written instructions. Let's get started ! suppliesFabric 1,2,3,4 : 4x Jelly Roll Strips (2.5" wide strips cut from the width of fabric) Fabric 5 (accent fabric) : 1 Fat Quarter or 1/4 yard of fabric Fabric 6 (straps, casing, drawstring): 1/3 yard of fabric Fabric 7 (lining) 1/2 yard of fabric Fusible fleece (thermolam) / batting : 17" x 33" Fusible Woven interfacing : 1/6 yard 1 set of Magnetic Snap closure 1 all purpose zipper (at least 7" long) Basic sewing and quilting notions Note: -Feel free to mix and match your fabric in more or less variations. -If using one solid fabric for the exterior (no patchwork), you will need 5/6 yard of fabric Cutting**Exterior** ~Front~ Panel A : 17" x 3" (cut one from fabric 5) Panel B : 17" x 6" (cut one from fabric 5) ~Back~ Panel C : 17" x 8.5" (cut one from fabric 5") Fusible fleece/ batting : 17" x 16.5" (cut 2x) ~ Straps~ From fabric 6 : 27" x 4" (cut 2x) ; you may increase the length if you want longer straps Fusible woven interfacing : 26" x 2" (cut 2x) ~Casing~ From Fabric 6 : 16" x 3" (cut 2x) ~Drawstring ties~ From Fabric 6 : 44" x 2" (cut 2x) ; from the width of fabric, do not trim the selvage ends **Interior** Lining : 17" x 16.5" (cut 2x) from the lining fabric Slip Pockets : 9" x 8" (cut 2x) from the lining fabric Zipper Pocket : 10" x 9" (cut 2x) from the lining fabric *Link to the zipper pocket tutorial here Note : If using solid fabric (no patchwork) cut the exterior pieces the same measurements as the lining pieces. Directions1. Sew all the jelly roll strips together with 1/4" of seam allowance. Press. 2. Trim the selvage ends, measure 17" and cut (make 2x) you should end up with 2 panels measuring 17" x 8.5" 3. Lay out the front exterior panels as shown in the picture below, sew with 1/4" of seam allowance, press. 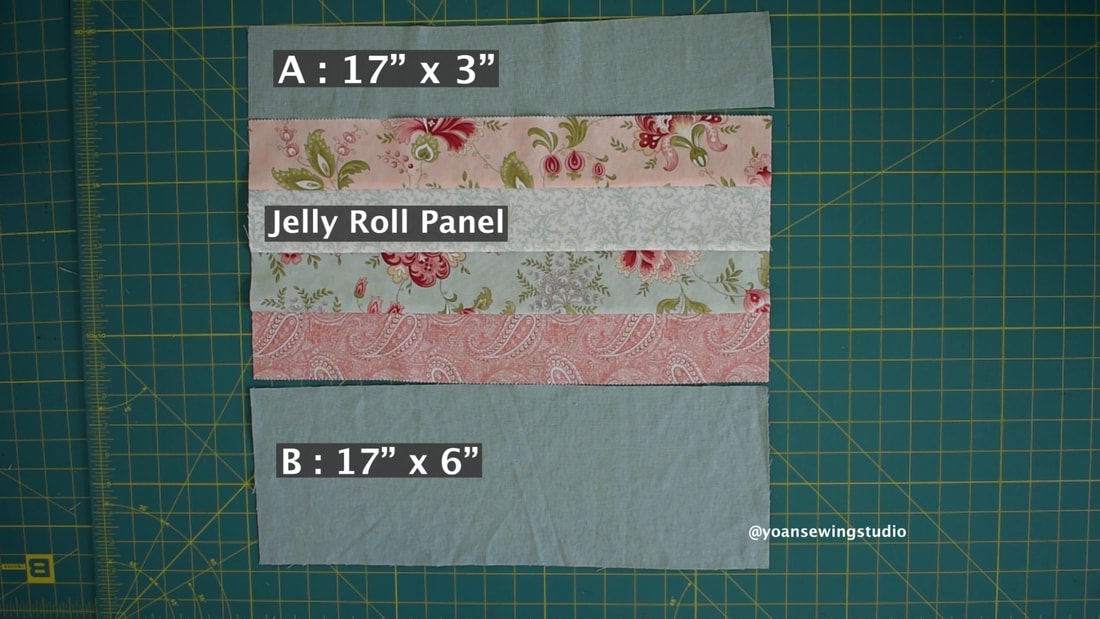 4. Lay out the back exterior just like shown in the picture below, sew with 1/4" of seam allowance, press. 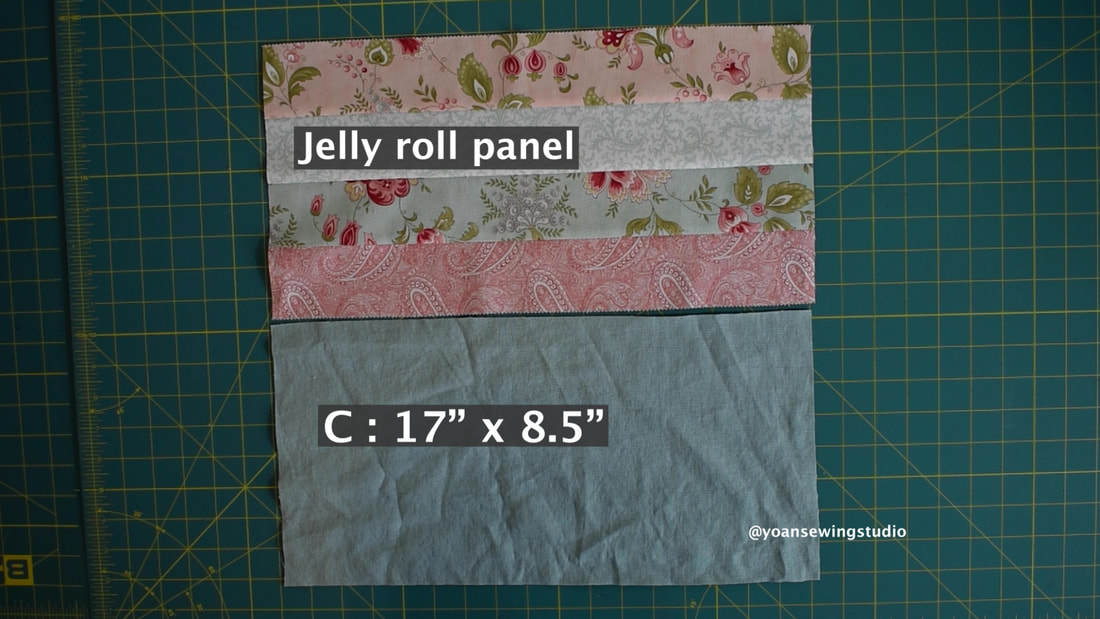 5. Layer the front and back exterior pieces with batting, quilt. If using fusible fleece, fuse it to the wrong side of your fabric 6. Cut 2.5" square notches on both bottom corners to box the bottom of the bag. 7. Lay the front and back exterior pieces right side together, sew the sides and the bottom with 1/2" seam allowance. 8. Open the bottom corner, match the seams, sew with 1/2" seam allowance, repeat the same with the opposite side. 9. Apply fusible woven interfacing on the wrong side of the strap pieces. 10. Fold the short ends of the straps the wrong side 1/2" , press, fold the strap in half, press, fold the side edges towards the center fold, press, then fold everything in half, press. Sew all around with 1/8" of seam allowance, repeat the same with the other one. 11. Position the strap as shown below, draw the stitch line, then sew. Repeat the same with the opposite side. 12. Fold the short end of the casing 1/4", press. Fold one more time 1/4", press. Repeat the same with the opposite end, sew with 1/8" seam allowance. 13. Fold the casing in half, press. Repeat the same with the other one. 14. Place the casing on the right side of the front exterior piece, aligning the raw edges, center the position of the casing. Secure them in place with some sewing clips, then sew along the edges with 1/4" of seam allowance. Repeat the same for the back exterior. 15. Fold the drawstring strip in half, press. Fold the edges towards the center fold, press. Fold everything in half, press. Sew all around with 1/8" of seam allowance, repeat the same with the other strip. 16. Prepare the lining pieces, cut the 2.5" corner notches the same way as you did the exterior pieces. 17. Lay the slip pockets pieces right side together, sew all around with 1/4" seam allowance leaving about 3" of opening to turn the pocket inside out. 18. Clip the corners (be careful not to cut through the stitches),Turn the pocket inside out, fold the raw edges from the opening towards the inside 1/4", press, then topstitch along the top edges. 19. Position you pocket on the right side of one of the lining, about 3.5" down from the top, center the position. Pin them in place. Divide the pocket in to two slots by drawing a straight line mark on the center point of the pocket, then sew on the center point mark, the sides and the bottom of the pocket. 20. Sew the zipper pocket. Follow the exact same steps as in this video 21. Install the magnetic snap closure 22. Assemble the lining exactly the same way as the exterior, leaving about 5" opening at the bottom. 23. Turn the exterior shell wrong side out, turn the lining right side out; Insert the lining into the exterior shell (the right sides of the lining should be touching the right sides of the exterior. 24. Secure them in place with some sewing clips, sew with 1/2" seam allowance. 25. Turn the bag inside out through the opening hole, press along the top edges, then top stitch. Sew the opening hole close. 26. Attach one of the end of the drawstring with a safety pin, then thread the drawstring into the casing using the safety pin to guide it through. Repeat the same with the other side. 27. Even out the drawstring, then secure them together by tying a tight knot. Give your bag a final pressing, enjoy!
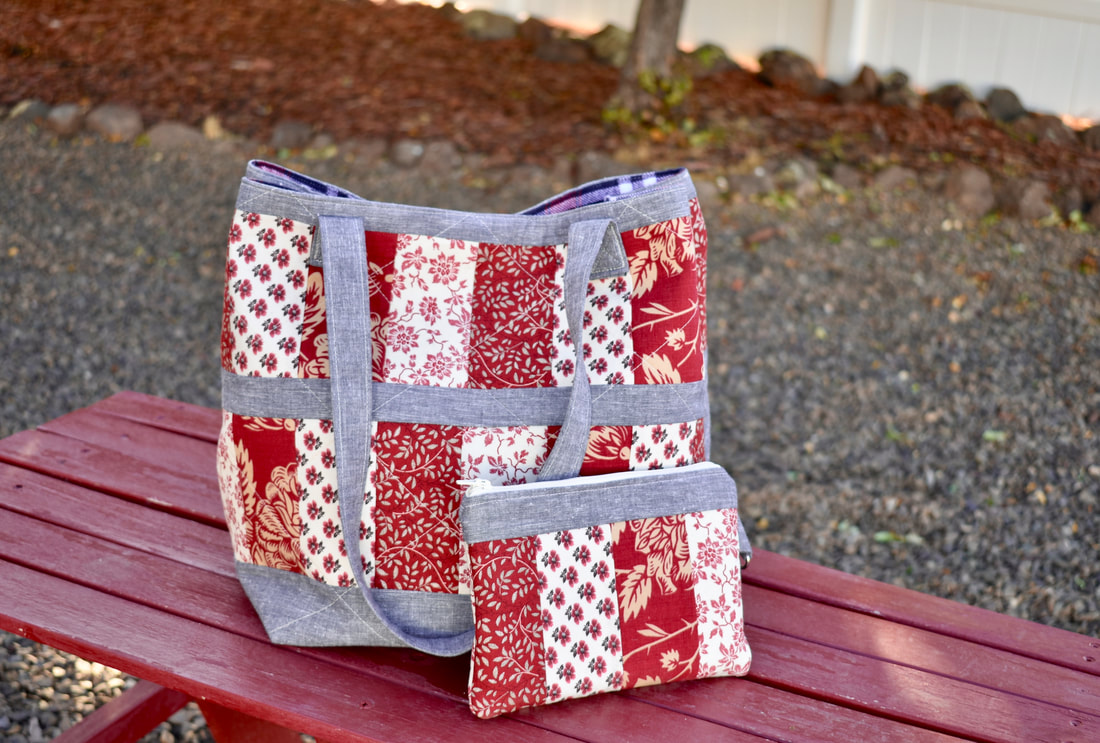
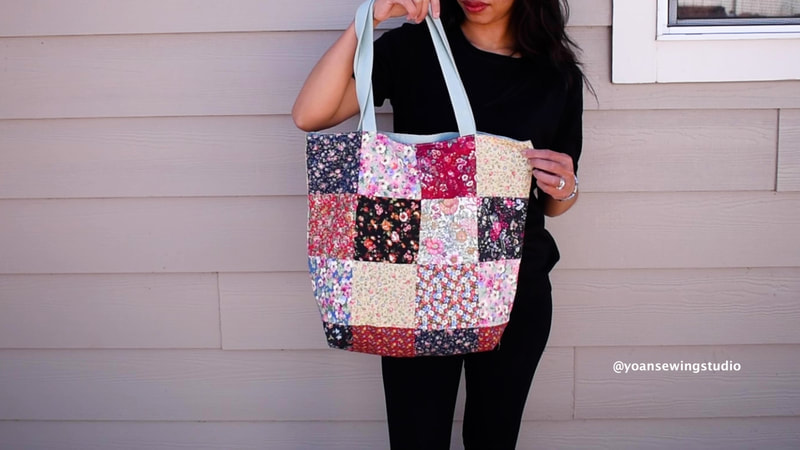
This is another fun project using the oh so versatile jelly roll strips. The Jelly Glee tote is a charming slouch tote with quite wide base hence looking bucket-ish. To make the most of the patchwork fabric, I also include a cute matching zipper pouch that is perfect to put your cellphone, case, cards, etc.
Supplies
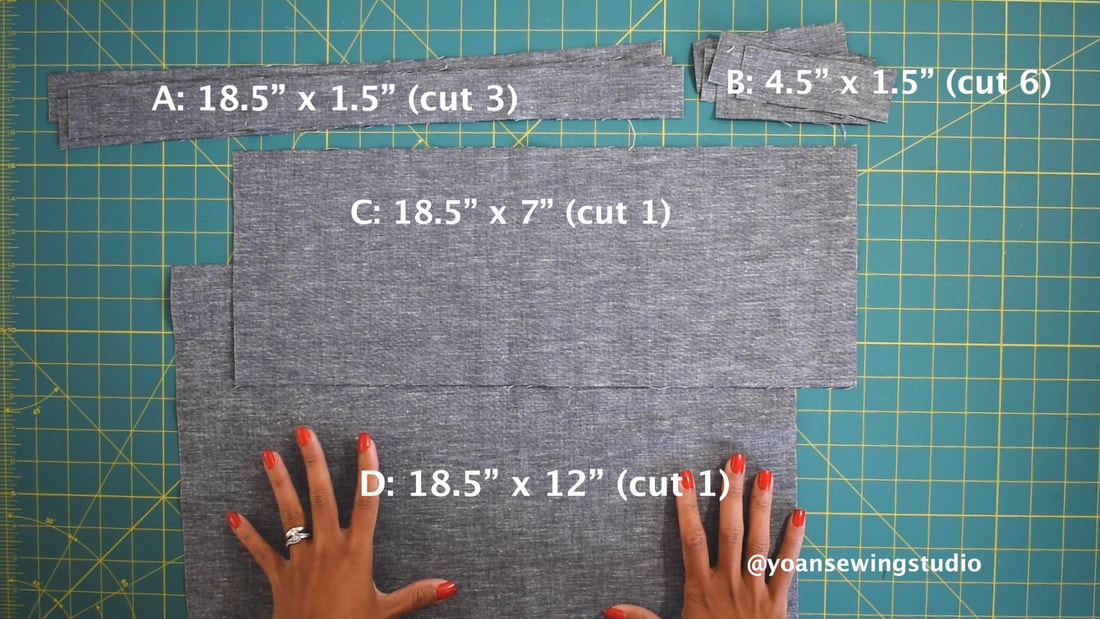
4 Jelly roll strips (2 1/2" strips) 3/4 yard main fabric Fusible woven interfacing (I use Pellon shape flex 101) Fusible Fleece (I use thermolam Pellon TP971F) 1 set of magnetic snap Nylon zipper (at least 7") - For the zipper pocket Nylon zipper at least 9" (for the pouch) Basic sewing notions Cutting Exterior Shell : See pictures below Interfacing : Cut two 18 1/2" x 17" (fusible woven interfacing) Cut two 18 1/2" x 16 1/2" (fusible fleece) Lining : Cut two 18 1/2" x 17" Slip Pockets : Cut two 10" x 7" Zipper pocket : Cut two 10" x 9" For the zipper pouch Exterior main : measure 5" from the left over jelly roll fabric and cut 2" (your fabric should measure 8 1/2" x 5") Exterior accent strip : 8 1/2" x 1 1/2" (cut two) Lining : 8 1/2" x 5" (cut two)
First thing first you will need to sew your Jelly roll strips together. I recommend to alternate the darker color from the lighter color, and of course you will need to sew them with 1/4" of seam allowance.
Measure 4 1/2" and cut, make 6x and you will end up with 6 rectangles measuring 8 1/2" x 4 1/2"

For the accent fabric you will need to cut as shown below
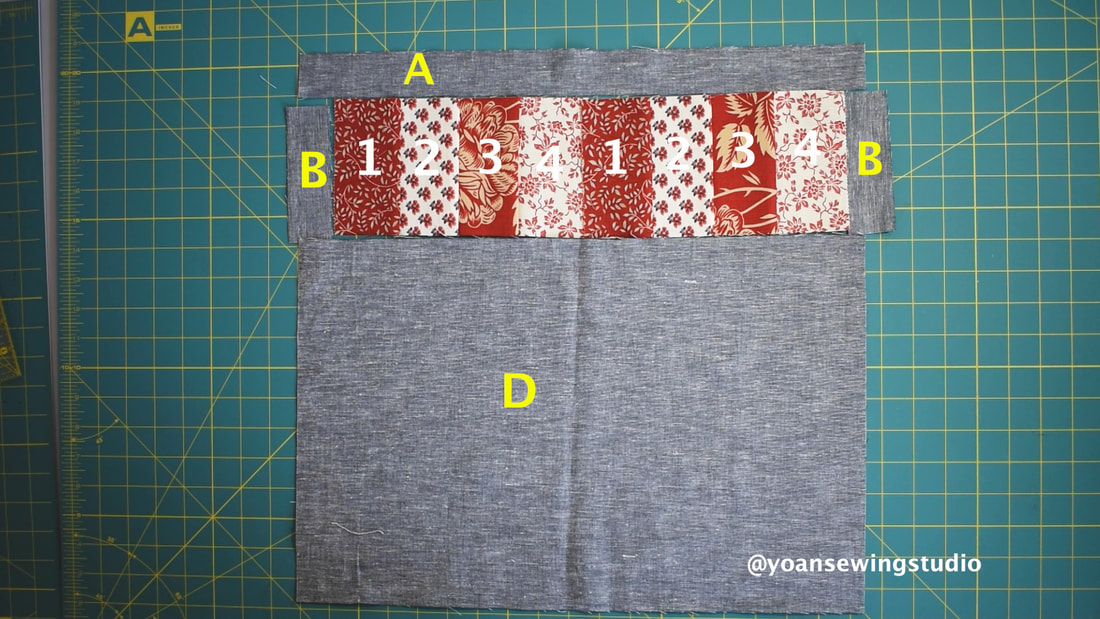
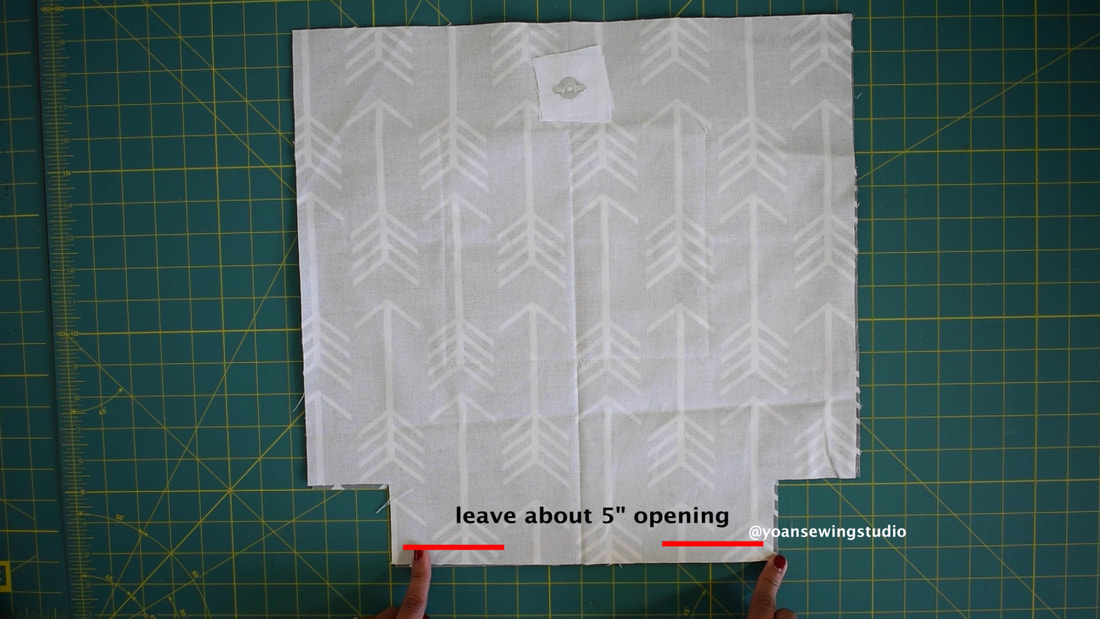
Then lay out the patchwork of the front and back exterior shell.
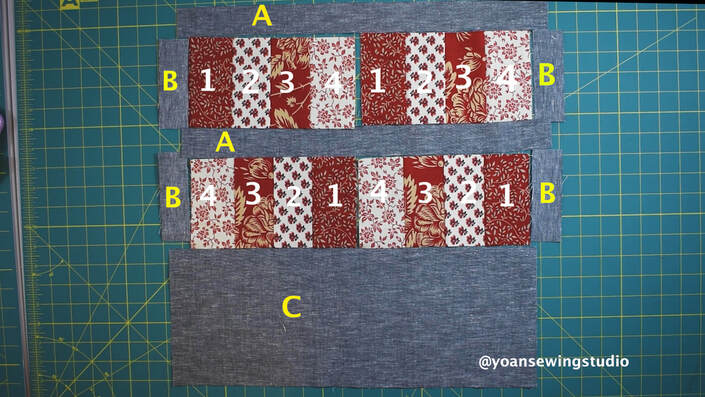
Patchwork layout front exterior
Patchwork layout Back Exterior
Piece your patchwork with 1/4" of seam allowance, and once you've done that go ahead and continue with the rest of the bag construction as shown in thevideo tutorial.
Once your bag is finished, you may go ahead and sew the zipper pouch. Disclaimer: This post contains affiliate links, thank you for your support! Happy Sewing!! 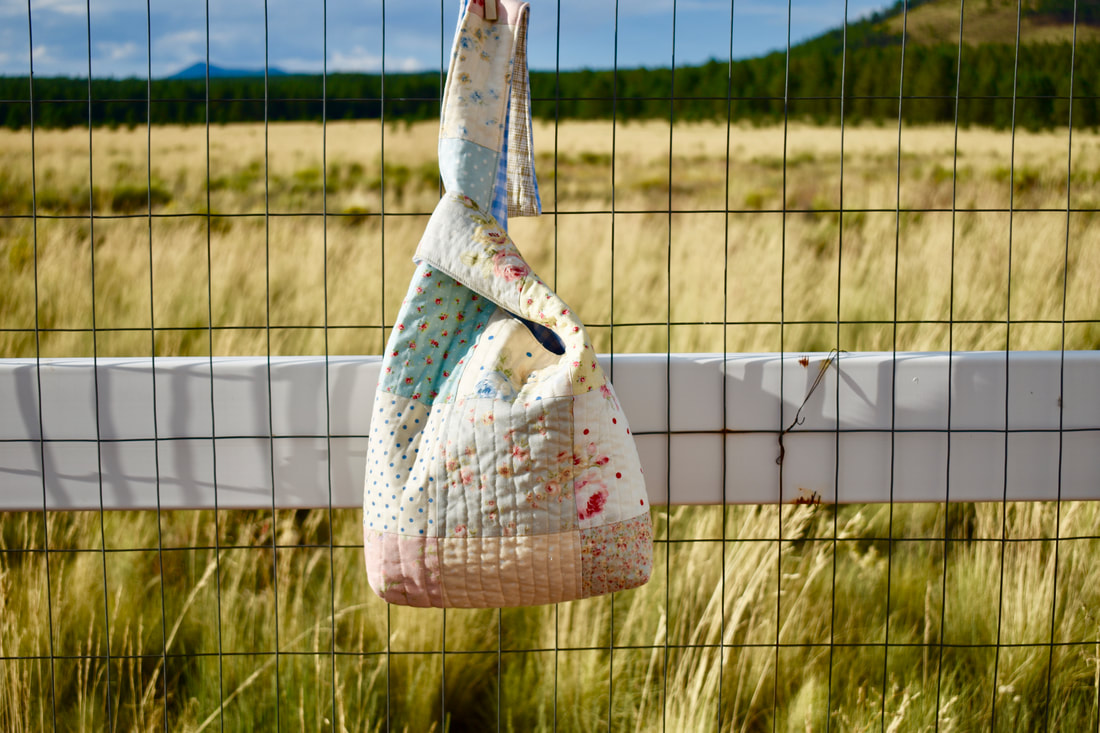
Japanese knot bag - Quilted version
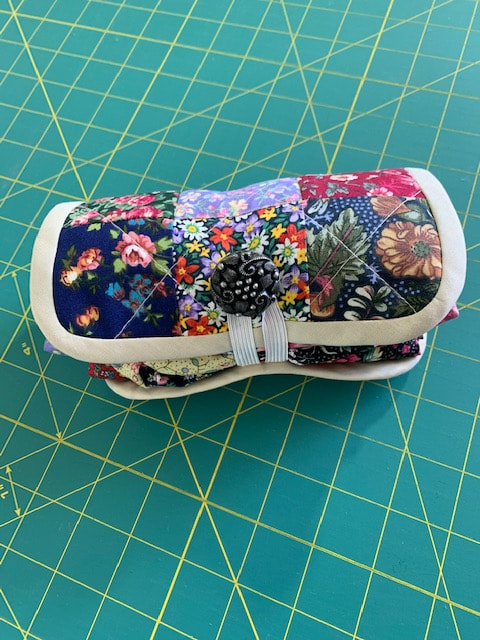
This adorable Japanese knot bag will surely brighten up your day. Great for daily errands, coffee date, walk at the park, although this type of bag is pretty well known as the project bag.
The front exterior is made out of 14 pcs of charm packs (5" squares). Below is the diagram 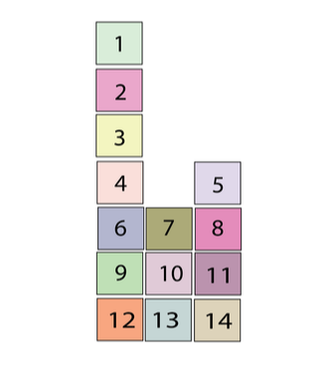
The Japanese knot bag patchwork diagram for the front exterior
I quilted this bag with left over quilt batting, and pretty pleased with the result, it gave enough body so my bag isn't too flimsy, yet still light weight to allow it to drape nicely.
You may watch the full tutorial on my Youtube channel (consider subscribing so you won't miss any upload ;)
Supplies and tools
14 x Charm Packs 5" squares 1/2 yard cotton fabric for the back exterior 5/6 yard cotton fabric for the lining Quilt Batting or lightweight interfacing or fusible fleece Basic sewing/quilting notions Curve Ruller (optional) Disclaimer : This Post contains affiliate links Happy sewing!! 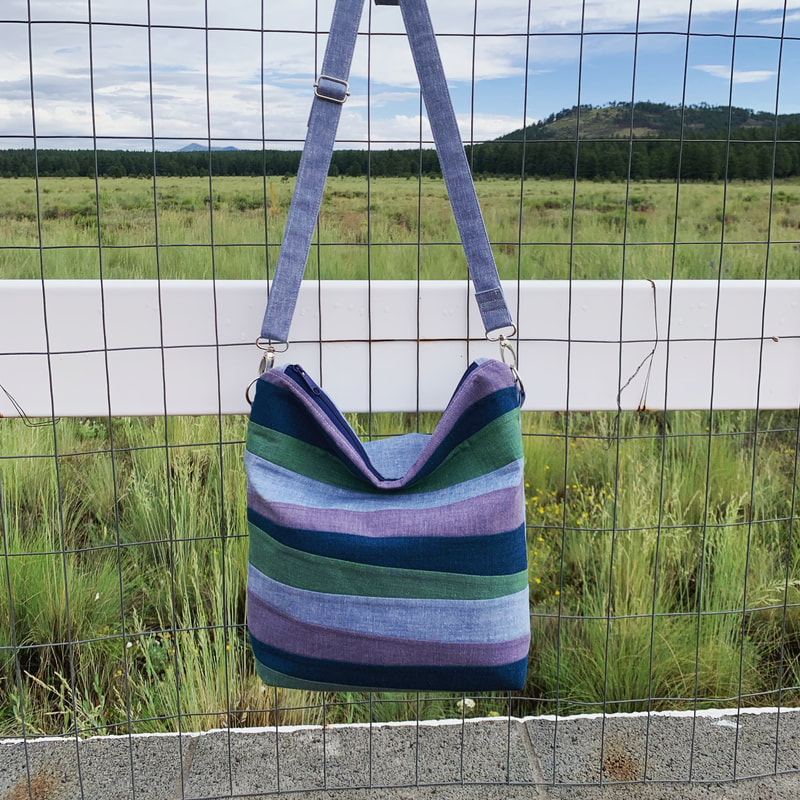
The Peony Slouch Bag
The Improv slouch zipper bag, is a fun, yet stylish bag that is so much fun to sew. This is a great project to use up some of your scraps or left over jelly roll strips from your stash. You may experiment with different color range, use solid or prints, totally up to you.
The construction of this bag is similar to the Marion bag that I posted a month ago, however since this bag is larger in size, the finished look is quite different than the Marion bag (this bag has more slouch look). Watch the full video tutorial on my Youtube channel
The Peony Slouch Zipper Bag Supplies and measurement :
Supplies : Assorted quilt weight fabric strips (refer to measurements in the cutting instruction below) 2/3 yard lining fabric Nylon Zipper (at least 15" long) 1" D rings (2x) 1" Lobster clasp swivel hooks (2x) 1" adjuster slider Fusible Fleece Fusible woven interfacing (pellon shapeflex 101) Basing sewing notions ============================================== Cutting ~Front Exterior~ Cut 13-15 pcs of 18" x 2 1/2" strips ~Back Exterior~ Cut one 18" x 9" Cut one 18" x 12" ~Interfacing~ Cut two 15" x 15" fusible woven interfacing Cut two 15" x 14 1/2" fusible fleece ~Lining~ Cut two 15" x 15" from the lining fabric ~Pockets ~ Cut two 15" x 8" from the lining fabric ~Strap Anchor~ Cut one 5" x 4" ~Strap~ Cut one 60" (or desired length) x 4" strips ~Strap interfacing~ Cut one 59" (1" shorter than the length of your strap) x 2" ~Zipper Tabs~ Cut two 4"x width of zipper (fabric and interfacing) If you have any questions about this project please do not hesitate to reach out to me. Happy Sewing!! 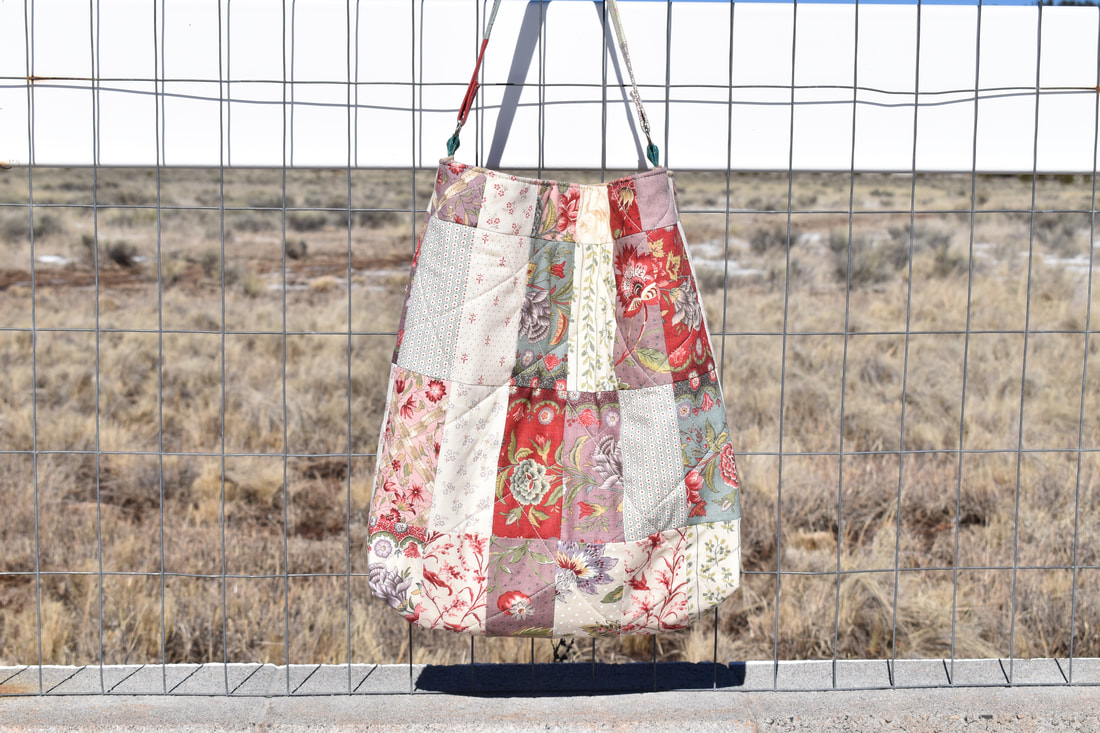 Hello Friends, The Elena Bag sewing tutorial is now available for you to make. this bag is just so adorable, and will definitely brighten your day. We are going to use some charm packs to create that scrappy patchwork look and I promise you, it won't be complicated at all. There are 3 slip pockets, a lipstick pocket, and a zipper pocket inside. So not only pretty, this bag will function as well for your day to day activities. Lets get started by downloading the cutting diagrams for this bag :
Now, go ahead and enjoy the full video tutorial. Hope your project turns out great!! XOXO
|
Categories
All
©
Yoan Sewing Studio | All Rights Reserved
|
||||


 RSS Feed