|
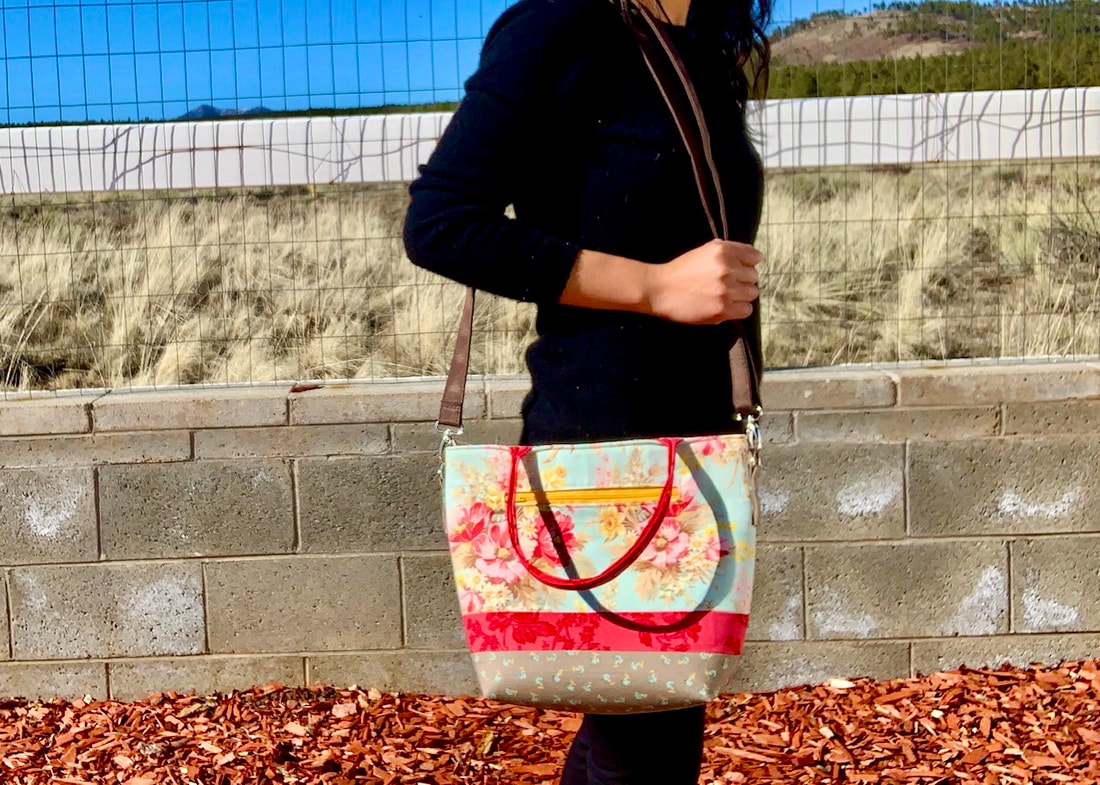
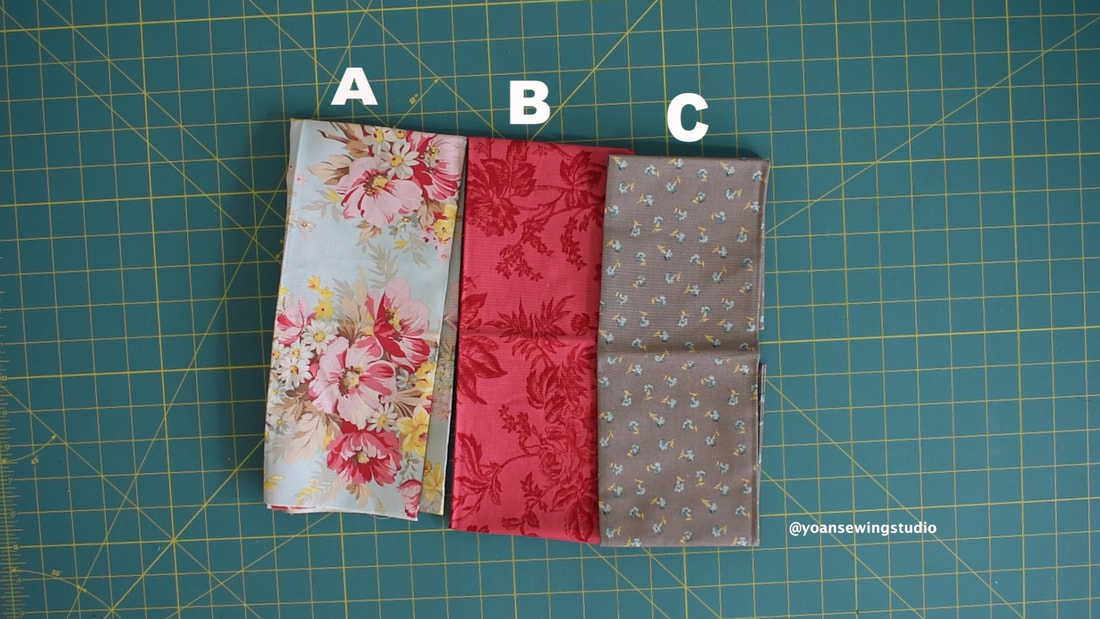
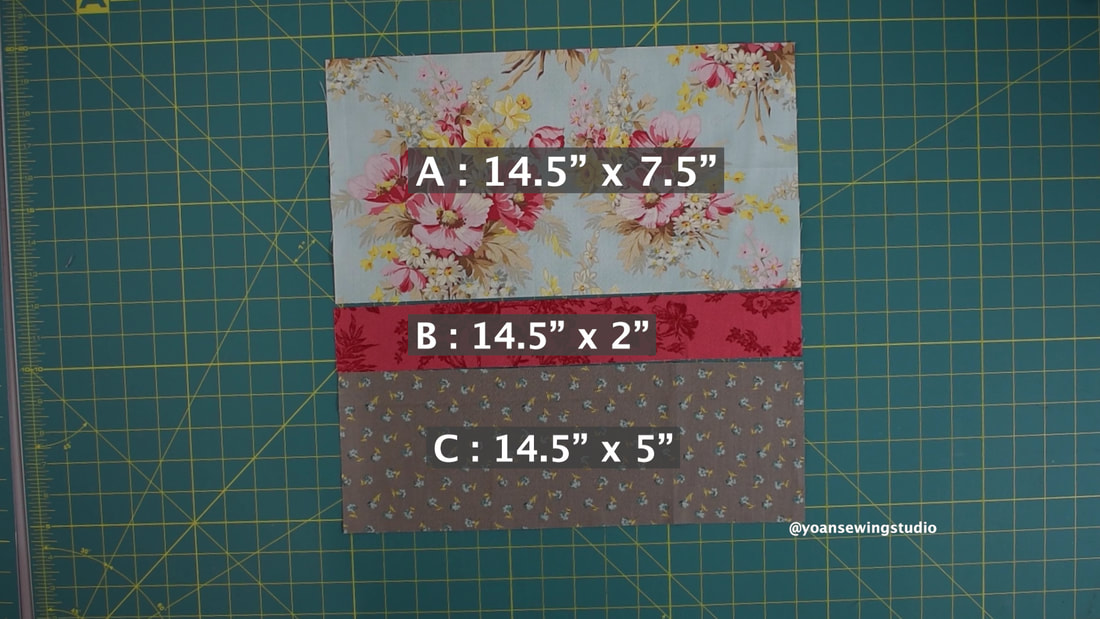
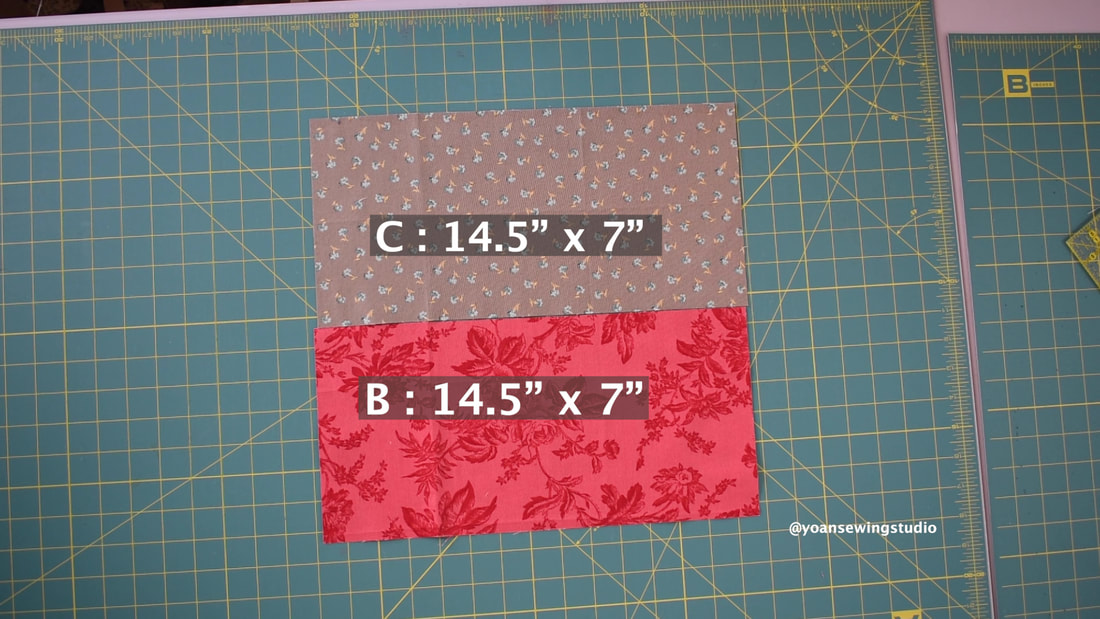
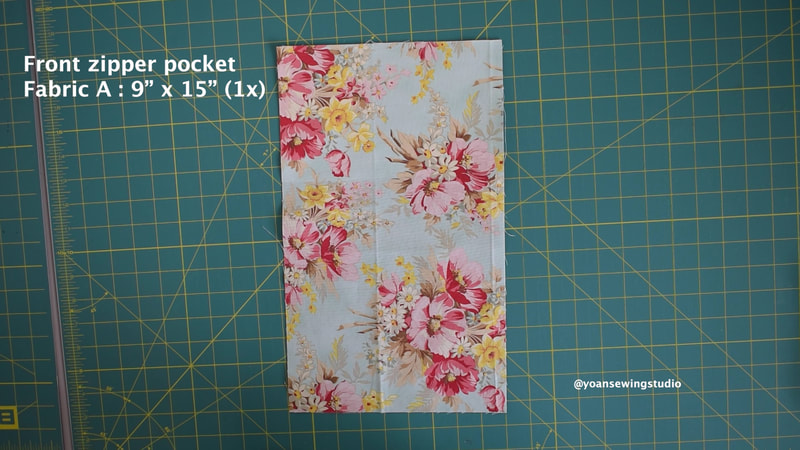
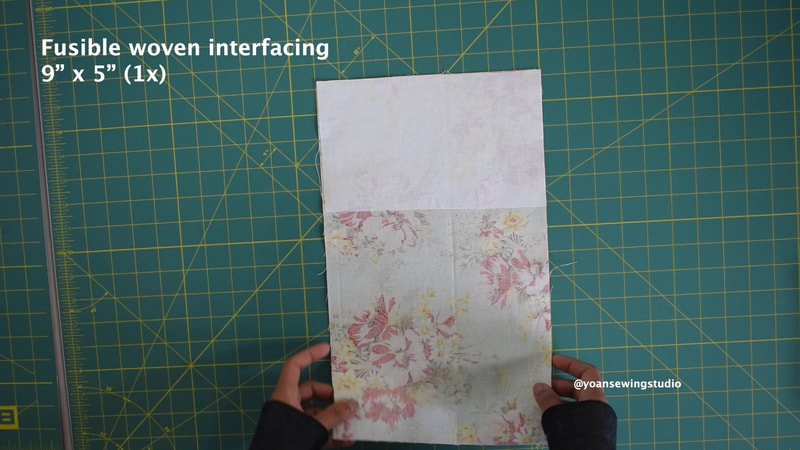
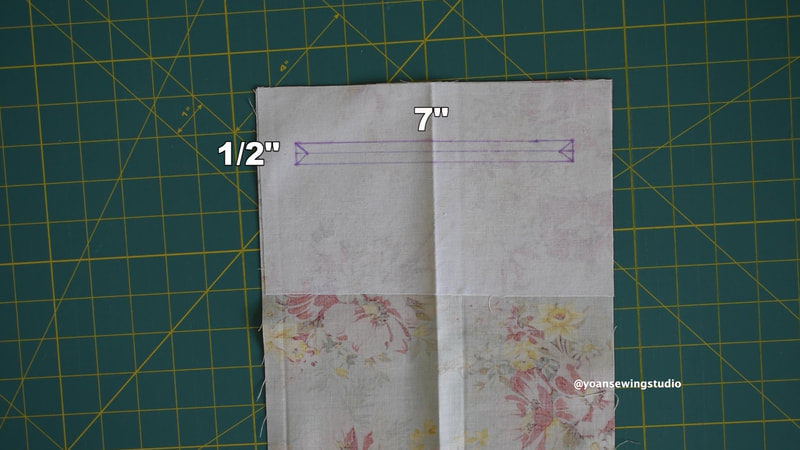
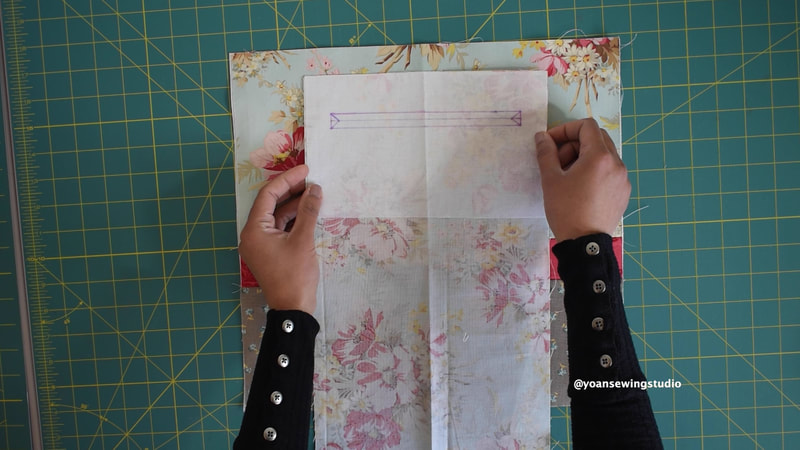
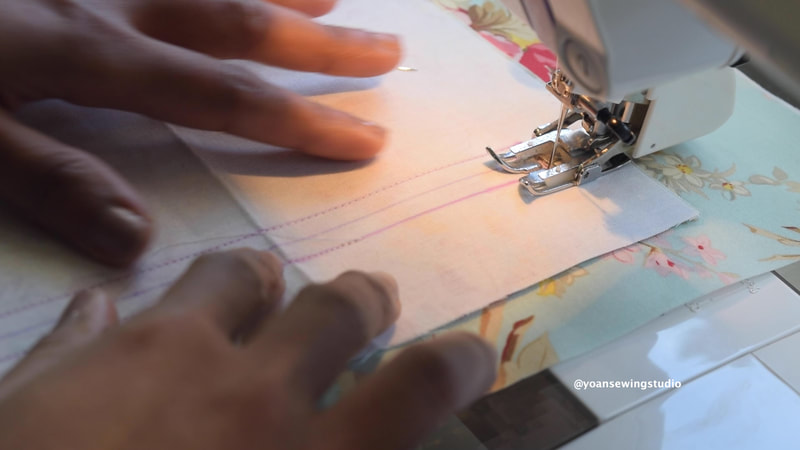
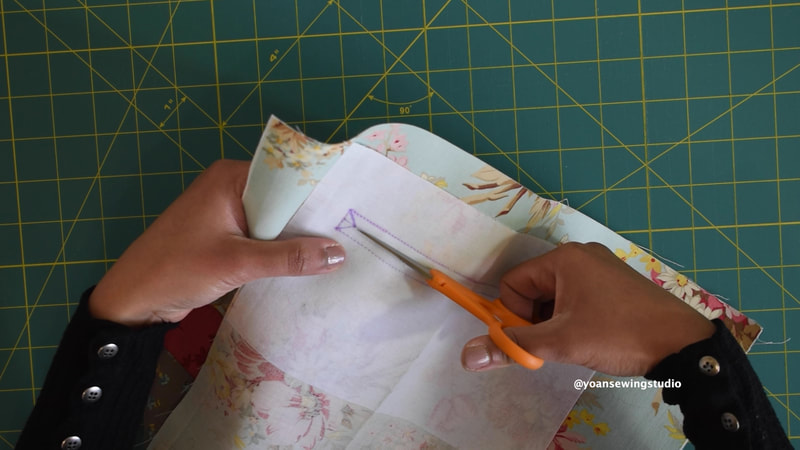
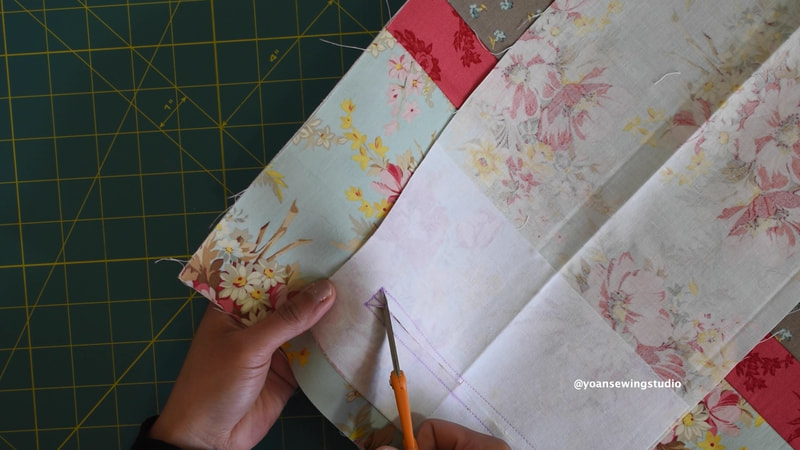
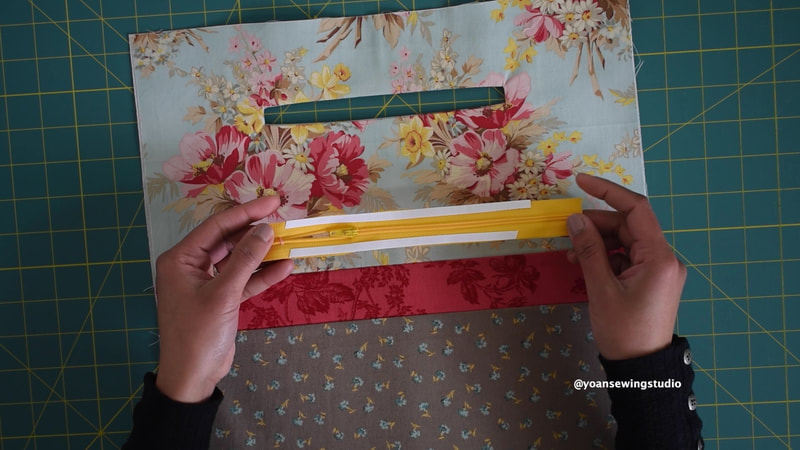
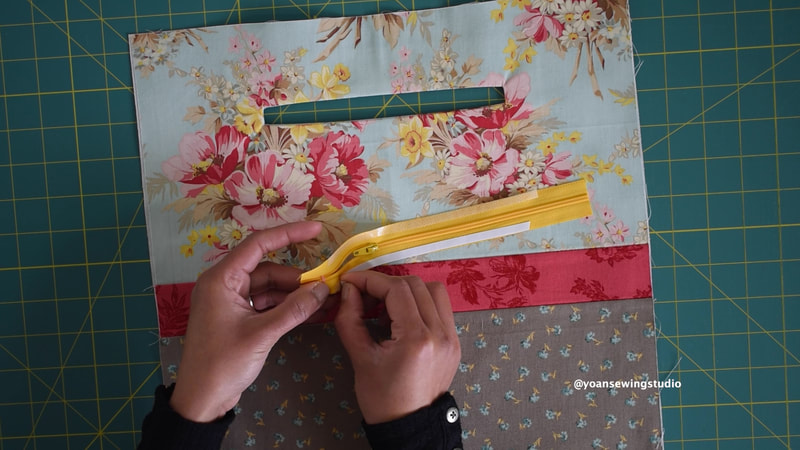
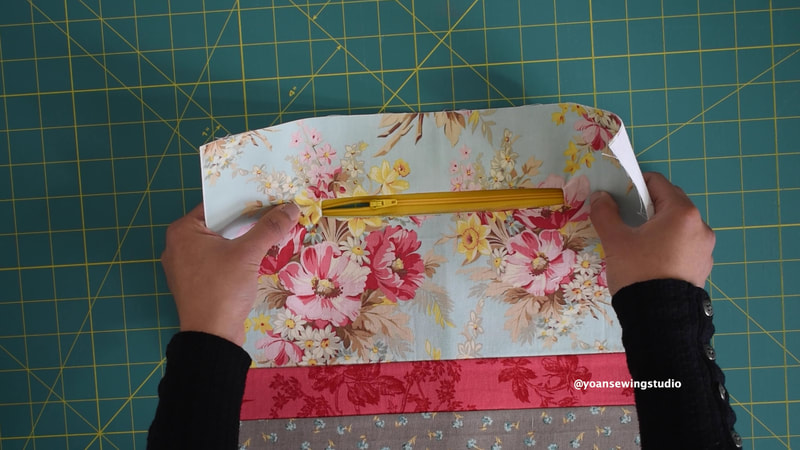
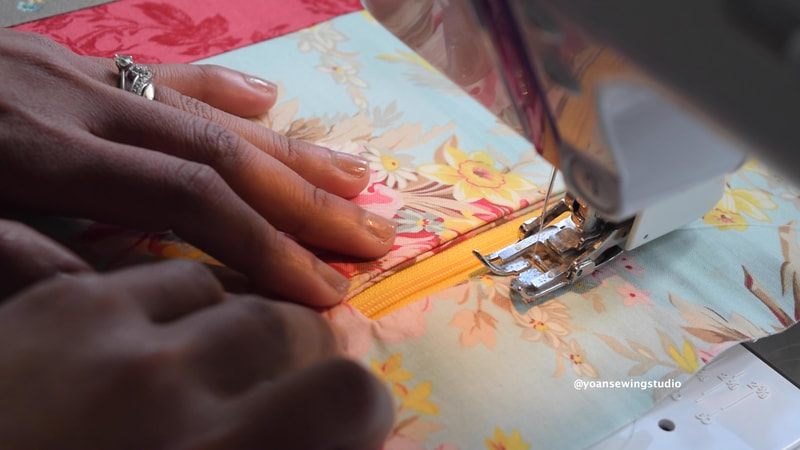
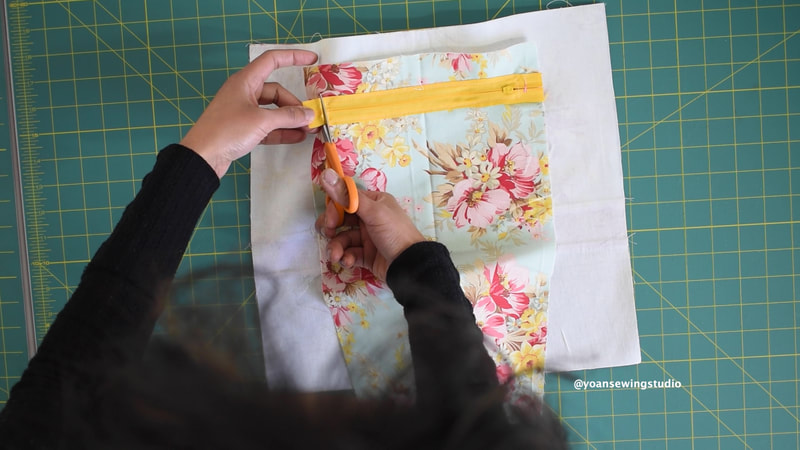
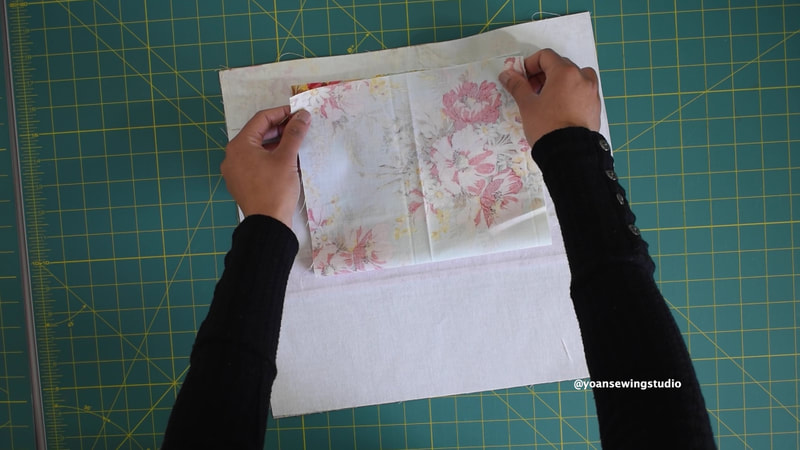
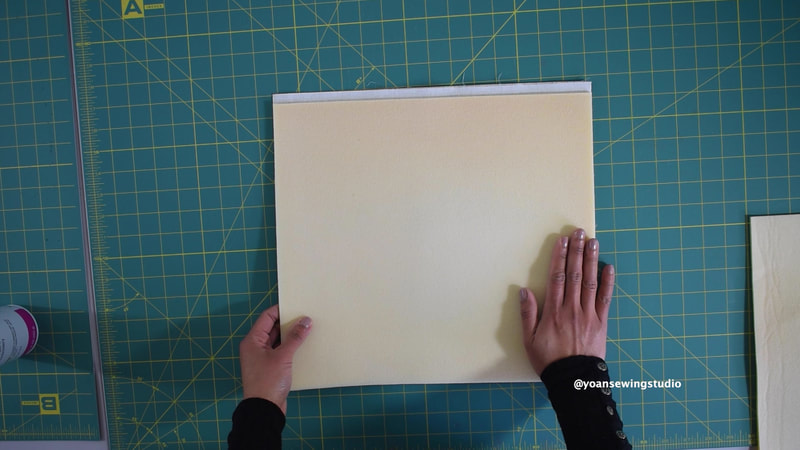
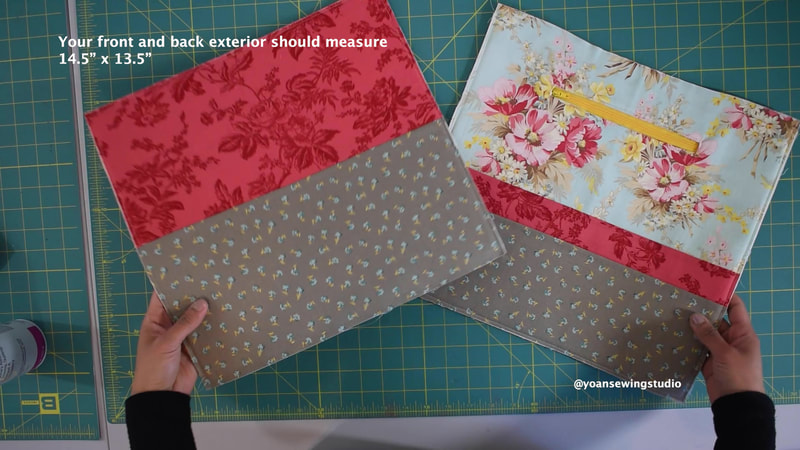
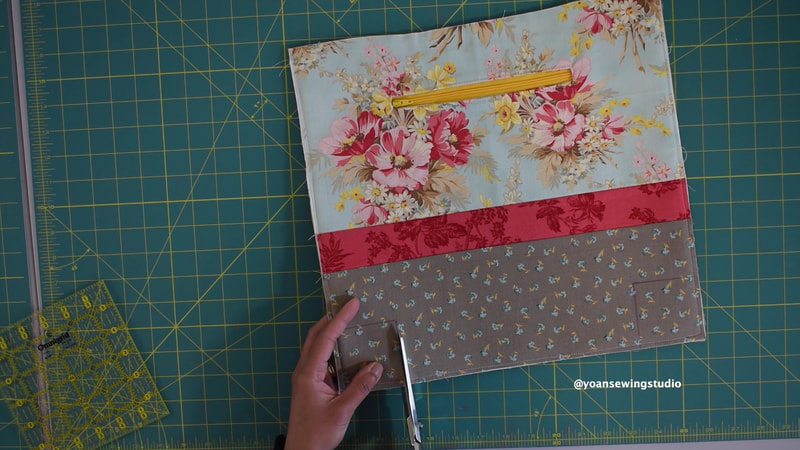
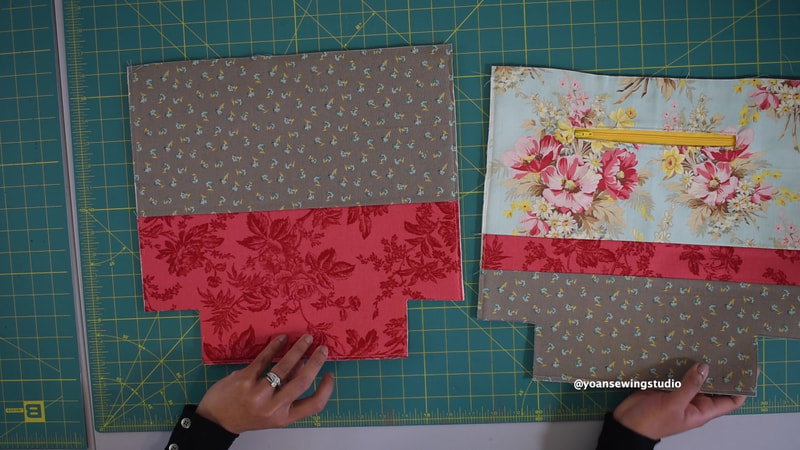
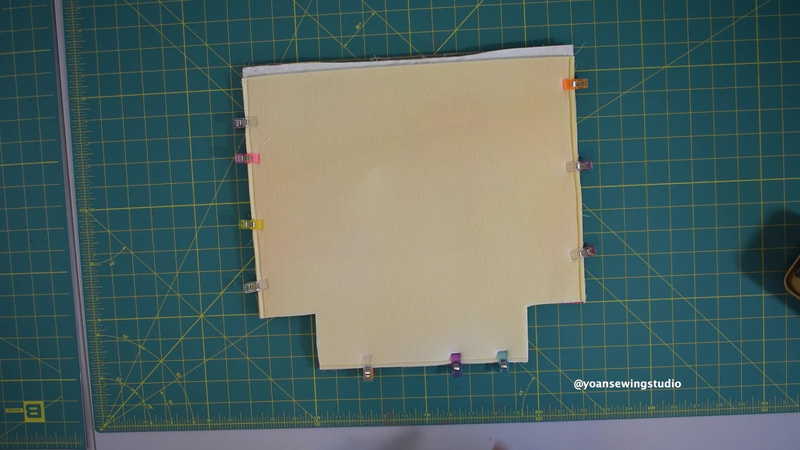
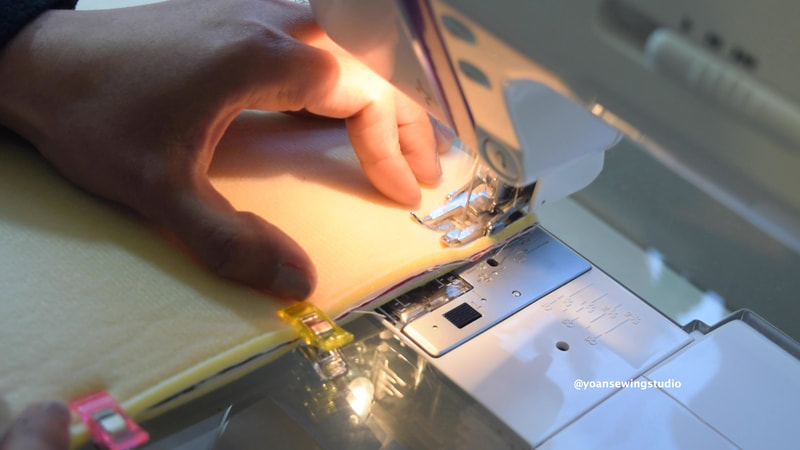
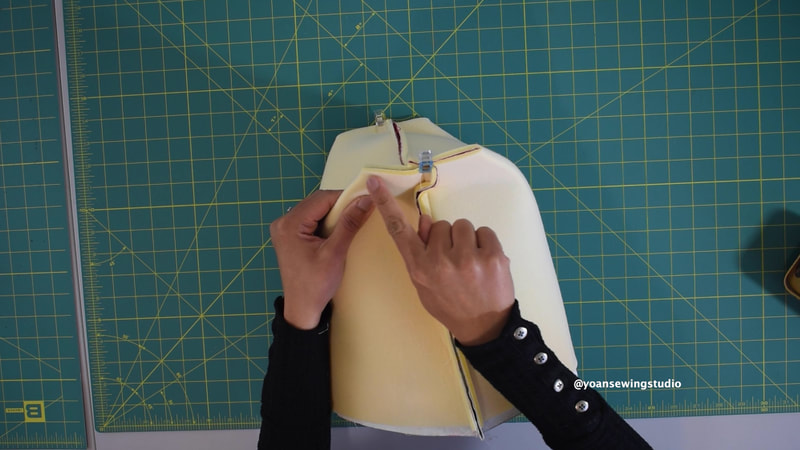
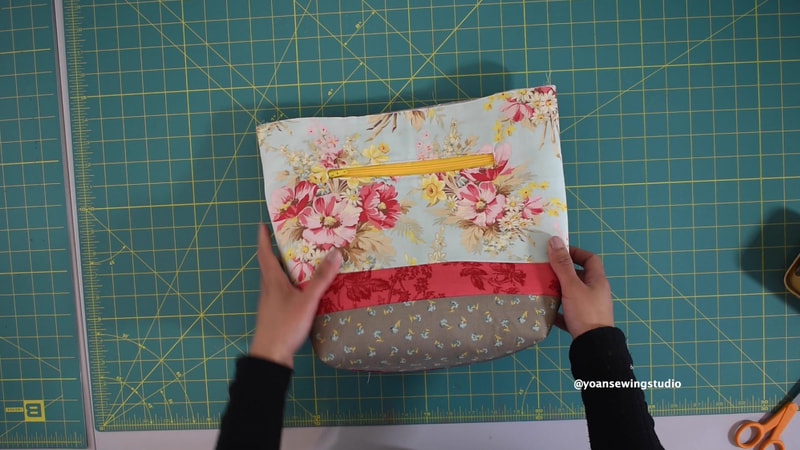
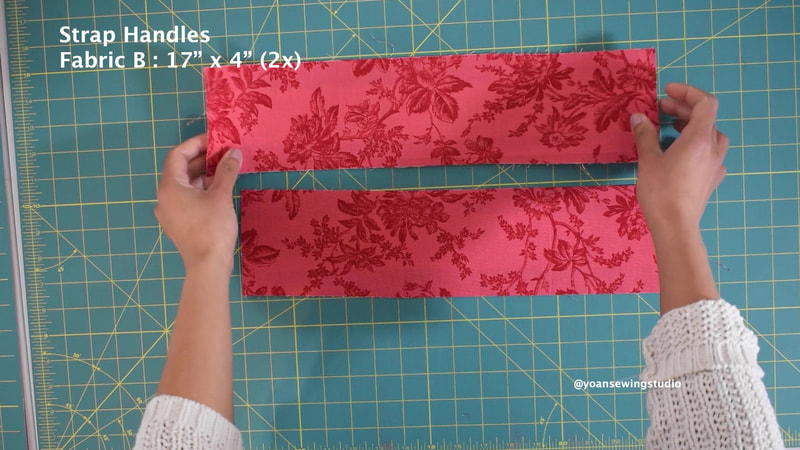
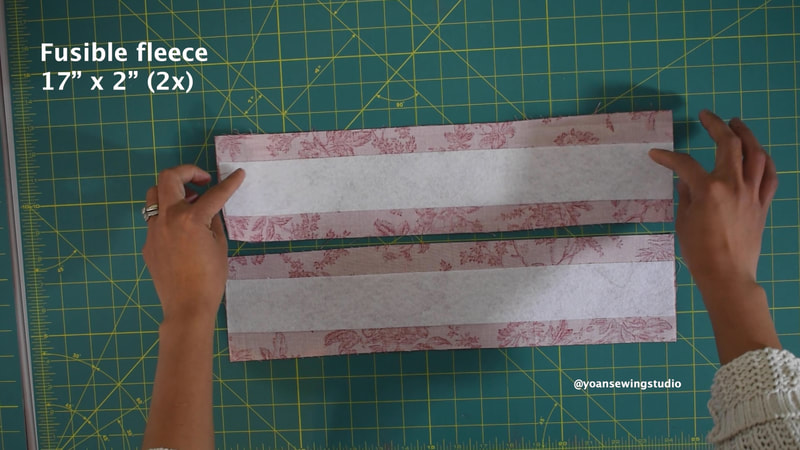
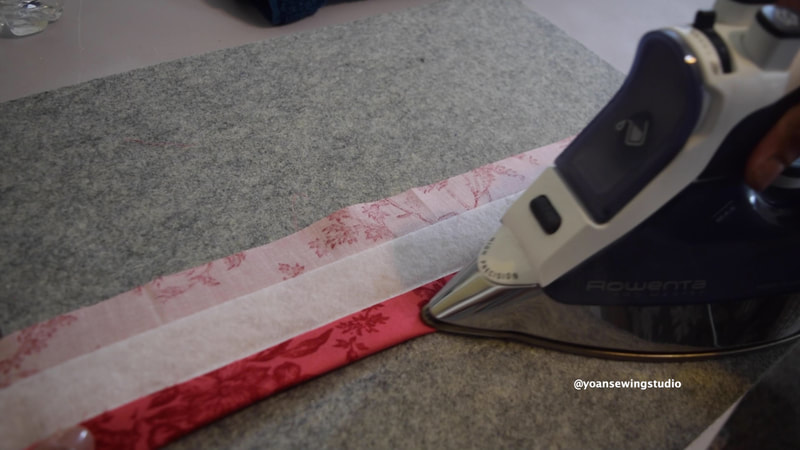
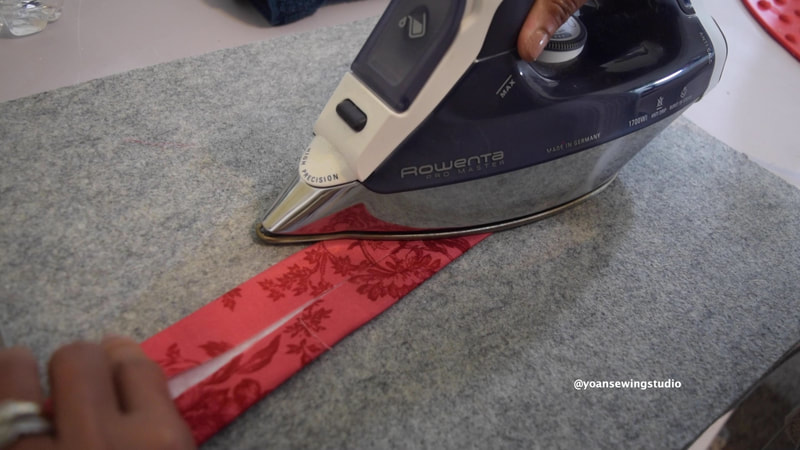
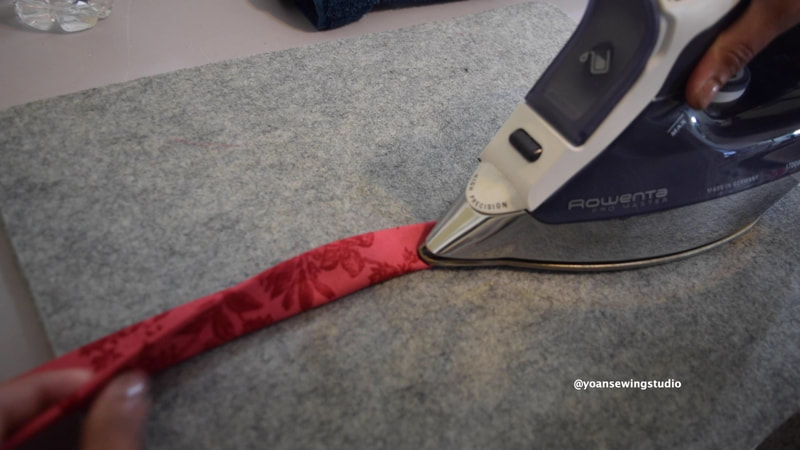
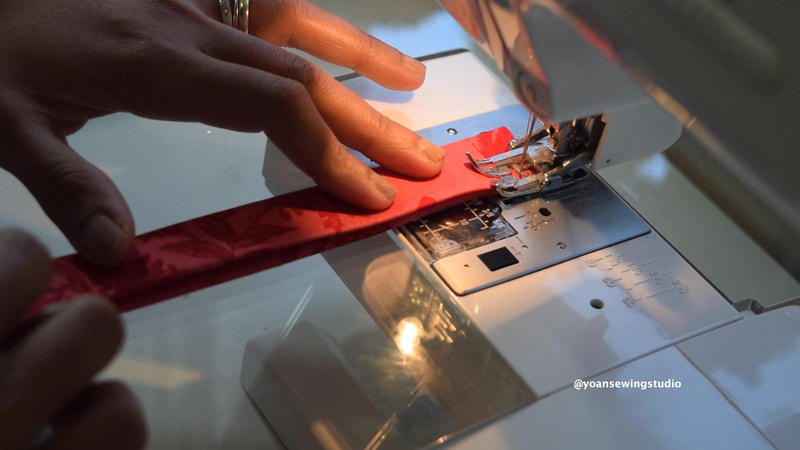
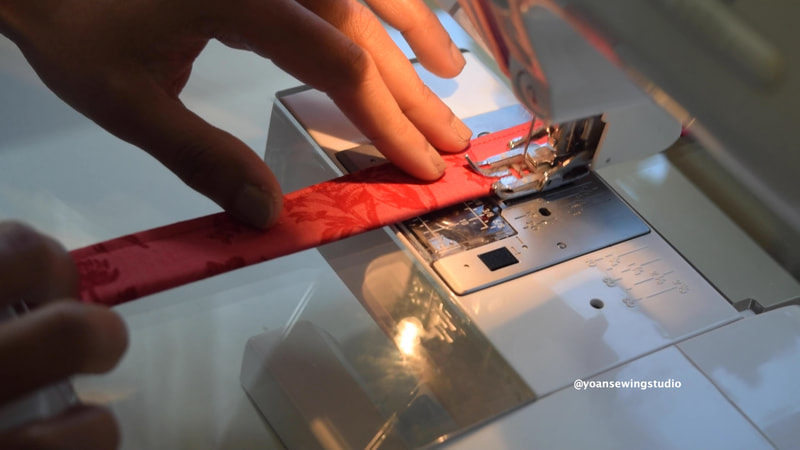
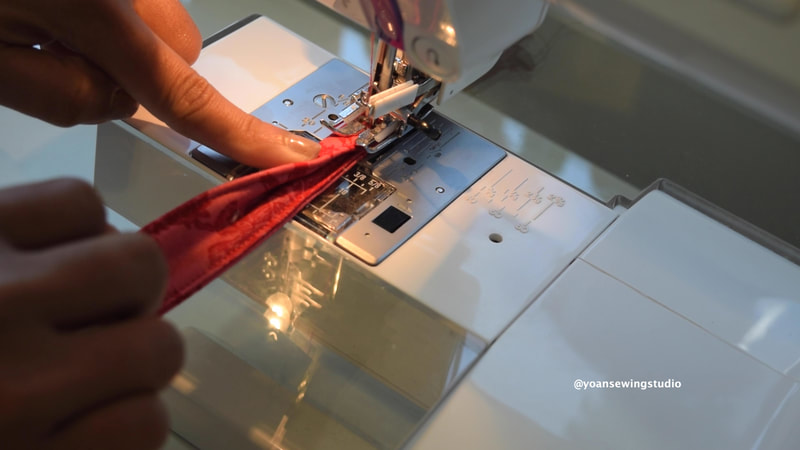
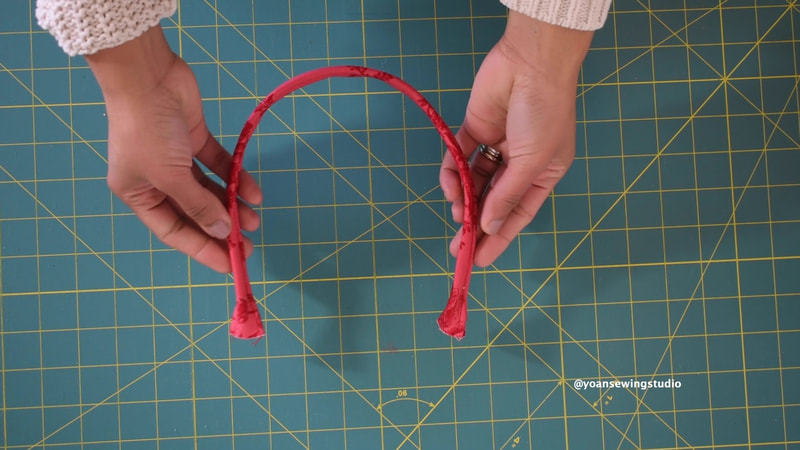
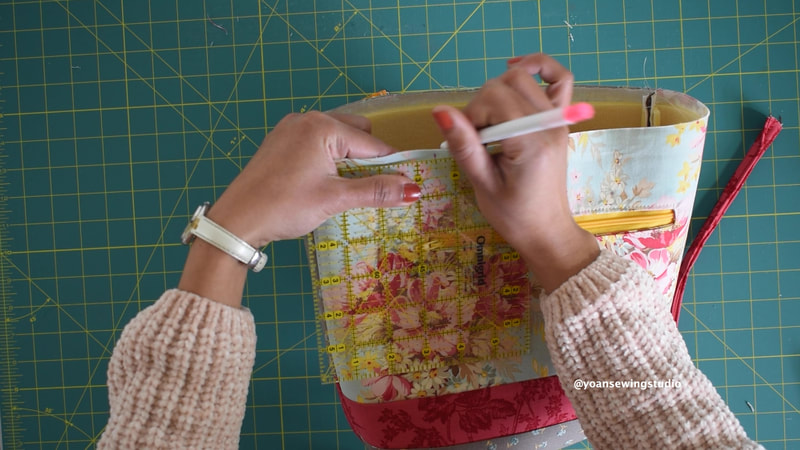
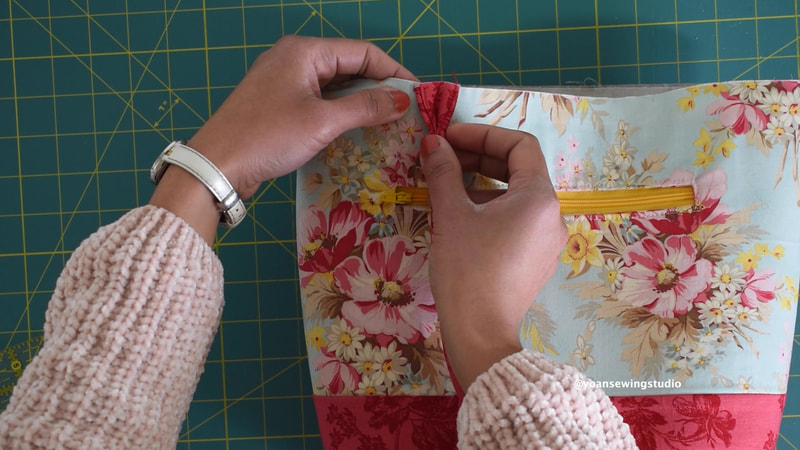
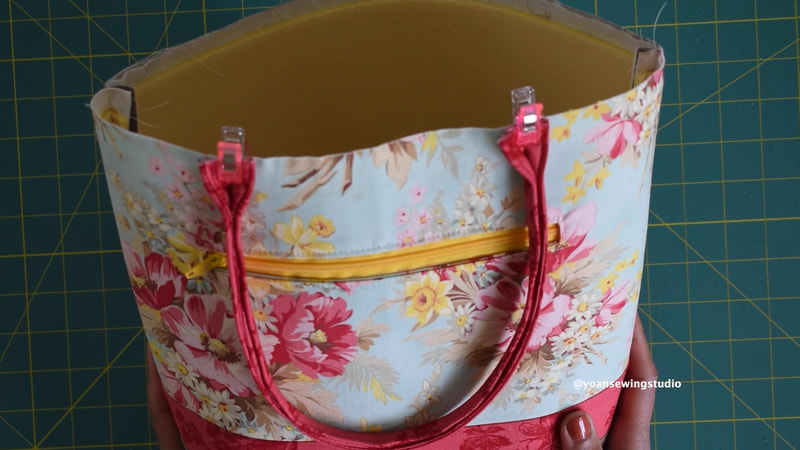
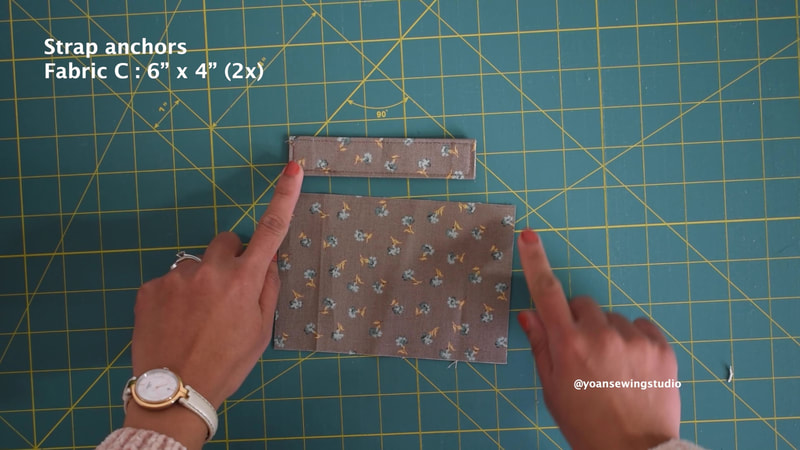
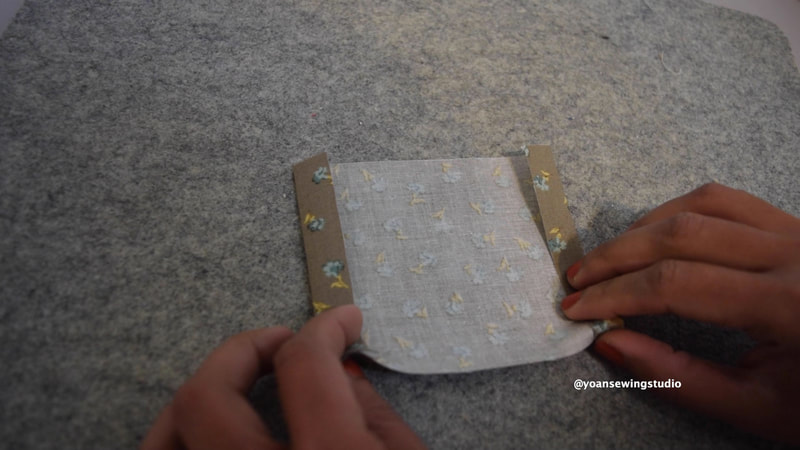
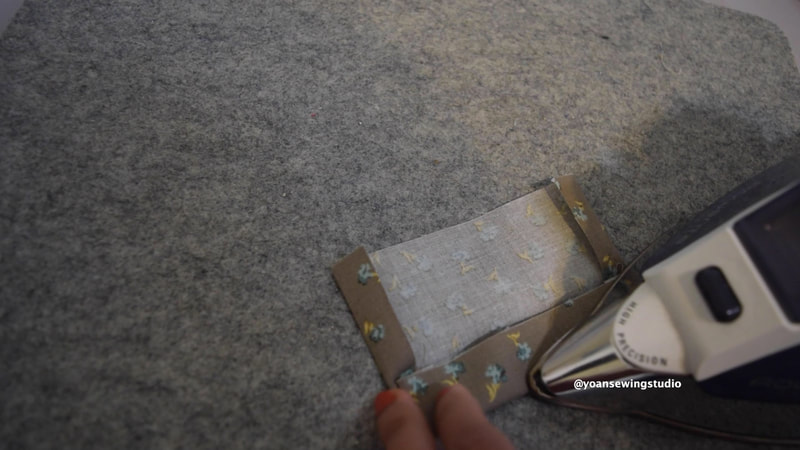
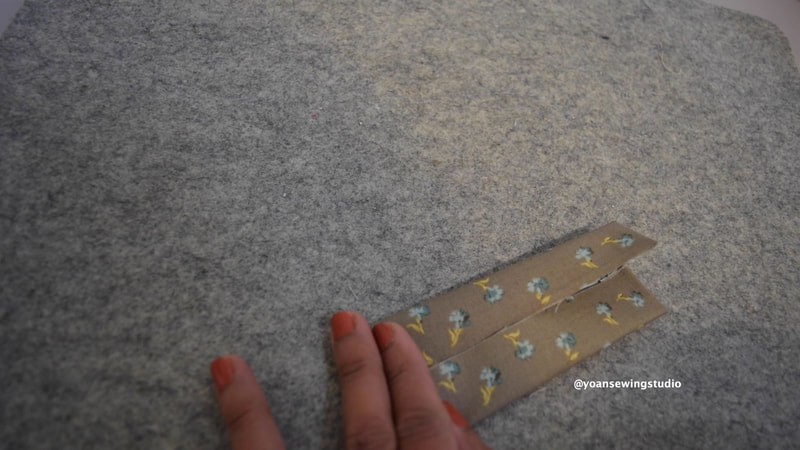
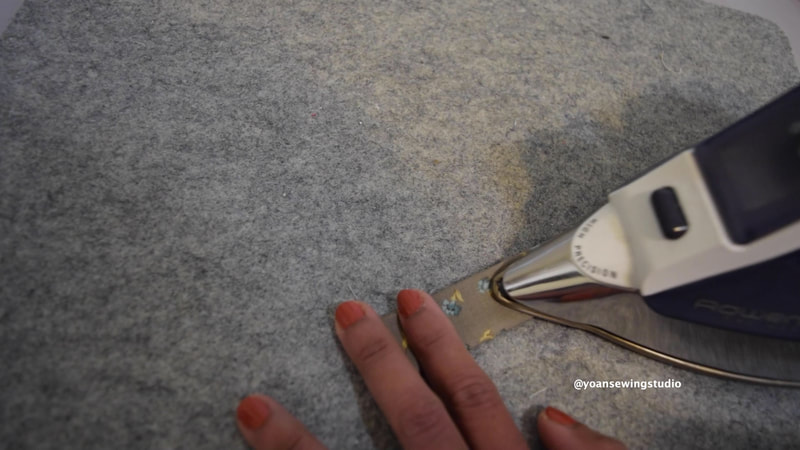
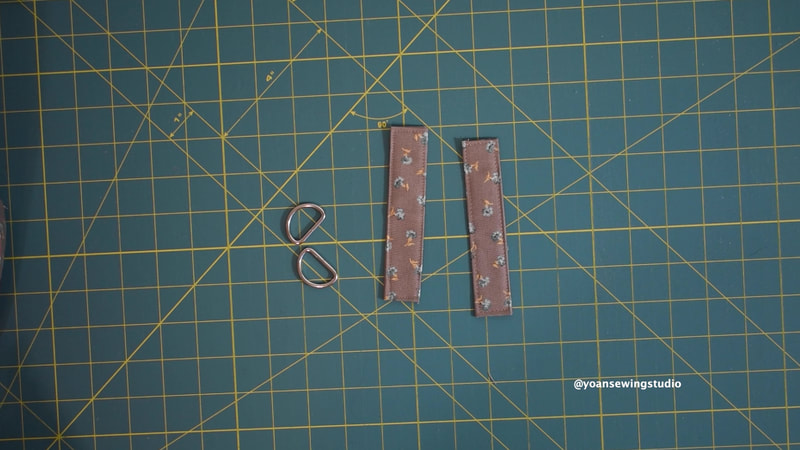
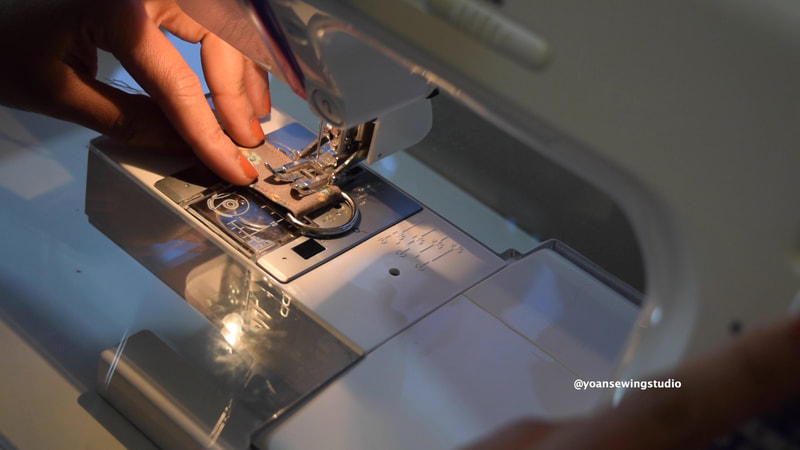
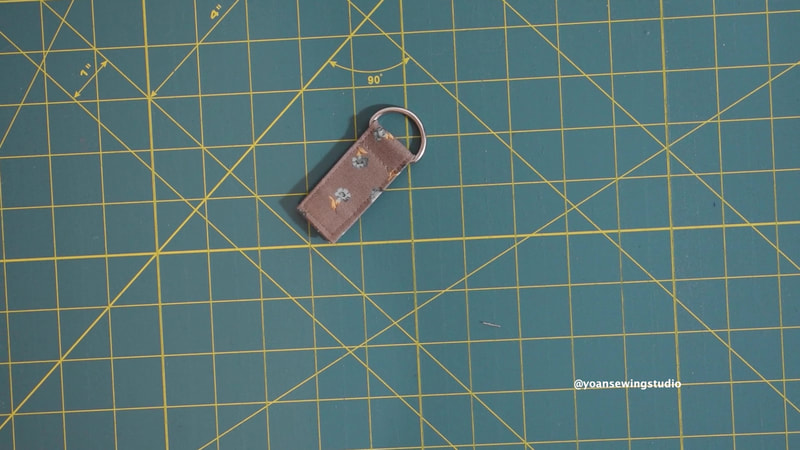
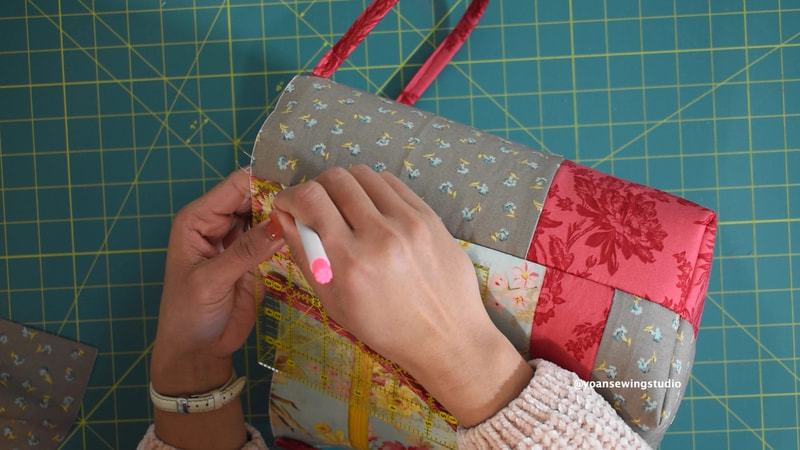
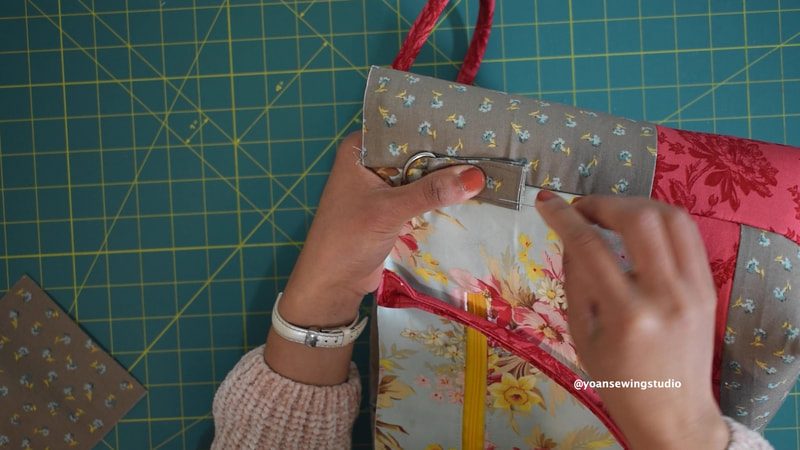
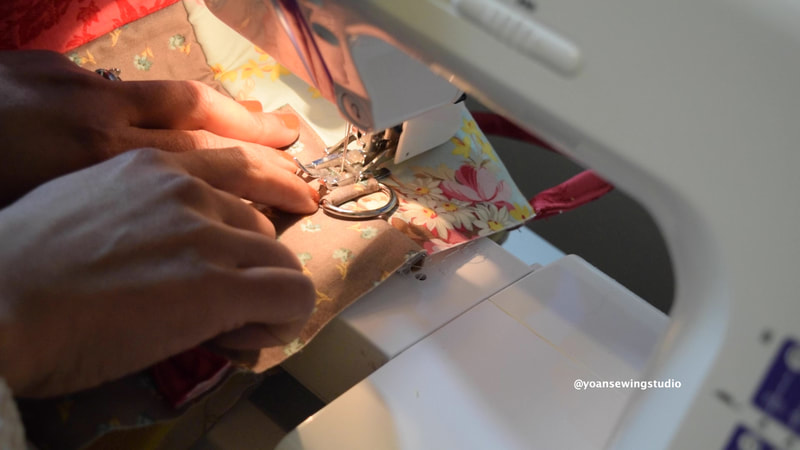
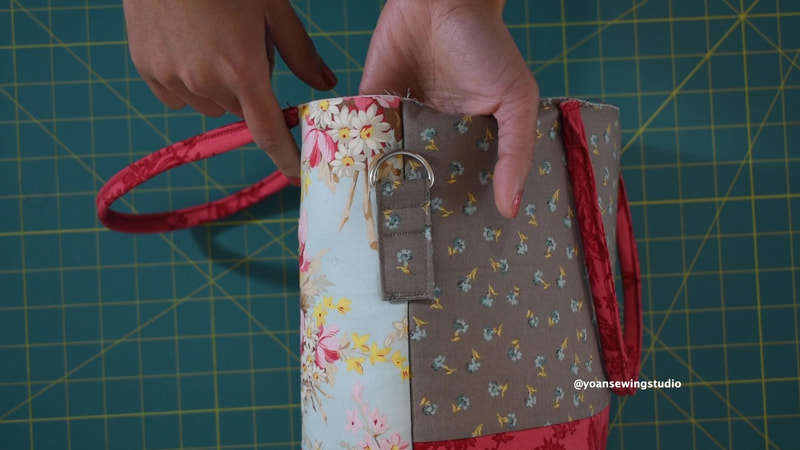
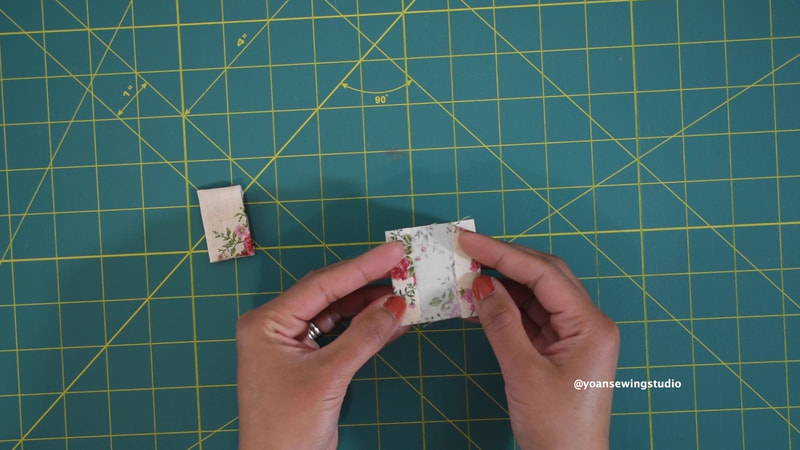
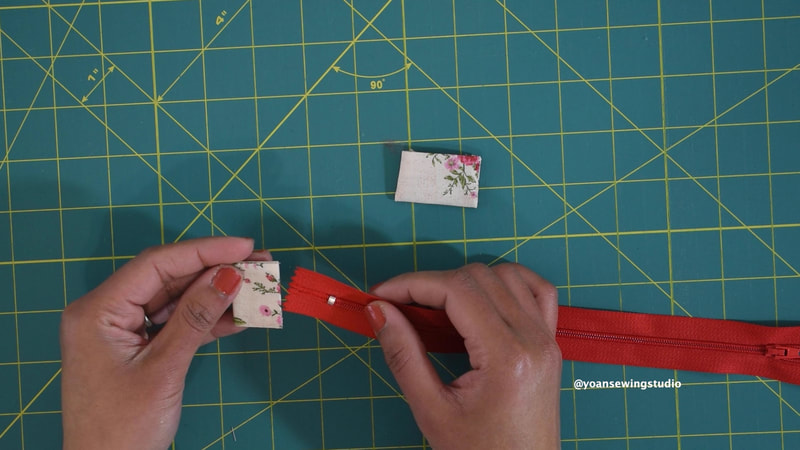
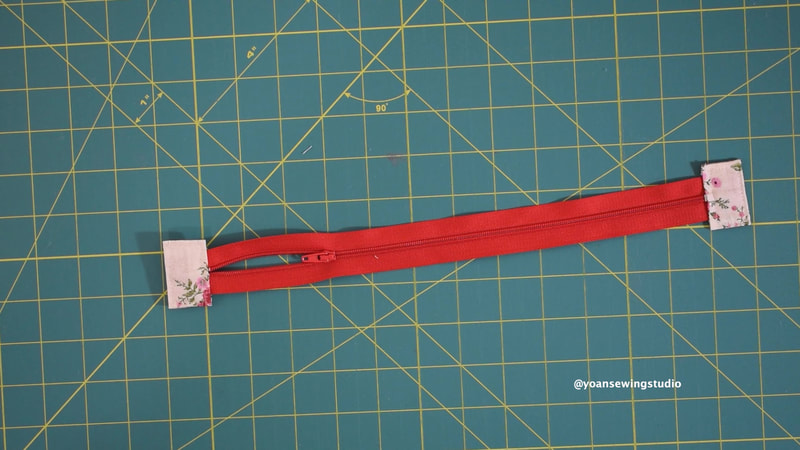
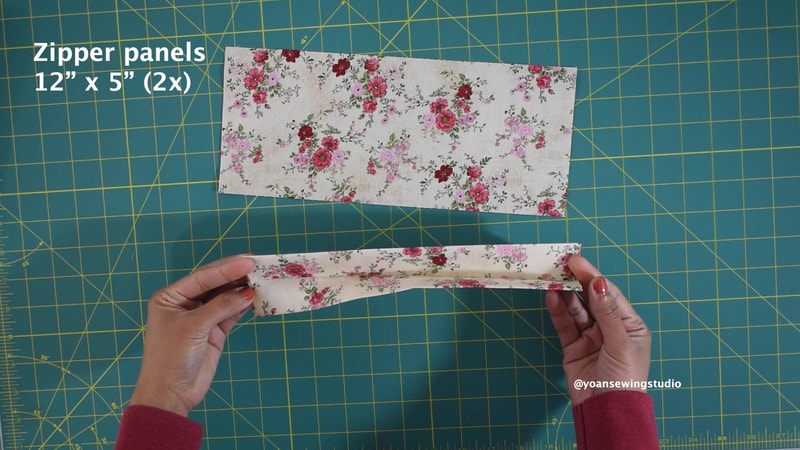
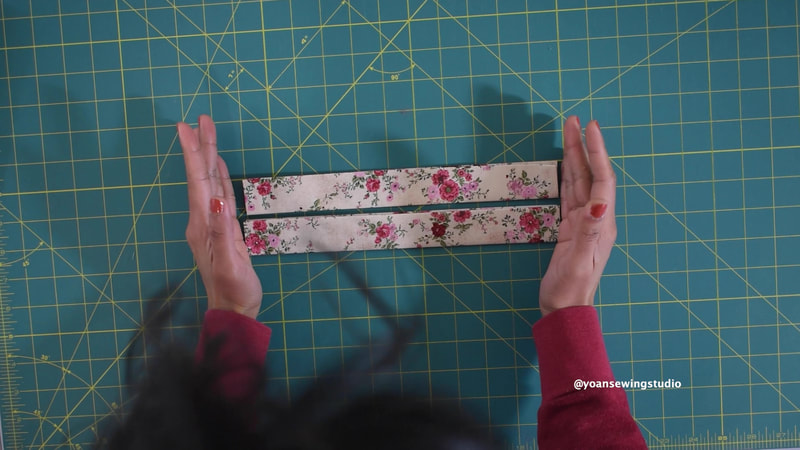
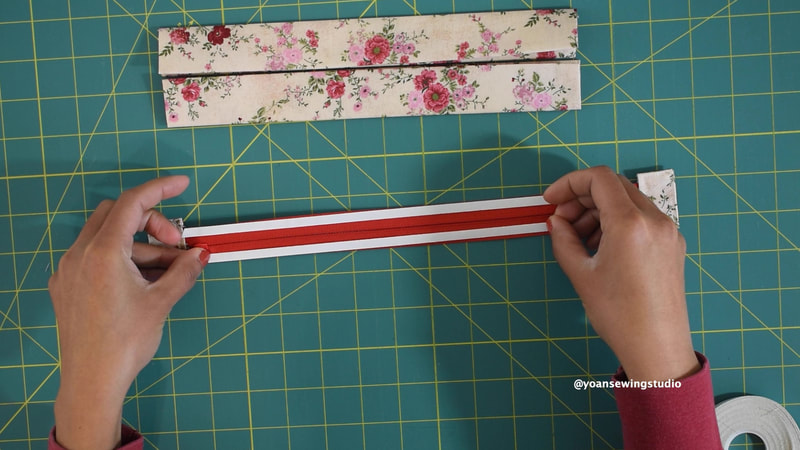
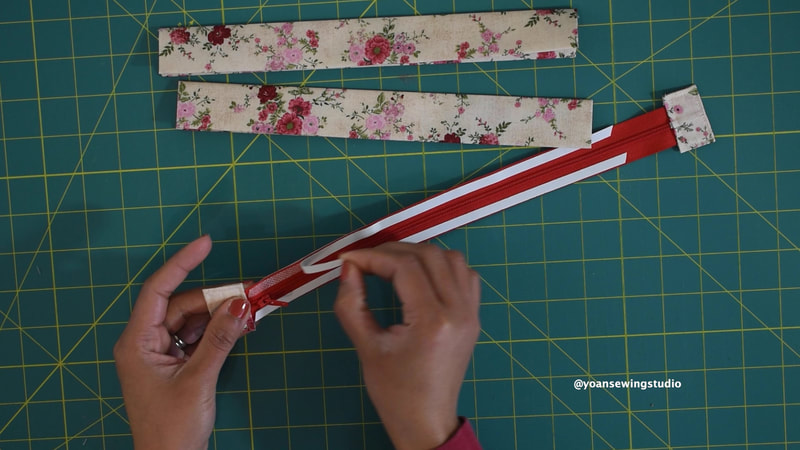
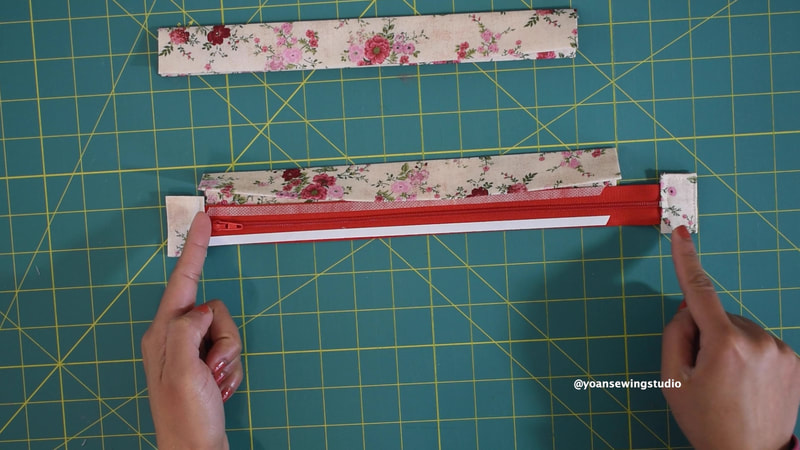
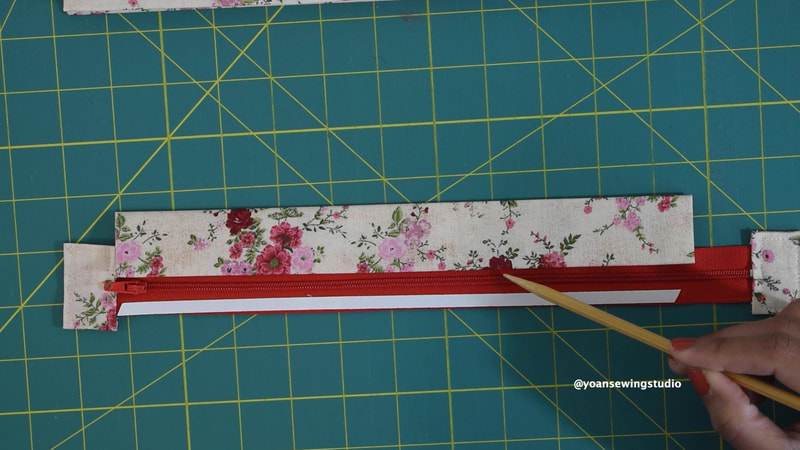
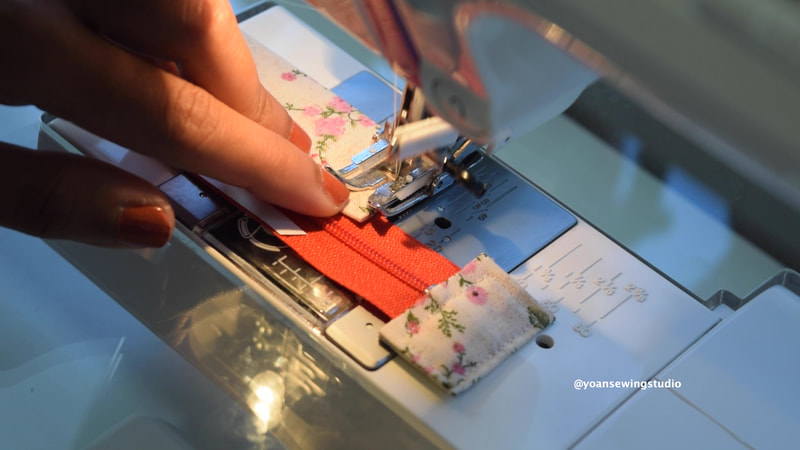
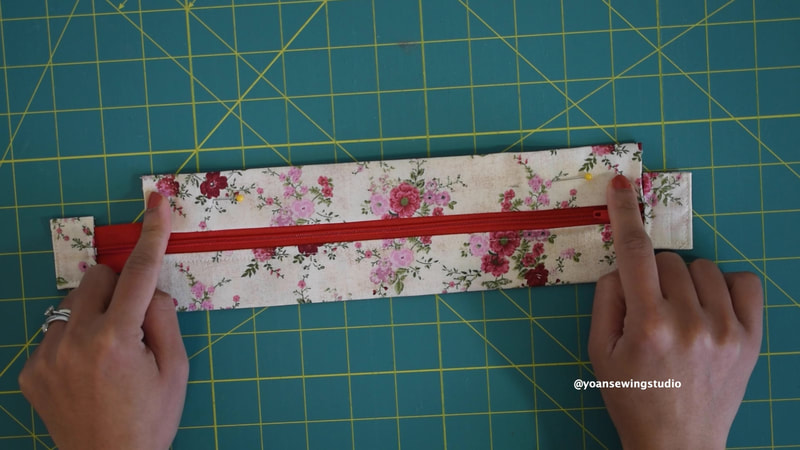
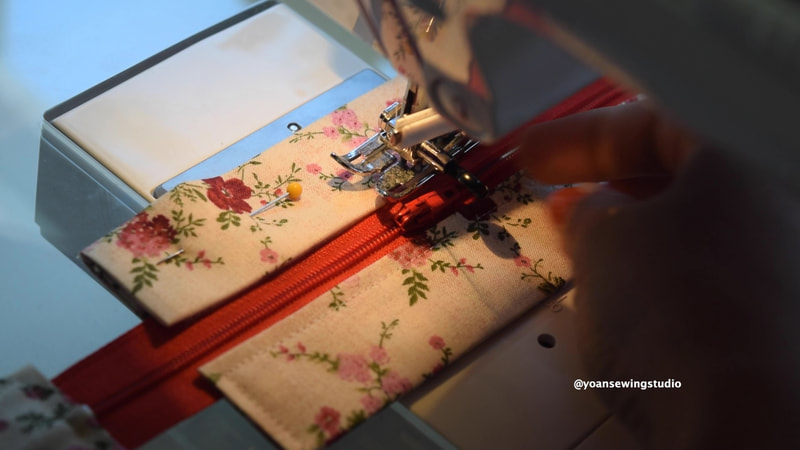
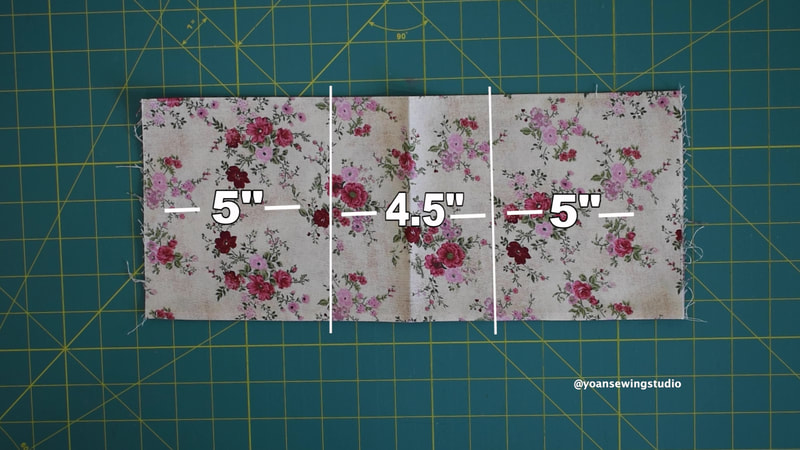
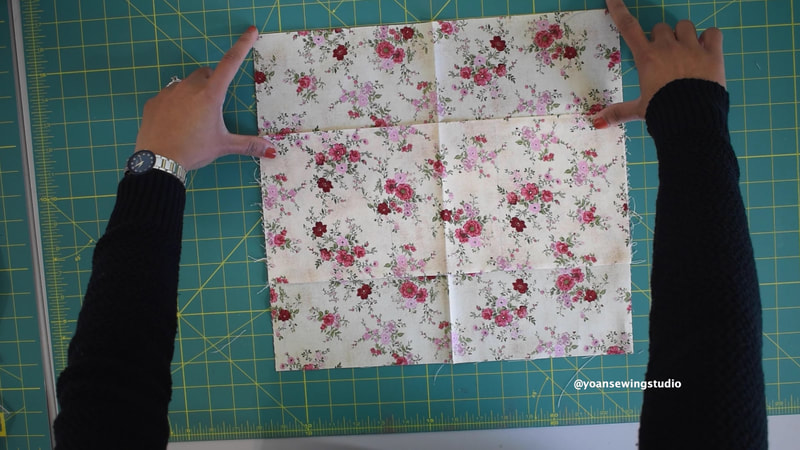
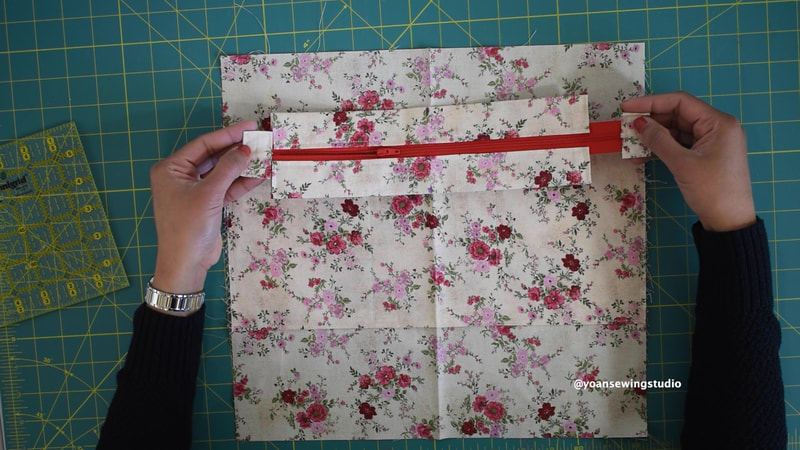
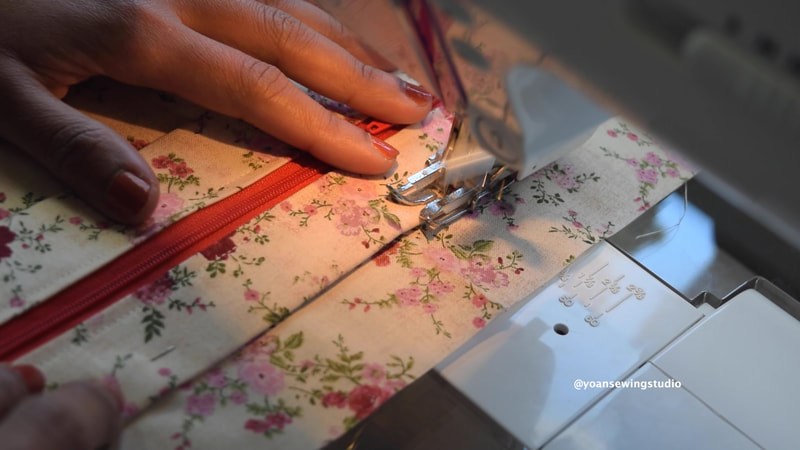
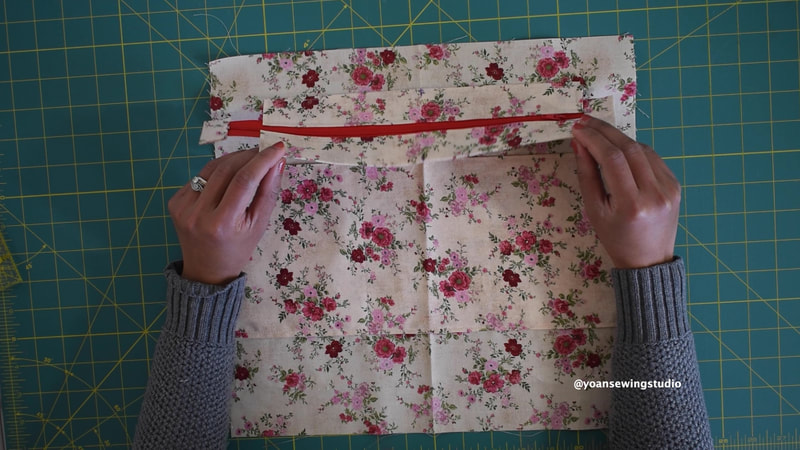
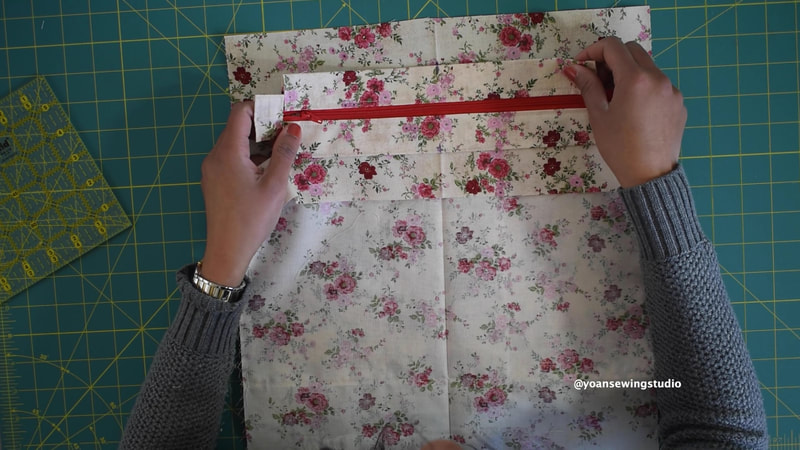
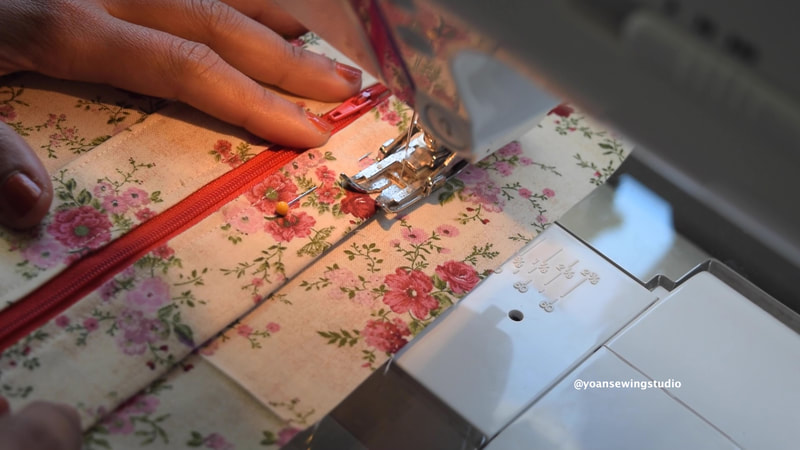
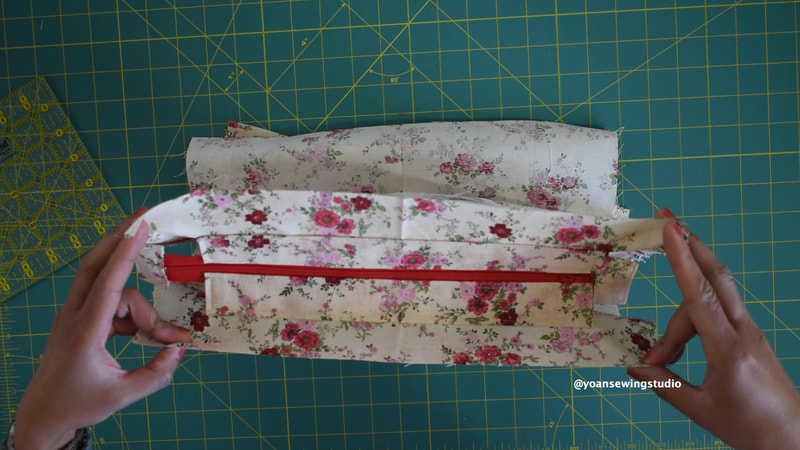
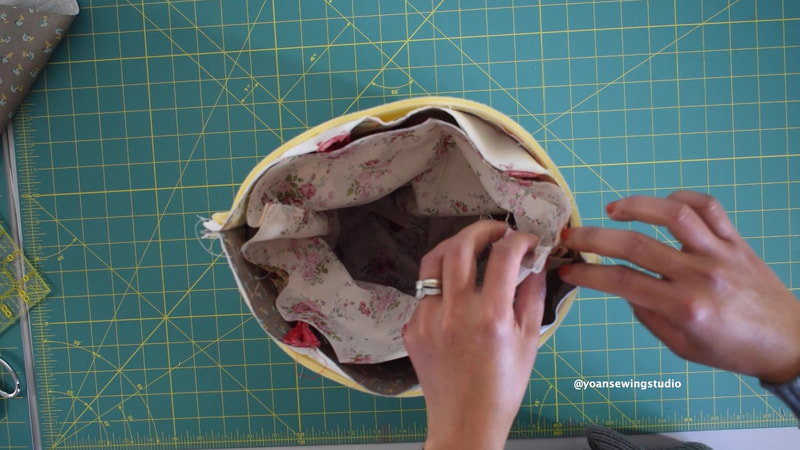
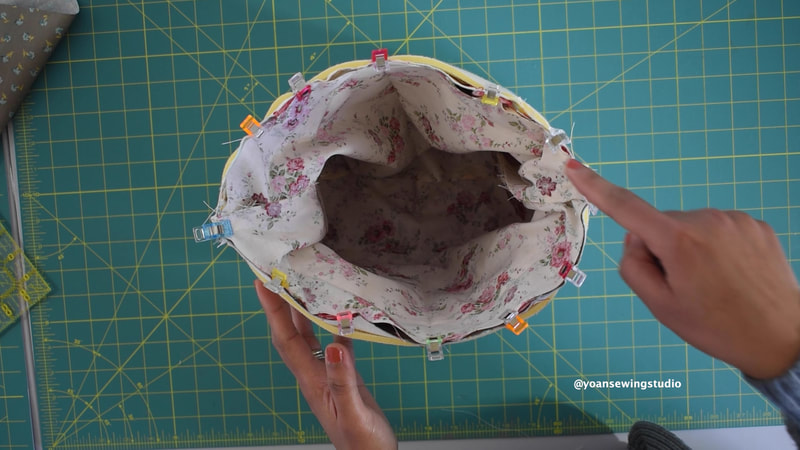
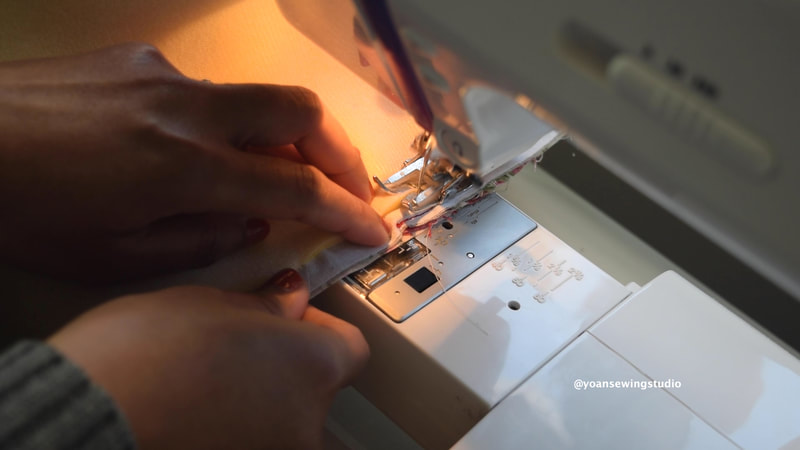
Here's a new bag for you to sew to use up some of your fat quarters collection. The Dahlia bag is a charming bag to be added to your bag collection. Some of the features that this bag has : Front Zipper pocket Recessed Zipper closure 3 internal slip pockets 8" drop Handle straps Adjustable strap The finished measurements of this bag is approx. 12.5" (wide) x 10" (tall) x 5" (deep). The use of foam stabilizer (soft and stable), gives this bag a great structure without being too rigid. I posted the full video tutorial on my Youtube channel, that you can watch here, you may scroll down below for the list of supplies, cutting instruction, and written instruction. SUPPLIESFabric A,B,C, 3x Fat quarters (or 3x 1/4 yard of fabric) 2/3 yard cotton lining fabric 3/4 yard fusible woven interfacing (20" wide) 29" x 13" sew in foam stabilizer (I recommend By Annie Soft and Stable) Fusible Fleece (or batting) 34" x 2" 7" zipper 12" zipper Adjustable Strap (I used ready made) *If making your own strap, cut a 50-60" x 4" fabric; or you can also use webbing strap 1" D rings (2x) 1" swivel hook (2x) *if making your own strap 1" adjuster slider *if making your own strap CuttingExterior Shell ~Front Exterior ~ From fabric A : 14.5" x 7.5" (1x) From Fabric B : 14.5" x 2" (1x) From fabric C : 14.5" x 5" (1x) ~Back Exterior~ From Fabric B : 14.5" x 7" (1x) From fabric C : 14.5" x 7" (1x) From Fusible Woven Interfacing : 14.5" x 13.5" (2x) From foam stabilizer : 14.5" x 13" (2x) ~Front Zipper Pocket~ From fabric A : 9" x 15" (1x) From fusible woven interfacing 9" x 5" (1x) ~Handle Straps~ From fabric B: 17" x 4" (2x) From Fusible fleece 17" x 2" (2x) ~Strap Anchors~ From Fabric C : 6" x 4" (2x) Interior ~Zipper panels~ From lining fabric 12" x 5" (2) ~Zipper tabs ~ From lining fabric 3" x 2" (2x) ~Lining~ From lining fabric 14.5" x 13.5" (2x) ~Slip Pockets~ From lining fabric 14.5" x 12.5" (1x) the fabricfront exterior layoutBack exterior layoutDirections1. Sew the front and back exterior pieces with 1/4" of seam allowance, press. 2. Apply the fusible woven interfacing on both the front and back exterior pieces. 3. Apply the fusible woven interfacing on the upper top part of the front zipper pocket. 4. Draw the zipper template on the wrong side of the front pocket piece. 5.Lay the pocket piece, on the right side of the front exterior piece, 1" down from the top (centered the position), sew along the perimeter of the zipper template. 6. Cut the center line and the corner triangles of the zipper template (be careful not to cut through the stitches) 7. Turn the pocket piece to the wrong side, press. 8. Apply basting tape on the edges of the zipper tape, peel the top layer off. 9. Position the zipper template on the zipper, sew all around the edges. 10. Trim the excess zipper off, fold the pocket in half, sew along the sides and top with 3/8" of seam allowance. 11. Place the foam stabilizer on the wrong side of the exterior pieces, (you can baste with spray basting, then sew the sides and bottom edges with 1/4" seam allowance. 12. Draw and cut 2.5" squares on both bottom corners of your exterior pieces. 13. Lay the front and back exterior right sides together, sew with 1/2" seam allowance. 14. Box the corners 15. Apply the fusible fleece on the wrong side of the handle straps pieces (center the position) 16. Fold the strap in half, press, fold the edges towards the centerfold, press, fold everything in half, press (you should end up with 1" strap) repeat the same with the other piece. 17. Sew along the side edges with 1/8" of seam allowance, starting from the open edge. 18. Mark 1" from both ends of the strap, pinch the strap in half, and sew with 1/8" seam allowance, starting and stopping at the 1" mark. 19. Mark 3.5" from the side seams of the bag, place the strap right by the mark, secure with some sewing clips, then sew with 1/4" seam allowance. Repeat the same with the other side. 20. Prepare the strap anchors. Fold the shorter sides of the strap anchors towards the wrong side 1/2", press, fold the longer side in half, press, fold the edges towards the center fold, press. Fold everything in half, press. Your strap anchor should end up measuring 5" x 1" 21. Sew all around the edges with 1/8" seam allowance 22. Feed the strap anchor through the d-ring, sew as close as you can to the d-ring. 23. Measure 1" down at the side seams, place the strap anchor aligning the highest point of the d ring with the 1" point. Secure in place with a pin or basting glue, then sew 3 straight lines to secure the strap anchor in place. Repeat the same with the other one. 24. If making your own strap, this is the time to do it. 25. Sew and apply the zipper tabs to the end of the zipper. 26. Fold and press the zipper panels the same way as the strap anchors. Your zipper panels should end up measuring 11" x 1" (make sure both panels are the same size). 27. Apply basting tape on the edges of the zipper tape, both wrong side and right side. 28. Insert the zipper tape to the fold of the zipper panel, sew the sides and the bottom edges with 1/8" of seam allowance 29. Repeat the same with the other side. 30. Fold the slip pocket piece in half right side together, sew with 1/4" seam allowance, press the seams open, turn the pocket piece inside out, press, and top stitch along the upper top. 31. Divide the pocket piece into 3 slots, mark with disappearing fabric marker. 32.Lay the slip pocket on the right side of one of the lining, 4" down from the top. Sew on the marking lines, the sides, and the bottom as well. 33. Lay the zipper panel on the right side of the lining 1.5" down from the top, aligning the center point of the zipper panel with the center point of the lining. Sew with 1/8" seam allowance. 34. Repeat the same with the other side. 35. Assemble the lining exactly the same way as the exterior shell, leaving about 5' of opening at the bottom. 36. Turn the lining piece right side out, and turn the exterior piece wrong side out. 37. Insert the lining into the exterior shell, secure them in place with some sewing clips, then sew with 1/2" seam allowance. 38. Turn the bag inside out, top stitch along the edges.
39. Sew the opening hole close. 40. Give the bag a good final pressing, attach the adjustable straps, and you are done!
Mari
10/2/2020 03:12:41 pm
I love this bag! I appreciate the detailed instructions along with the wonderful video you created. I discovered your site a few months ago and I've been looking at everything you've done. I've really enjoyed watching your utube channel. I've learned a lot about sewing and making bags. Until I watched one of your videos on adding a center pocket and a zipper I would never been brave enough to try either. Comments are closed.
|
Categories
All
©
Yoan Sewing Studio | All Rights Reserved
|



 RSS Feed