|
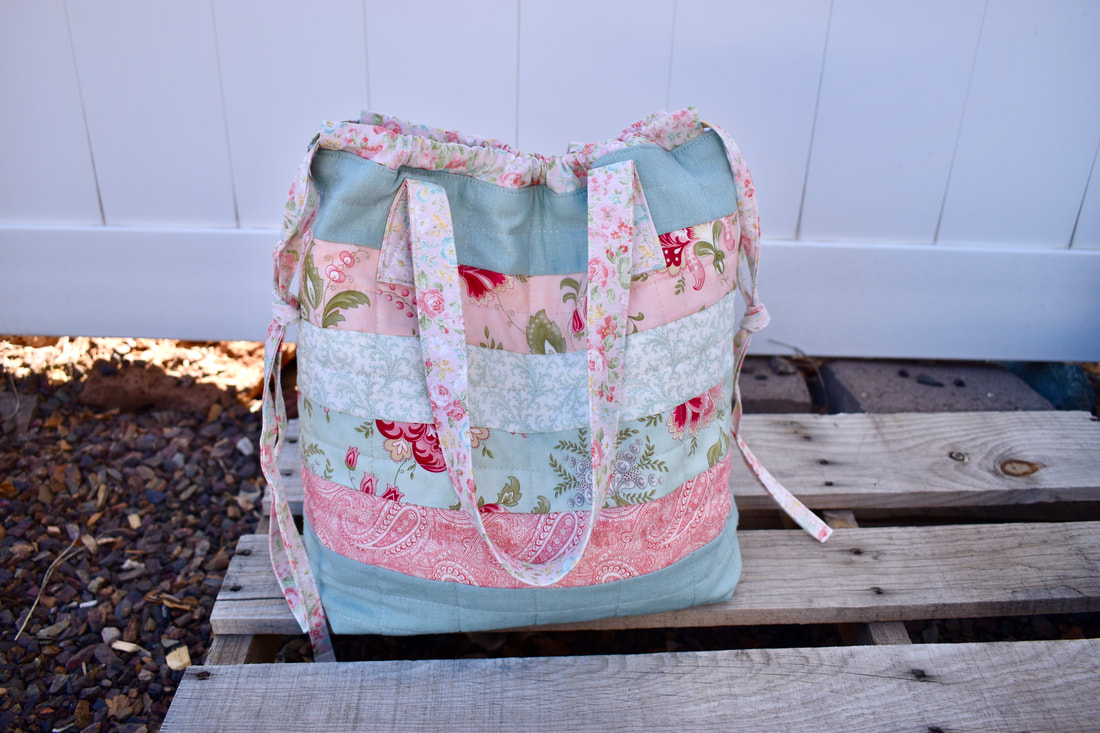
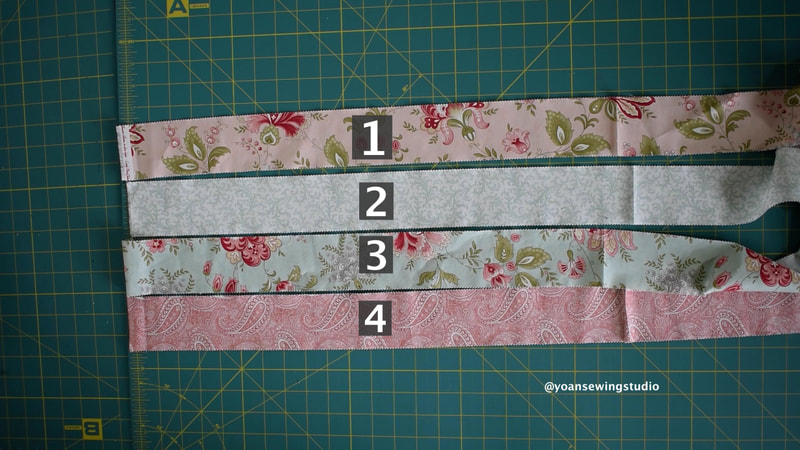
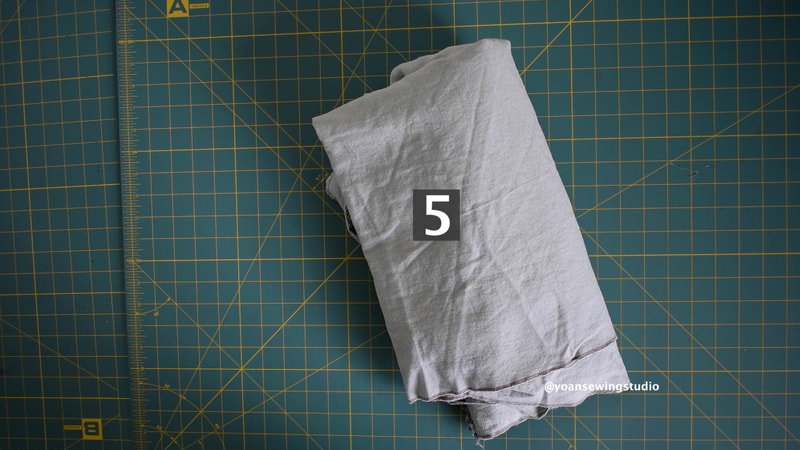
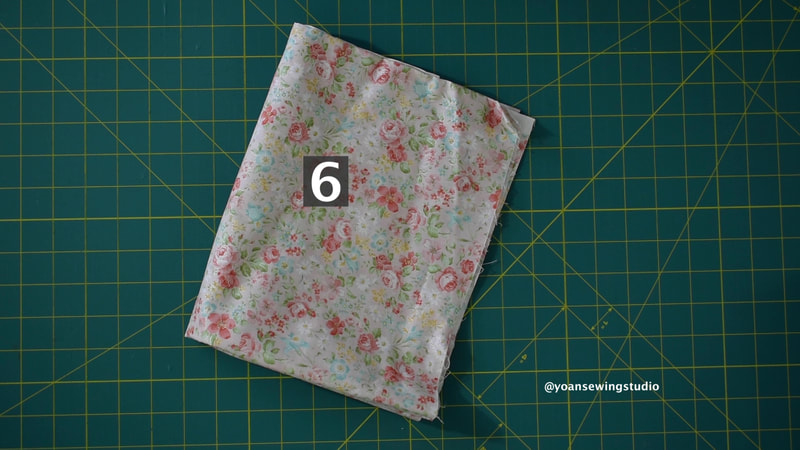
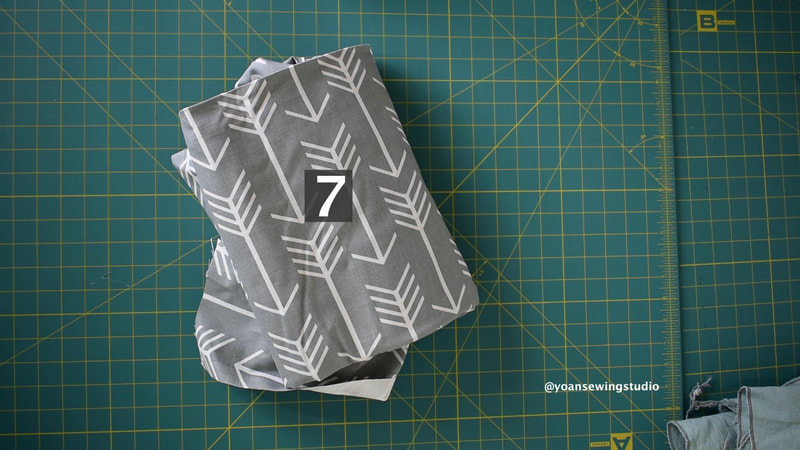
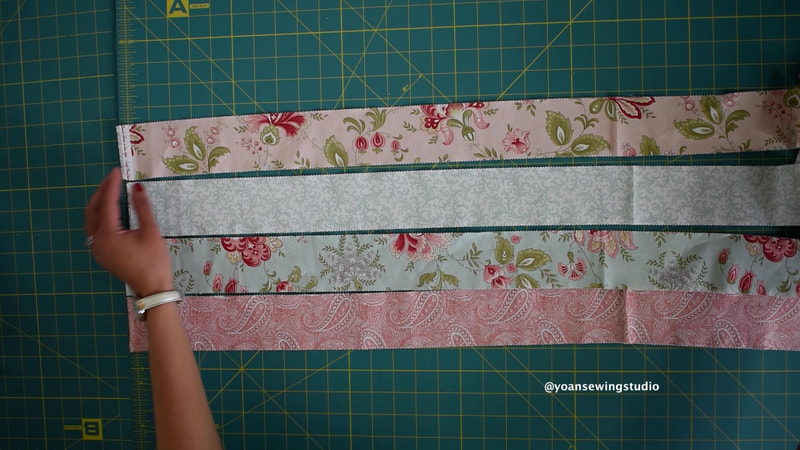
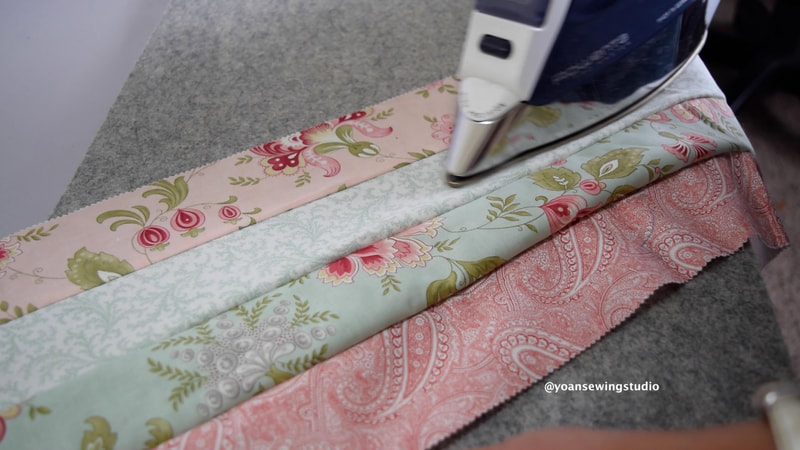
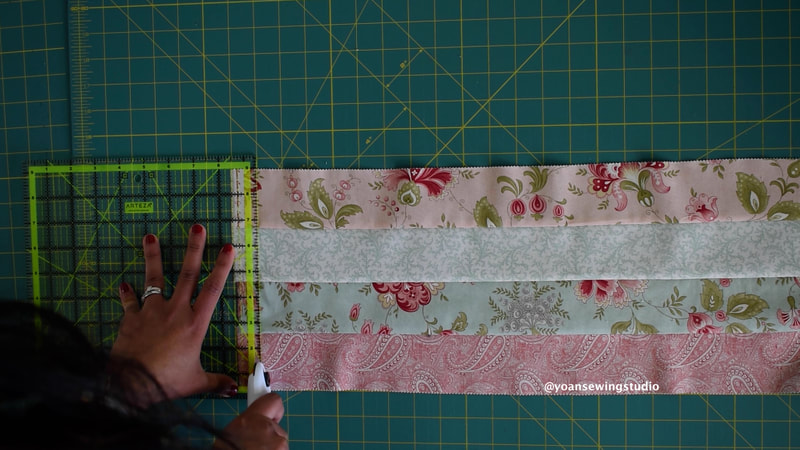
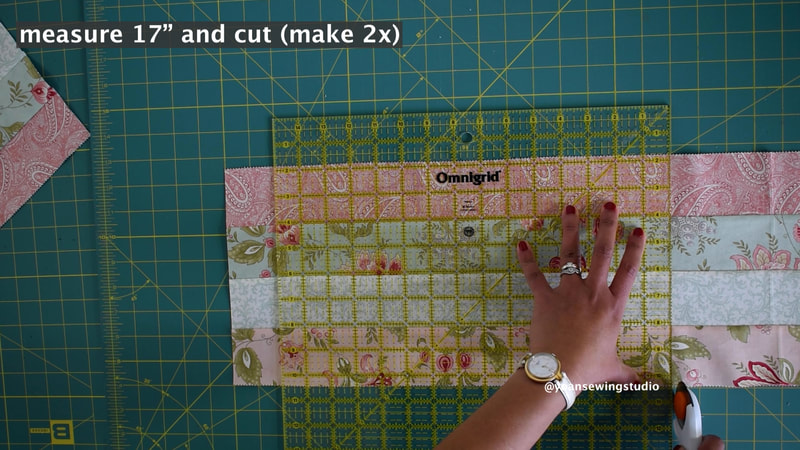
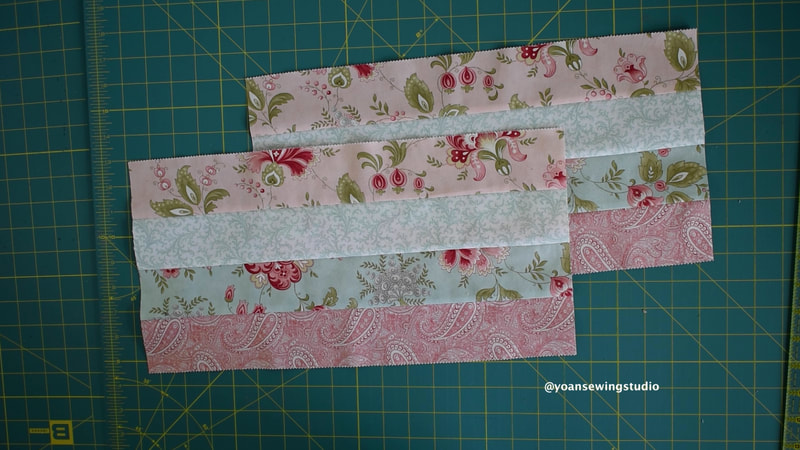
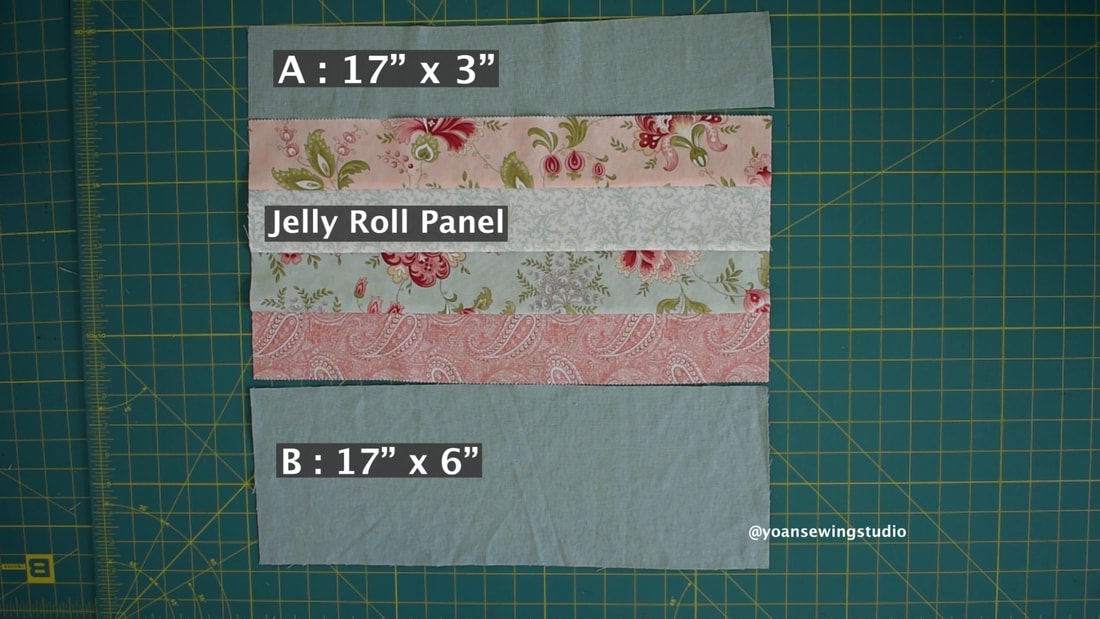
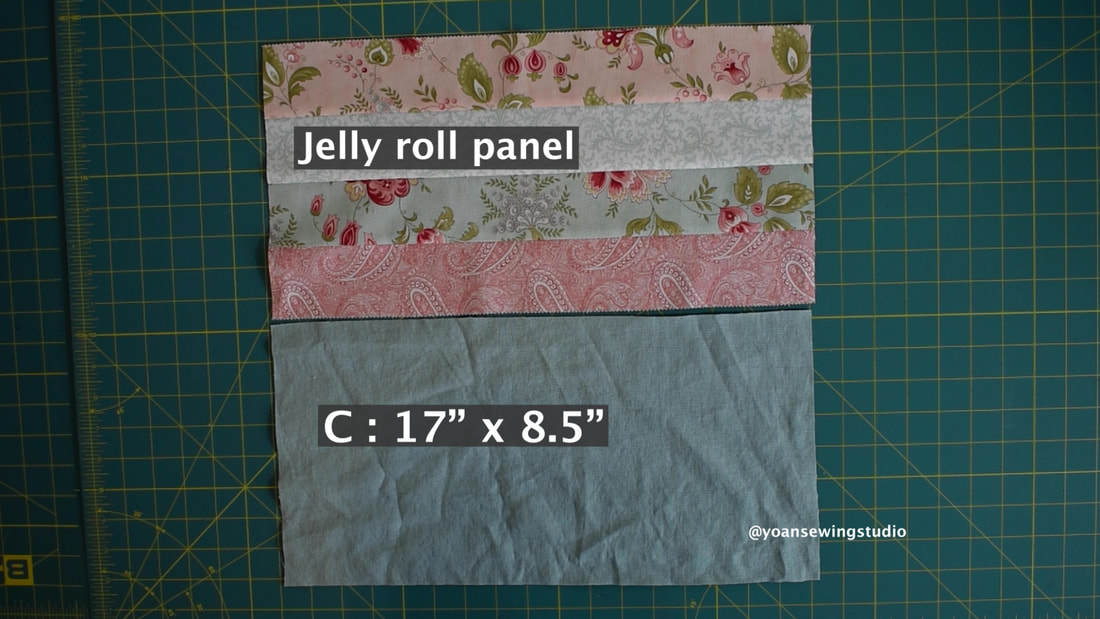
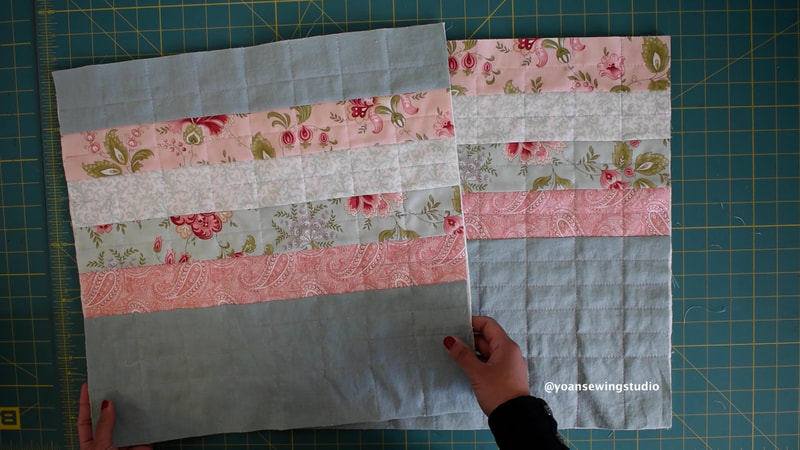
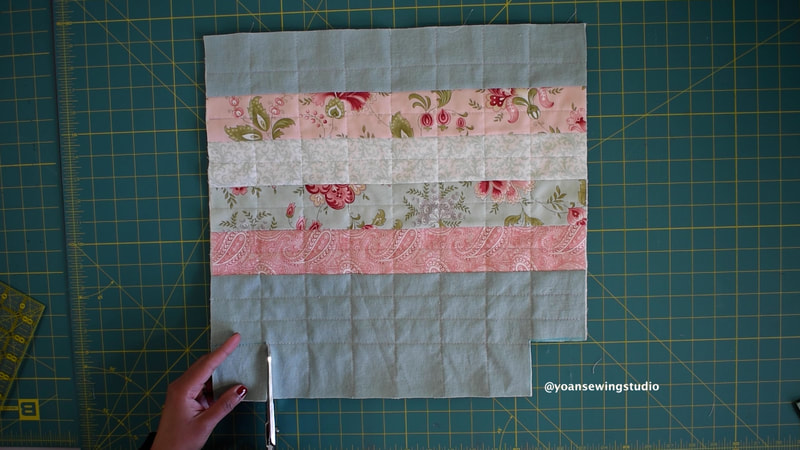
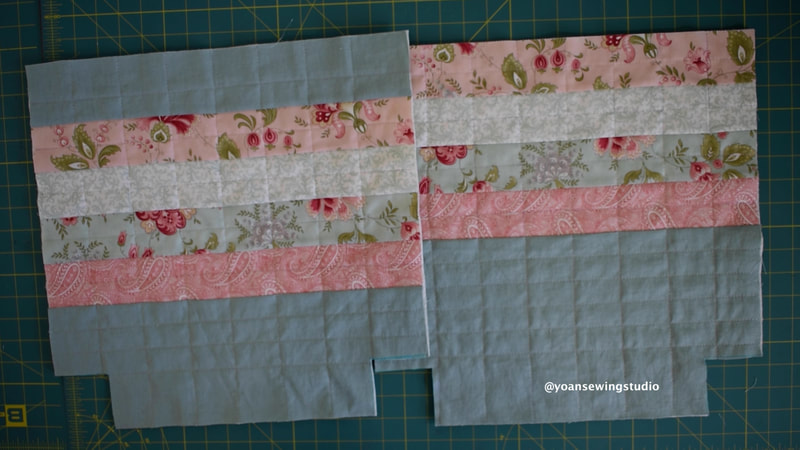
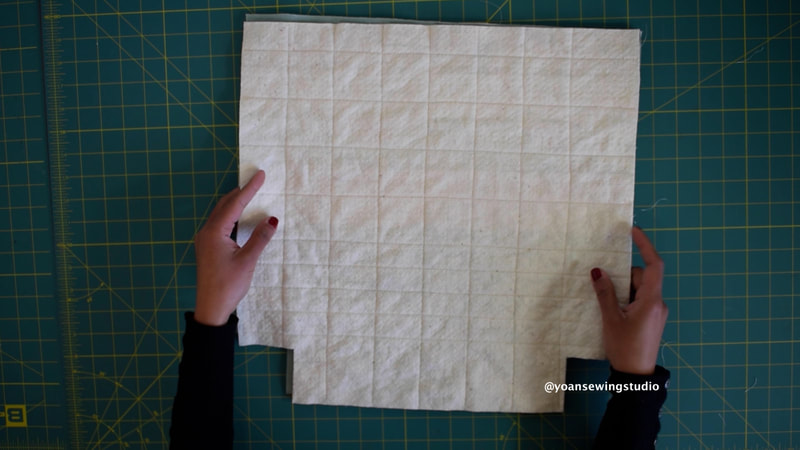
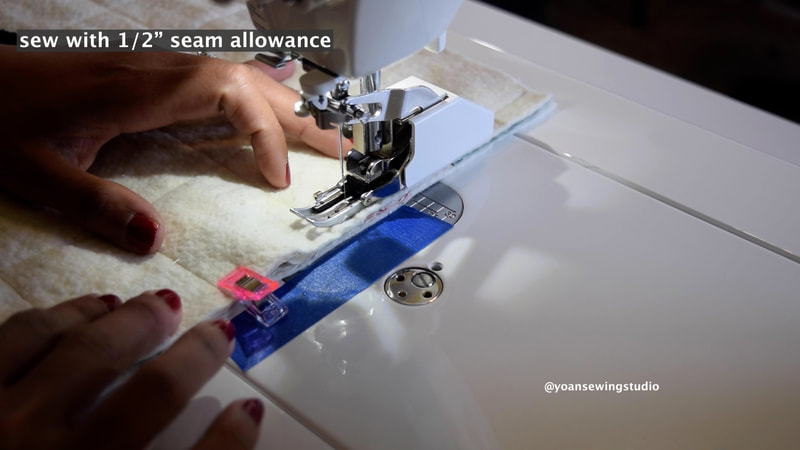
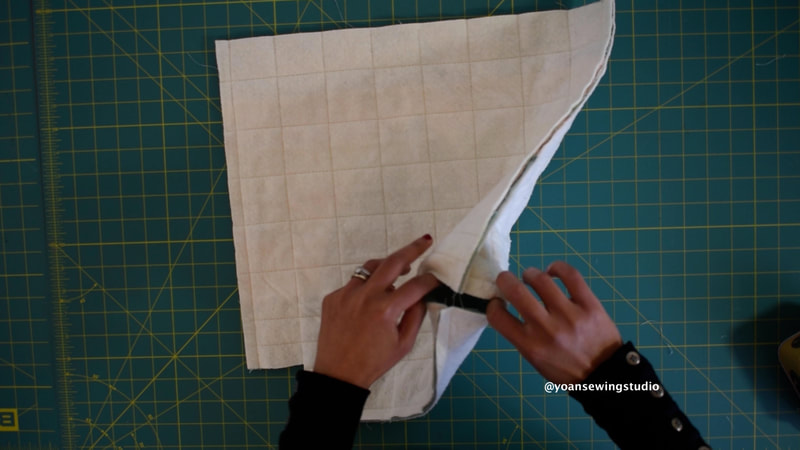
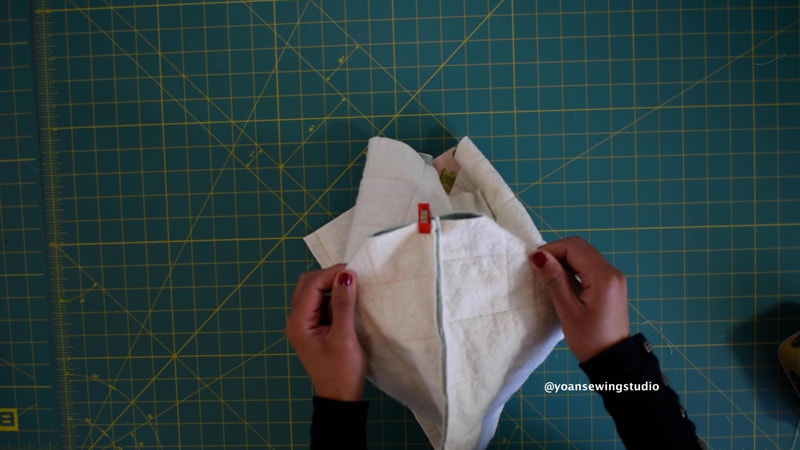
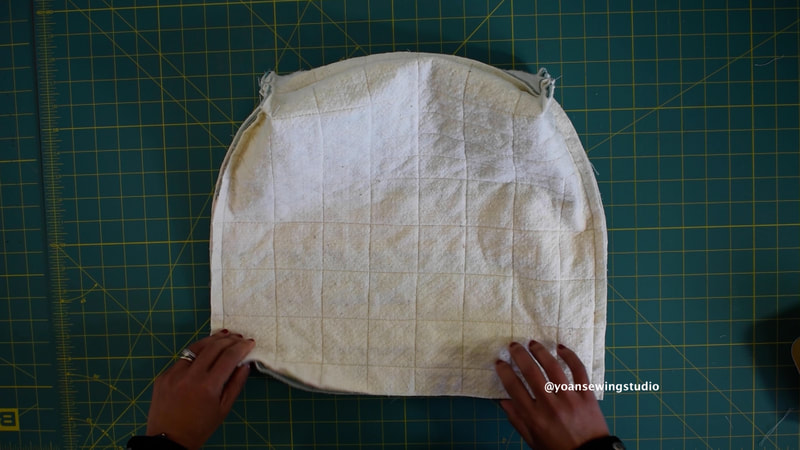
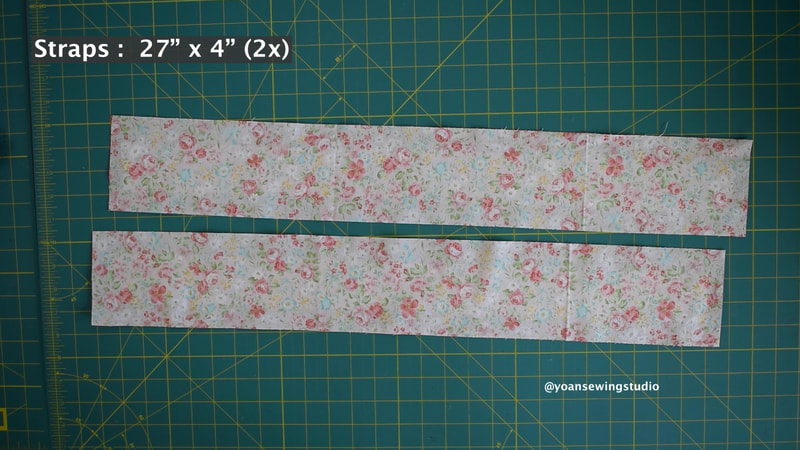
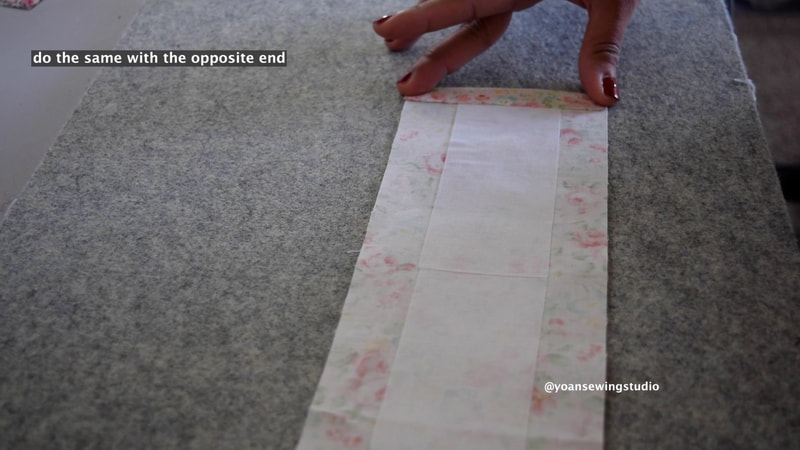
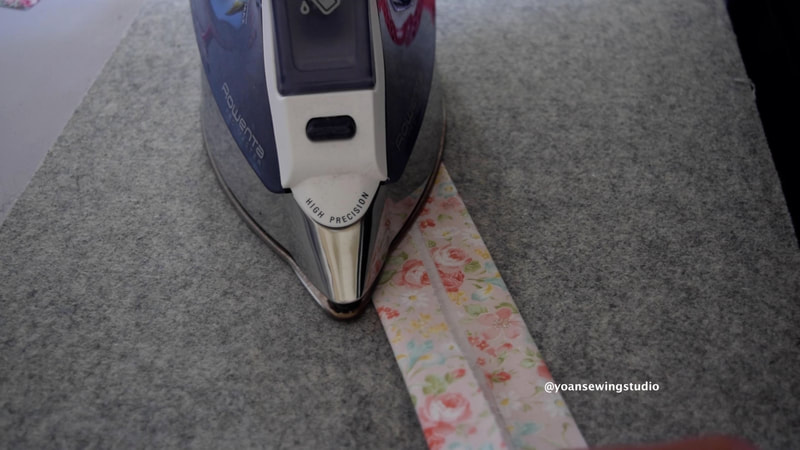
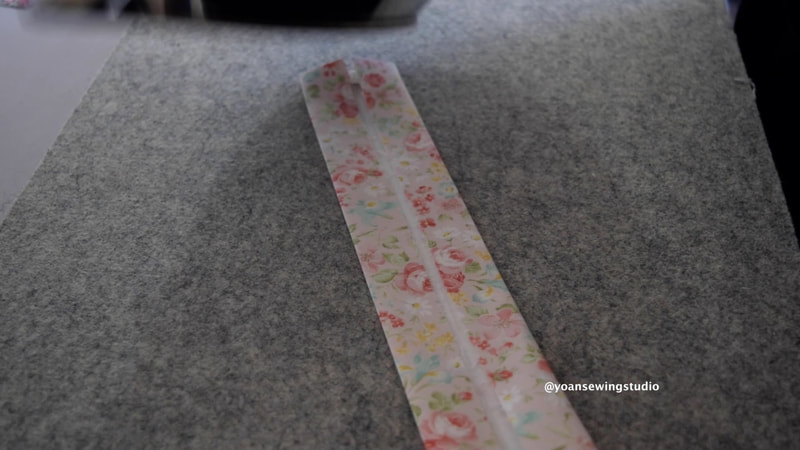
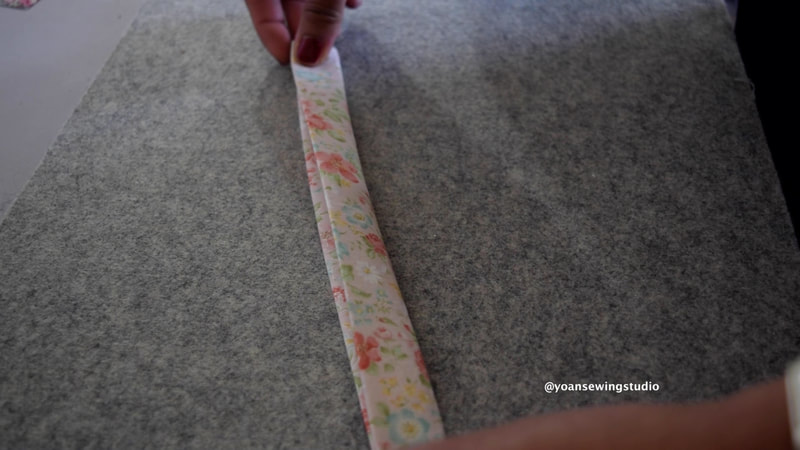
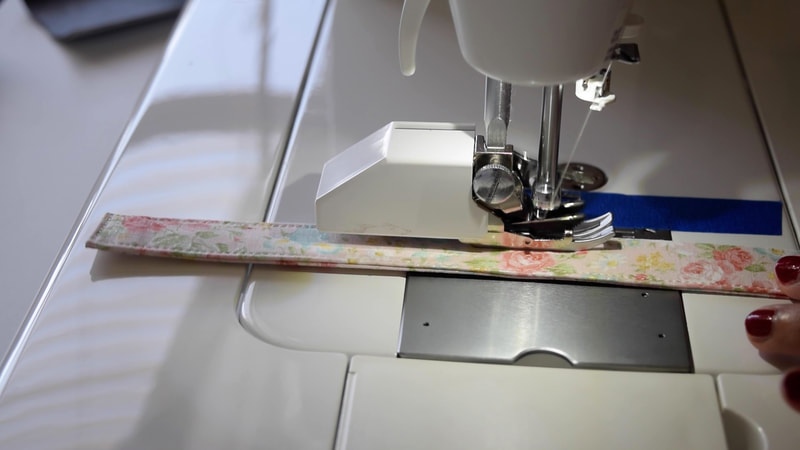
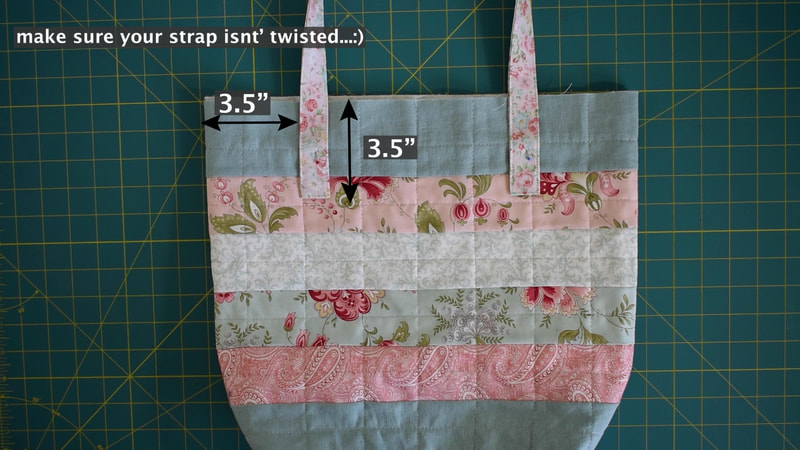
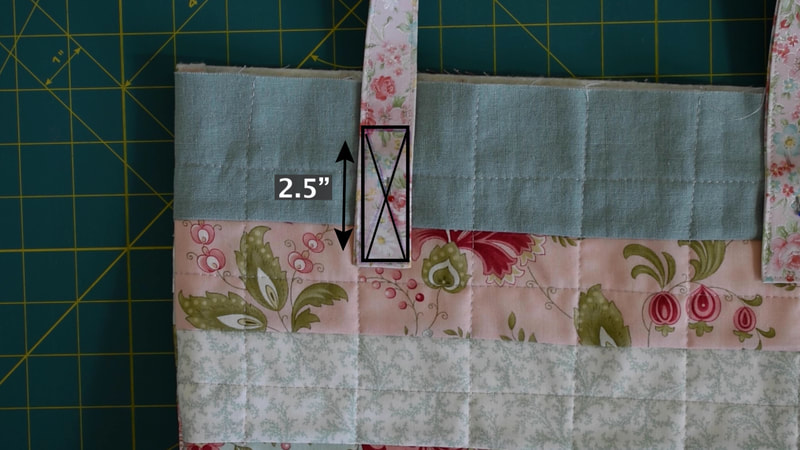
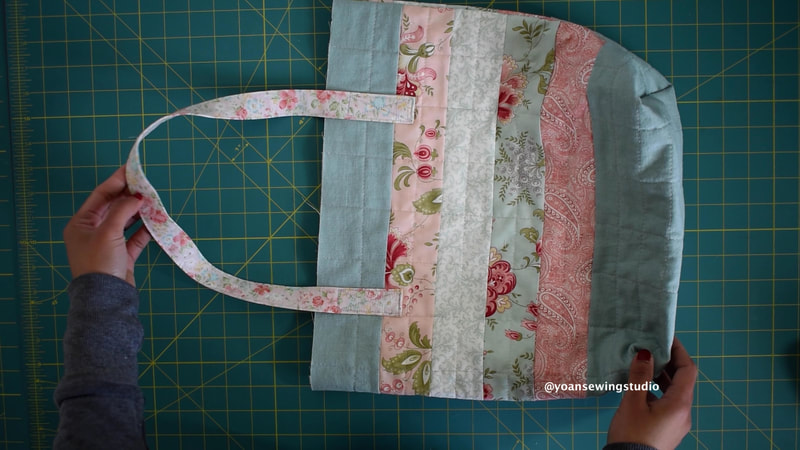
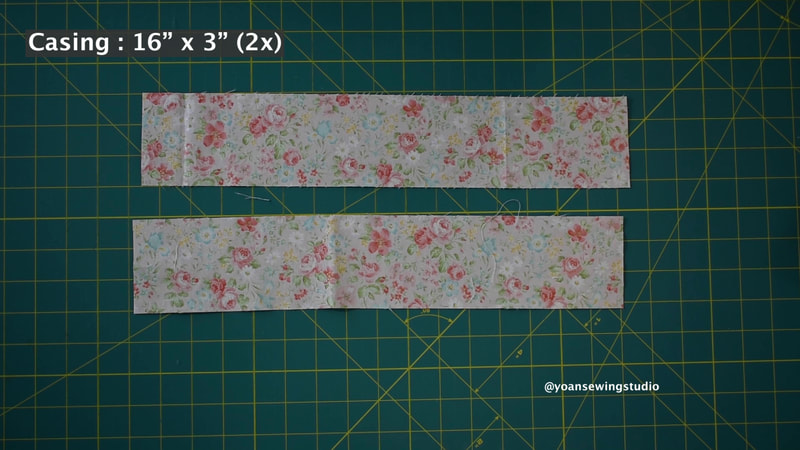
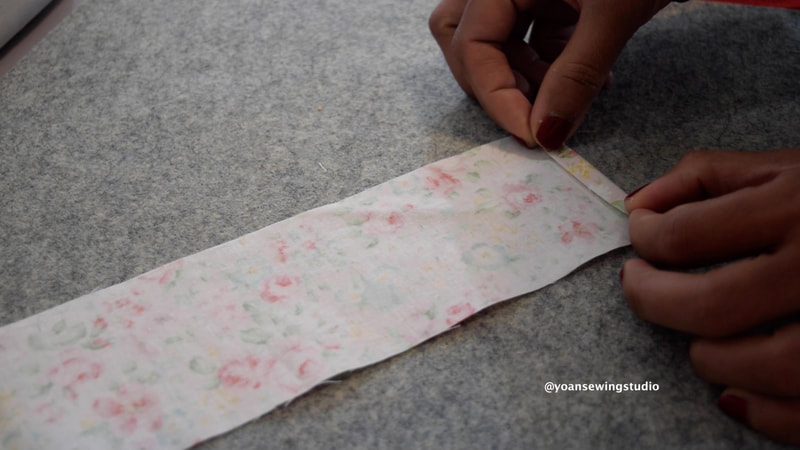
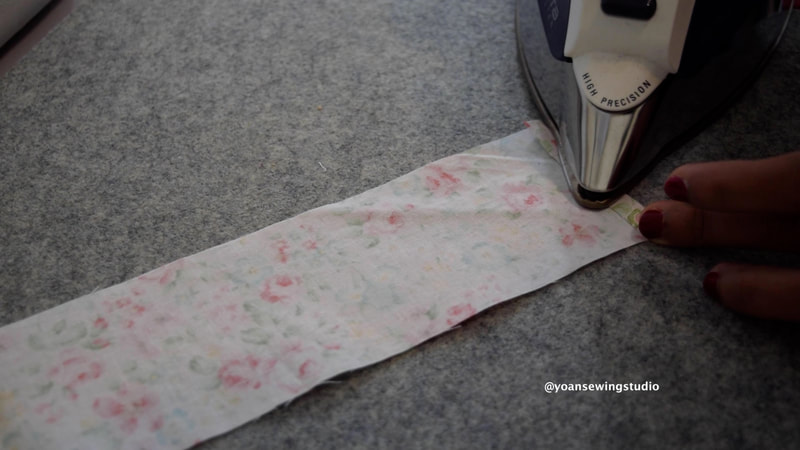
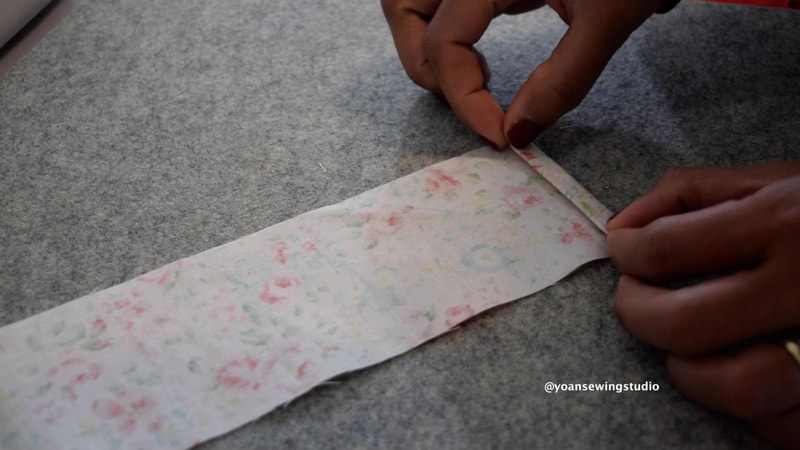
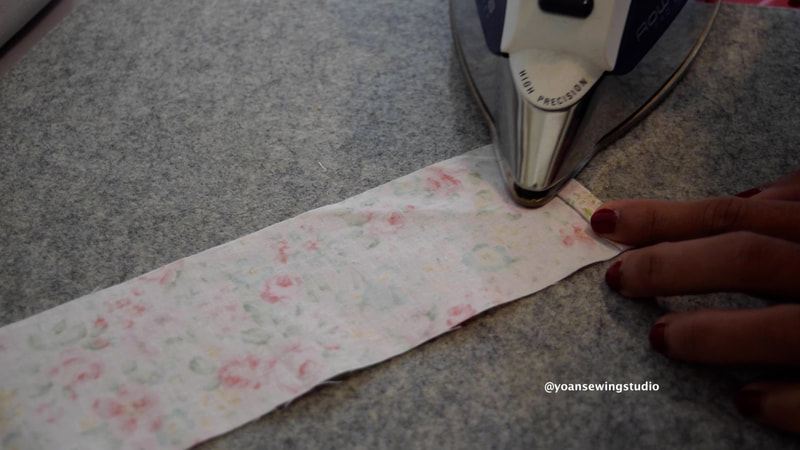
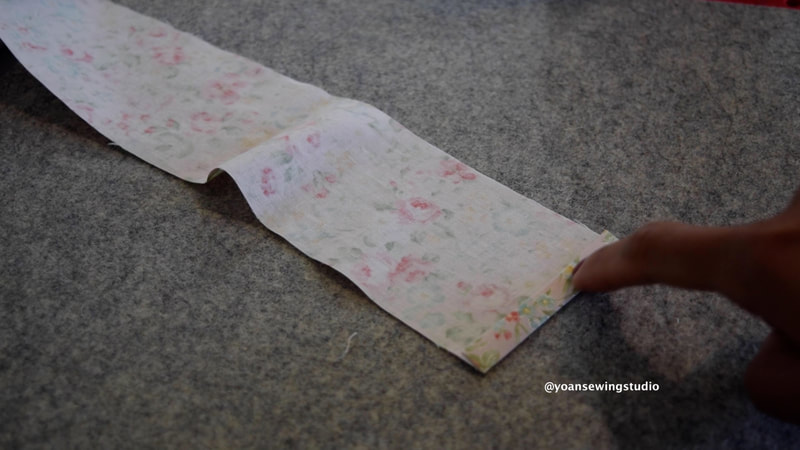
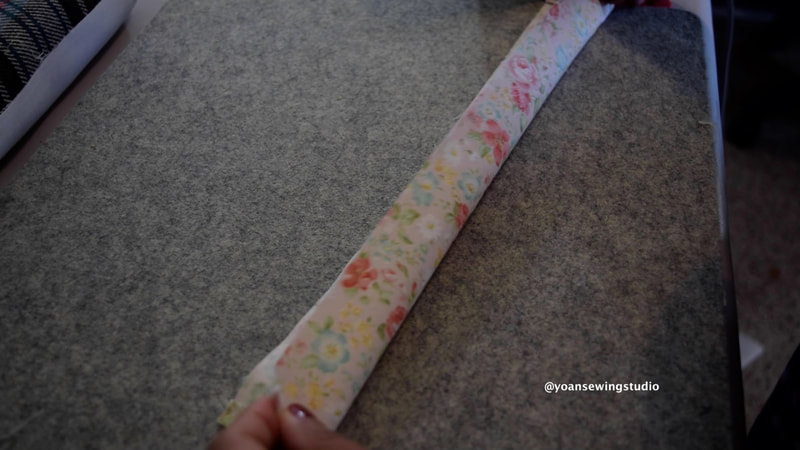
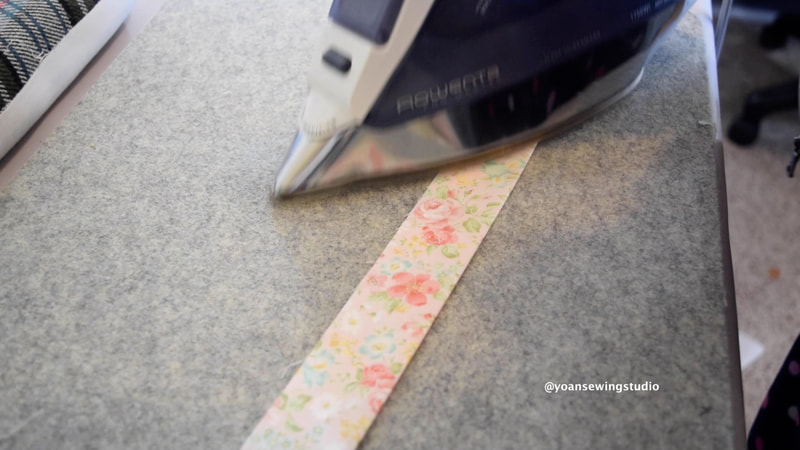
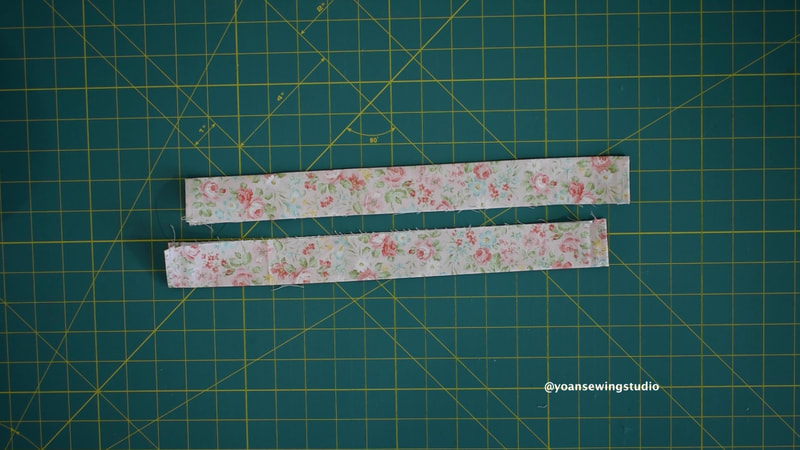
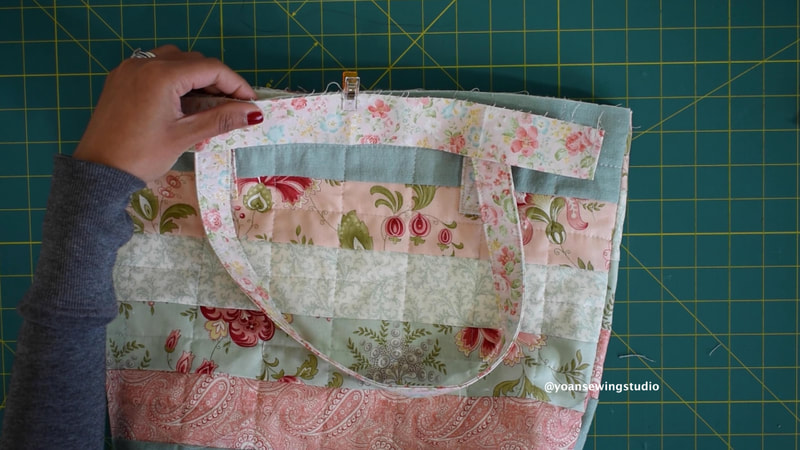
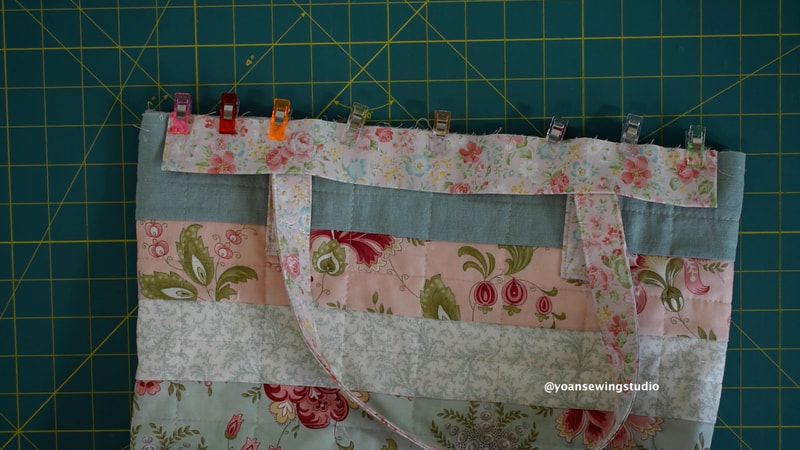
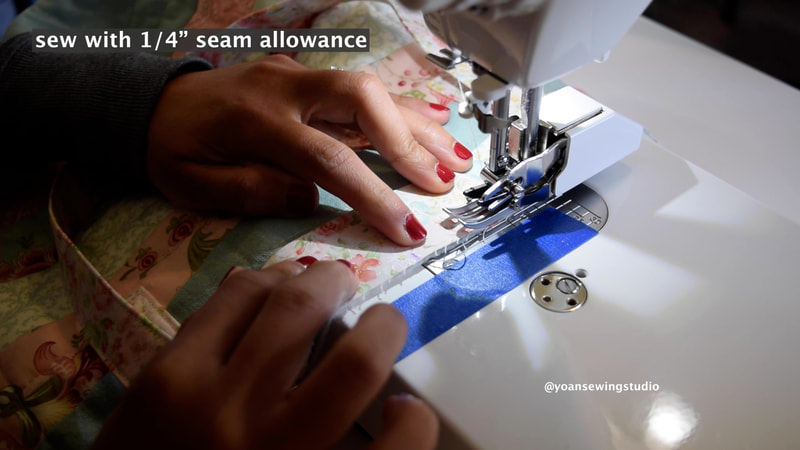
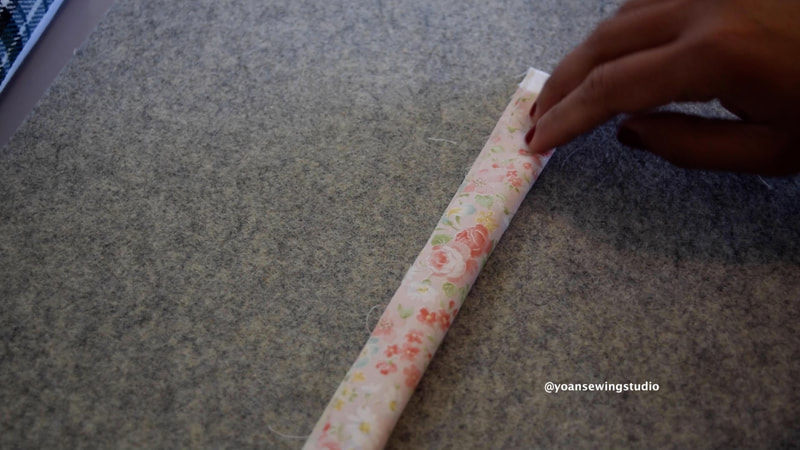
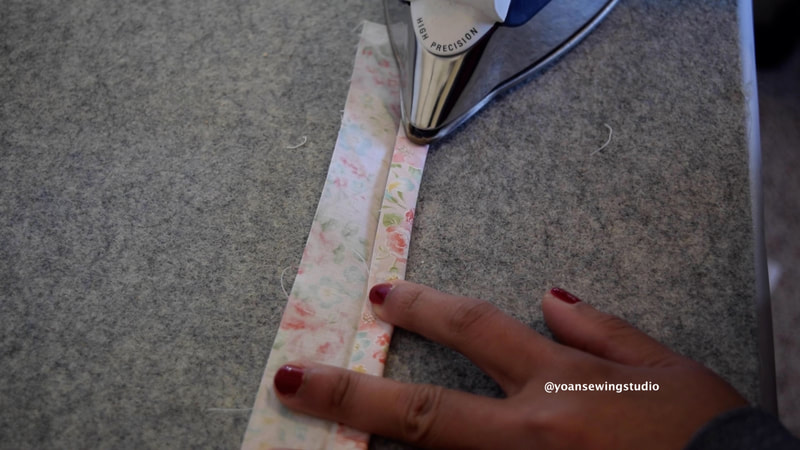
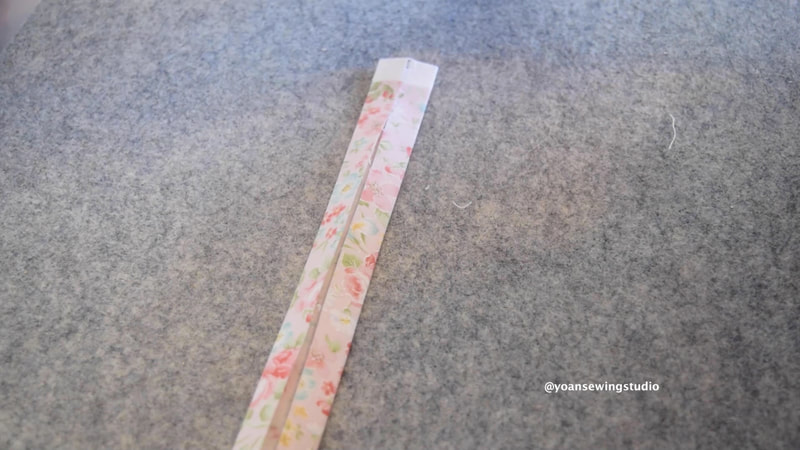
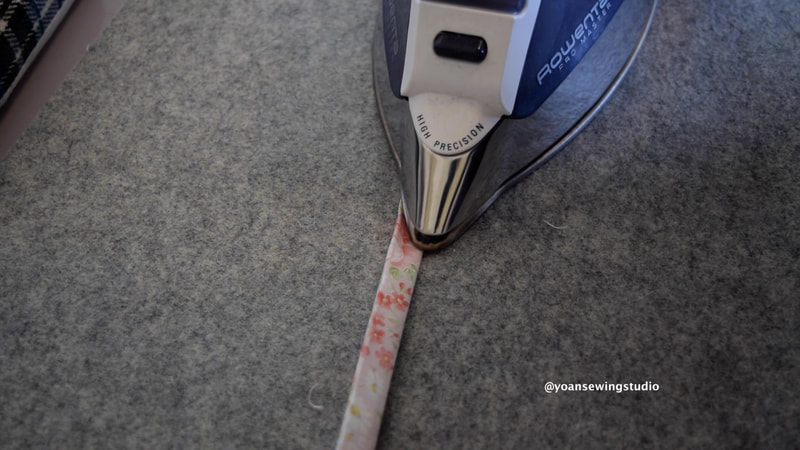
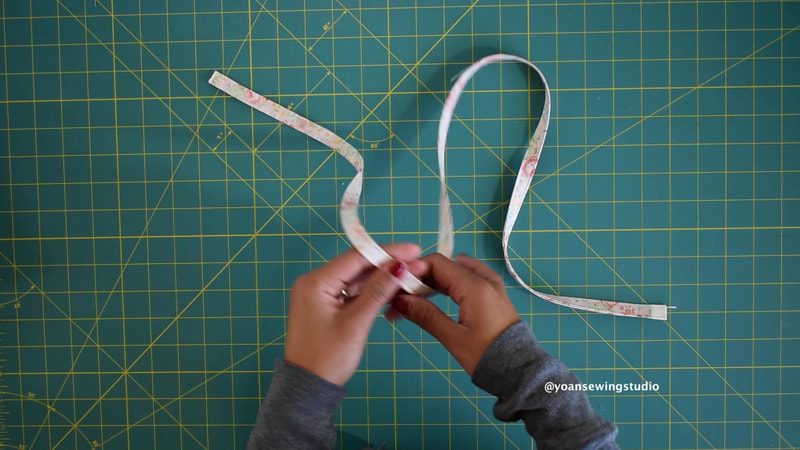
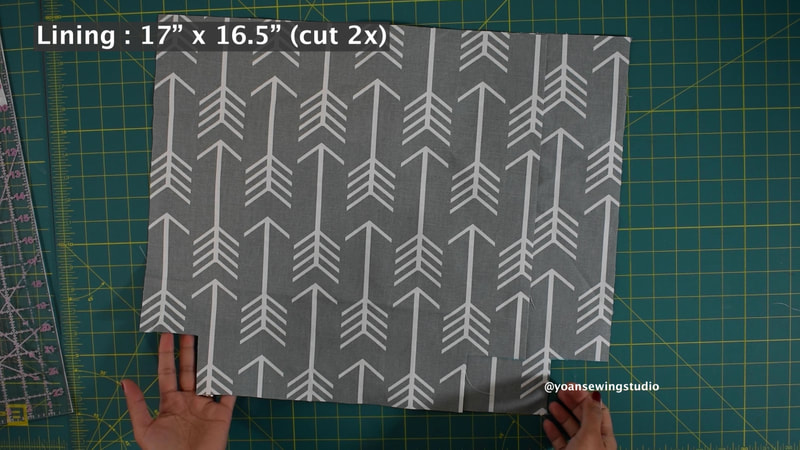
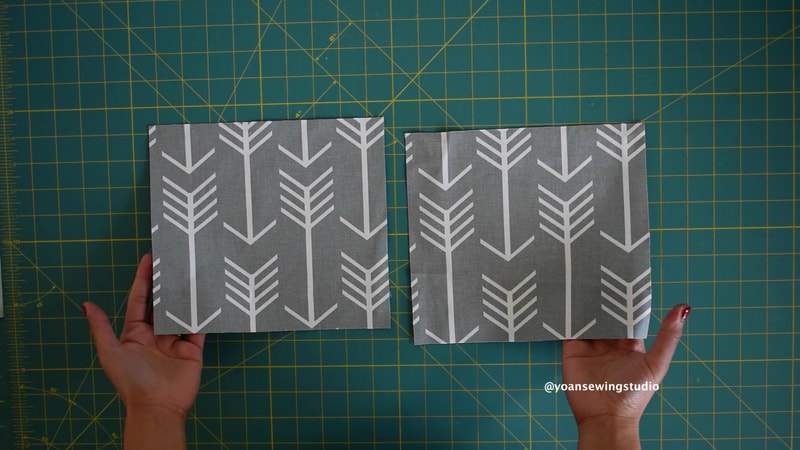
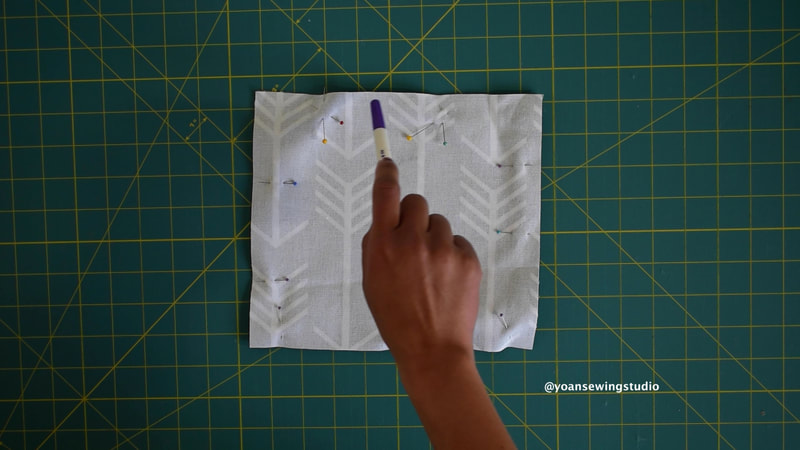
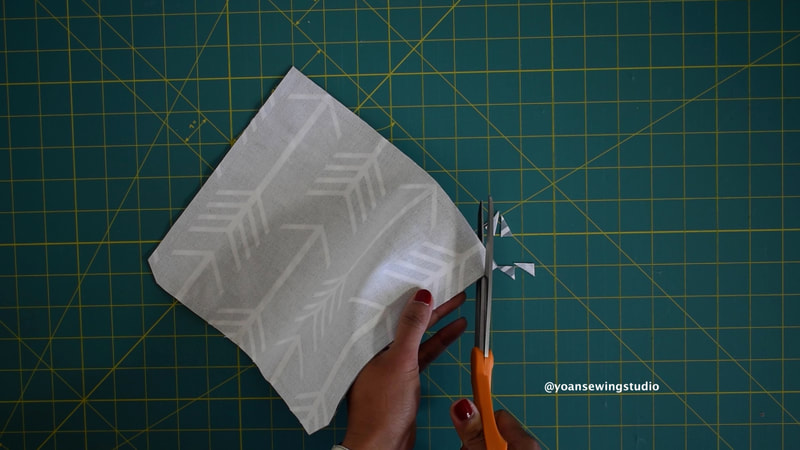
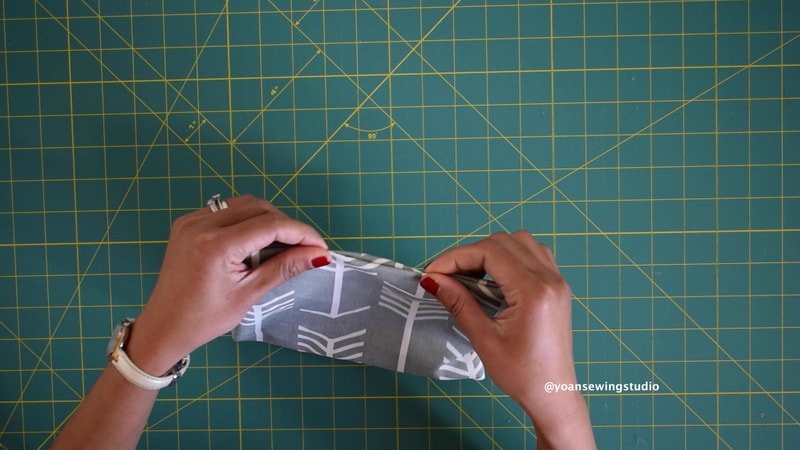
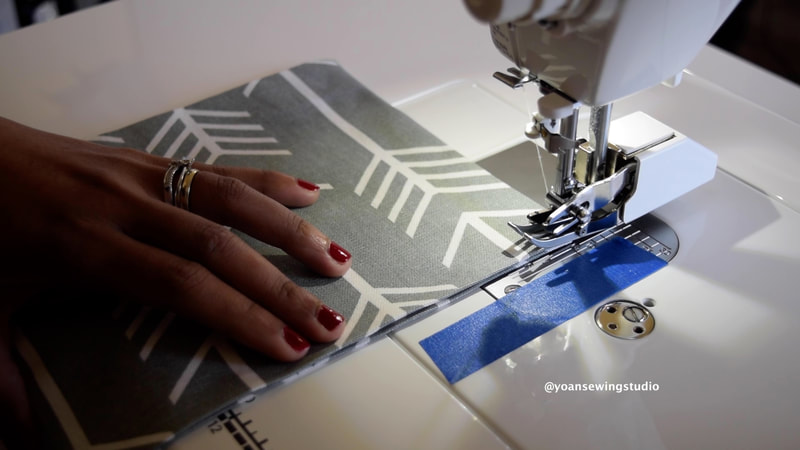
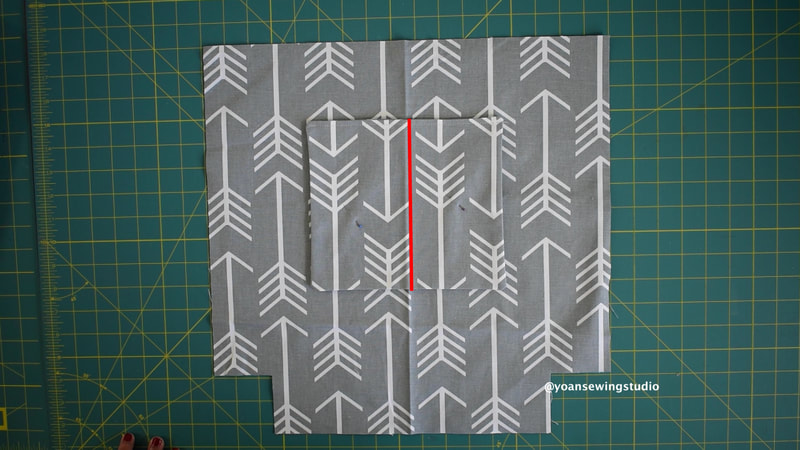
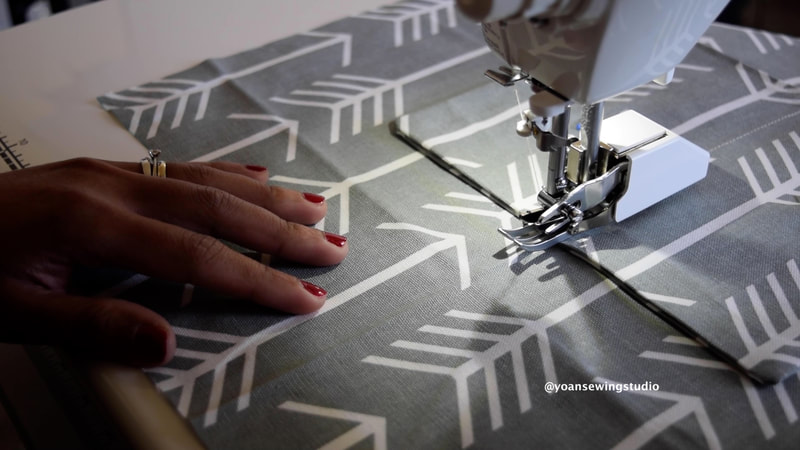
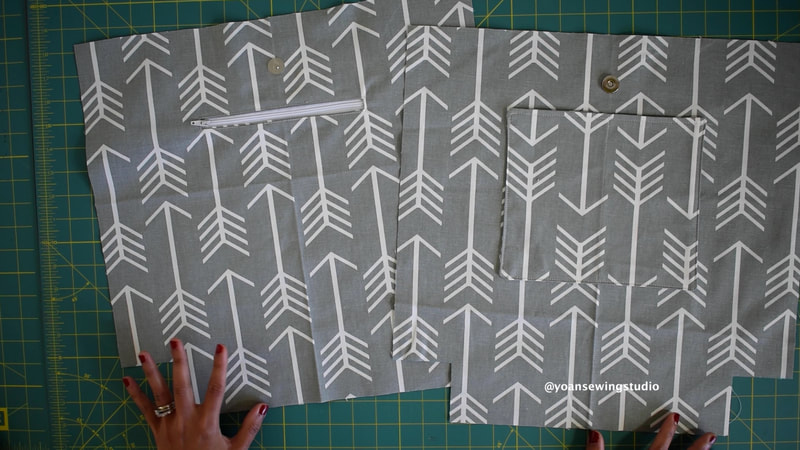
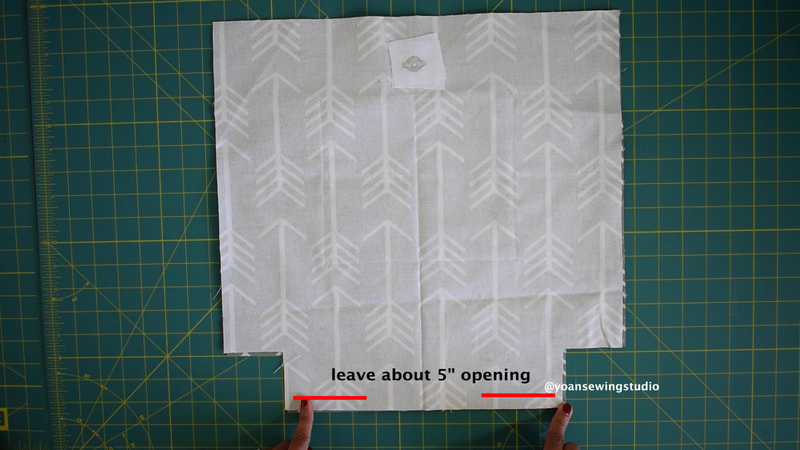
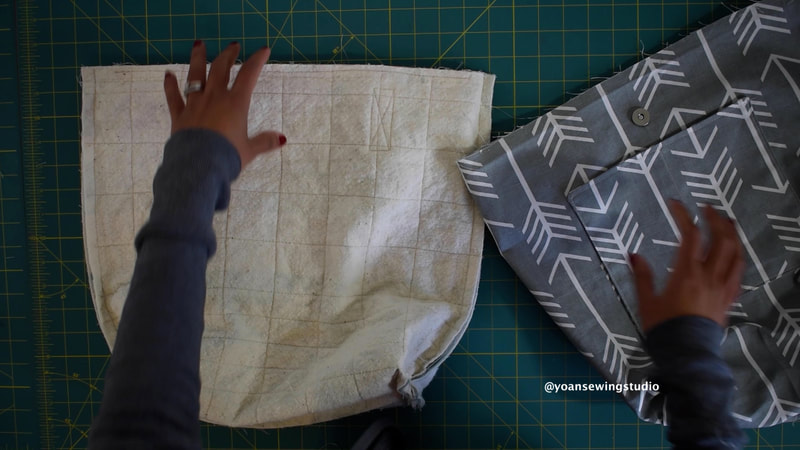
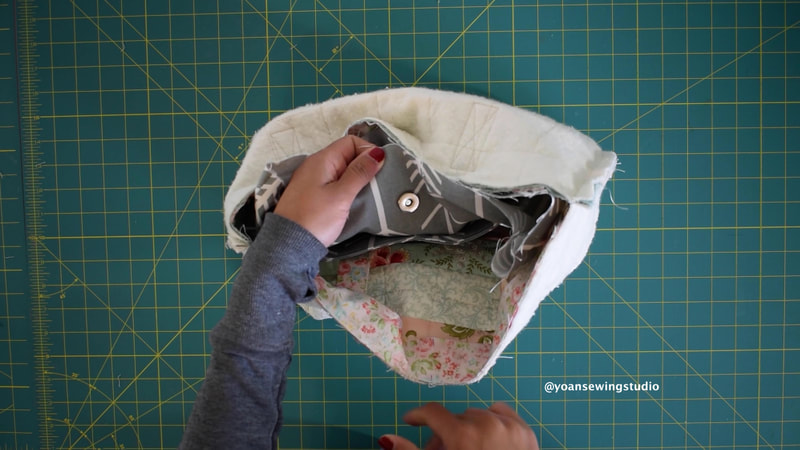
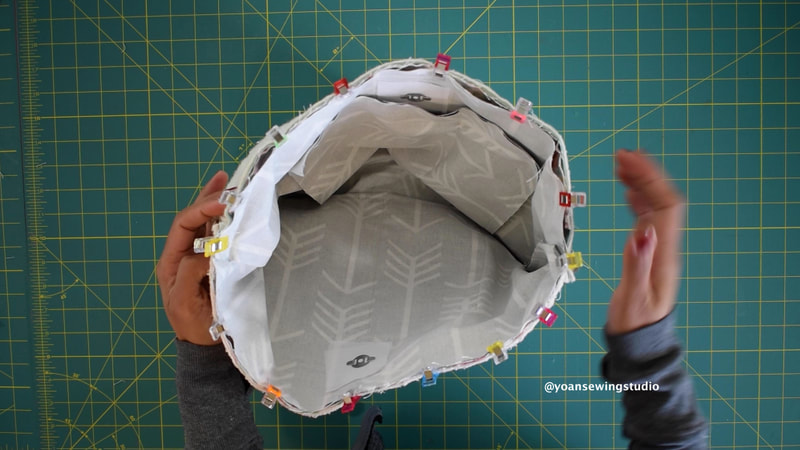
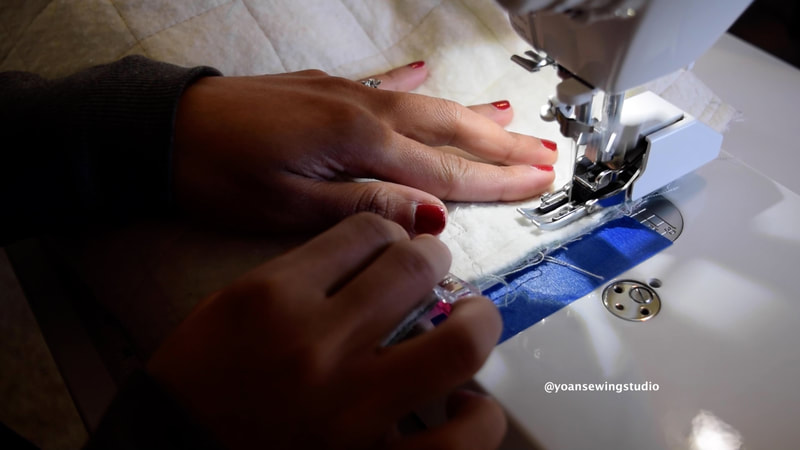
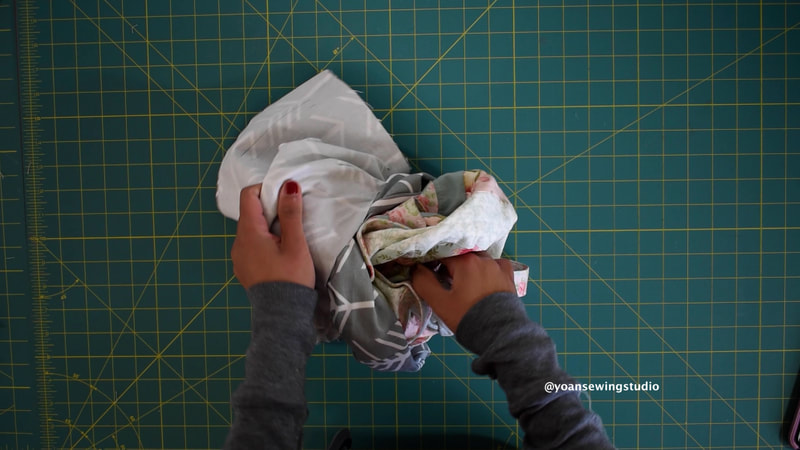
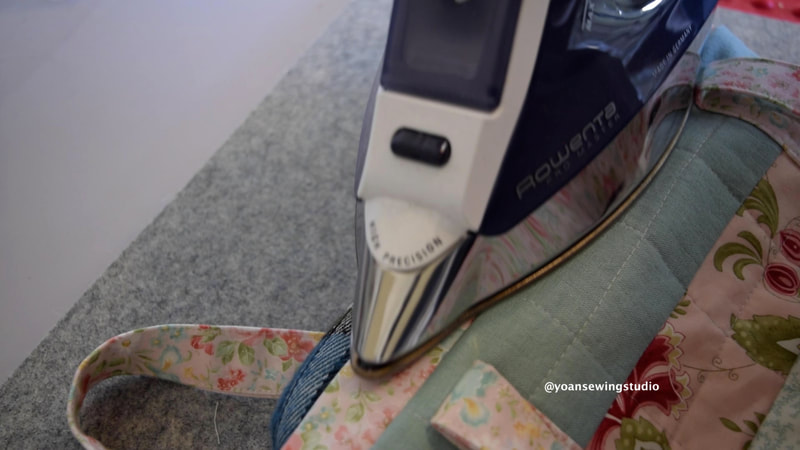
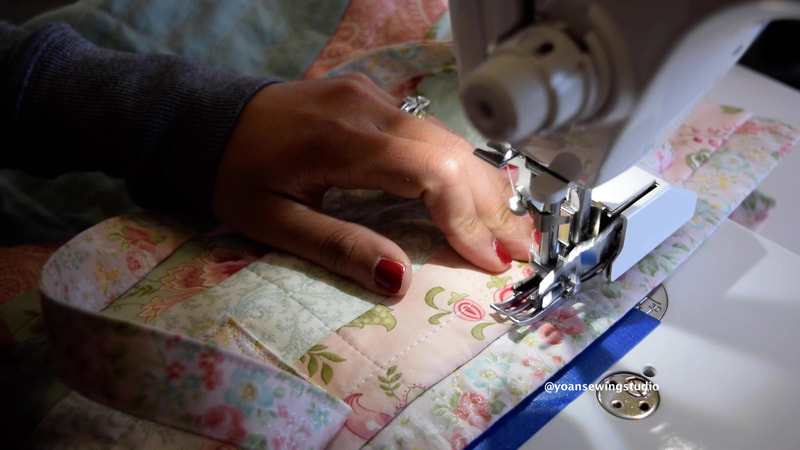
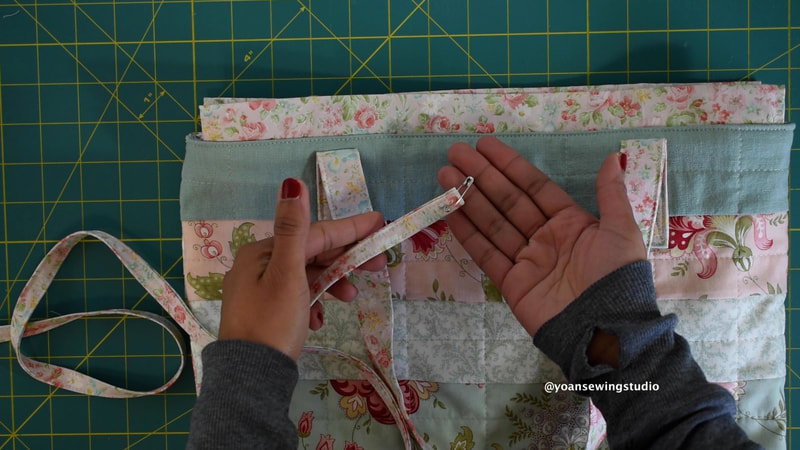
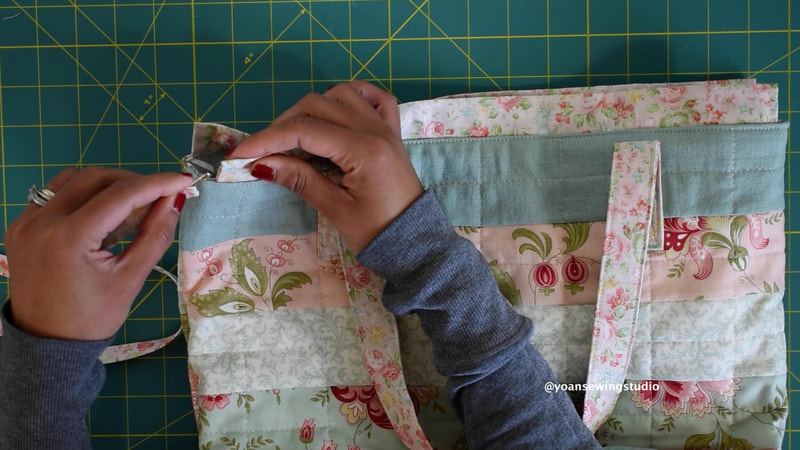
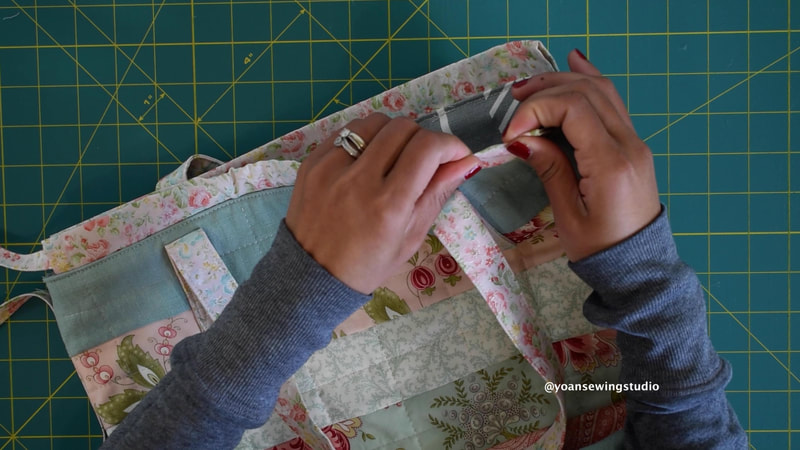
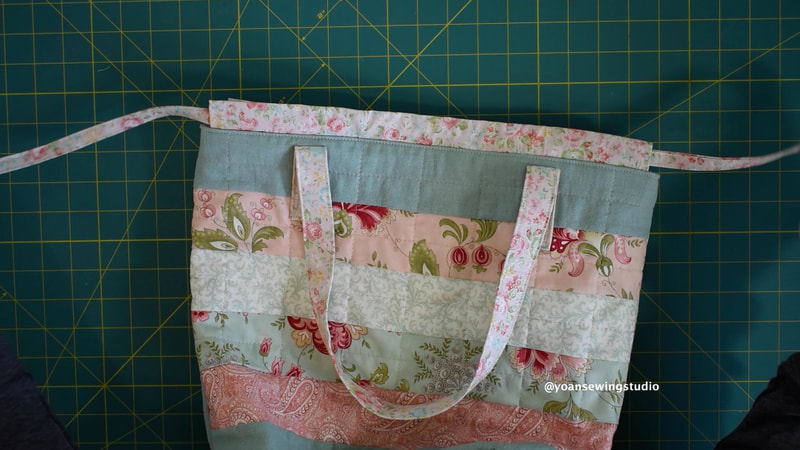
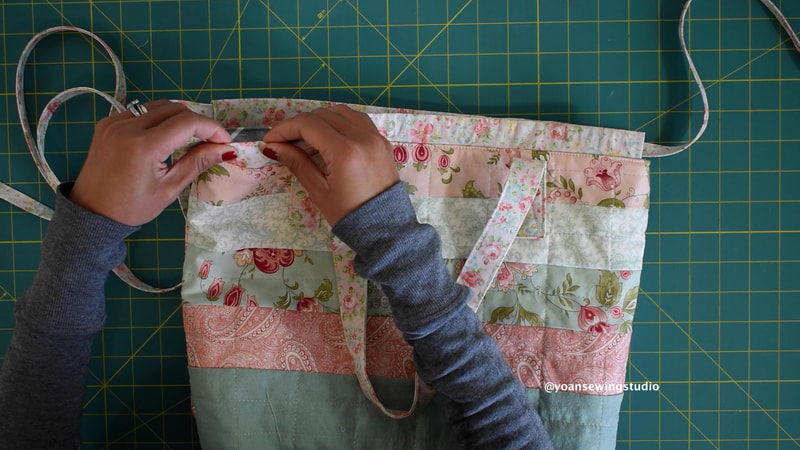
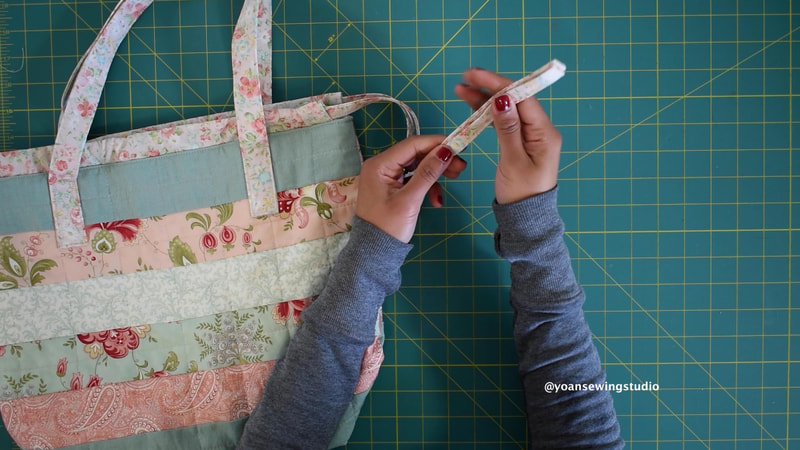
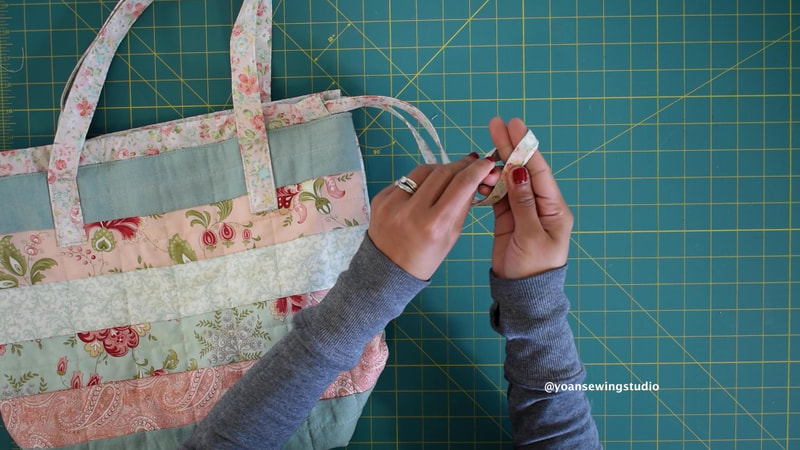
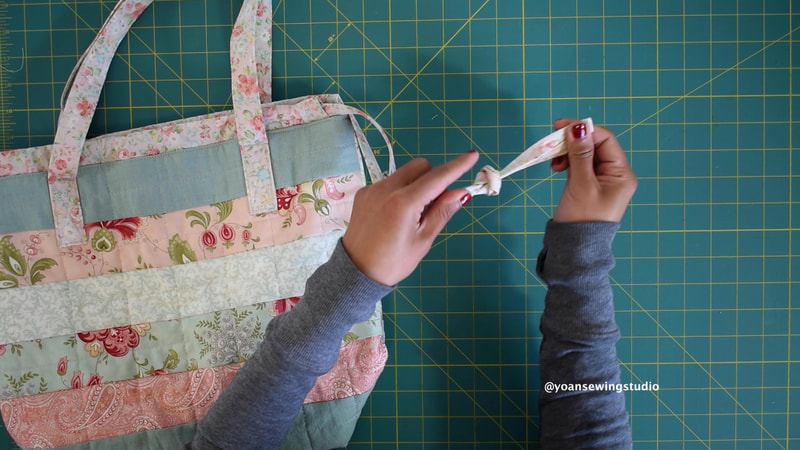
Today I'd like to share this cute drawstring bag project with you. This bag is pretty spacious yet lightweight and so much fun to wear. Great project bag for a knitter or crocheter, also great for your daily errands, grocery, or as a spare bag when traveling. The finished measurements of this bag is approx. 12" wide (bottom), 13" tall, 5" deep, the widest point when the top is expanded is about 15". This bag comes with a zipper pocket, 2 slip pockets, and magnetic snap closure. I posted the full video tutorial on my Youtube channel, you can go ahead and watch it here, or keep reading for the written instructions. Let's get started ! suppliesFabric 1,2,3,4 : 4x Jelly Roll Strips (2.5" wide strips cut from the width of fabric) Fabric 5 (accent fabric) : 1 Fat Quarter or 1/4 yard of fabric Fabric 6 (straps, casing, drawstring): 1/3 yard of fabric Fabric 7 (lining) 1/2 yard of fabric Fusible fleece (thermolam) / batting : 17" x 33" Fusible Woven interfacing : 1/6 yard 1 set of Magnetic Snap closure 1 all purpose zipper (at least 7" long) Basic sewing and quilting notions Note: -Feel free to mix and match your fabric in more or less variations. -If using one solid fabric for the exterior (no patchwork), you will need 5/6 yard of fabric Cutting**Exterior** ~Front~ Panel A : 17" x 3" (cut one from fabric 5) Panel B : 17" x 6" (cut one from fabric 5) ~Back~ Panel C : 17" x 8.5" (cut one from fabric 5") Fusible fleece/ batting : 17" x 16.5" (cut 2x) ~ Straps~ From fabric 6 : 27" x 4" (cut 2x) ; you may increase the length if you want longer straps Fusible woven interfacing : 26" x 2" (cut 2x) ~Casing~ From Fabric 6 : 16" x 3" (cut 2x) ~Drawstring ties~ From Fabric 6 : 44" x 2" (cut 2x) ; from the width of fabric, do not trim the selvage ends **Interior** Lining : 17" x 16.5" (cut 2x) from the lining fabric Slip Pockets : 9" x 8" (cut 2x) from the lining fabric Zipper Pocket : 10" x 9" (cut 2x) from the lining fabric *Link to the zipper pocket tutorial here Note : If using solid fabric (no patchwork) cut the exterior pieces the same measurements as the lining pieces. Directions1. Sew all the jelly roll strips together with 1/4" of seam allowance. Press. 2. Trim the selvage ends, measure 17" and cut (make 2x) you should end up with 2 panels measuring 17" x 8.5" 3. Lay out the front exterior panels as shown in the picture below, sew with 1/4" of seam allowance, press. 4. Lay out the back exterior just like shown in the picture below, sew with 1/4" of seam allowance, press. 5. Layer the front and back exterior pieces with batting, quilt. If using fusible fleece, fuse it to the wrong side of your fabric 6. Cut 2.5" square notches on both bottom corners to box the bottom of the bag. 7. Lay the front and back exterior pieces right side together, sew the sides and the bottom with 1/2" seam allowance. 8. Open the bottom corner, match the seams, sew with 1/2" seam allowance, repeat the same with the opposite side. 9. Apply fusible woven interfacing on the wrong side of the strap pieces. 10. Fold the short ends of the straps the wrong side 1/2" , press, fold the strap in half, press, fold the side edges towards the center fold, press, then fold everything in half, press. Sew all around with 1/8" of seam allowance, repeat the same with the other one. 11. Position the strap as shown below, draw the stitch line, then sew. Repeat the same with the opposite side. 12. Fold the short end of the casing 1/4", press. Fold one more time 1/4", press. Repeat the same with the opposite end, sew with 1/8" seam allowance. 13. Fold the casing in half, press. Repeat the same with the other one. 14. Place the casing on the right side of the front exterior piece, aligning the raw edges, center the position of the casing. Secure them in place with some sewing clips, then sew along the edges with 1/4" of seam allowance. Repeat the same for the back exterior. 15. Fold the drawstring strip in half, press. Fold the edges towards the center fold, press. Fold everything in half, press. Sew all around with 1/8" of seam allowance, repeat the same with the other strip. 16. Prepare the lining pieces, cut the 2.5" corner notches the same way as you did the exterior pieces. 17. Lay the slip pockets pieces right side together, sew all around with 1/4" seam allowance leaving about 3" of opening to turn the pocket inside out. 18. Clip the corners (be careful not to cut through the stitches),Turn the pocket inside out, fold the raw edges from the opening towards the inside 1/4", press, then topstitch along the top edges. 19. Position you pocket on the right side of one of the lining, about 3.5" down from the top, center the position. Pin them in place. Divide the pocket in to two slots by drawing a straight line mark on the center point of the pocket, then sew on the center point mark, the sides and the bottom of the pocket. 20. Sew the zipper pocket. Follow the exact same steps as in this video 21. Install the magnetic snap closure 22. Assemble the lining exactly the same way as the exterior, leaving about 5" opening at the bottom. 23. Turn the exterior shell wrong side out, turn the lining right side out; Insert the lining into the exterior shell (the right sides of the lining should be touching the right sides of the exterior. 24. Secure them in place with some sewing clips, sew with 1/2" seam allowance. 25. Turn the bag inside out through the opening hole, press along the top edges, then top stitch. Sew the opening hole close. 26. Attach one of the end of the drawstring with a safety pin, then thread the drawstring into the casing using the safety pin to guide it through. Repeat the same with the other side. 27. Even out the drawstring, then secure them together by tying a tight knot. Give your bag a final pressing, enjoy!
Susan
7/19/2020 05:04:55 pm
This is the cutest bag! I'm not to sewing and am looking forward to trying this - thank you so much for all the detail!
LAURA SOARES
12/29/2020 03:55:11 pm
Hi there - great tutorial! are we allowed to sell these in an etsy shop if credit is given to you as designer and a link to your site?
Yoan
12/30/2020 05:42:35 pm
Hi Laura,
LAURA SOARES
3/26/2021 05:07:36 pm
Hi - thank you! i get so many compliments on the bag i made myself using your tutorial. thank you!!
Joice Oedayrajsingh Varma
3/6/2021 03:49:17 pm
I will make it for sure. It is very beautiful
Elizabeth
3/23/2021 02:51:09 pm
This is exactly what I was hoping to find! It will be a gift for a friend who carries crochet projects with her as she travels. I found the tutorial to be precise and easy to follow. Thank you. Comments are closed.
|
Categories
All
©
Yoan Sewing Studio | All Rights Reserved
|
 RSS Feed