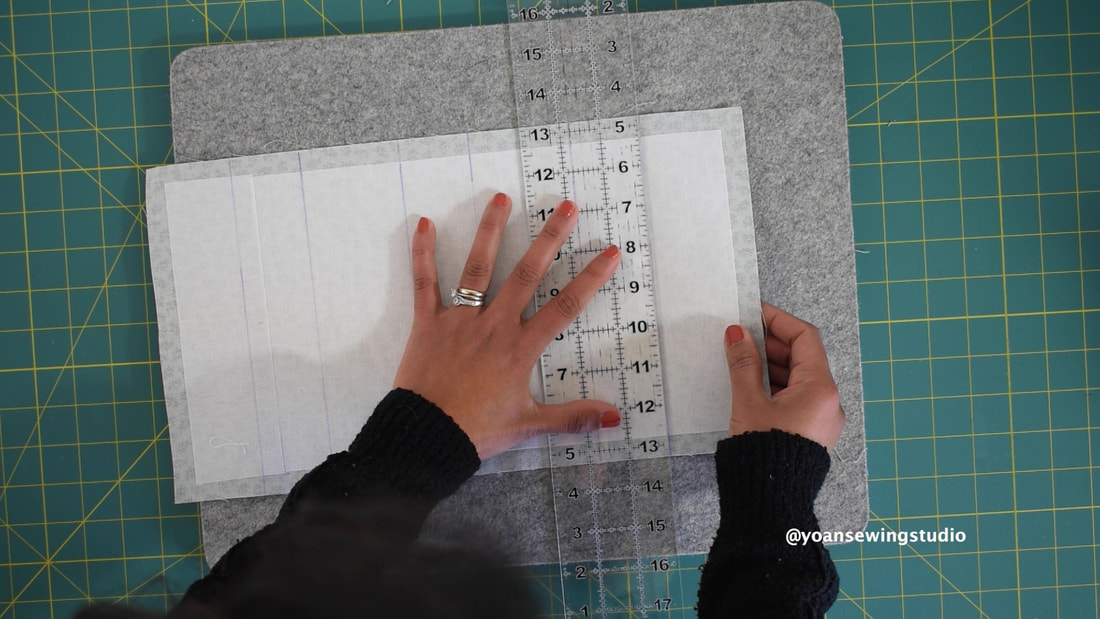
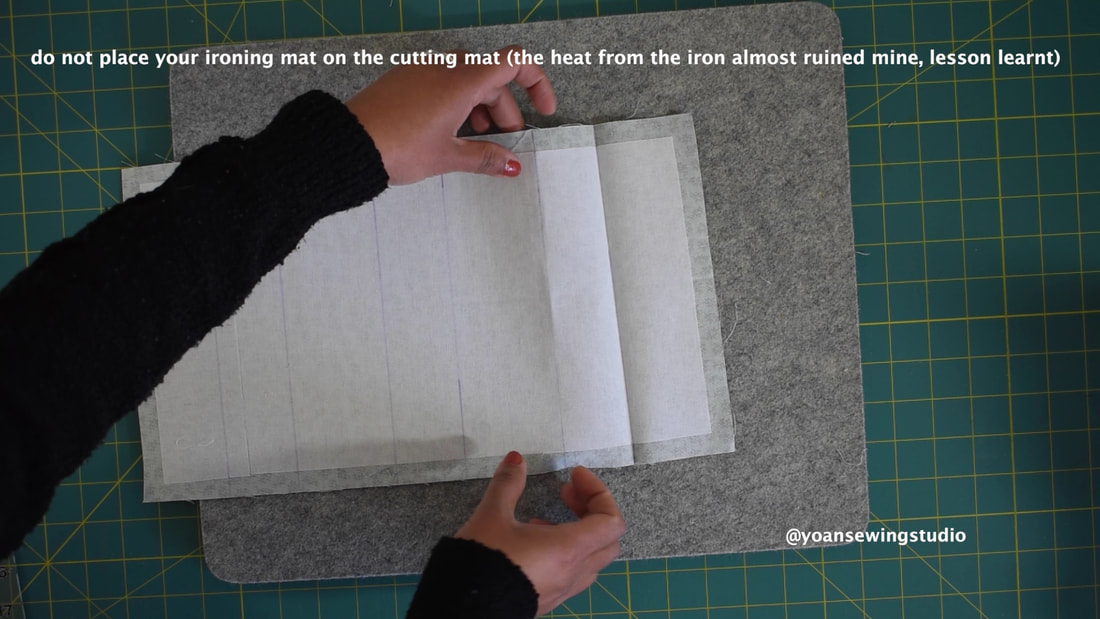
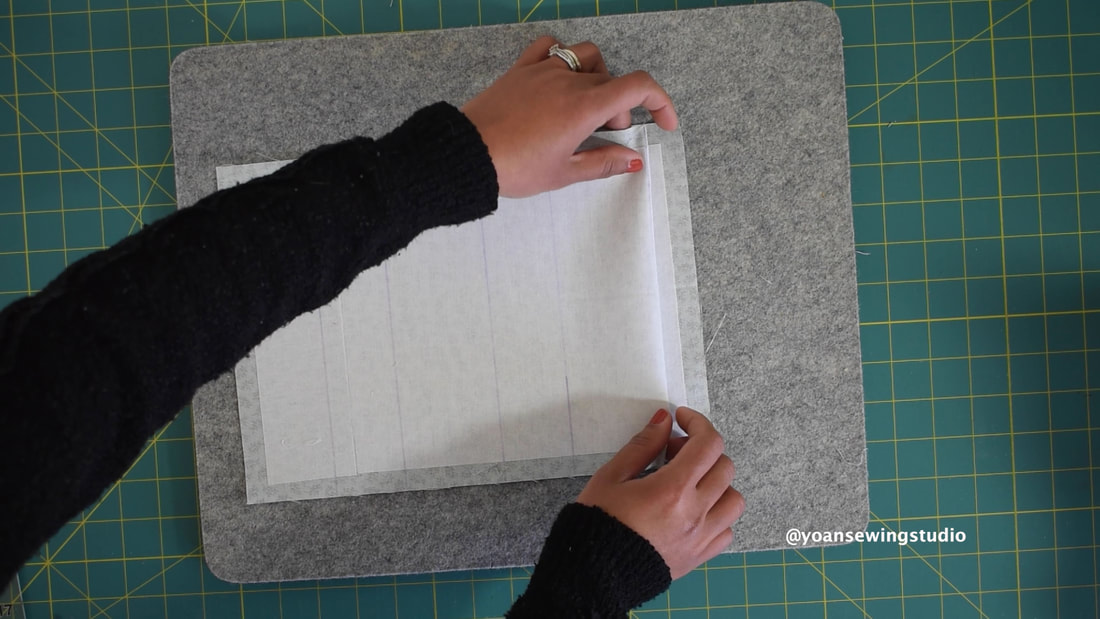
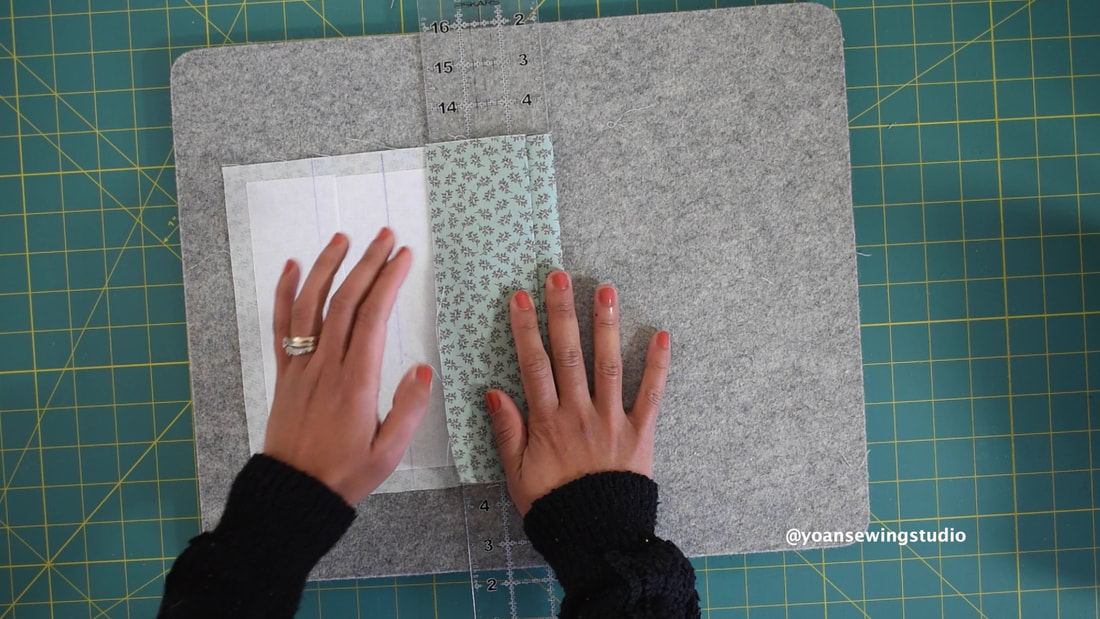
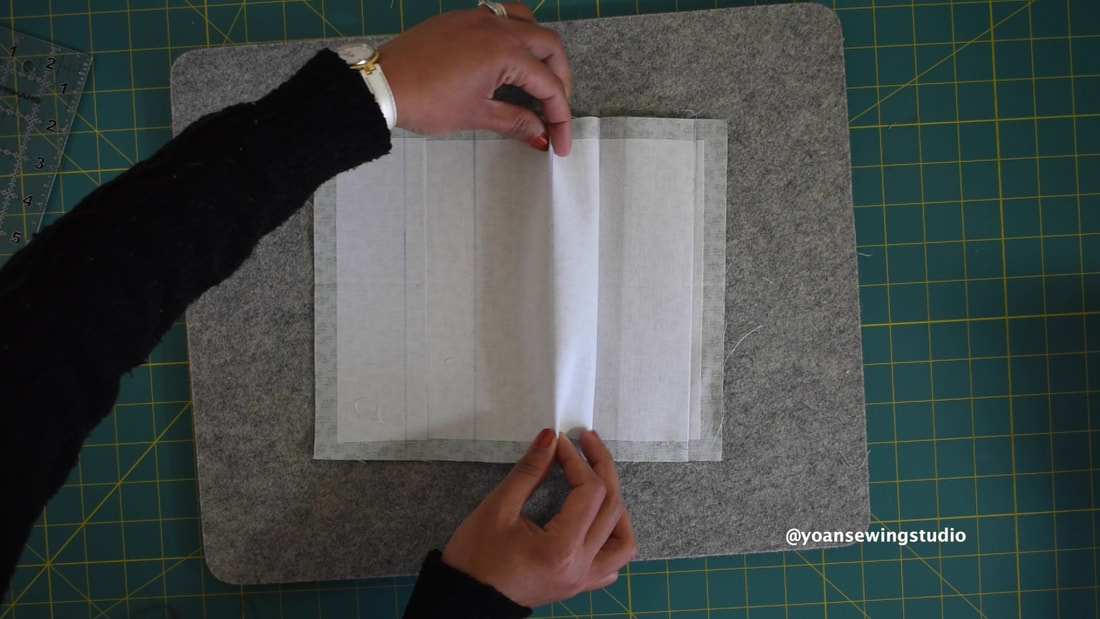
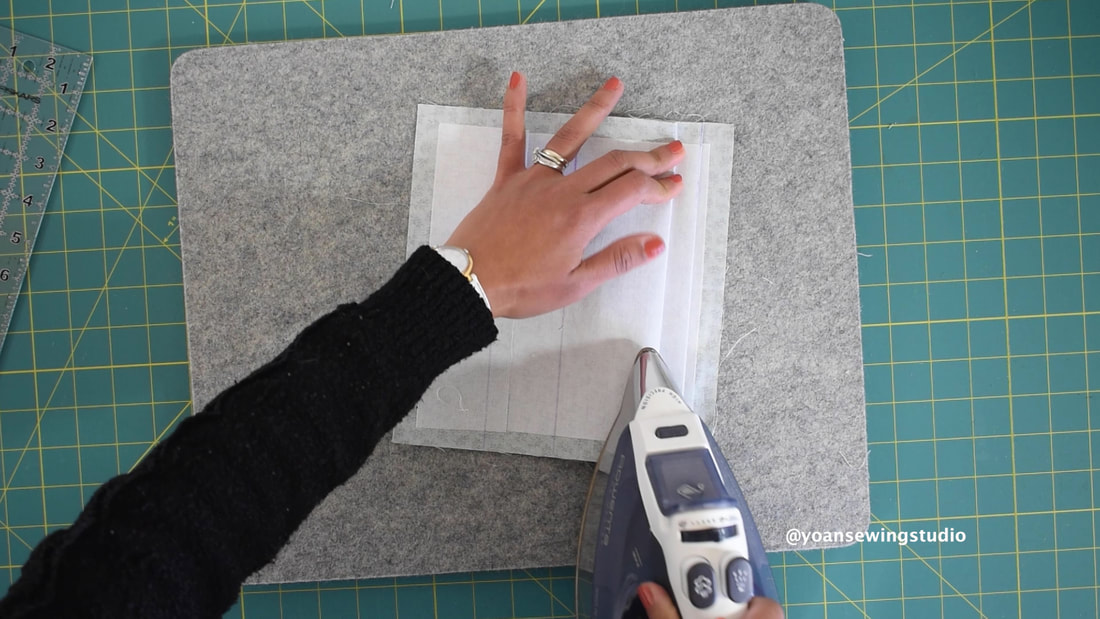
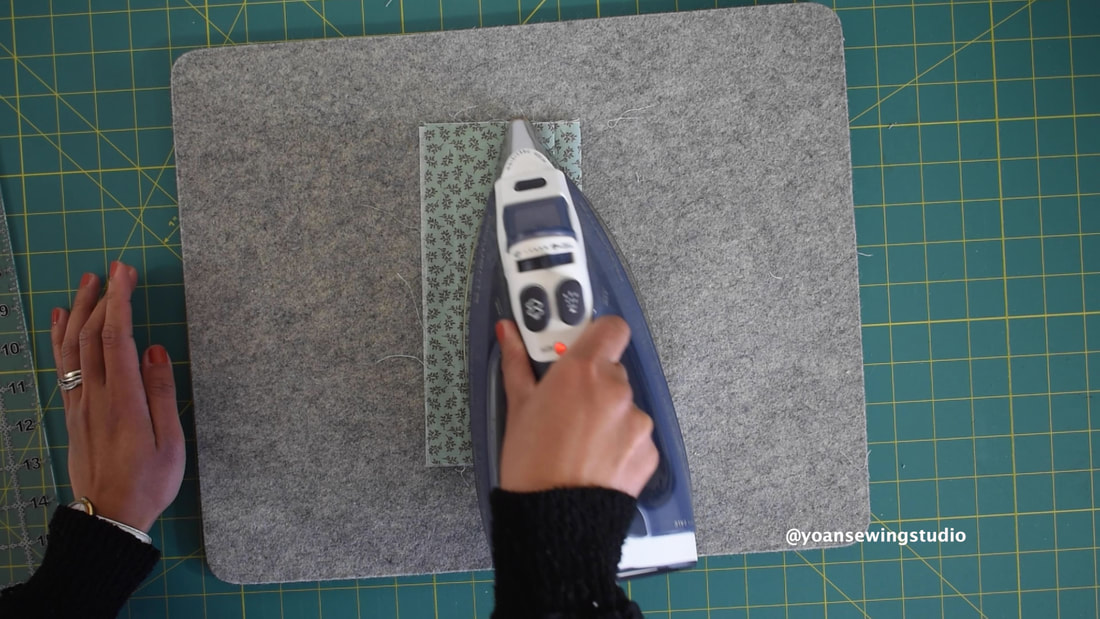
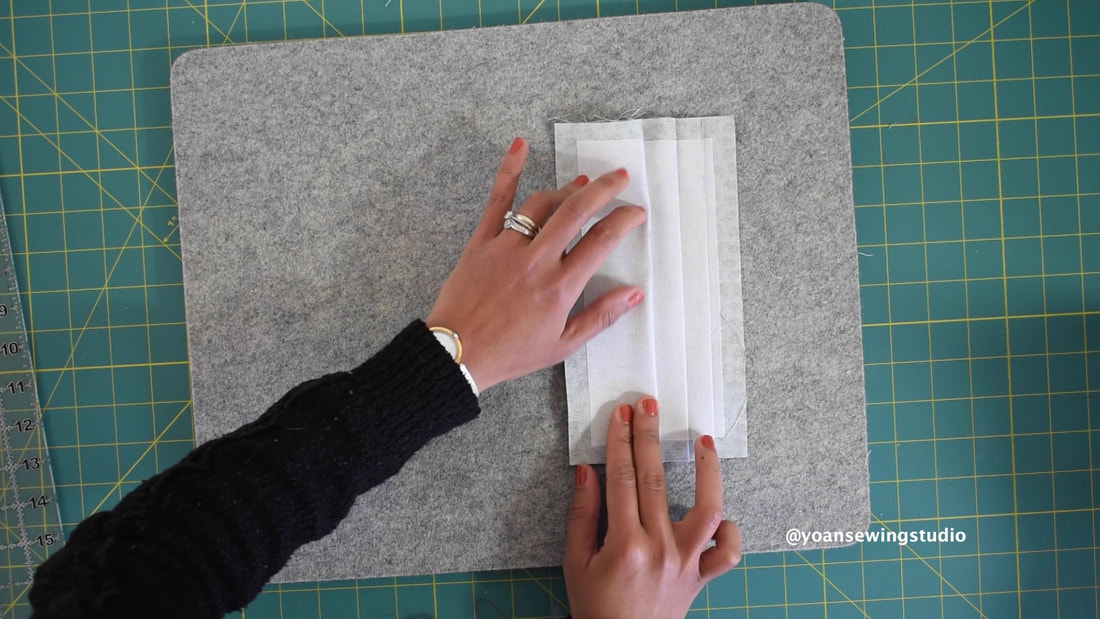
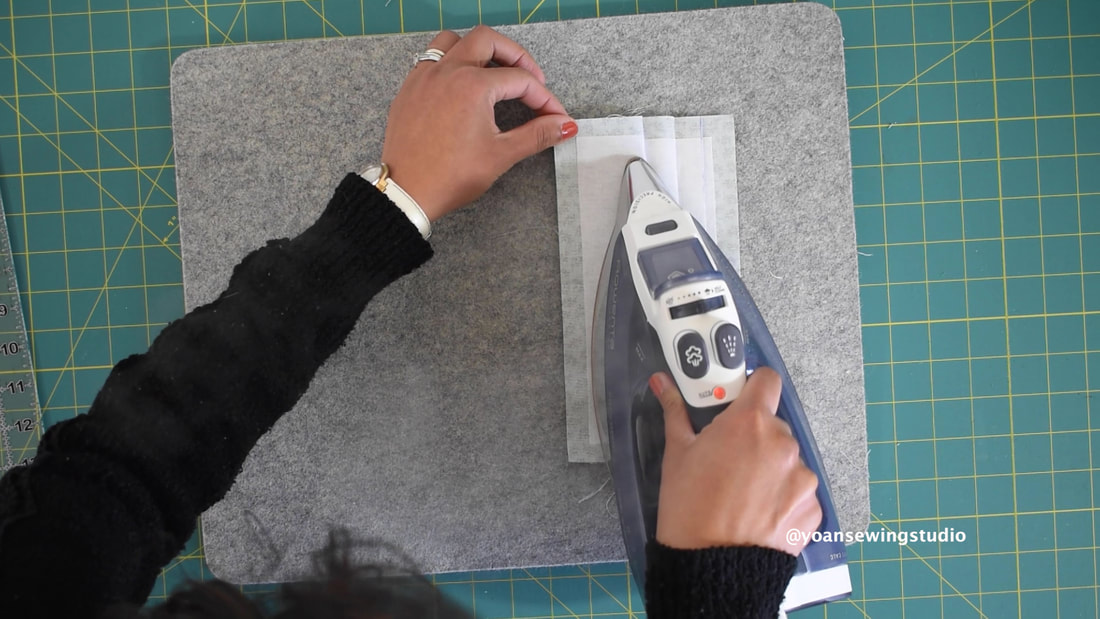
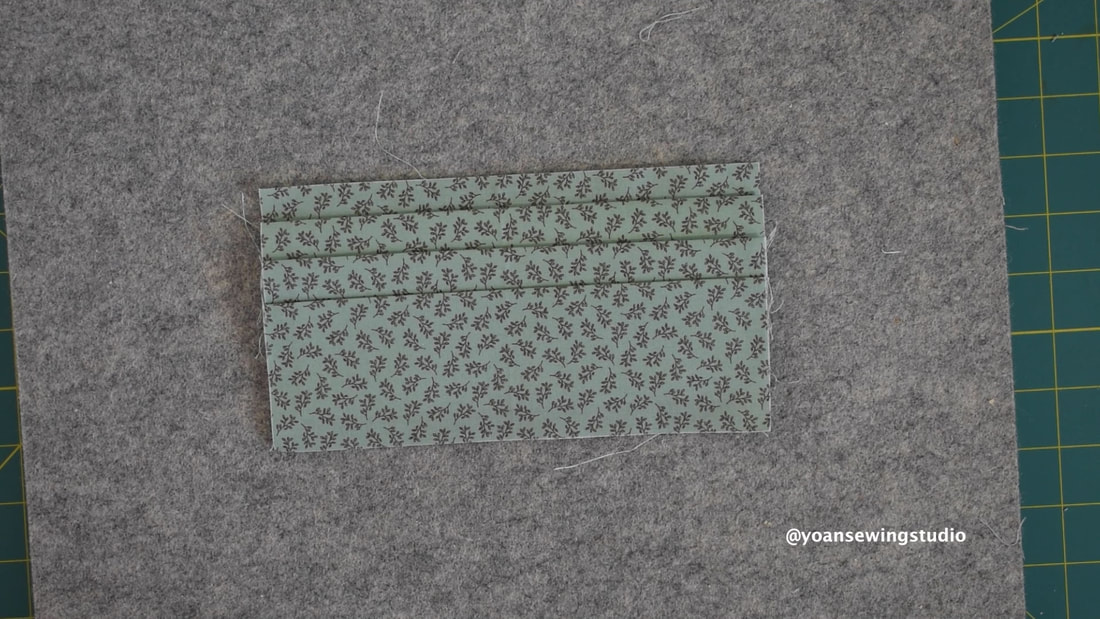
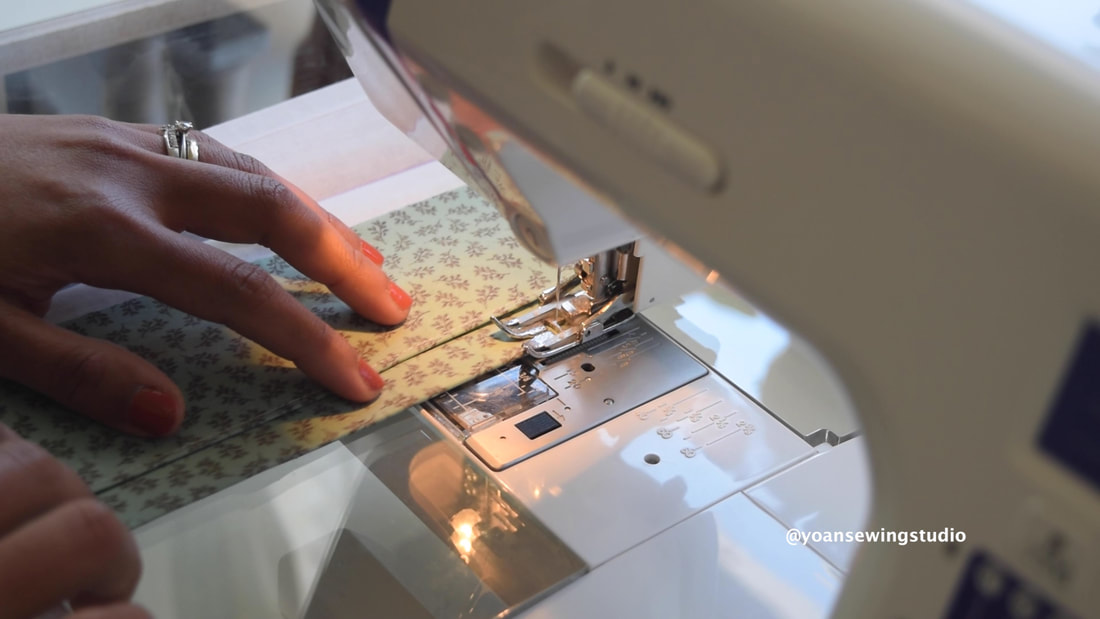
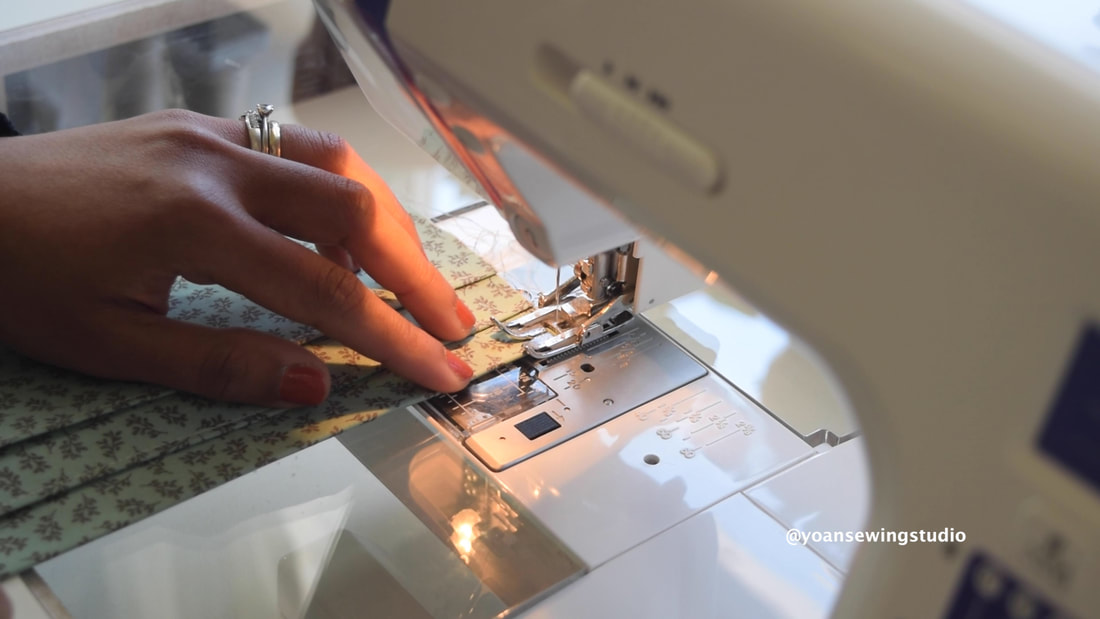
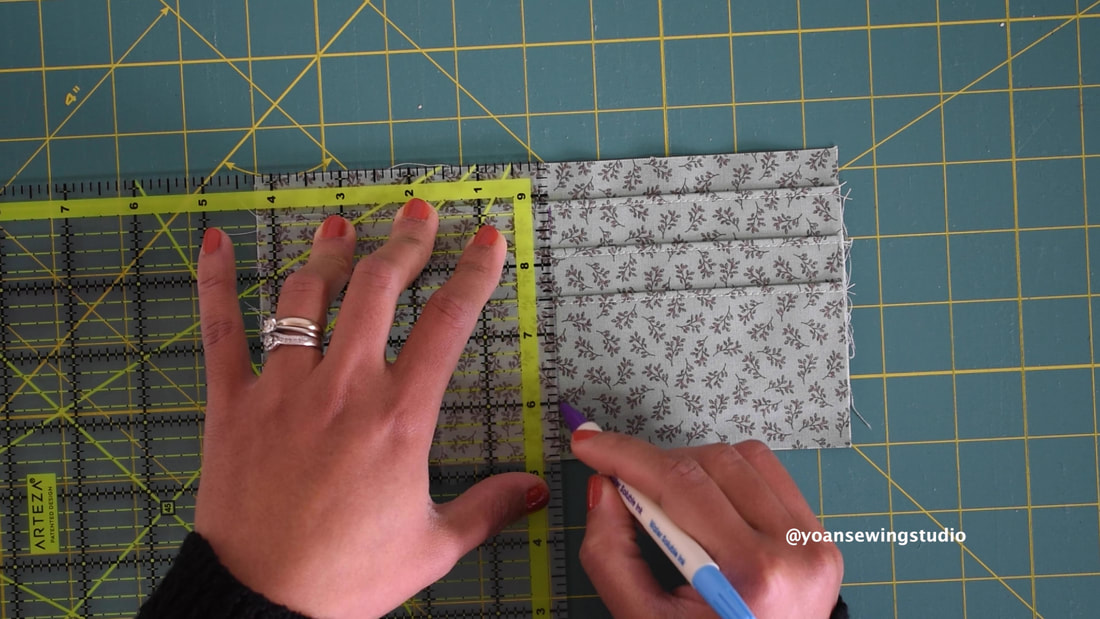
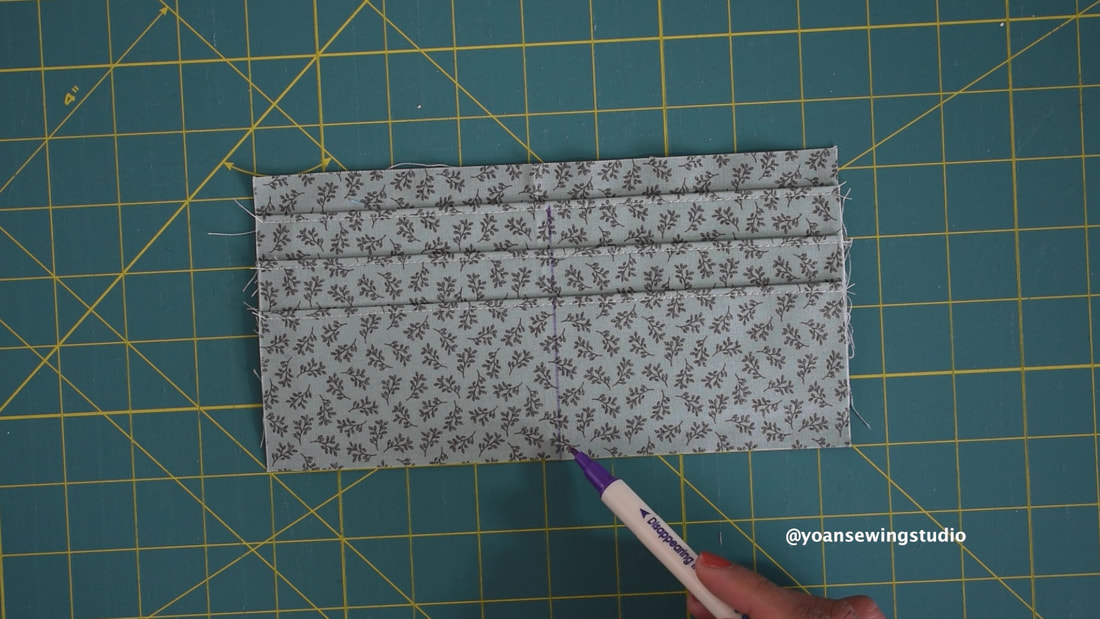
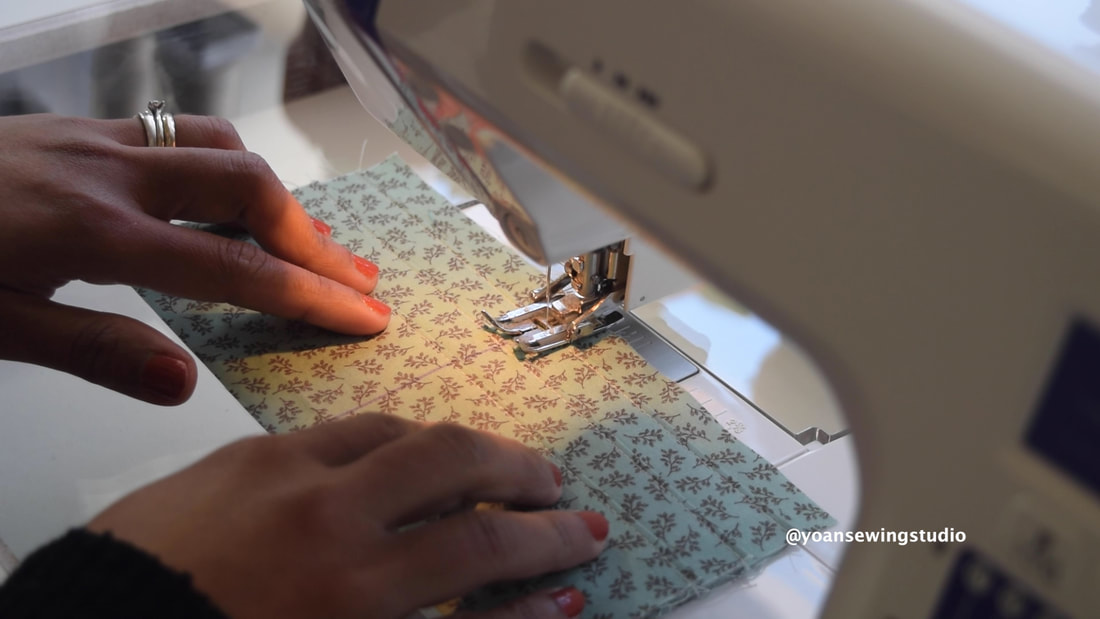
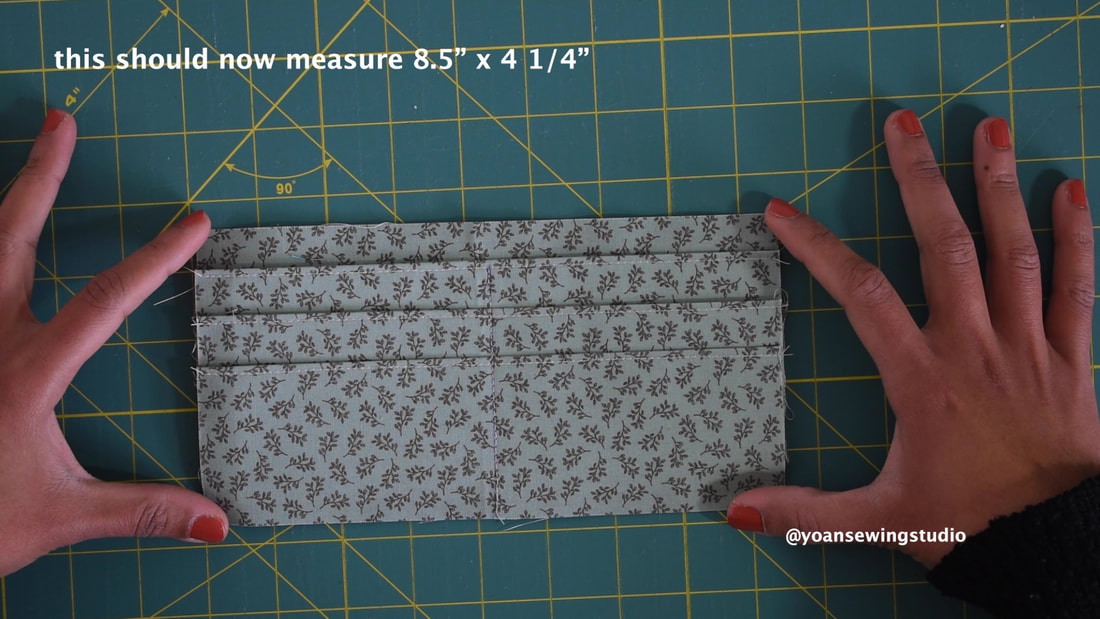
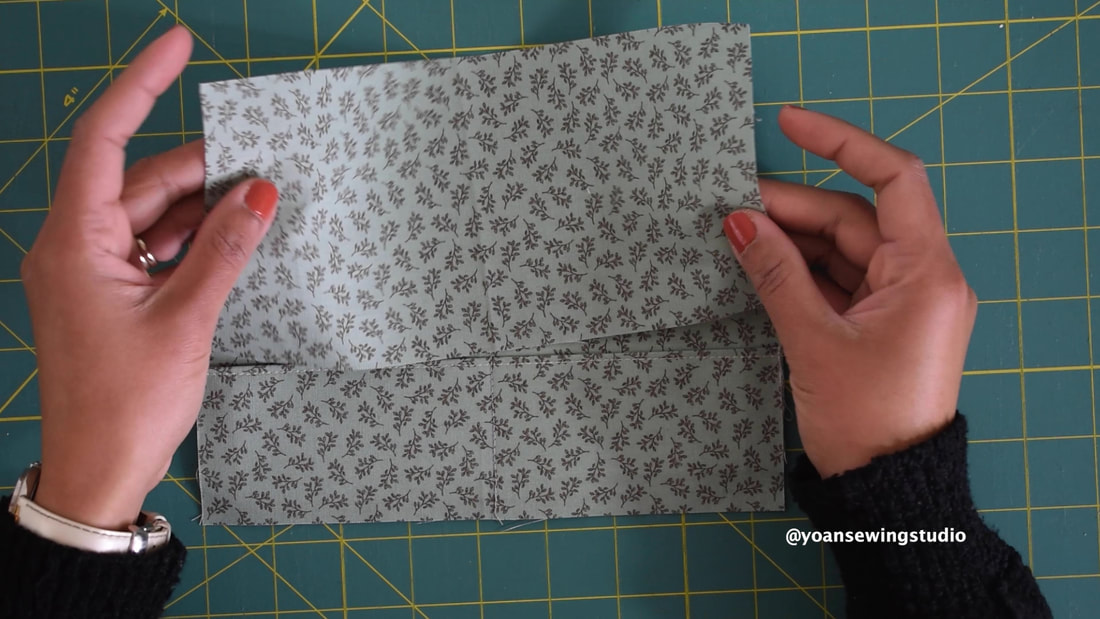
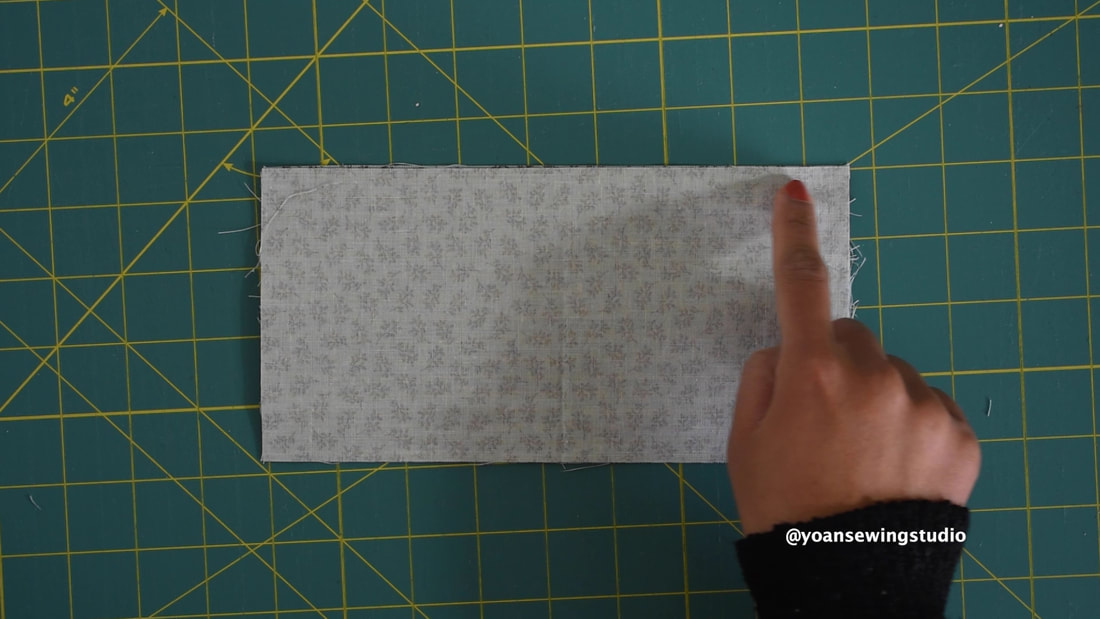
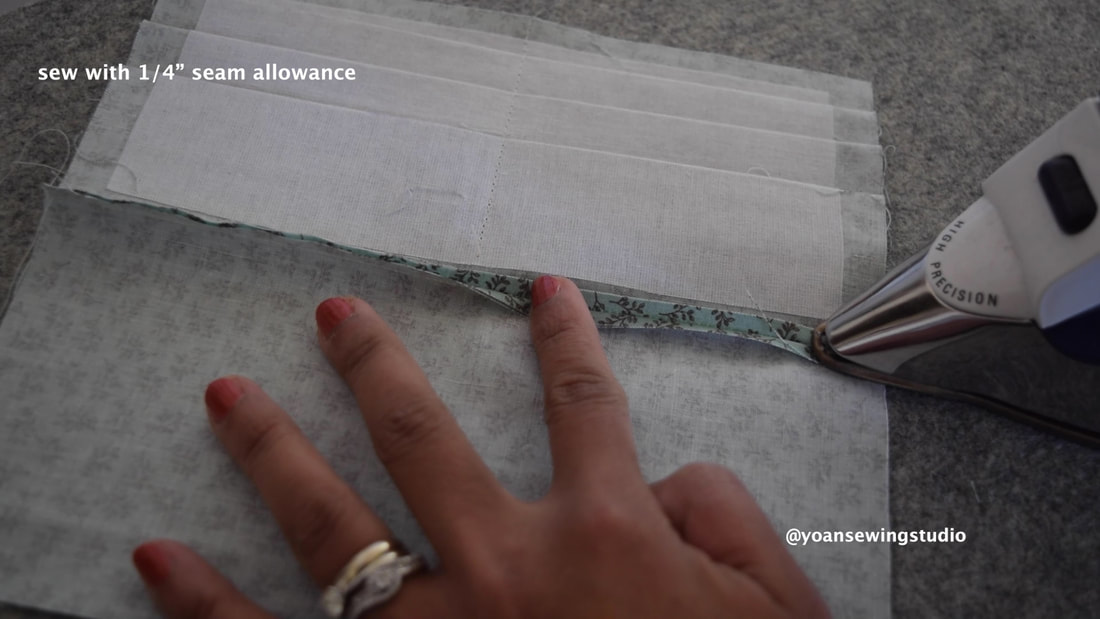
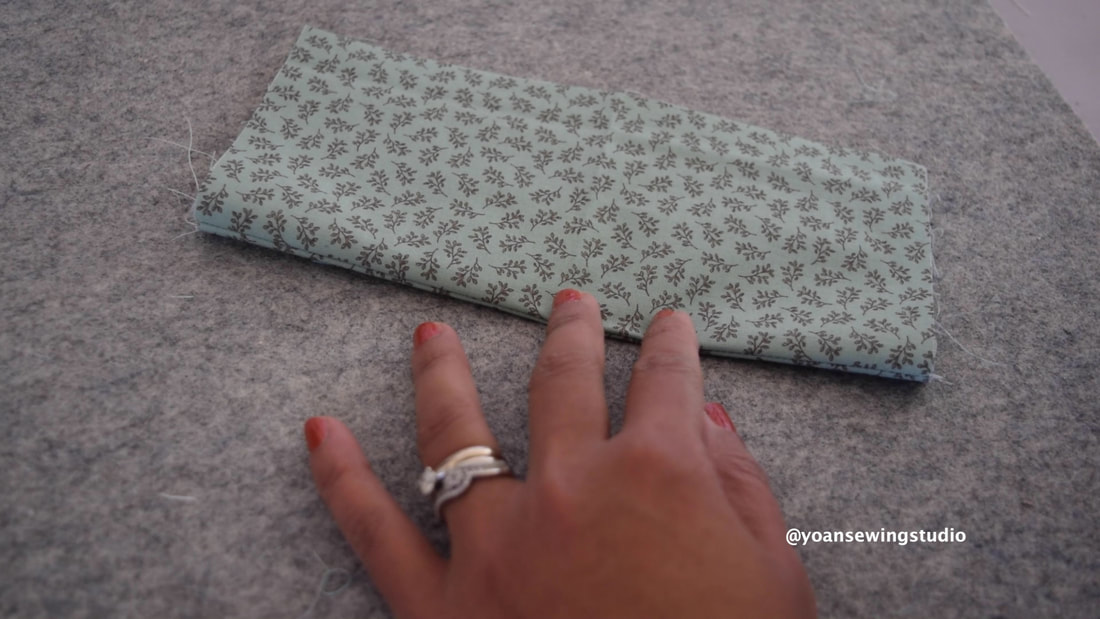
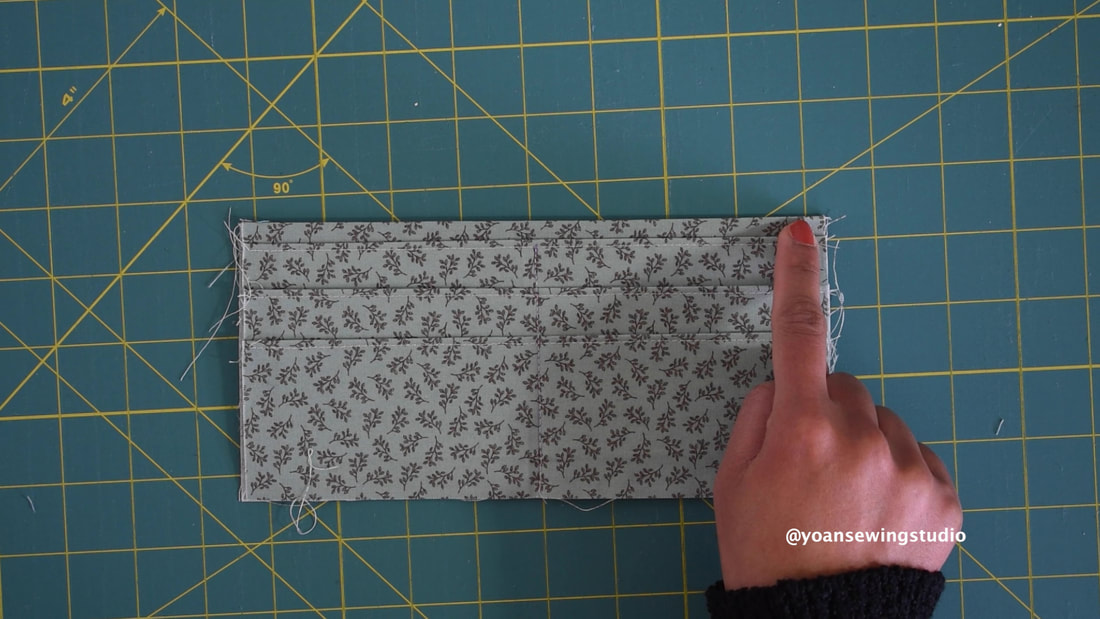
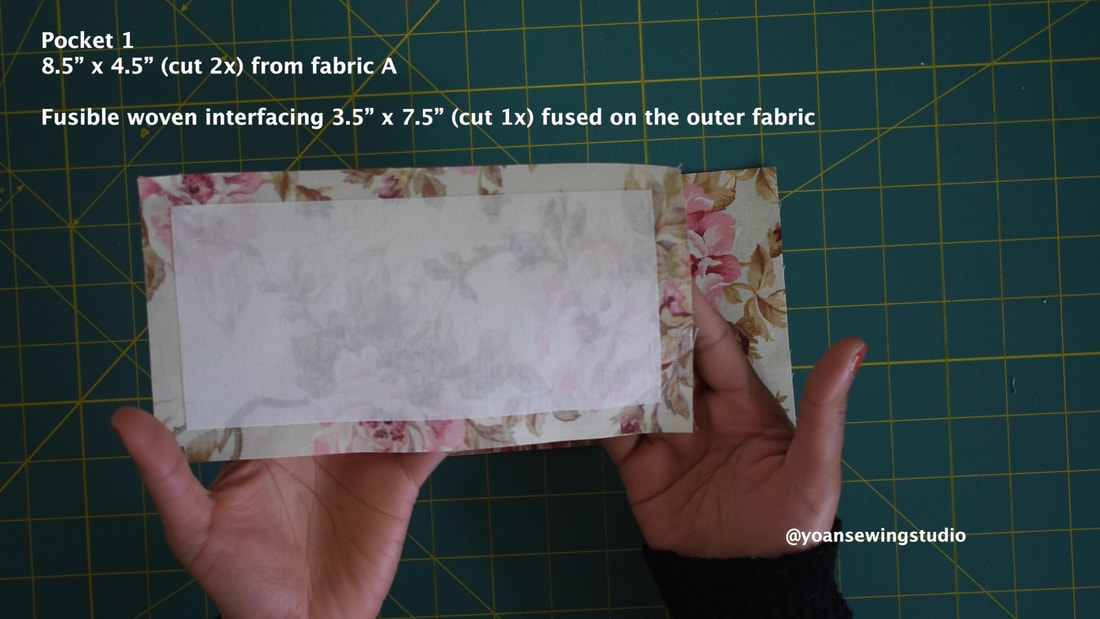
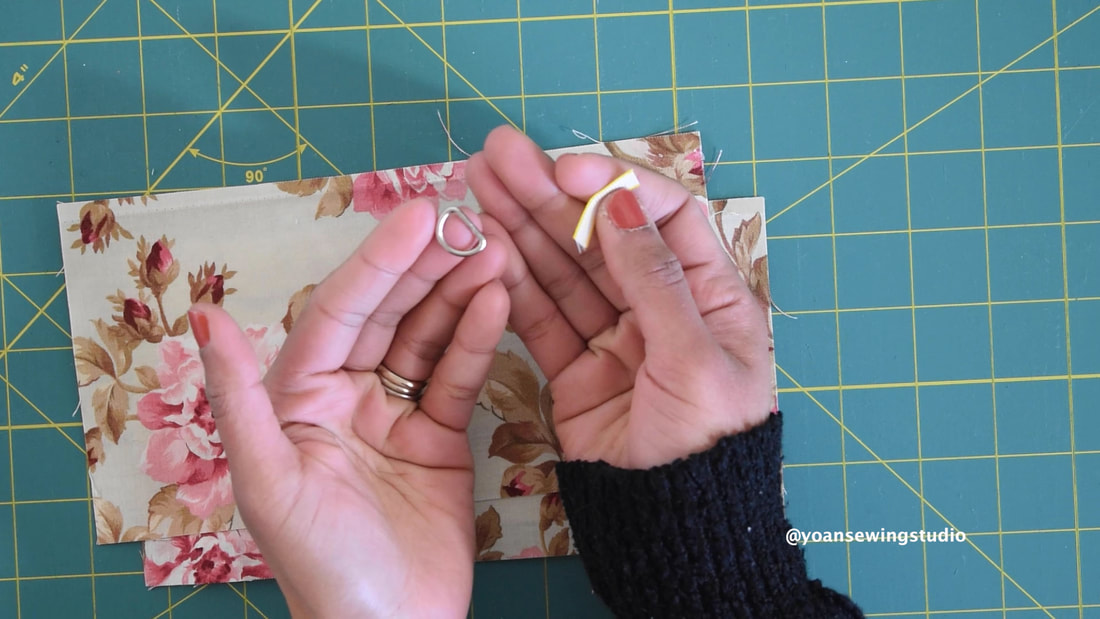
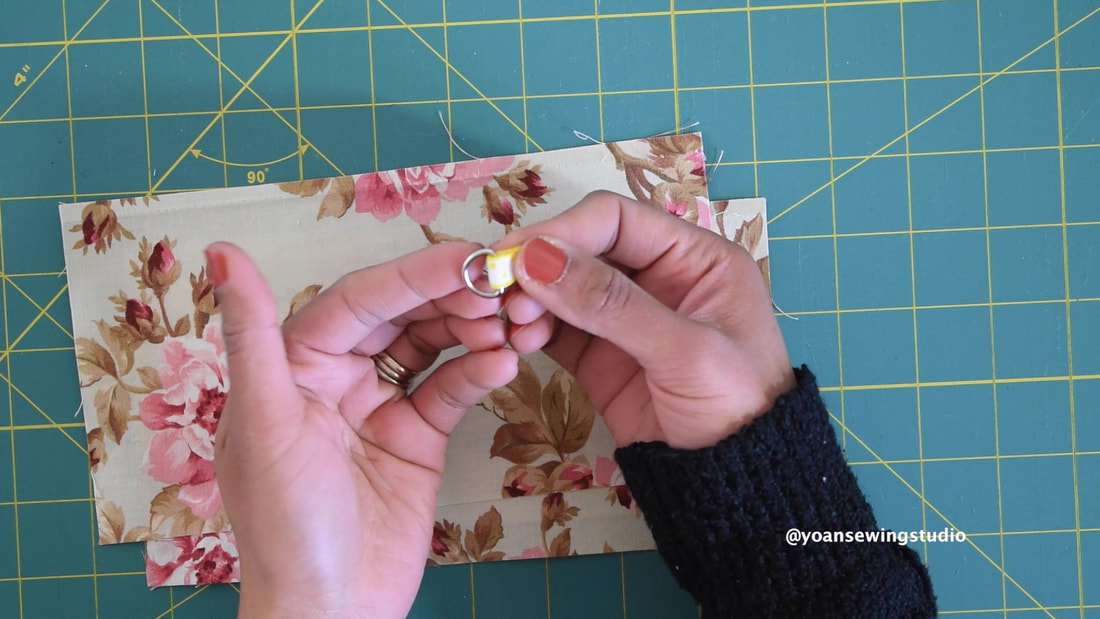
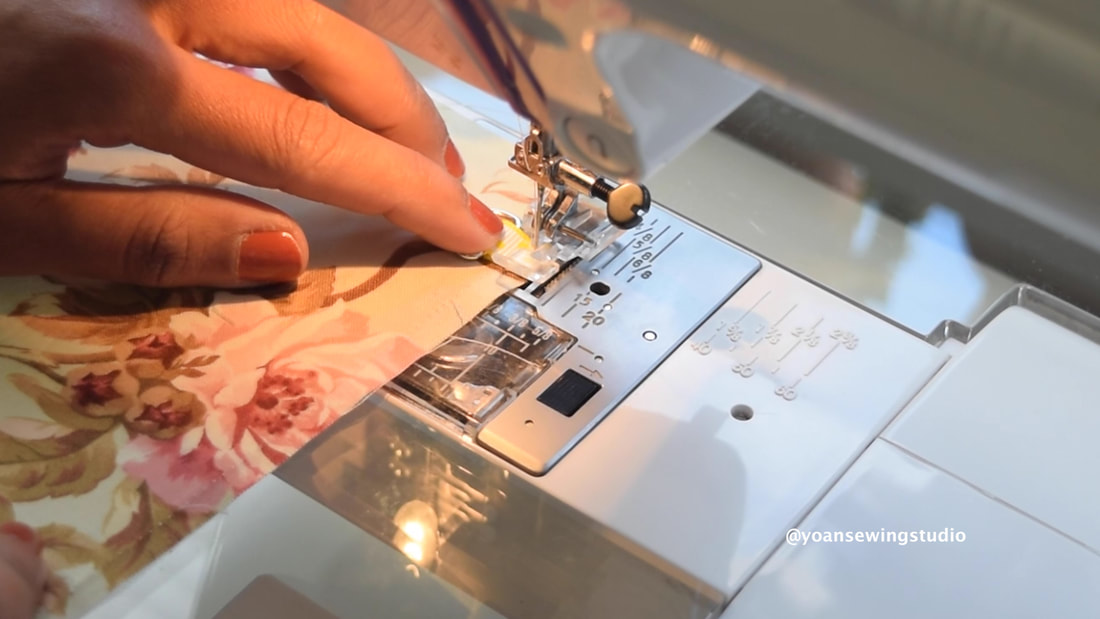
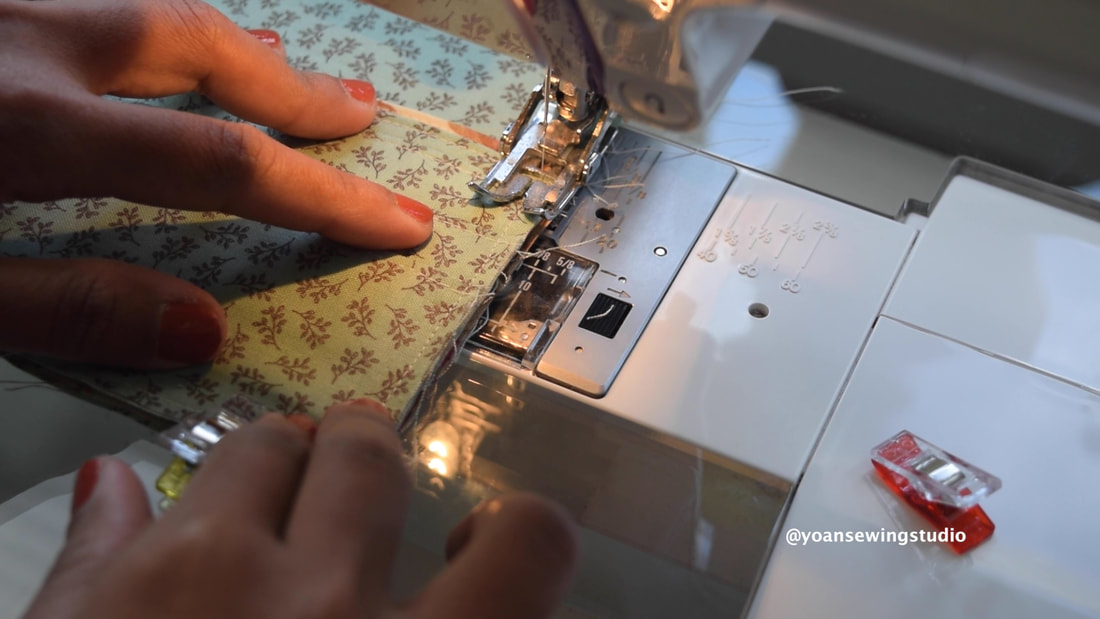
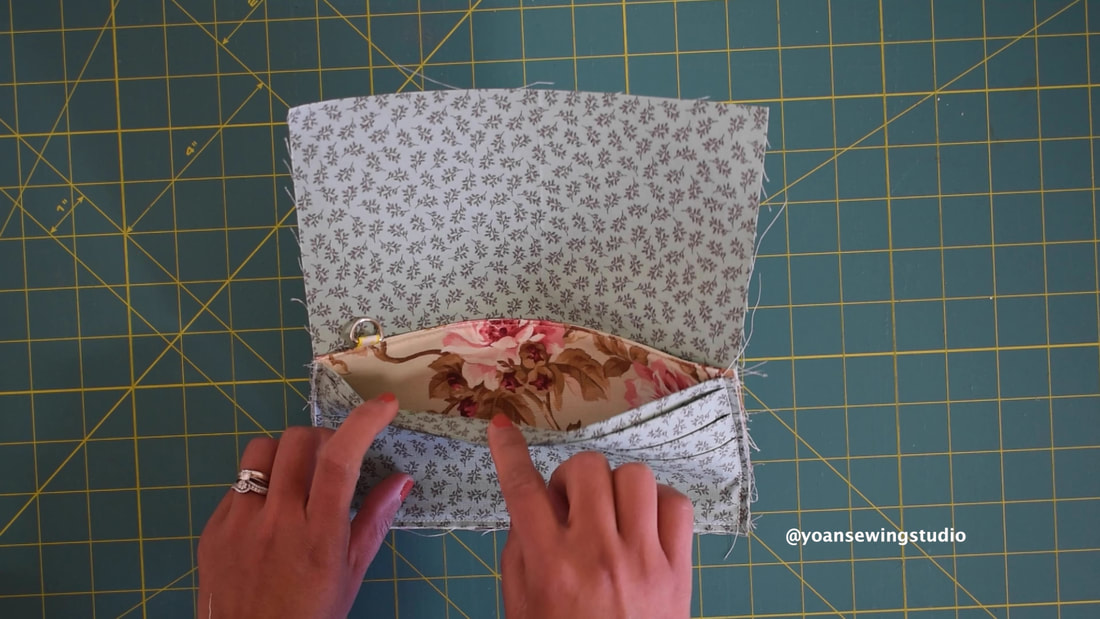
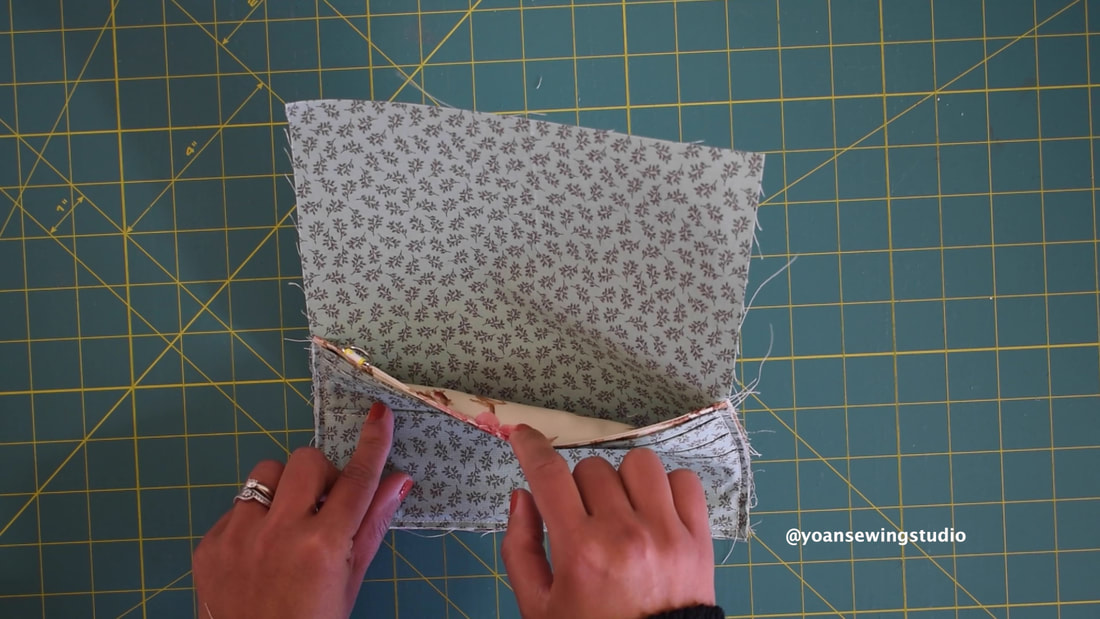
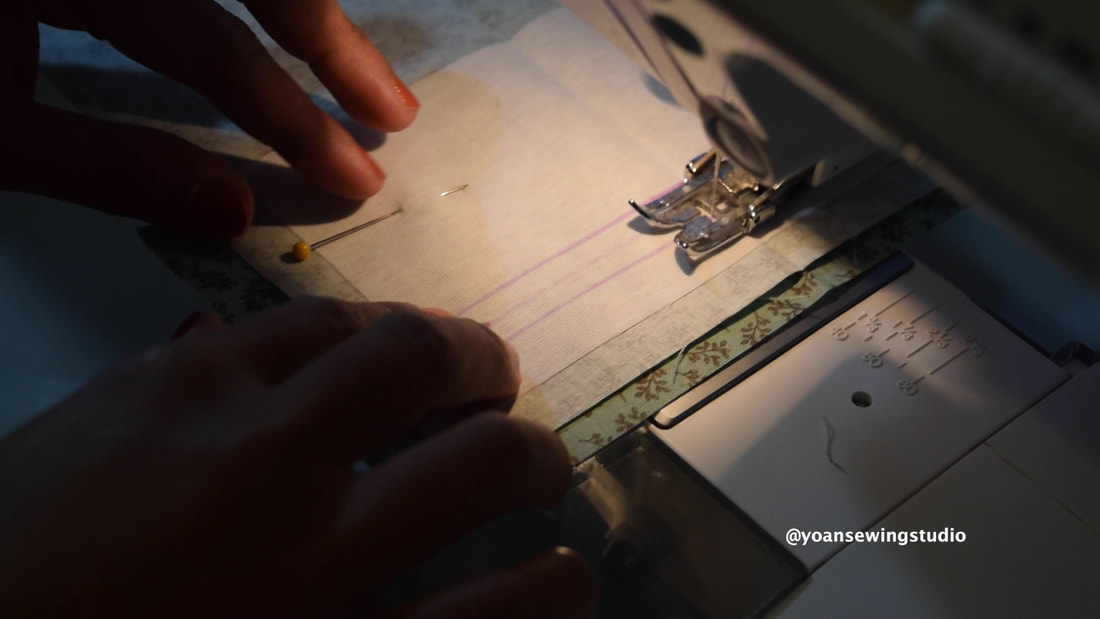
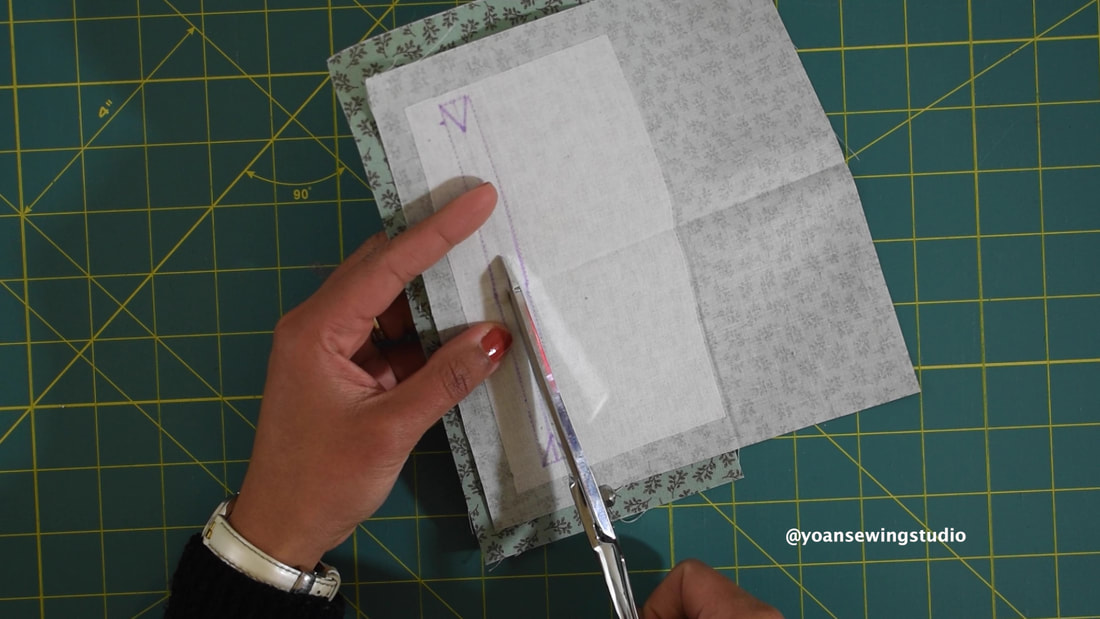
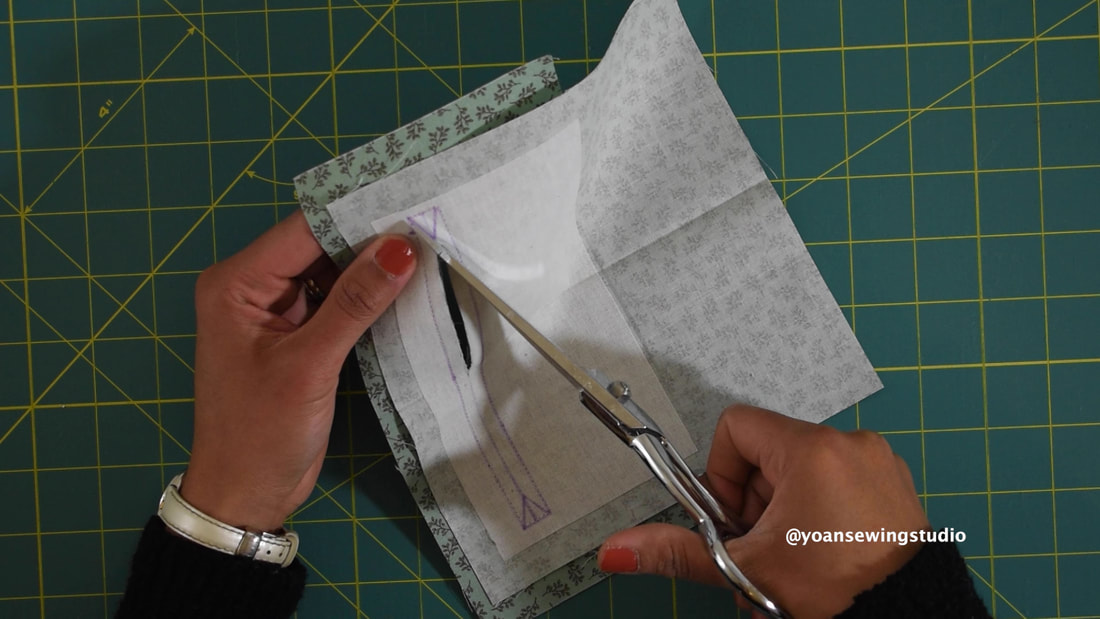
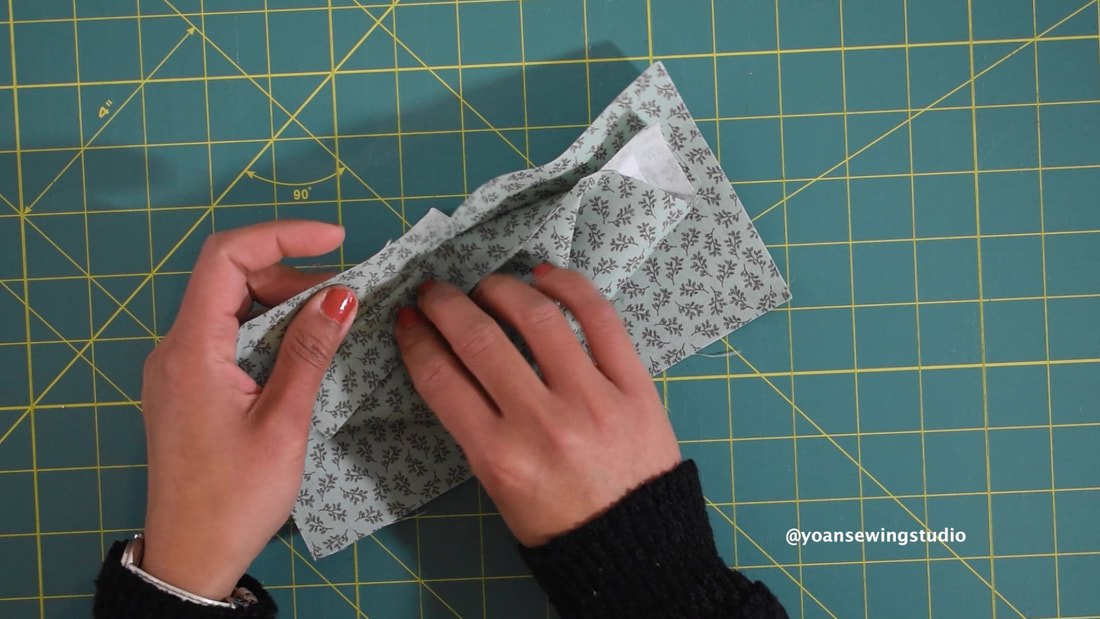
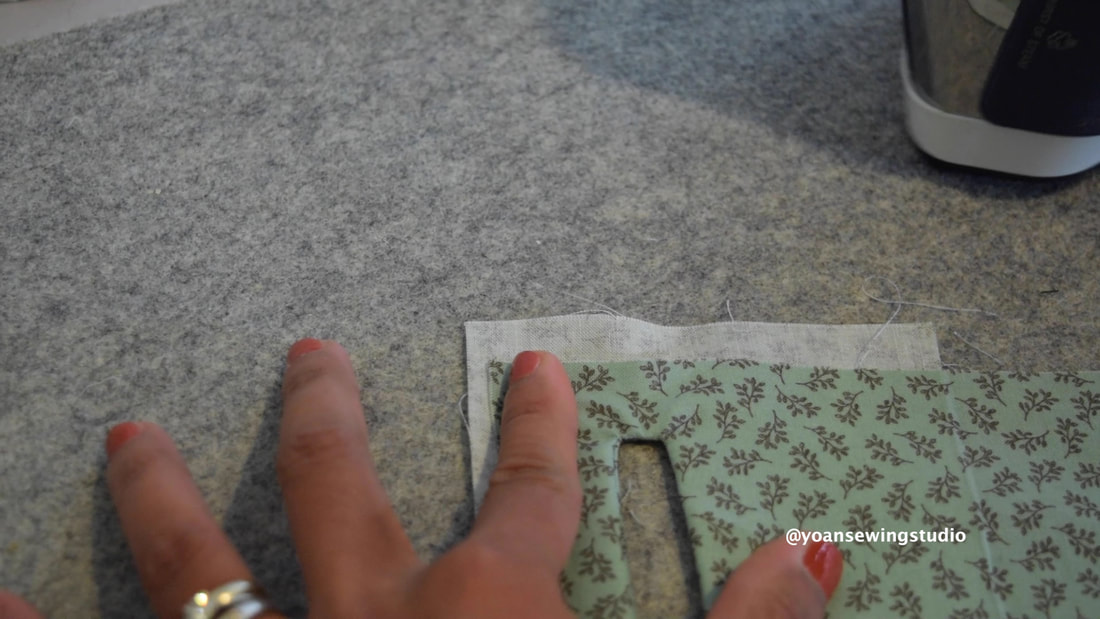
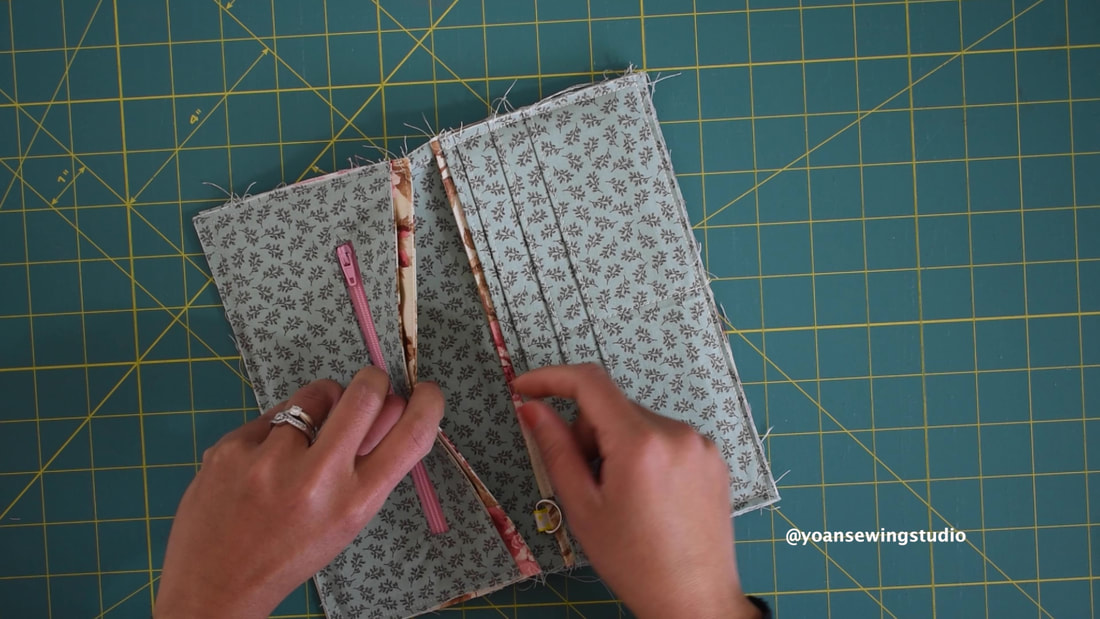
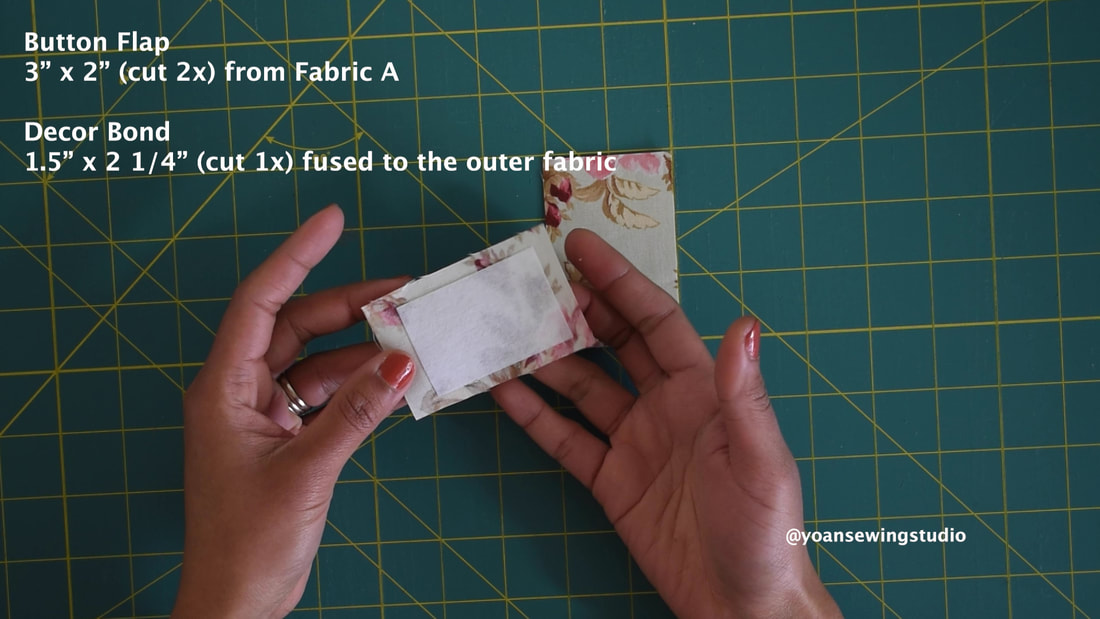
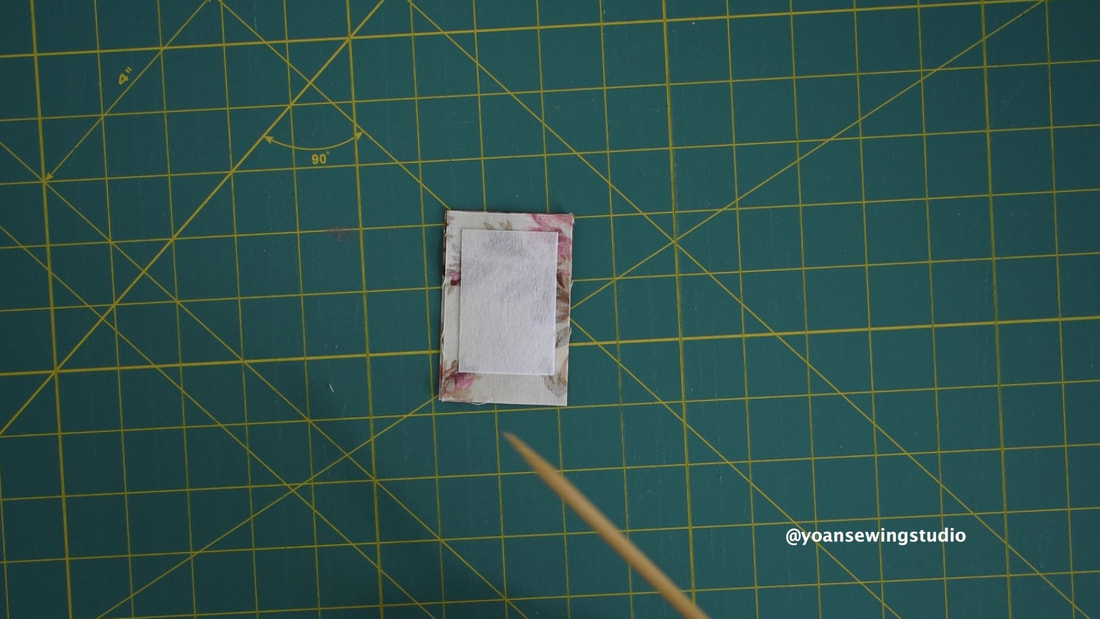
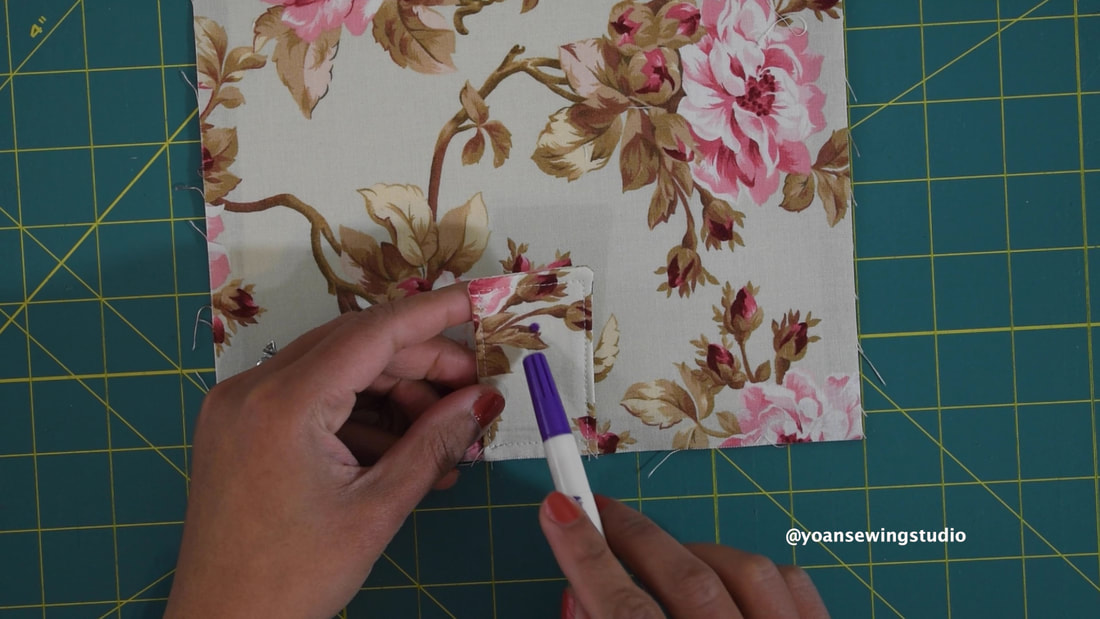
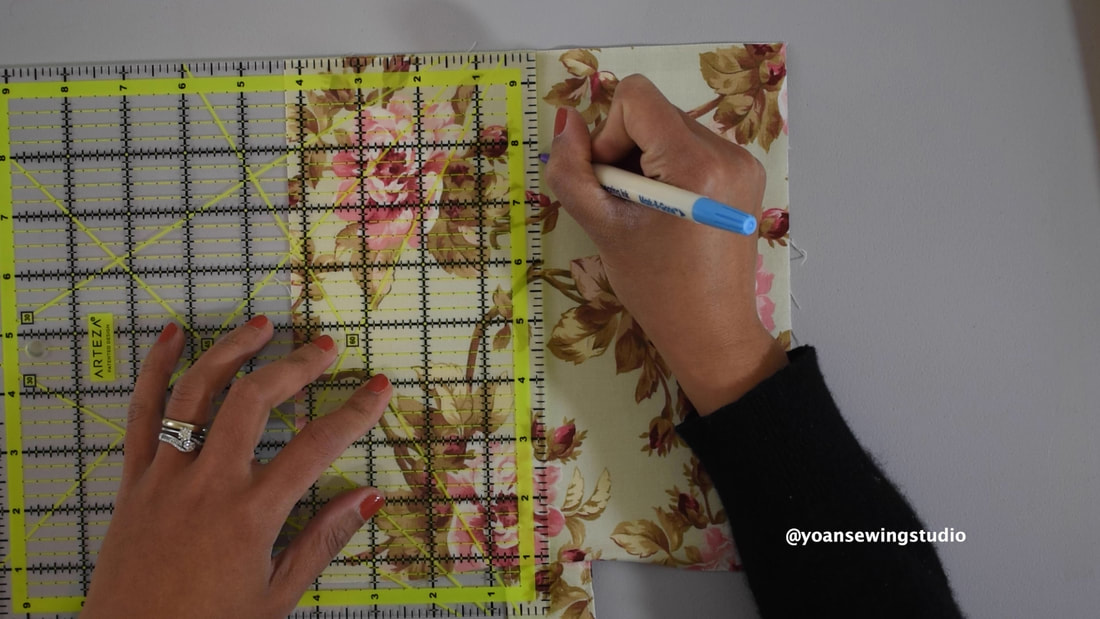
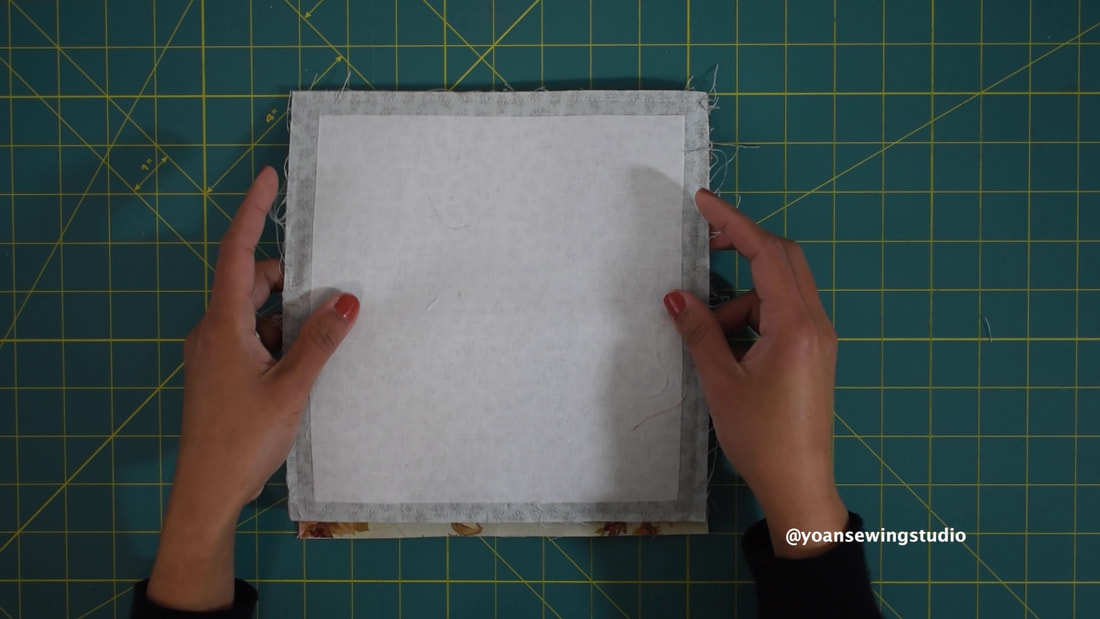
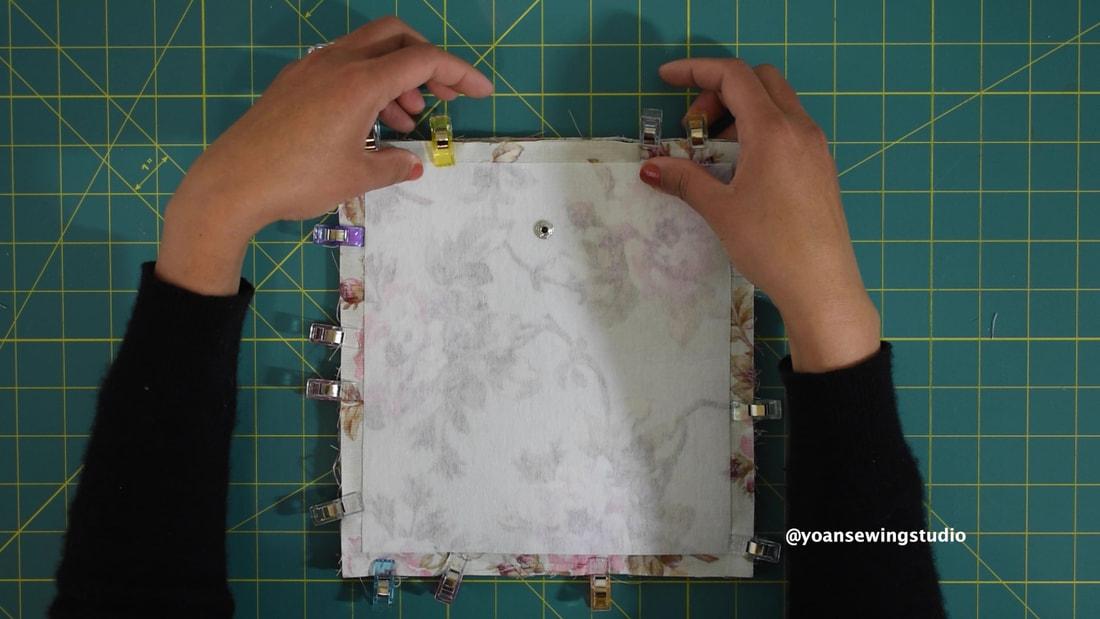
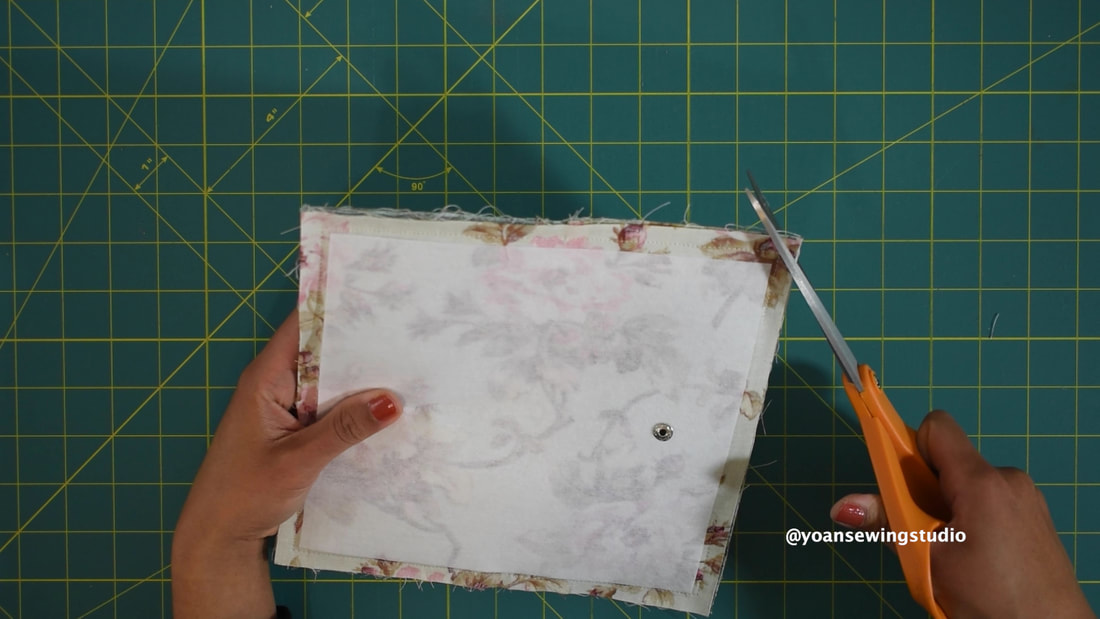
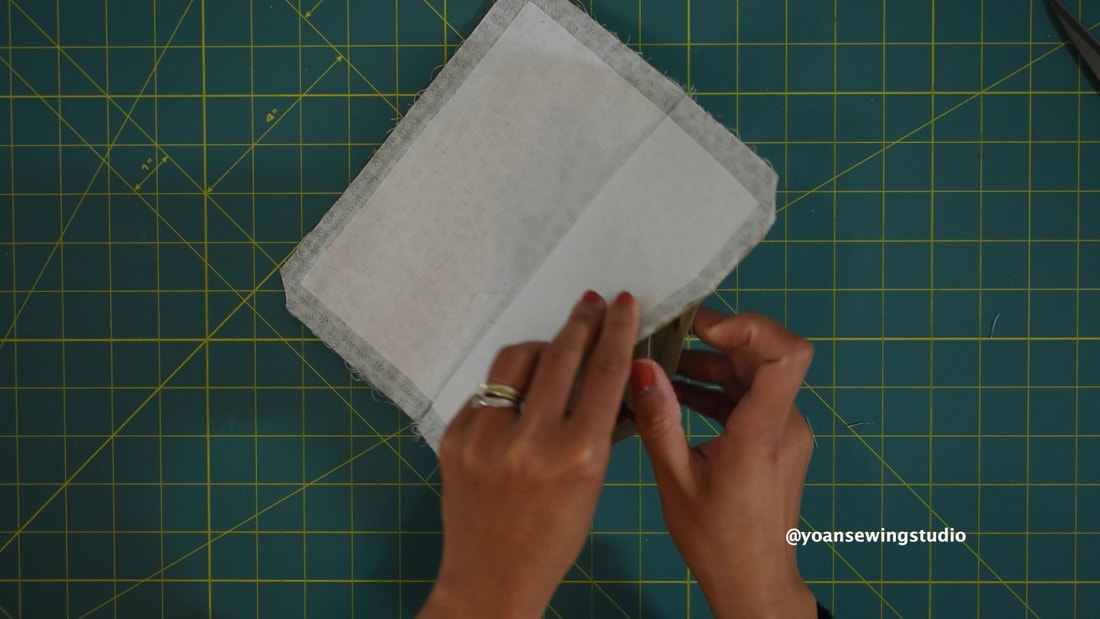
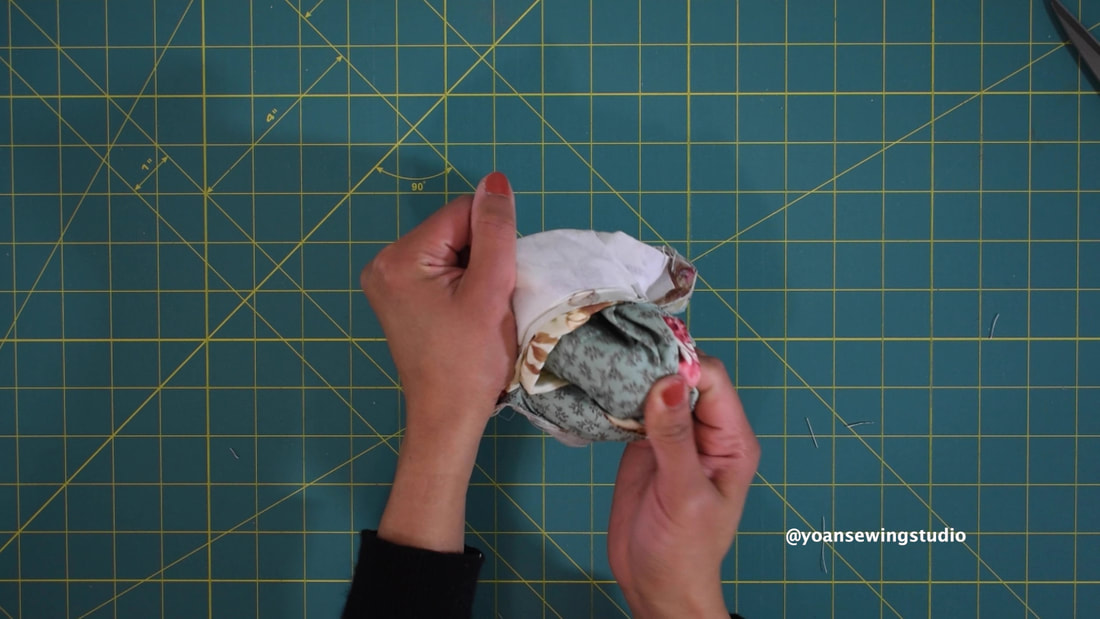
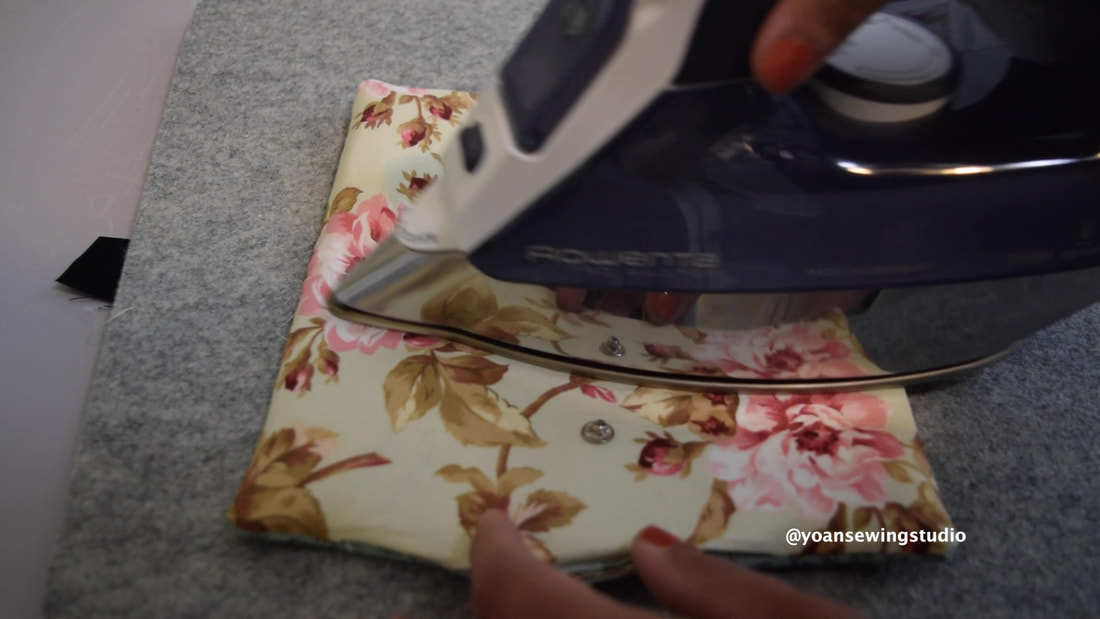
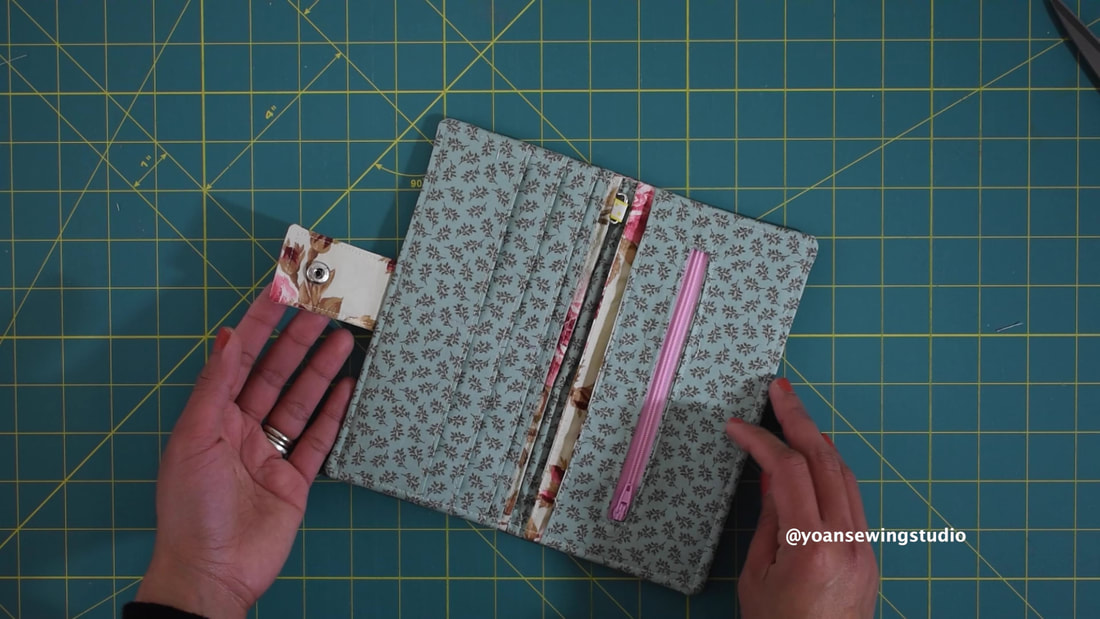
 Slim Bifold Wallet with wristlet strap Here's a new wallet for you to sew. This is a simple slim bifold wallet, that comes with 6 card pockets, a zipper pocket, 4 compartments to keep your cash, cellphone, cheque book, or passport. The added wristlet strap, allows you to carry this wallet itself pretty much everywhere. I posted the full tutorial on my Youtube channel, however you may scroll down below for the list of supplies, cutting measurements, and written instructions. SUPPLIES 2 x Fat Quarters or 2x 1/4 yard of cotton fabric  Decor Bond 10" x 10" (alternative : decovil, fusible fleece/thermolam or your preferred mid-heavy weight interfacing) *note : if you use fusible fleece, your wallet will turn out on the softer side 1/2 yard Fusible Woven interfacing (20" wide) 1 all purpose zipper (at least 6" long) 1/2" D ring 1/2" swivel hook 1 scrap of ribbon (1" x 1/2") Metal Snap Closure (alternative: magnetic snap, velcro, button) Basic sewing notions CUTTING Wallet Exterior -From Fabric A 8.5" x 9" (cut 1x) -From Decor Bond 7.5" x 8" (cut 1x) Wallet Interior -From Fabric B 8.5" x 9" (cut 1x) -From Fusible Woven Interfacing 7.5" x 8" (cut 1x) Card Pockets -From Fabric B 8.5" x 15" (1x) -From Fabric B 4.25" x 8.5" (1x) - for the lining -From Fusible Woven interfacing 7.5" x 14" (cut 1x) Pocket 1 & Pocket 2 -From Fabric A 8.5" x 4.5" (cut 4x) -From Fusible Woven Interfacing 7.5" x 3.5" (cut 2x) *fuse the interfacing to the outer fabric Zipper Pocket -From Fabric B 8.5" x 4.25" (cut 1x) - outer pocket -From Fabric B 7.5" x 7" (cut 1x) - Inner pocket -From Fabric A 8.5" x 4.25"(cut 1x) - lining -From Fusible Woven interfacing 7.5" x 3.25" (cut 1x) - outer pocket -From Fusible Woven interfacing 6.5" x 3.5" (cut 1x) - Inner Pocket Button Flap -From Fabric A 3" x 2" (cut 2x) -From Decor Bond 2.25" x 1.5" (cut 1x) Wristlet Strap -From Fabric A 13" x 2" -From Fusible woven interfacing 12" x 1" DIRECTIONS 1. Cut your fabric and apply the interfacing as instructed on the above cutting instructions. Center the position of the interfacing on your fabric. 2. Draw the pleat lines on wrong side of the pocket piece 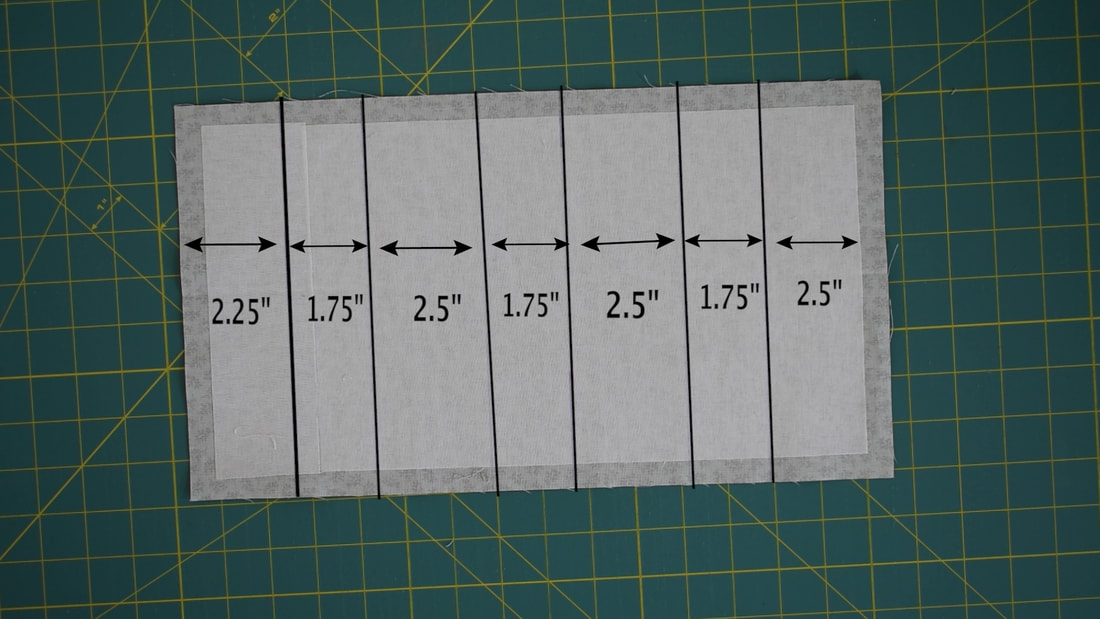 3. Fold the first 2.5" line towards the wrong side, press. Then fold the next line (1.75" line) towards the right, press. 4. Fold the next 2.5" line towards the wrong side, press, then fold the next 1.75" line towards the right, press. 5. Repeat the same till you get to the last line. Do the final pressing. 6. Top stitch along the pleat lines. 7. Draw a line on the center of the pocket starting from the first pleat, all the way down. Sew on the line to divide the card slots. 8. Your pocket piece should now measure 8.5" x 4.25" . Take the card pocket lining piece, lay them right side together, then sew the top edge with 1/4" of seam allowance. 9. Press the seams open, fold wrong side together, press, top stitch the top edges, then sew along the sides and the bottom with 1/4" of seam allowance 10. Prepare the pocket 1 pieces, the d ring, and the ribbon. 11. Feed the ribbon through the d ring, lay them on the top edge of the outer pocket piece, 3/4" away from the left. then stitch along the edges with 1/4" of seam allowance (tips : use a zipper foot for easier move) 12. Lay the pocket pieces right side together, pin, then sew with 1/4" of seam allowance 13. Press the seams open, fold wrong side together, press, then topstitch along the top edges. 14. Lay the wallet interior piece right side up, lay the pocket 1 right side up, then the card pocket right side up, aligning the sides and the bottom edges. Secure them with some sewing clips, then sew along the sides and the bottom with 14" of seam allowance. 15. Prepare the zipper pocket pieces, draw the zipper template on the wrong side of the inner pocket piece, 1" down from the top edge, center the position. 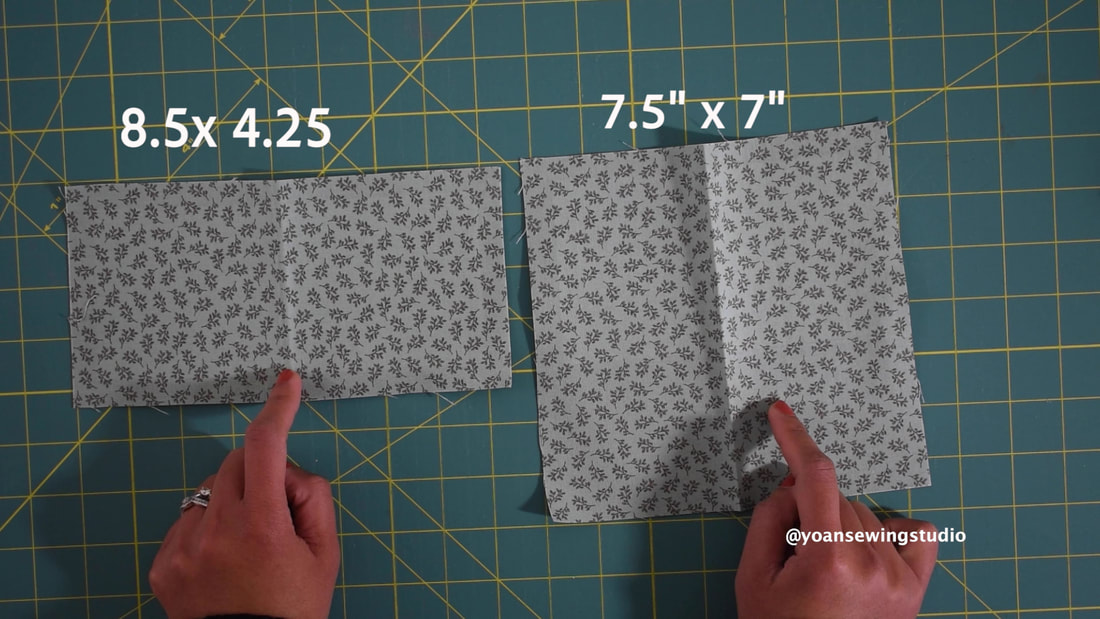 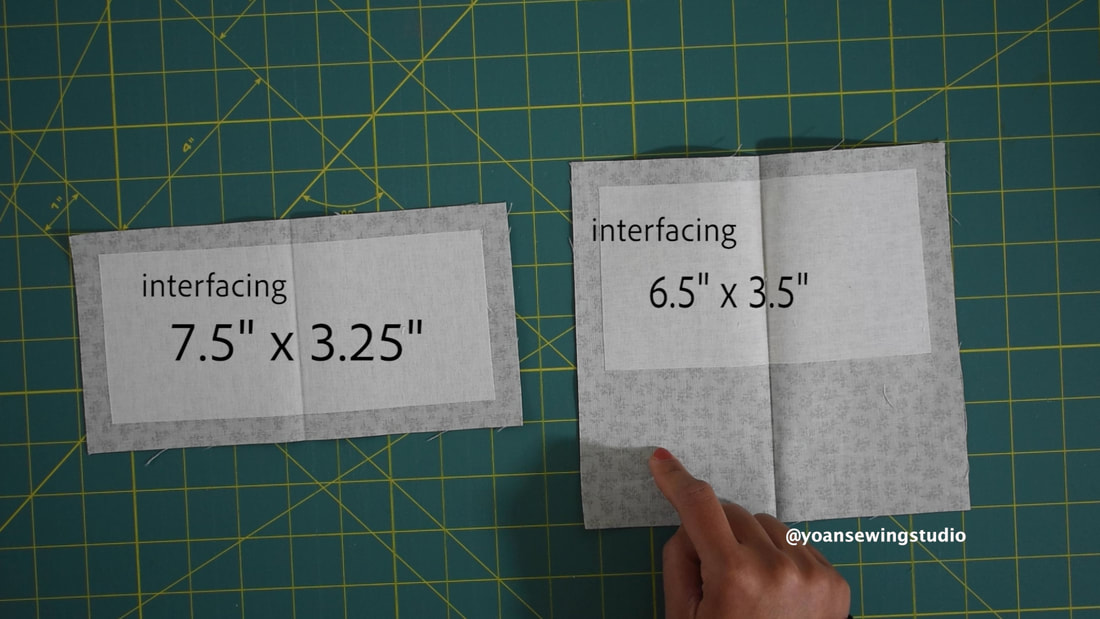  16. Lay the inner pocket on the right side of th outer pocket, 3/8" down from the edge of the outer pocket, pin them in place, then sew along the perimeter of the zipper template. 17. Cut the center line, and the corner triangles, be careful not to cut through the stitches. Turn your inner pocket piece to the wrong side, press. 18. Apply the basting tape on the edges of the zipper tape, peel the top layer off, place the zipper template on top of the zipper, center the position of the zipper teeth, finger press along the zipper tape to make sure that the basting tape is sticking to the fabric. Sew along the edges of the zipper template. 19. Trim off the excess zipper, fold the inner pocket in half, aligning the bottom edges with the top edges, pin them in place, then sew along the sides and the top edges. 20. Take the zipper pocket lining piece, lay that on the zipper pocket right side together, pin the top edges then sew with 1/4" of seam allowance. 21. Press the seams open, fold wrong side together, press, then top stitch along the top edges. 22. Sew pocket 2 the same way you did the pocket 1 (minus the strap anchor), refer to step 12 & 13. 23. On the opposite side of the card pockets, lay the pocket 2 right side up, then lay the zipper pocket right side up, aligning the sides and the bottom edges, secure them in place with some sewing clips, then sew along the sides and the bottom with 1/4" of seam allowance. 24. Lay the flap pieces right side together, sew the sides and the bottom with 1/4" of seam allowance 25. Clip the corners, be careful not to cut through the stitches, turn the flap inside out, press. 26. Position the flap on the center of the back side of the wallet right side together, sew with 1/4" of seam allowance. 27. Mark 3/4" from the edge of the flap (center the position). Mark 1 1/4" down from the edge of the front side of the wallet (center the position). 28. Install the button closure. 29. Sew the wristlet strap watch the tutorial here. 30. Lay the wallet exterior and interior right side together, (the card pocket should be facing the flap side (or the back side). Secure them in place with some sewing clips, leaving about 4" of opening at the front side, sew with 3/8" of seam allowance. 31. Clip all the corners, be careful not to cut through the stitches. Turn the wallet inside out through the opening hole, press. 32. Fold the raw edges from the opening hole towards the inside (3/8"), secure with some sewing clips, then top stitch all around. 33. Give your wallet a final pressing, attach the wristlet strap, enjoy!
Melissa McCauley
5/8/2020 10:36:53 am
Wow! Thank you, I know what I'm doing this weekend 5/21/2020 05:17:19 pm
What are the measurements for the placement of the Metal Snap Closure for the flap Tab and the front side of the wallet. Also, what size snap should I use. Thank You
Yoan
5/23/2020 12:16:49 pm
I used 12.5mm snap. You may refer to the step 27-28 above for the placement, or watch the video tutorial for the demo on installing the snaps (and more detailed instructions).
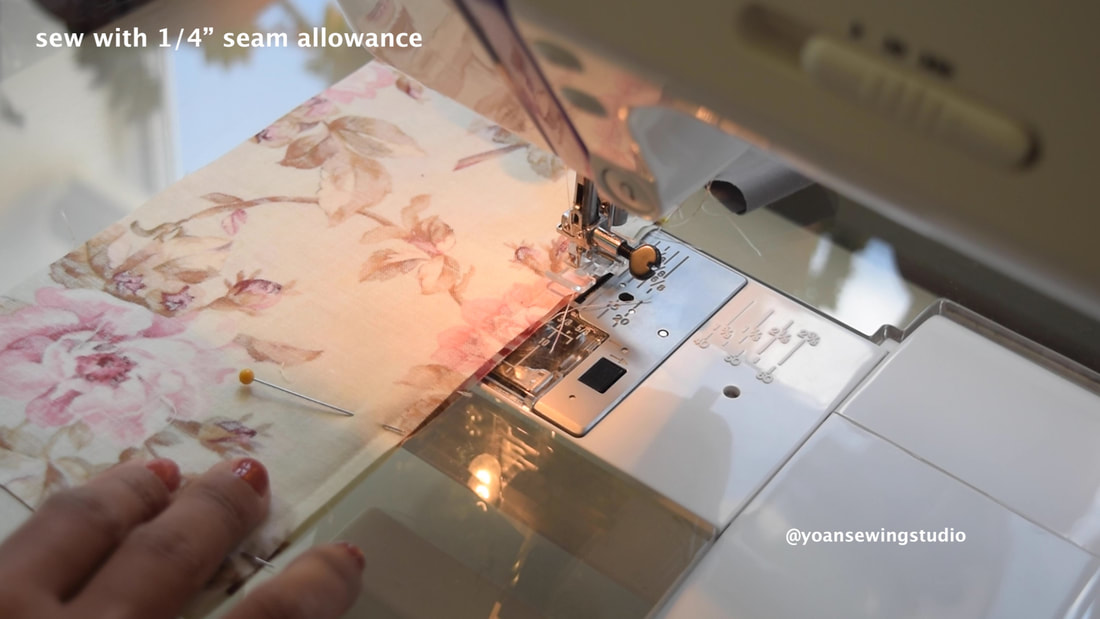
Teresa L Crites
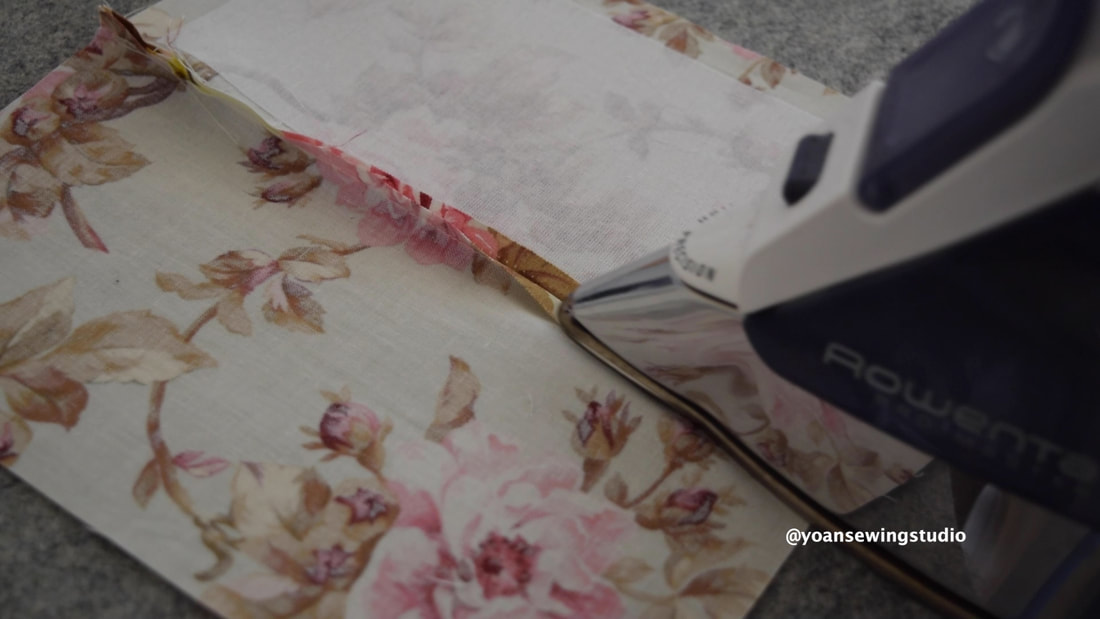
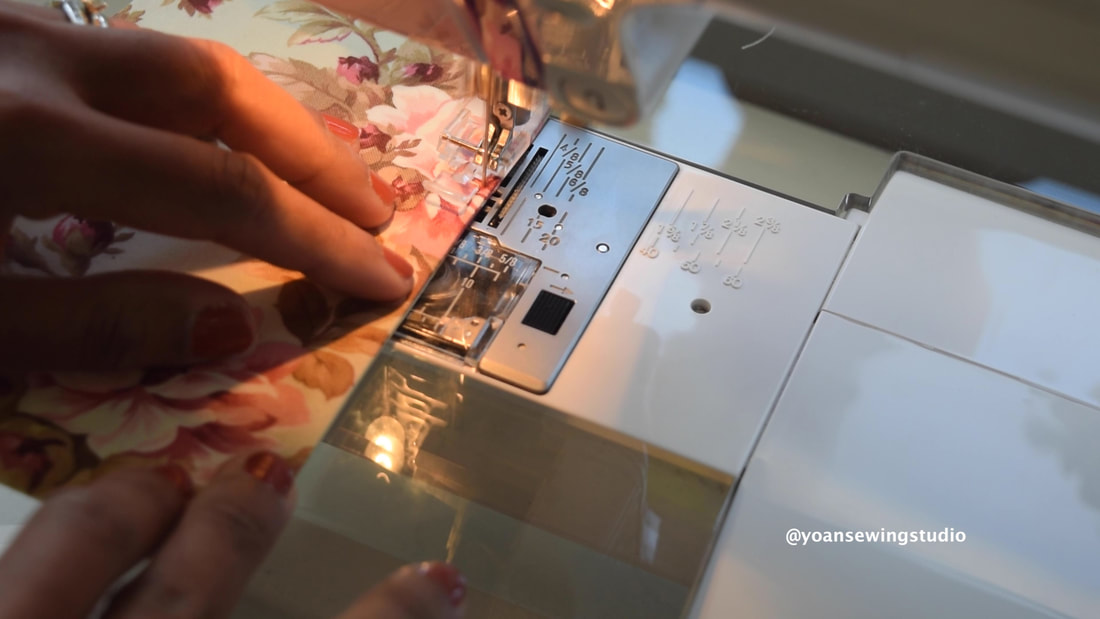
6/13/2020 10:07:25 am
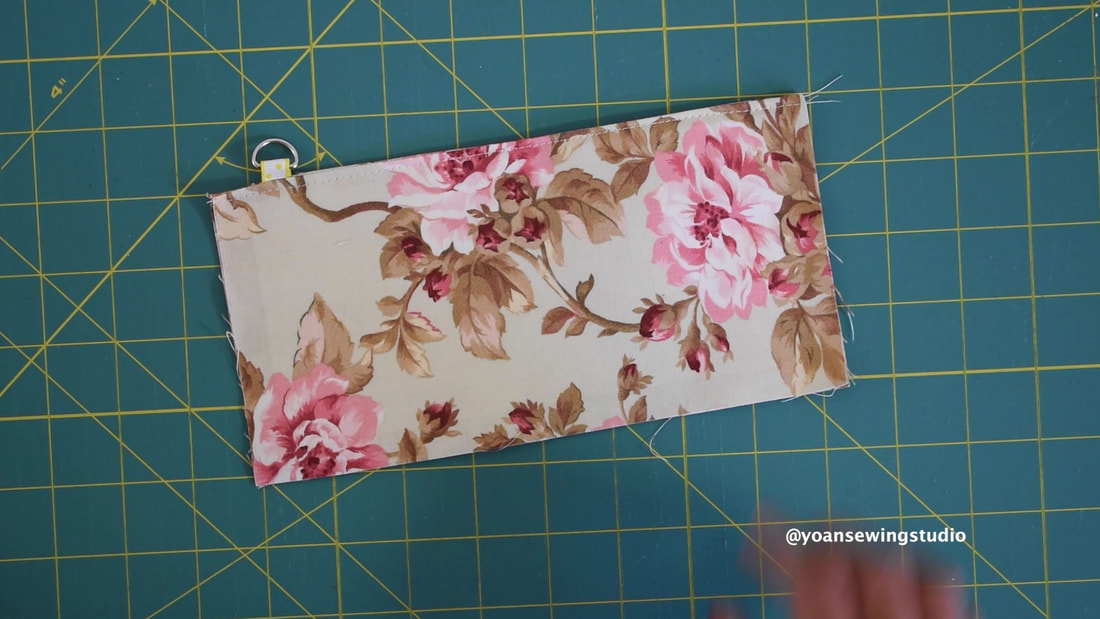
My card pocket did not measure 4 inches and .25, I used 15 inches like you said. It only measured 3 inches and .75. What do I do wrong?
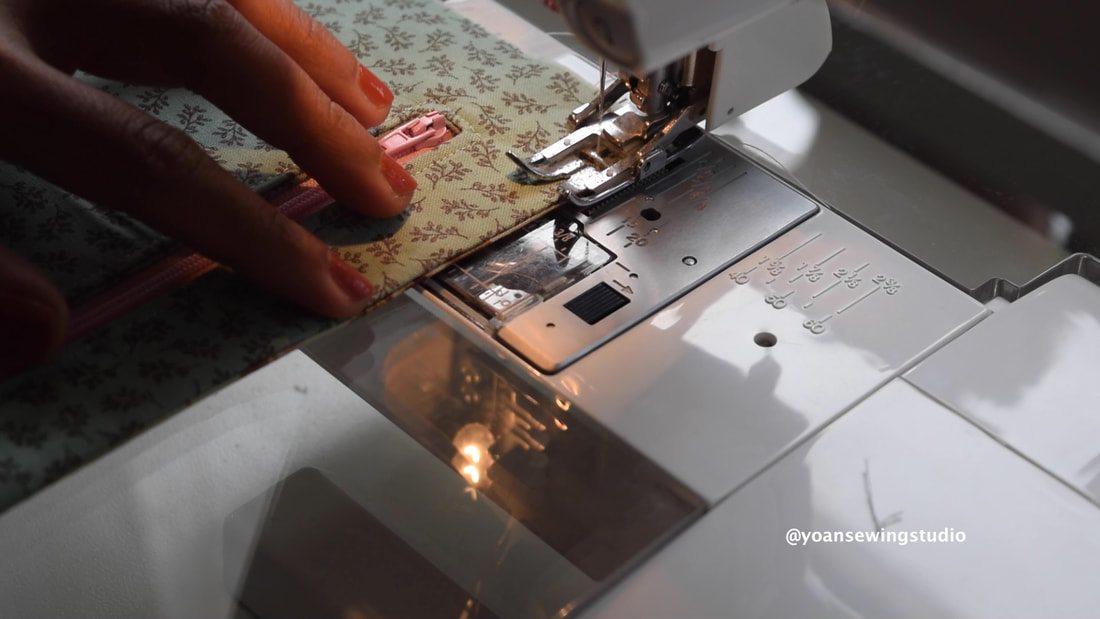
Yoan
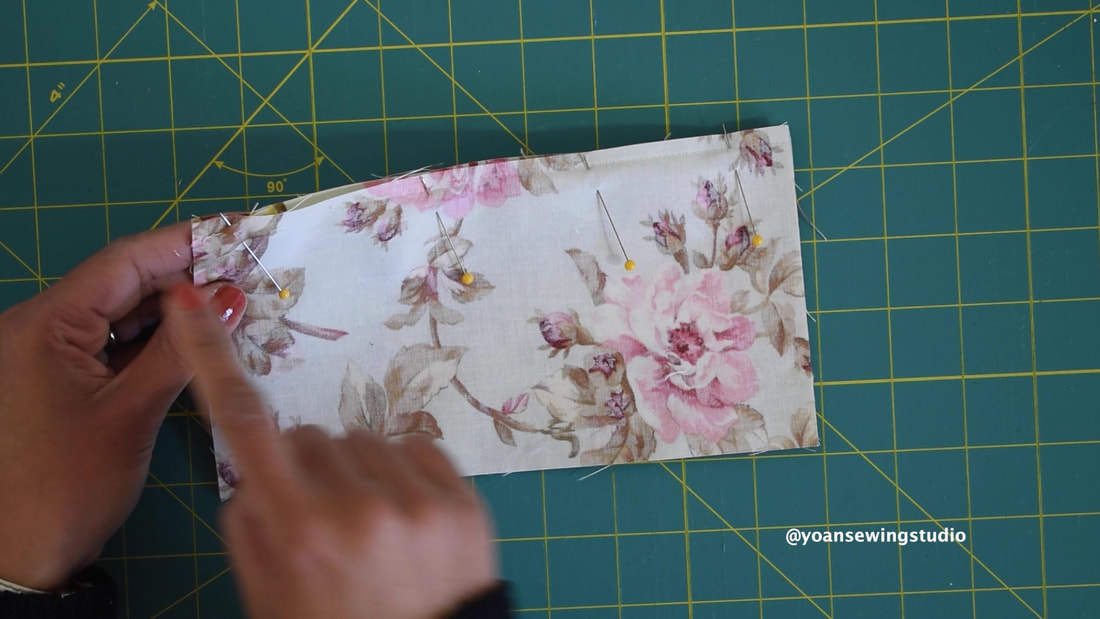
6/30/2020 12:04:28 pm
I couldn’t really figure out what might have gone wrong, maybe check the pleats again (even 1/8” off or more, could make a lot different), many people have made this wallet with no problem :). Thank you!
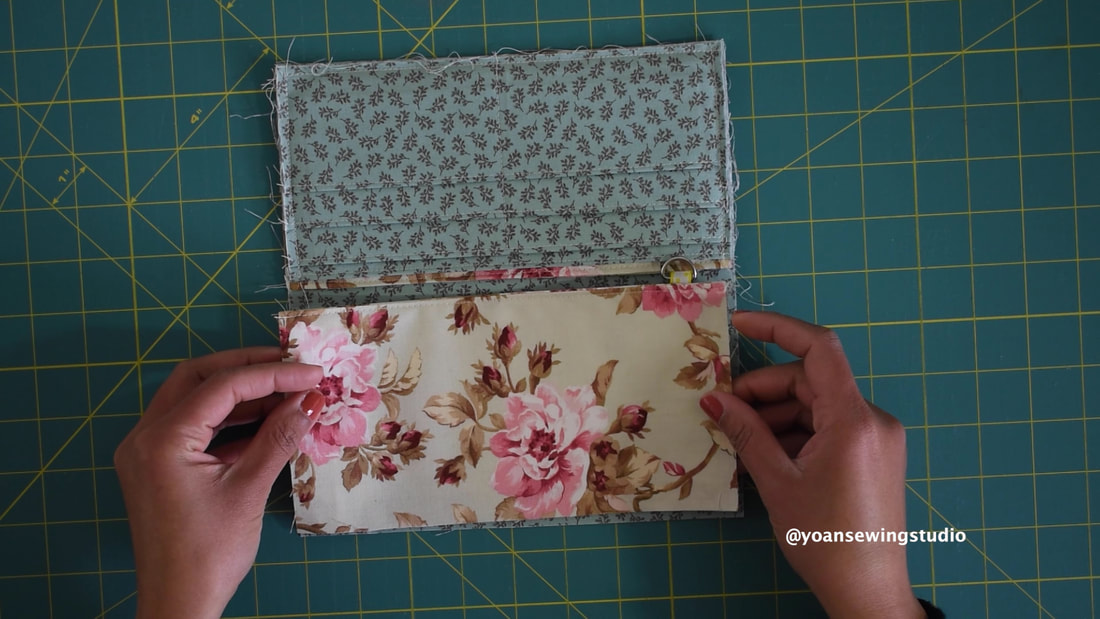
Kitty Khan
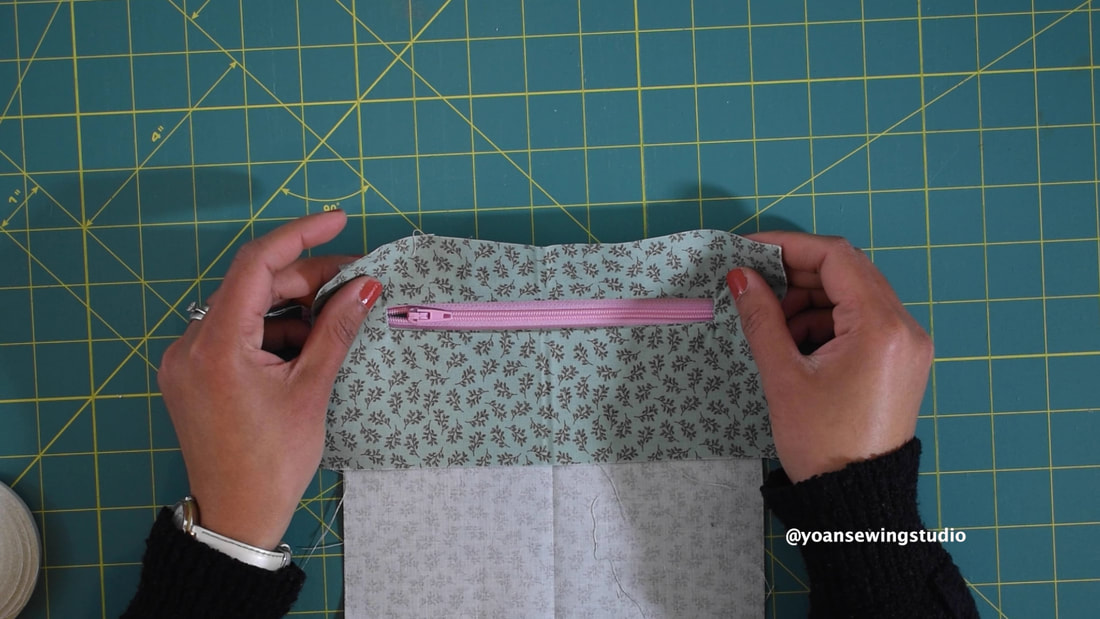
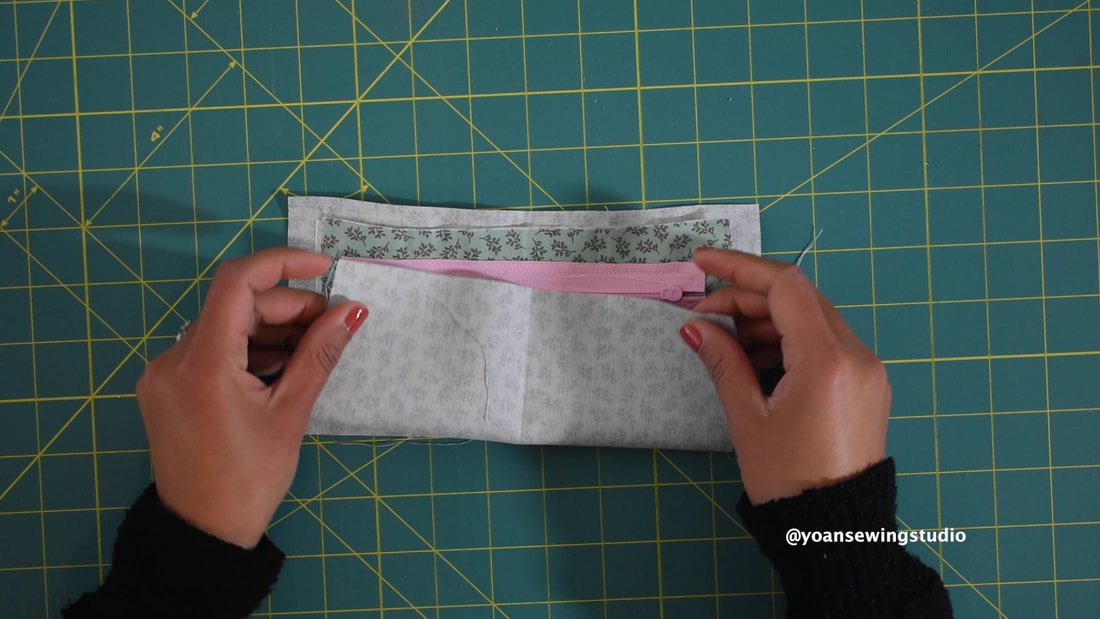
7/7/2020 07:59:51 am
You may have folded the pleats starting from the wrong end. I did that, and the measurements were off
Barbara Draper
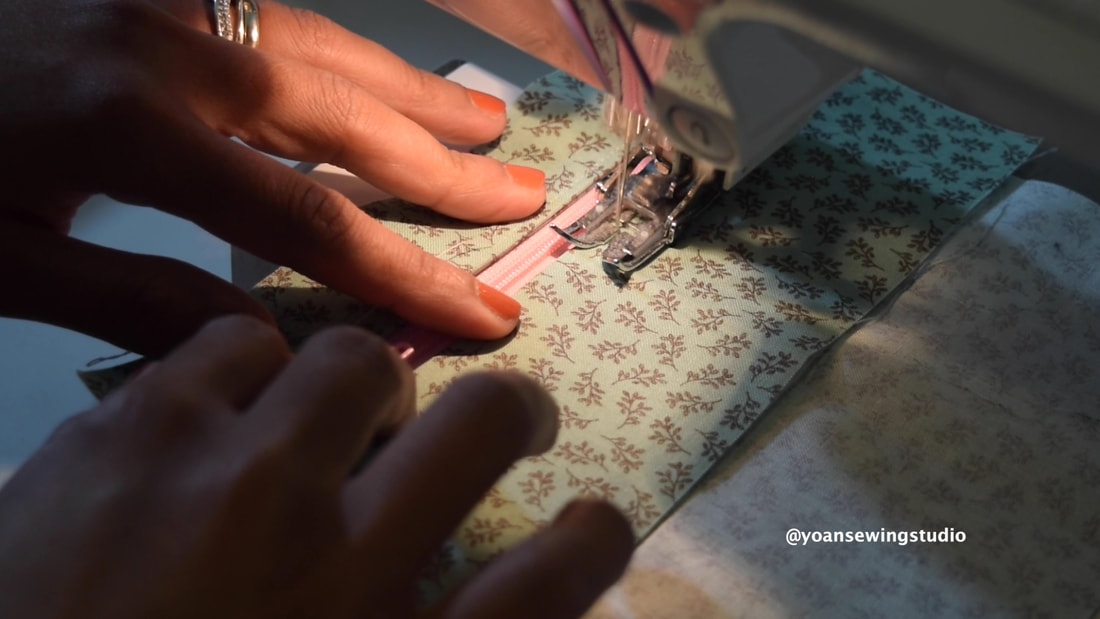
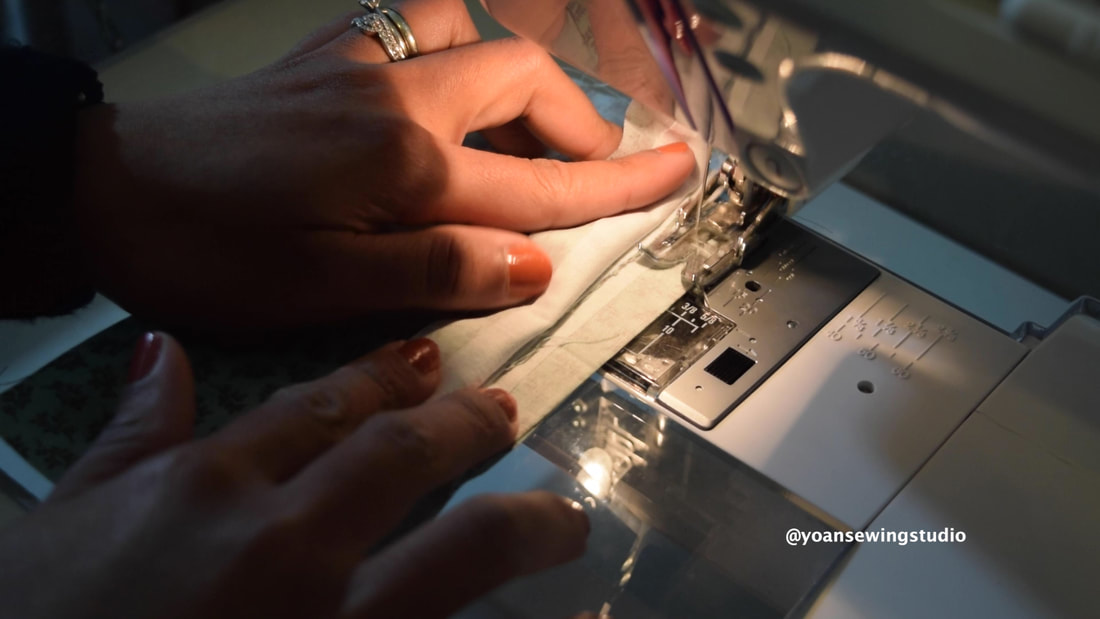
7/26/2020 02:50:36 pm
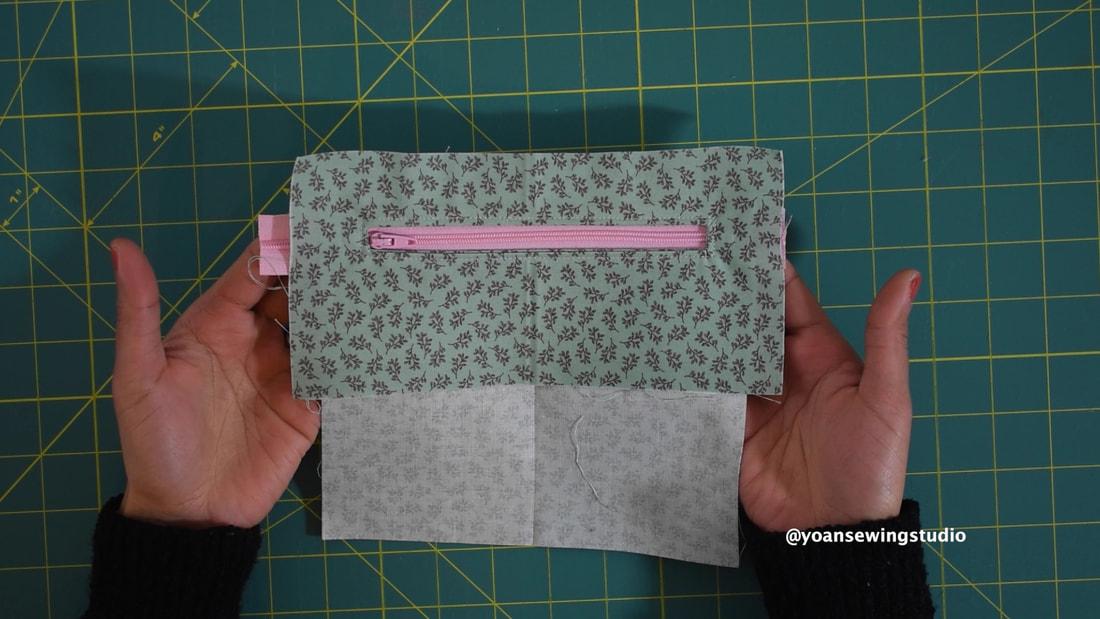
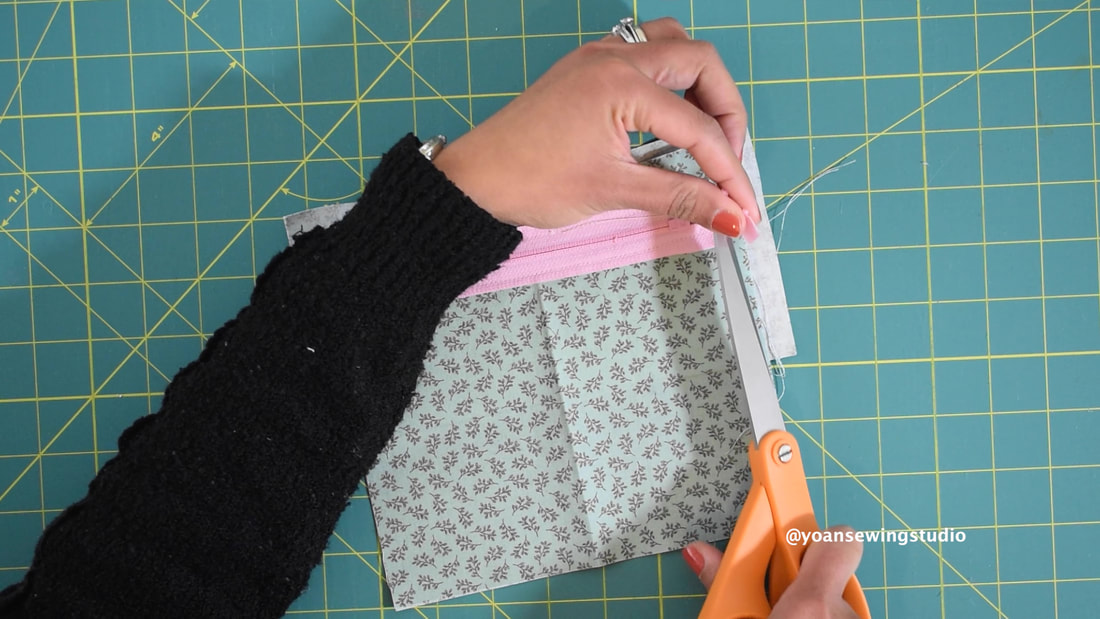
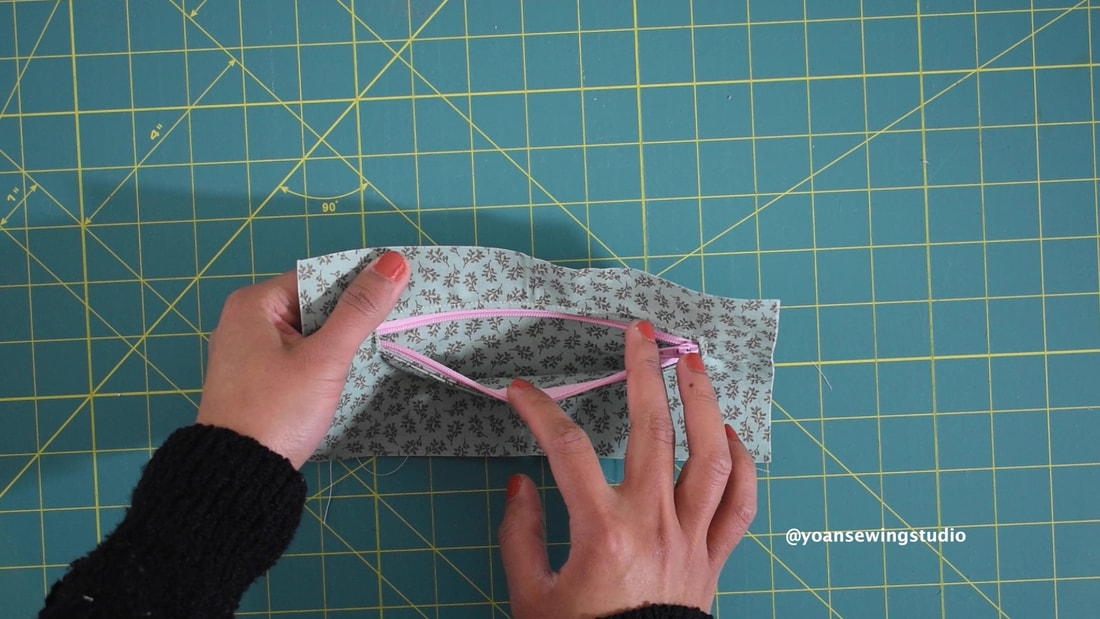
I'm making your cellphone pouch, but can't find the directions for the wristlet strap- you said they are in comments sections - I've looked through your other videos, but still can't find how to make the wristlet strap. Can you please tell me where to find these instructions. So far the pouch is turning out really well - love your videos. Thanks so much.
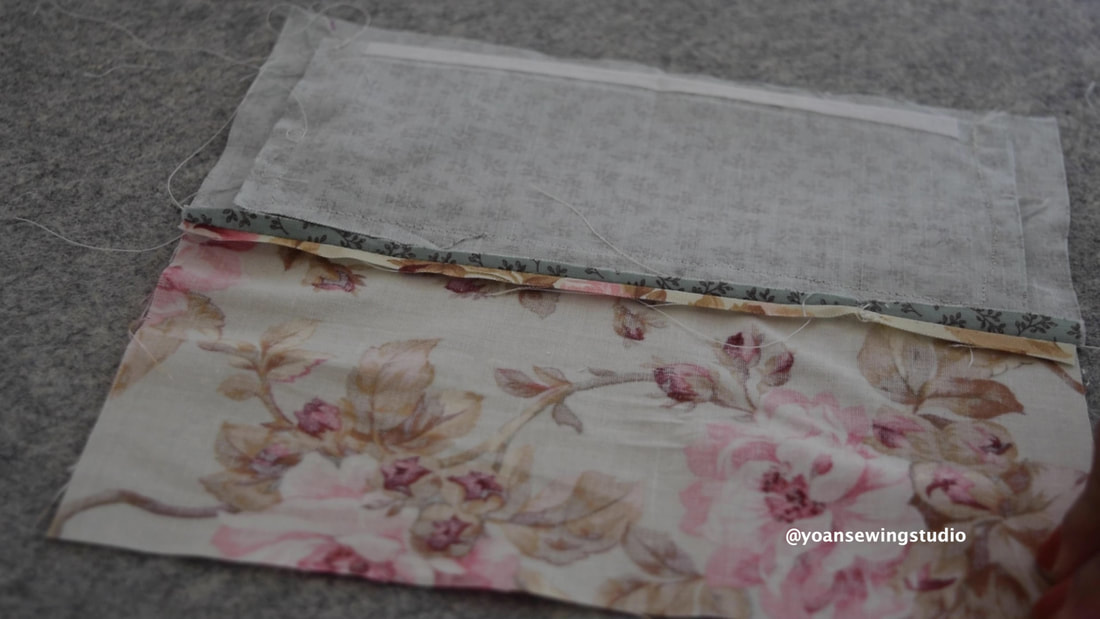
Yoan
7/26/2020 04:28:15 pm
It's in the comment section on the Youtube itself. The video was embedded from there. Here's the link to the wristlet strap https://youtu.be/bPN57n3eEE4?t=1088
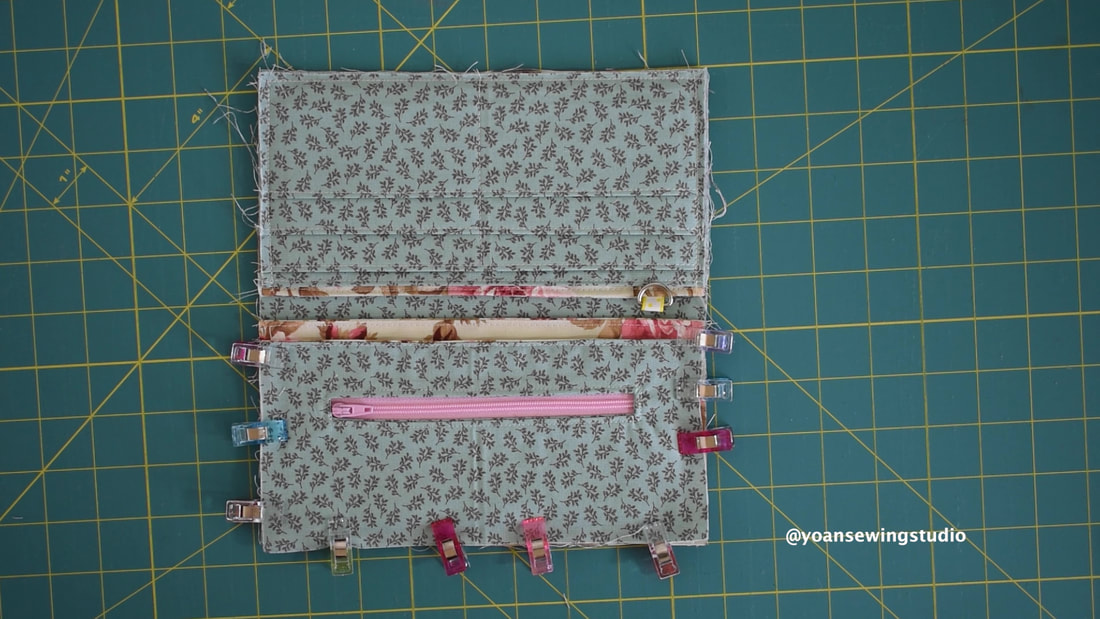
Ching
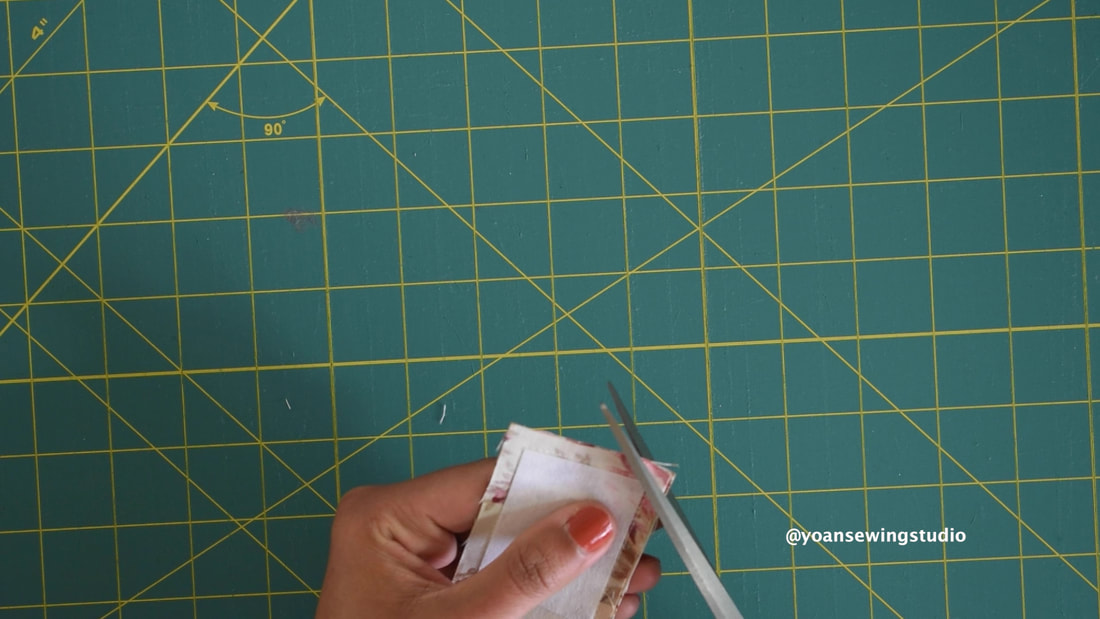
10/16/2020 11:31:10 am
Thank you so much ! I am excited to make this wallet. 😊 Comments are closed.
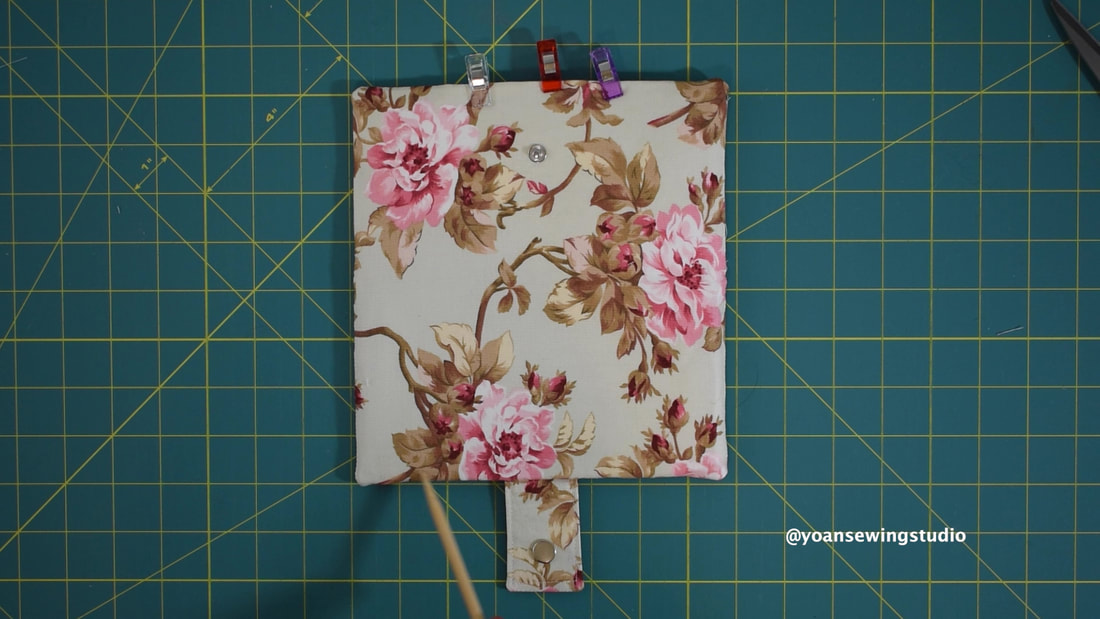
|
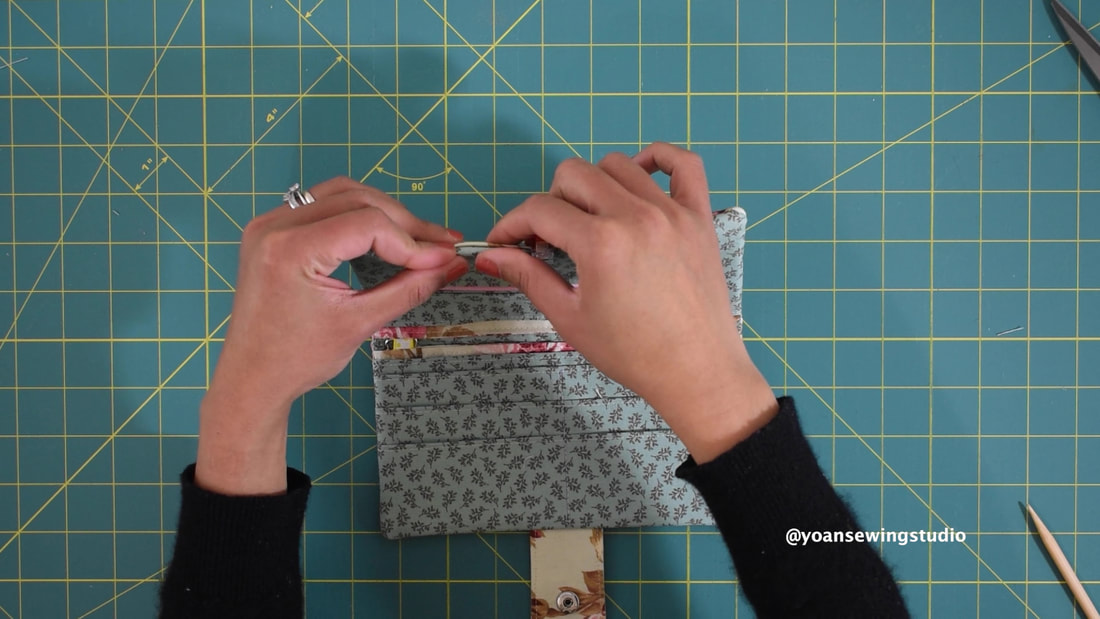
Categories
All
©
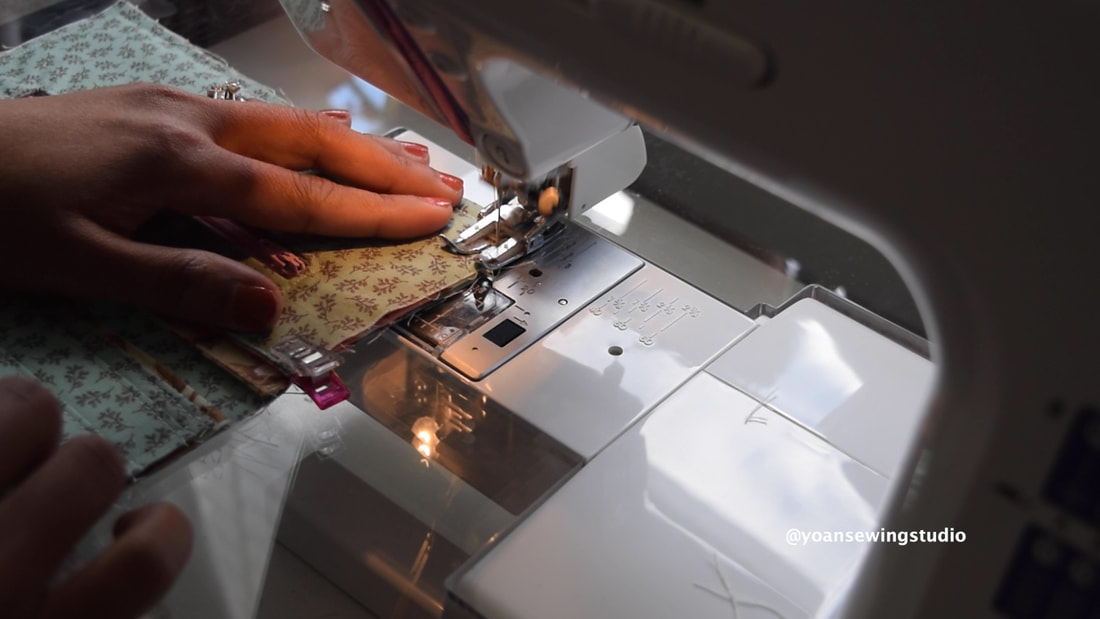
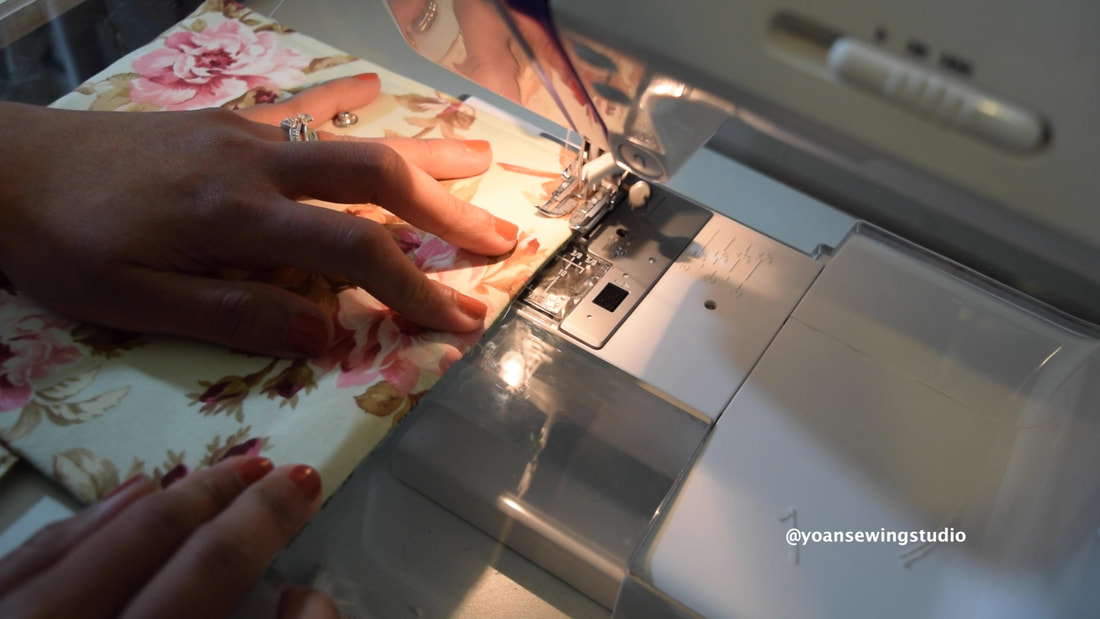
Yoan Sewing Studio | All Rights Reserved
|


 RSS Feed