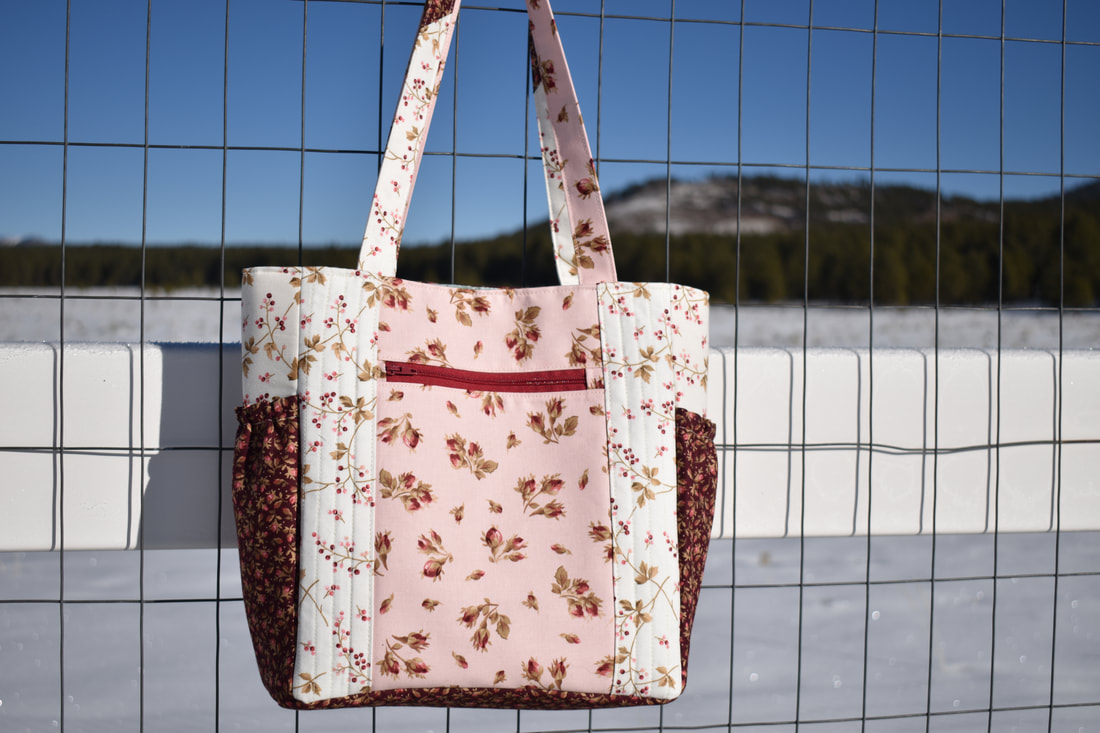
Finished measurements approx. 12.5" wide x 10" tall x 4" deep
Supplies and Tools 3 Fat Quarters (or 1/3 yard of each fabric if using yardage) 2 yards cotton fabric for the lining 2 yards fusible woven interfacing (20" wide) Fusible fleece (thermolam) 22" x 21" Soft n Stable (sew in foam stabilizer) 34" x 4" 2 x size 3 zipper at least 11" long 10" long elastic (1/4" wide) 1 set of magnetic snap Basic sewing notions Disclaimer : This post contains Amazon affiliate links, thank you for your support!
Cutting Instruction
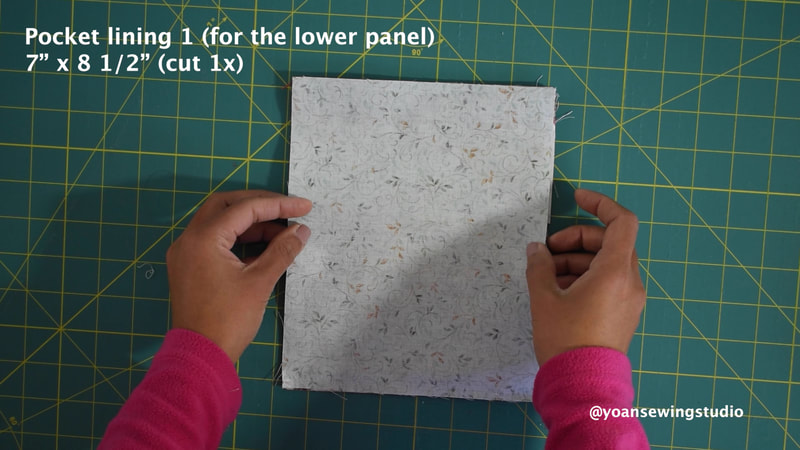
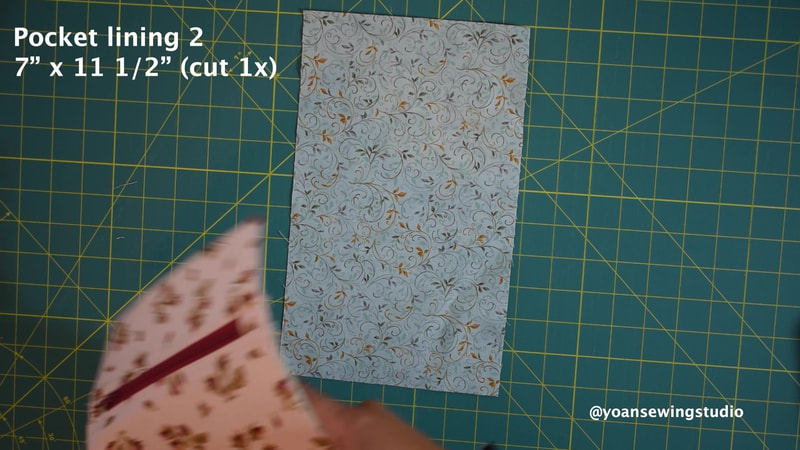
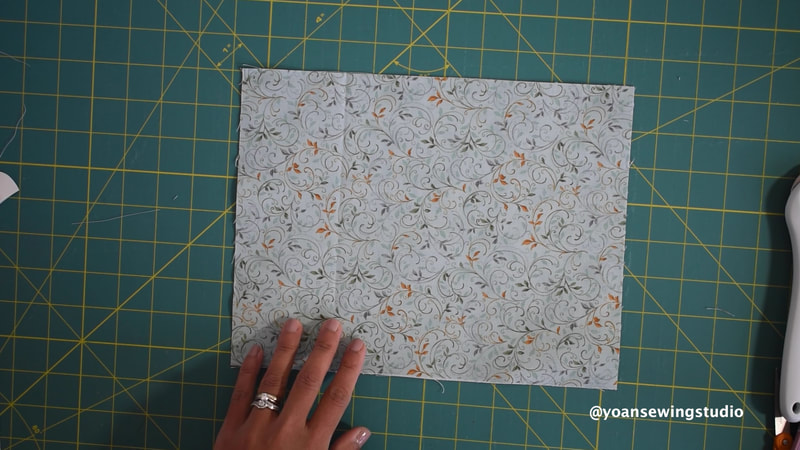
FRONT EXTERIOR ZIPPER POCKET From Fabric 1 7" x 3" (upper panel) cut 1x 7" x 8 1/2" (lower panel) cut 1x From the fusible woven interfacing: 7" x 3" (upper panel) cut 1x 7" x 8 1/2"" (lower panel) cut 1x From Lining Fabric: 7" x 8 1/2" (lining 1 for lower panel) cut 1x 7" x 11 1/2" (lining 2 for the whole zipper panel) cut 1x ***For the zipper tabs 3" x 1" (cut 2x) from fabric 1 FRONT EXTERIOR SIDE PANELS From Fabric 2: 3" x 11 1/2" (cut 2x) From fusible woven interfacing: 3" x 11 1/2" (cut 2x) BACK EXTERIOR SLIP POCKET From Fabric 1: 11" x 8 1/2" (cut 1x) From fusible woven interfacing: 11" x 8 1/2" (cut 1x) From lining fabric 11" x 8 1/2" (cut 1x) BACK EXTERIOR PANEL From fabric 3: 11" x 4" (upper) cut 1x From lining fabric: 11" x 8" (lower) cut 1x From Fusible woven interfacing: 11" x 11 1/2" (cut 1x) ***Fusible Fleece for the front and back exterior 11" x 10 1/2" (cut 2x) SIDE GUSSET From Fabric 2: 5" x 11 1/2" (cut 2x) From Fusible woven interfacing: 5" x 11 1/2" (cut 2x) From Soft n stable 4" x 10 1/2" (cut 2x) BOTTOM GUSSET From Fabric 3: 5" x 11" (cut 1x) From fusible woven interfacing: 5" x 11" (cut 1x) From Soft n Stable: 4" x 10" (cut 1x) EXTERIOR SIDE POCKETS From Fabric 3: 7" x 8" (cut 2x) From lining fabric: 7" x 8" (cut 2x) Cut 2x elastic 5" long POCKET DIVIDER From lining fabric: 11" x 8 1/2" (cut 4x) From fusible woven interfacing: 10" x 7 1/2" (cut 4x) ***For zipper tabs 3" x 1" (cut 2x) from the lining fabric INTERIOR SIDE GUSSET From lining fabric: 3" x 11 1/2" (cut 4x) INTERIOR BOTTOM GUSSET From lining fabric 3" x 11" (cut 2x) INTERIOR FRONT & BACK PANELS From lining fabric: 11" x 11 1/5" (cut 2x) INTERIOR SLIP POCKETS From lining fabric 11" x 7" (cut 4x) STRAPS Cut by joining left over fat quarters or use a solid fabric 26" x 4" (2x) Fusible woven interfacing 26" x 2" (2x) *If you are a metric user you may refer to the below metric conversion guide
I posted the full video tutorial on my Youtube channel, however you my scroll down for the written instruction.
Directions
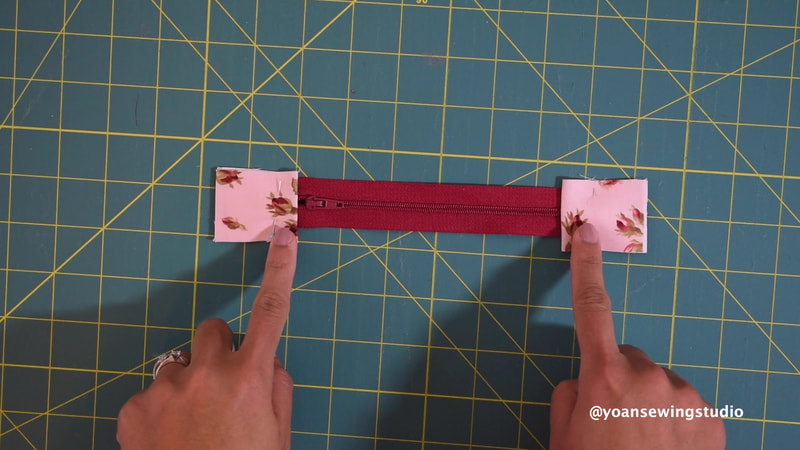
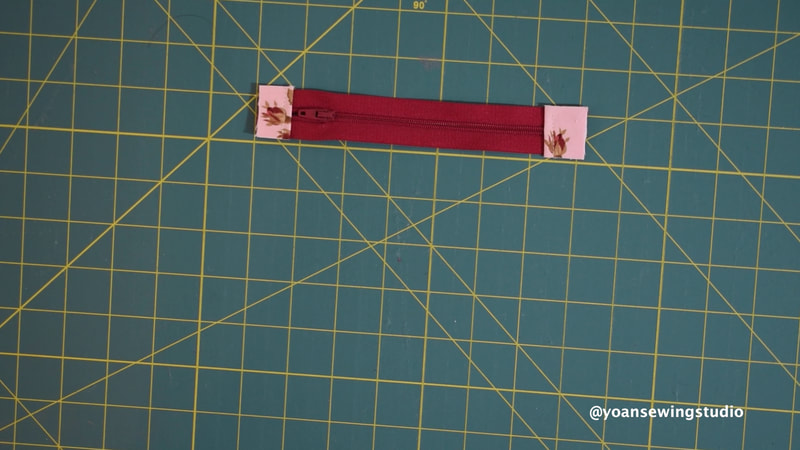
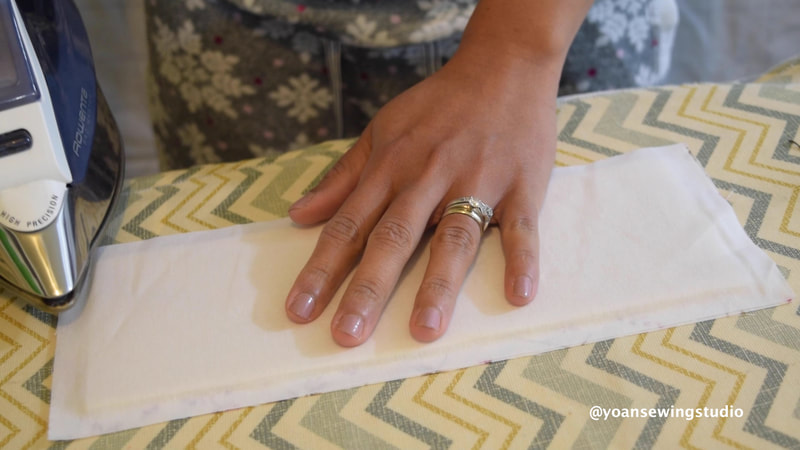
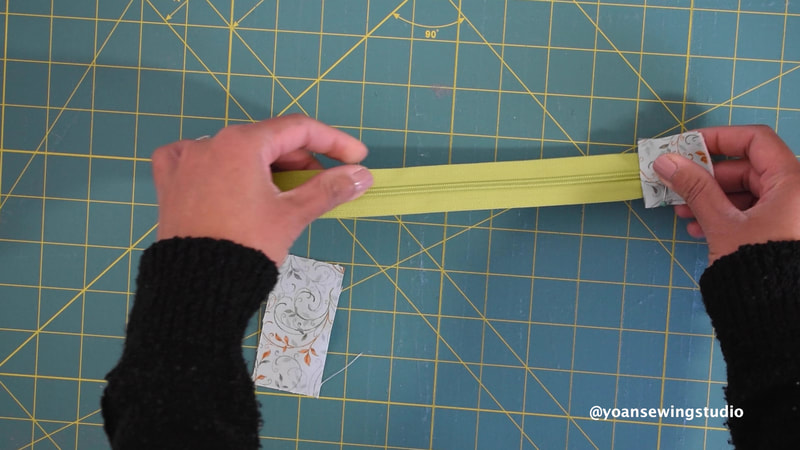
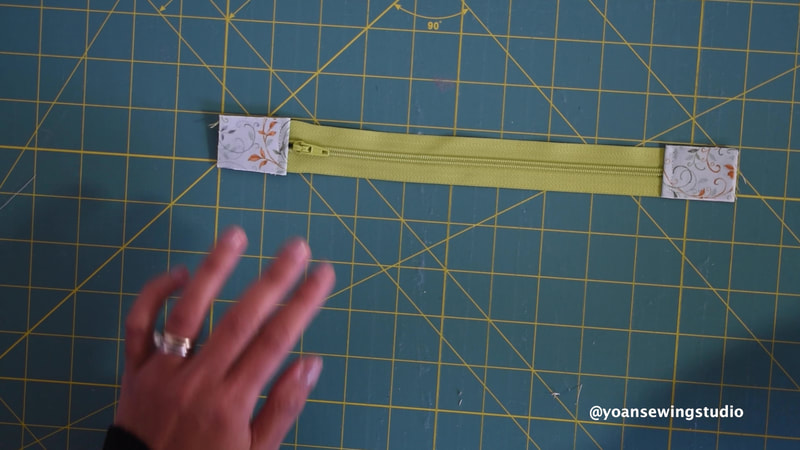
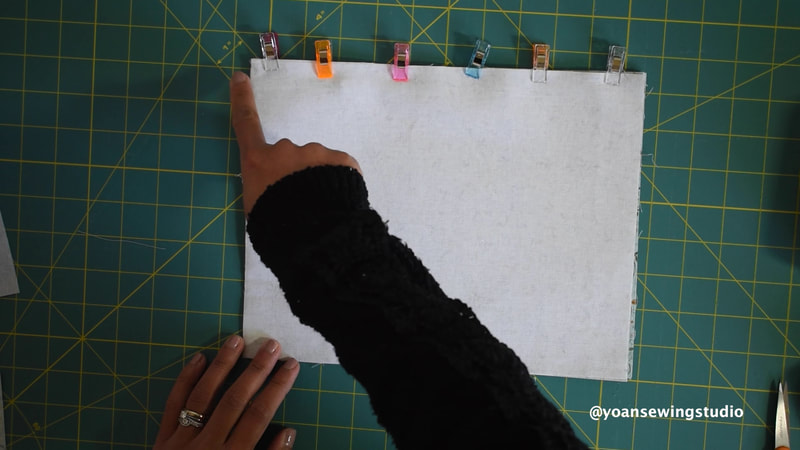
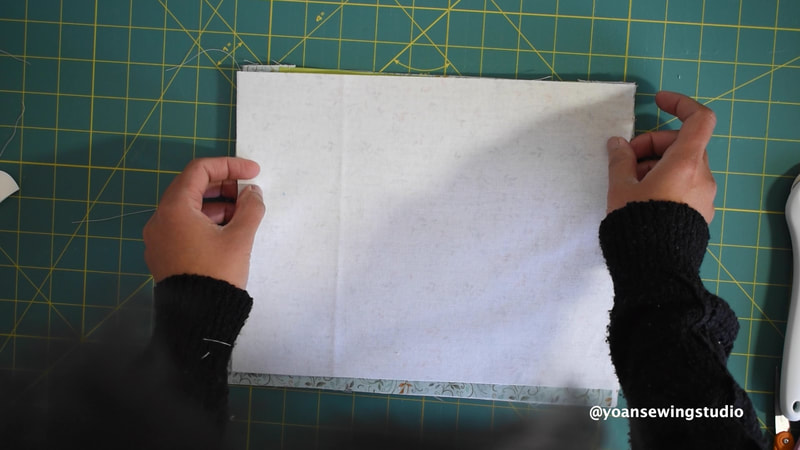
1. Apply the fusible woven interfacing to the following : 1. Front Zipper Tabs 2. Upper and lower front zipper panels 3. Front Side panels 4. Back slip pocket panel 5. Divider pocket pieces including the zipper tabs 2. Sew the zipper tabs to the front zipper, trim excess fabric
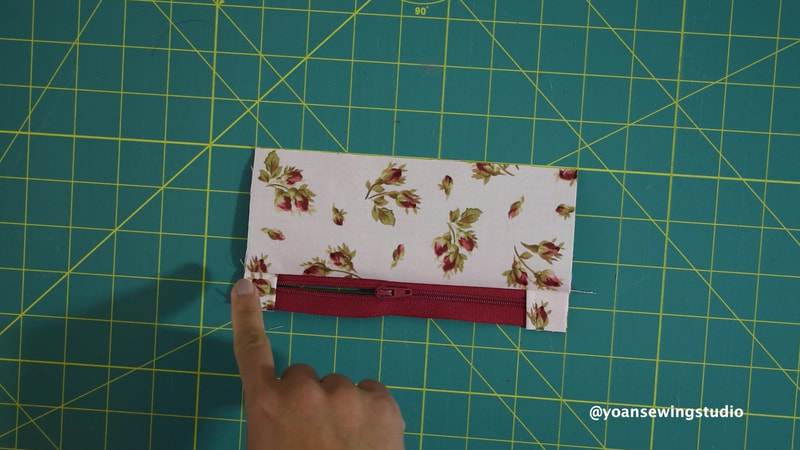
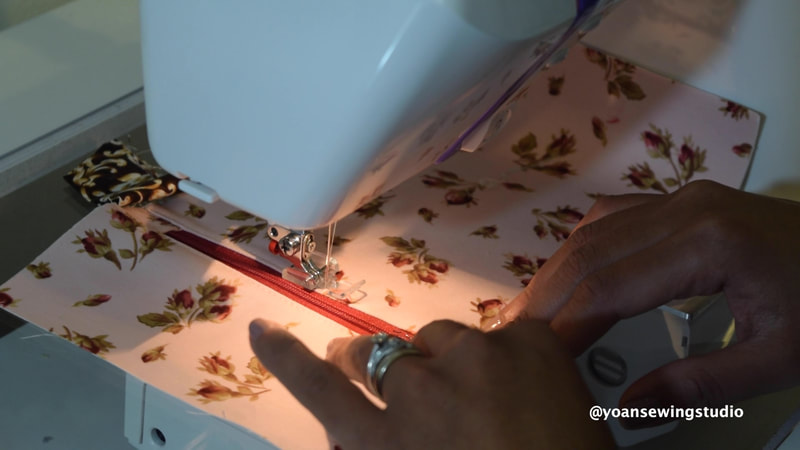
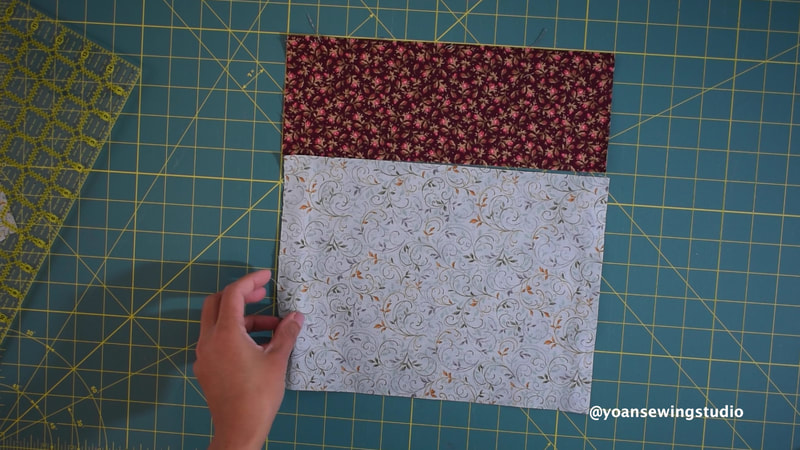
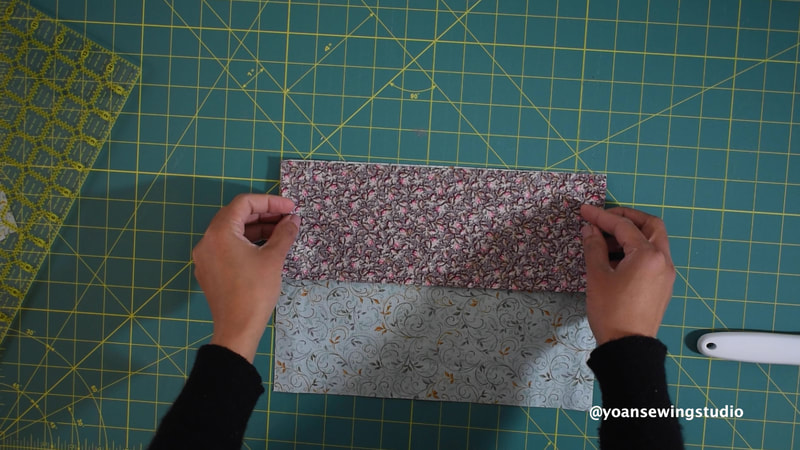
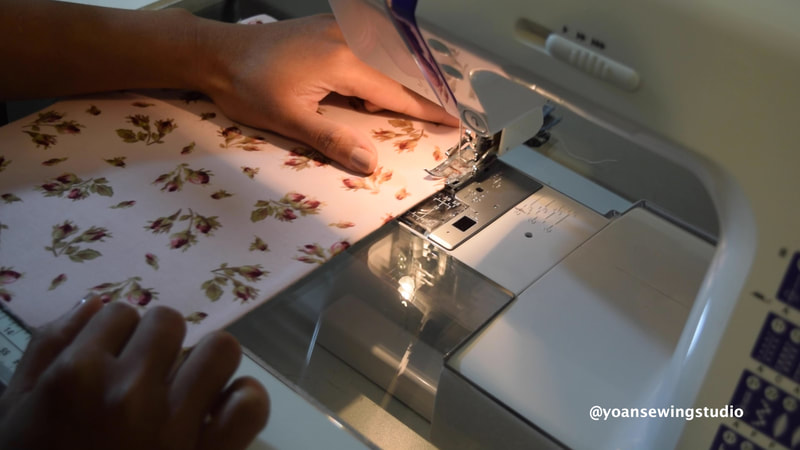
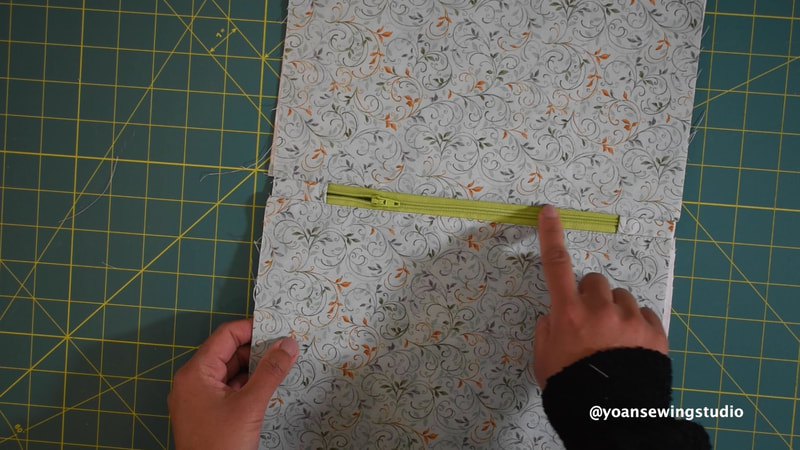
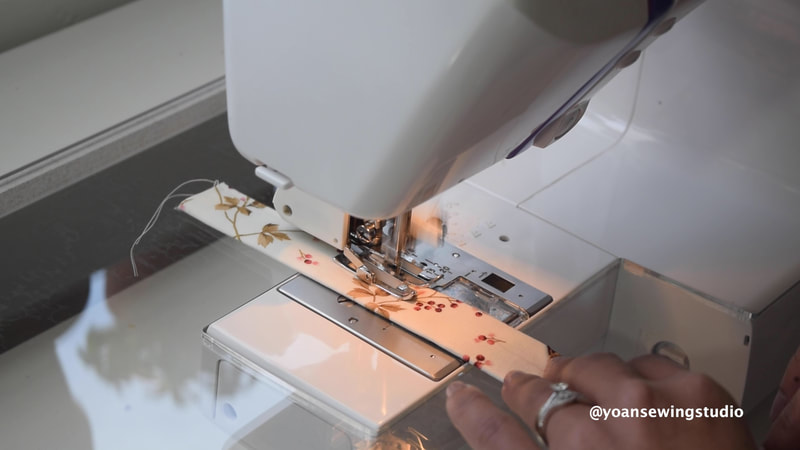
3. Sew the upper front zipper panel to the zipper with 1/4" seam allowance, press, then topstitch
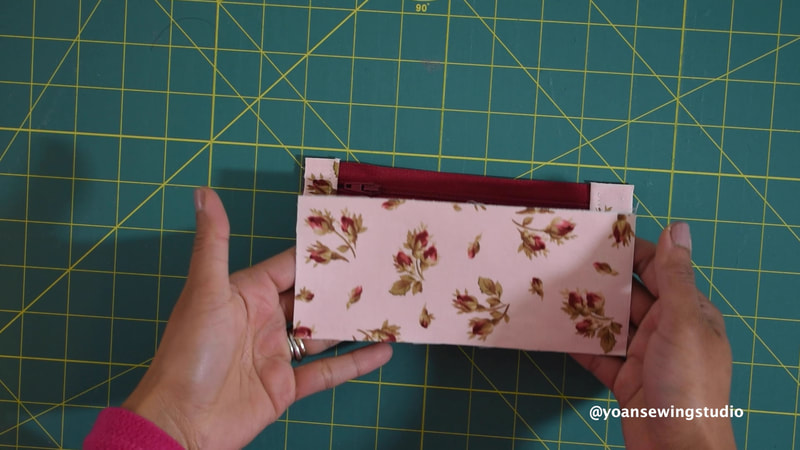
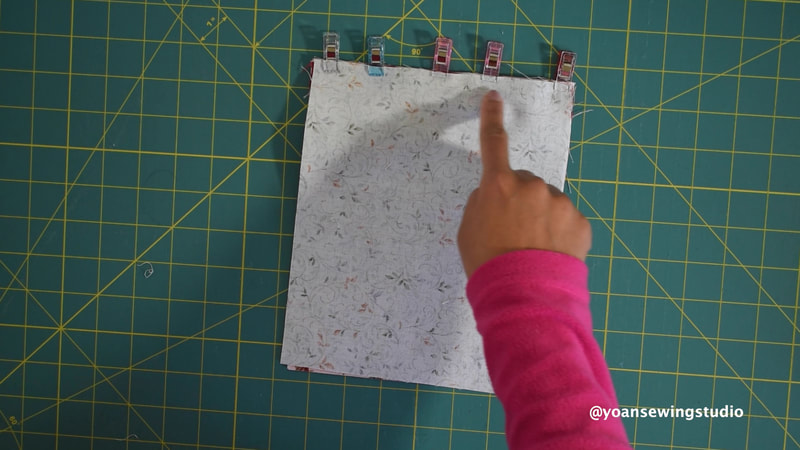
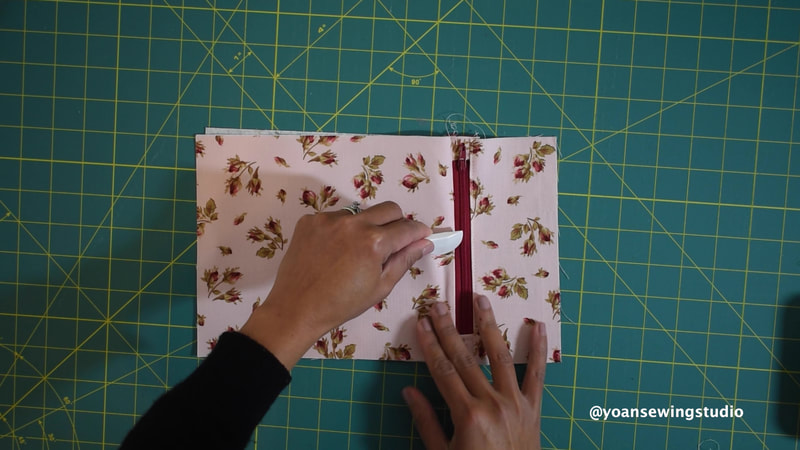
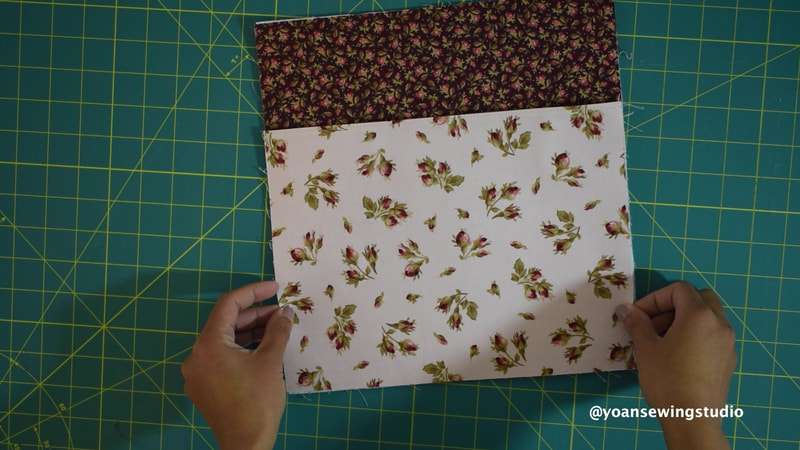
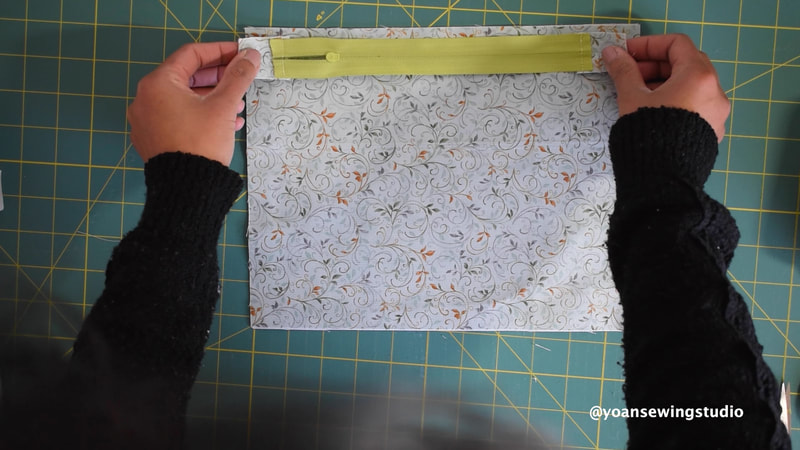
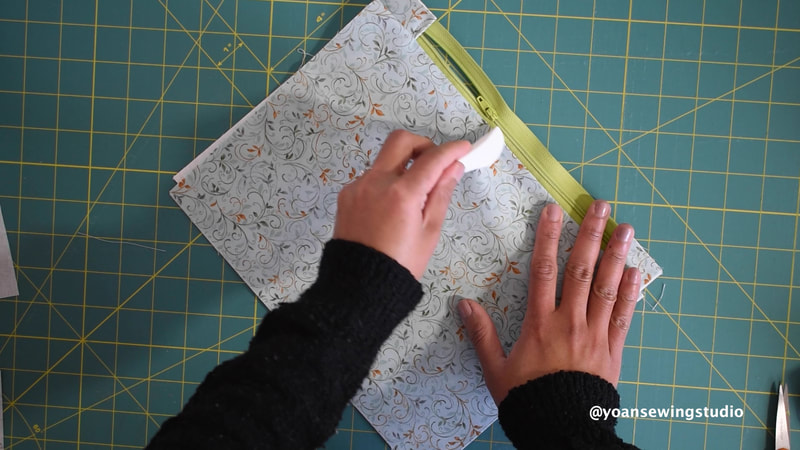
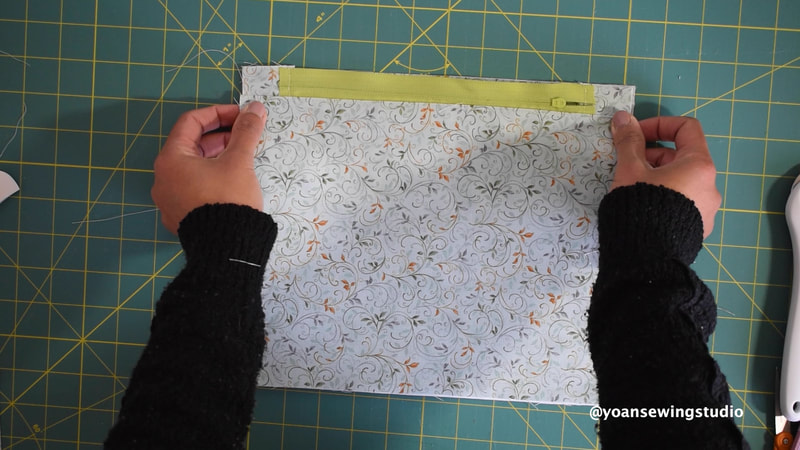
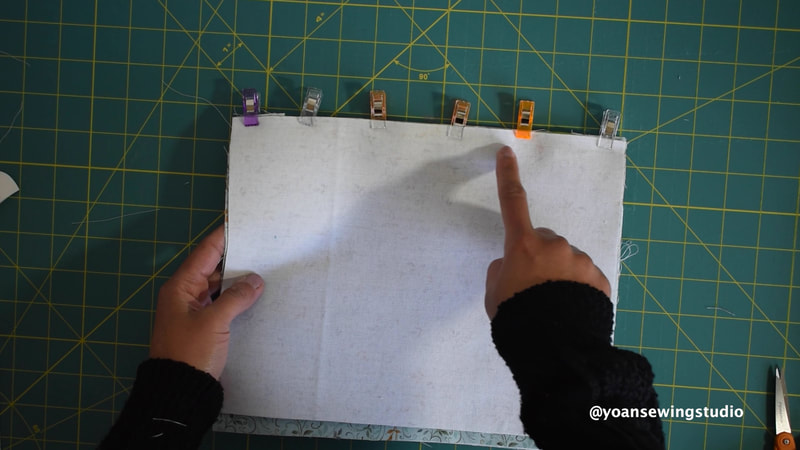
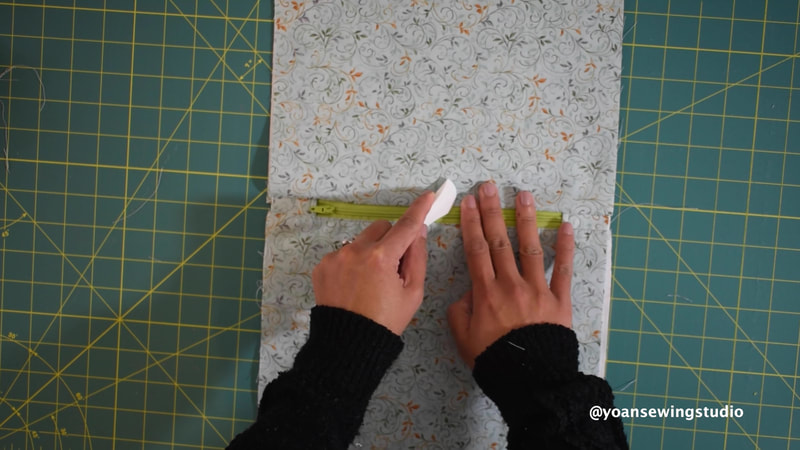
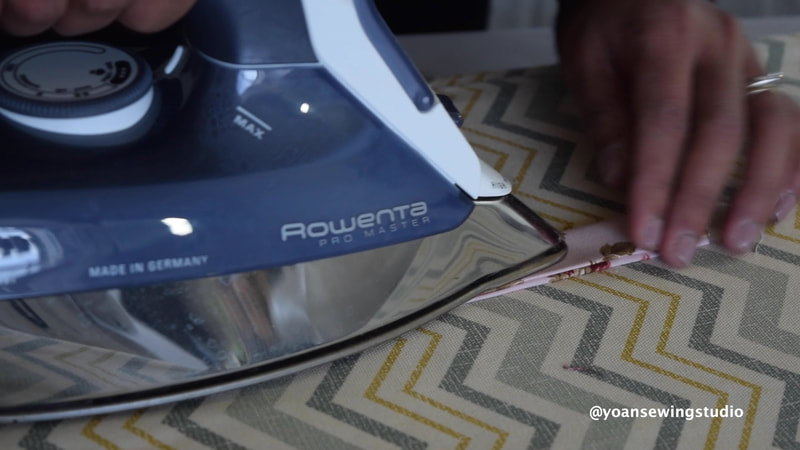
4. Sandwich the lower front zipper panel, with the zipper, and the lining, sew with 1/4" of seam allowance, press, then topstitch
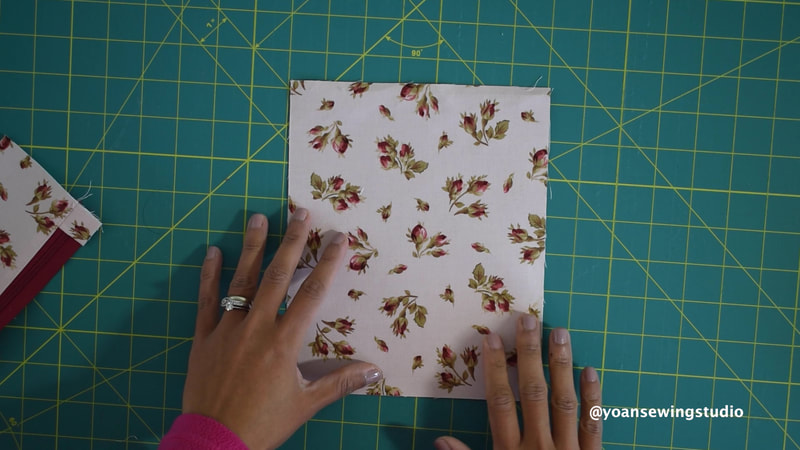
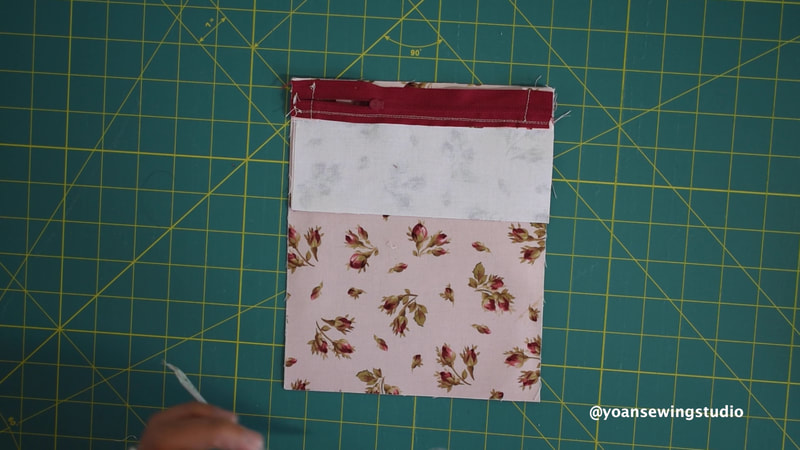
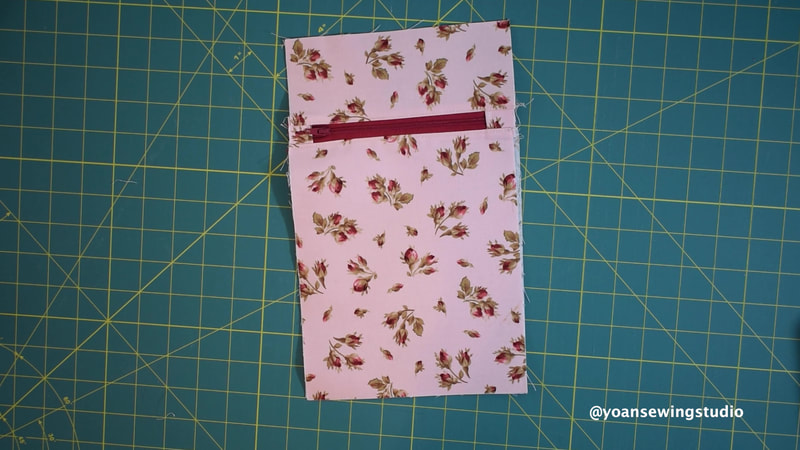
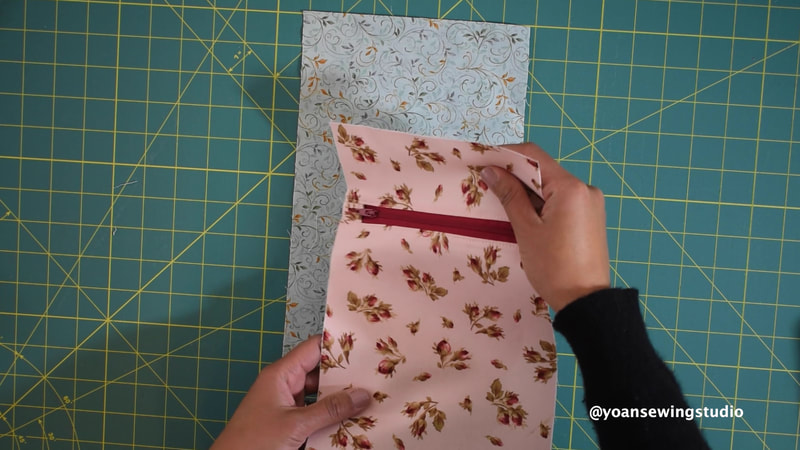
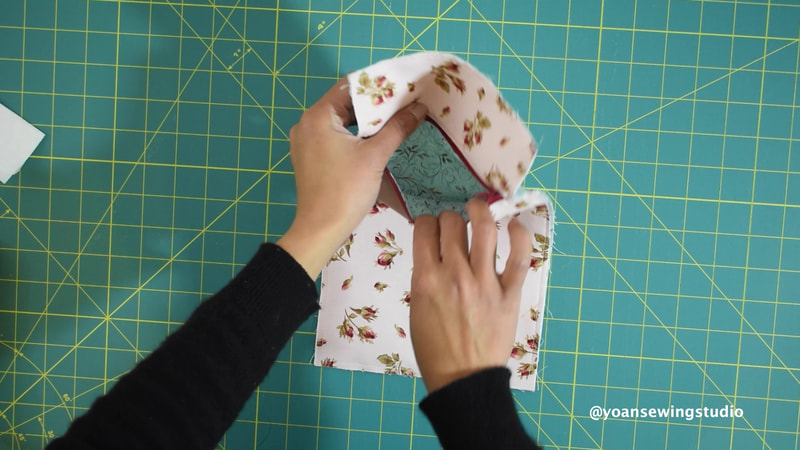
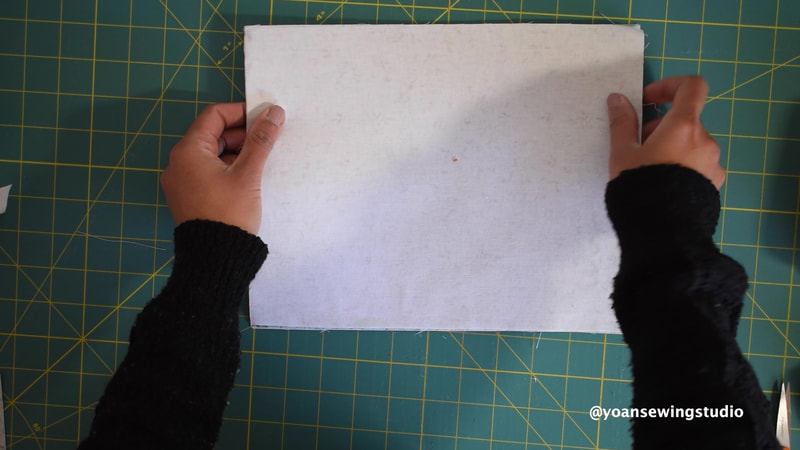
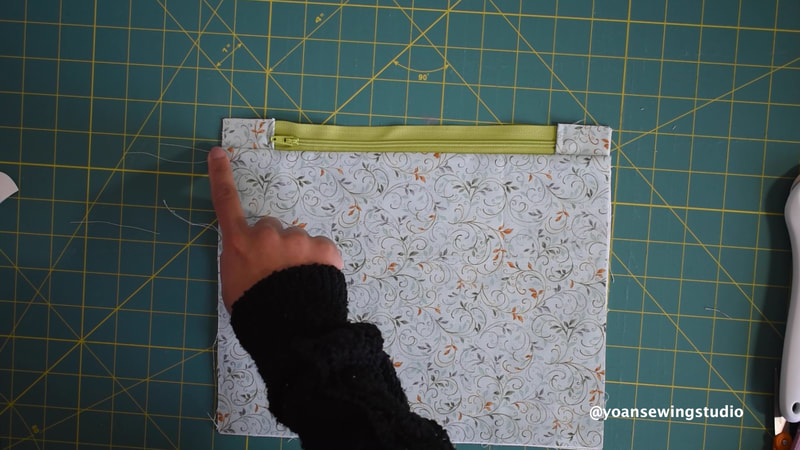
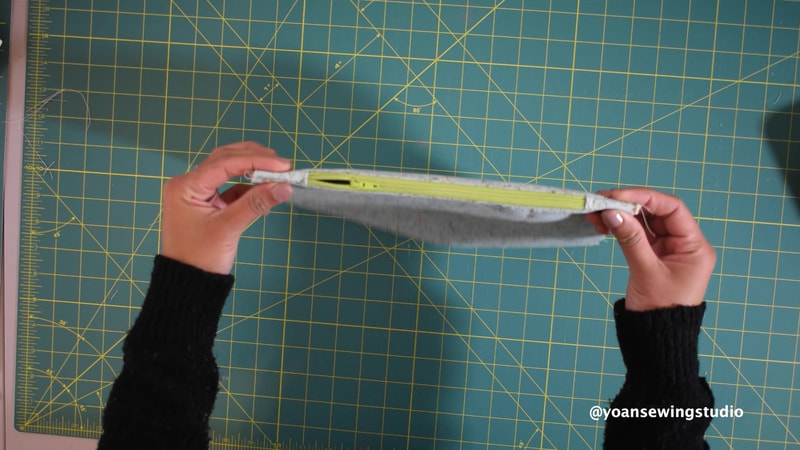
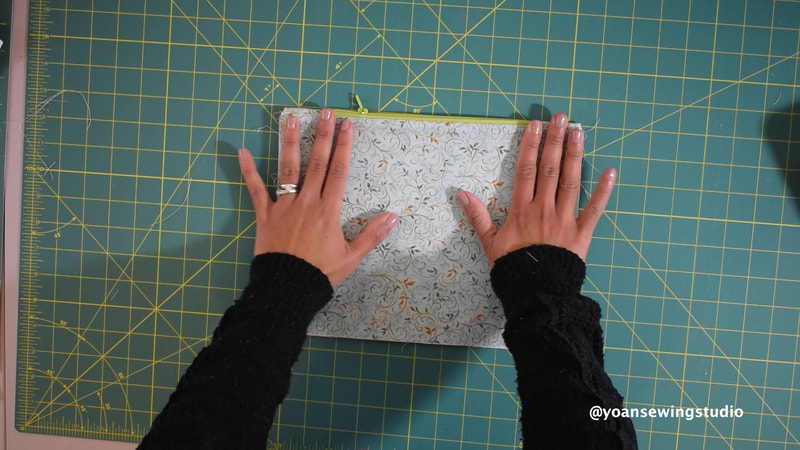
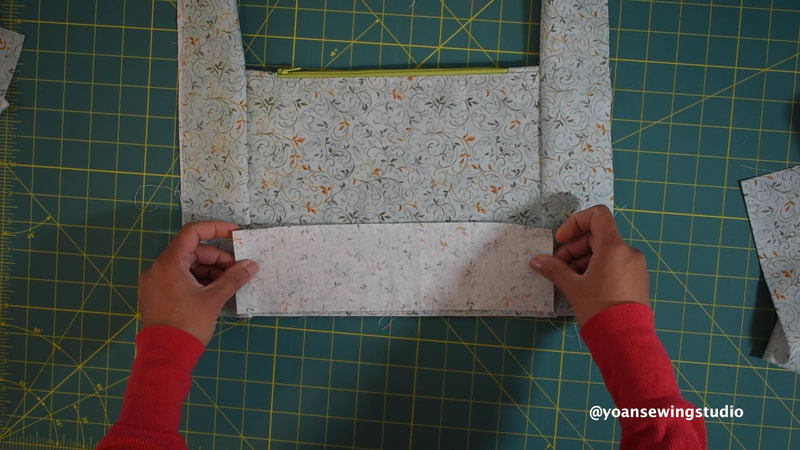
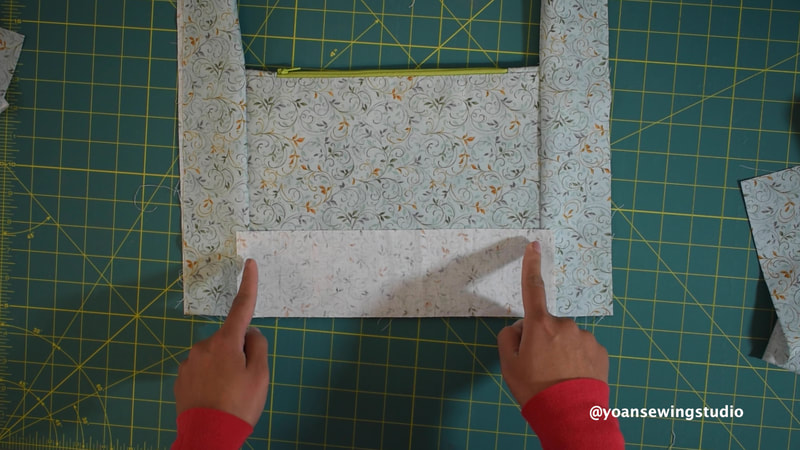
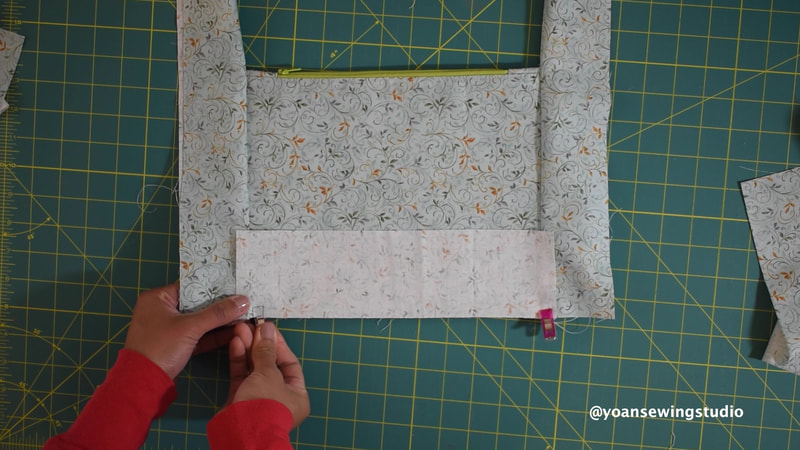
5. Sew the second lining piece to the zipper pocket piece all around with 1/4" of seam allowance
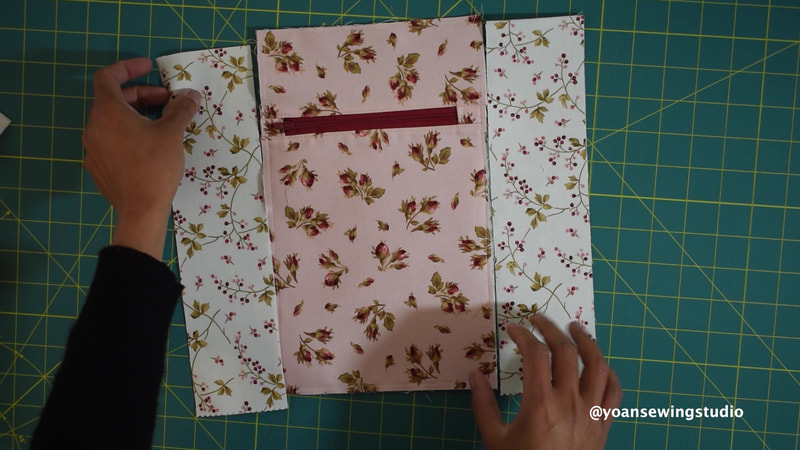
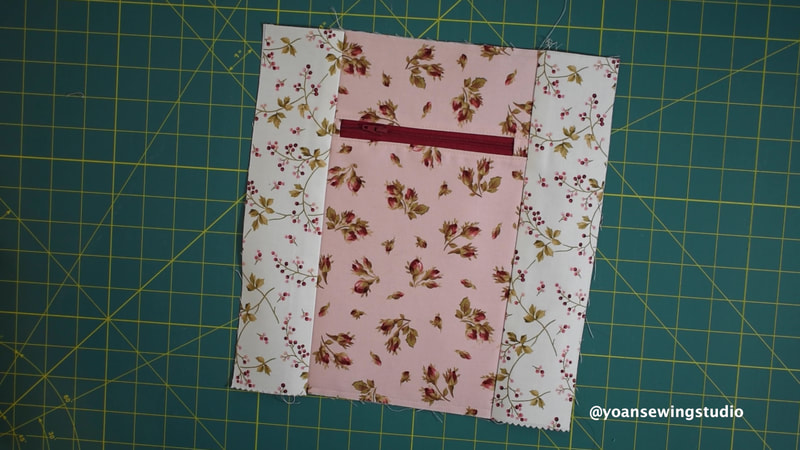
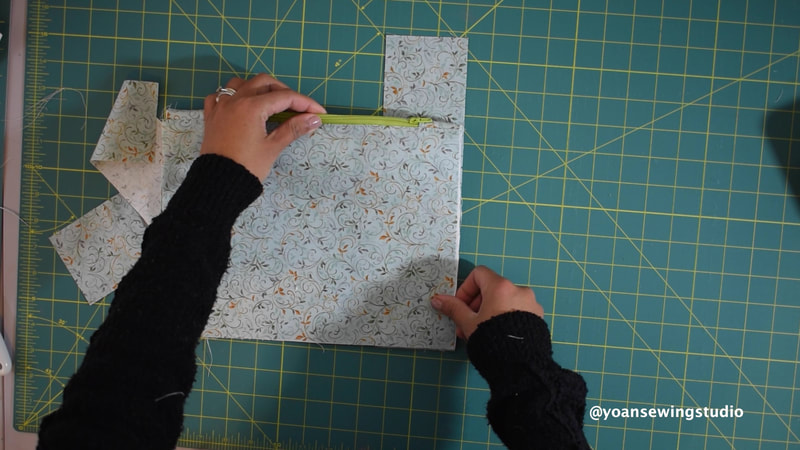
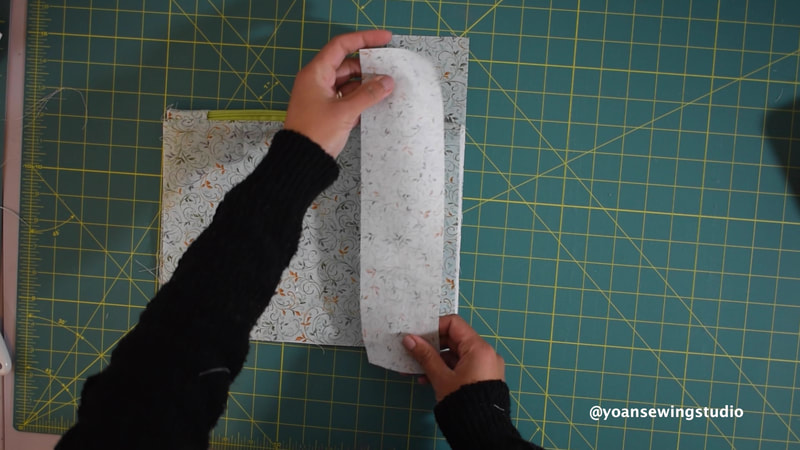
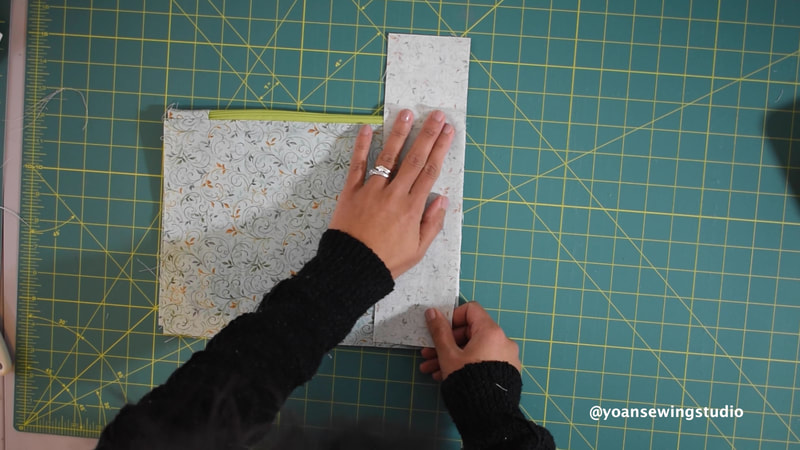
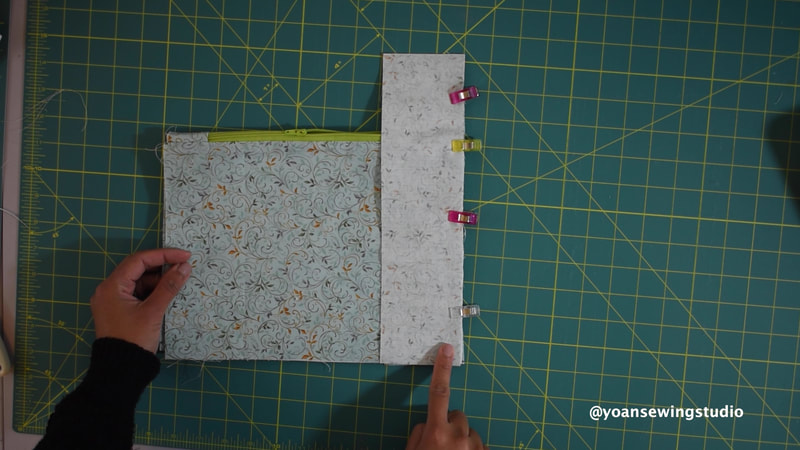
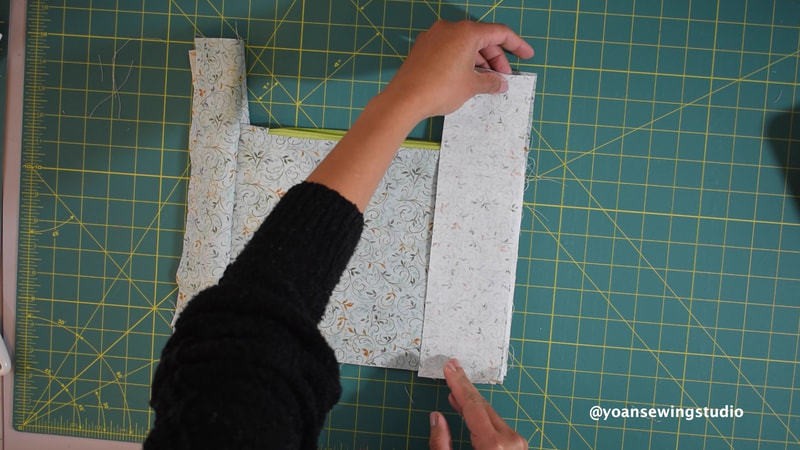
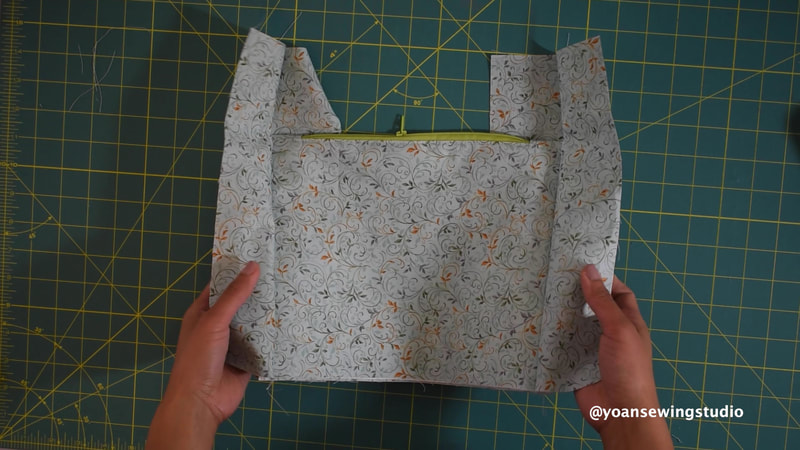
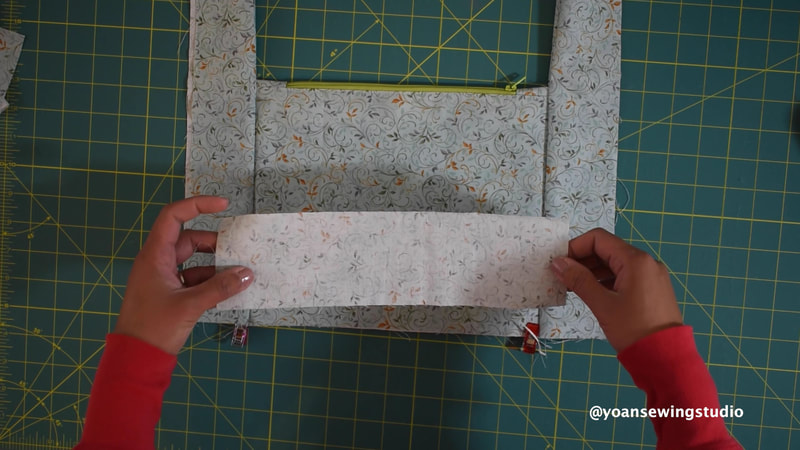
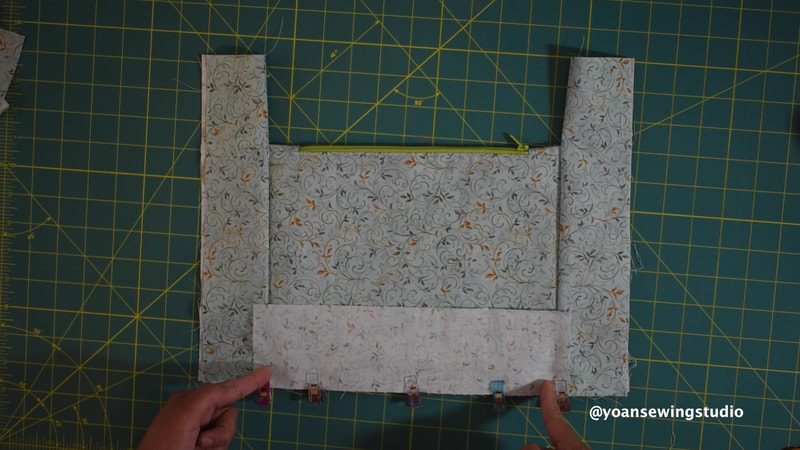
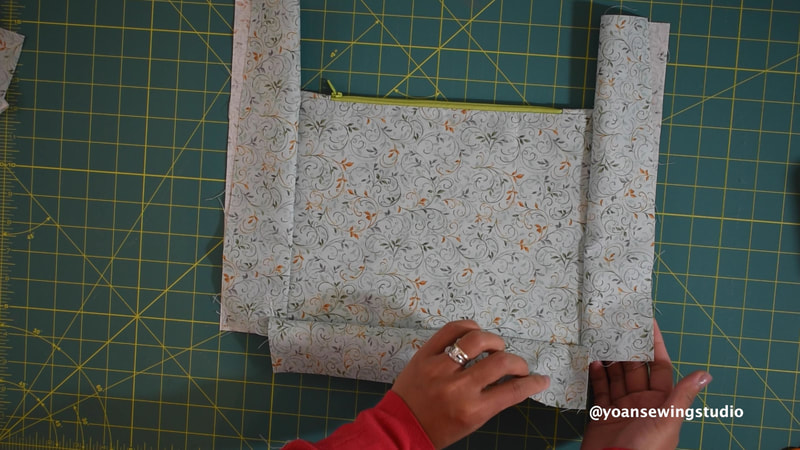
5. Sew the front side panels to both sides of the zipper pocket with 1/2" seam allowance, press towards the side panels.
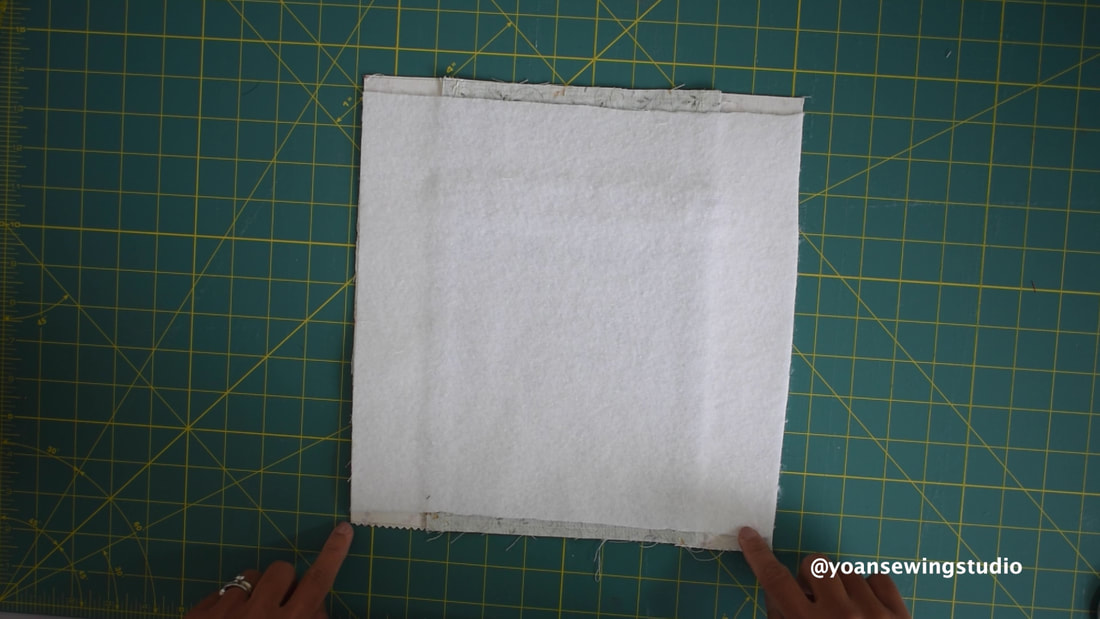
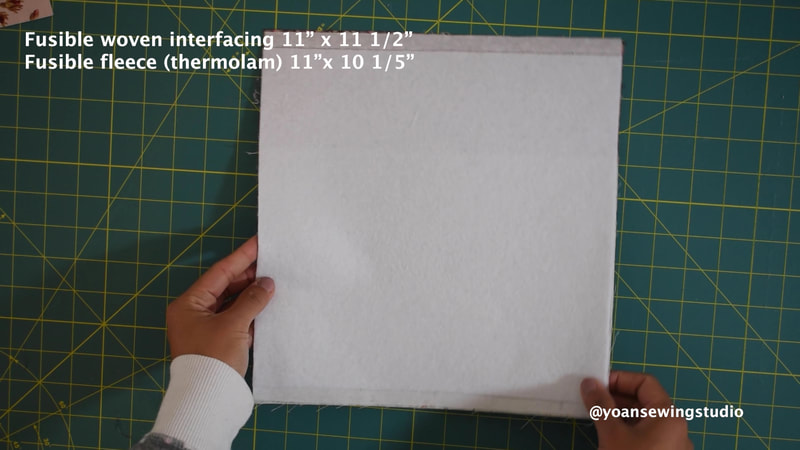
6. Apply the fusible fleece to the front exterior panel according to the manufacturer's instruction
7. Sew the upper and the lower panel of the back exterior with 1/4" of seam allowance, press, then apply the fusible woven interfacing followed with the fusible fleece
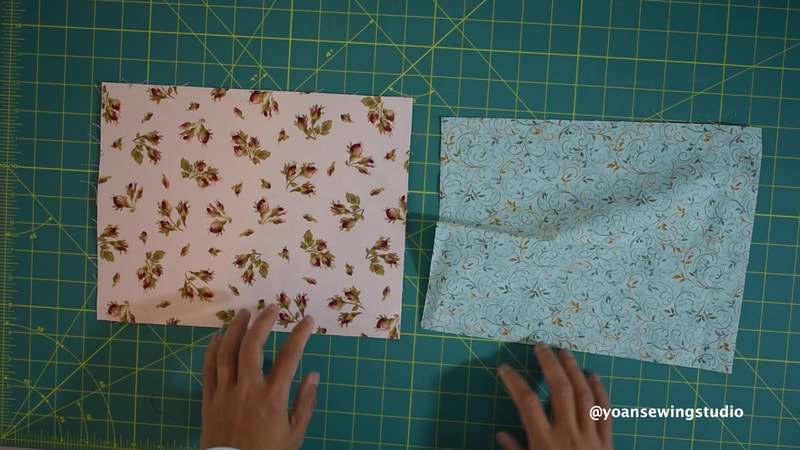
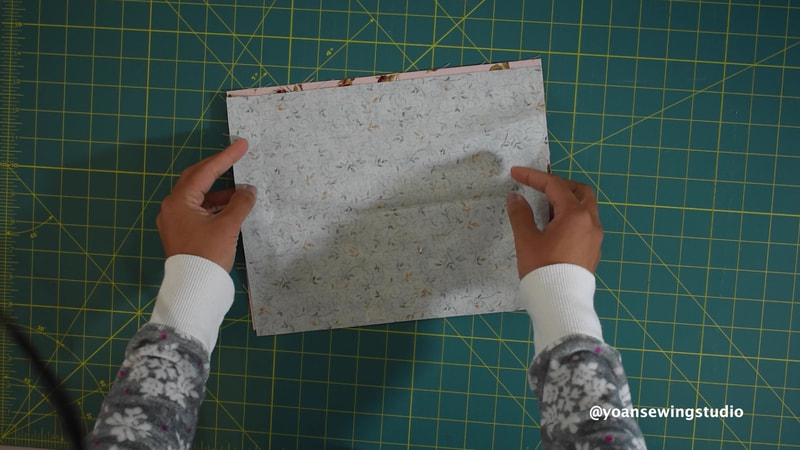
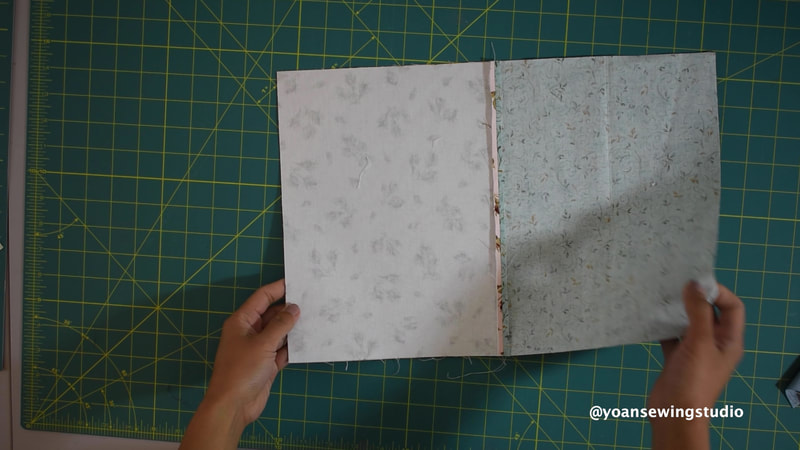
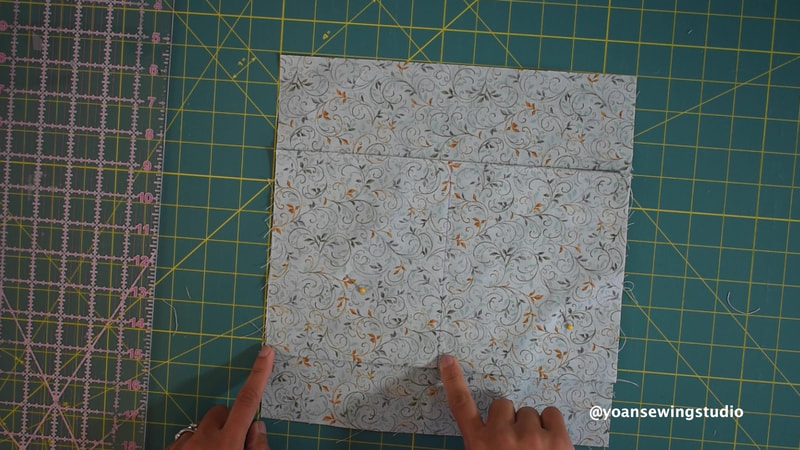
8. Sew the back slip pocket piece with the lining with 1/4" of seam allowance, press, then top stitch along the top edges.
9. Position the back slip pocket on the right side of back panel, alligning the sides and bottom edges, then sew along the sides and the bottom with 1/4" of seam allowance.
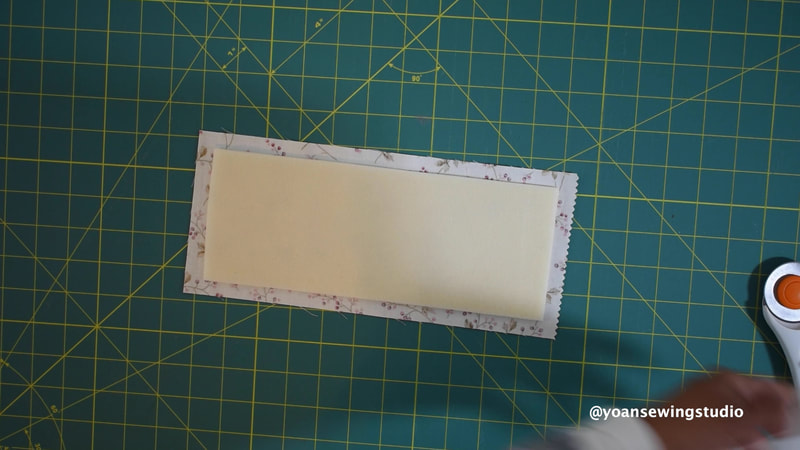
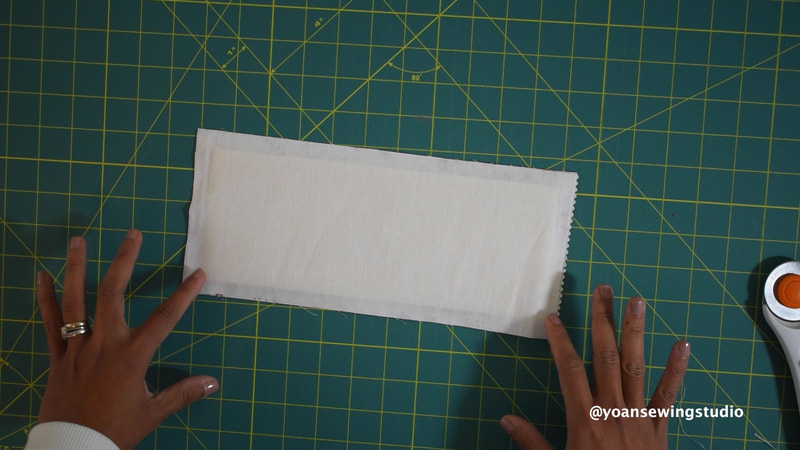
10. Place the soft n stable on the wrong side of the gusset piece (center the position) followed with the fusible woven interfacing, then fuse the fusible woven interfacing in place. Repeat the same with the other side gusset piece and the bottom gusset
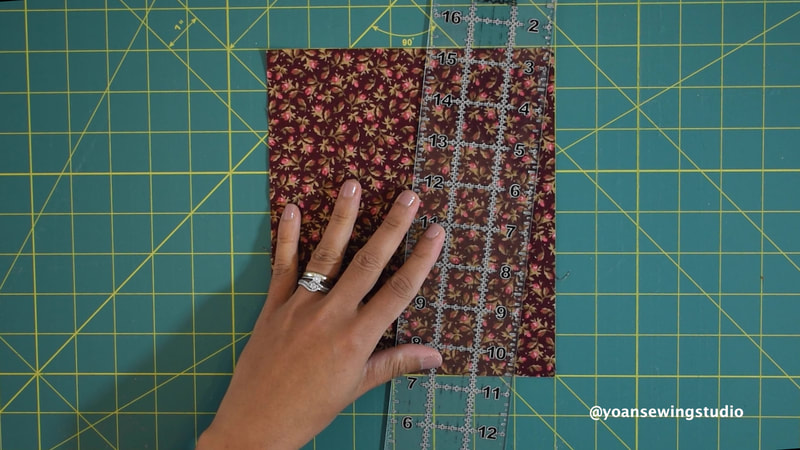
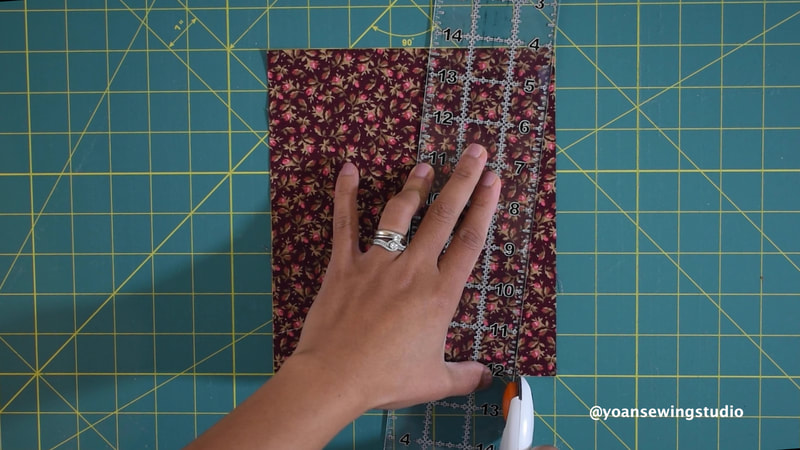
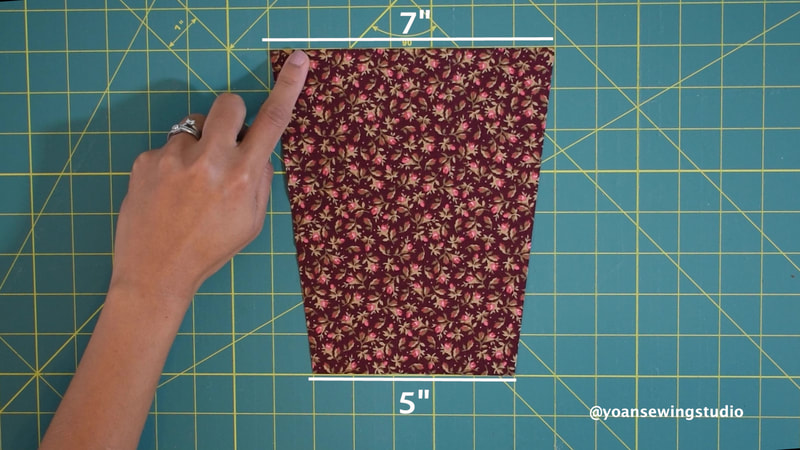
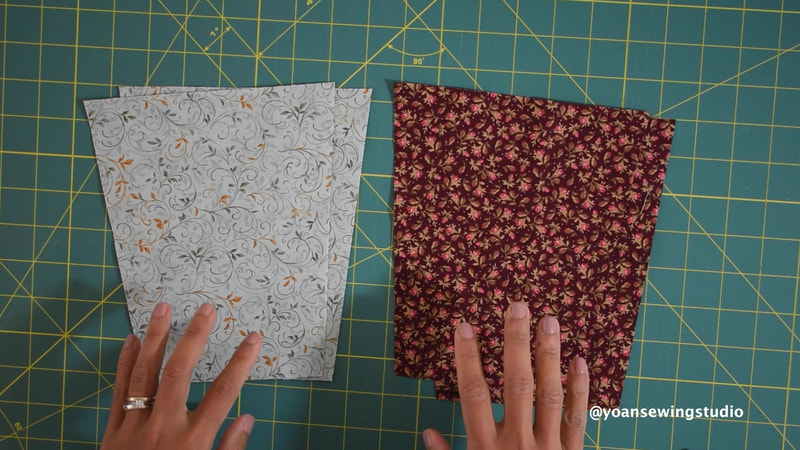
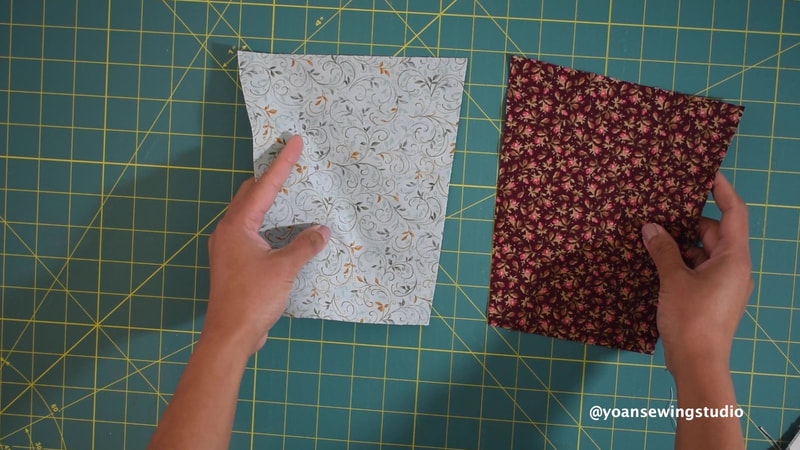
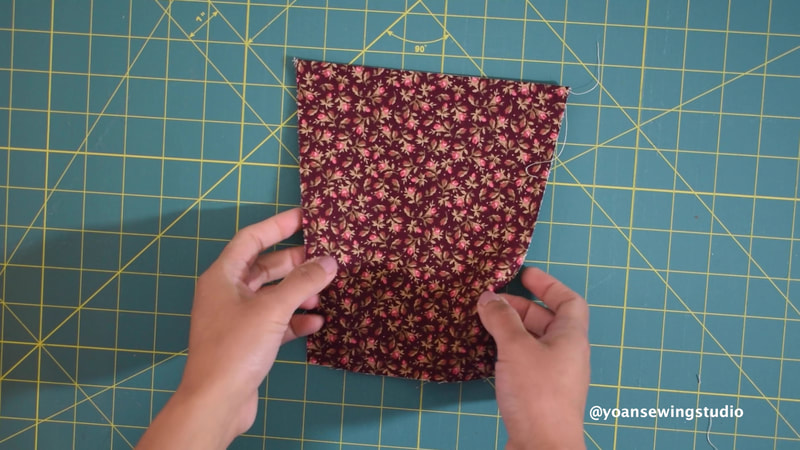
11. Make an angle cut on both sides of the side pocket panels, do the same for all pieces including the lining.
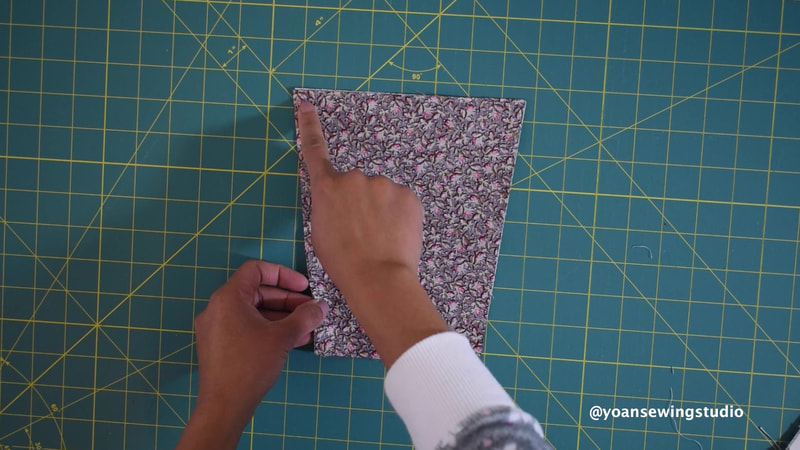
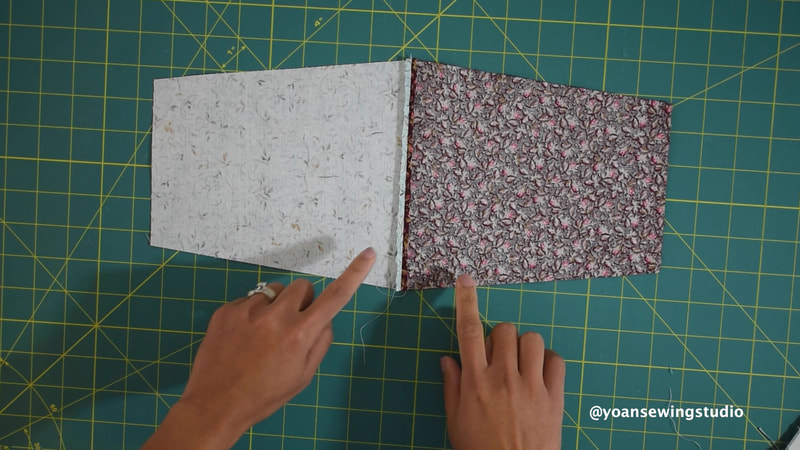
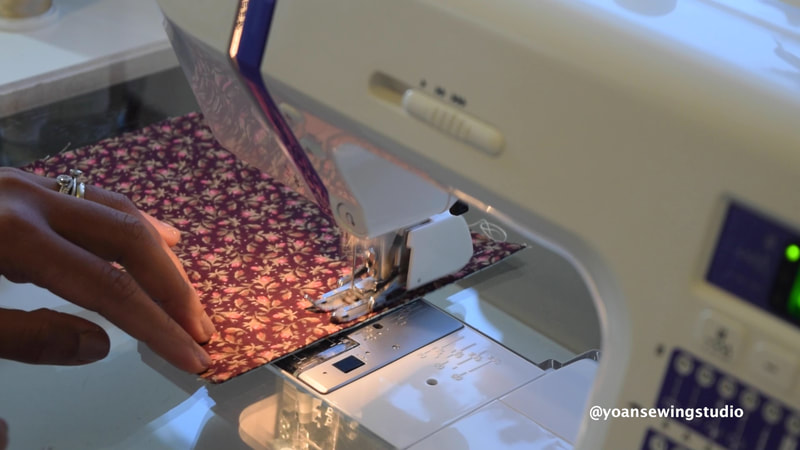
12. Lay the pocket piece with the lining right side together then sew the top edge with 1/4" seam allowance, press the seams open.
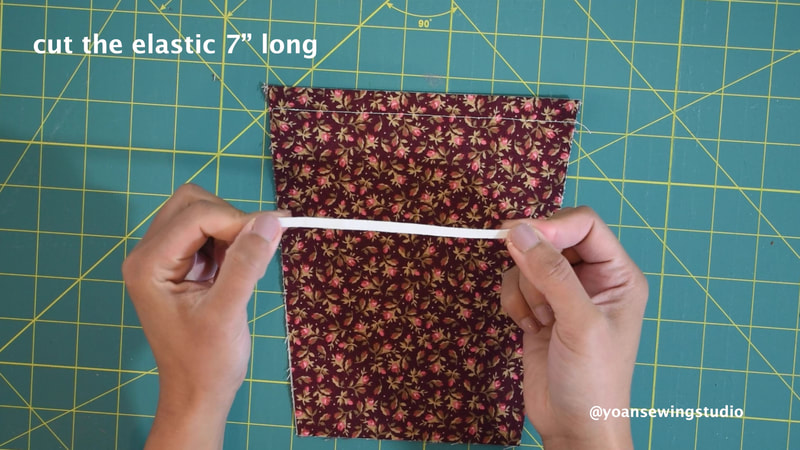
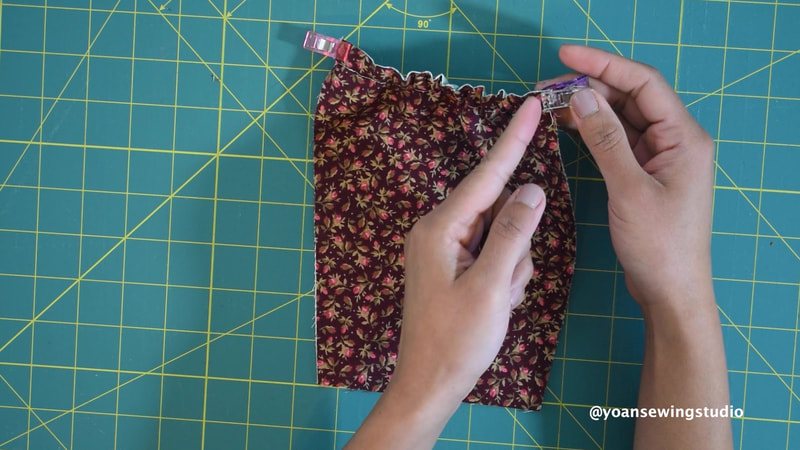
13. Fold the pocket piece wrong side together, press, then sew the top with 1/2" seam allowance to create the elastic casing.
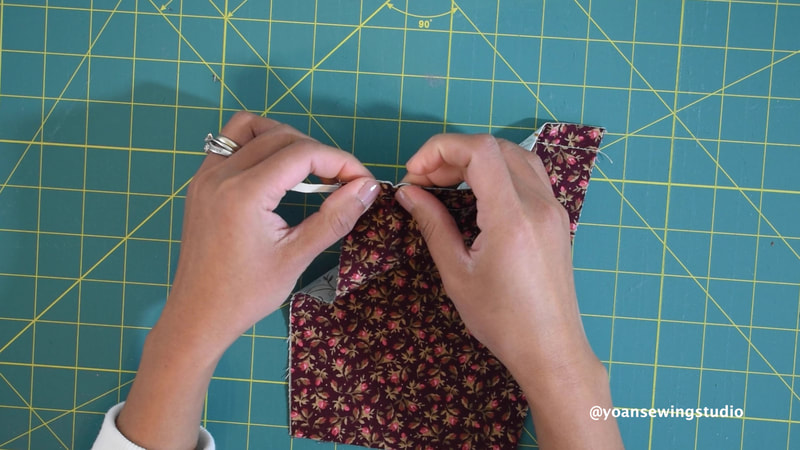
14. Cut 5" long elastic. Thread the elastic to the casing with the help of a safety pin, sew the edges to secure it in place
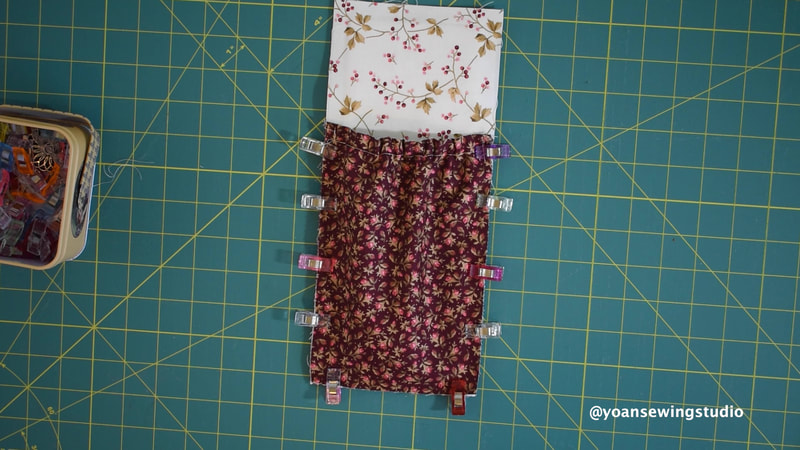
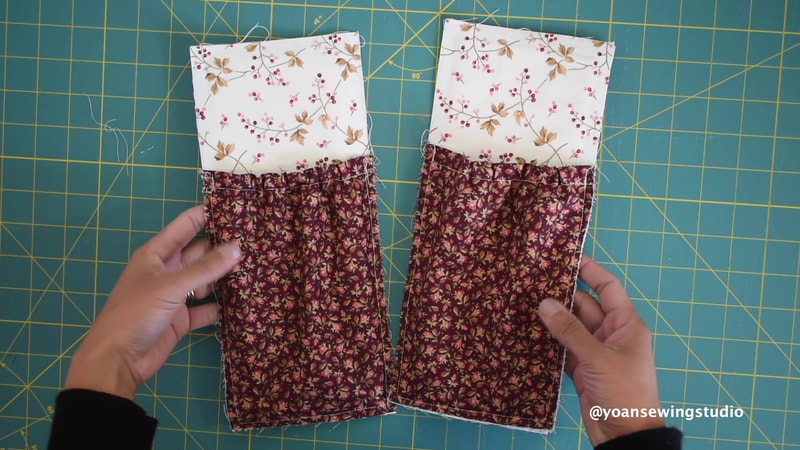
15: Place the pocket to the right side of the side gusset, aligning the sides and the bottom edges, then sew along the sides and the bottom with 1/4" of seam allowance.
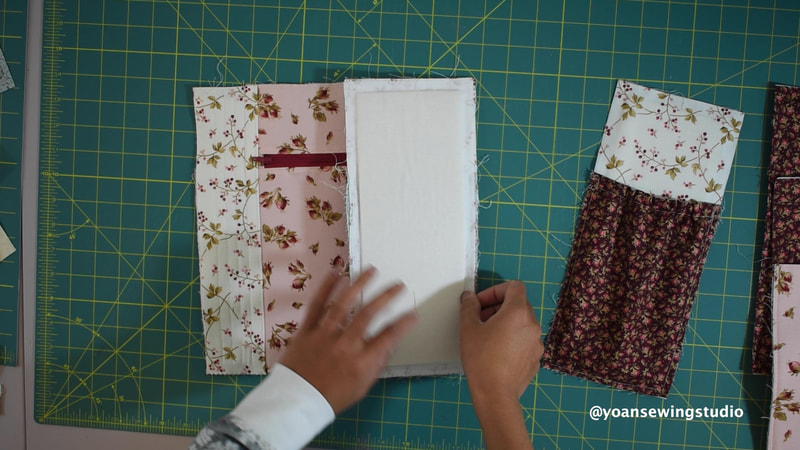
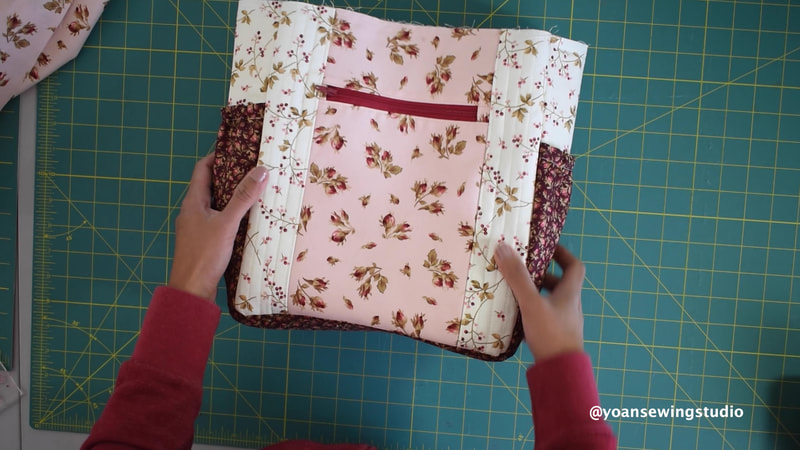
16. Assemble the exterior piece starting from sewing the side gussets to the front panel, then the back panel, then the bottom gusset.
17. Sew the zipper tabs to the zipper for the pocket divider
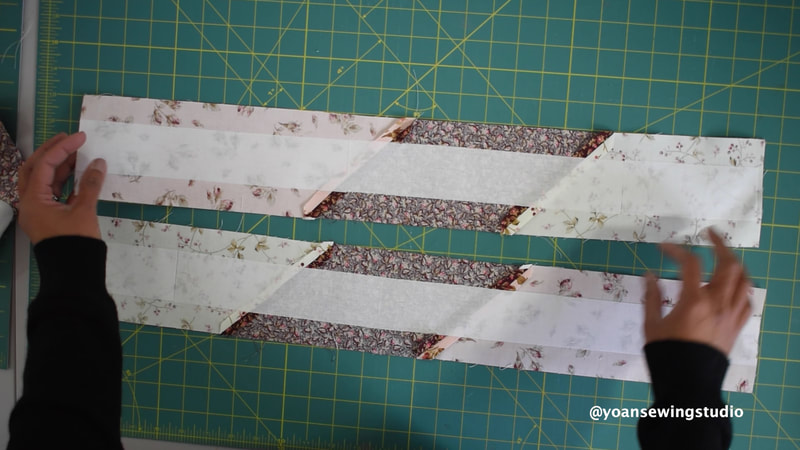
18. Sandwich the pocket divider, zipper, and the second piece of the pocket divider, secure with some sewing clips then sew with 1/4" of seam allowance
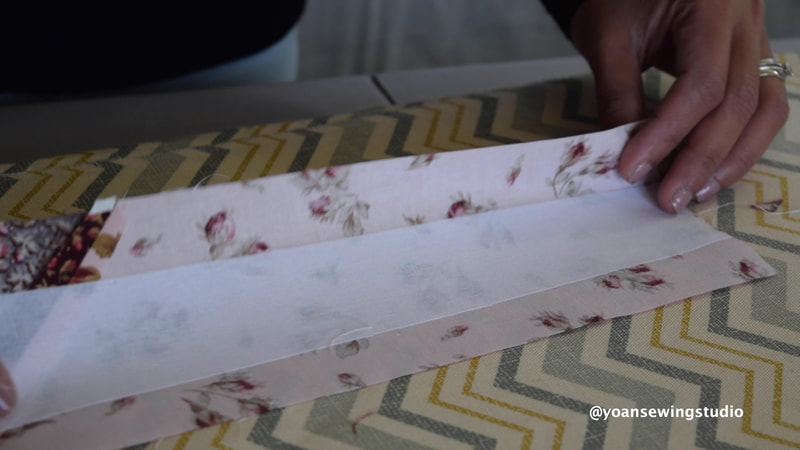
19. Open the sandwich, press the seams, then topstitch.
20. Sandwich the 3rd pocket divider, zipper, and the last pocket divider piece, secure with some sewing clips then sew with 1/4" seam allowance
21. Open the sandwich, press the seams, then topstitch.
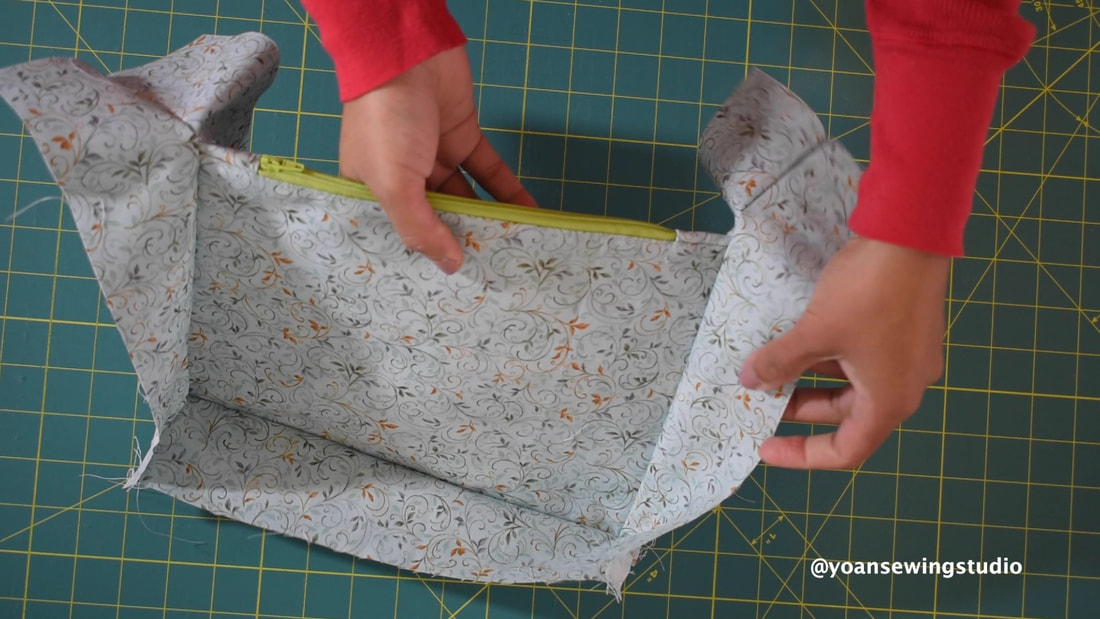
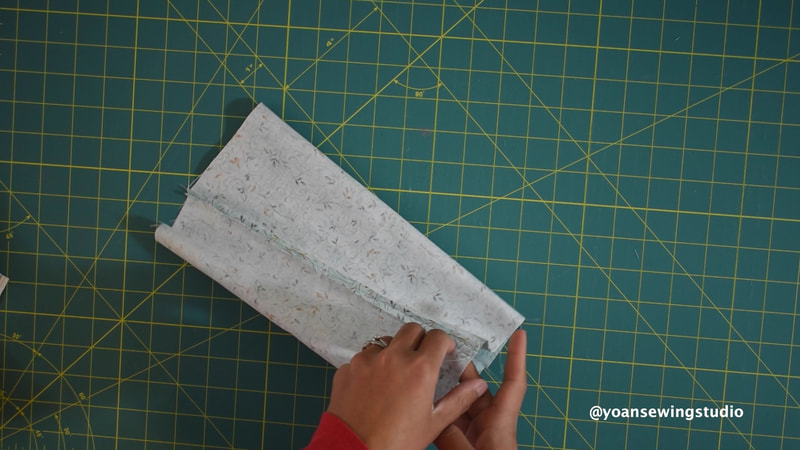
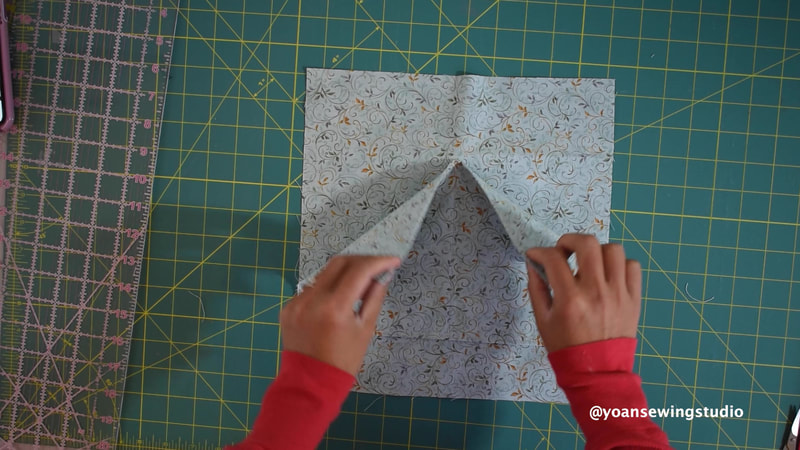
22. Fold the zipper in half, with the zipper now positioned on top.
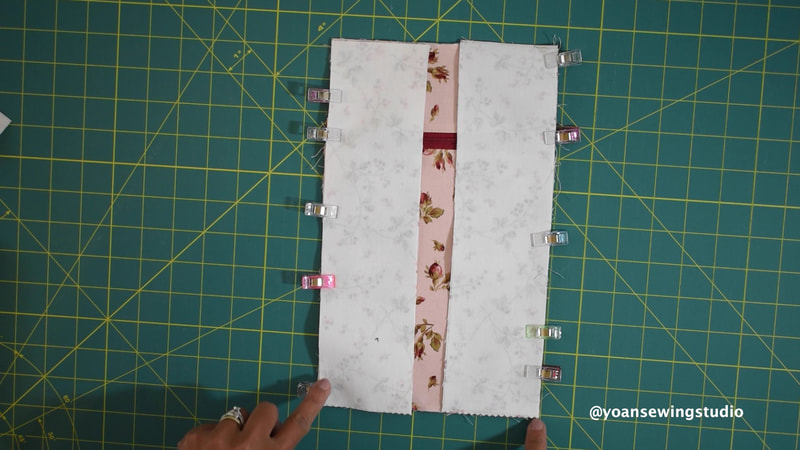
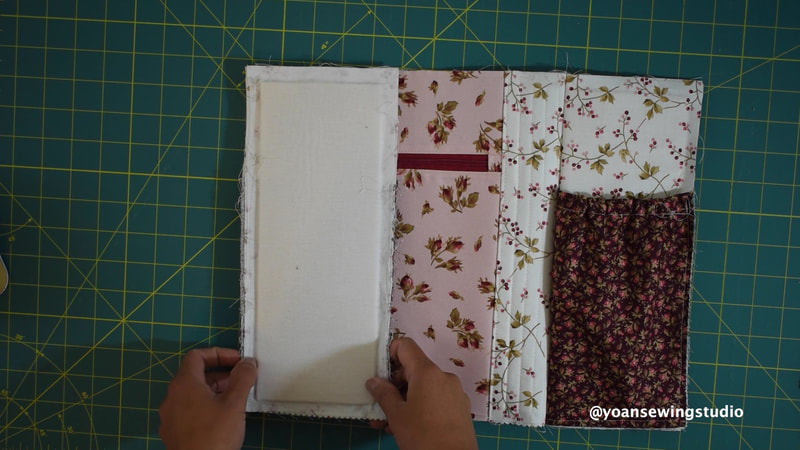
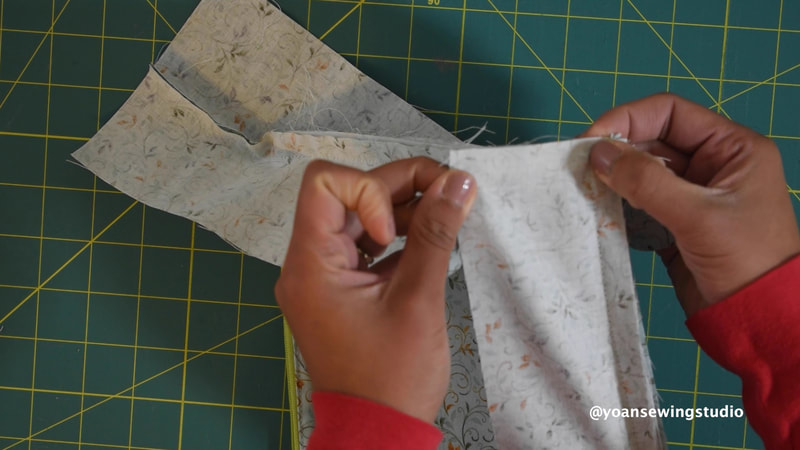
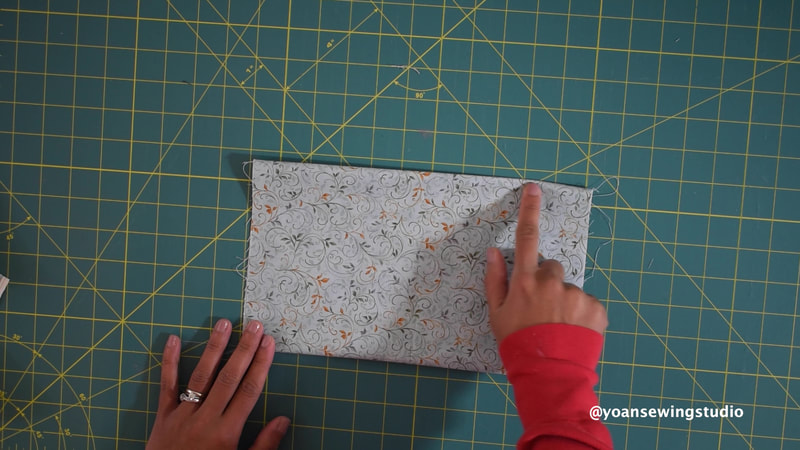
23. Sandwich the side gusset strip, the pocket divider, and the side gusset strip, sew with 1/2" seam allowance. Press towards the side
24. Repeat the same with the other side.
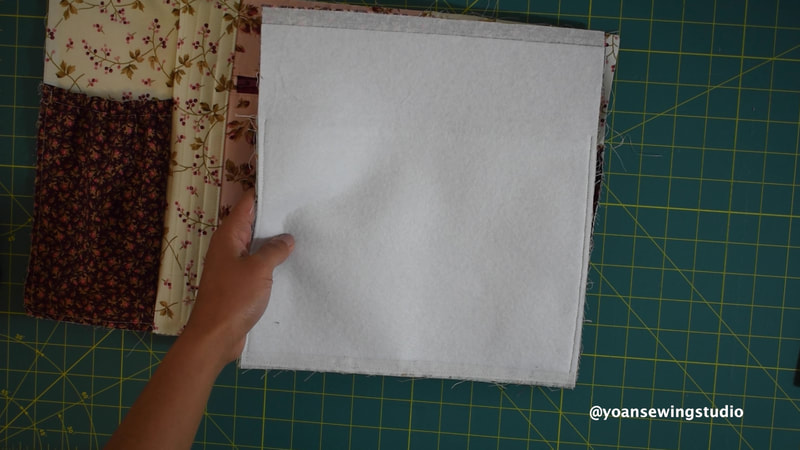
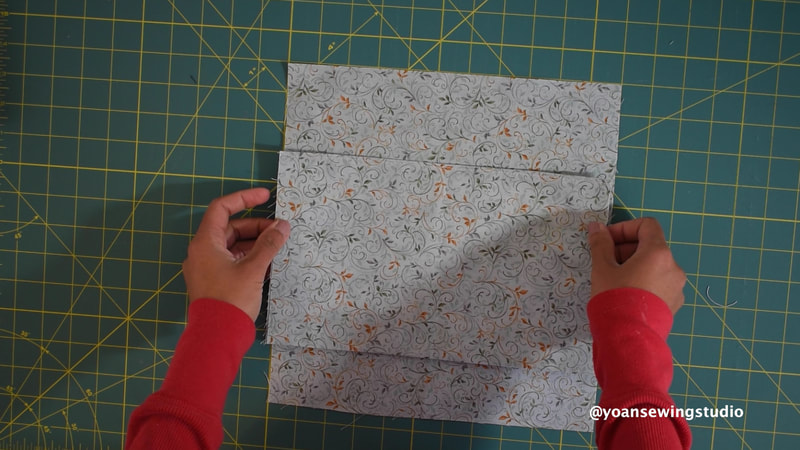
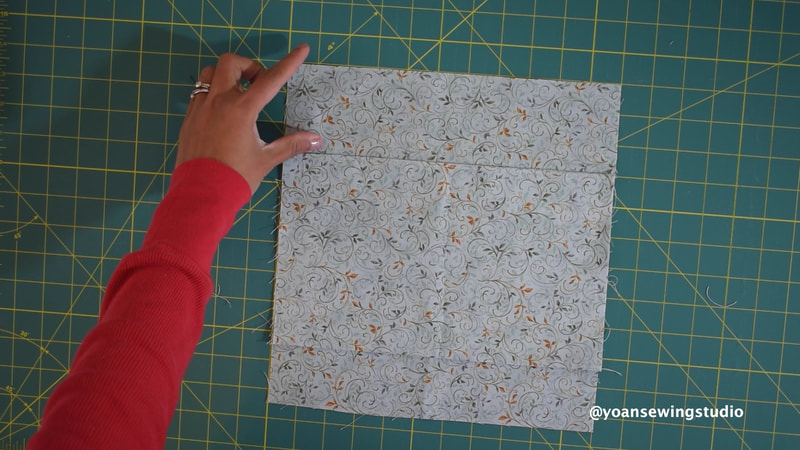
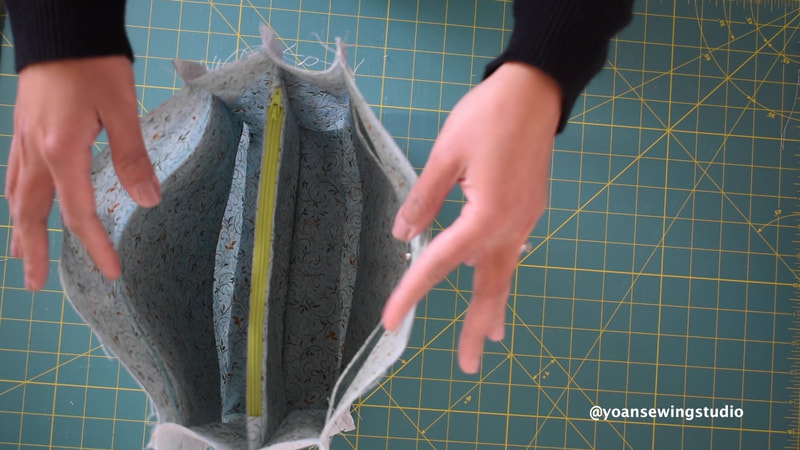
25. Sandwich the bottom gusset strip, the pocket divider, the bottom gusset strip, (there should be 1/2" overlap on both sides for the seam allowance, then sew with 1/2" seam allowance. Do not sew the overlap.
26. Sew the bottom corner of the side gusset to the bottom corner of the bottom gusset with 1/2" seam allowance
27. Repeat the same for all other 3 corners
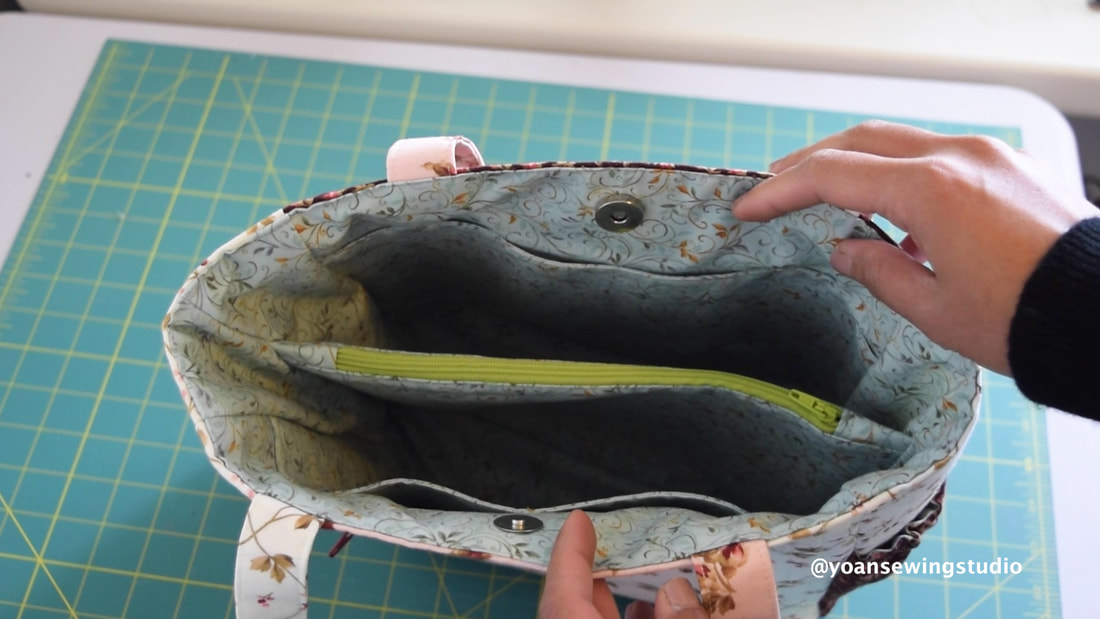
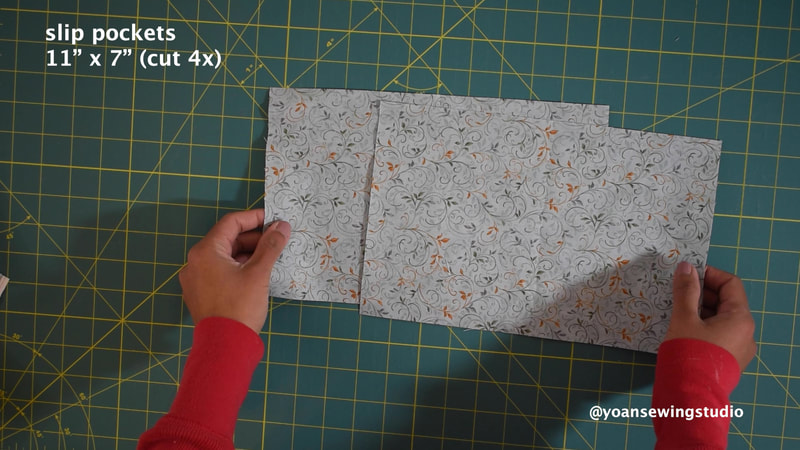
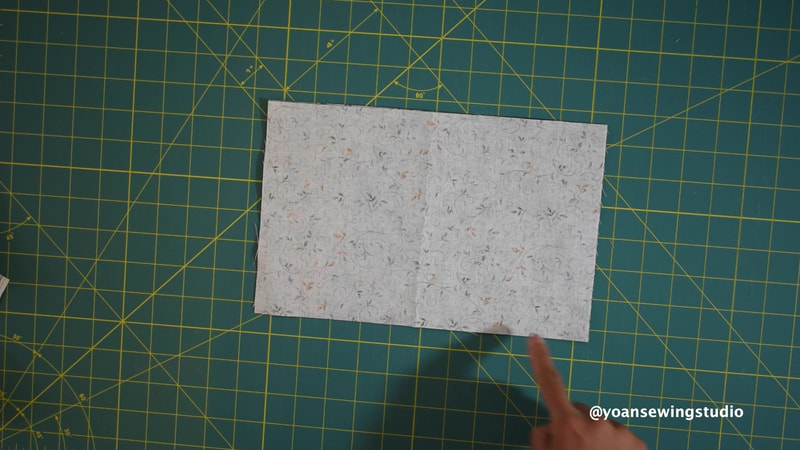
28. Prepare two of the slip pocket pieces, lay them right side together, then sew the top, and the bottom with 1/4" of seam allowance. Press the seams open, turn the pocket piece right side out, then topstitch along the upper edge.
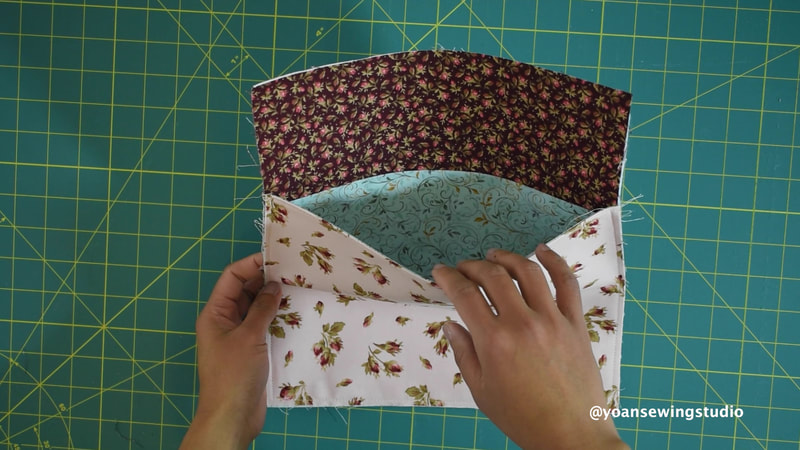
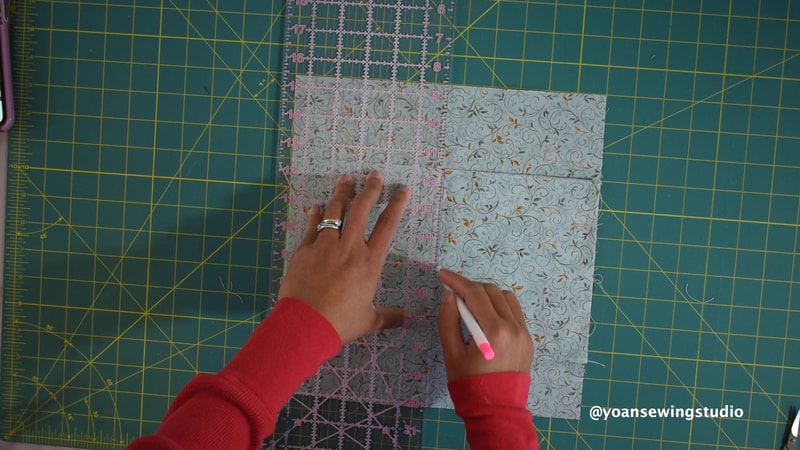
29. Lay the pocket piece on the right side of the front lining piece, 3" down from the top.
30. Draw a line on the center of the pocket, pin the pocket in place, then sew along the center line, and the bottom as well.
31. Repeat the same for the back slip pockets.
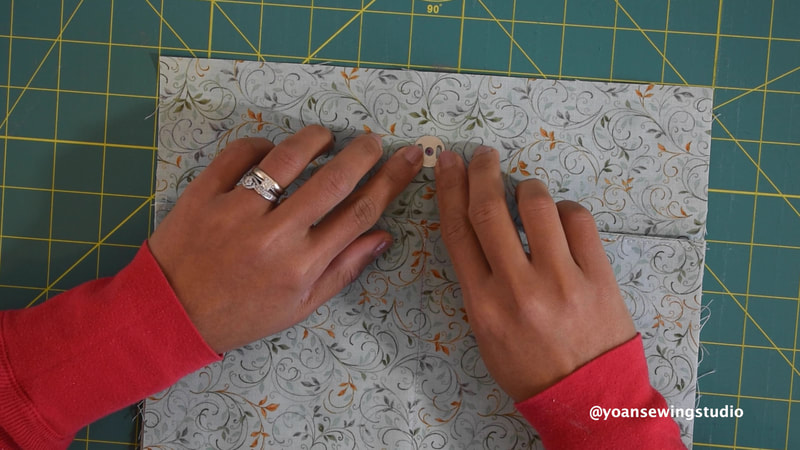
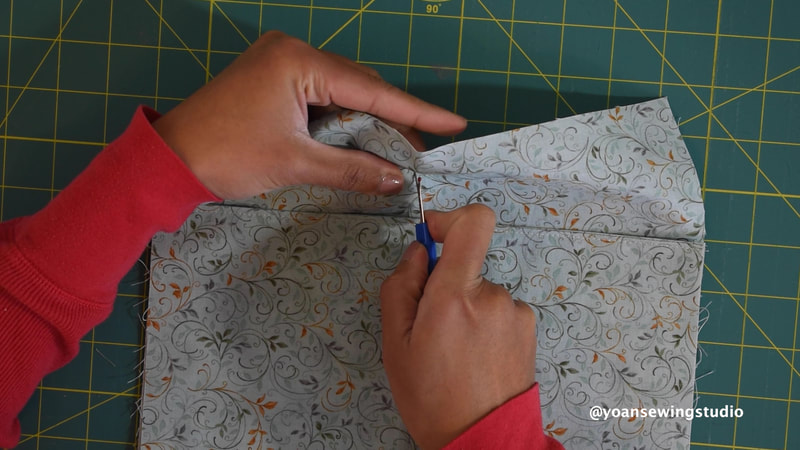
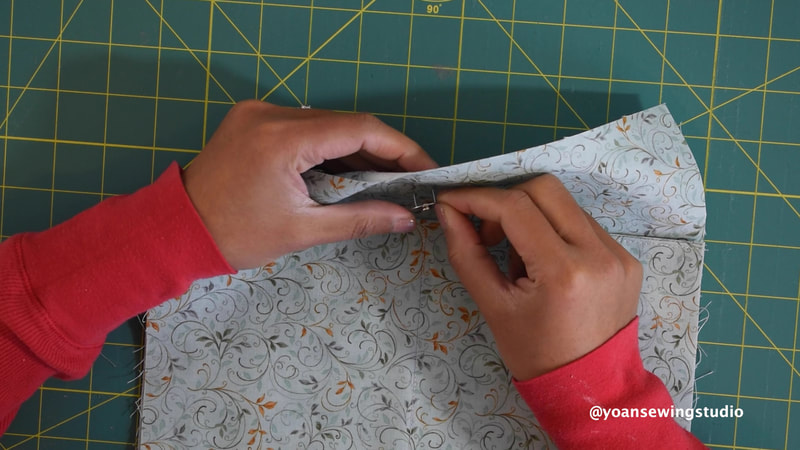
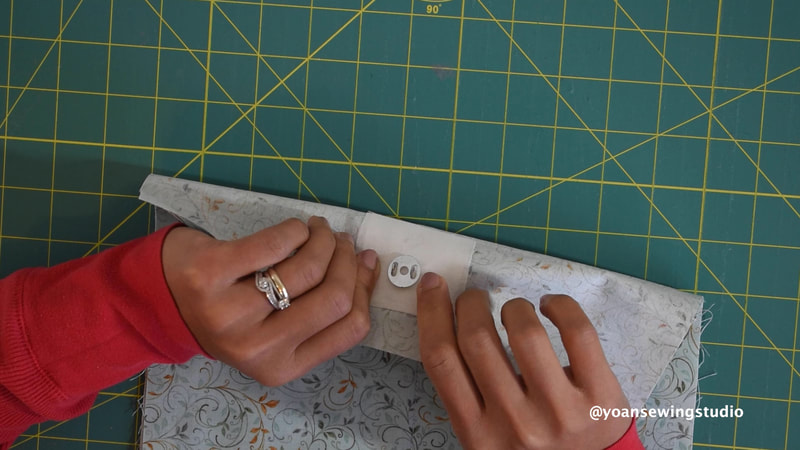
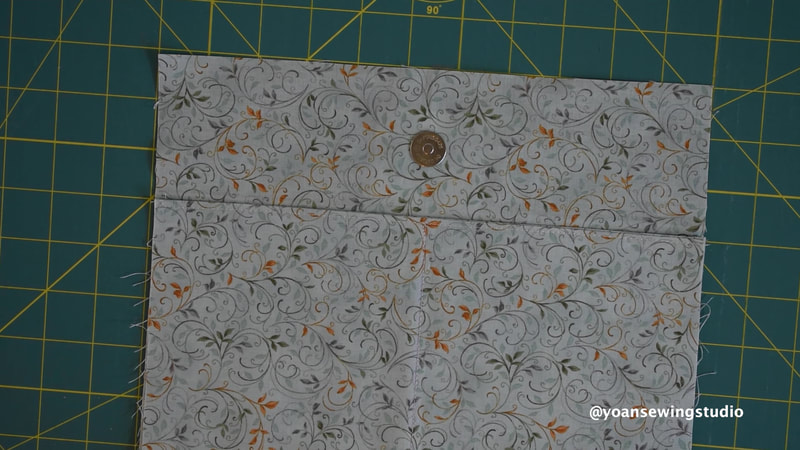
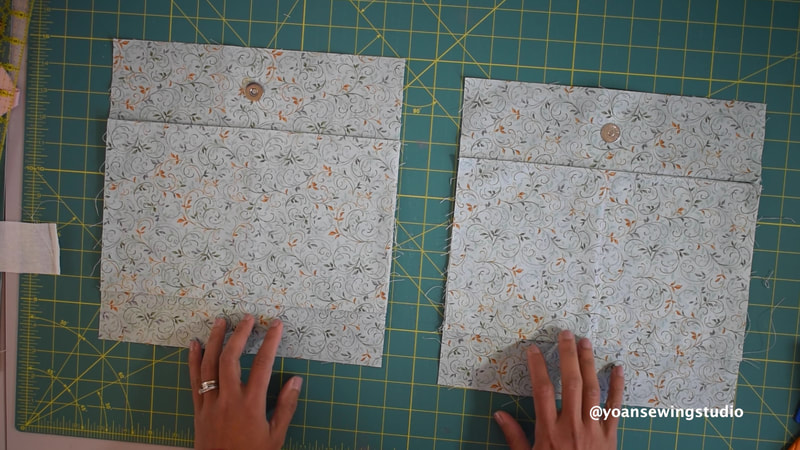
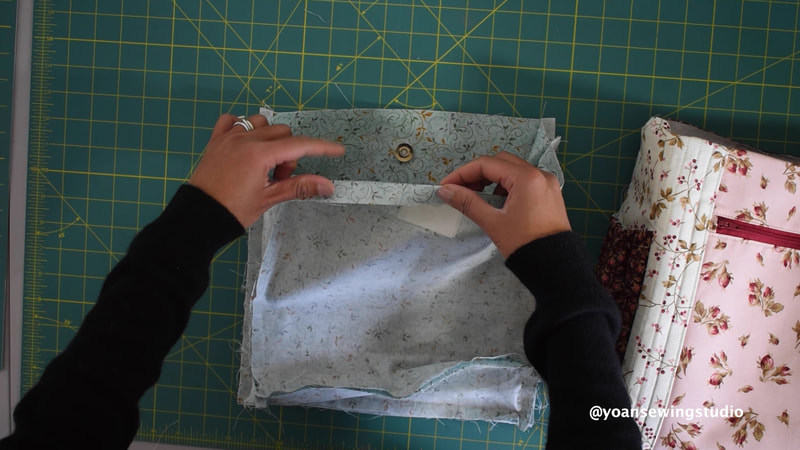
32. Apply the magnetic snap closures on both the front and back panels
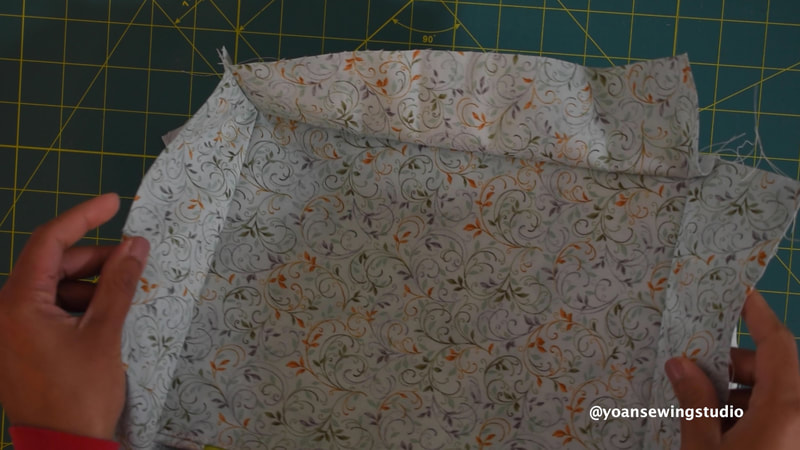
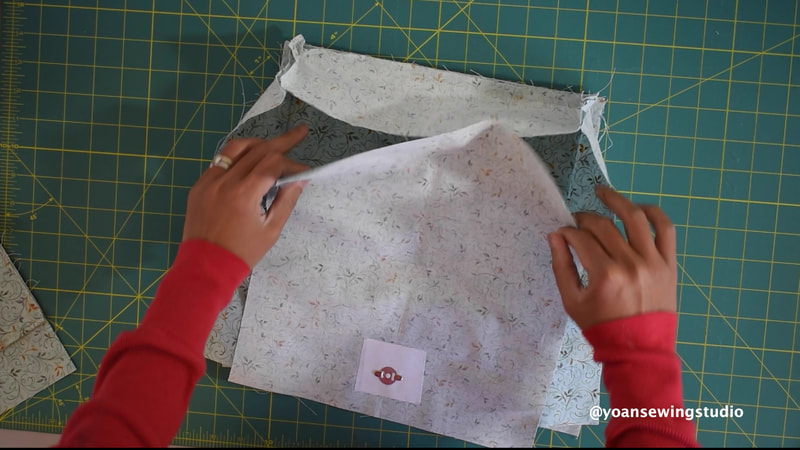
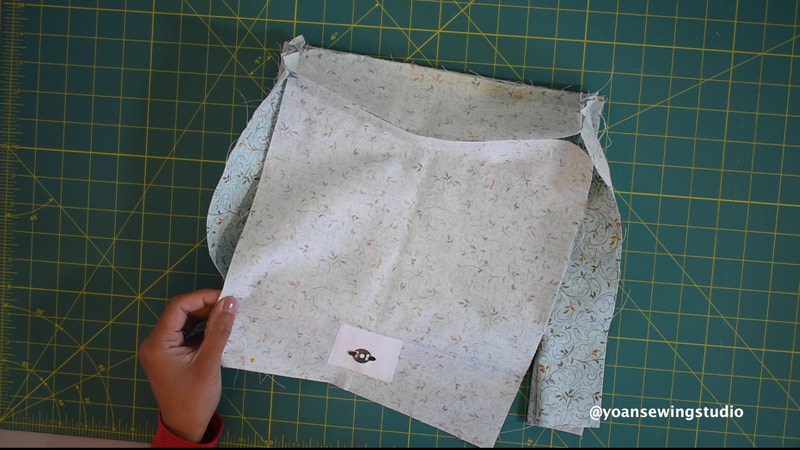
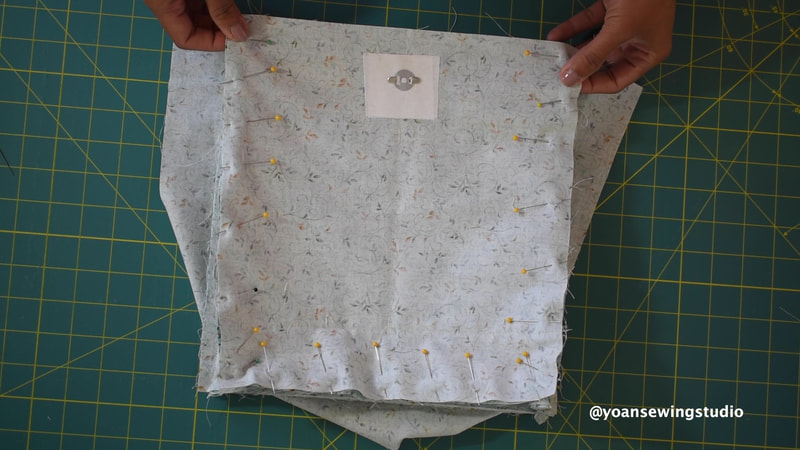
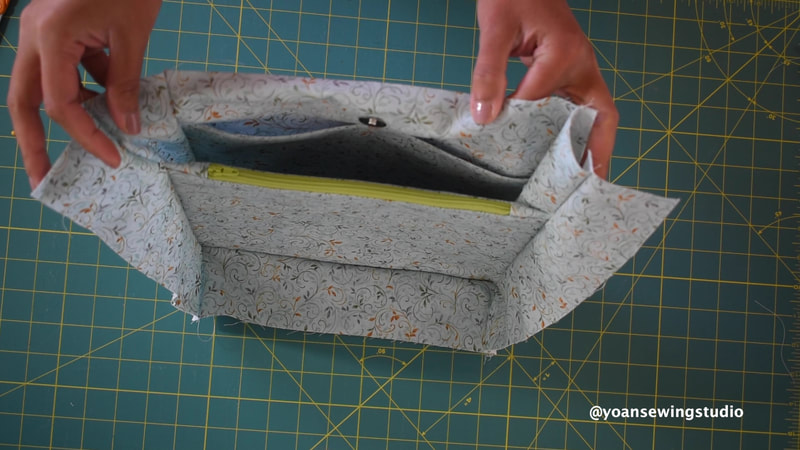
33. Sew the front and back panel to the gussets with 1/2" of seam allowance.
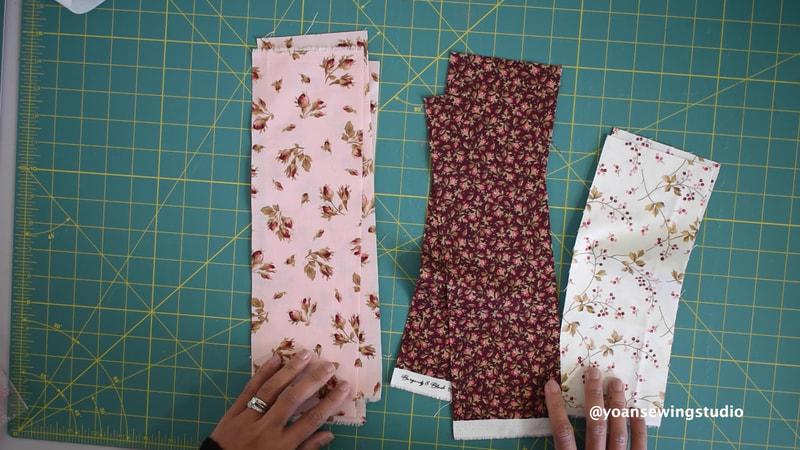
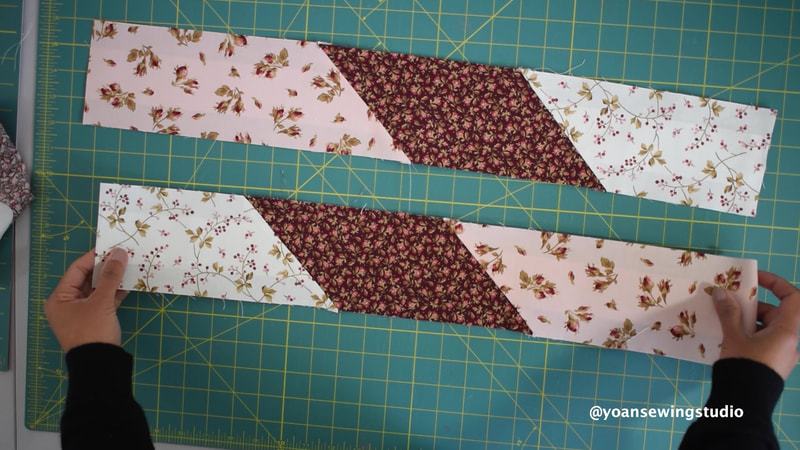
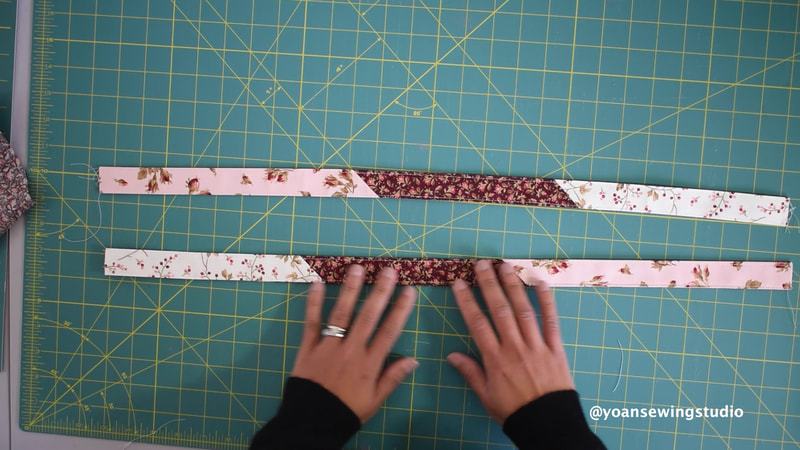
34. Use left over fat quarters to make the straps by extracting 4" strips then join them together.
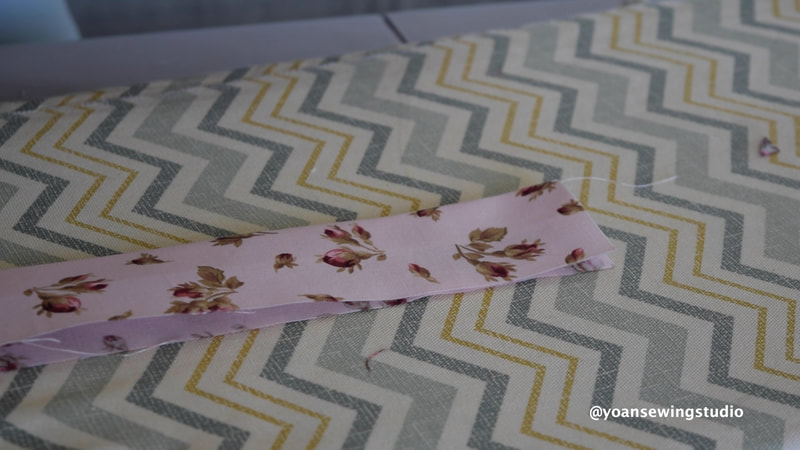
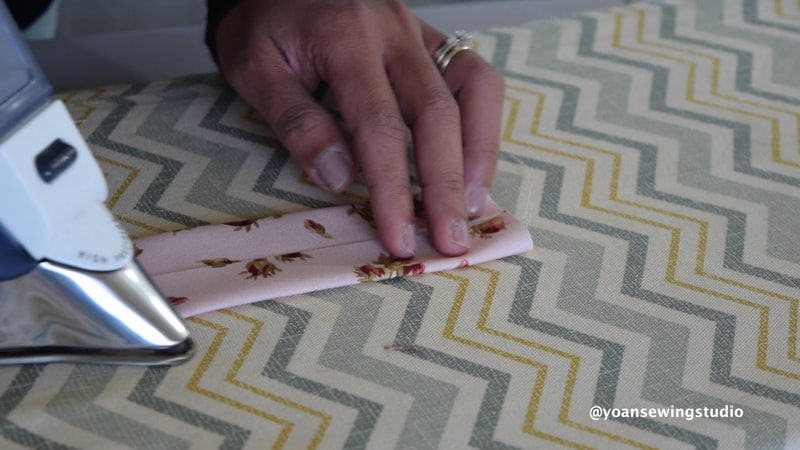
35. Apply the fusible woven interfacing to the straps, then press straps to make 1" wide straps.
36. Sew both edges of the straps with 1/8" seam allowance
37. Fold the raw edges of the exterior 1/2" towards the wrong side, press. Fold the raw edges of the lining 3/4" towards the wrong side, press.
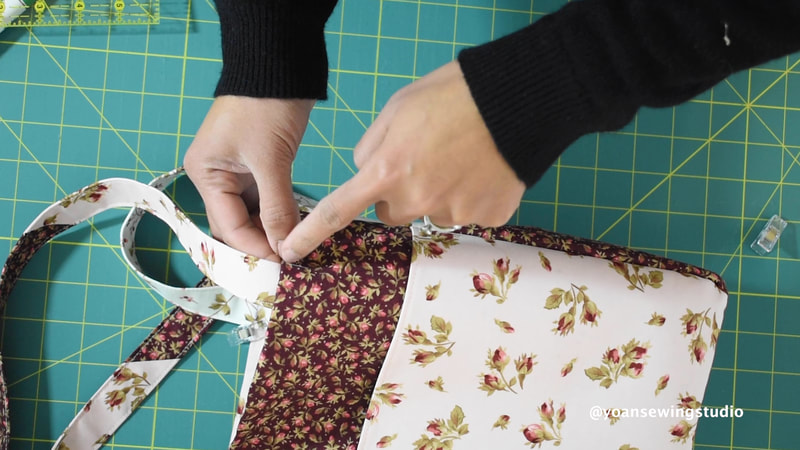
39. Position the straps to the exterior piece, 1/2" away from the side seams, secure in place with some sewing clips.
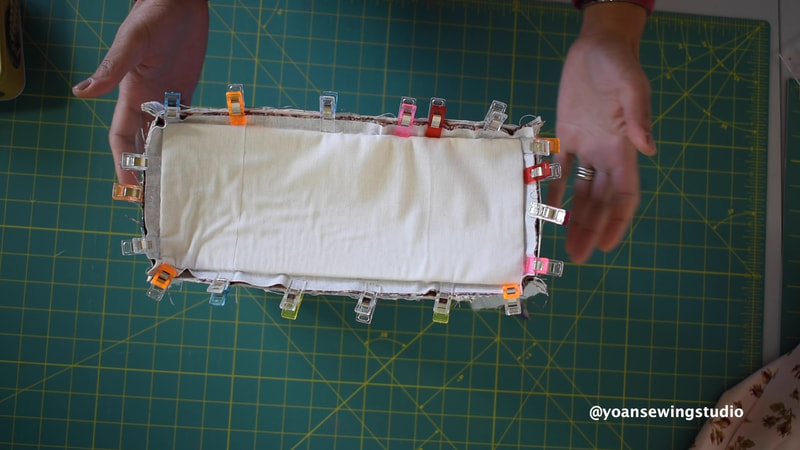
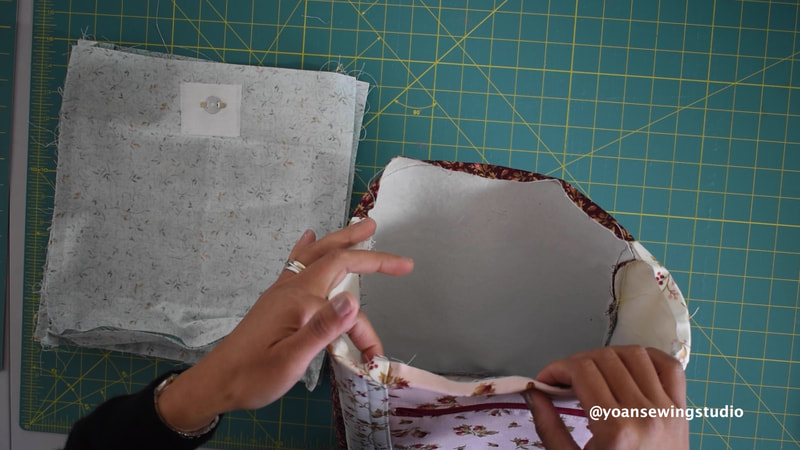
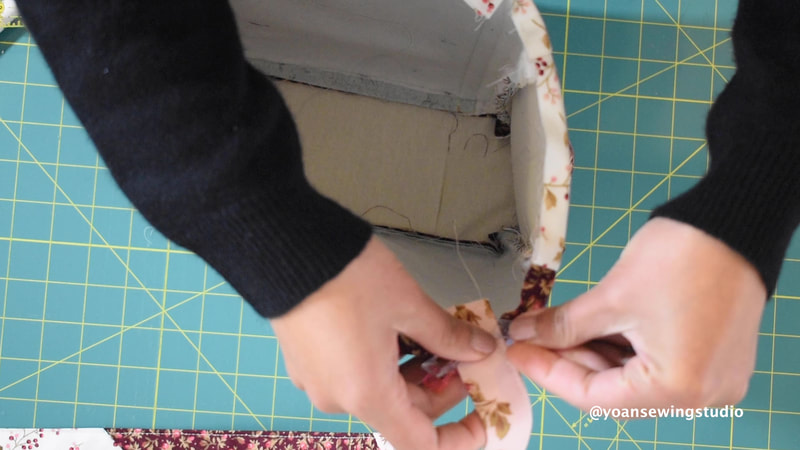
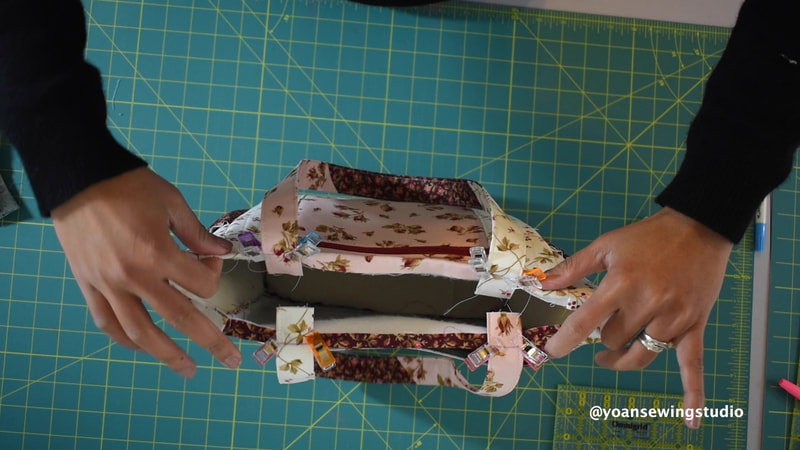
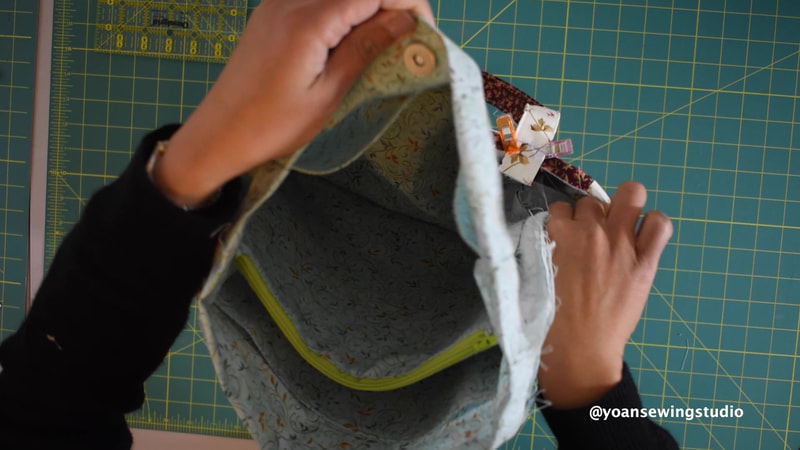
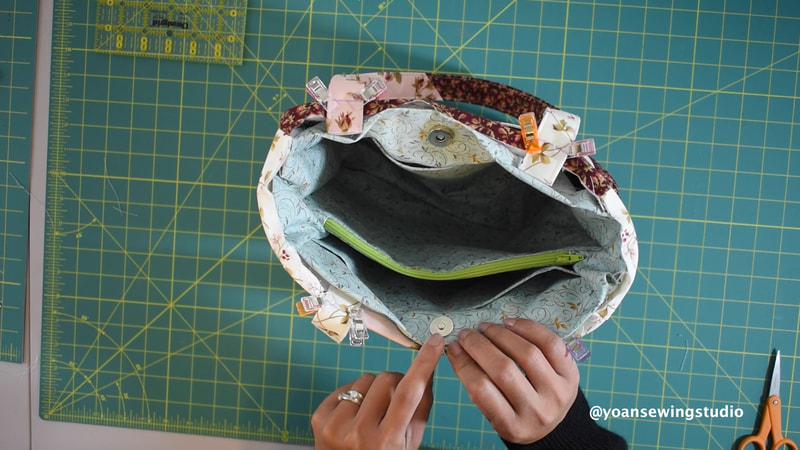
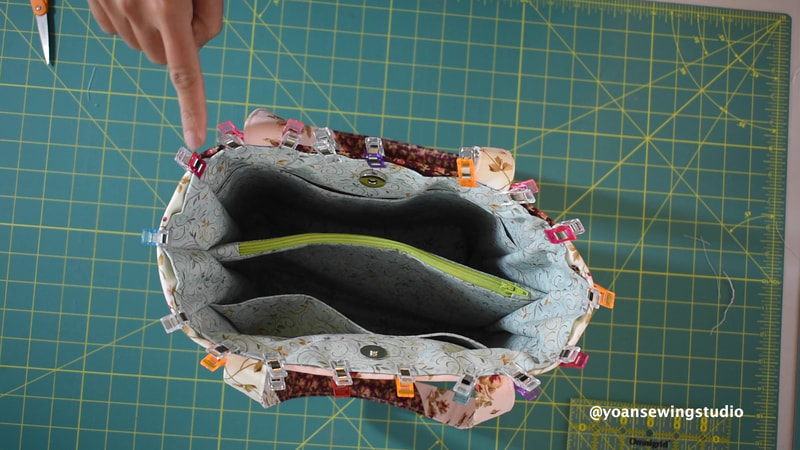
40. Insert the interior piece in to the exterior piece, secure everything with some sewing clips, the sew with 1/4" of seam allowance.
Voila! The bag is done. If you are a bit lost with the instructions, you can always refer to the video tutorial, or reach out to me directly through comments below, contact form, or social media. Happy Sewing!
Lourdes Fay
1/27/2020 02:14:45 pm
I'm not seeing the dimensions of the finished bag. Can you please share that info?
Yoan
1/29/2020 11:16:31 am
Hi, the finished measurements of this bag (approx): 12.5" wide x 10" tall x 4" deep. Thank you!
Heather Fortney
2/6/2020 03:20:11 pm
I am so happy I found your video on YouTube. It really helped me make my bags look so much more professional. Also, thank you for not deleting your mistake on the video because it let's us know you can make mistakes and still end up with a beautiful bag. Thank you so much for your instructions and the video.
Yoan
2/8/2020 07:16:14 pm
You’re welcome, thank you so much for your positive feedback!
Phylls
2/25/2020 10:37:11 pm
very interesting techniques. I just finished a bag where the customer requested a center divider. Your instructions would have been very helpful back then. So thanks now I know how and will try this on a new bag.
Yoan
2/27/2020 05:45:16 pm
My pleasure! Thank you for your feedback:)
Beth
4/15/2020 05:27:07 pm
I am so glad that you have a tutorial in addition to the utube! I am a beginning sewer and having the paper copy to refer to as I am sewing is a big help! Thanks for the pattern for such a beautiful bag!
Yoan
4/27/2020 09:18:53 am
You're welcome! Glad you like it :) 4/24/2020 06:19:58 pm
you have done a fantastic job with this tutorial, but i would really like to make this with maybe a 5 or 6 inch base and maybe with whole fabric as opposed to all the gussets. just wondering if construction could be a little more simpler or less steps. if not still interested in a wider base. I would love any more info you can and will help with.
Yoan
4/27/2020 09:34:24 am
Hi Diane,
Benedicte
4/25/2020 10:17:09 am
This bag seems great and the tutorial is very clear, I would like to do it, could you please send me the dimensions in centimeters (cm)? Many thanks.
Yoan
4/29/2020 02:04:49 pm
I have the downloadable & printable metric conversion guide in PDF format check out above, bellow the cutting instructions there is a black button saying "download the metric conversion guide for sewing here"
Arlene
5/14/2020 08:19:25 pm
Thank you so much for sharing😄 it’s beautiful
Brenda
5/15/2020 09:55:45 am
I made the bag and enjoyed doing so. it came out really nice. The video was very helpful so thanks so much for sharing with me.
Dee Dee
5/31/2020 08:56:58 am
Thank you for this great project! Your instructions are wonderful. I have a similar bag purchased 20 years ago that is worn out, so I'll make yours and add the other pockets is has. This will be good for travel...when we can go again! Water bottles fit nicely in side pockets, easy to find important items inside. I'll make a long strap from sides to wear cross body for security. Wish I could print out the cutting dimensions--easier to keep your place. Thank you again for sharing this tote and the video!
Roxane
6/18/2020 10:07:59 pm
I am new to sewing but would love to make this bag yet for my laptop and so I need it 3 inches bigger tall and wide wise if that makes send..how would I do this?please help me as I have been looking for a month and finally saw your channel and watched a few vids and I just love how you explain and walk threw everything..thnks so much.if you could email me that would be wonderful please..thank you
Yoan
6/22/2020 01:52:03 pm
I just posted a laptop bag tutorial few days ago, similar to this bag, but larger size with zipper closure, you can watch the tutorial here https://youtu.be/5gXCuaj5b_4 , thank you!
Emma Carpenter
6/22/2020 01:34:08 pm
I really like this great totebag; the way it's made, the way it looks and all the other pockets and hiding places you don't usually see on a "totebag". Superb. I hope to make this bag, perhaps not as tall and maybe not as wide . Thanks for sharing and for the clear vision and written instructions.
Aruna
7/14/2020 01:07:49 pm
Hi Yoan,
Yoan
7/15/2020 08:46:11 am
Hi Aruna, since I didn't design this bag with recessed zipper, I couldn't properly visualize the outcome with one. Nonetheless, I would say it's possible to add a recessed zipper instead of the magnetic snap closure, my suggestion is to make your zipper panel a slight smaller than the width of the lining front/back panel and install the zipper before you attach them (the front and back lining panels) to the pocket divider.
Roxane Lee Wilson
7/24/2020 02:02:57 pm
hi.if i wanted to make this bag 2 inches bigger length and width how would i measure everything?just add 2 inches to each and every piece?can u please please please email me as im a beginner but would love this to be a project i can master as ive watched your vids and done your wallet and square pillow so im itching to figure out how to make this a little bigger.i am a nurse and do alot of home care also so this would be perfect for my extras i need to carry for this covid pandemic.thx
Roxane Lee Wilson
7/24/2020 02:08:19 pm
hi again..sorry i didnt send u a msg 2 times as it looks lol..my daughter was just using my phone and oddly enough wanted to make same bag 4 herself and used my name..so weird but true lol..she just sent u msg as she has made a few things of yours and she likes the laptop bag but not sure how to add pockets to the side as we are both beginners lol..much love.stay well
Yoan
7/27/2020 08:33:18 pm
Hi Roxane, Comments are closed.
|
Categories
All
©
Yoan Sewing Studio | All Rights Reserved
|

 RSS Feed