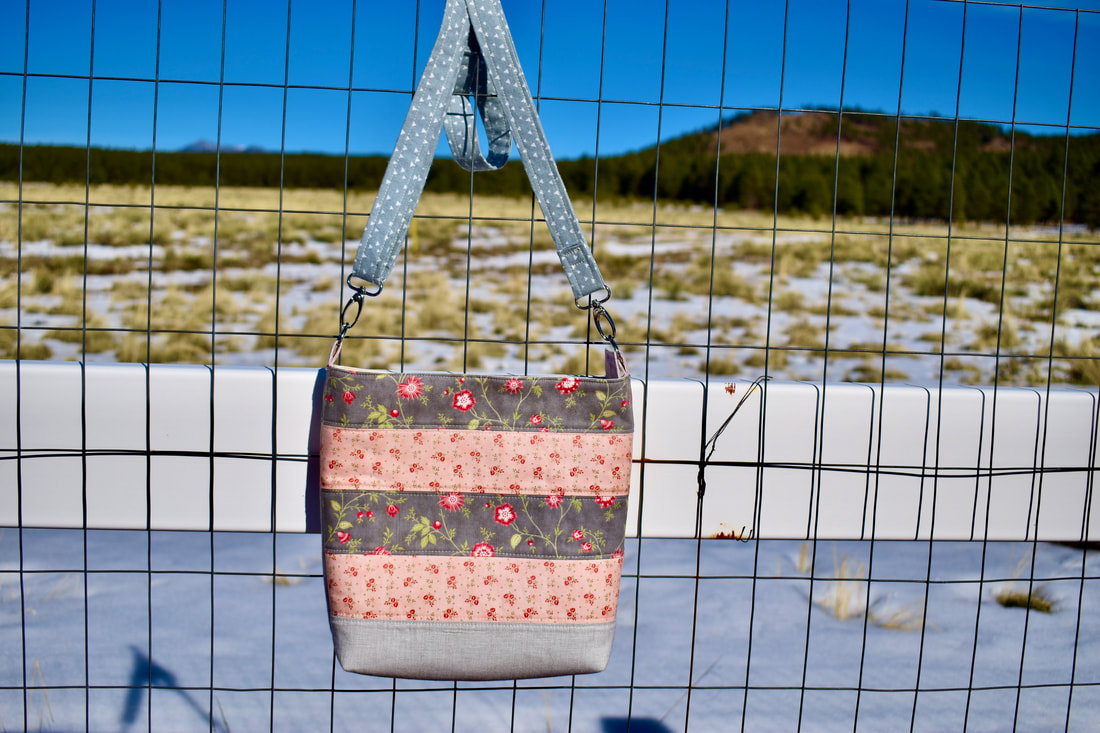
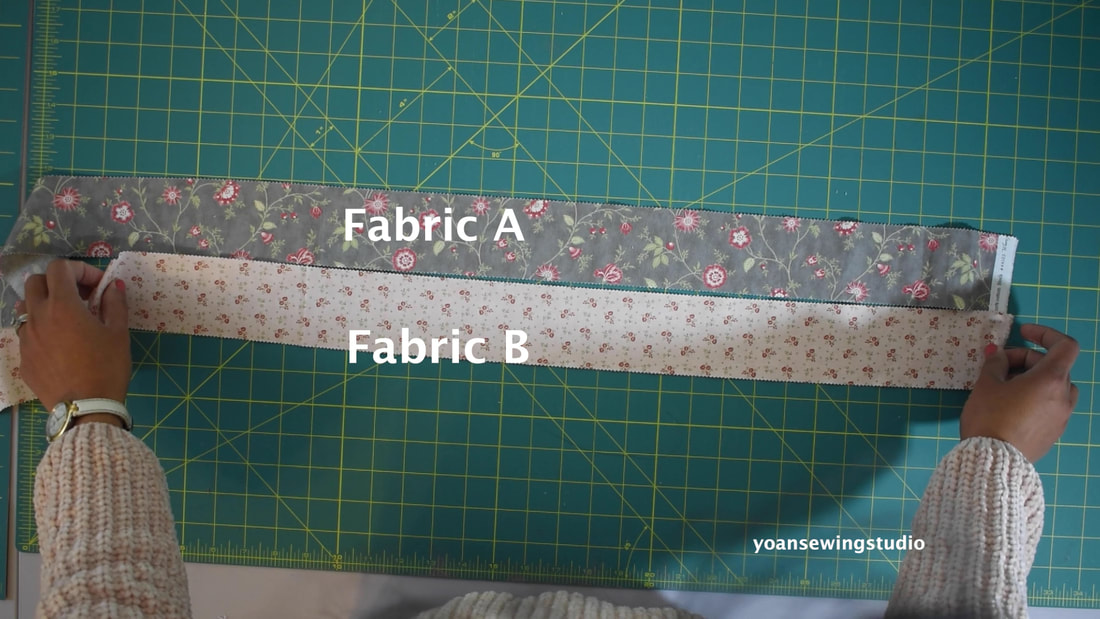
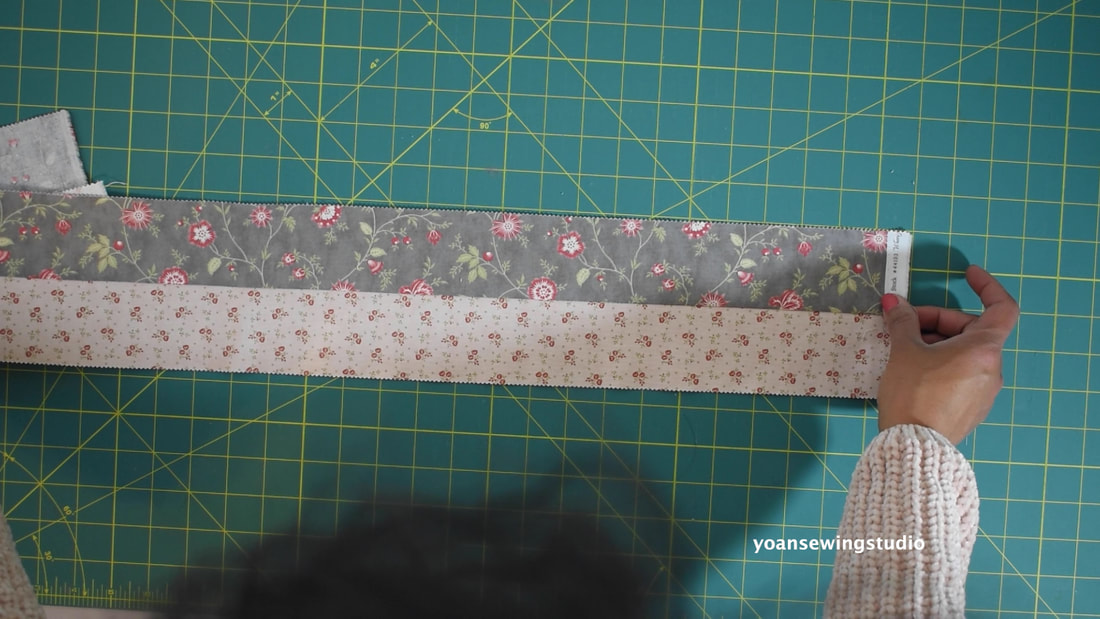
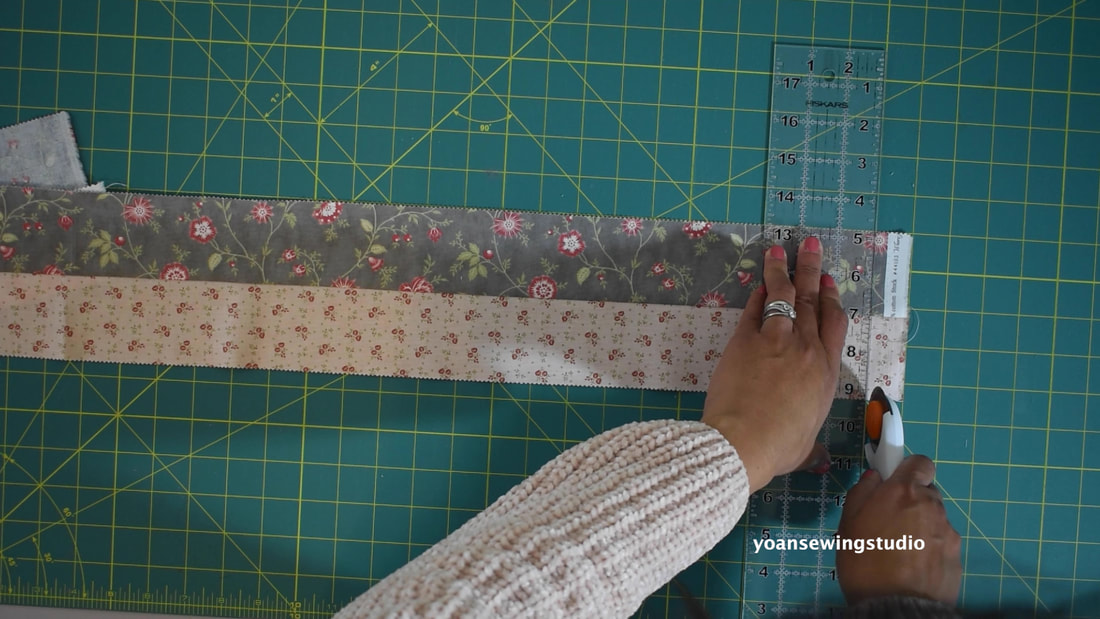
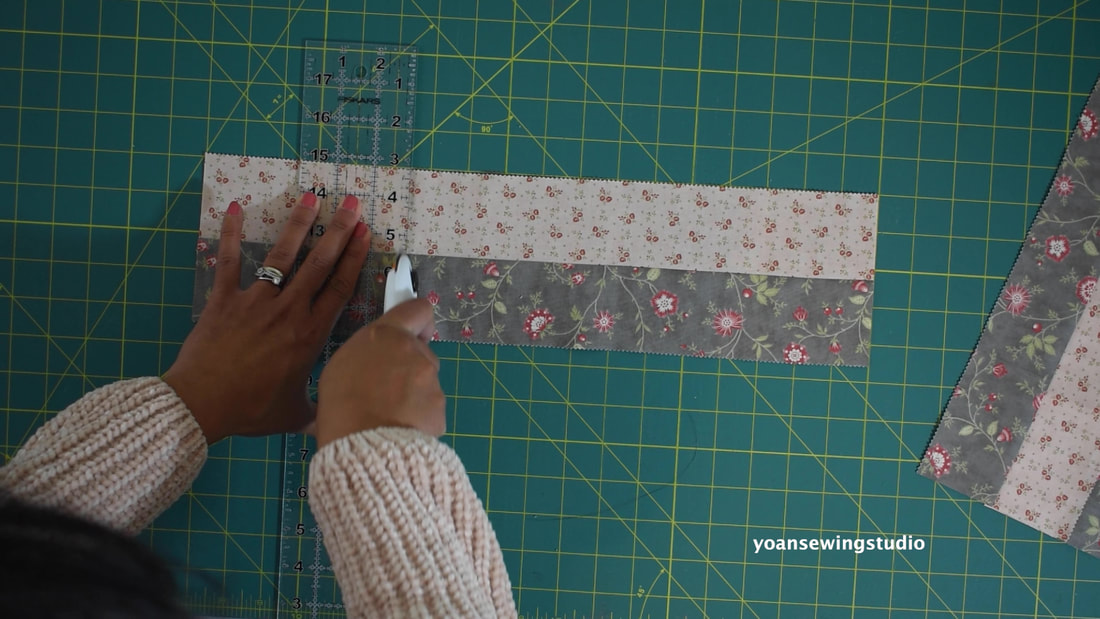
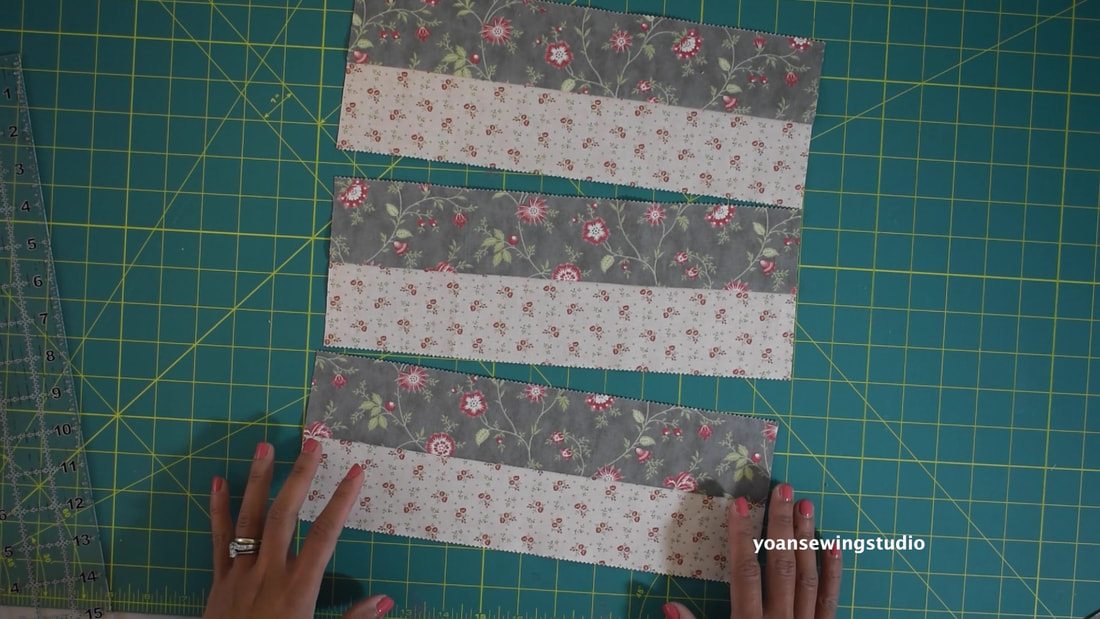
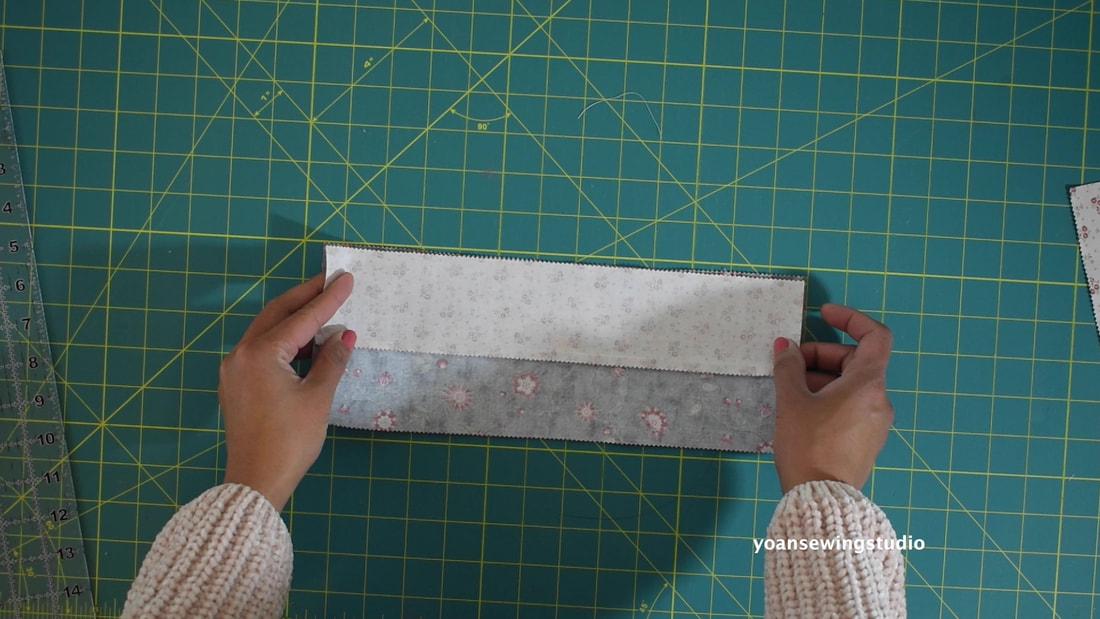
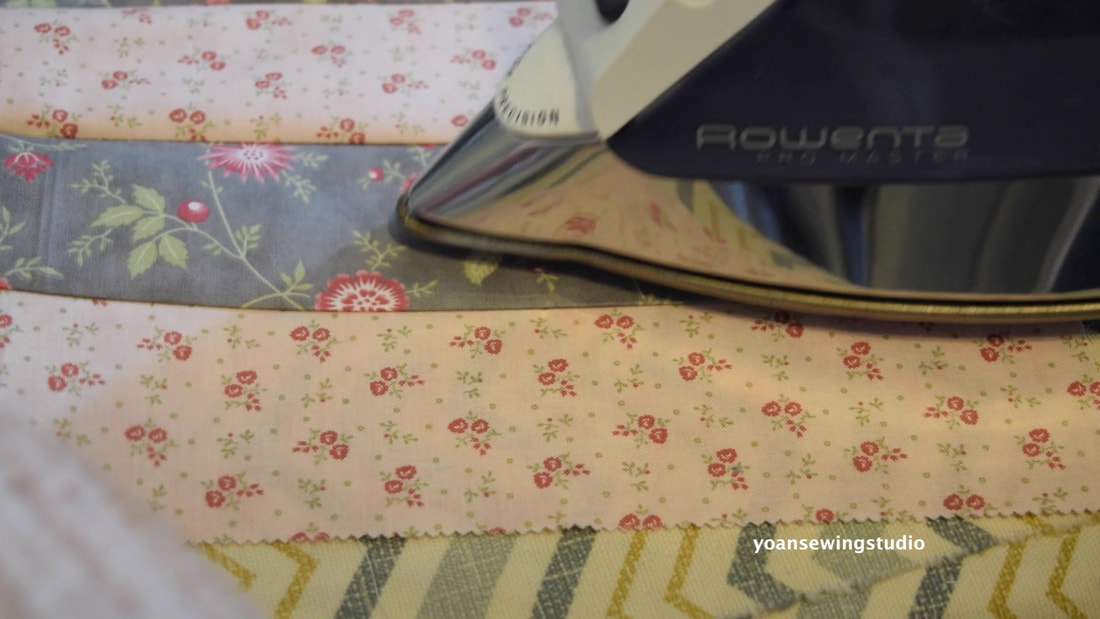
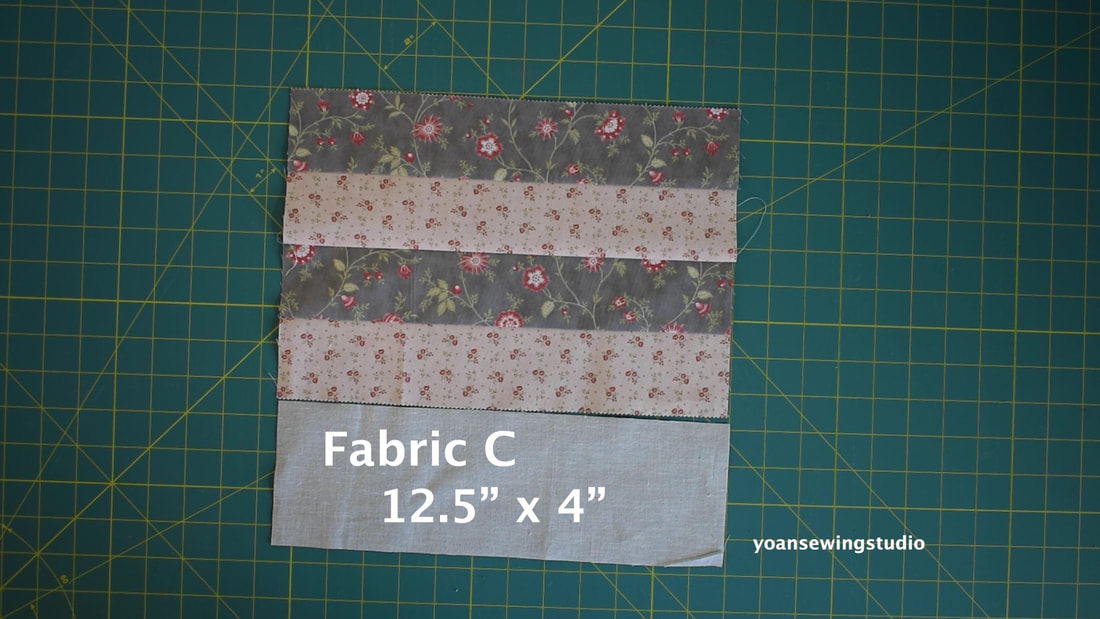
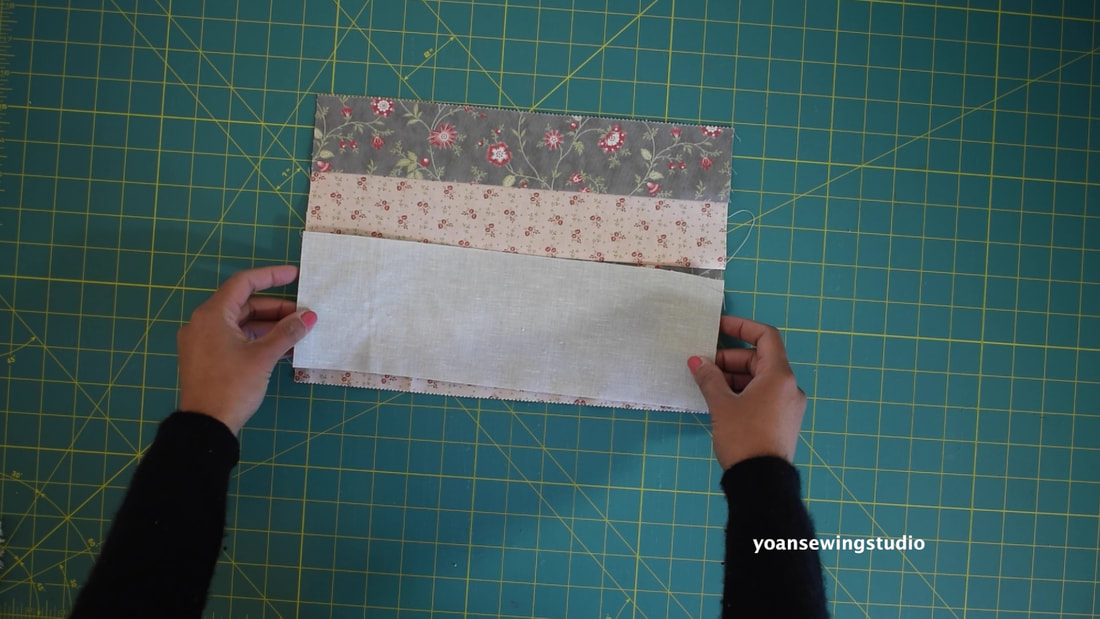
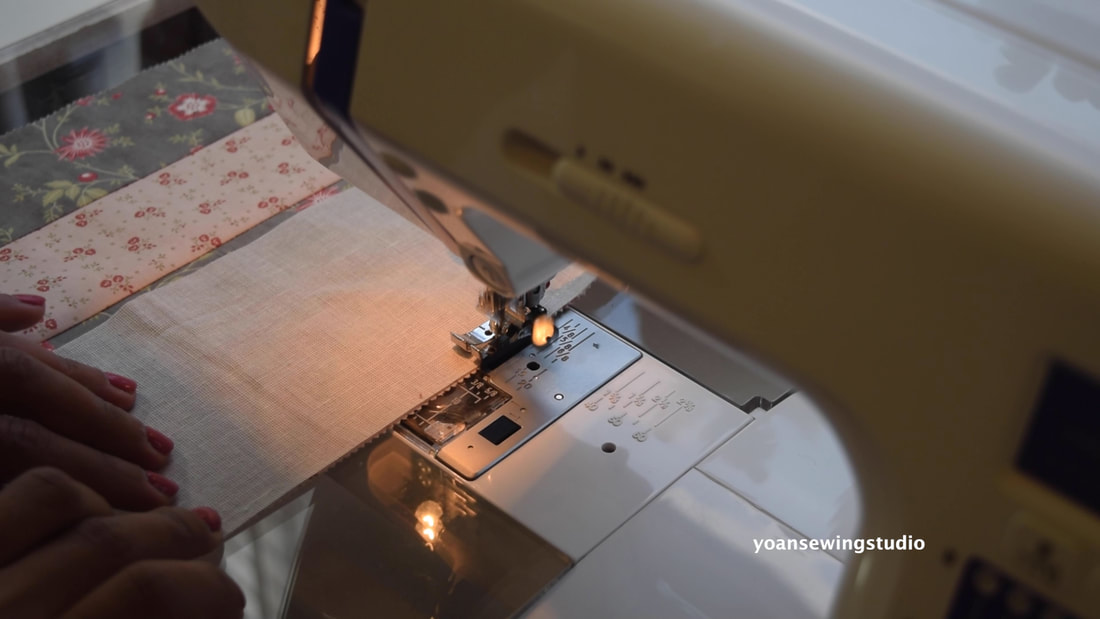
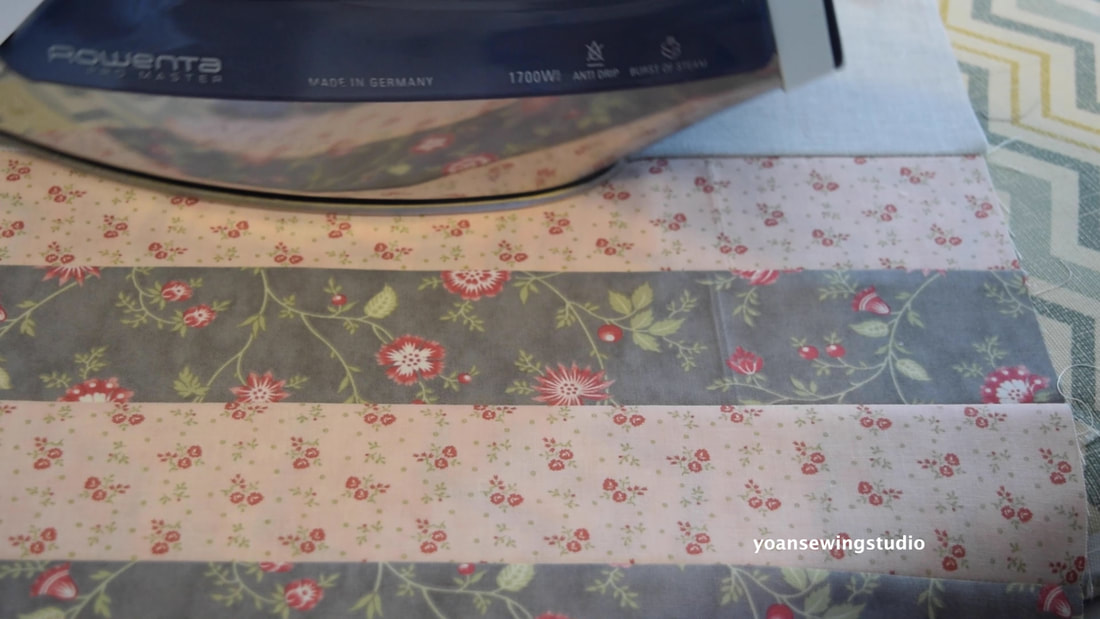
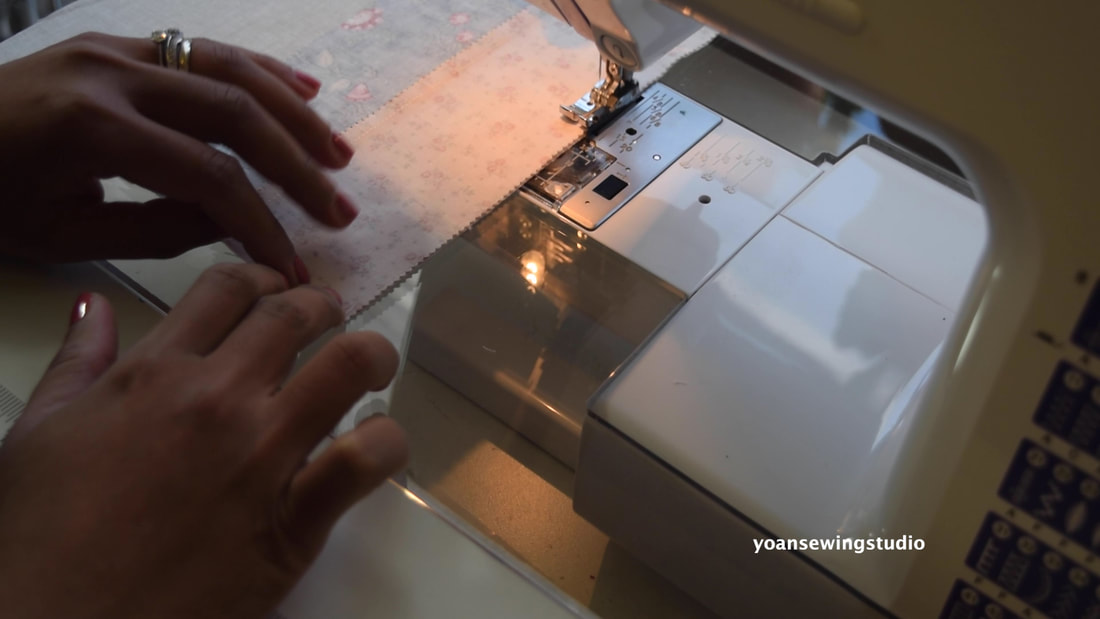
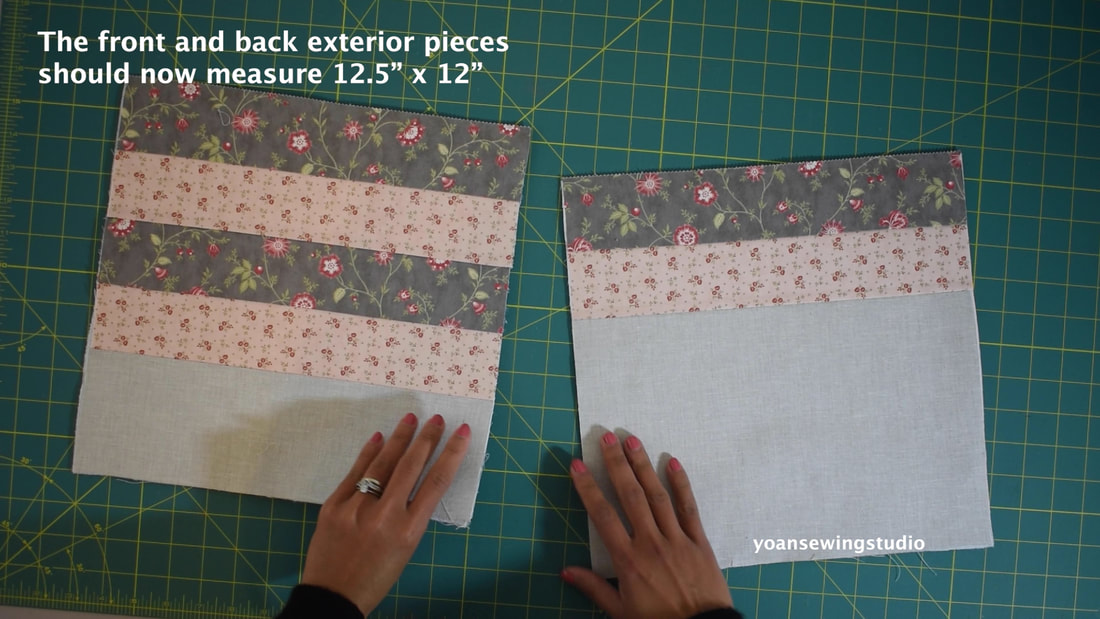
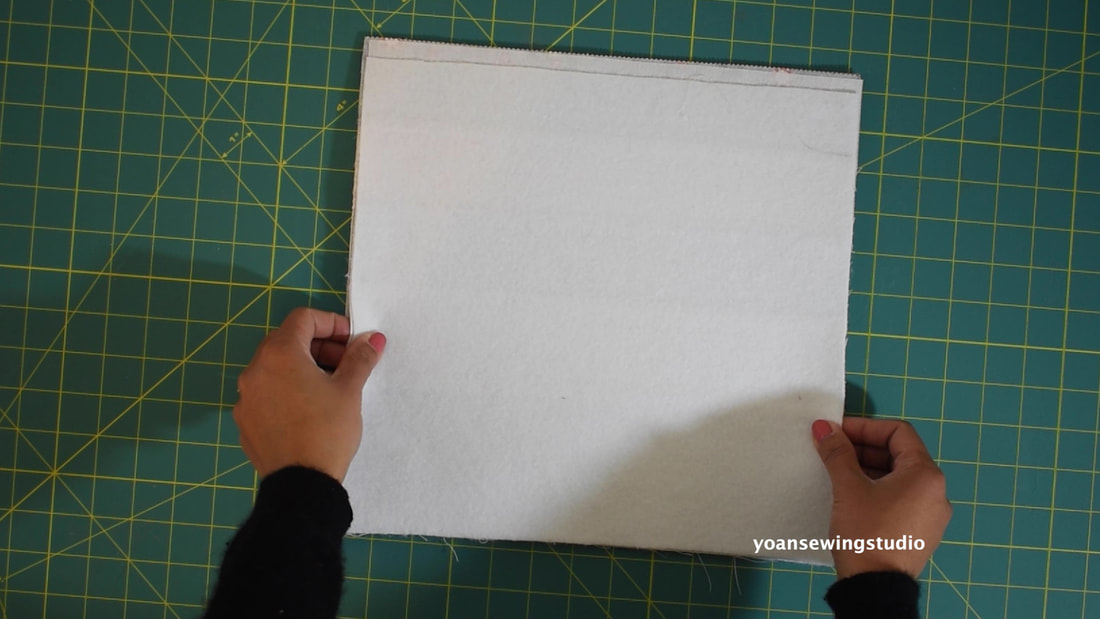
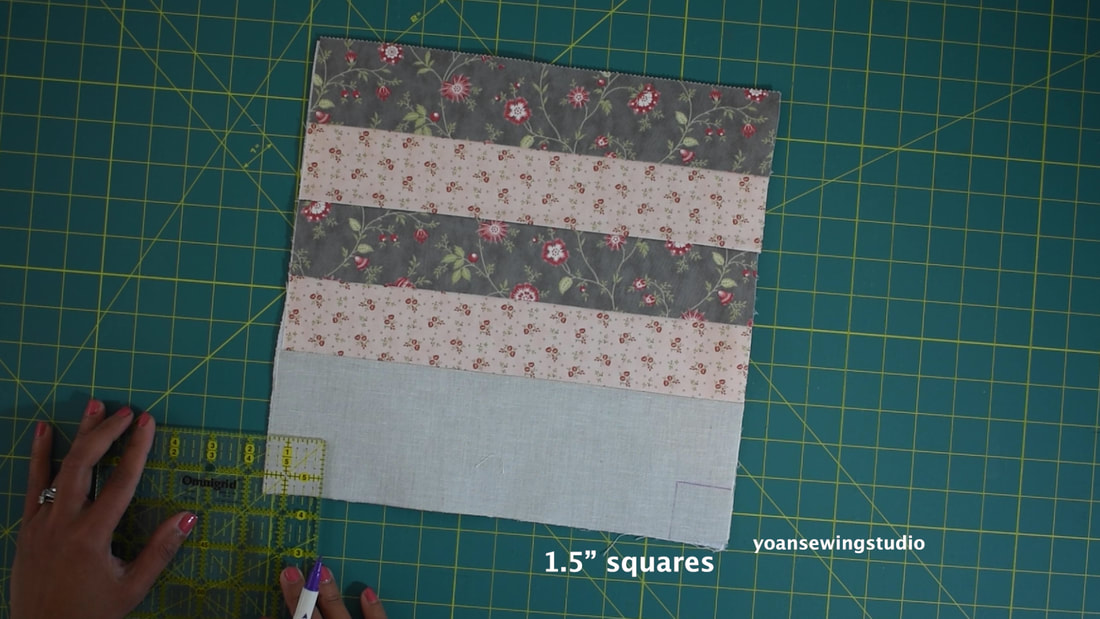
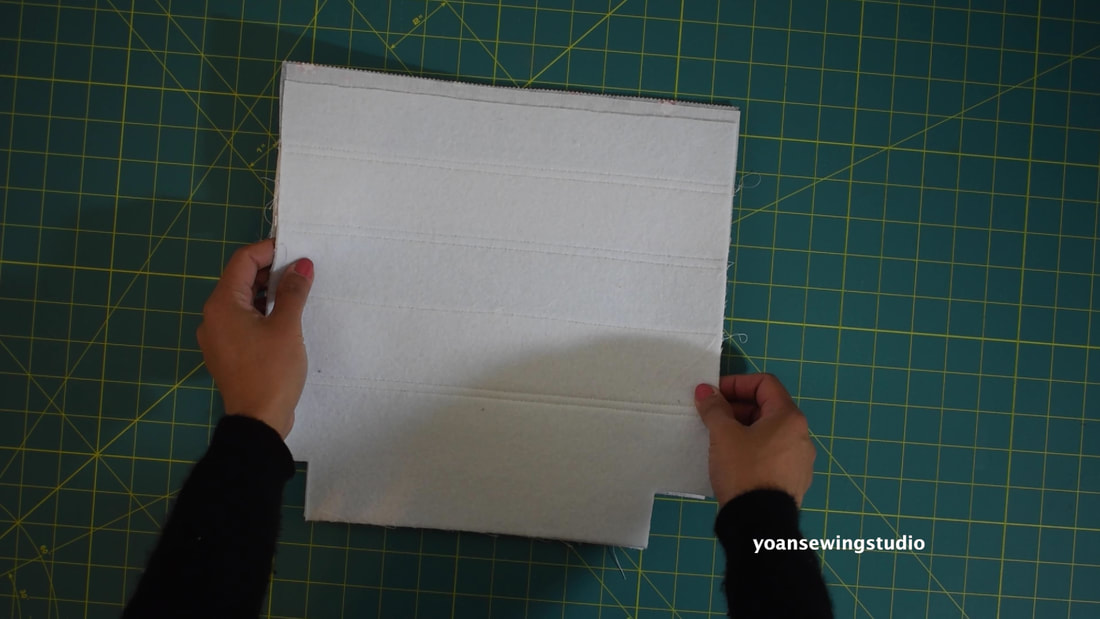
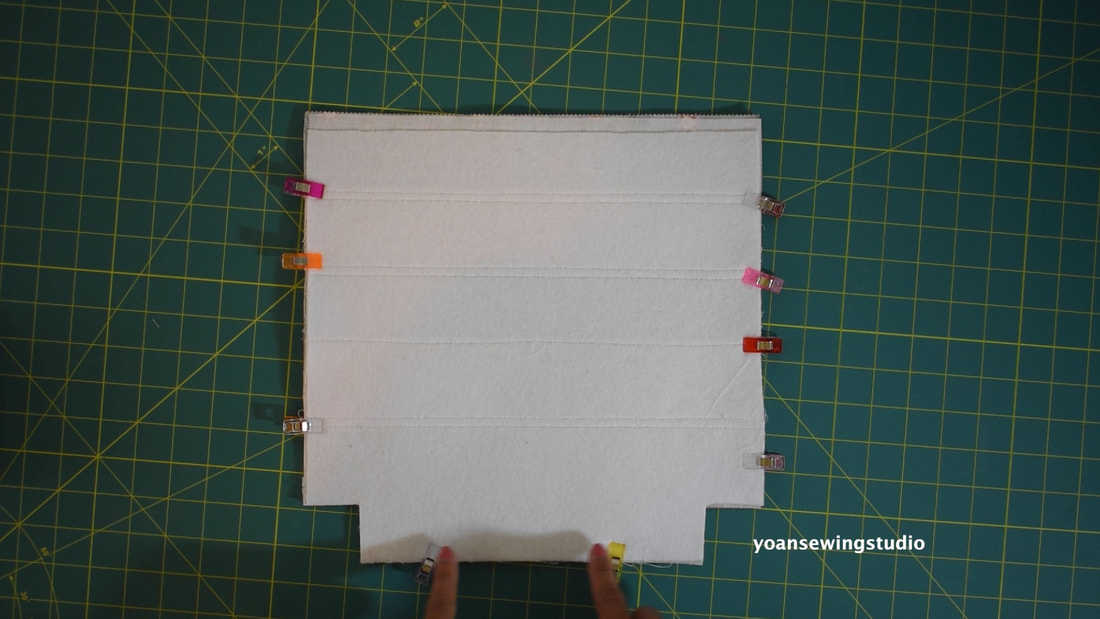
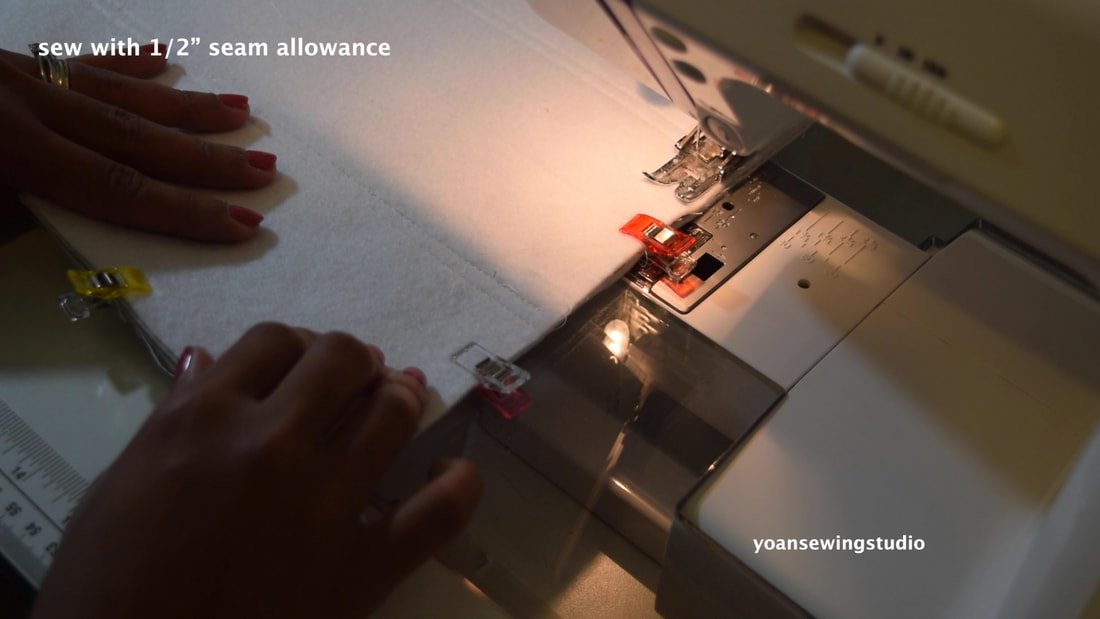
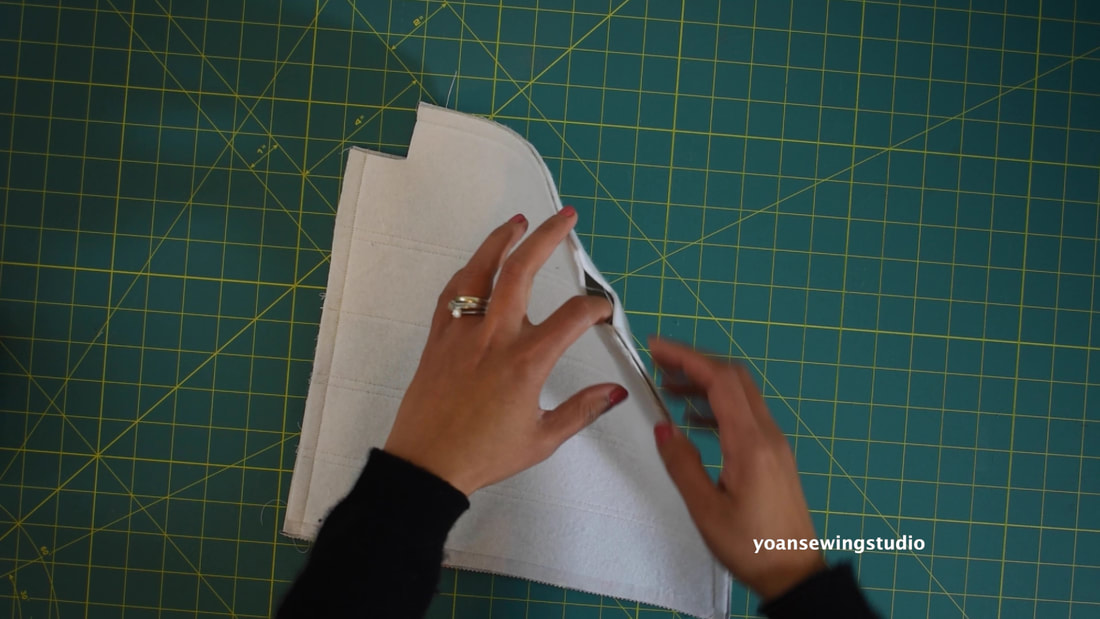
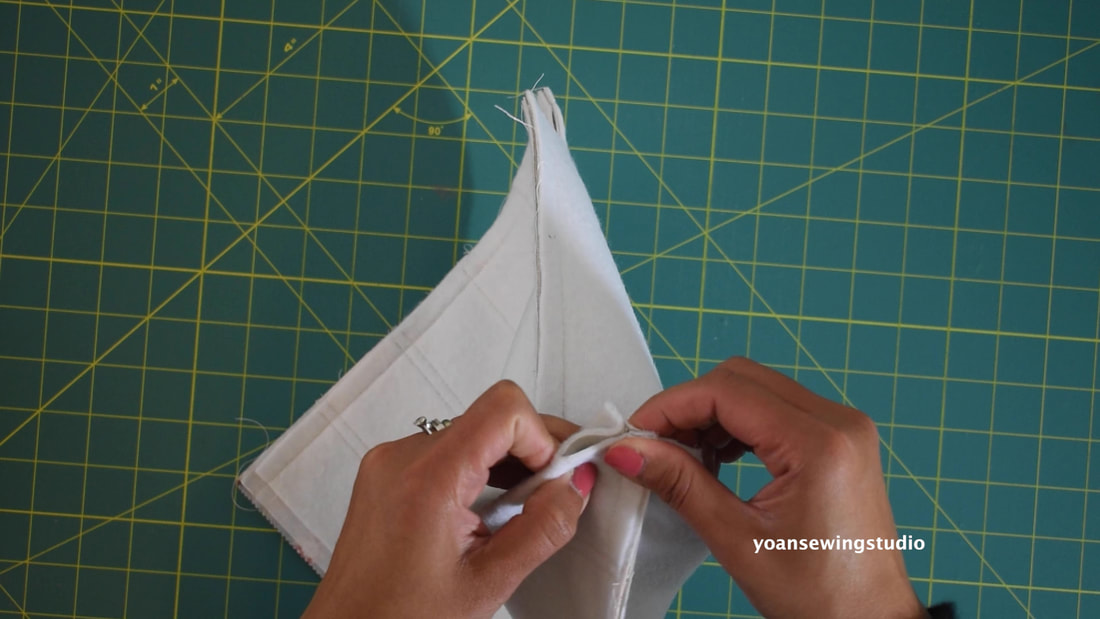
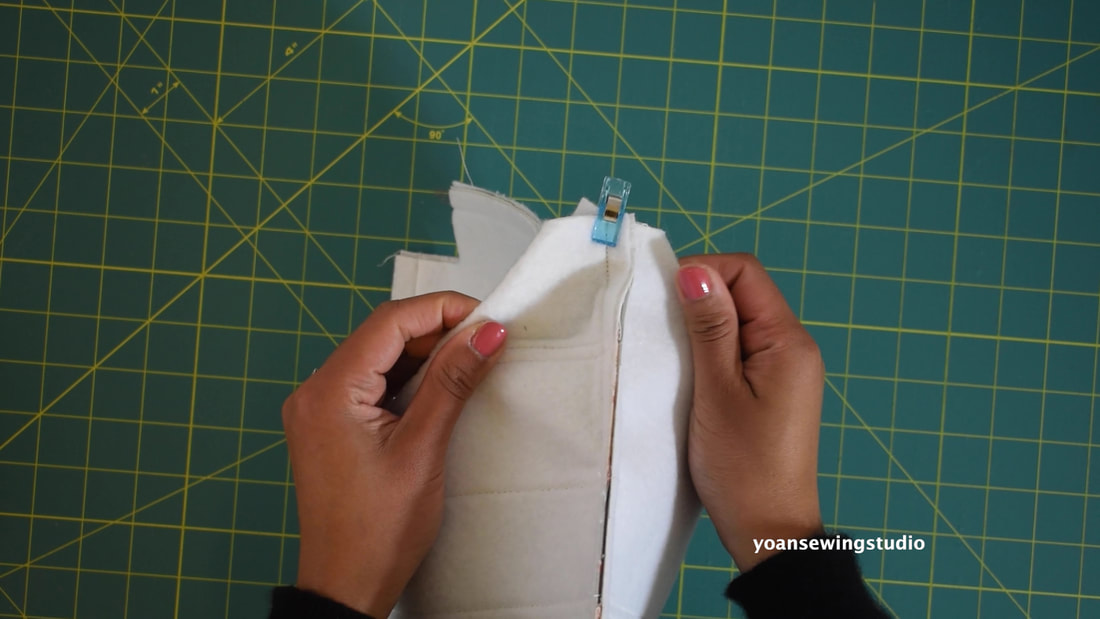
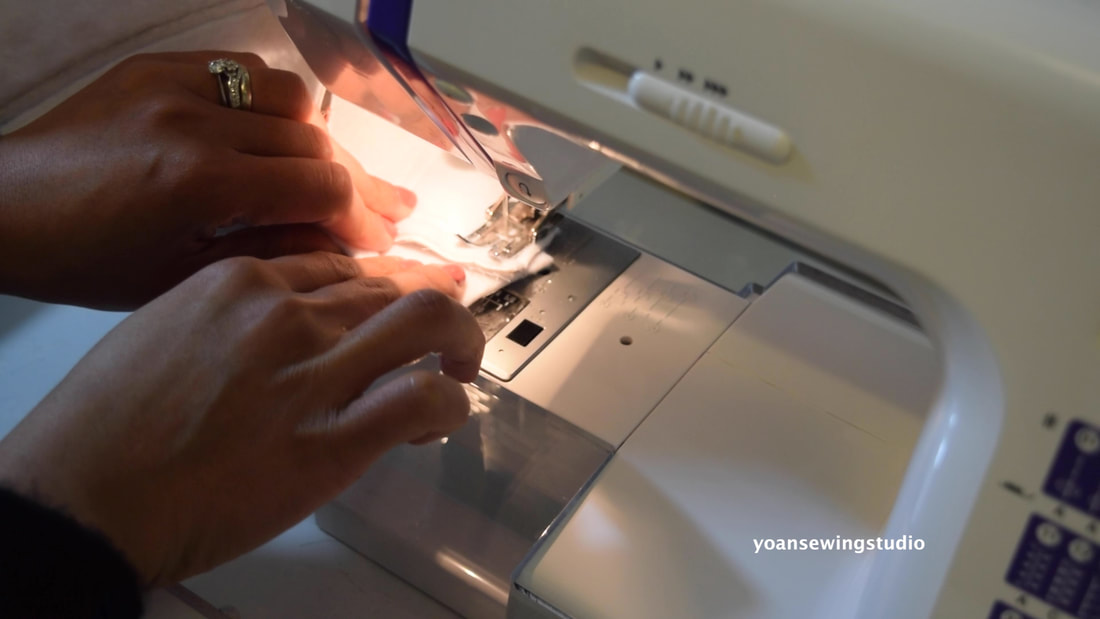
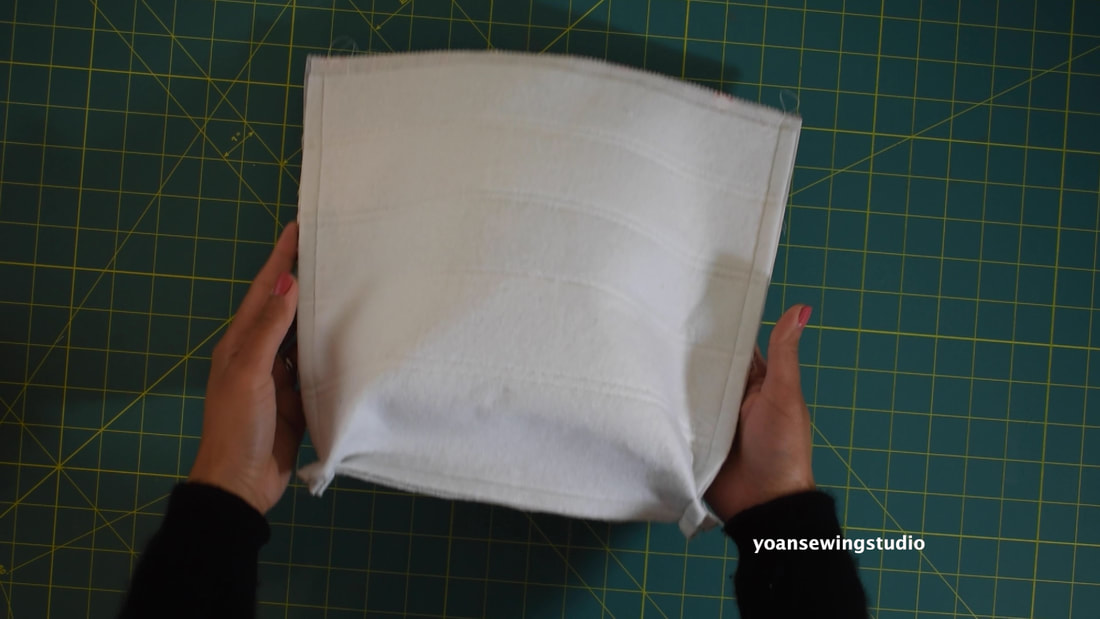
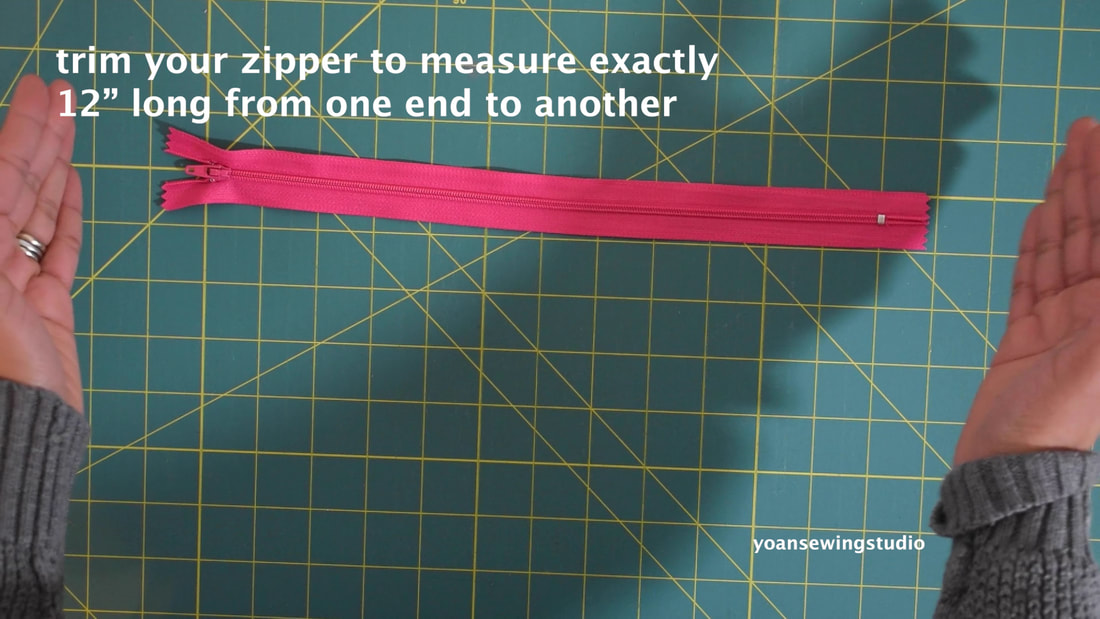
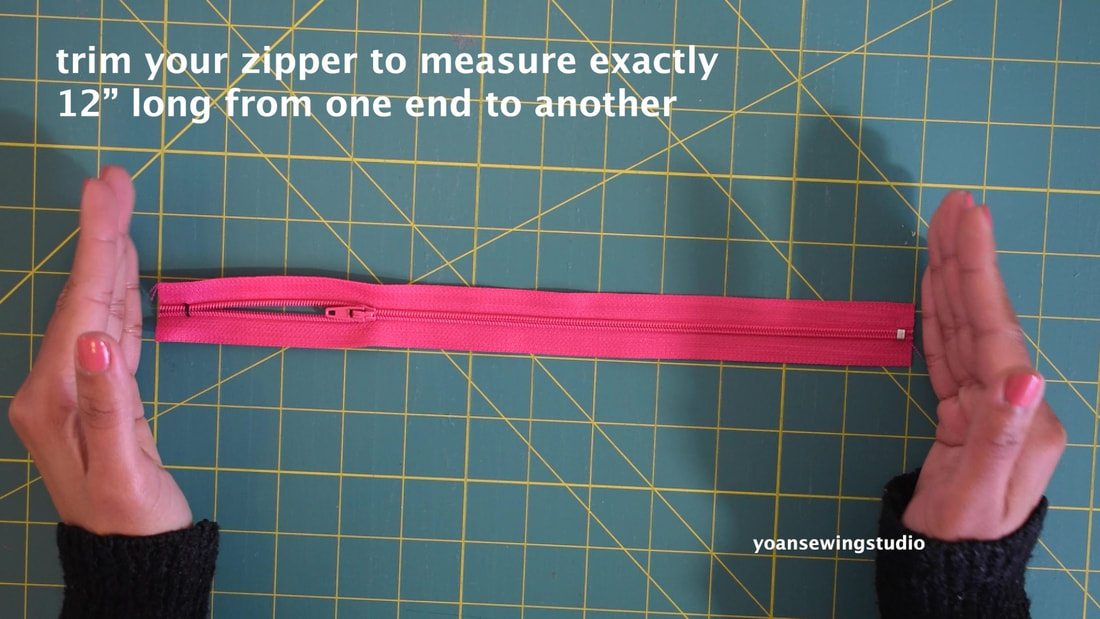
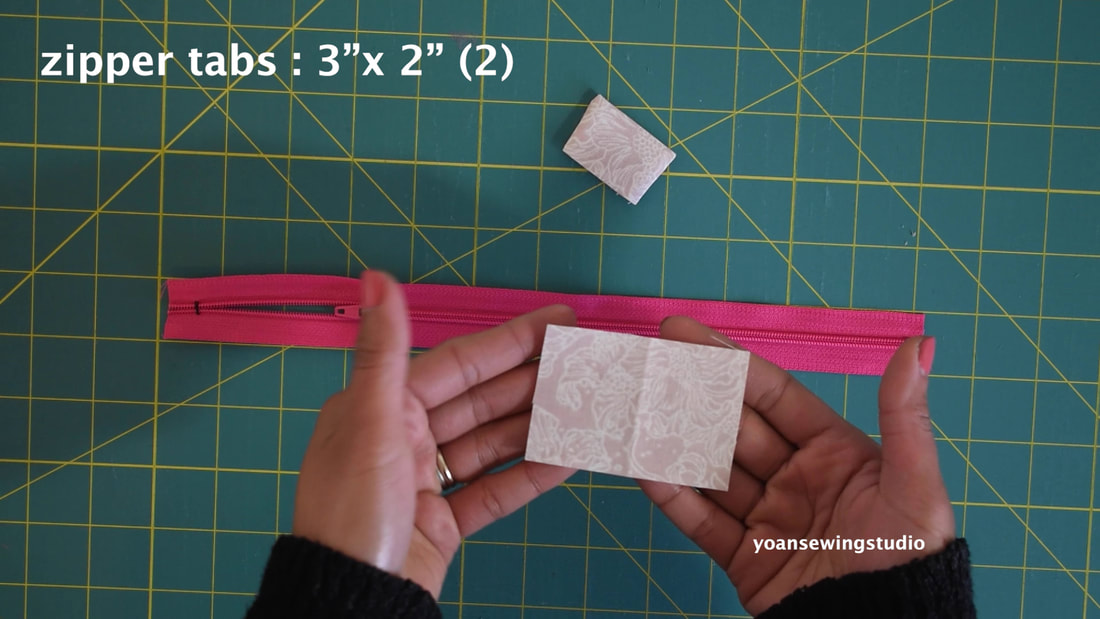
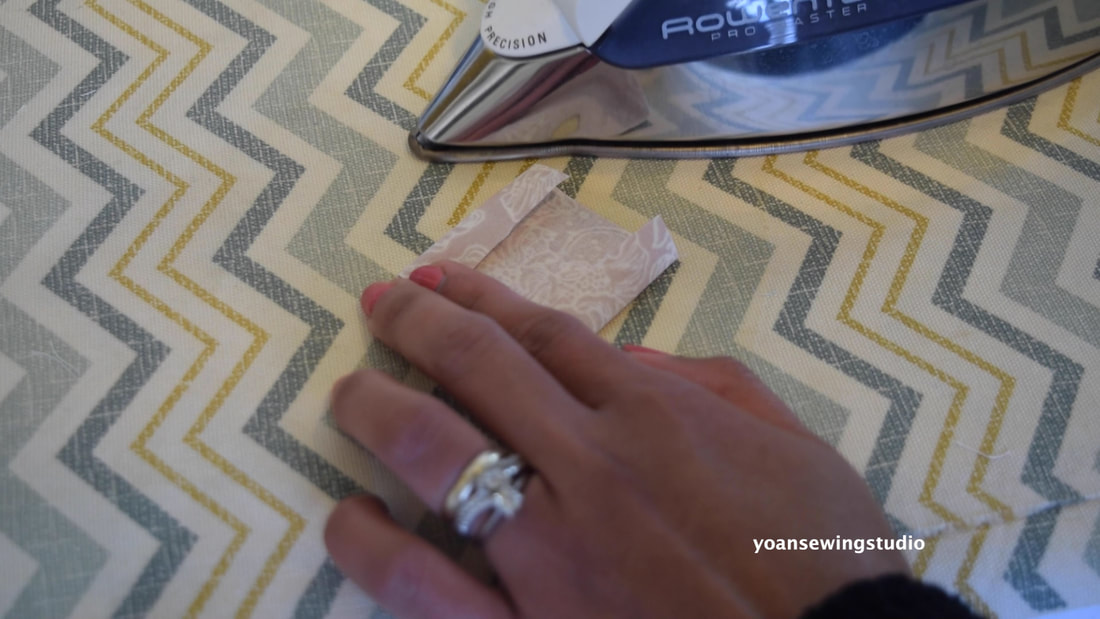
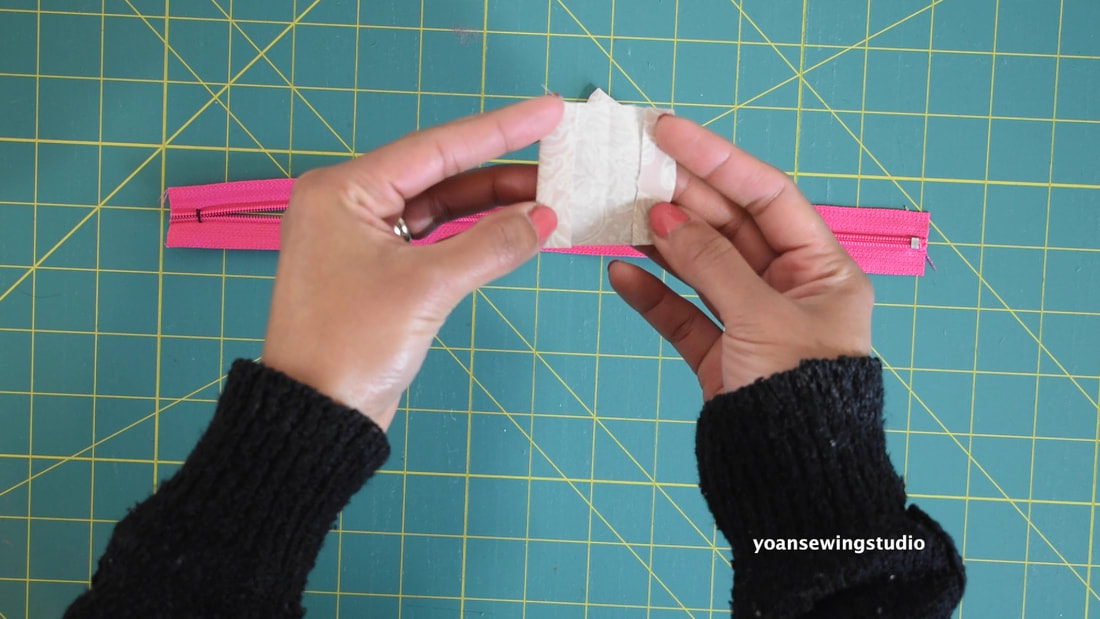
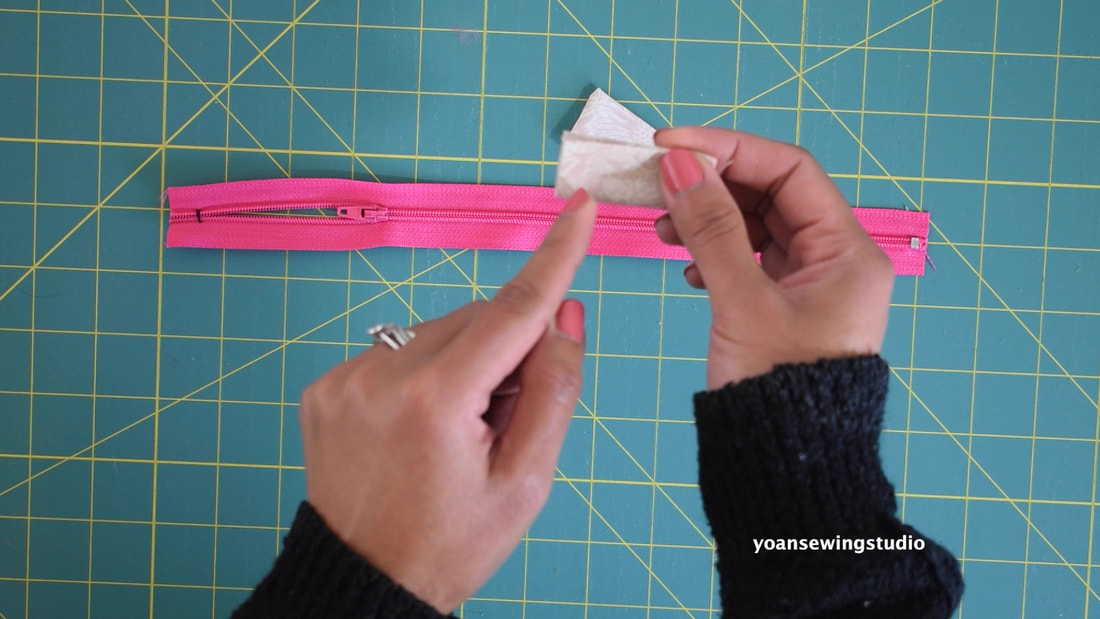
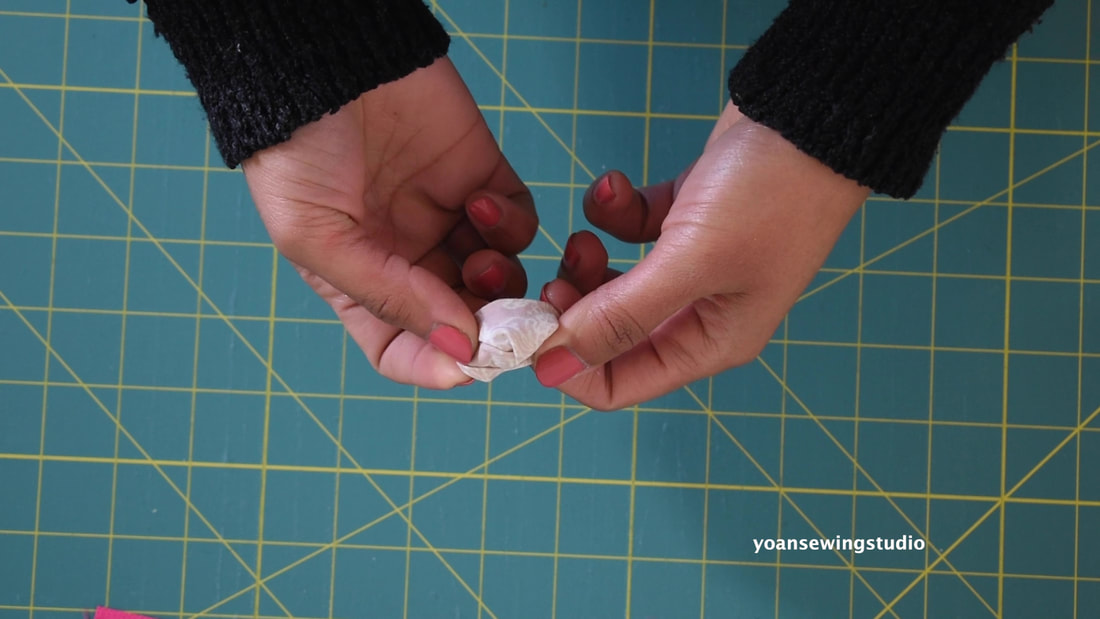
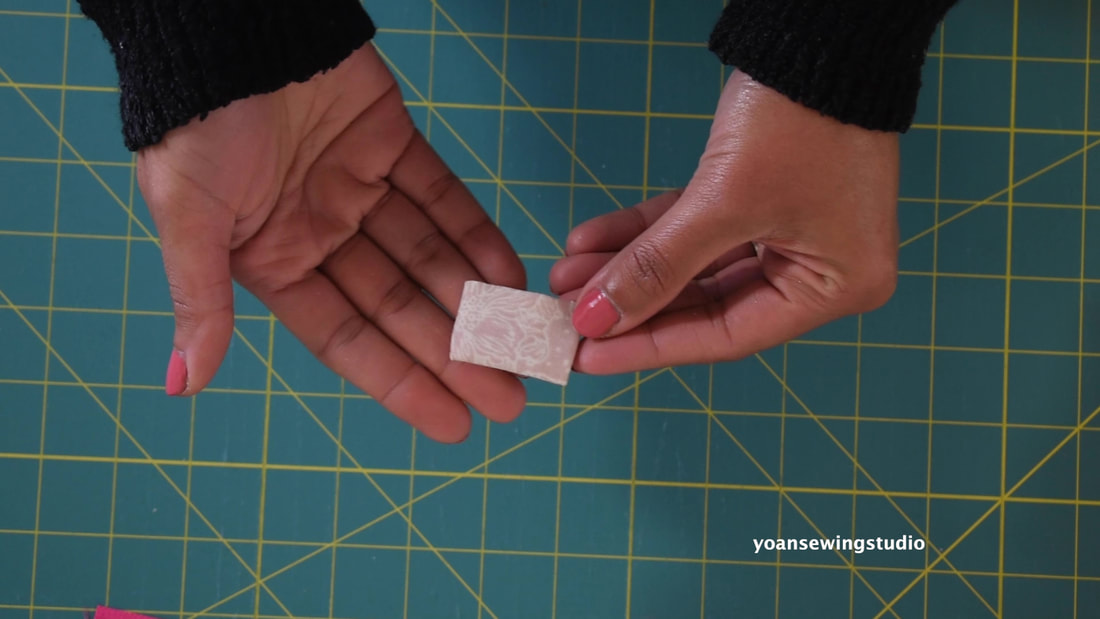
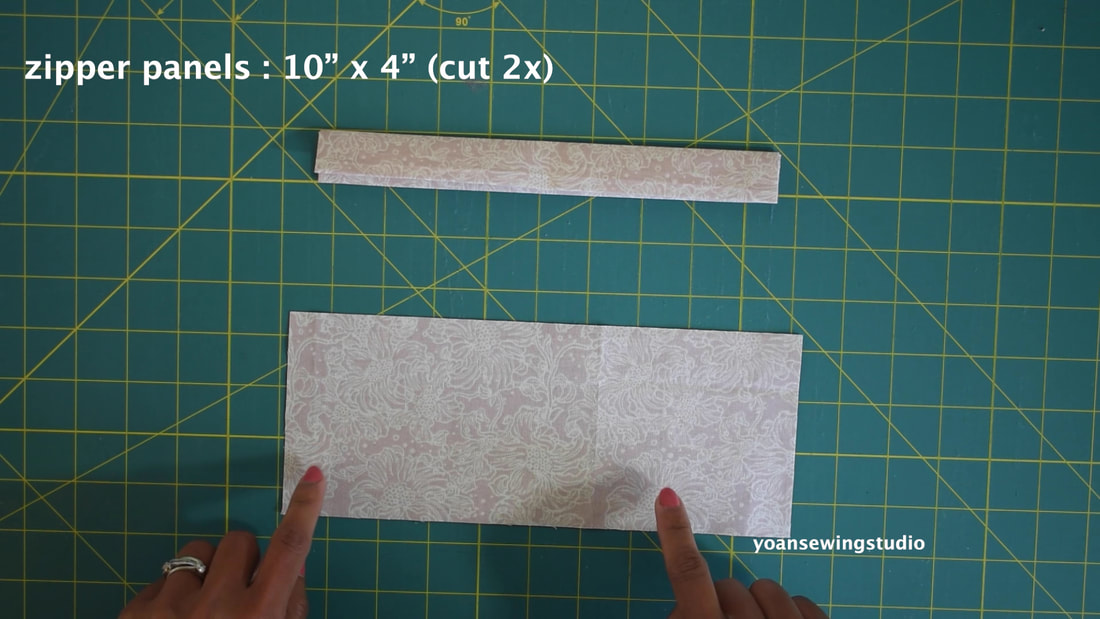
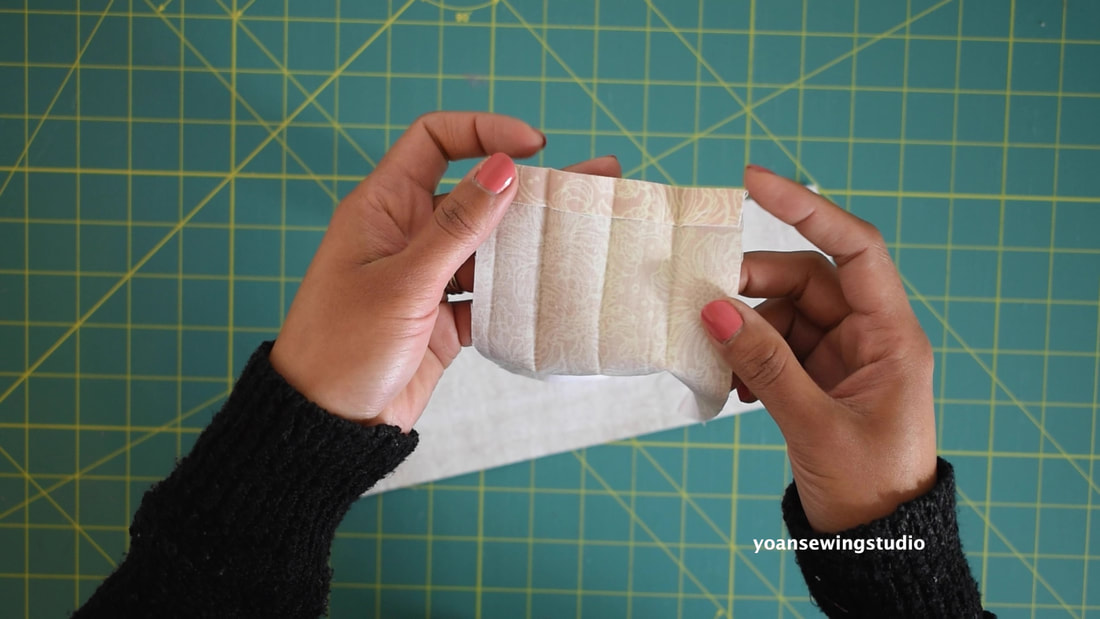
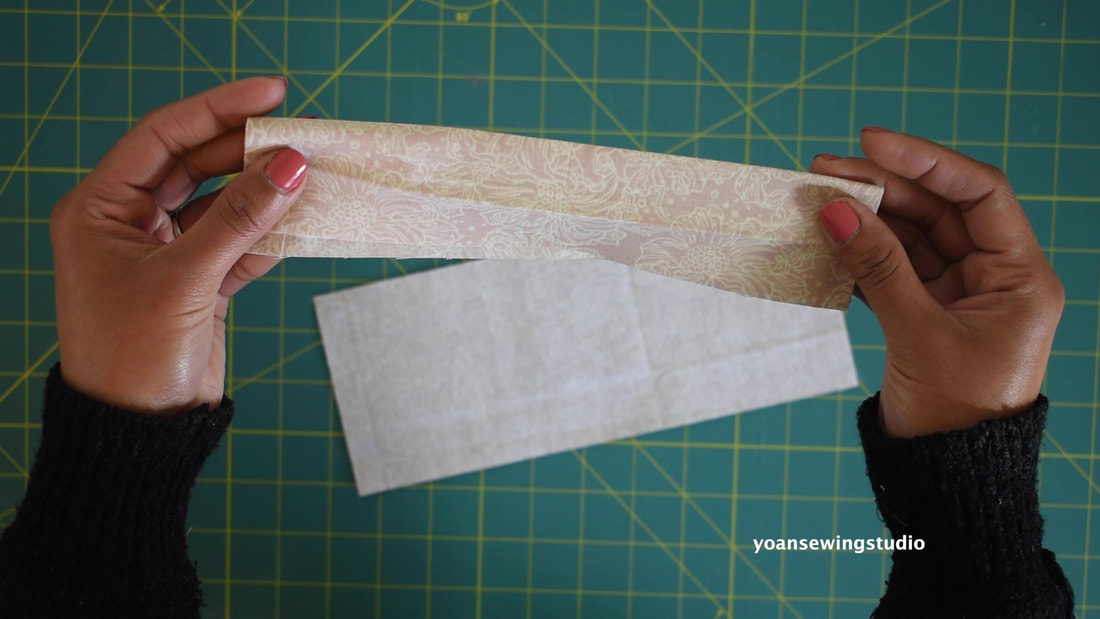
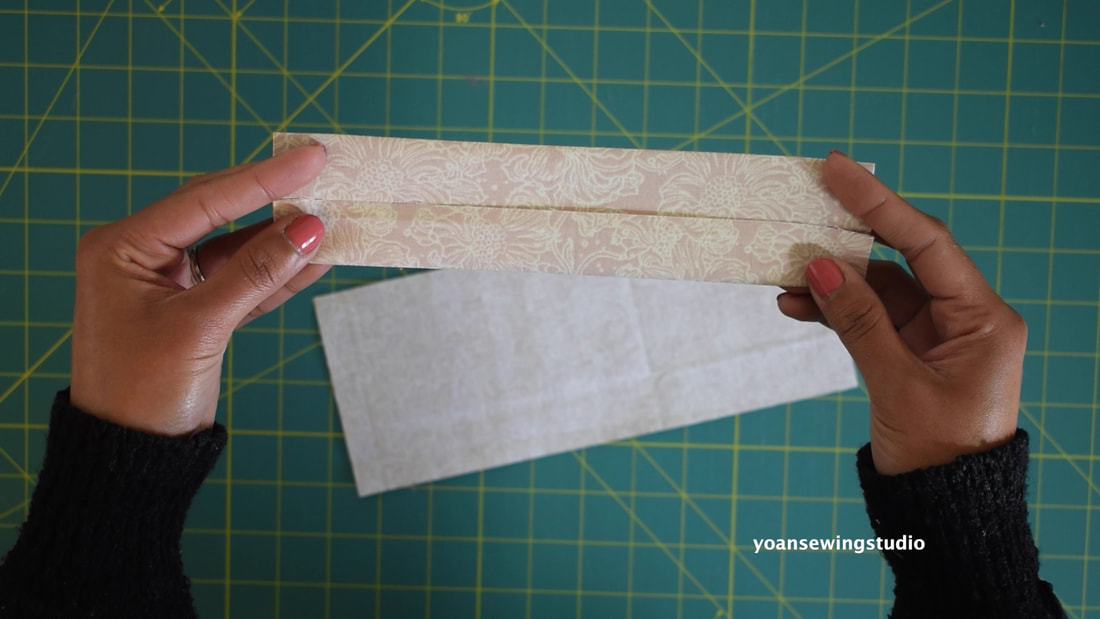
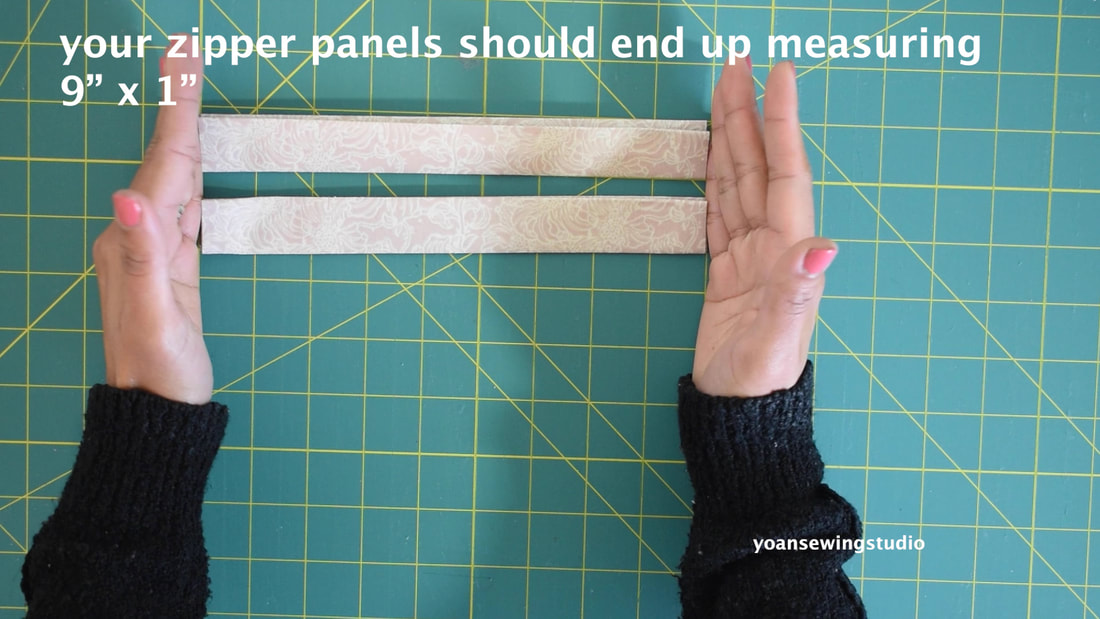
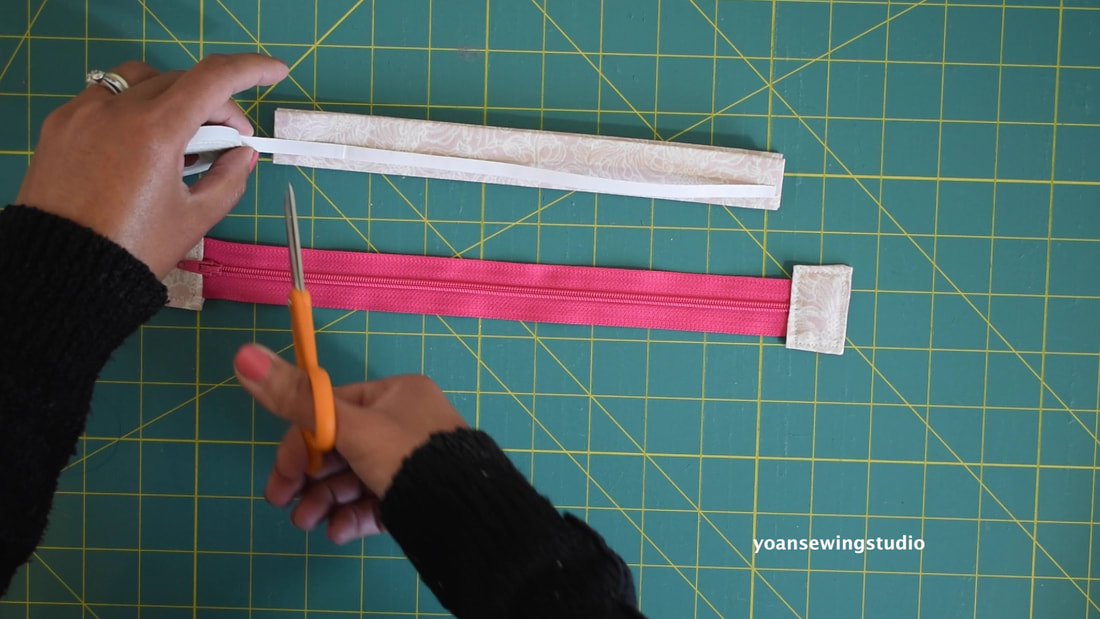
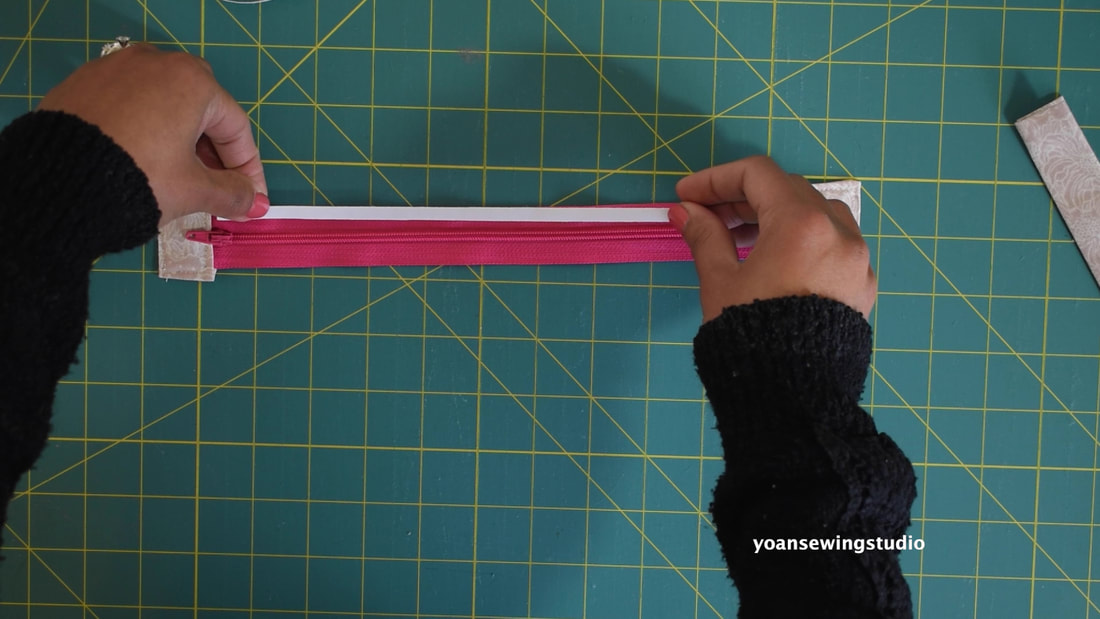
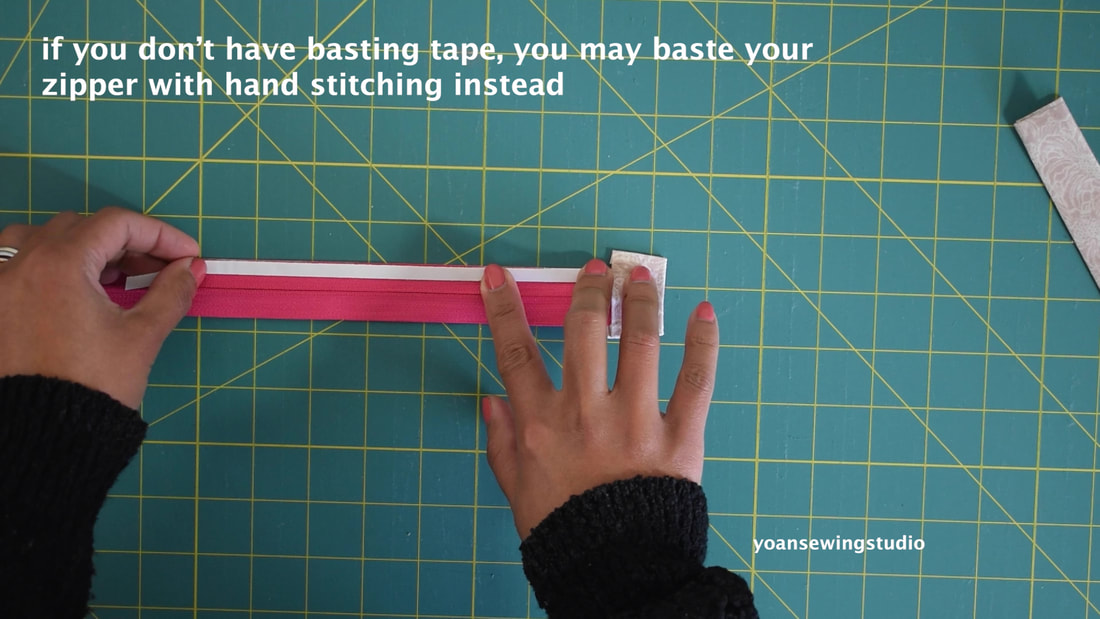
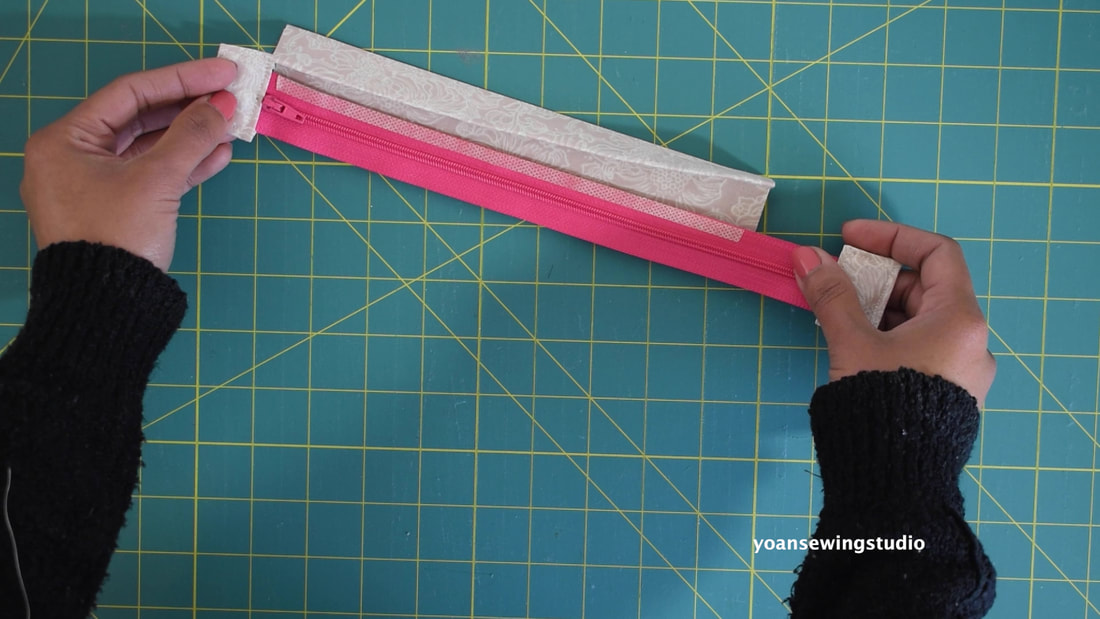
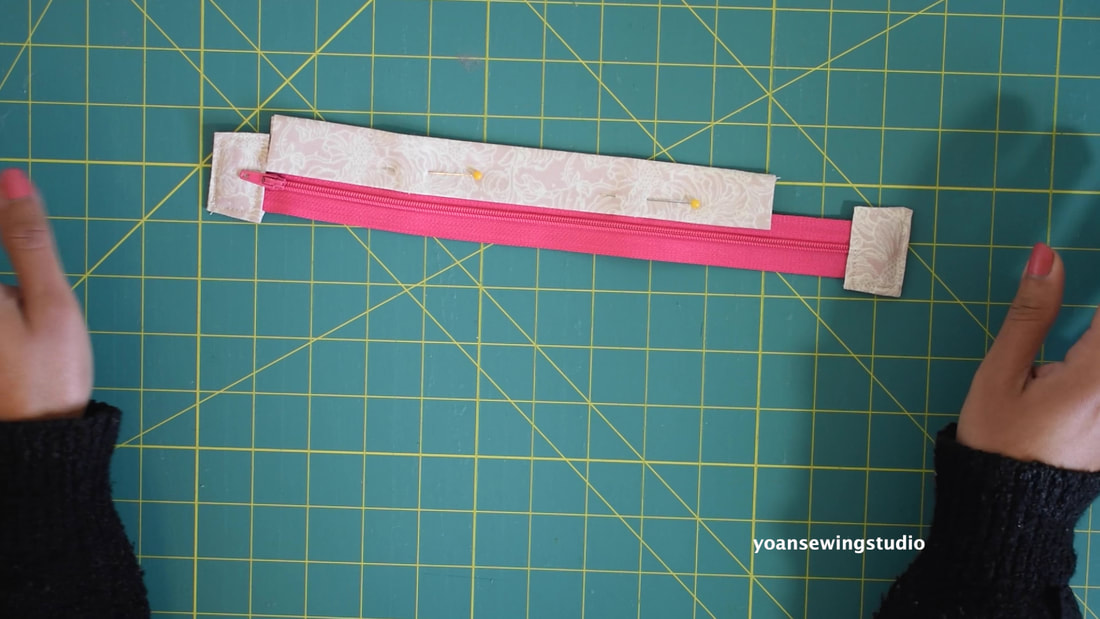
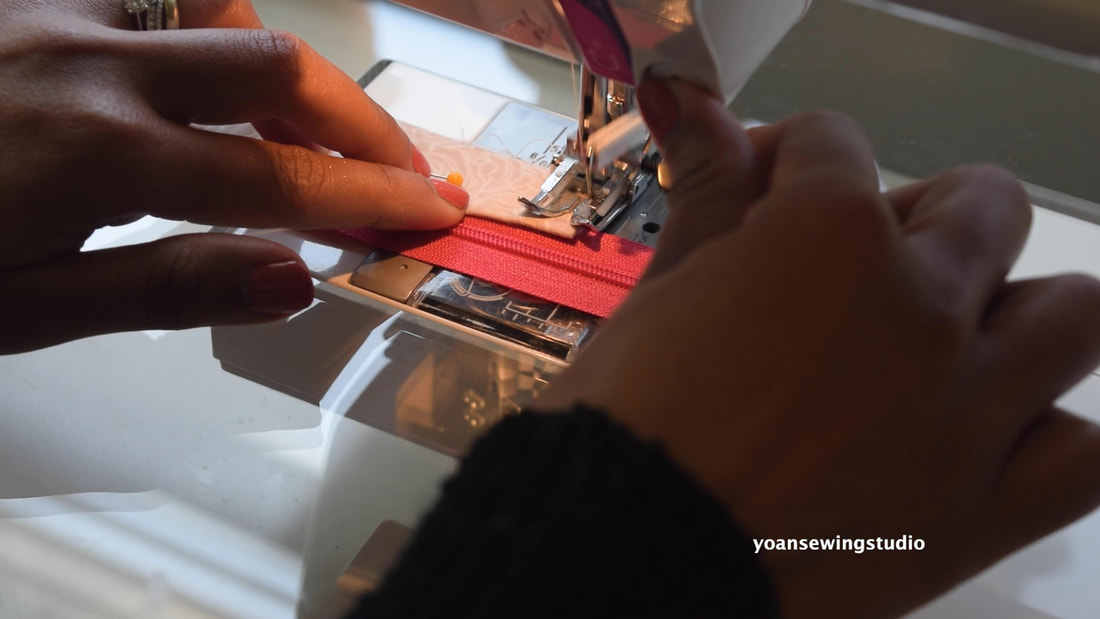
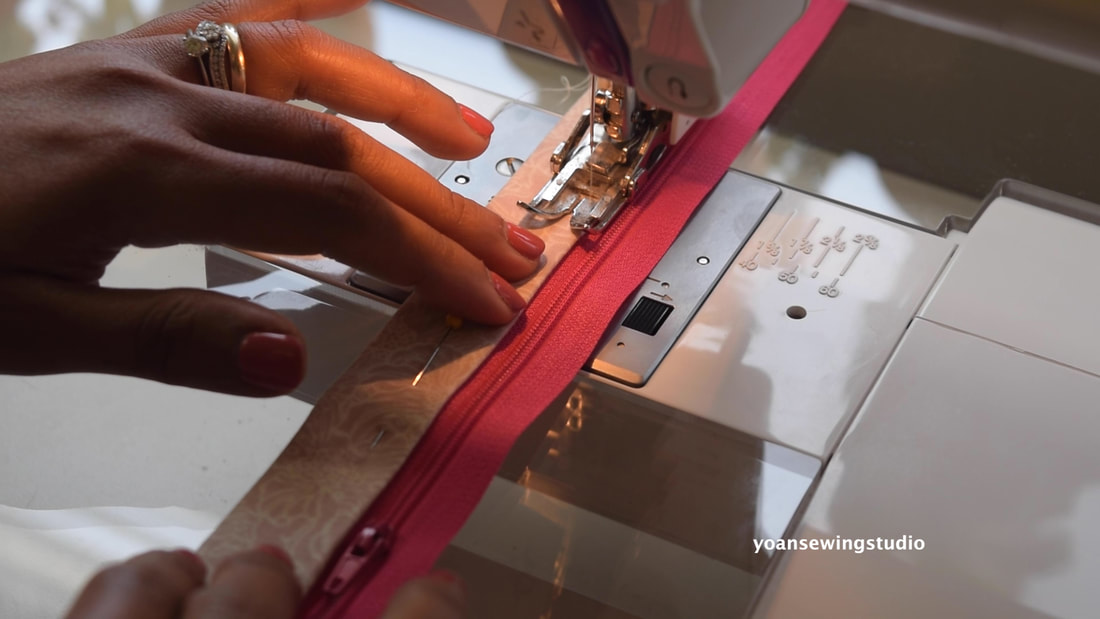
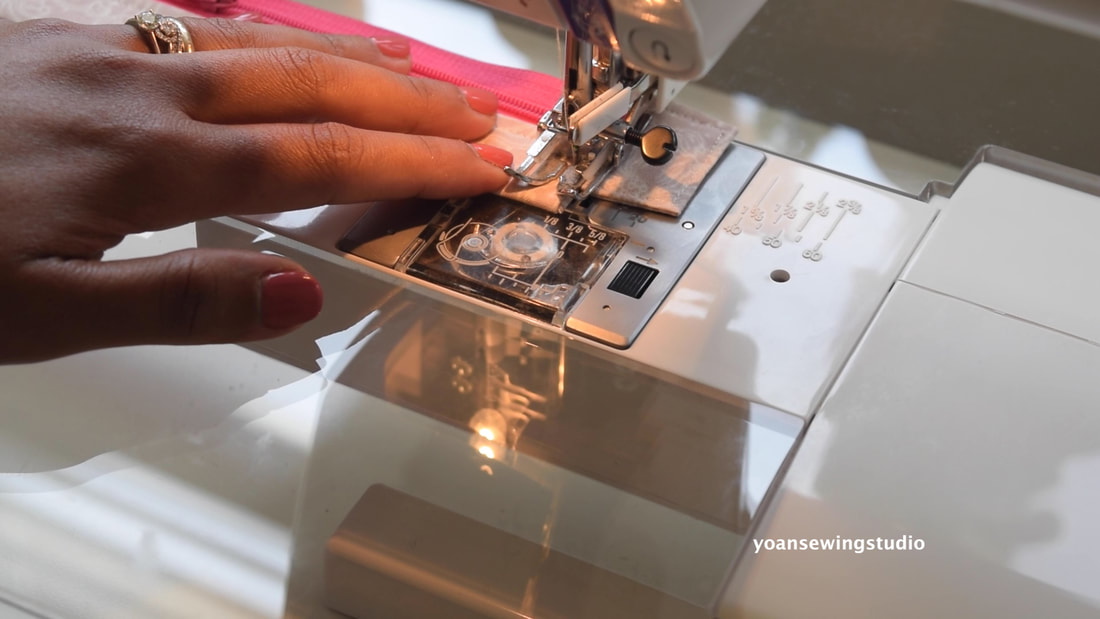
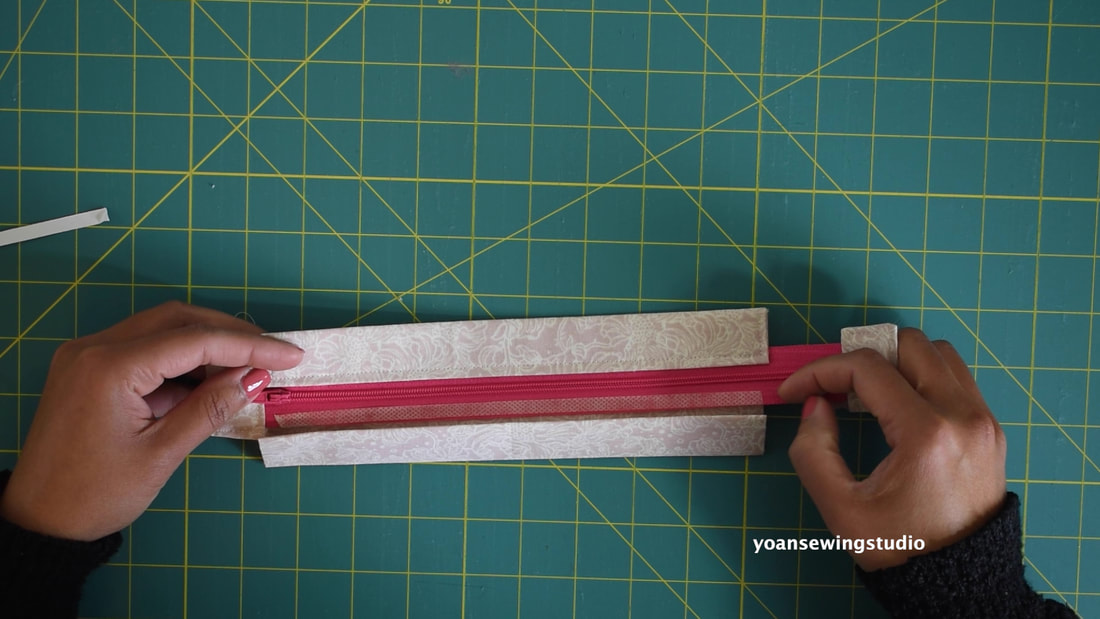
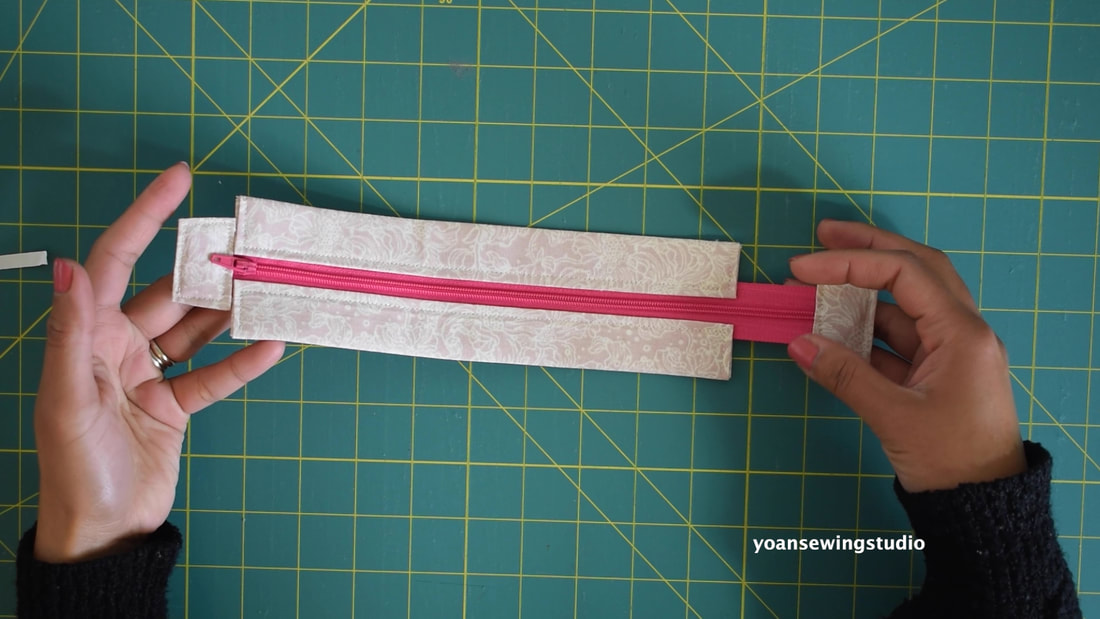
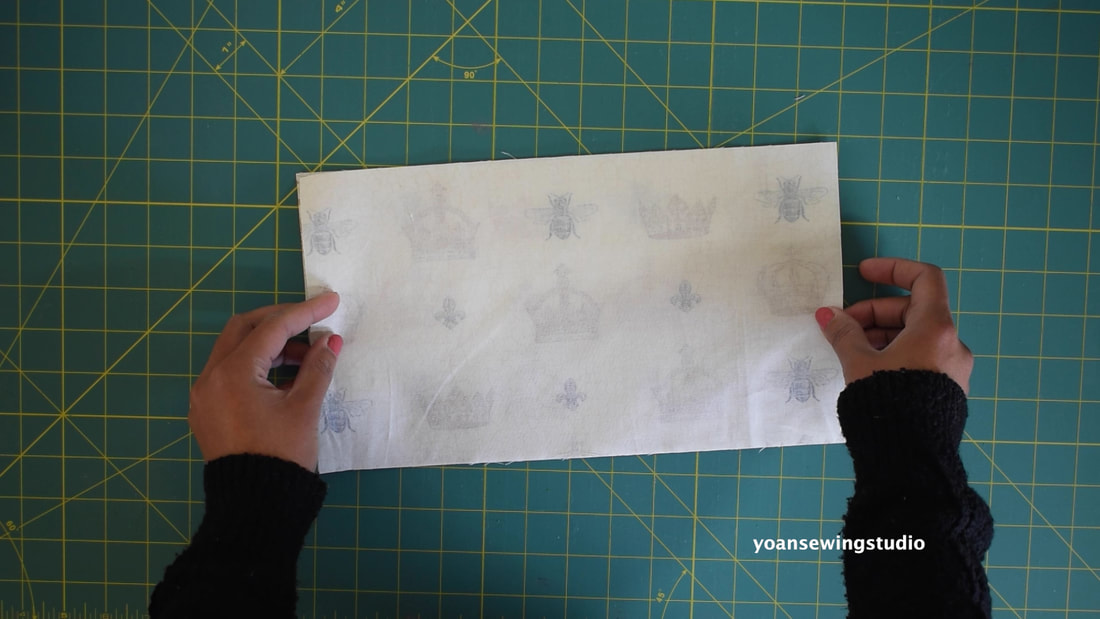
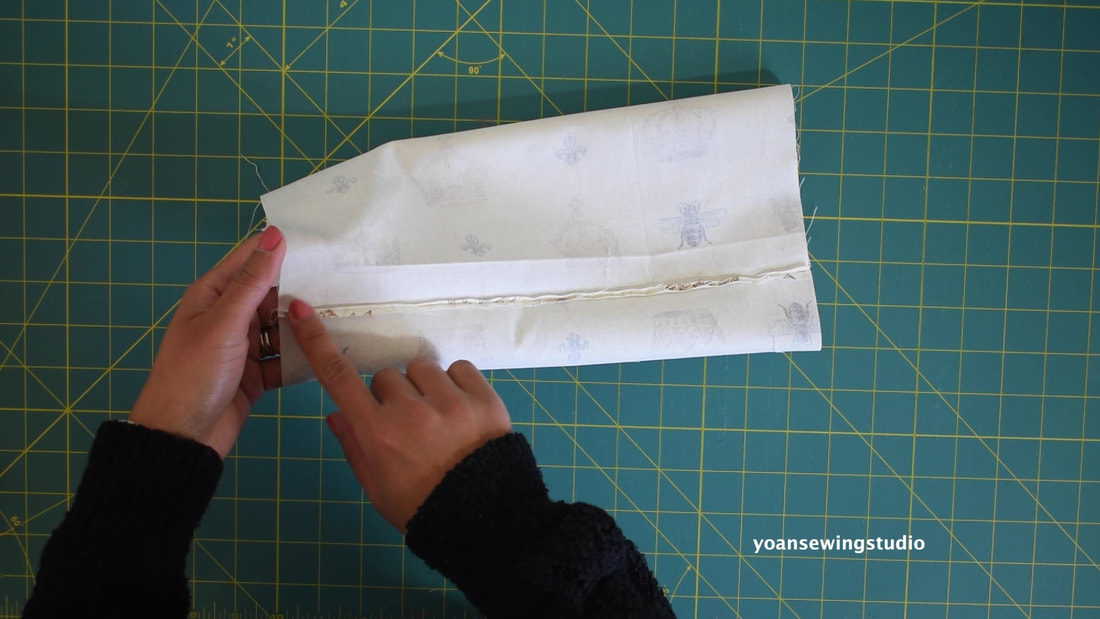
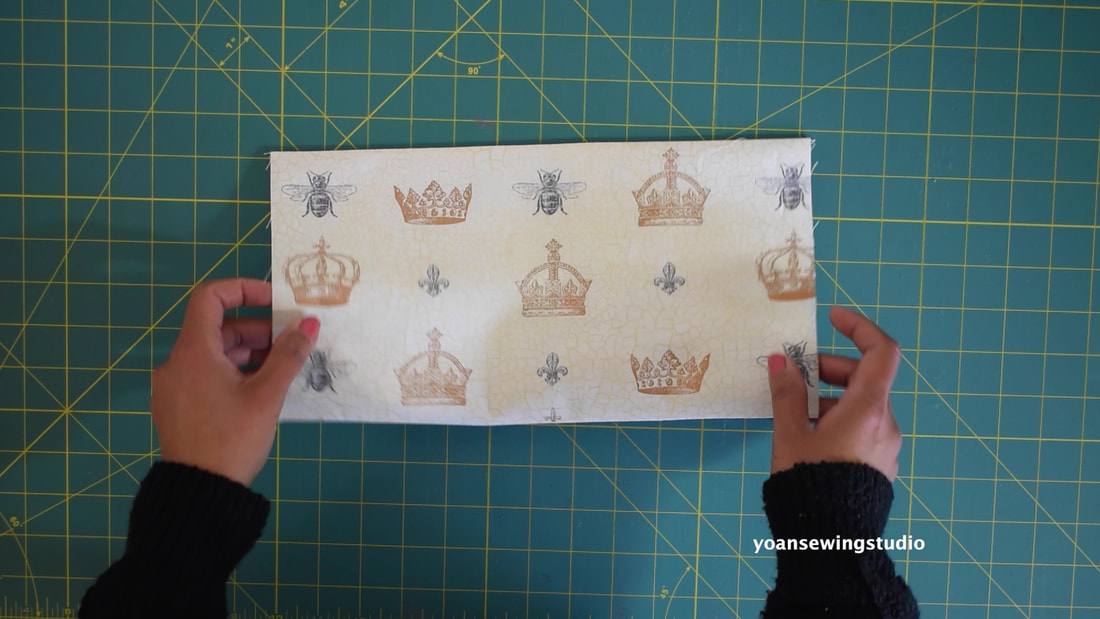
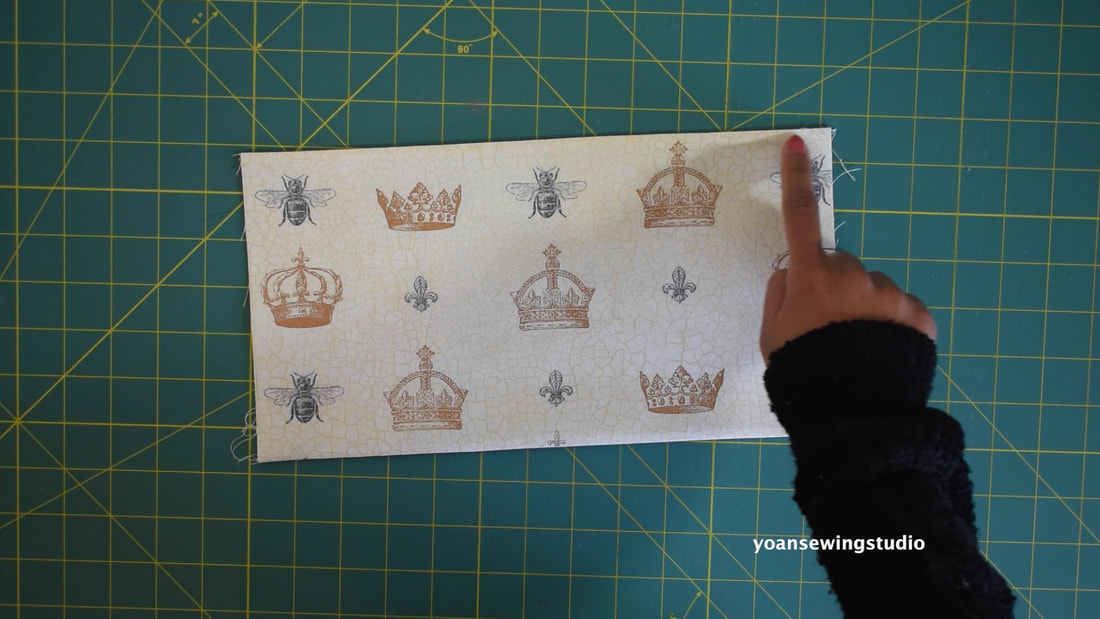
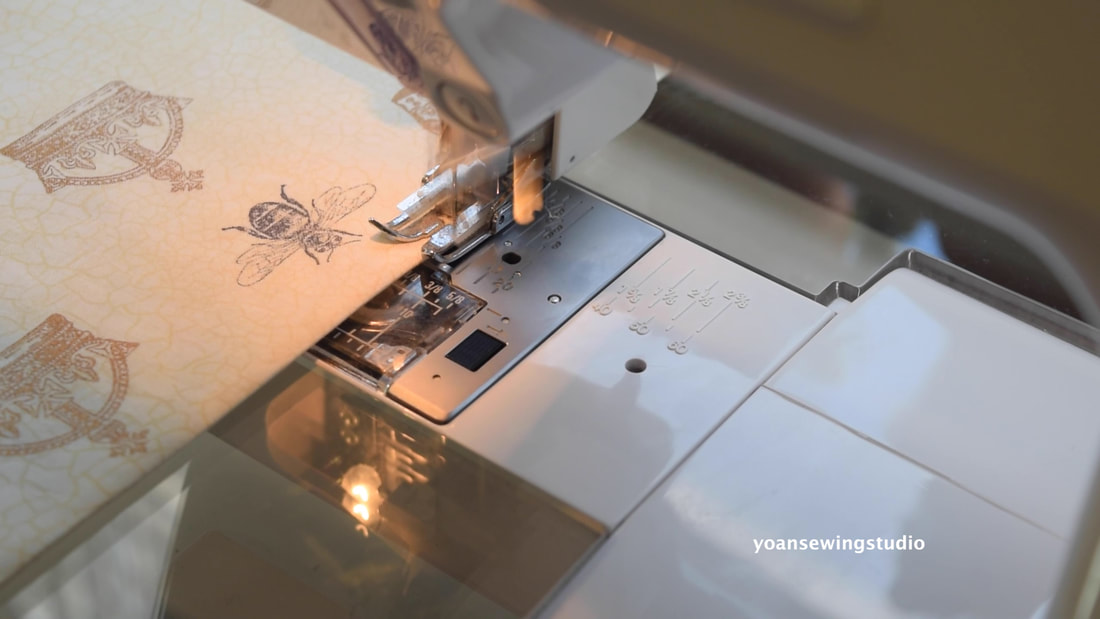
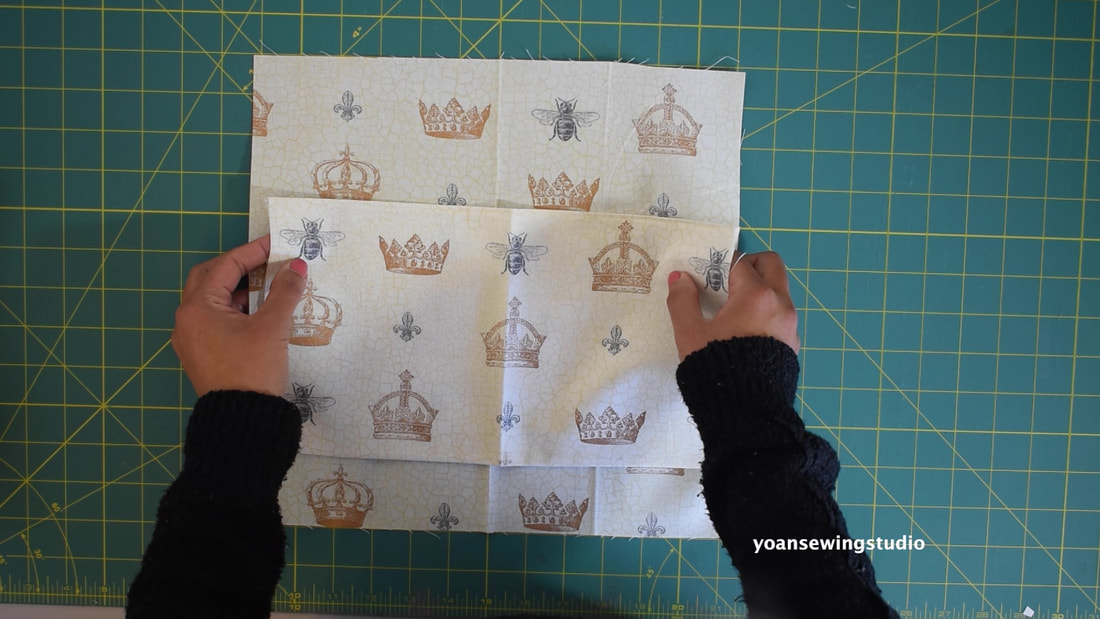
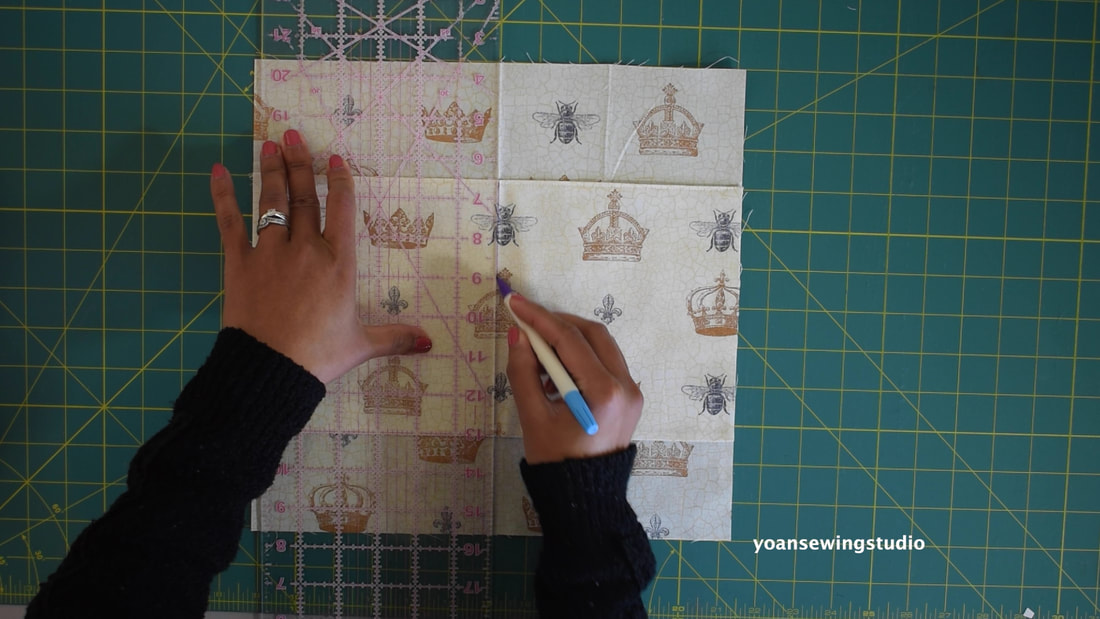
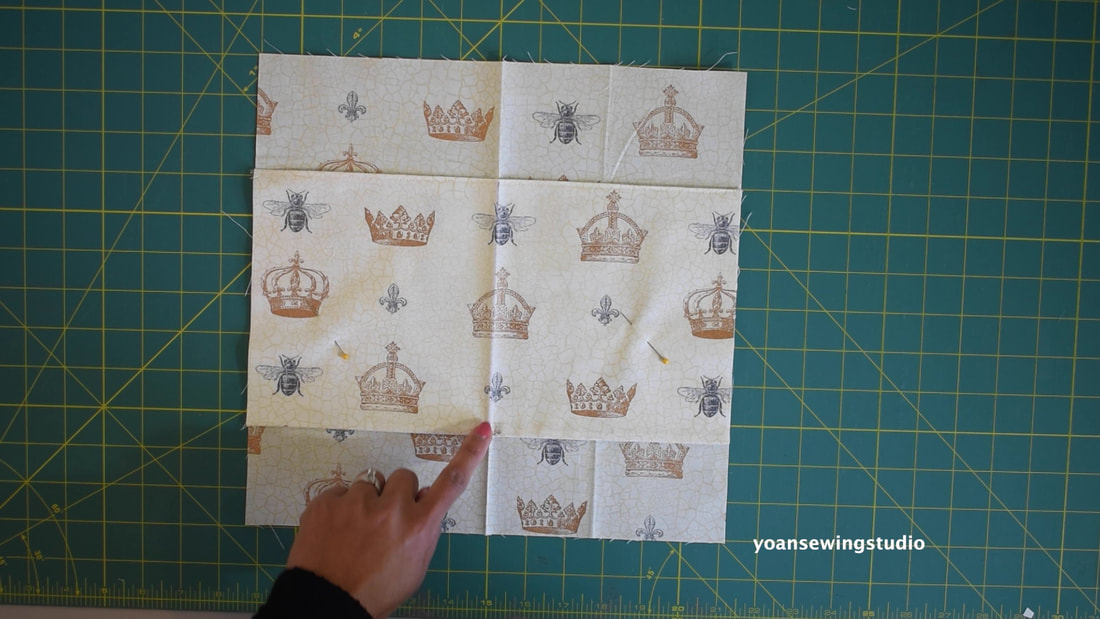
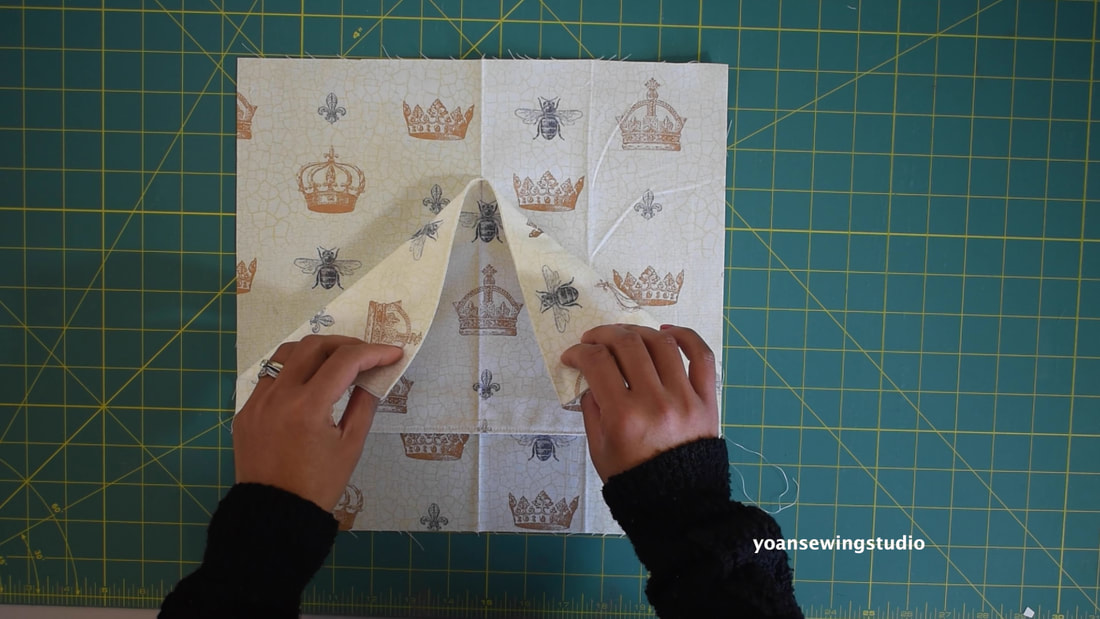
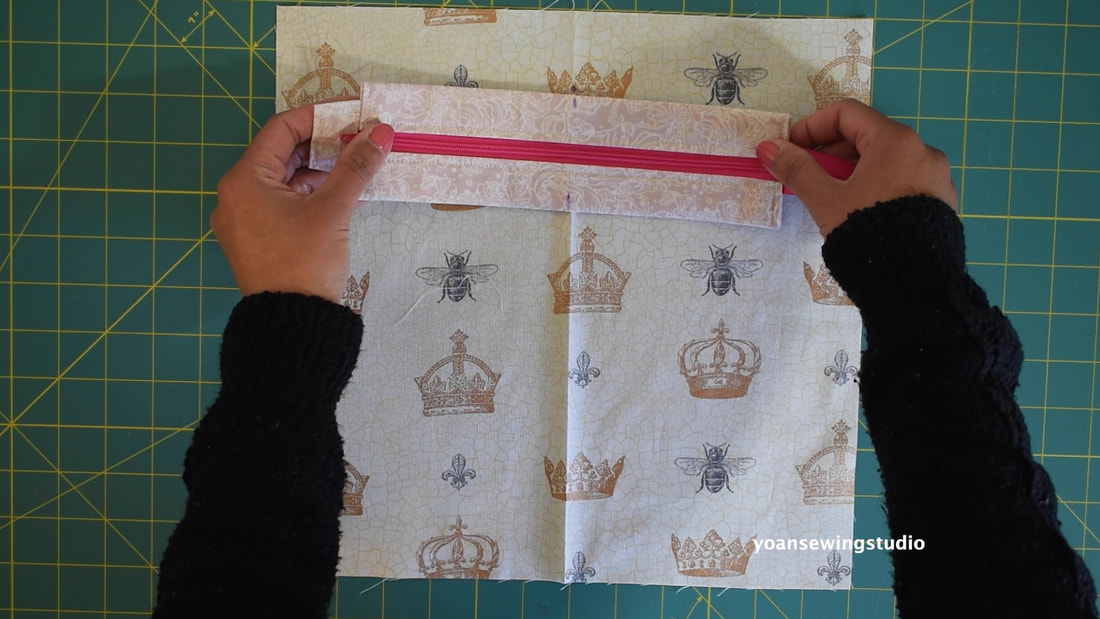
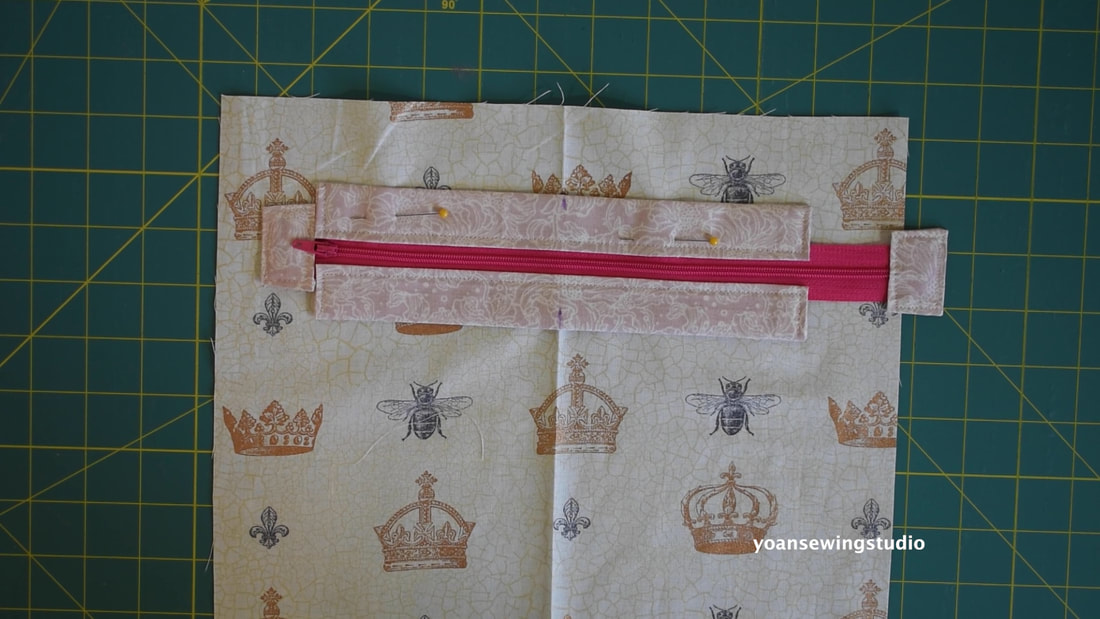
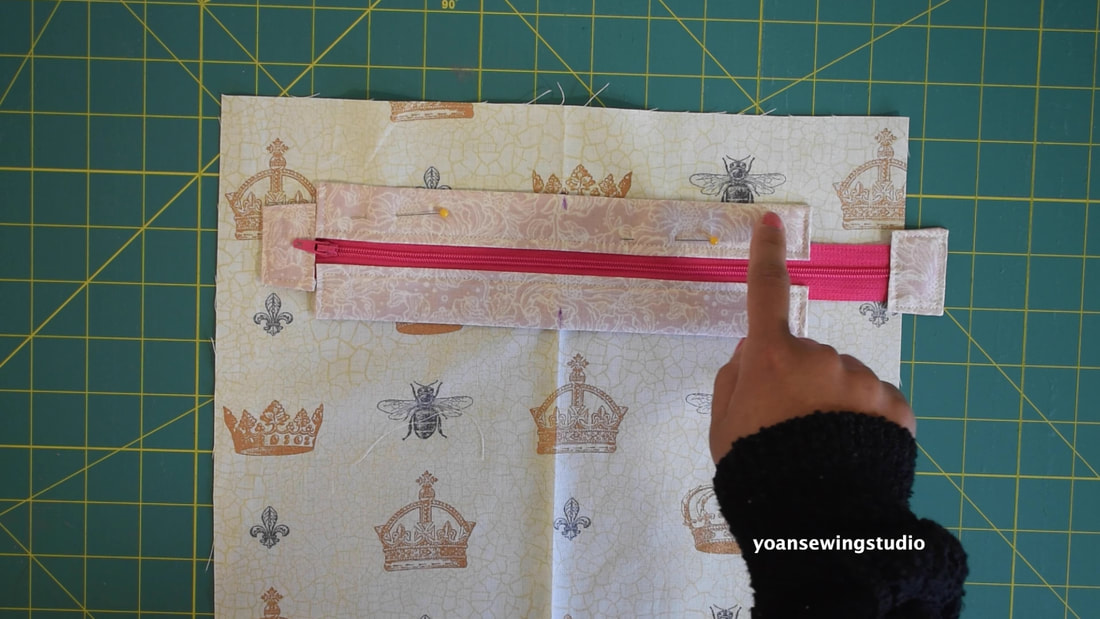
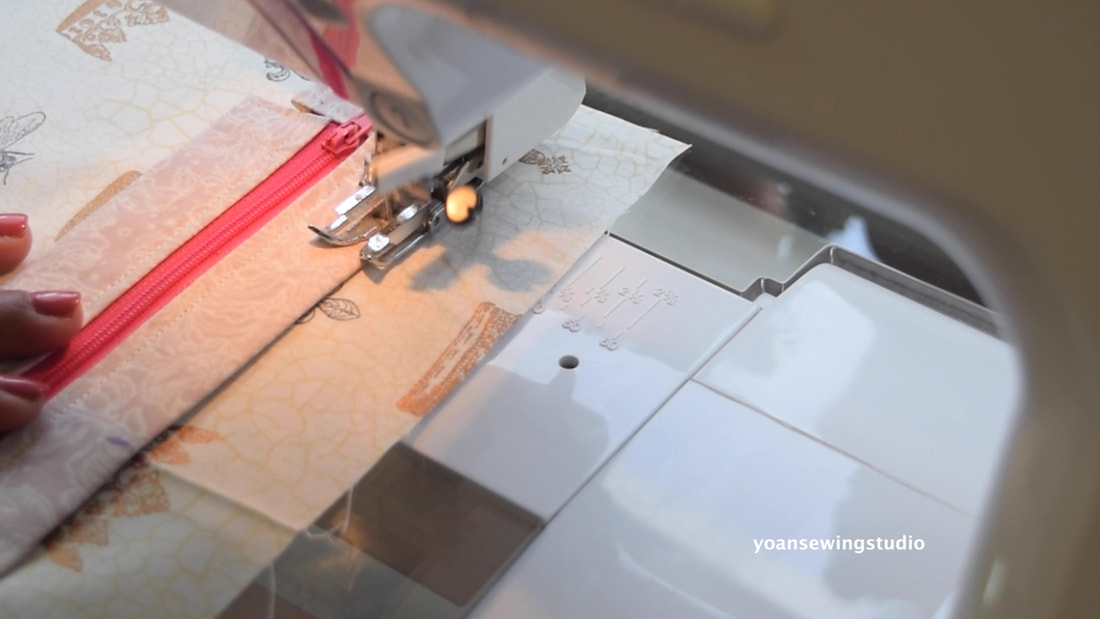
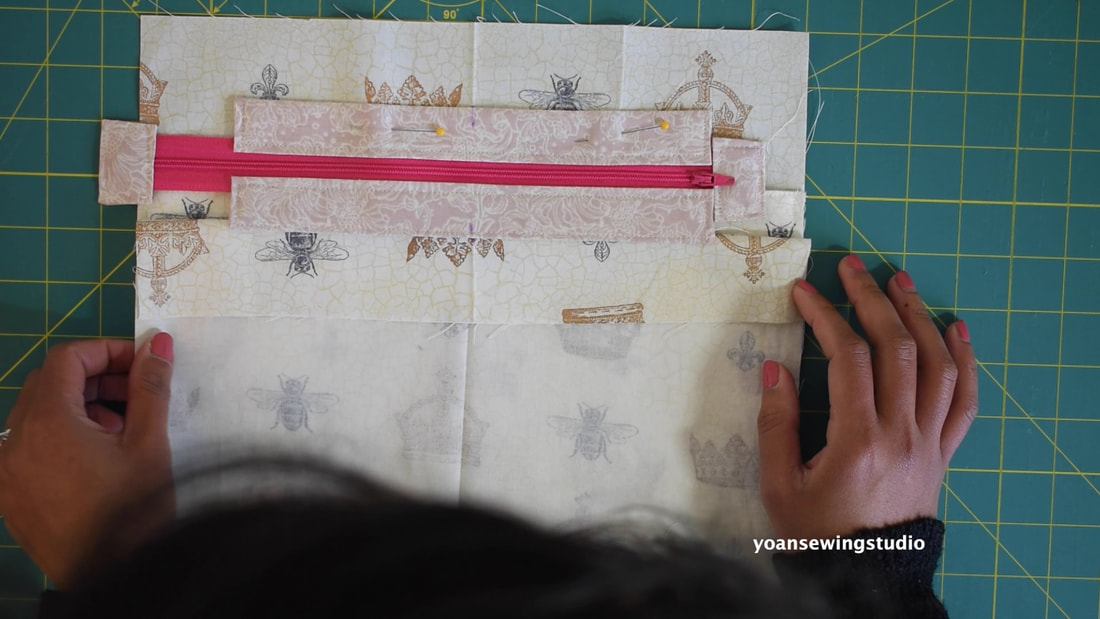
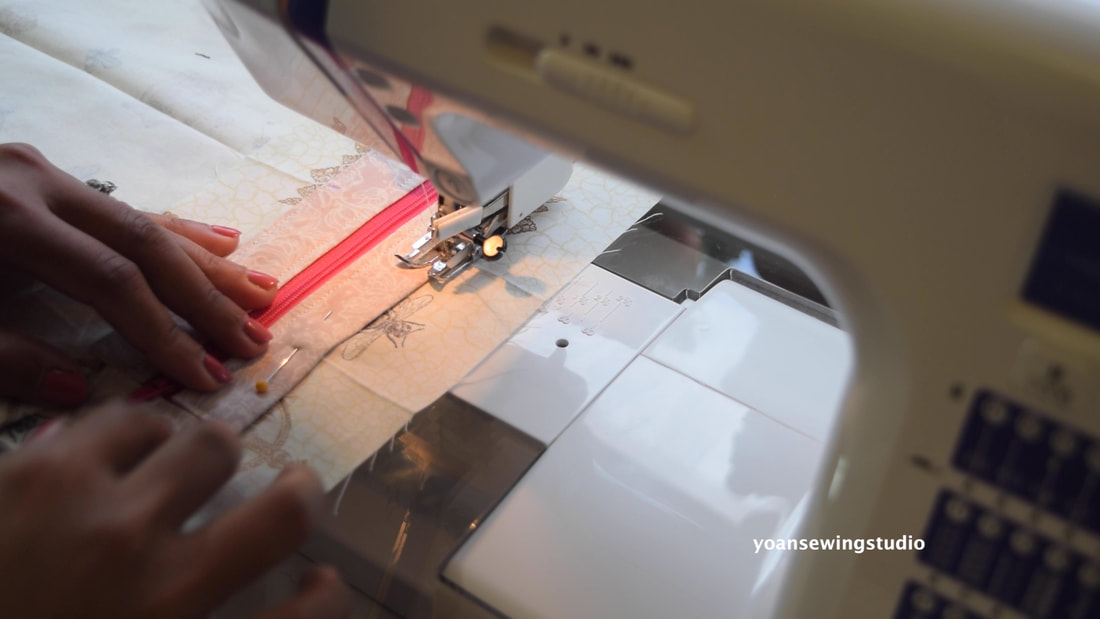
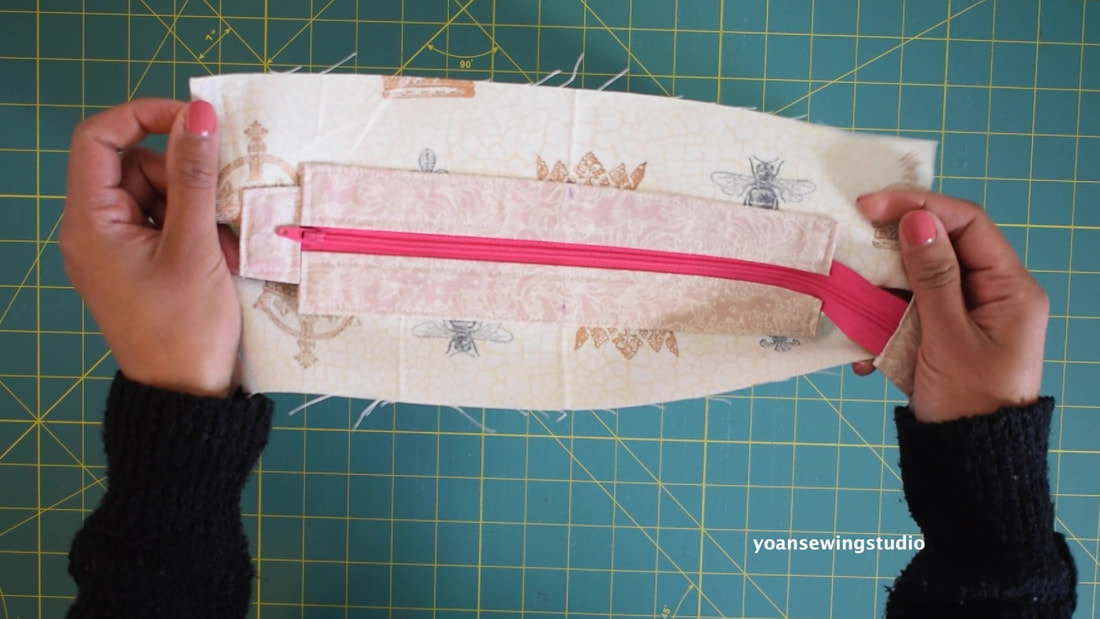
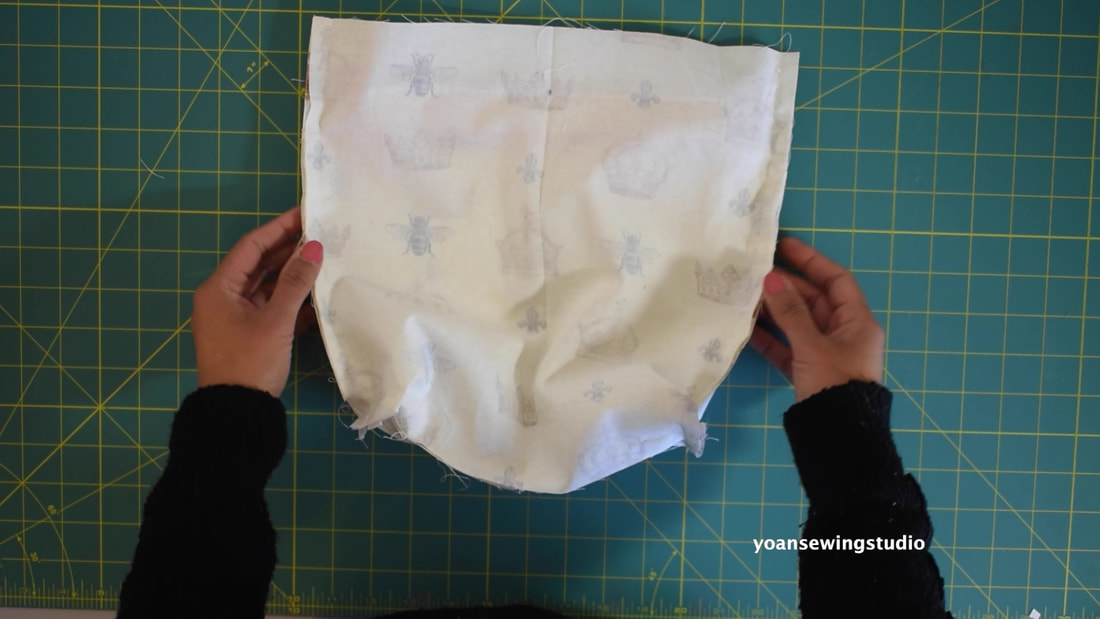
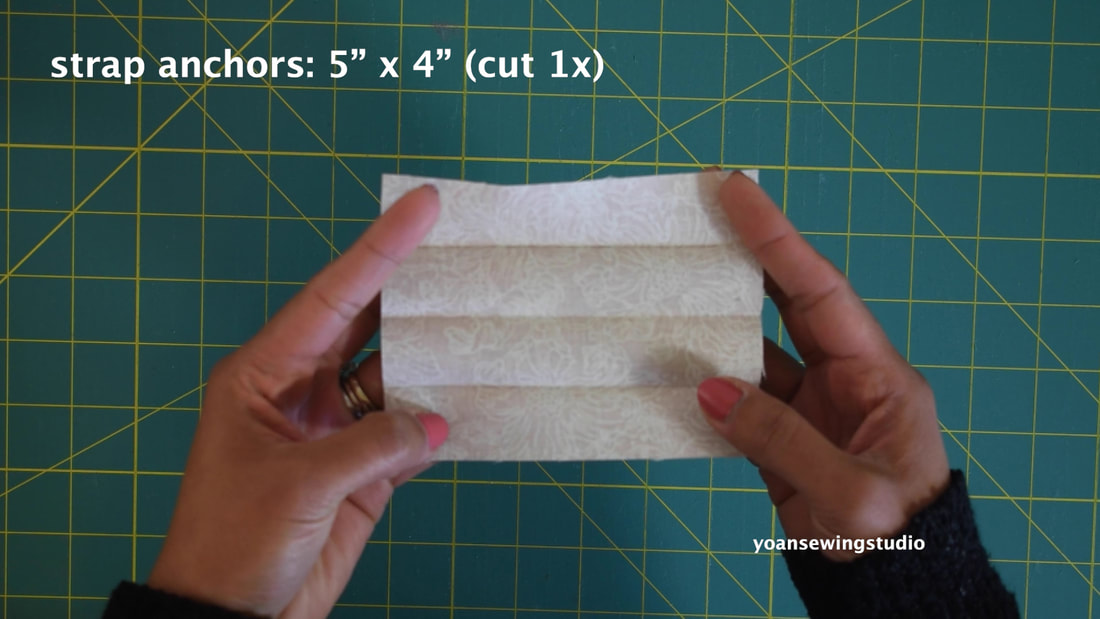
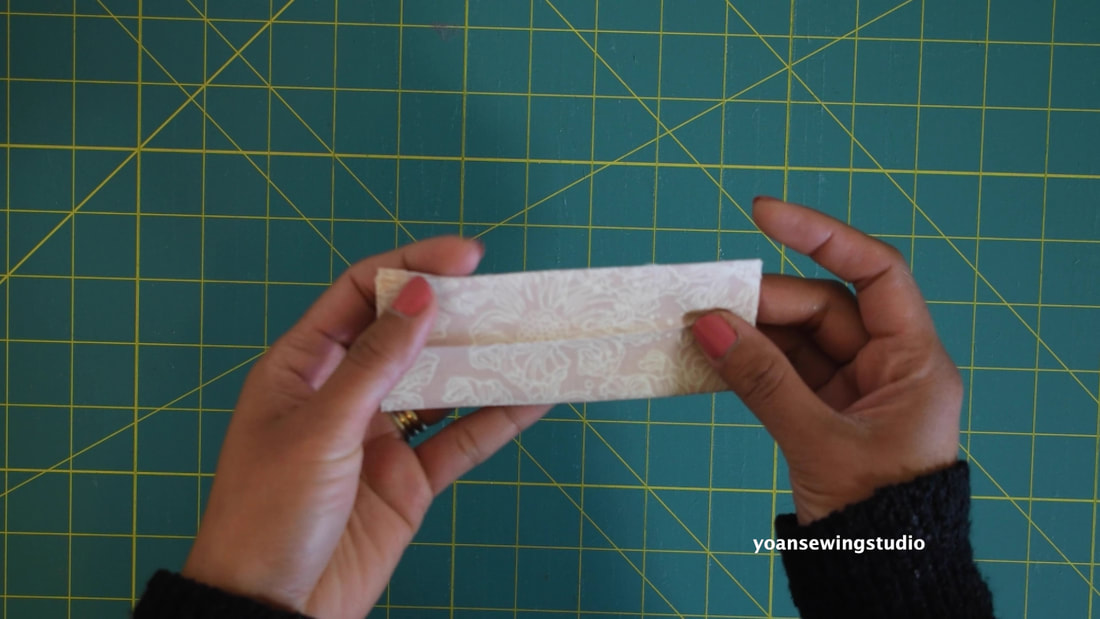
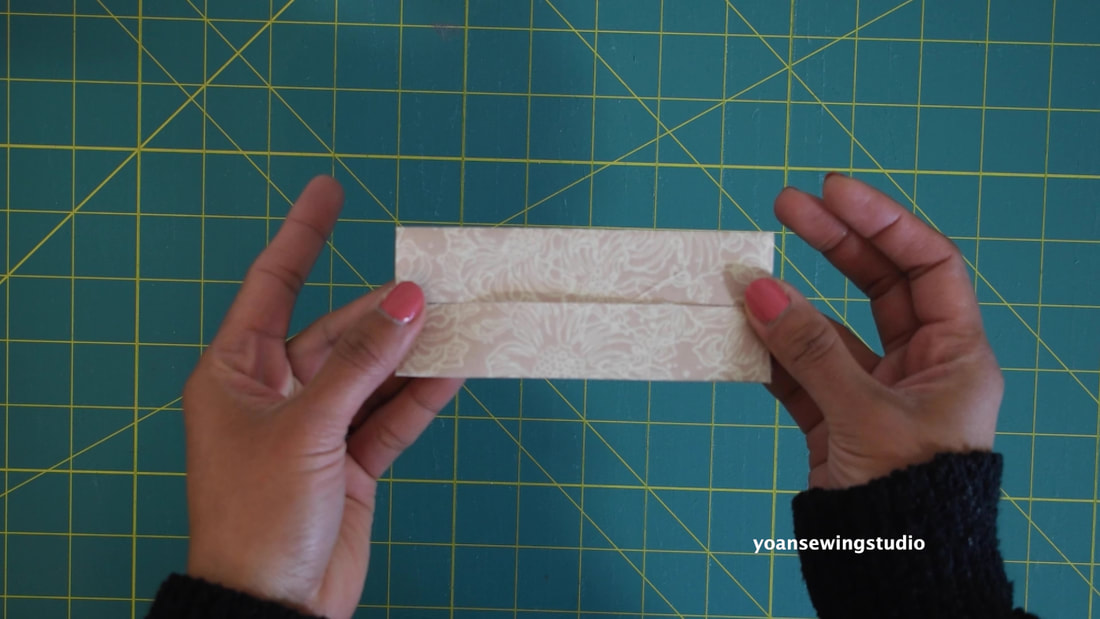
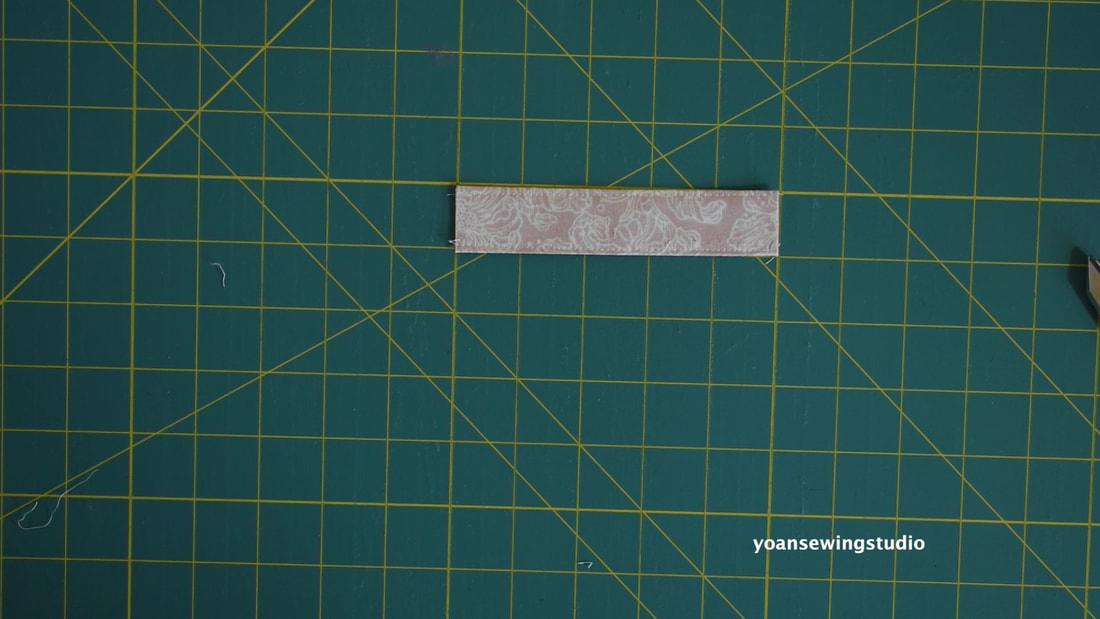
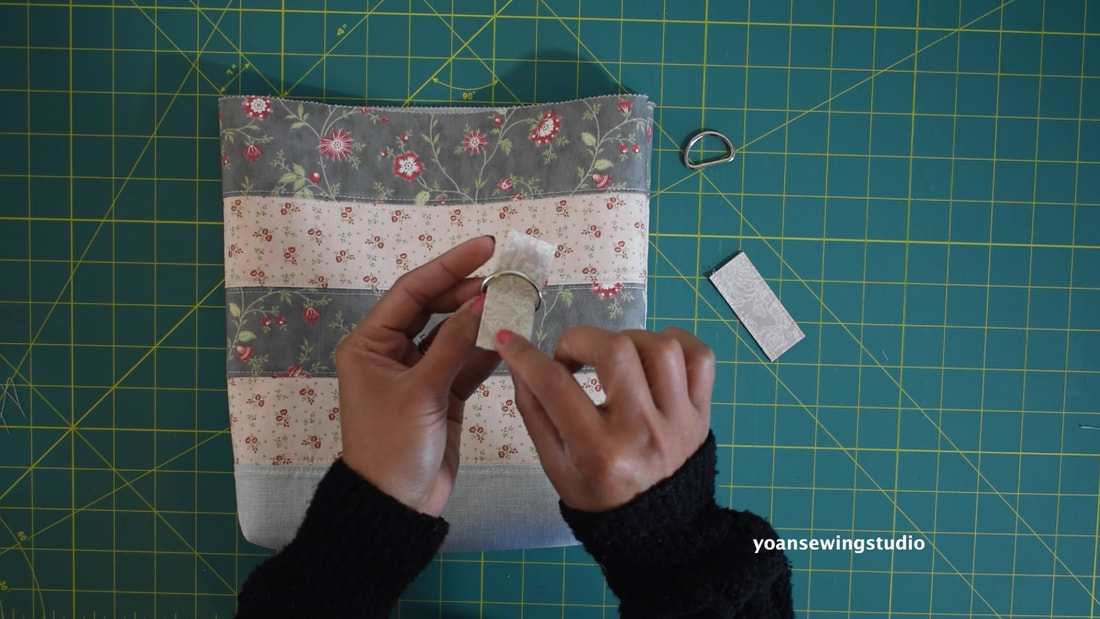
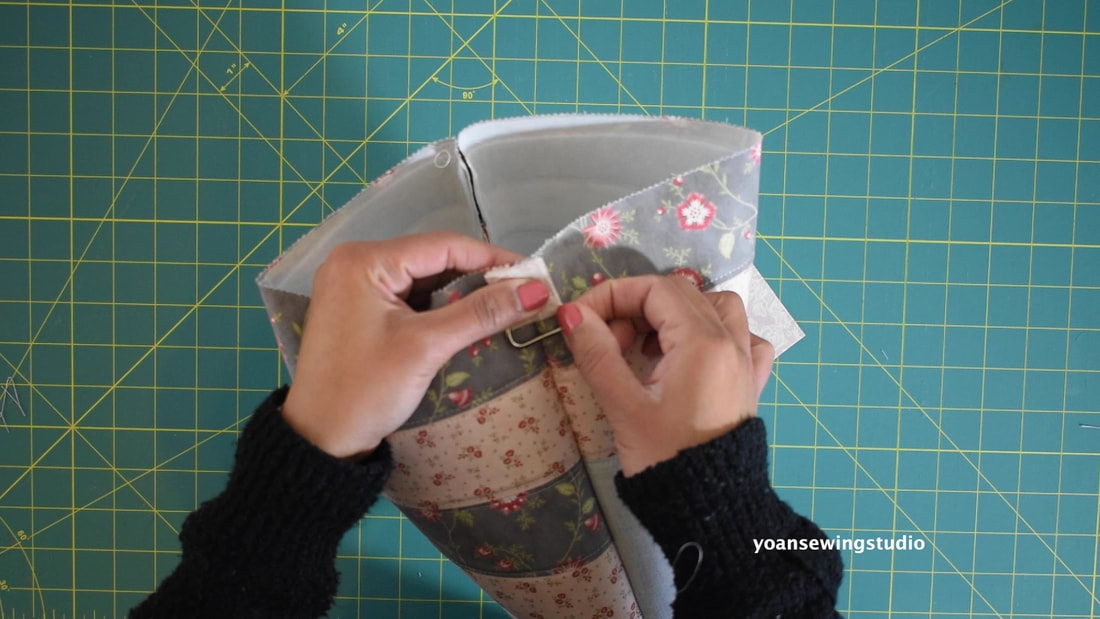
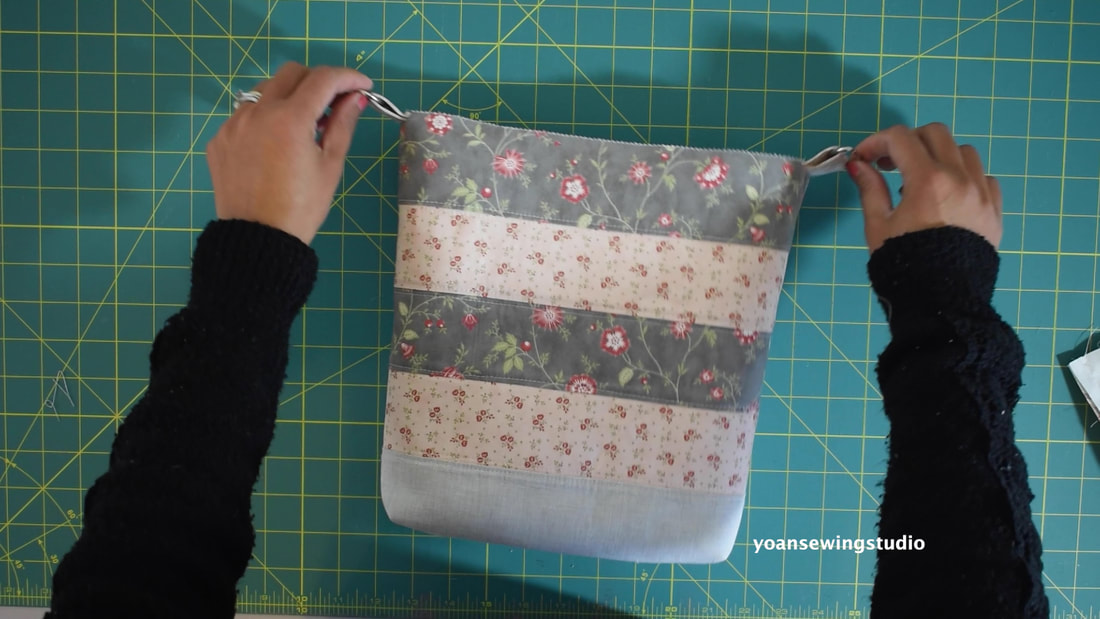
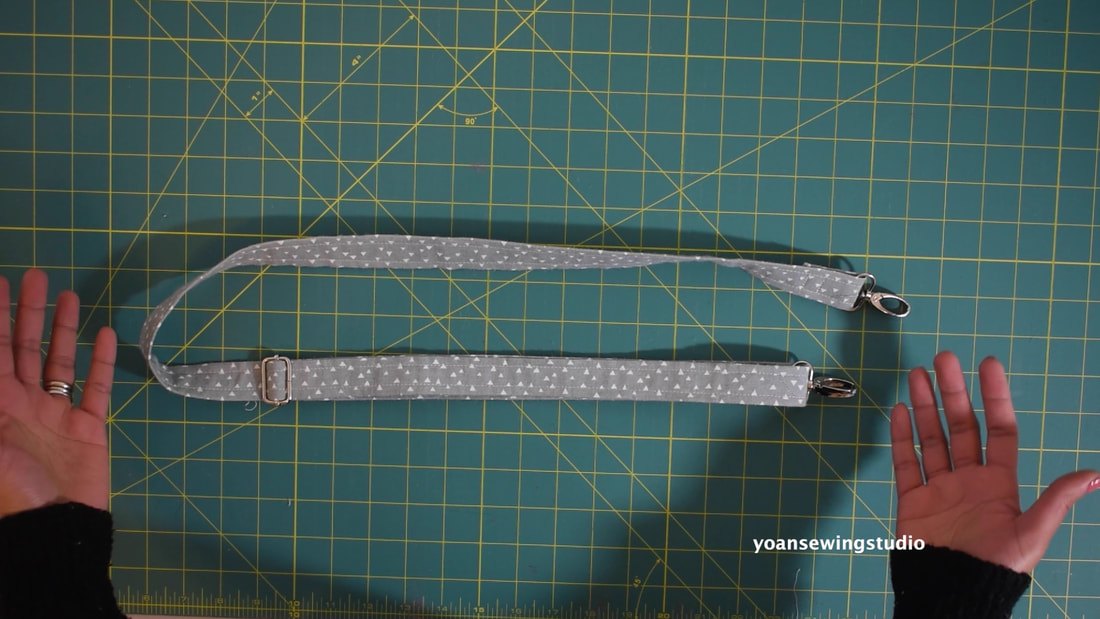
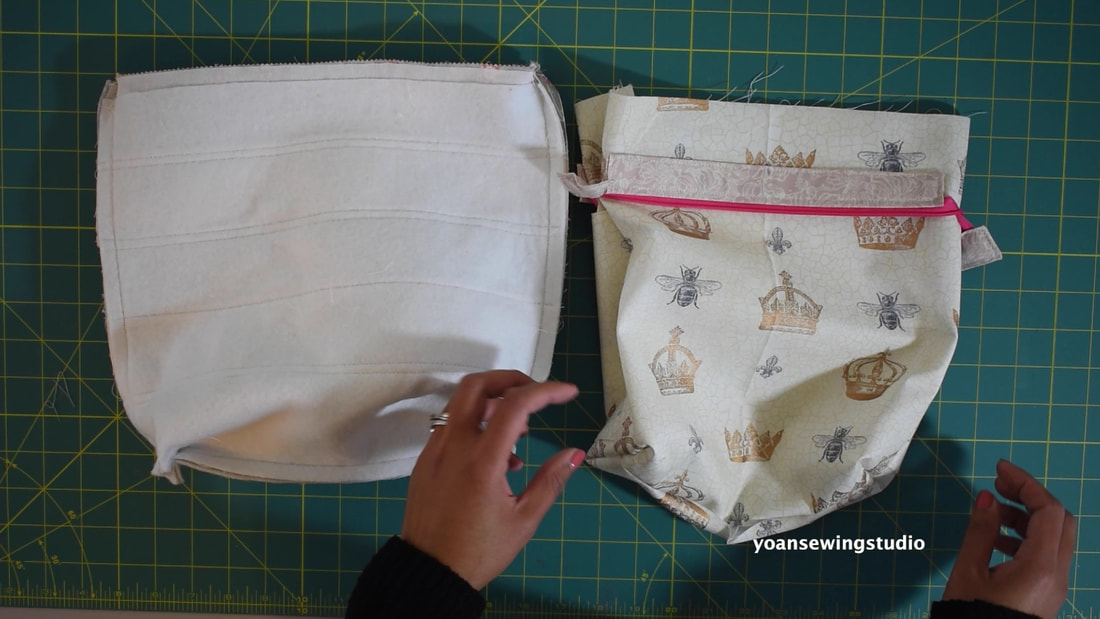
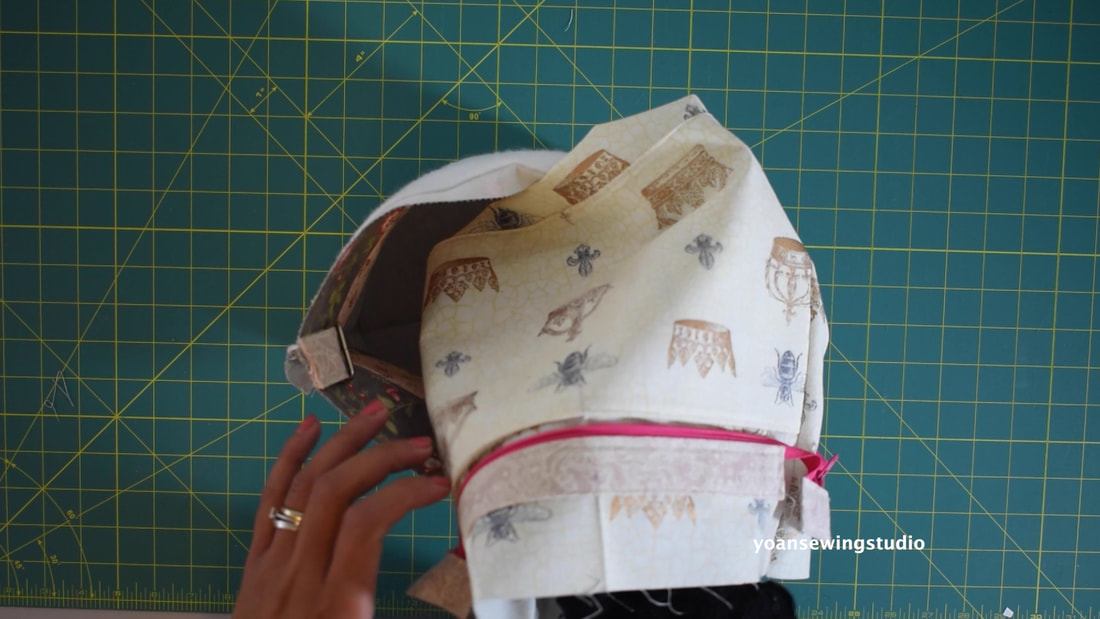
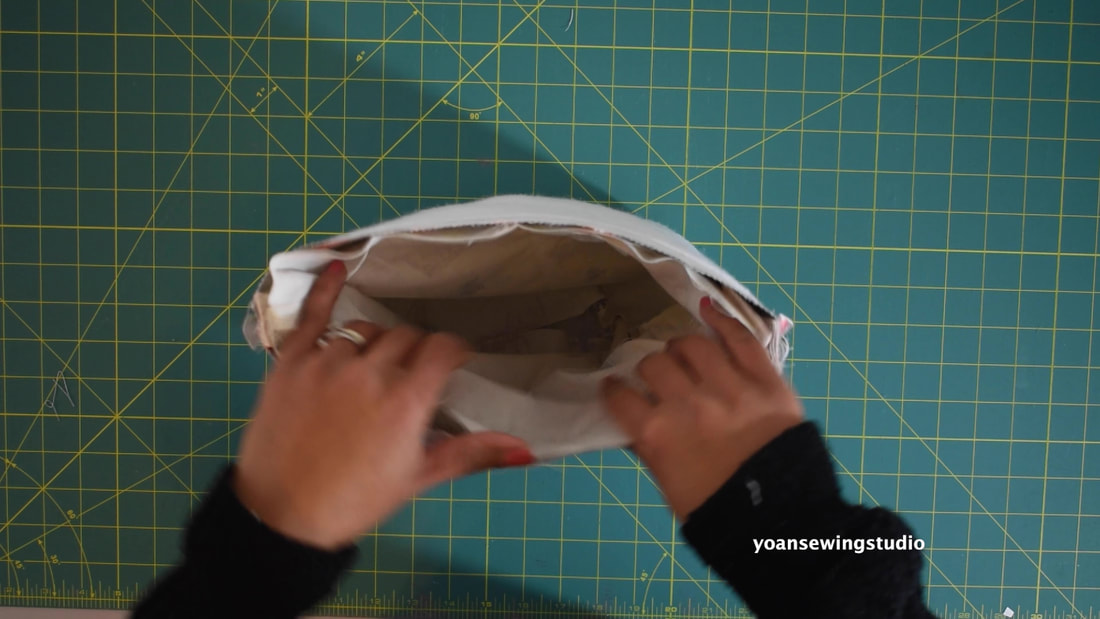
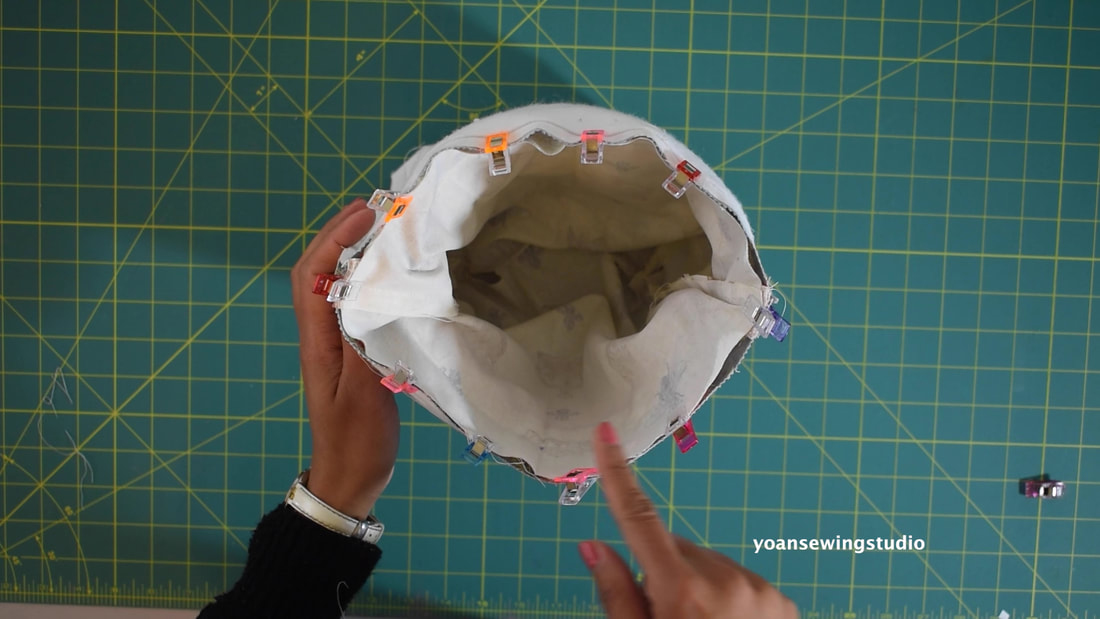
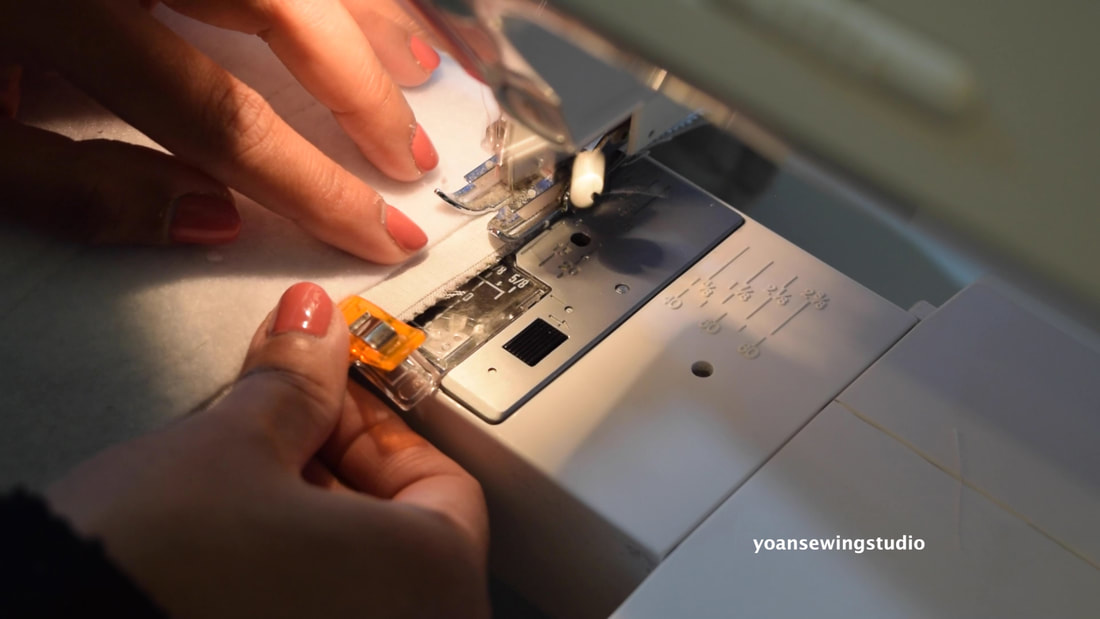
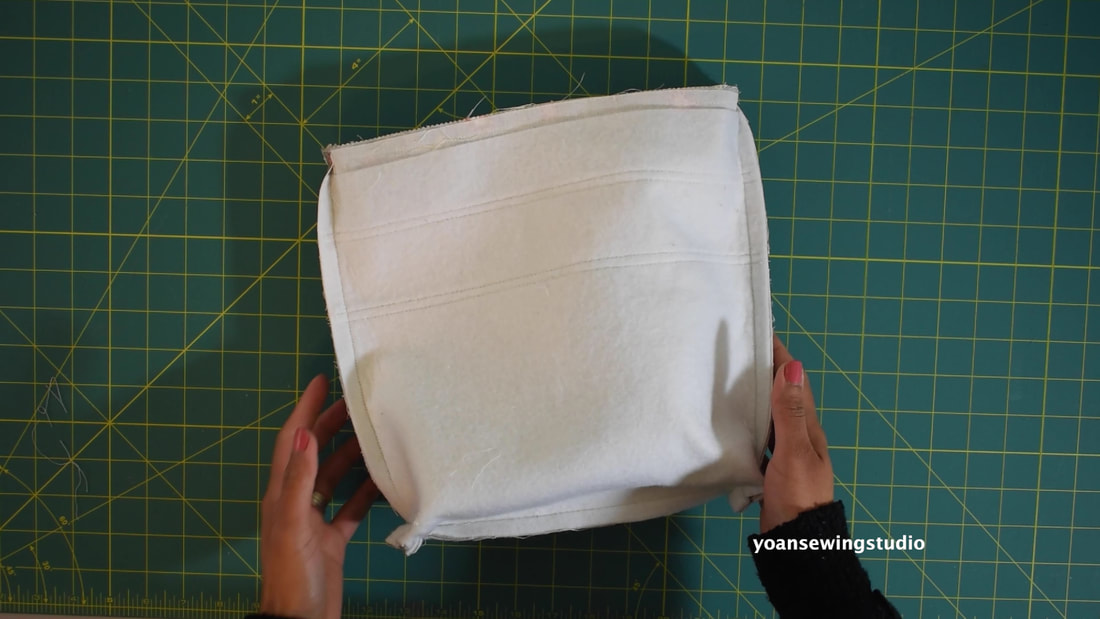
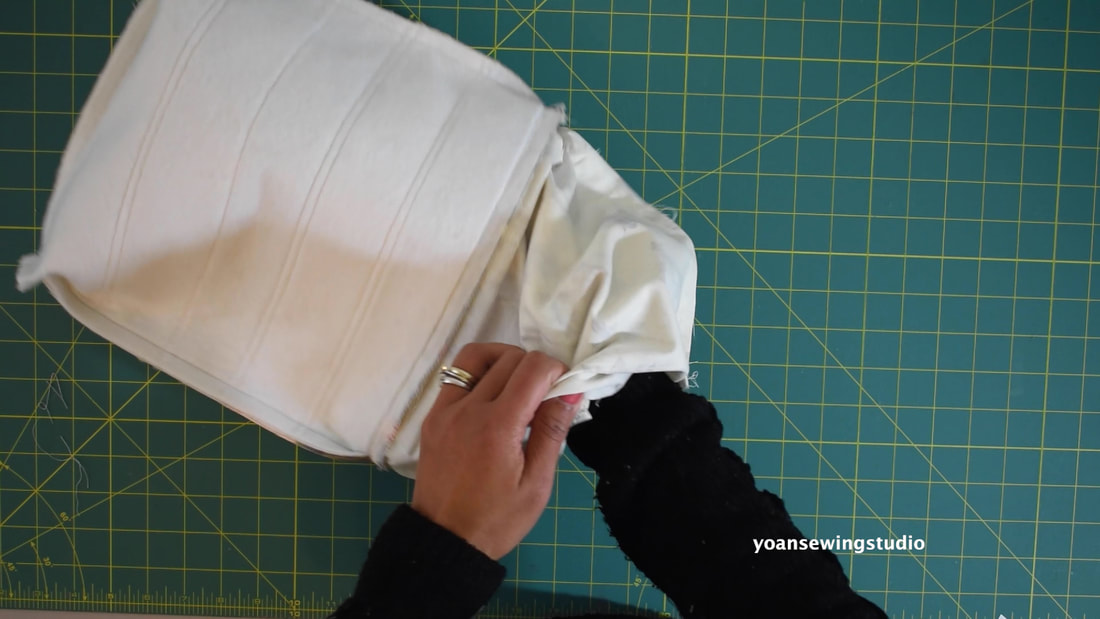
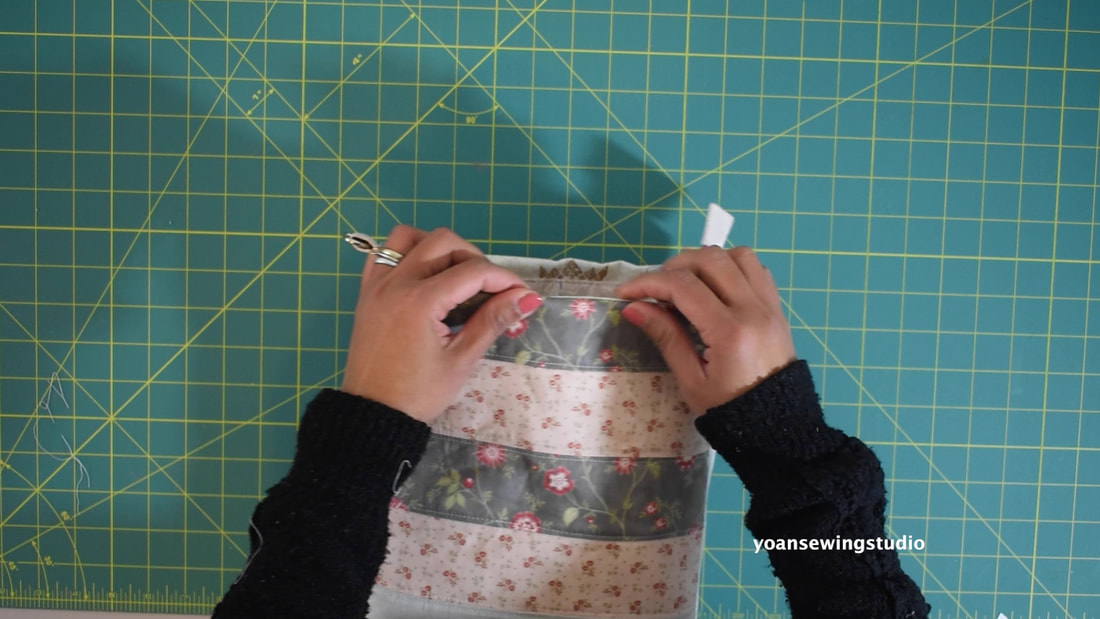
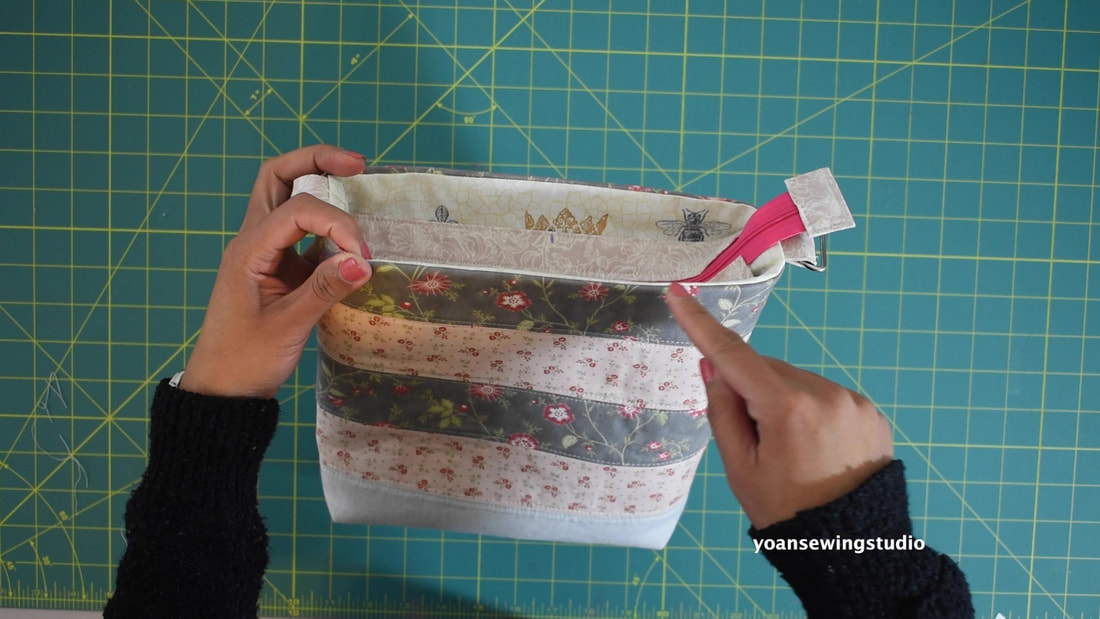
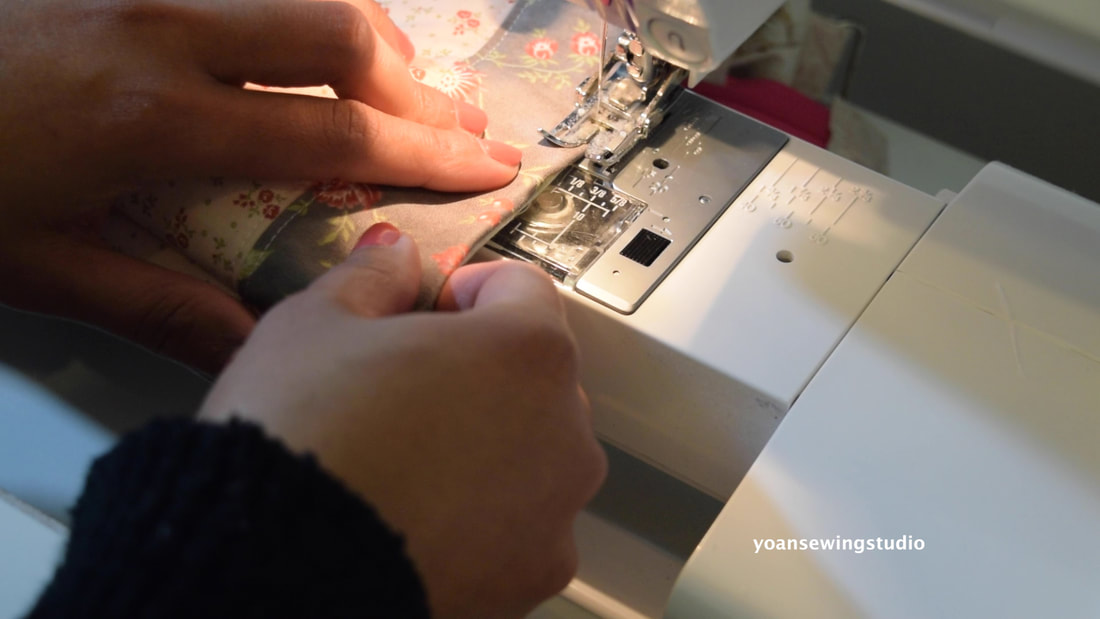
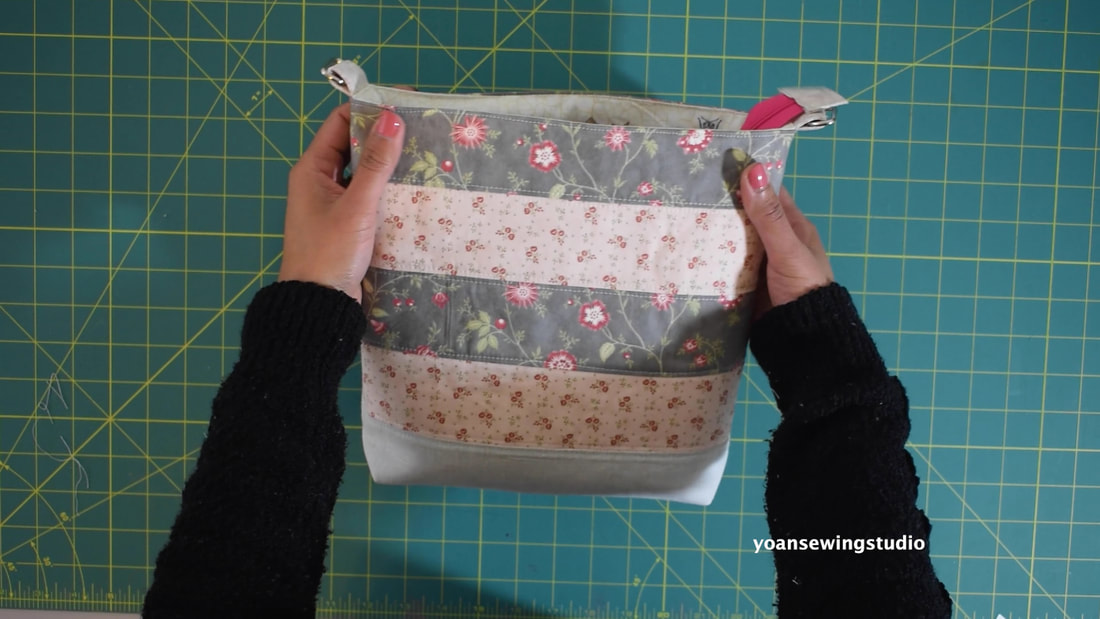
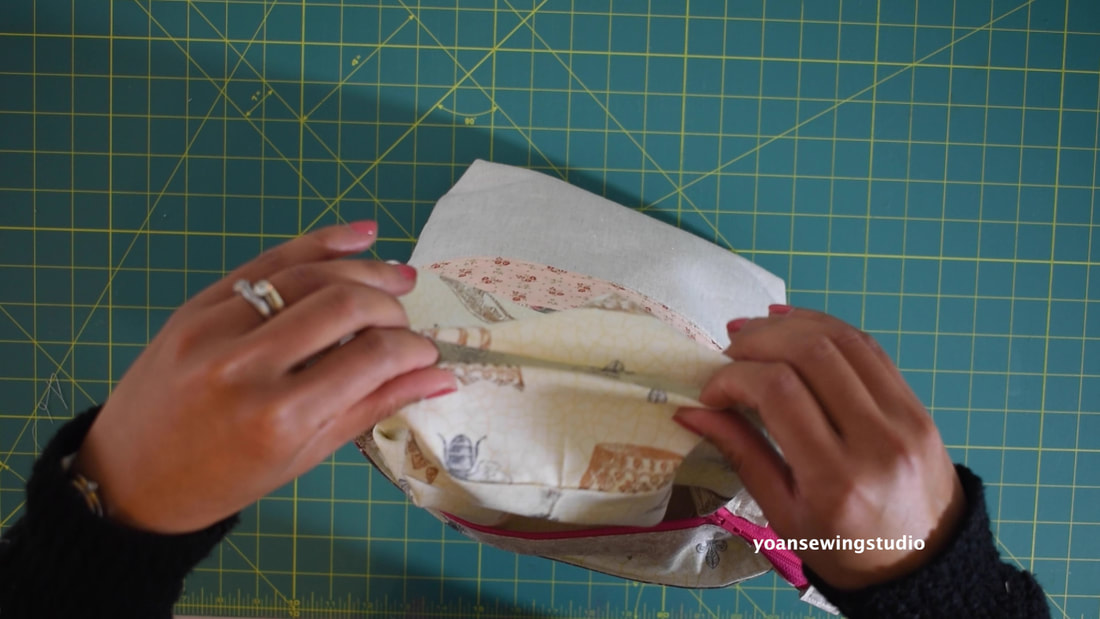
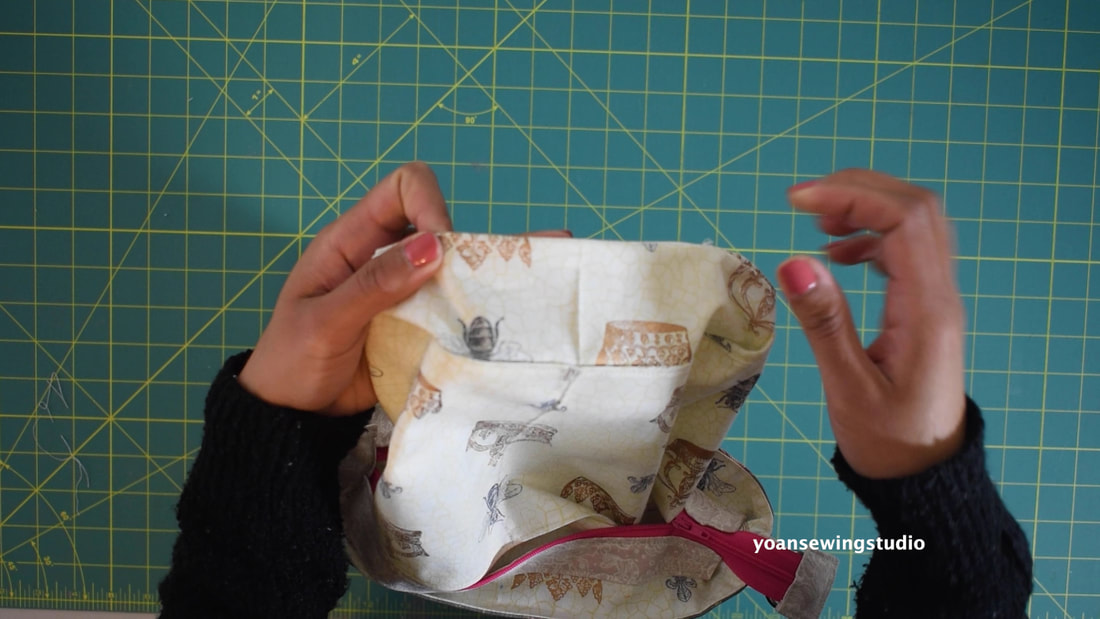
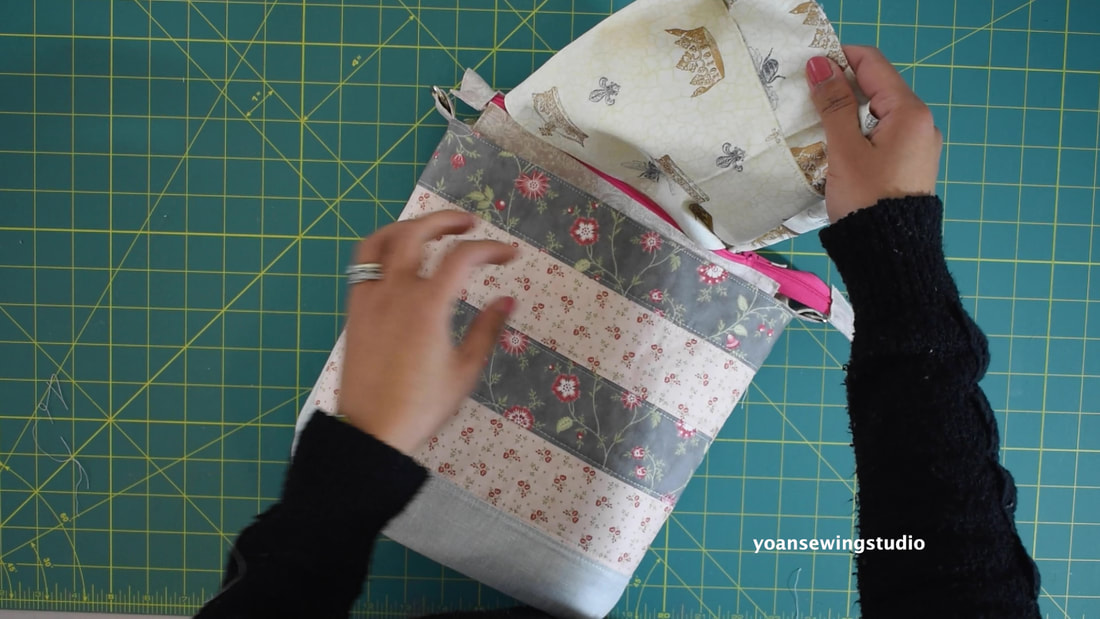
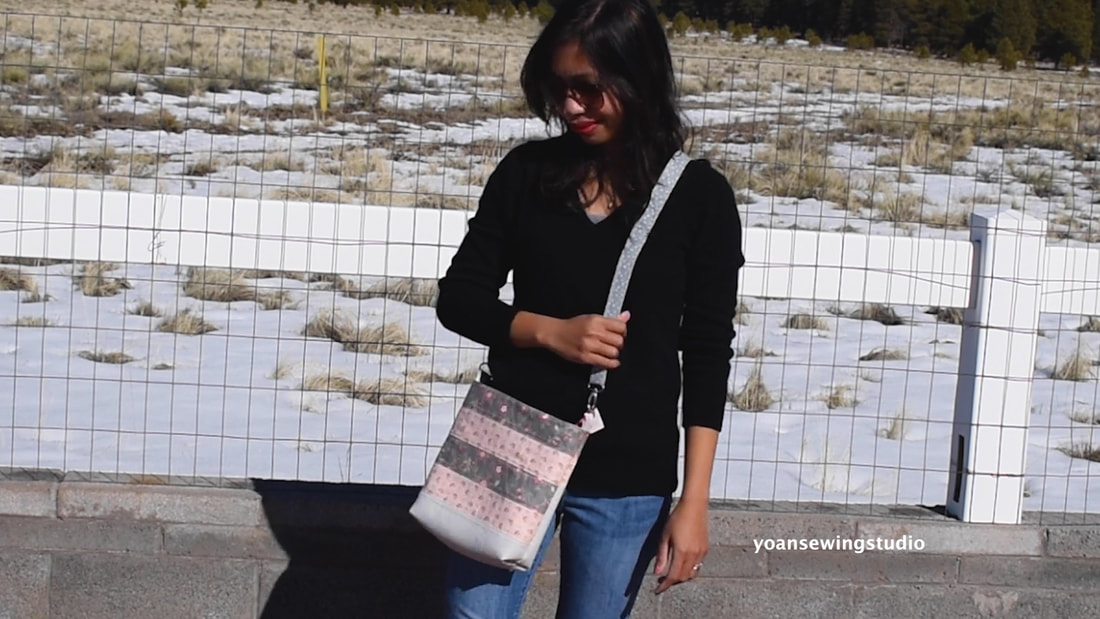
 Striped crossbody bag with recessed zipper - Front After the success of the tote bag with pocket divider tutorial that I posted about 3 weeks ago, I decided to create a simpler bag making project that has not much fuss yet still show a particular technique that will hopefully enrich your bag making skill (if you are not an expert already by now ;)..), in this case, the recessed zipper. Beside the zipper, the overall construction of this bag is relatively easy, and doable for a confident beginner as well. The use of the jelly roll strips for the exterior shell adds interesting look to the bag, and more fun to this project. 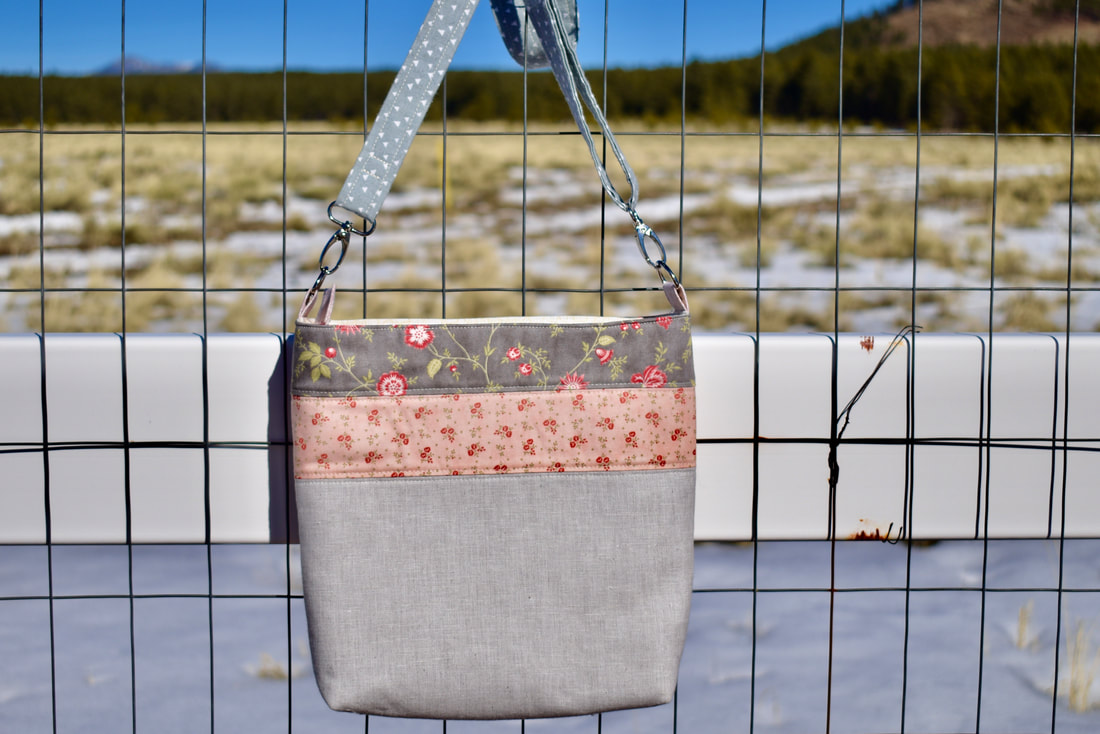 Striped crossbody bag with recessed zipper - Back Let's get started! Supplies -2 jelly roll strips (2.5" pre cut strips) for fabric A & B -1/4 yard of fabric for the accent fabric (you can also use a fat quarter) Fabric C - 1/3 yard of lining fabric -1/4 yard of fabric for the strap - 2/3 yard of fusible woven interfacing (20" wide) - 24" x 12.5" fusible fleece (thermolam) - Nylon coil zipper (at least 12" long) - 1" Drings (2x) - 1" Swivel hooks (2x) - 1" adjuster slider - Basting tape - Basic sewing notions I posted the full video tutorial on my Youtube channel, below is the link. You may also scroll down below for the cutting and written instruction. CUTTING *For the patchwork, refer to step 1-4 directions ~Exterior Shell~ Lower front exterior panel : 12.5" x 4" (cut 1x) from fabric C Lower back exterior panel : 12.5" x 8" (cut 1) from fabric C Fusible woven interfacing : 12.5" x 12" (cut 2x) Fusible Fleece : 12.5" x 11.5" (cut 2x) ***If using solid fabric (no patchwork) cut 12.5" x 12" (2x) for the exterior fabric ~Recessed Zipper~ Zipper tabs : 3" x 2" (cut 2x) from the lining fabric (or scraps) Zipper panels : 10" x 4" (cut 2x) from the lining fabric (or scraps) ~Interior~ Lining : 12.5" x 12" (cut 2x) from the lining fabric Slip Pockets : 12.5" x 6" (cut 2x) from the lining fabric ~Strap~ Strap Anchors : 5" x 4" (cut 1x) Adjustable strap : 60" x4" Fusible woven interfacing : 59" x 2" DIRECTIONS 1. Prepare the Jelly Roll Strips (fabric A & Fabric B), sew them together with 1/4" of seam allowance. 2. Press the seams towards one side. 3. Trim the selvage ends off. 4. Measure 12.5" and cut (make 3x) 5. Sew two of the jelly roll panels together with 1/4" seam allowance, press 6. Sew the jelly roll fabric with the lower panel with 1/4" of seam allowance, press. 7. Sew the remaining jelly roll panel and the lower back exterior piece together with 1/4" of seam allowance, press. 8. Apply the fusible woven interfacing followed with the fusible fleece on the wrong side of both the front and back panel. 9. Measure and draw 1.5" rectangle on both bottom corners of the bag, cut. 10. Lay the front and back exterior fabric right side together, secure them in place with some sewing clips, then sew the sides and the bottom with 1/2" of seam allowance. 11. Open the corner, match and secure the seams with a sewing clip then sew with 1/2" of seam allowance; do the same with the other side. 12. Trim your zipper to measure exactly 12" long (from one end to another) 13. Fold the end of the zipper tab (widthwise) about 1/2", press, fold the opposite end 1/2" press. 14. Fold the zipper tab right side together, aligning the folded edges, then sew the sides with 1/4" of seam allowance 15. Turn the zipper tab inside out, press; do the same with the other piece. 16. Insert the end of the zipper into the zipper tab pocket; do the same with the other side, secure them in place with pins, then sew all around the edges of the zipper tabs with 1/8" of seam allowance. 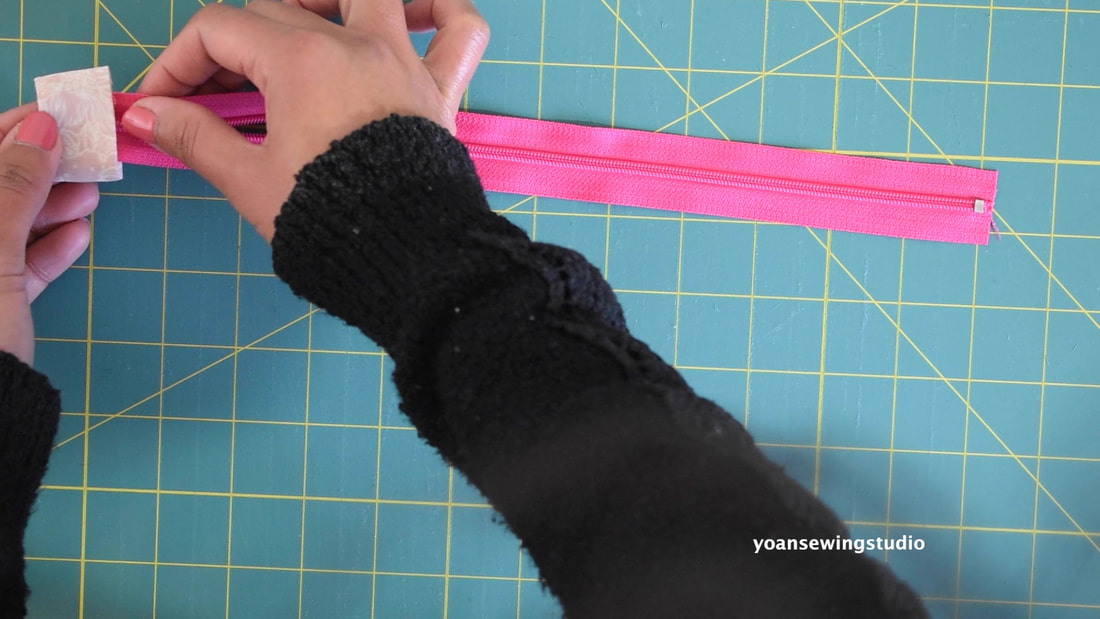  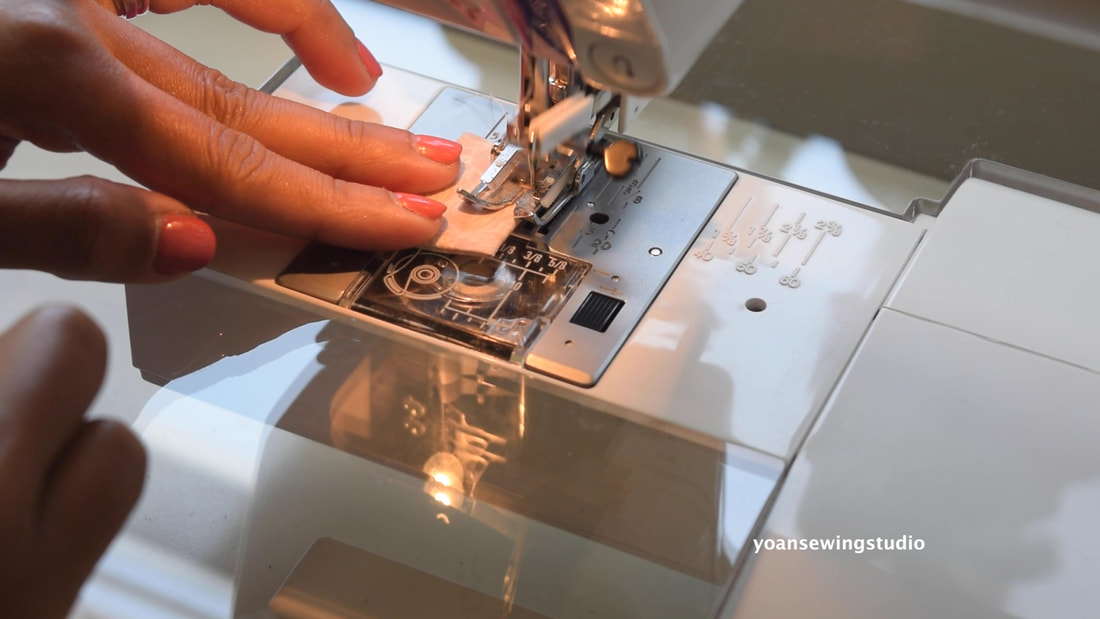 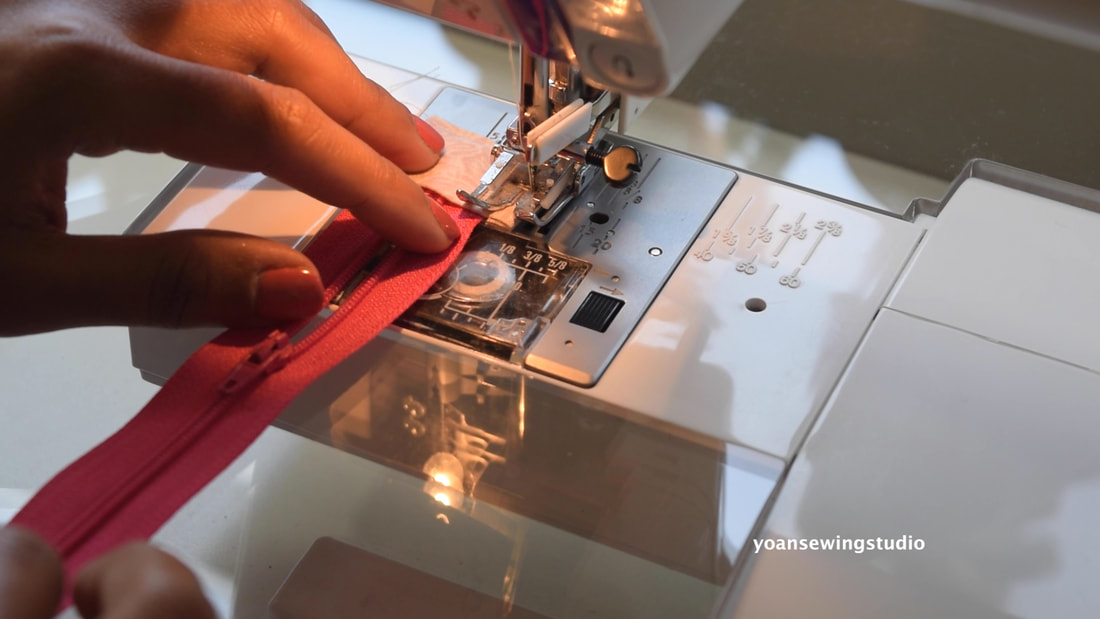 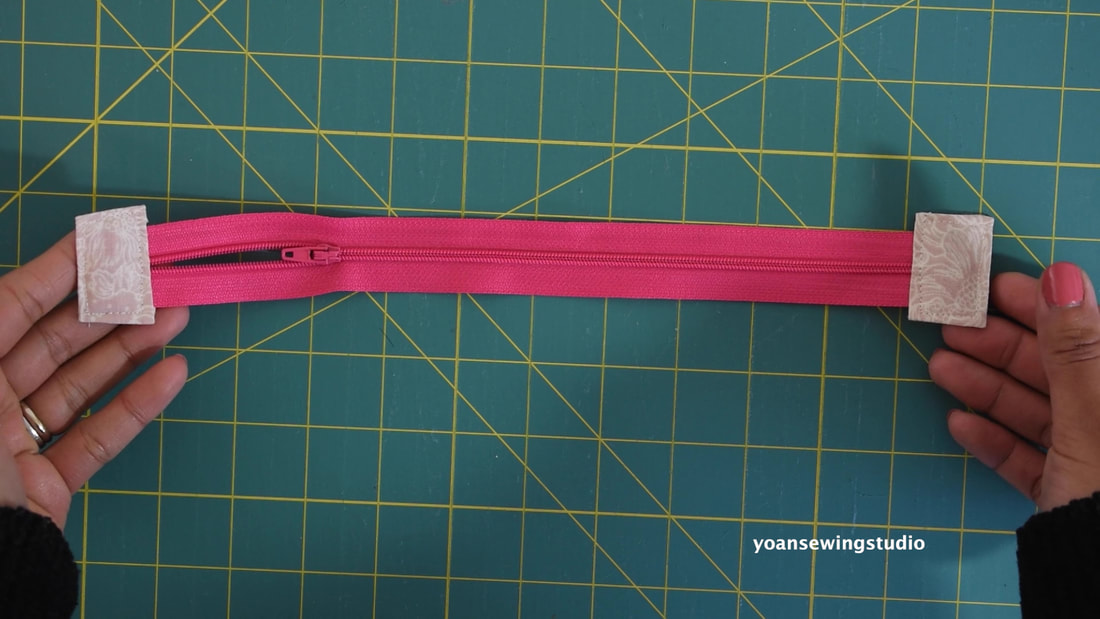 17. Prepare the zipper panels, fold the end of the zipper panel in 1/2", press, do the same with the other side, fold the zipper panel in half, press, for the edges toward the center fold, press, then fold everything in half again, and press. Both of your zipper panels should end up measuring 9" x 1". 18. Cut two basting tape the same length as your zipper panel, then apply them on the edges of your zipper tape, both the top and the bottom (you want to position the basting tape starting from the start of the zipper) 19. Feed the zipper tape into the fold of the zipper panel, neaten the position, then finger press the zipper panel to make sure it's sticking to the basting tape; pop a couple pins to add extra security, then sew the sides and the lower edges (do not sew the upper/outer edges) 20. Repeat the same with the other side. 21. Lay the slip pocket pieces right side together, sew the top and the bottom with 1/4" of seam allowance; press; turn right side out. 22. Press the pocket; top stitch along the upper edges. 23. Position the pocket on the right side of the lining piece, about 3.5" away from the top; draw a line on the center, then sew along the center line, and the bottom as well. 24. Lay the zipper panel on the right side of the lining 1.5" away from the top, aligning the center point of the zipper with the center of the lining; pin; sew along the edges with 1/8" of seam allowance 25. Repeat the same with the other side of the zipper panel. 26. Assemble the lining the same way as the exterior shell; leave about 5" of opening at the bottom to turn the bag inside out. 27. Fold the strap anchor in half widthwise; press; fold the edges towards the center fold; press; fold everything in half; press. 28. Sew the folded edges with 1/8" seam allowance; cut in half. 29. Insert the strap anchors to the d-rings, position them on both sides of the bag (right on the side seams); sew with 1/4" of seam allowance. 30. Sew the strap; watch the video tutorial here. 31. Turn the exterior shell wrong side out, and the lining right side out; insert the lining into the exterior shell; secure with sewing clips; sew with 1/2" of seam allowance. 32. Turn the bag inside out through the opening hole, press the edges; topstitch. 33. Sew the opening hole close. 34. Tuck the lining bag inside; attach the strap; enjoy!
8 Comments
Mabel Alberti
2/1/2020 08:18:27 pm
Hi Joan
Yoan
2/3/2020 12:59:07 pm
Hi Mabel,
Mabel Alberti
2/4/2020 06:56:33 pm
Hi Joan
Aruna
7/6/2020 09:12:45 pm
Hello Yoan,
Heather
8/11/2020 06:45:37 am
I am fairly new to sewing with precuts like jelly rolls, would this bag be ok to be washed in the washing machine when it was finished?
Yon
8/24/2020 11:33:57 am
Hi Heather,
Mandy Sleight
11/30/2020 06:48:32 pm
I just came across your videos this weekend & LOVE them, I want to make so many bags now!
Lynette
6/22/2021 06:18:20 am
You are an amazing teacher and so easy to follow your Your comment will be posted after it is approved.
Leave a Reply. |
Categories
All
©
Yoan Sewing Studio | All Rights Reserved
|


 RSS Feed