
Improv Crossbody Bag - Yoan sewing Studio
UPDATE : THERE ARE SOME CORRECTIONS THAT I NEED TO NOTE DOWN FROM THE VIDEO
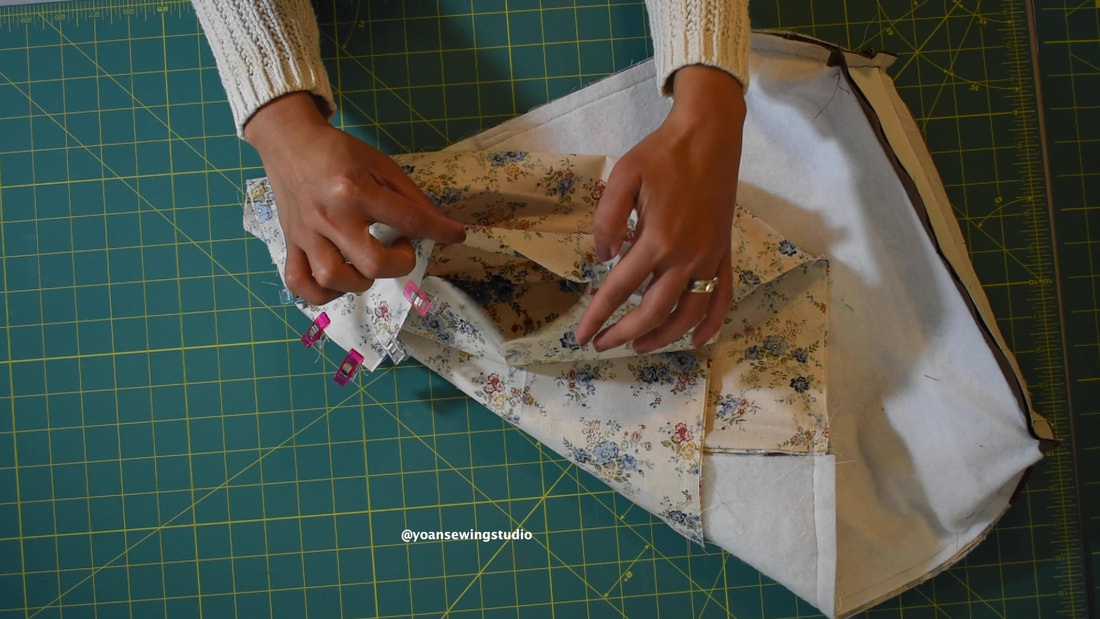
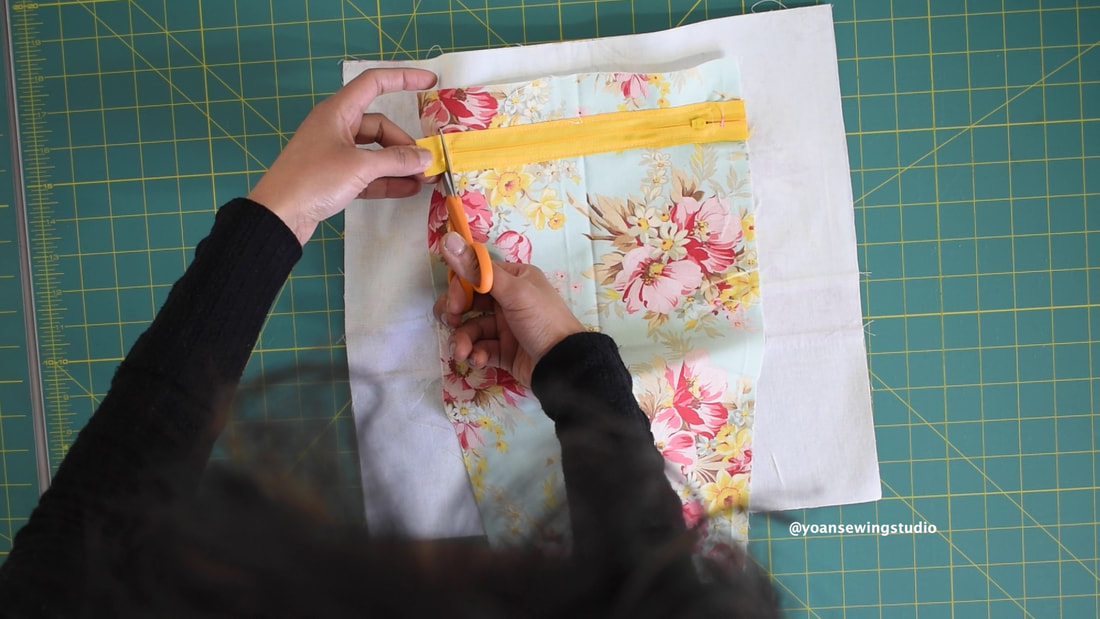
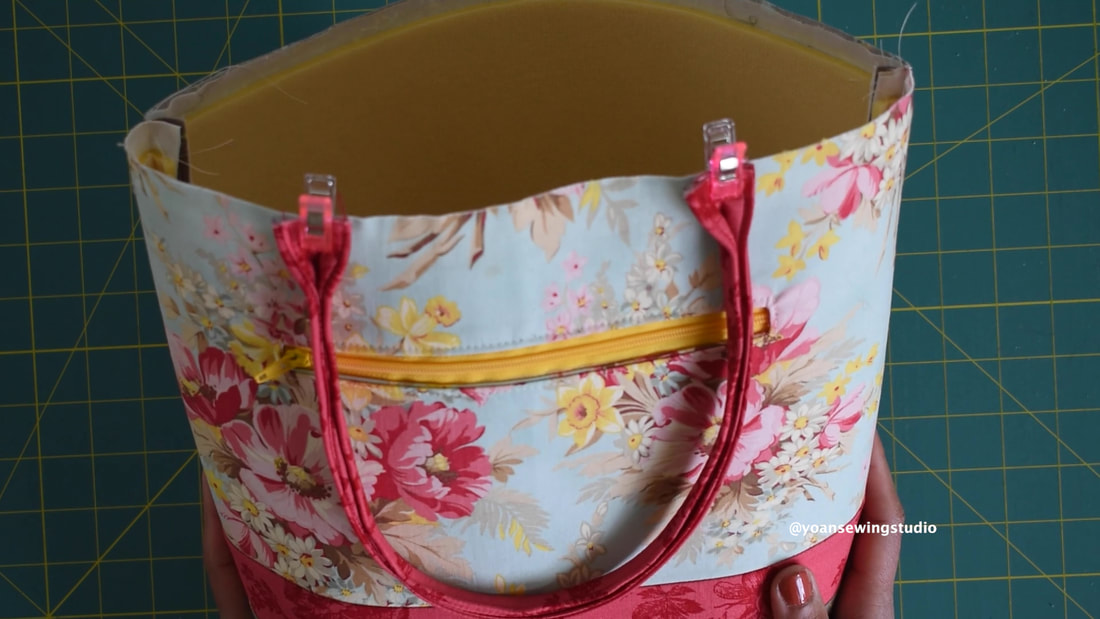
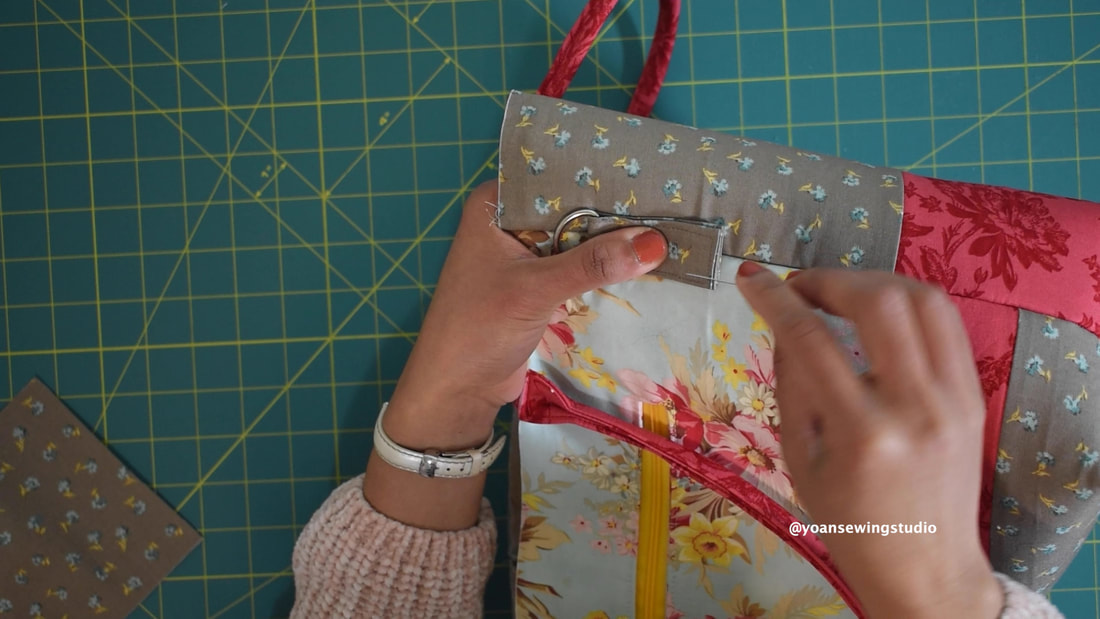
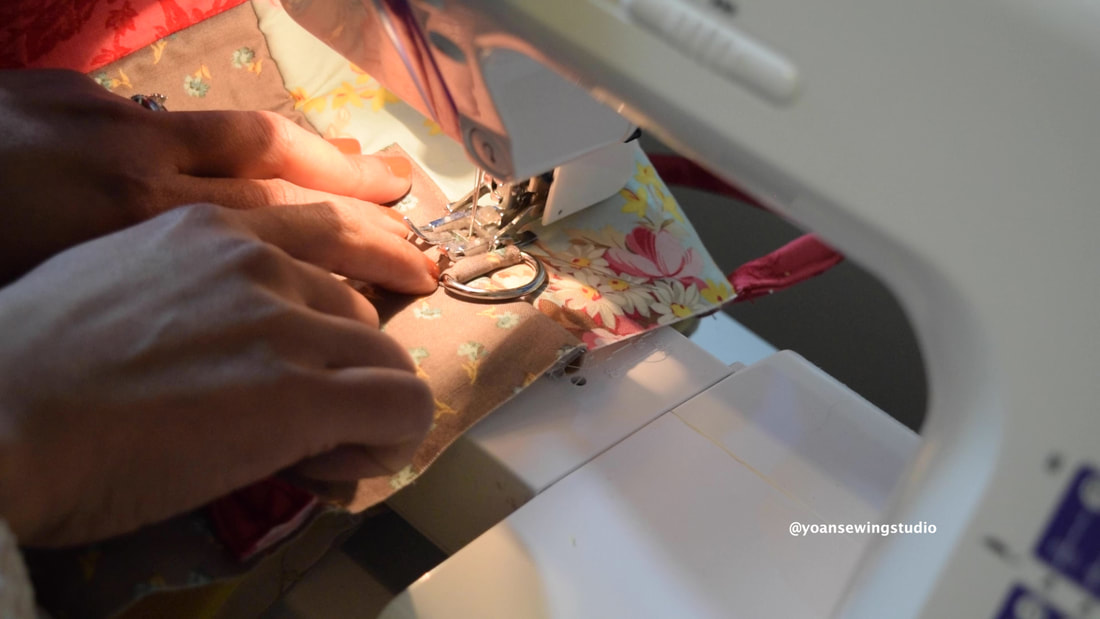
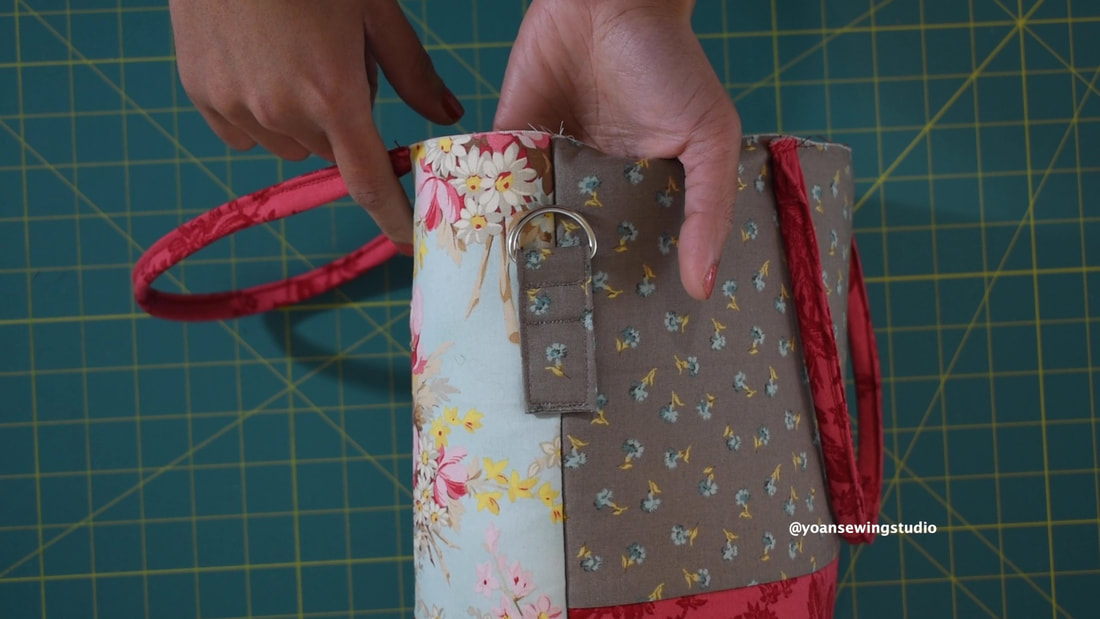
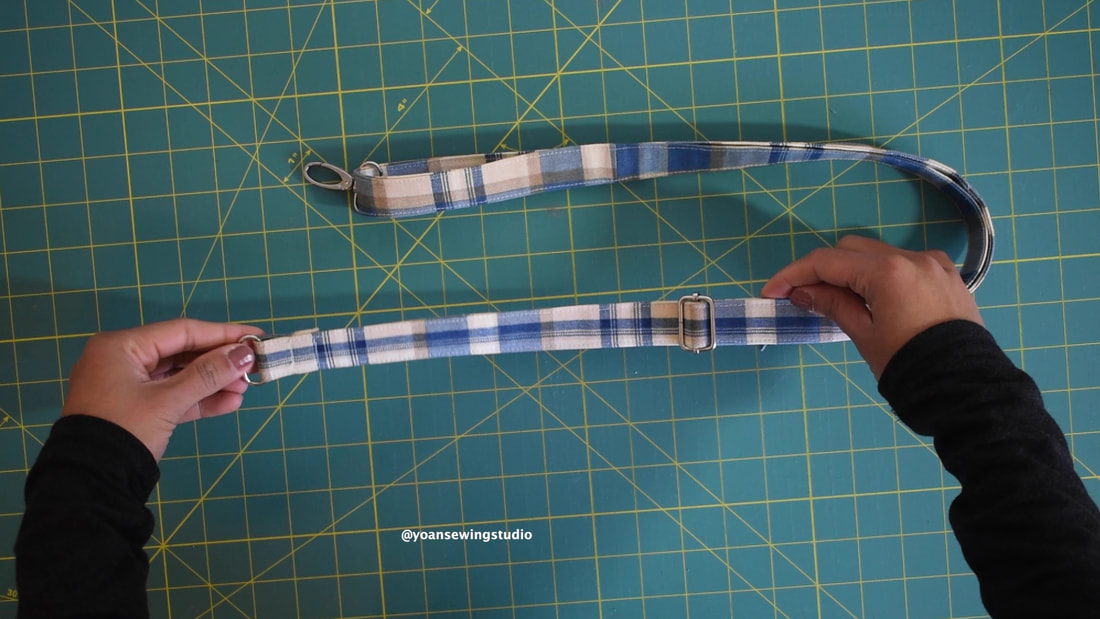
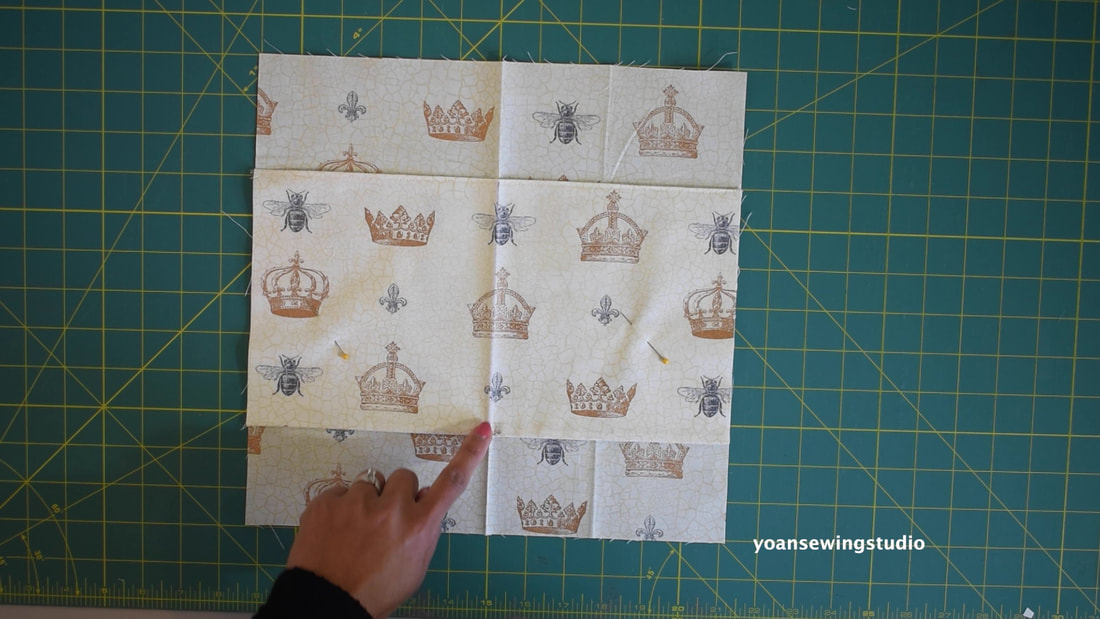
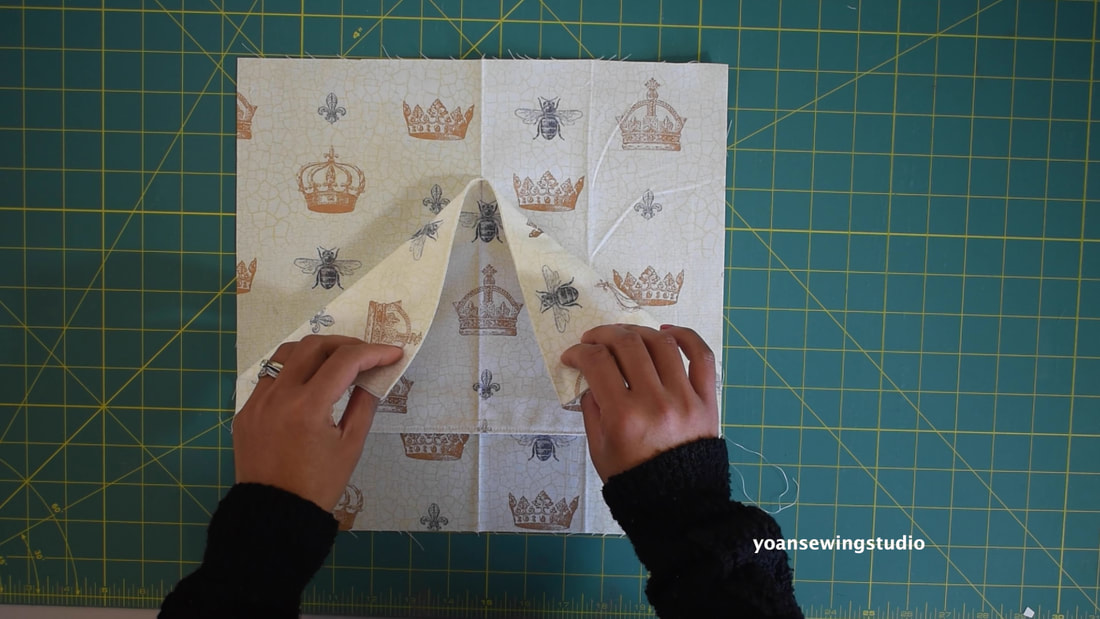
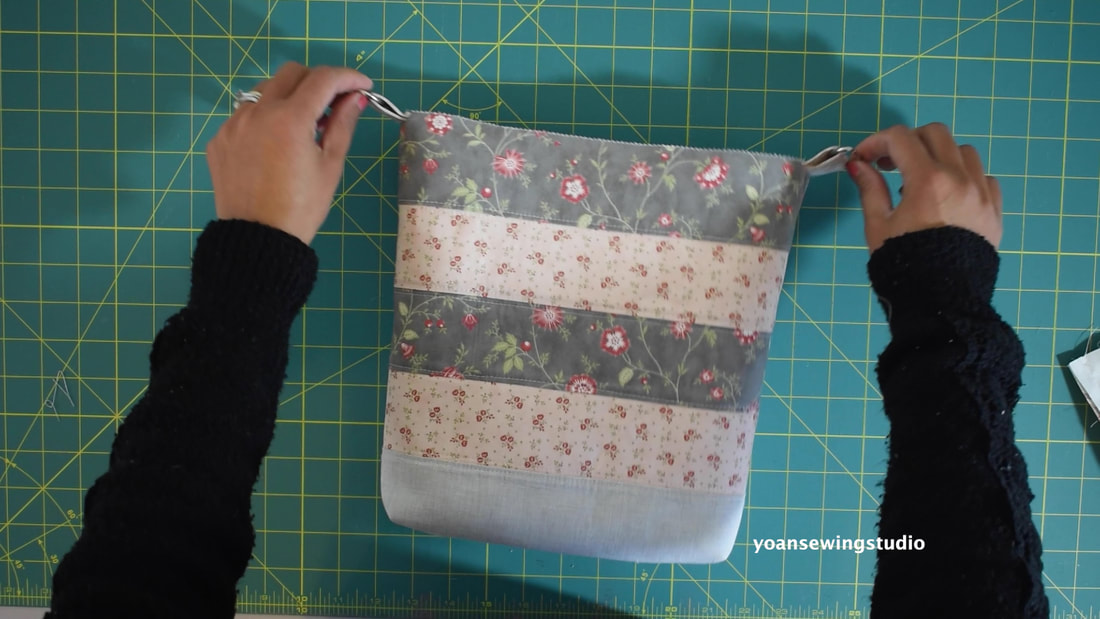
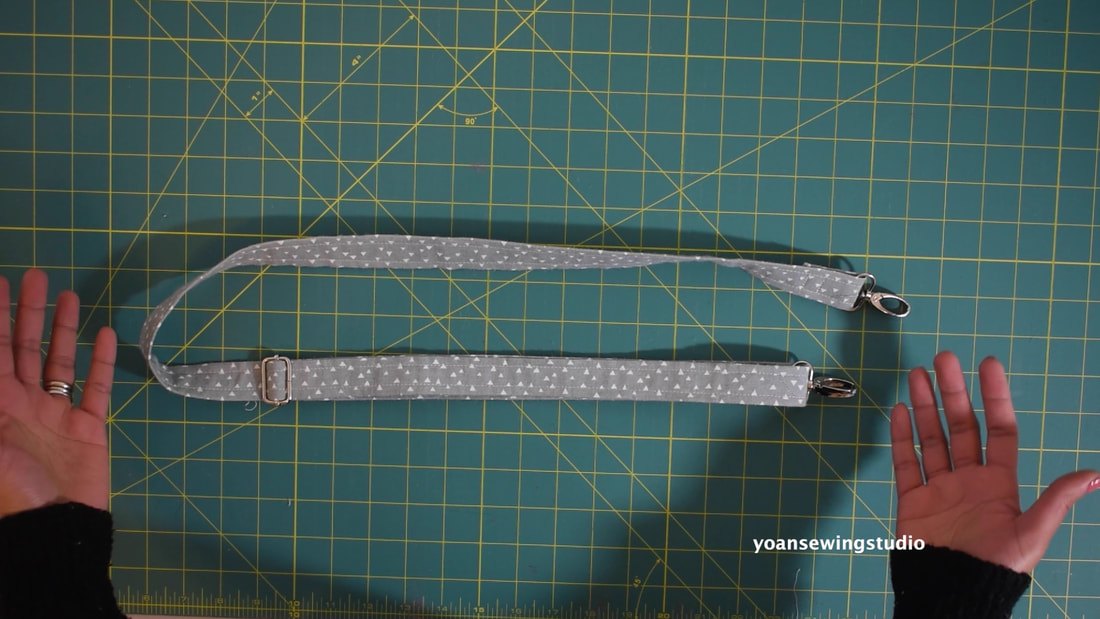
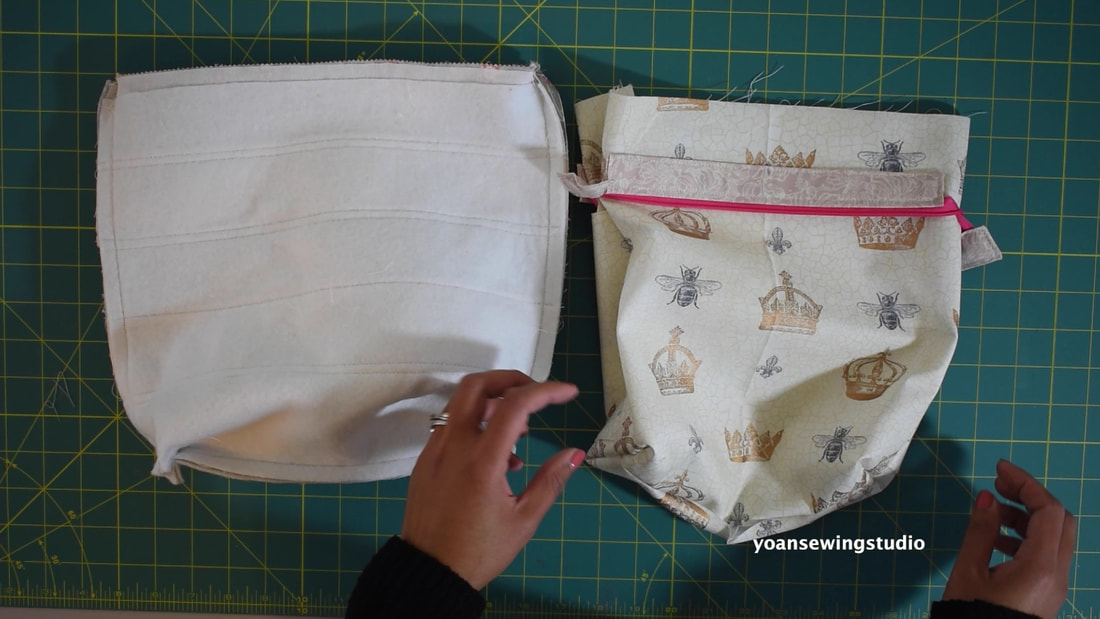
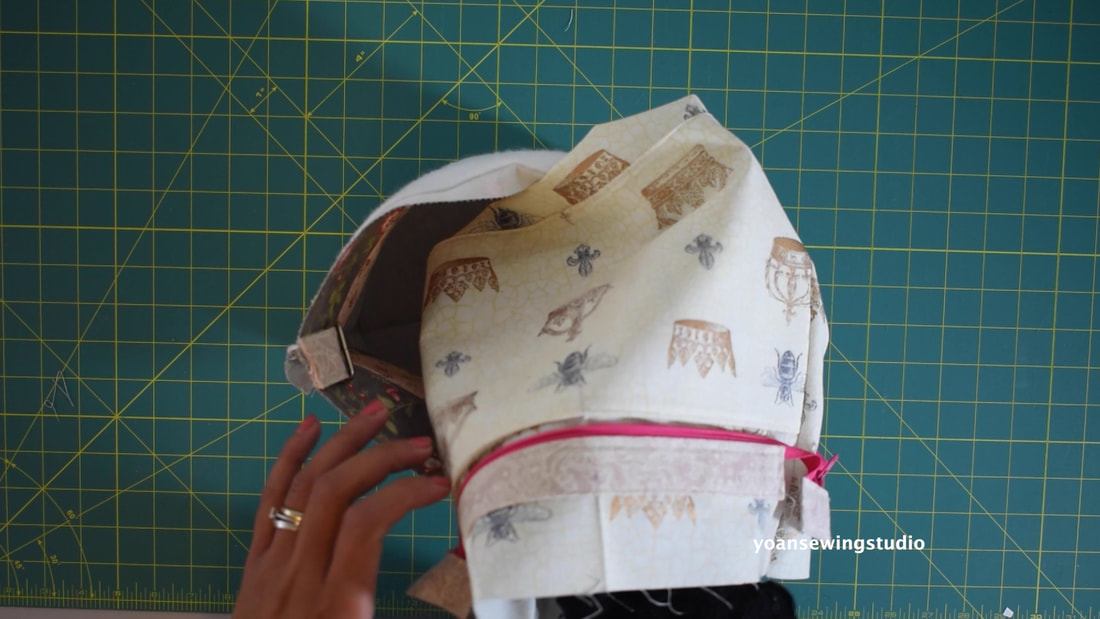
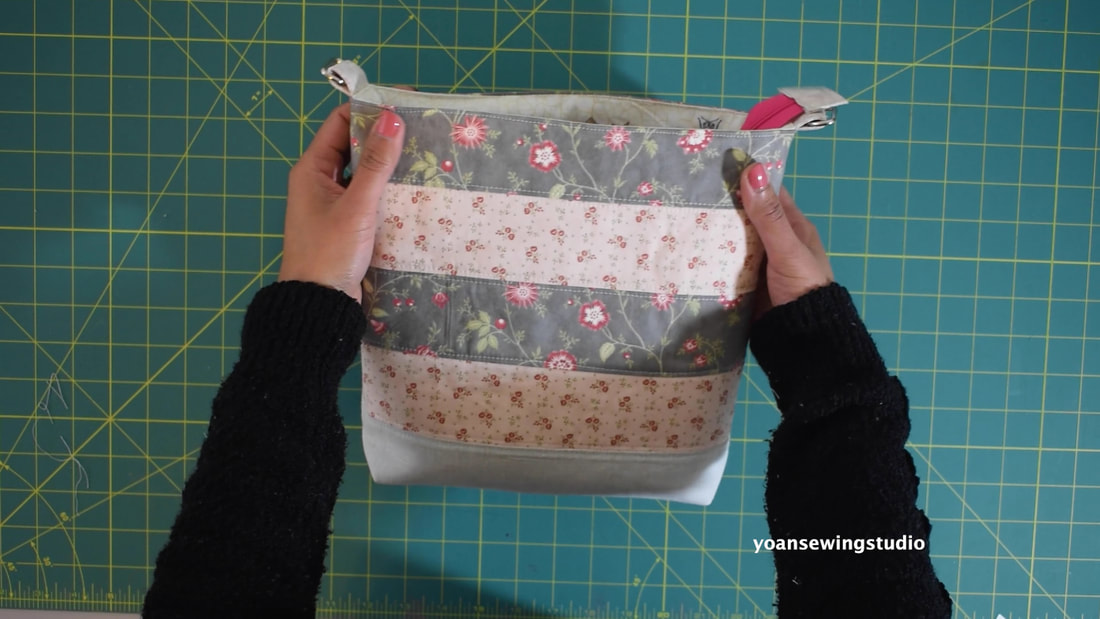
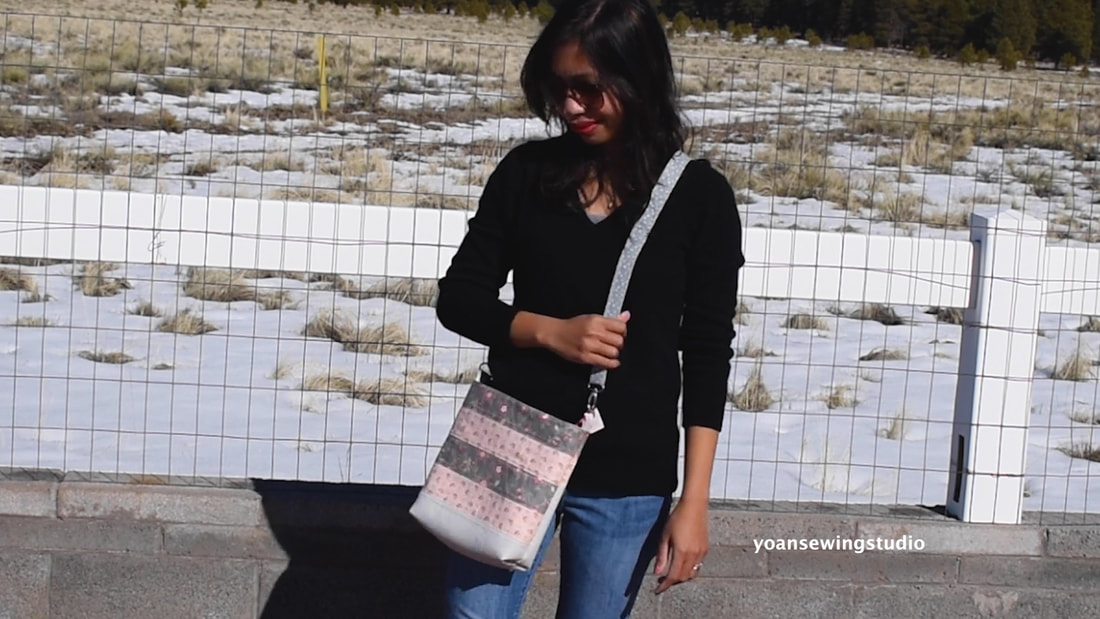
At 13: 47 , I stated that you need to trim the zipper to measure 11", please disregard, it should be 12" long instead At 16:50 , I wrote to cut the strap anchors 3" long, please ignore that, the measurements should be 2.5" long, as stated on the cutting instructions. At 20:02, I said to measure 3 and 1/4" from the edge of the fabric, it should've been 3/4" instead. Thank you. Here's another project incorporating improv style "quilt as you go" method. This crossbody bag is a darling yet functional little bag, great for your daily adventures. Feel free to experiment with different colors, prints/solid. This project will also work great with heavier weight fabric such as canvas, denim, and linen. Finished Bag Measurements : Approx. 11.5" x 10.5" x 1.5" Features : Adjustable Straps Scrappy front pocket (improv style - quilt as you go) piecing Zipper Closure 2x internal slip pockets 1x internal zipper pocket
Watch the full video tutorial on myYoutube channel.
Bellow are some recommend products to make this project (Amazon Affiliate Links, Thank you for your support)
Happy Sewing!
The Laptop Bag Project - Yoan Sewing Studio
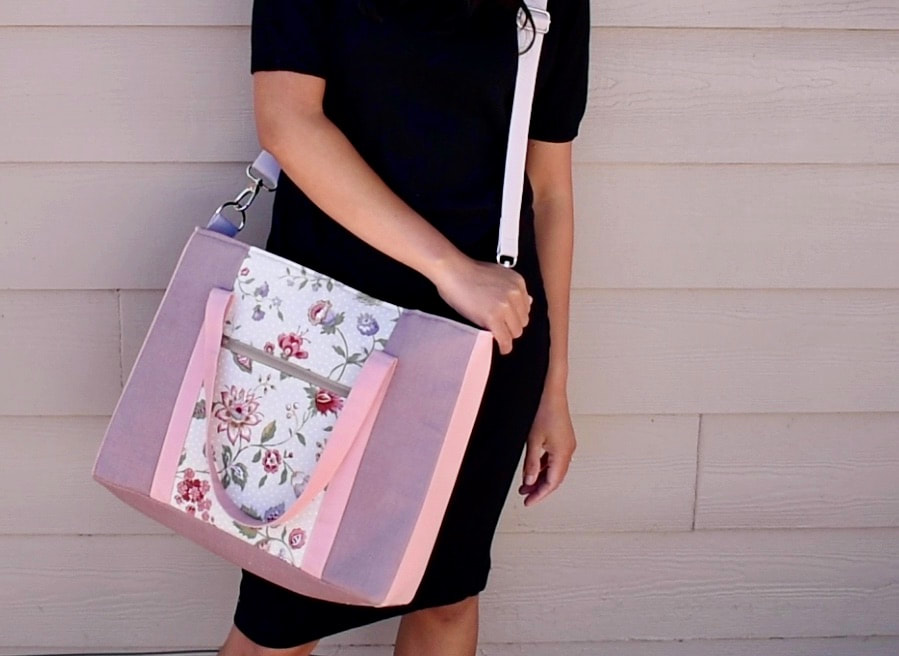
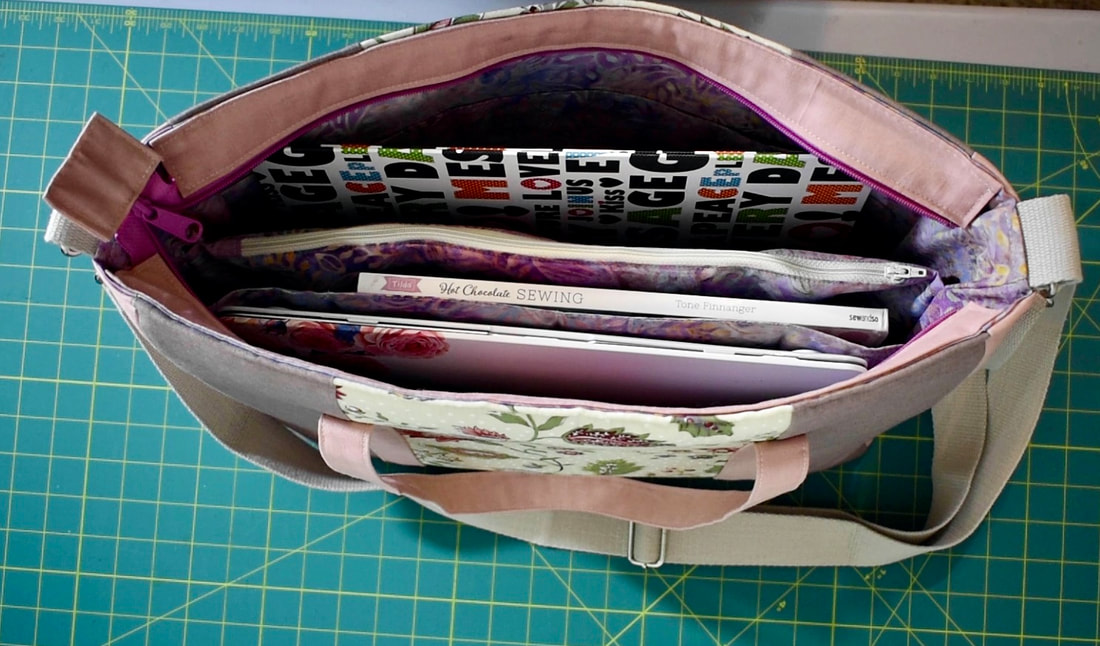
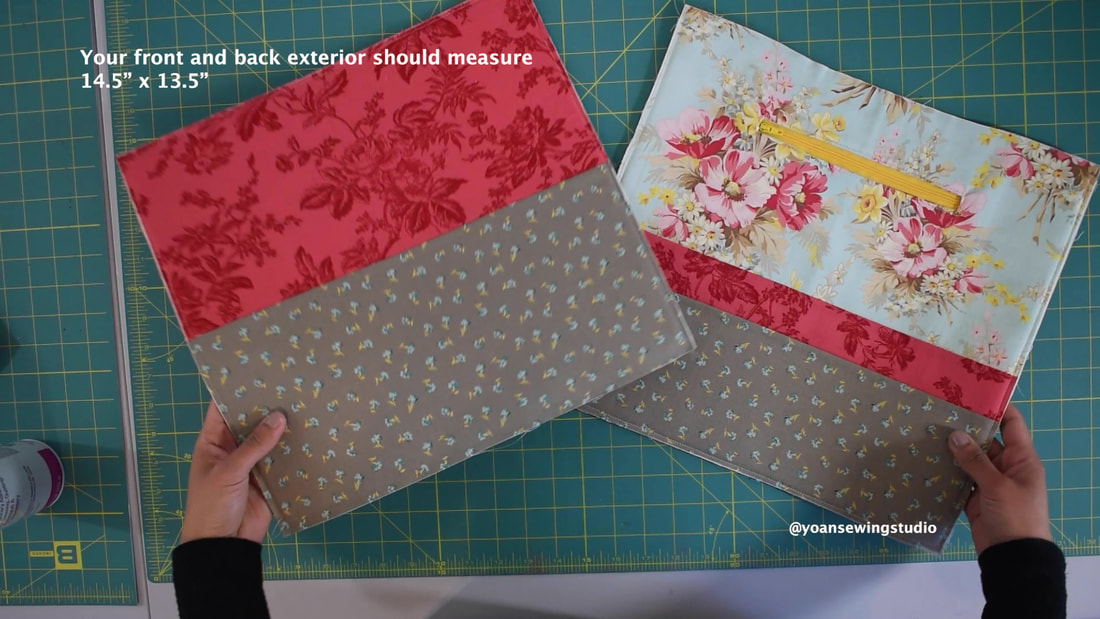
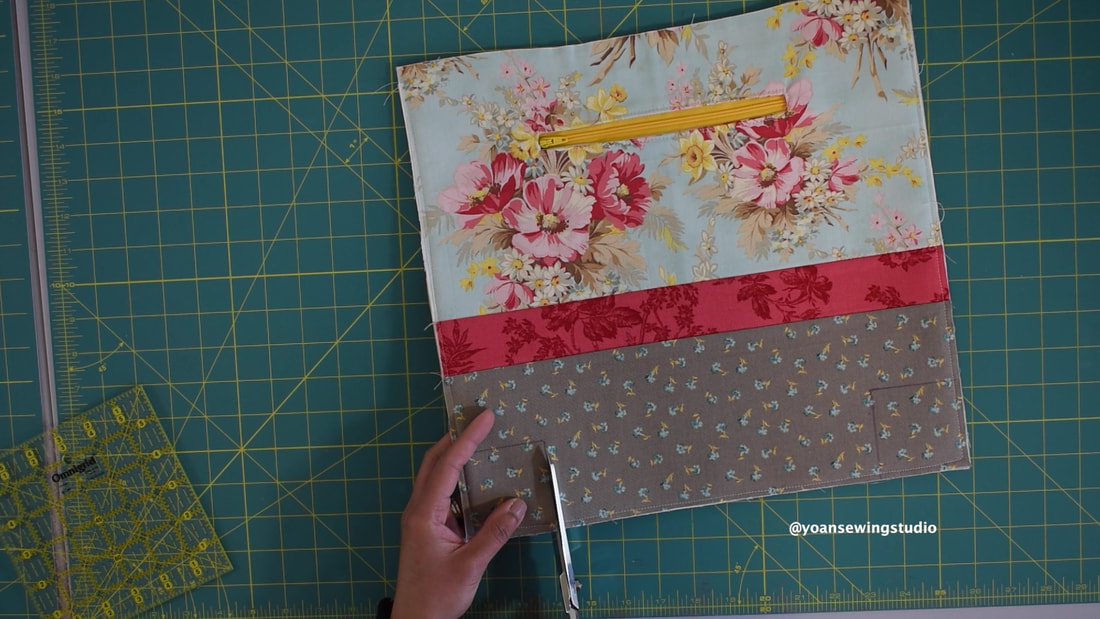
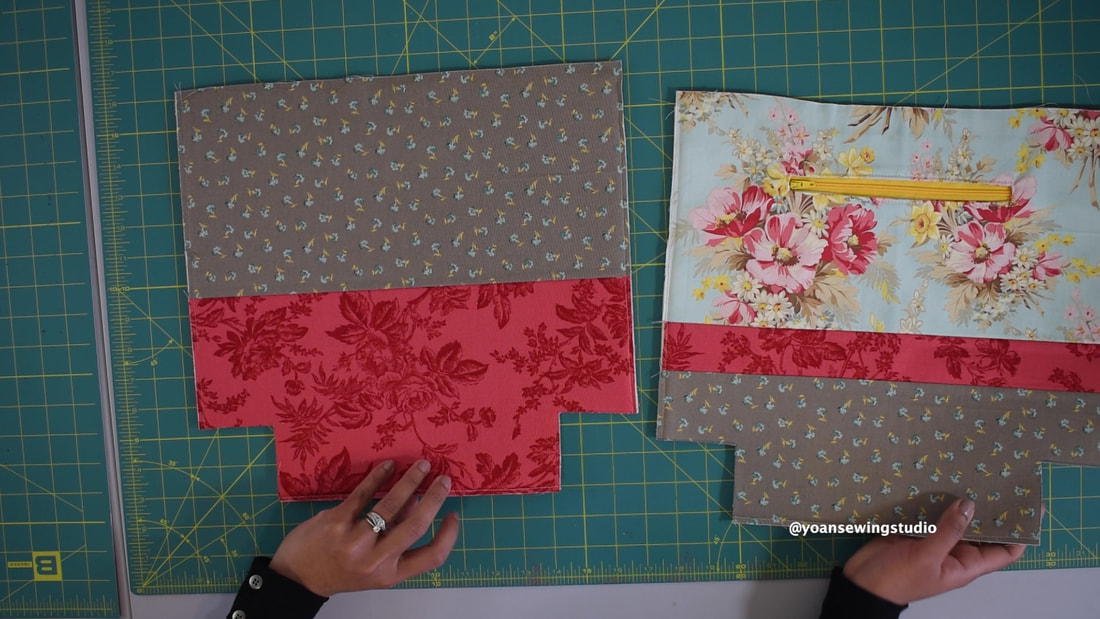
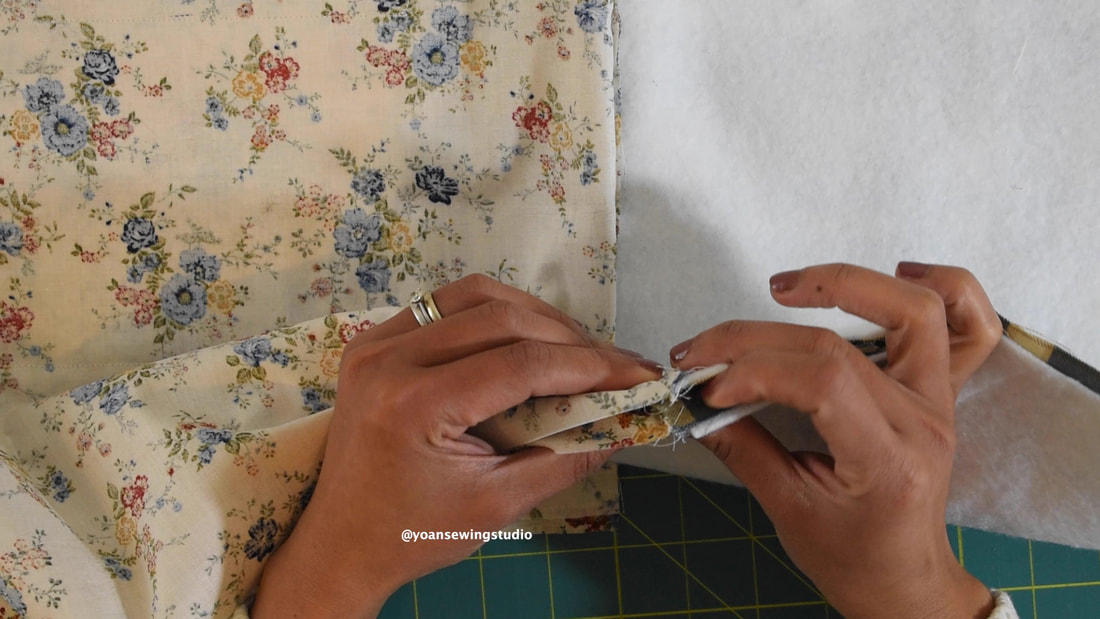
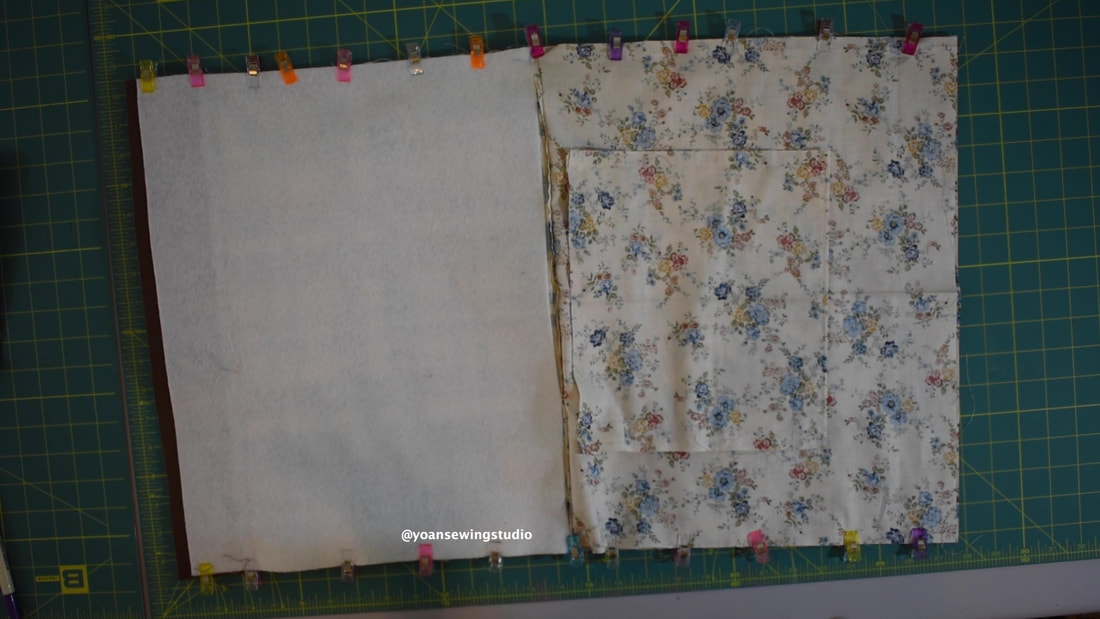
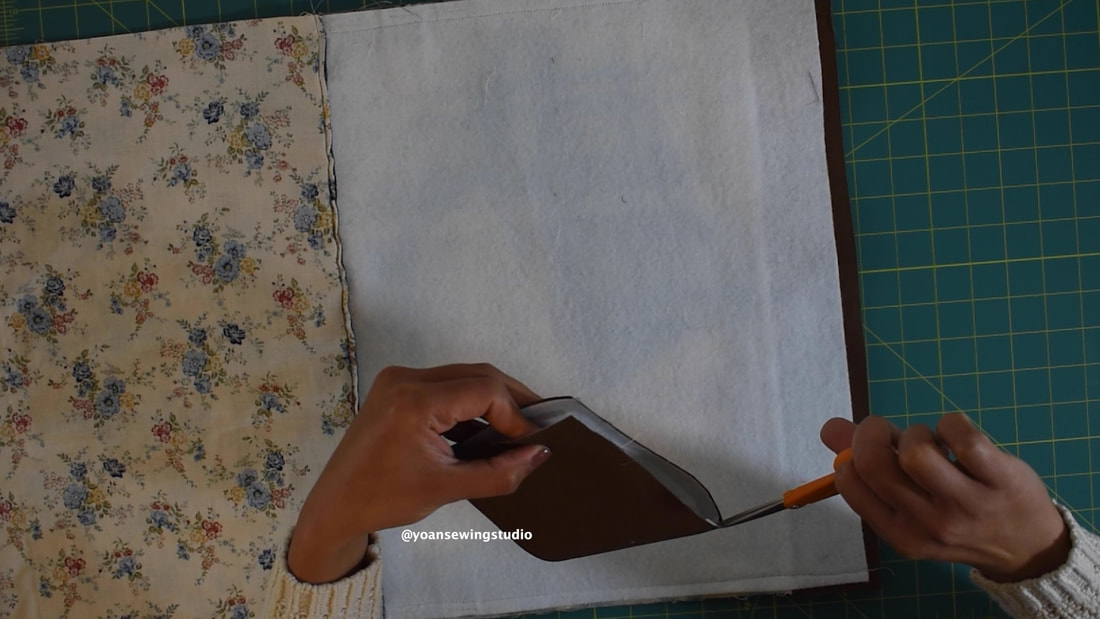
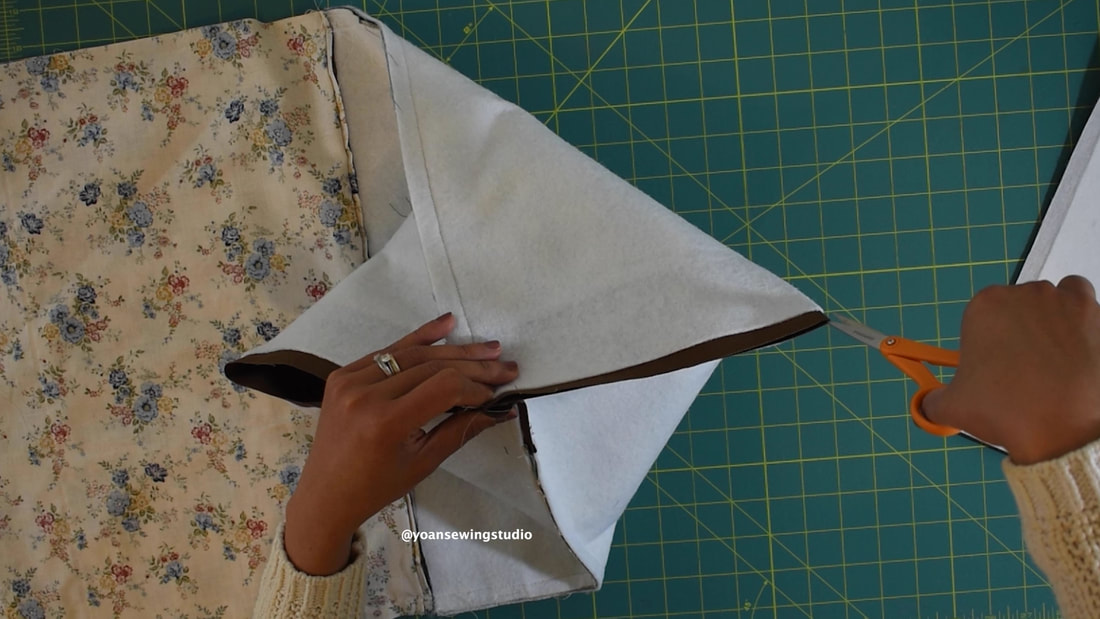
Here's a new project for you if you want to take your bag making adventure to a new level. This bag is all you need to carry your laptop, books, folders, binders, etc. Great to be used as office bag, college bag, teacher's bag or for traveling or business trip, when you need to carry your laptop with you.
Dimension : Approx. 17" x 12.5" x 4"
Features : - Zipper closure - Adjustable strap - Front zipper pocket - Large compartments to store up to 15" laptop, folders, binders, books, etc - Zipped pocket divider (can be used to store the laptop charger) - Padded pocket for smaller size laptop or tablet - 3 internal slip pockets Disclaimer : This post contains Amazon affiliate links, thank you for your support!
Click the button below to download the cutting diagram and brief written instructions.
and of course watch the video tutorial on my Youtube channel, for detailed demonstration.
Happy Sewing!!
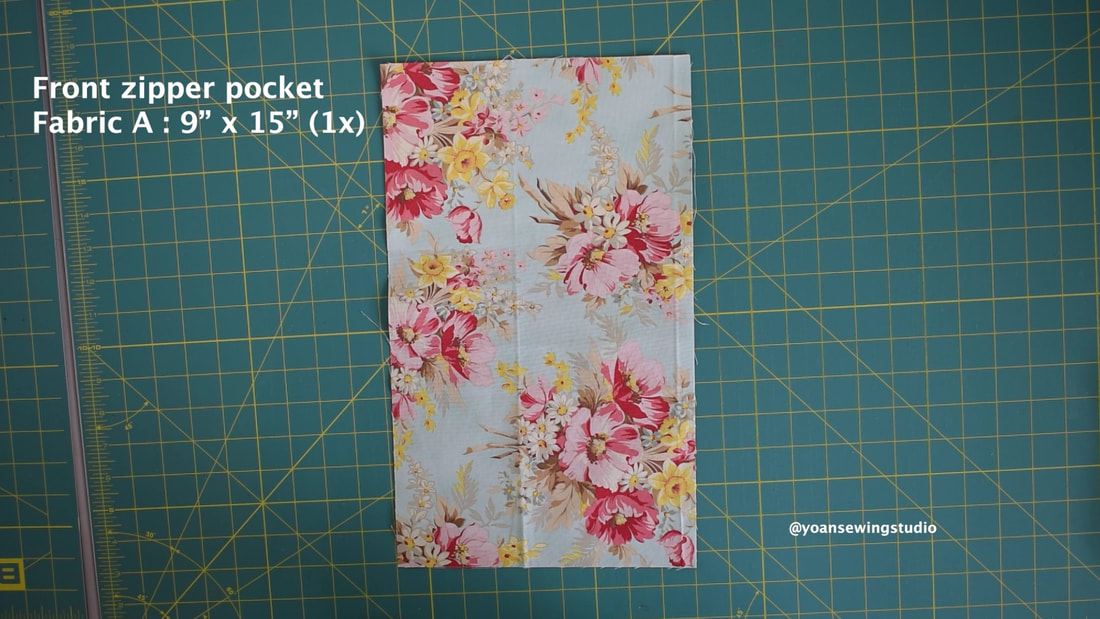
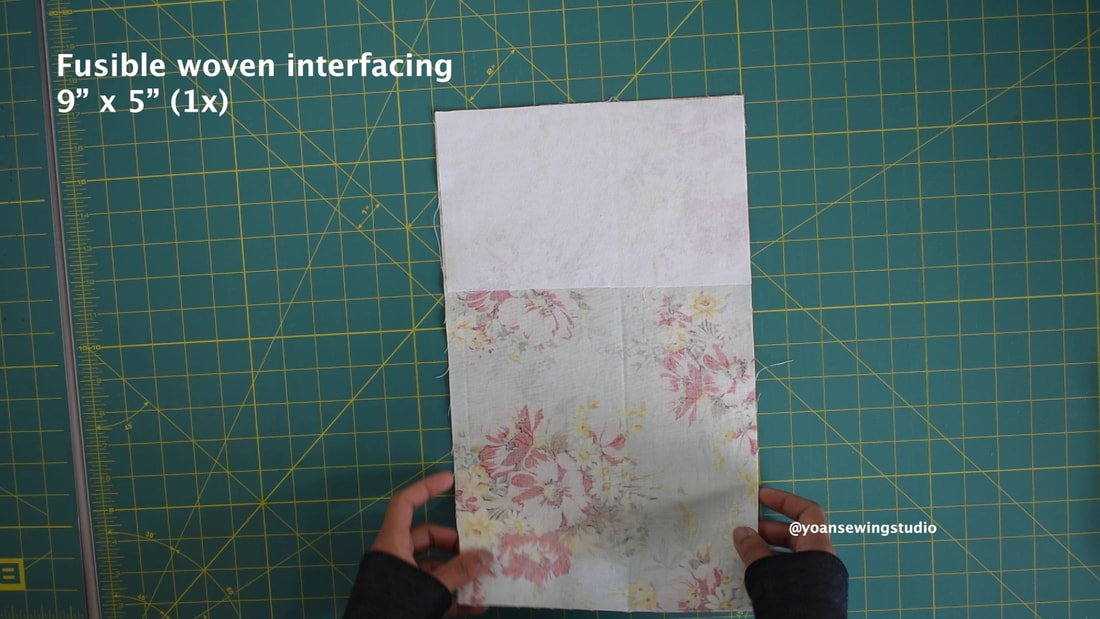
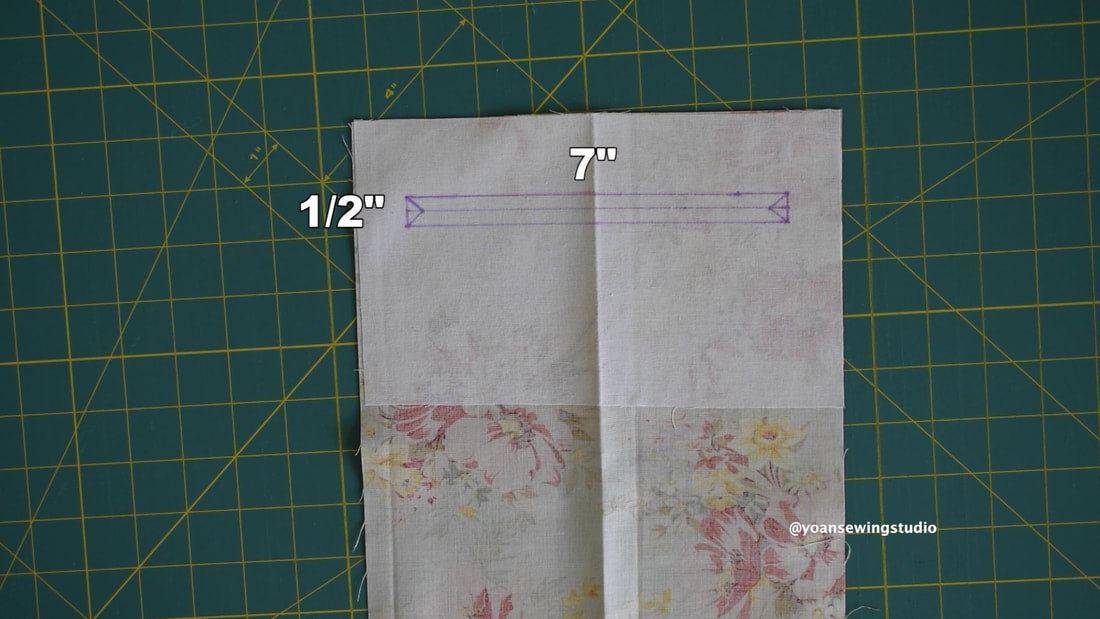
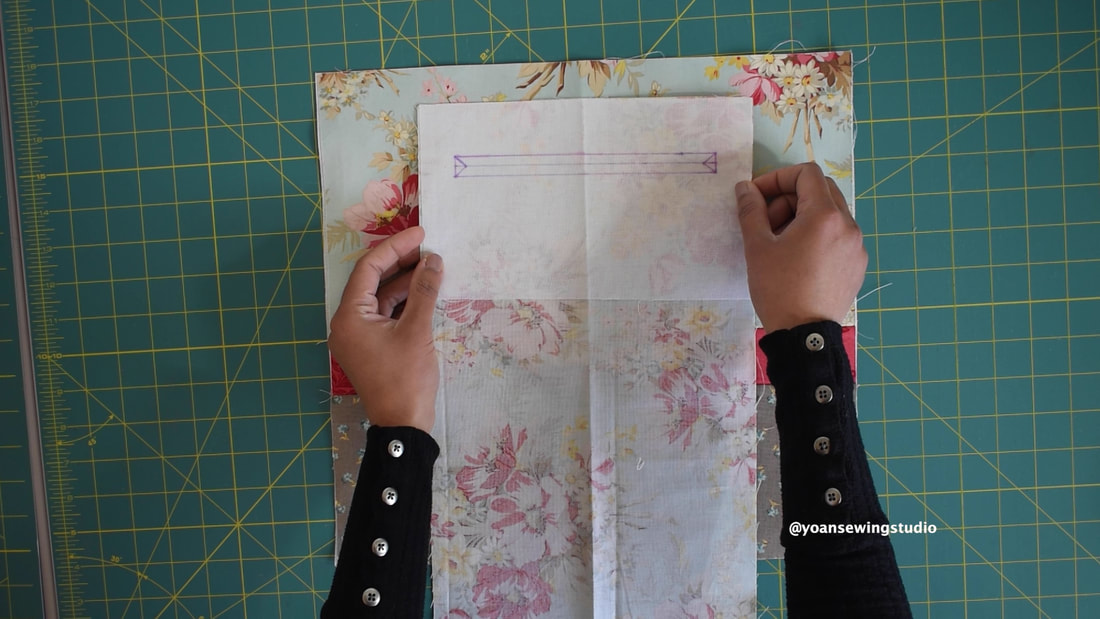
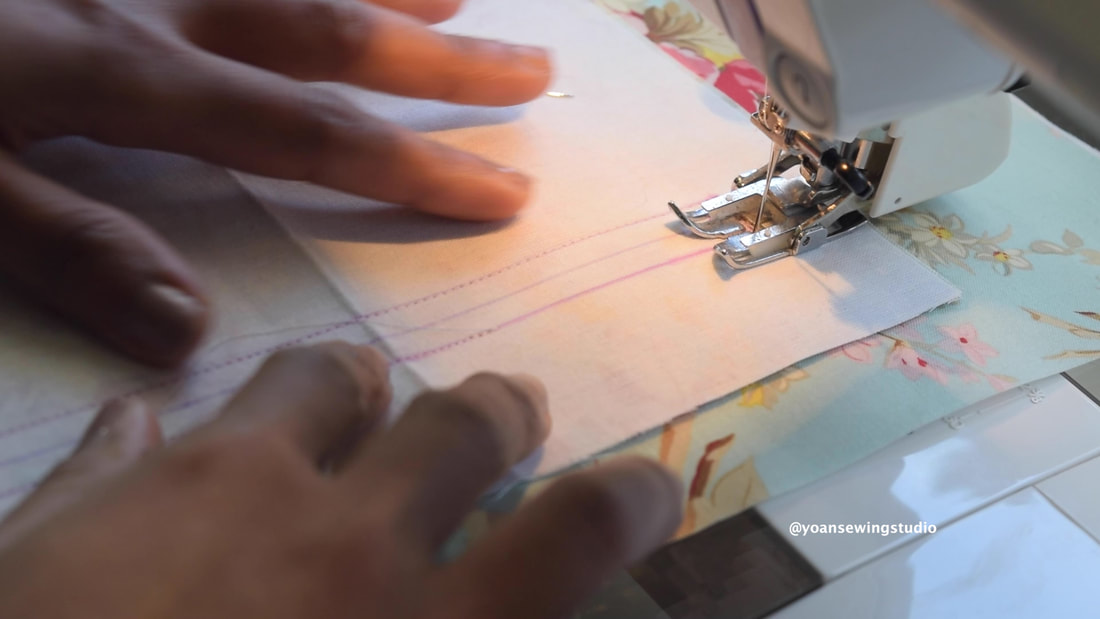
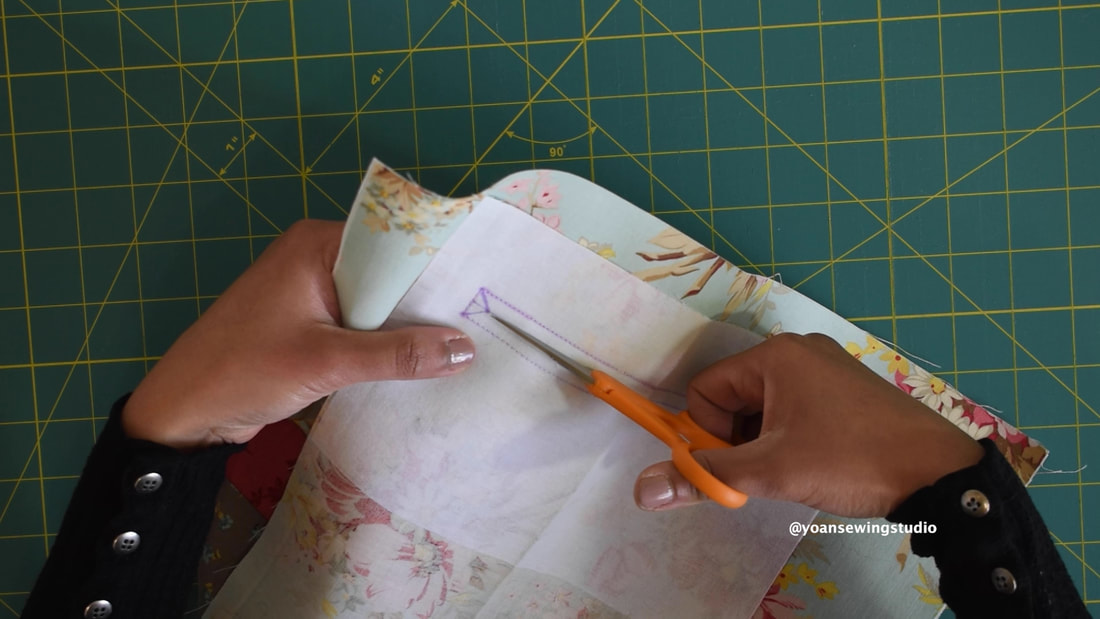
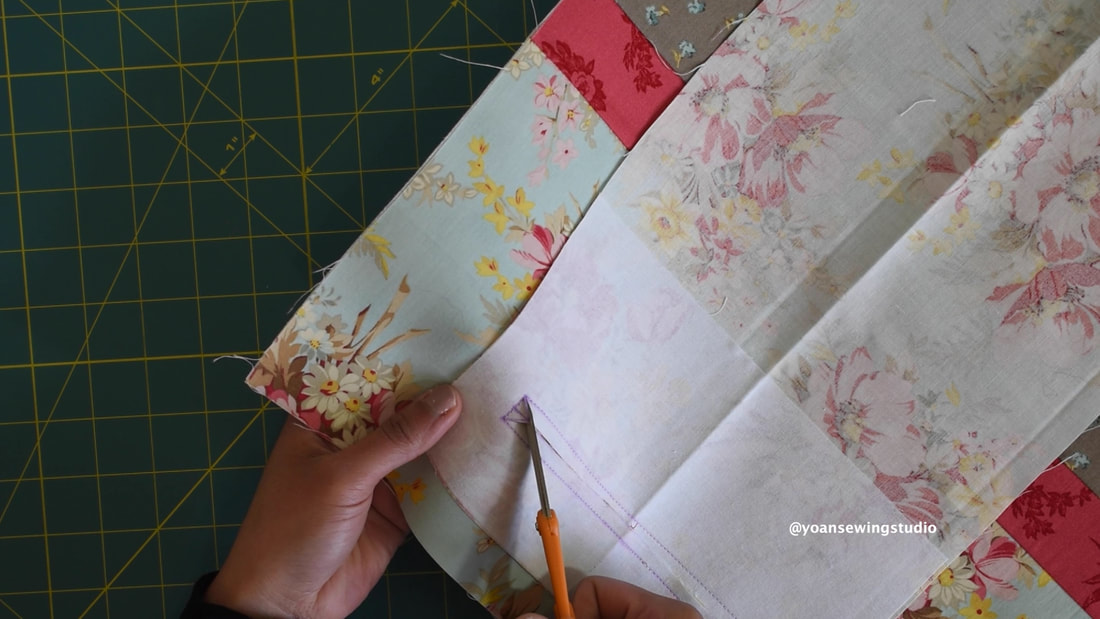
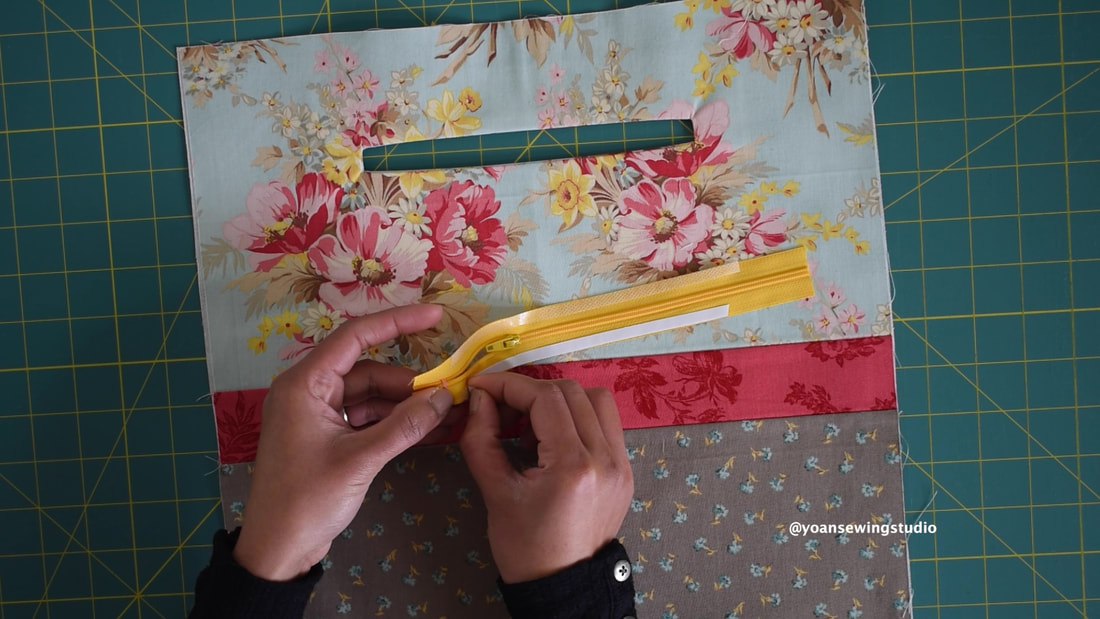
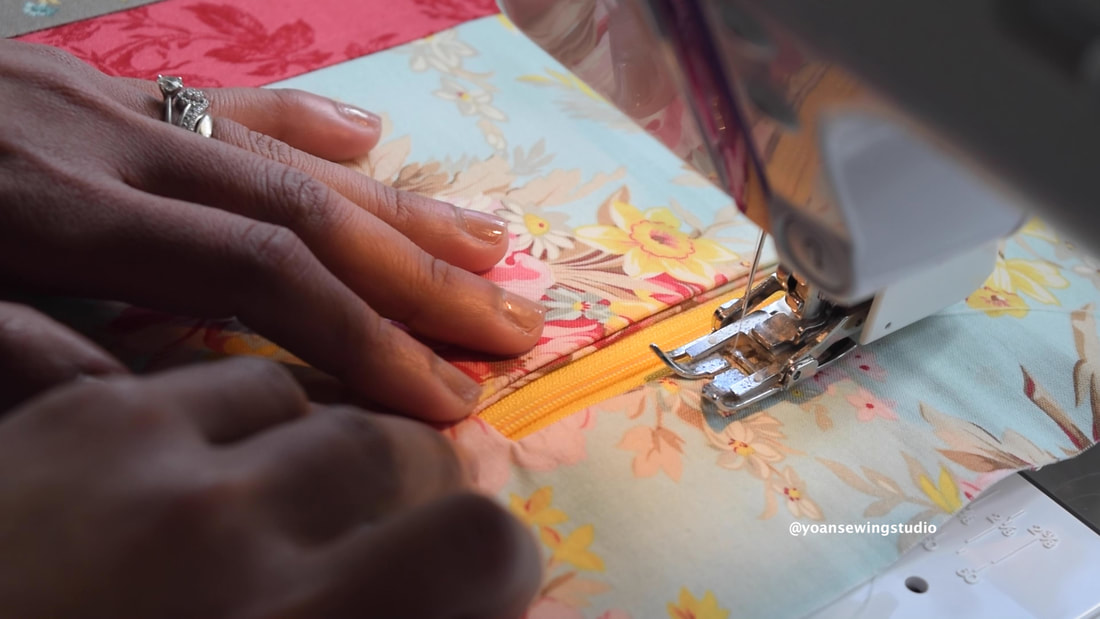
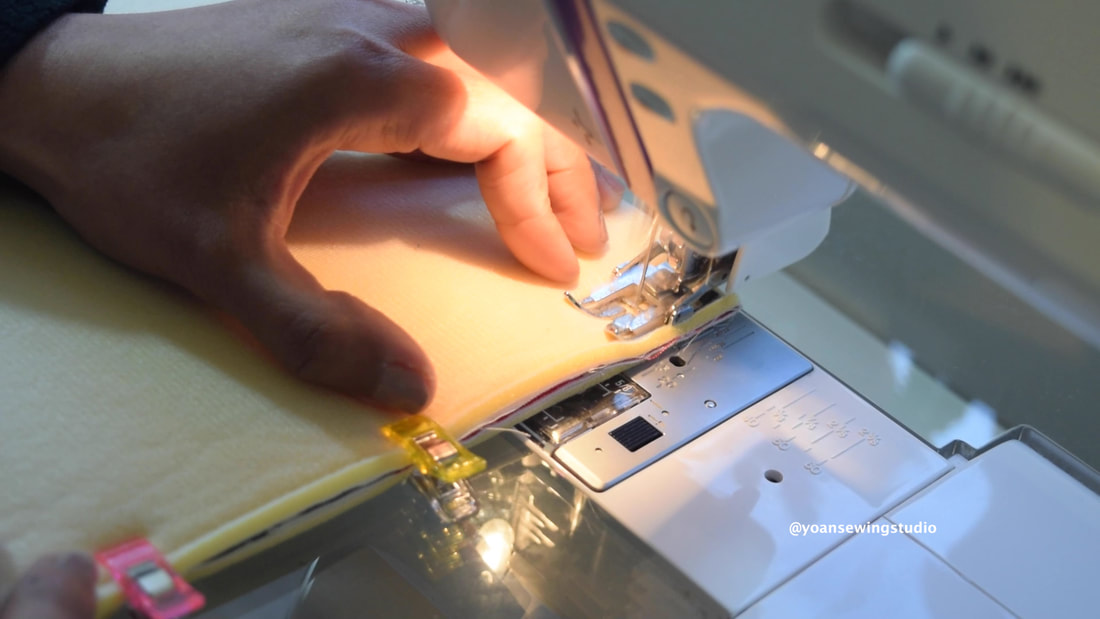
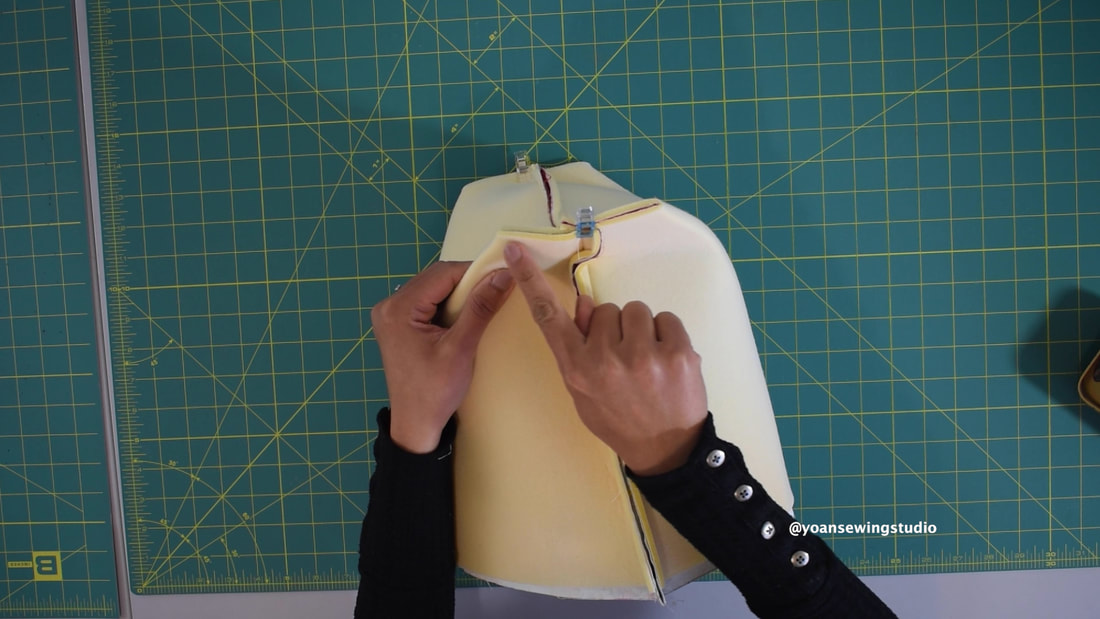
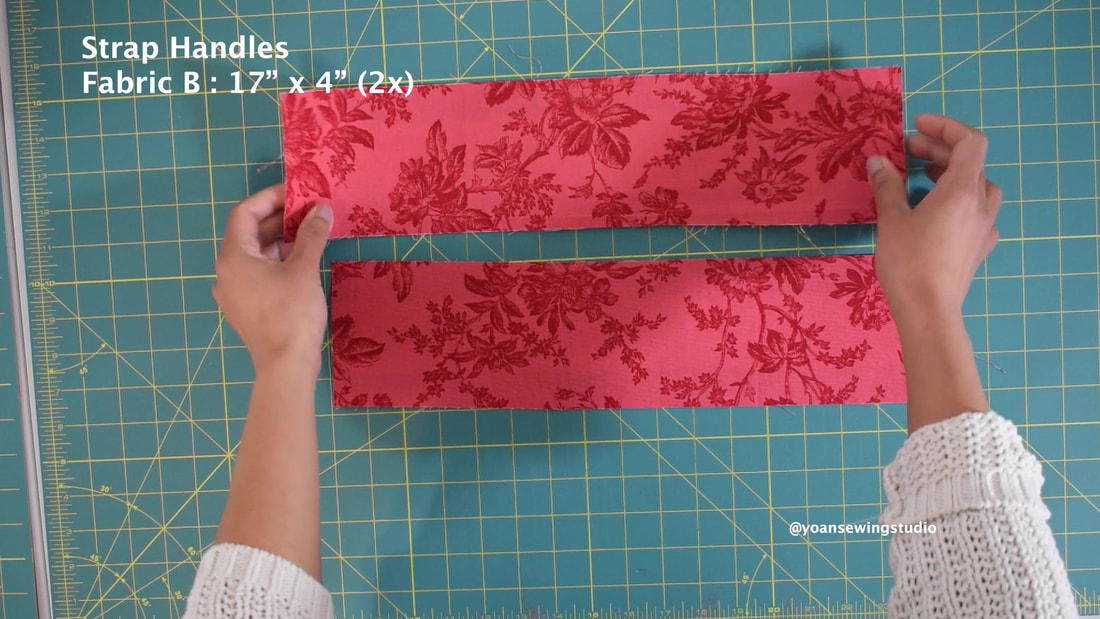
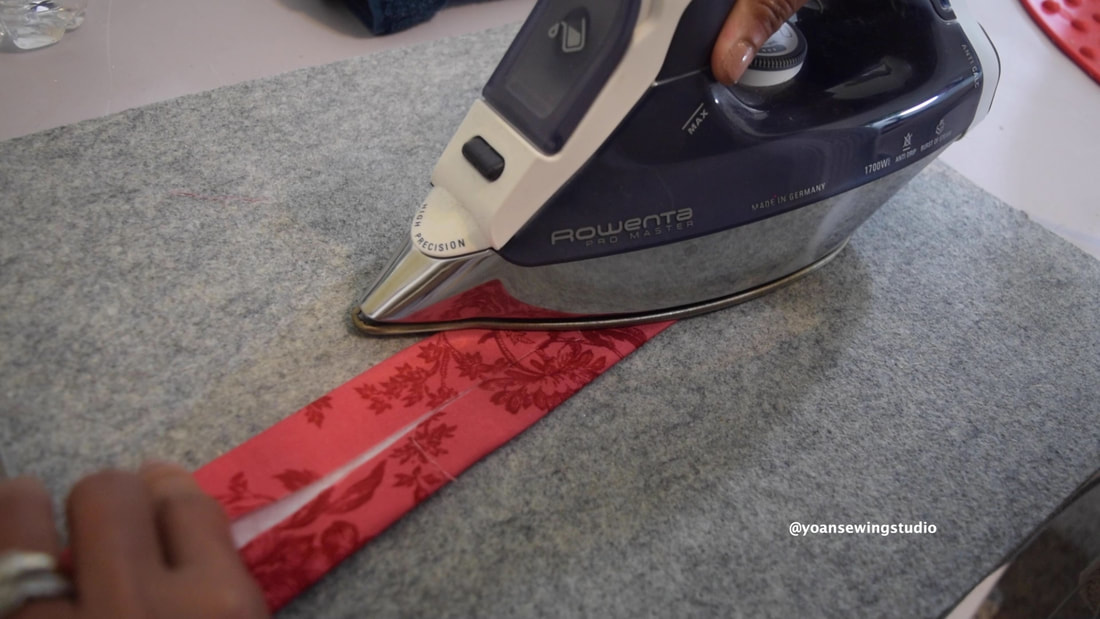
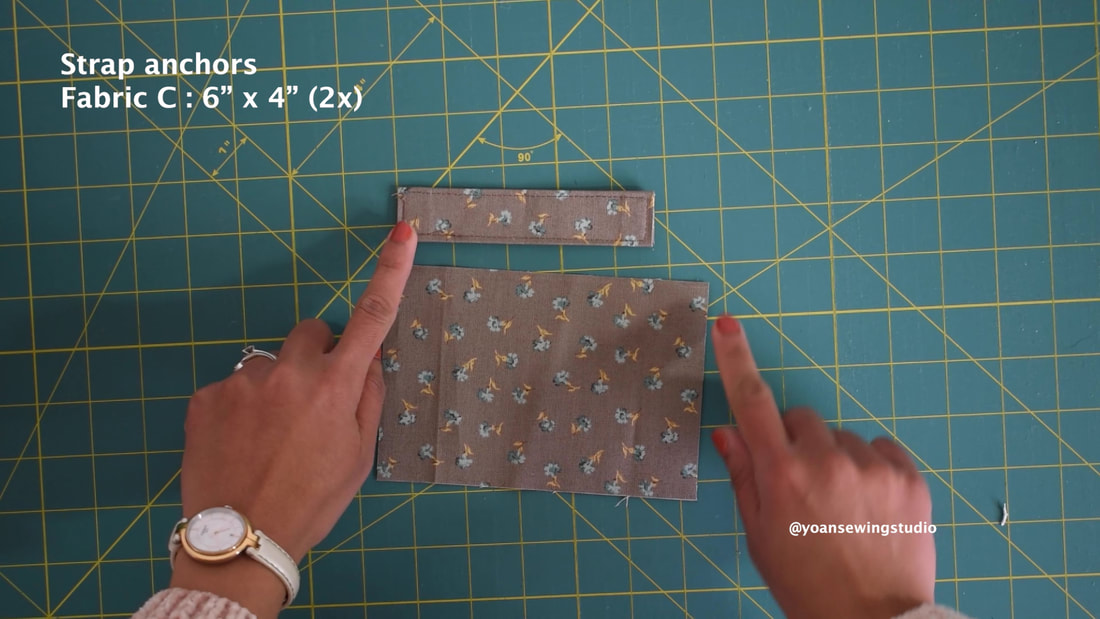
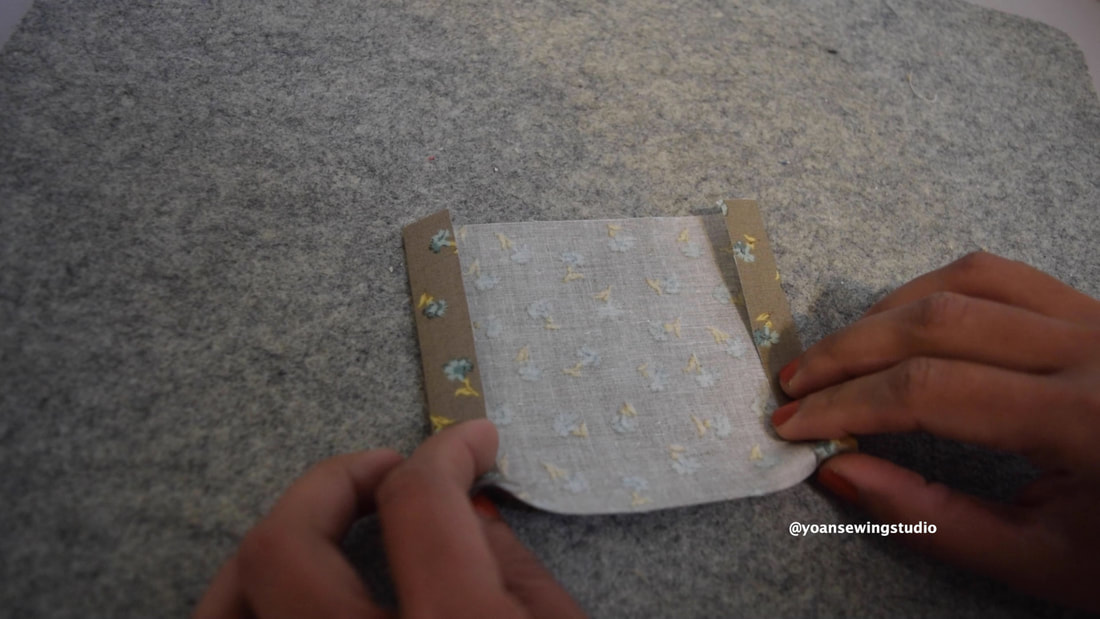
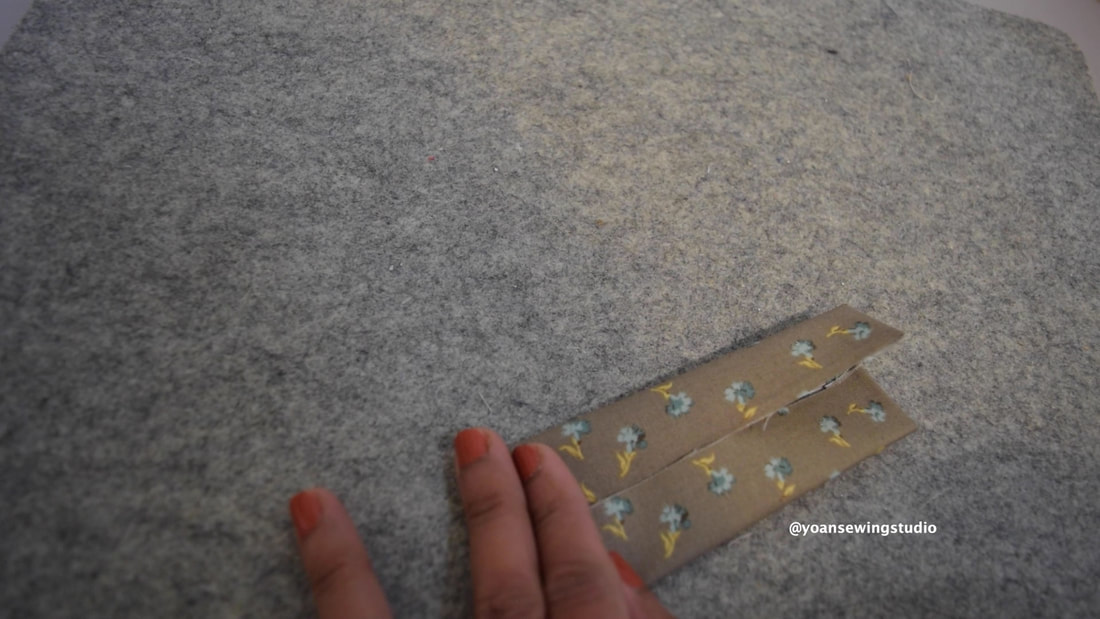
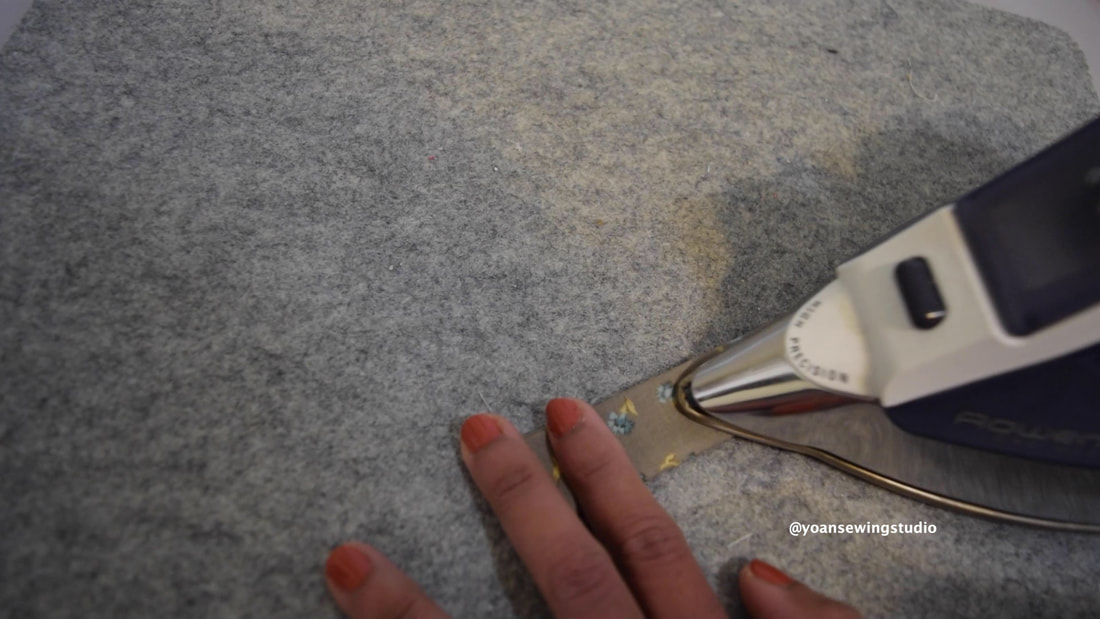
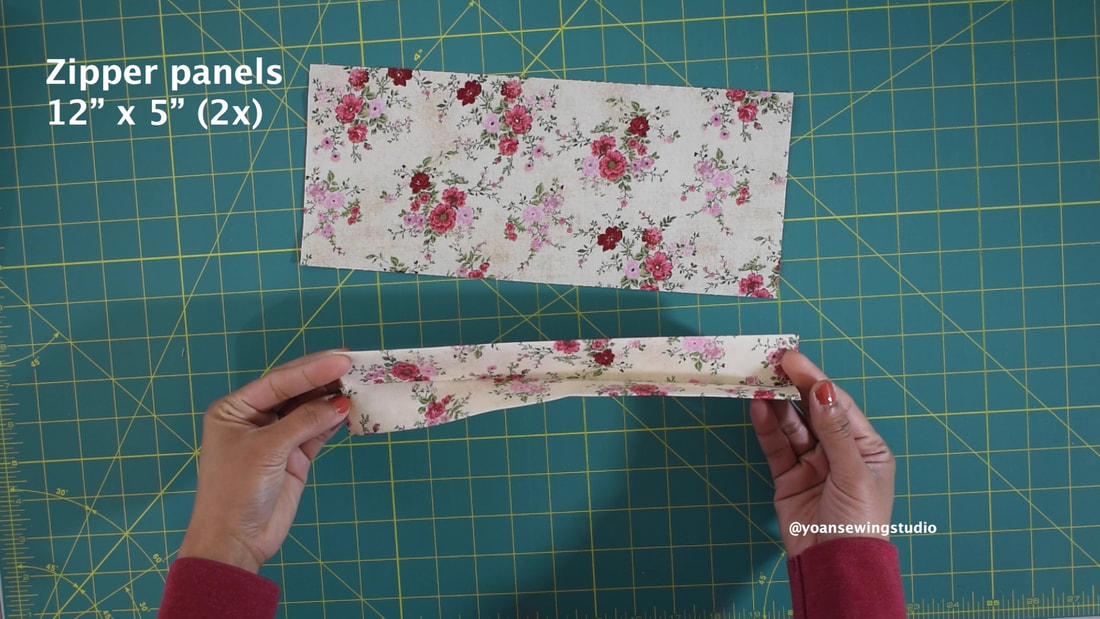
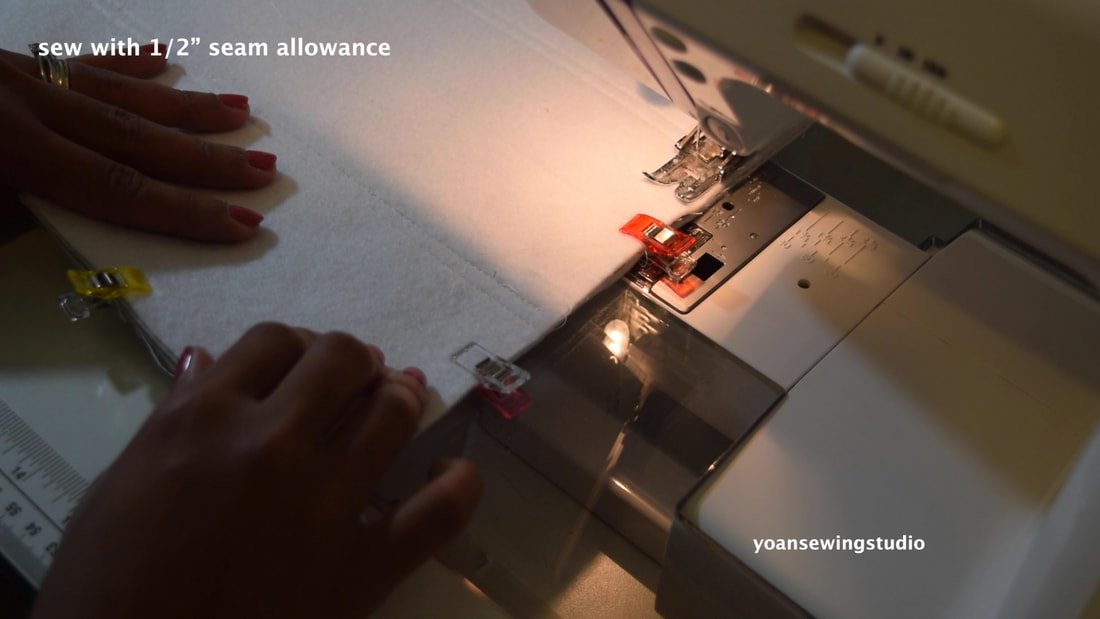
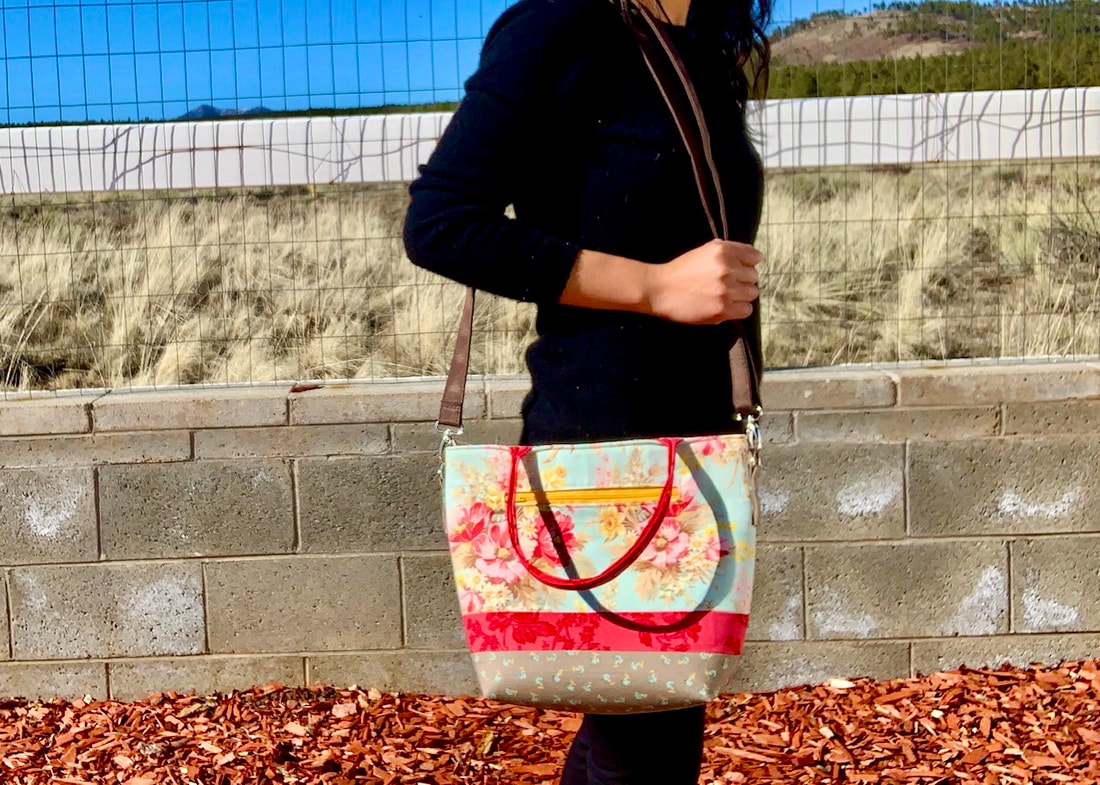 The Dahlia Bag by Yoan Sewing Studio Here's a new bag for you to sew to use up some of your fat quarters collection. The Dahlia bag is a charming bag to be added to your bag collection. Some of the features that this bag has : Front Zipper pocket Recessed Zipper closure 3 internal slip pockets 8" drop Handle straps Adjustable strap The finished measurements of this bag is approx. 12.5" (wide) x 10" (tall) x 5" (deep). The use of foam stabilizer (soft and stable), gives this bag a great structure without being too rigid. I posted the full video tutorial on my Youtube channel, that you can watch here, you may scroll down below for the list of supplies, cutting instruction, and written instruction. SUPPLIESFabric A,B,C, 3x Fat quarters (or 3x 1/4 yard of fabric) 2/3 yard cotton lining fabric 3/4 yard fusible woven interfacing (20" wide) 29" x 13" sew in foam stabilizer (I recommend By Annie Soft and Stable) Fusible Fleece (or batting) 34" x 2" 7" zipper 12" zipper Adjustable Strap (I used ready made) *If making your own strap, cut a 50-60" x 4" fabric; or you can also use webbing strap 1" D rings (2x) 1" swivel hook (2x) *if making your own strap 1" adjuster slider *if making your own strap CuttingExterior Shell ~Front Exterior ~ From fabric A : 14.5" x 7.5" (1x) From Fabric B : 14.5" x 2" (1x) From fabric C : 14.5" x 5" (1x) ~Back Exterior~ From Fabric B : 14.5" x 7" (1x) From fabric C : 14.5" x 7" (1x) From Fusible Woven Interfacing : 14.5" x 13.5" (2x) From foam stabilizer : 14.5" x 13" (2x) ~Front Zipper Pocket~ From fabric A : 9" x 15" (1x) From fusible woven interfacing 9" x 5" (1x) ~Handle Straps~ From fabric B: 17" x 4" (2x) From Fusible fleece 17" x 2" (2x) ~Strap Anchors~ From Fabric C : 6" x 4" (2x) Interior ~Zipper panels~ From lining fabric 12" x 5" (2) ~Zipper tabs ~ From lining fabric 3" x 2" (2x) ~Lining~ From lining fabric 14.5" x 13.5" (2x) ~Slip Pockets~ From lining fabric 14.5" x 12.5" (1x) the fabric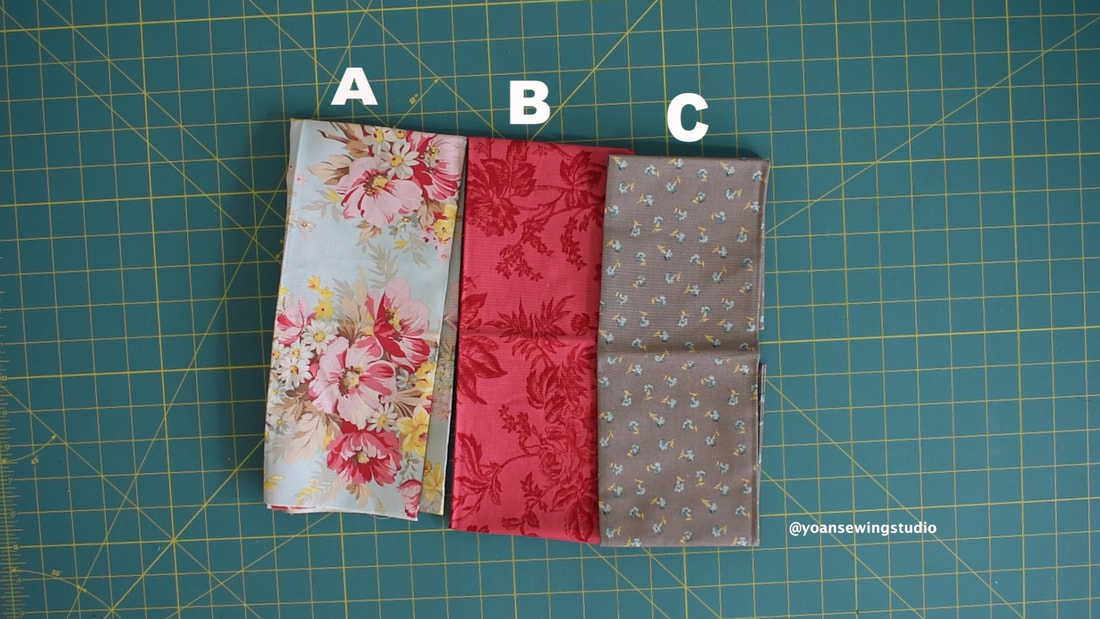 front exterior layout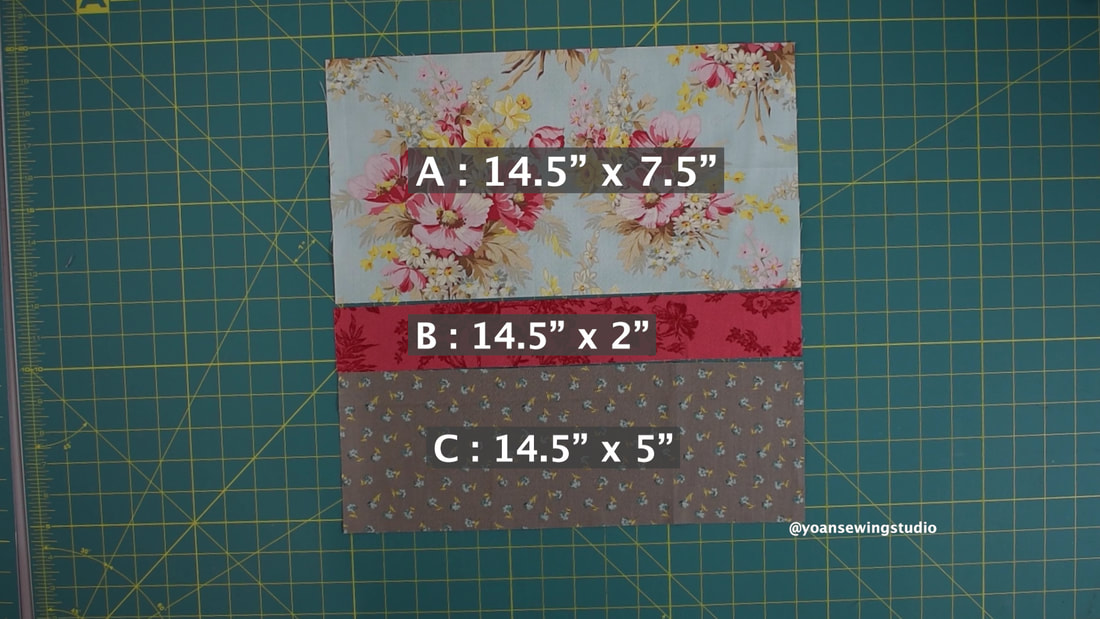 Back exterior layout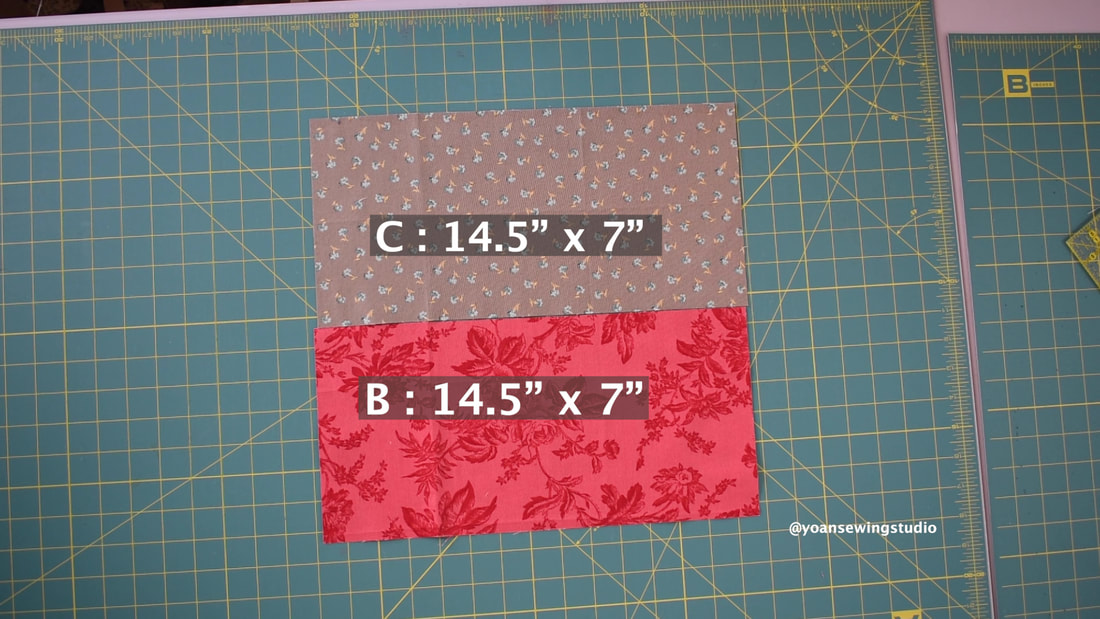 Directions1. Sew the front and back exterior pieces with 1/4" of seam allowance, press. 2. Apply the fusible woven interfacing on both the front and back exterior pieces. 3. Apply the fusible woven interfacing on the upper top part of the front zipper pocket. 4. Draw the zipper template on the wrong side of the front pocket piece. 5.Lay the pocket piece, on the right side of the front exterior piece, 1" down from the top (centered the position), sew along the perimeter of the zipper template. 6. Cut the center line and the corner triangles of the zipper template (be careful not to cut through the stitches) 7. Turn the pocket piece to the wrong side, press. 8. Apply basting tape on the edges of the zipper tape, peel the top layer off. 9. Position the zipper template on the zipper, sew all around the edges. 10. Trim the excess zipper off, fold the pocket in half, sew along the sides and top with 3/8" of seam allowance. 11. Place the foam stabilizer on the wrong side of the exterior pieces, (you can baste with spray basting, then sew the sides and bottom edges with 1/4" seam allowance. 12. Draw and cut 2.5" squares on both bottom corners of your exterior pieces. 13. Lay the front and back exterior right sides together, sew with 1/2" seam allowance. 14. Box the corners 15. Apply the fusible fleece on the wrong side of the handle straps pieces (center the position) 16. Fold the strap in half, press, fold the edges towards the centerfold, press, fold everything in half, press (you should end up with 1" strap) repeat the same with the other piece. 17. Sew along the side edges with 1/8" of seam allowance, starting from the open edge. 18. Mark 1" from both ends of the strap, pinch the strap in half, and sew with 1/8" seam allowance, starting and stopping at the 1" mark. 19. Mark 3.5" from the side seams of the bag, place the strap right by the mark, secure with some sewing clips, then sew with 1/4" seam allowance. Repeat the same with the other side. 20. Prepare the strap anchors. Fold the shorter sides of the strap anchors towards the wrong side 1/2", press, fold the longer side in half, press, fold the edges towards the center fold, press. Fold everything in half, press. Your strap anchor should end up measuring 5" x 1" 21. Sew all around the edges with 1/8" seam allowance 22. Feed the strap anchor through the d-ring, sew as close as you can to the d-ring. 23. Measure 1" down at the side seams, place the strap anchor aligning the highest point of the d ring with the 1" point. Secure in place with a pin or basting glue, then sew 3 straight lines to secure the strap anchor in place. Repeat the same with the other one. 24. If making your own strap, this is the time to do it. 25. Sew and apply the zipper tabs to the end of the zipper. 26. Fold and press the zipper panels the same way as the strap anchors. Your zipper panels should end up measuring 11" x 1" (make sure both panels are the same size). 27. Apply basting tape on the edges of the zipper tape, both wrong side and right side. 28. Insert the zipper tape to the fold of the zipper panel, sew the sides and the bottom edges with 1/8" of seam allowance 29. Repeat the same with the other side. 30. Fold the slip pocket piece in half right side together, sew with 1/4" seam allowance, press the seams open, turn the pocket piece inside out, press, and top stitch along the upper top. 31. Divide the pocket piece into 3 slots, mark with disappearing fabric marker. 32.Lay the slip pocket on the right side of one of the lining, 4" down from the top. Sew on the marking lines, the sides, and the bottom as well. 33. Lay the zipper panel on the right side of the lining 1.5" down from the top, aligning the center point of the zipper panel with the center point of the lining. Sew with 1/8" seam allowance. 34. Repeat the same with the other side. 35. Assemble the lining exactly the same way as the exterior shell, leaving about 5' of opening at the bottom. 36. Turn the lining piece right side out, and turn the exterior piece wrong side out. 37. Insert the lining into the exterior shell, secure them in place with some sewing clips, then sew with 1/2" seam allowance. 38. Turn the bag inside out, top stitch along the edges.
39. Sew the opening hole close. 40. Give the bag a good final pressing, attach the adjustable straps, and you are done! 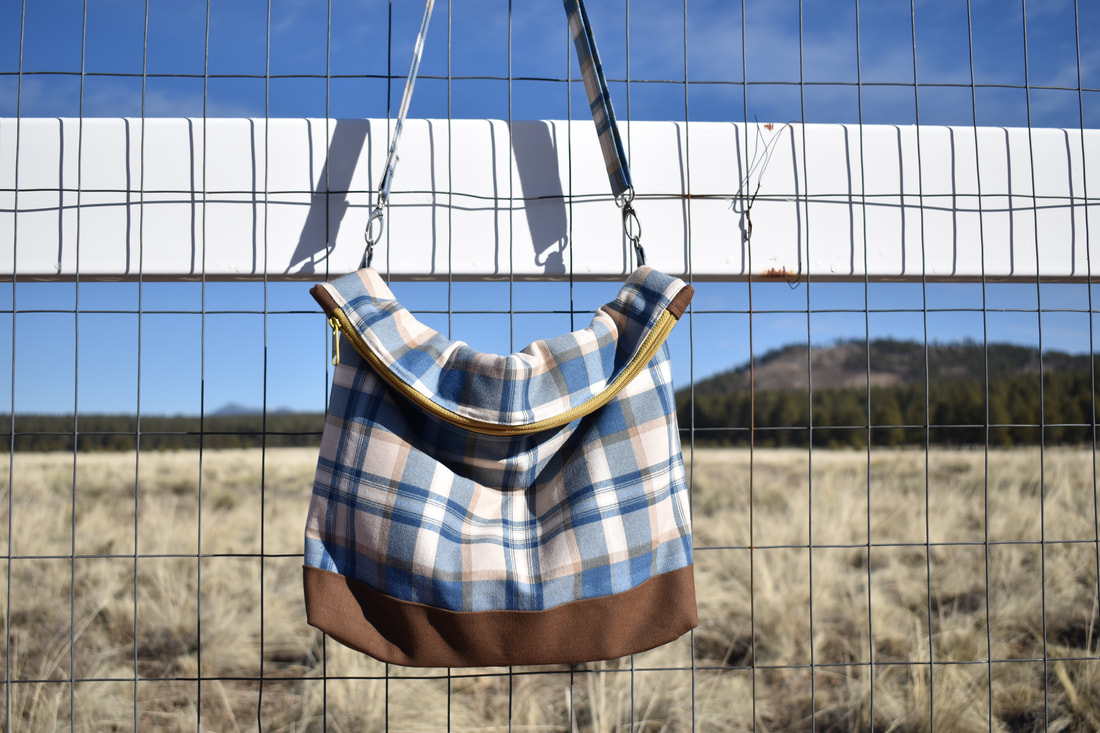
You may notice that I seldom use other fabric than cotton quilting fabric for most of my bags. The reason is simple...I'm a quilter, and I always have quilt fabrics in my stash, plus, I simply love the abundance of gorgeous prints and colors that quilting fabrics tend to offer.
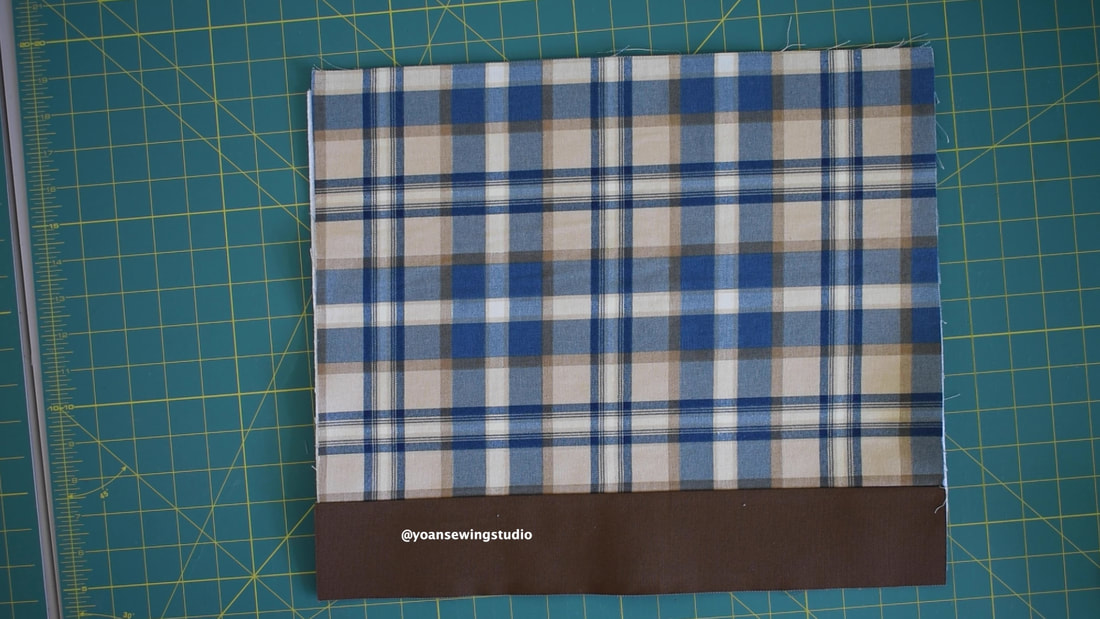
However, this year I'd like to explore various different fabrics, those that are heavier in weight, with different textures, yet still can be sewn with domestic sewing machine. So I went to Joann, and after roaming around their home decor fabric section, I found this plaid canvas in blue and beige shades and thought ...Bingo!! This is exactly what I want for my next bag project. I also needed an accent fabric, so I picked this duck canvas in brown color. 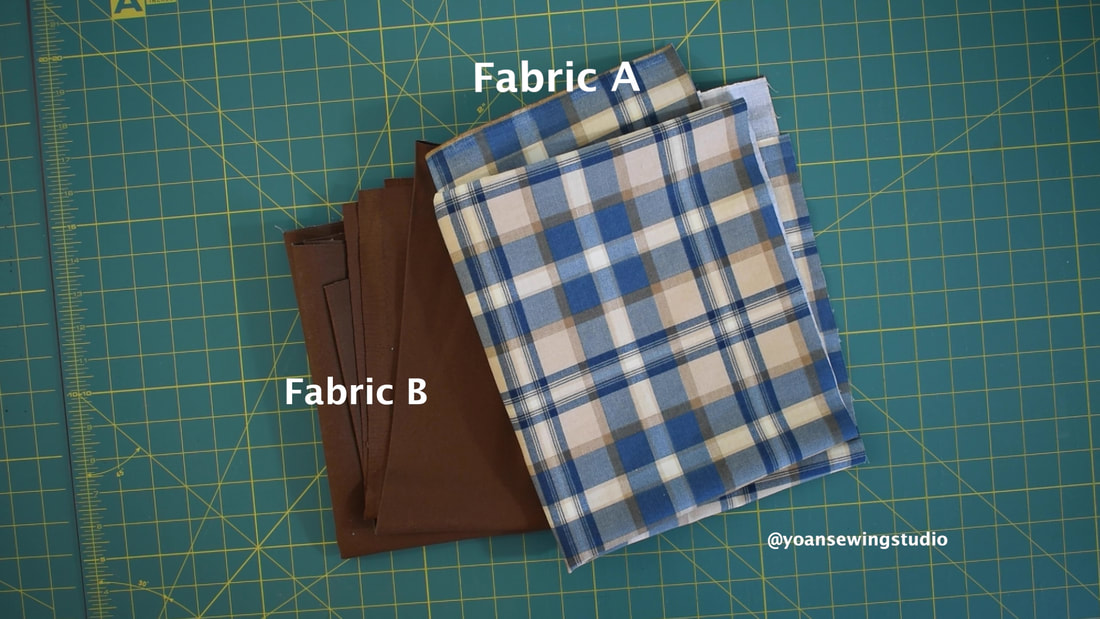
Other than canvas fabric you may also use denim, linen, lightweight leather/faux leather, and of course quilt weight fabric.
I posted the full tutorial on my Youtube channel, or may also continue scrolling to read the written instructions.
SUPPLIES
Fabric Fabric A (main fabric): 1/2 yard Fabric B : 1/4 yard Lining fabric 1/2 yard *based on 45" width of fabric Interfacing Fusible fleece 17" x 14.5" (2x) Peltex 70 sew-in interfacing 11" x 3" Fusible woven interfacing 12" x 4" Zipper and hardwares Purse zipper (at least 16" long) All purpose zipper (for the pocket) at least 7" long 1" d-rings (2x) 1" swivel hooks (2x) 1" adjuster slider Basic Sewing notions
CUTTING
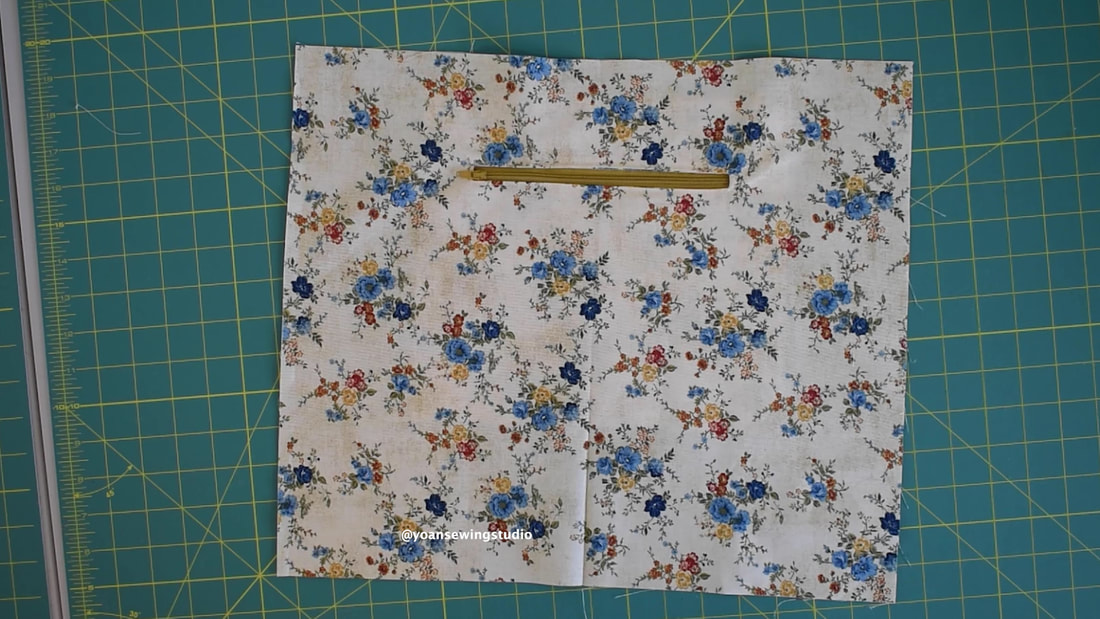
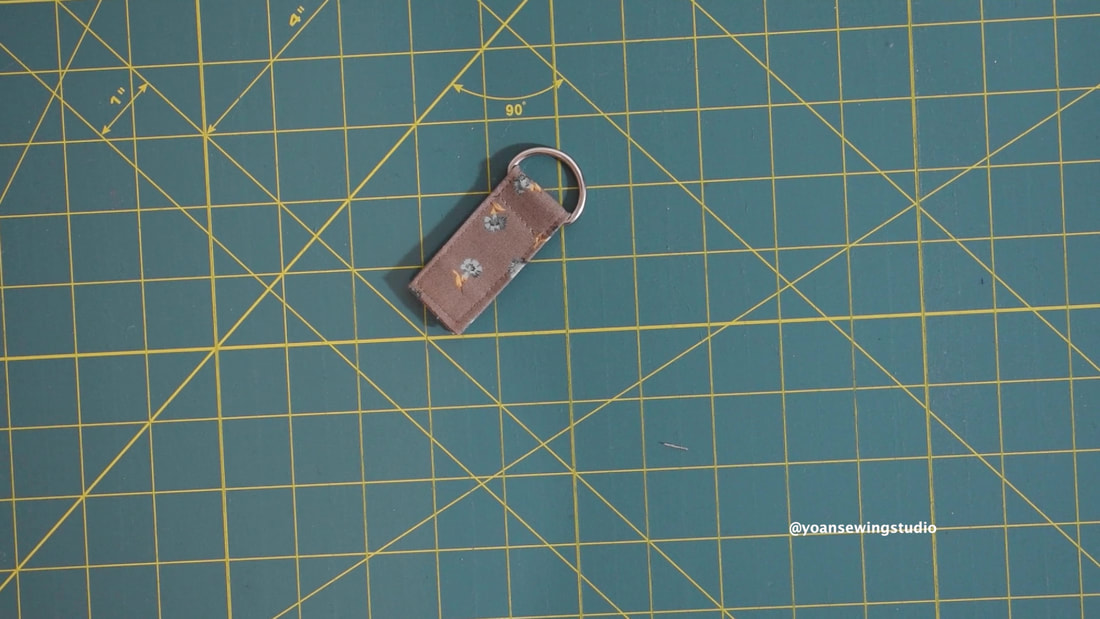
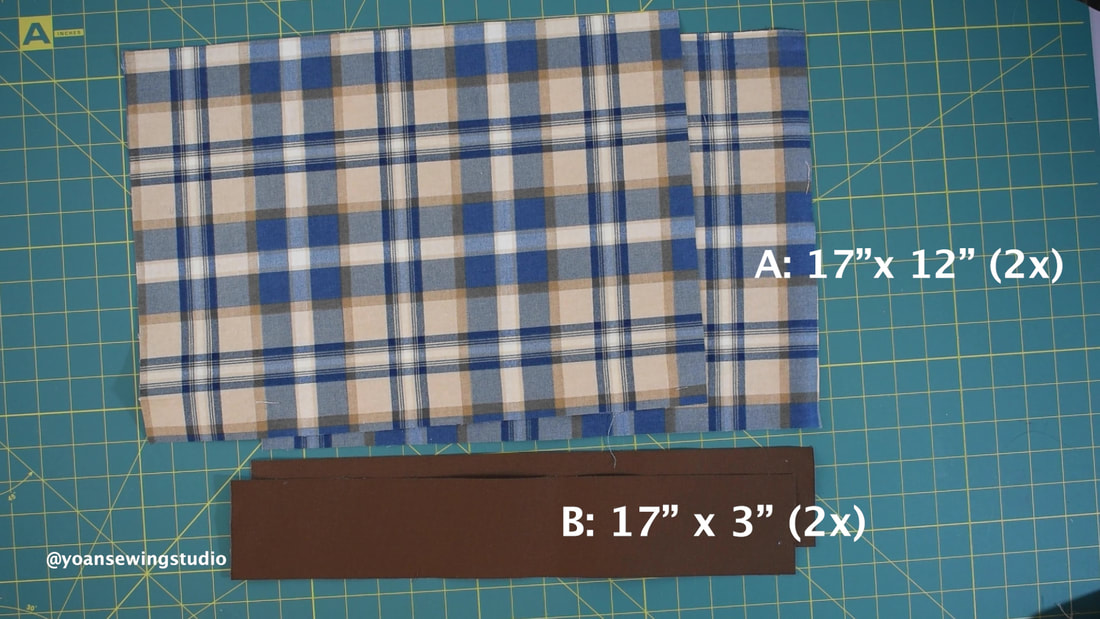
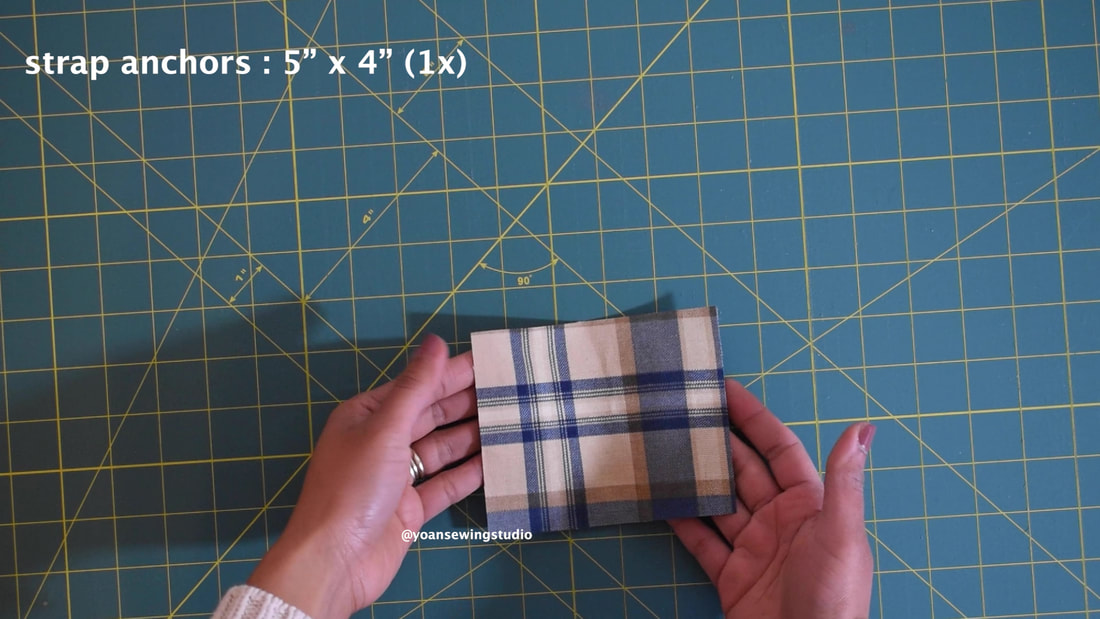
Front & Back exterior From fabric A : 17" x 12" (cut 2x) From fabric B : 17" x 3" (cut 2x) Front and back lining From lining fabric : 17" x 14.5" (cut 2x) Bottom gusset From Fabric B : 12" x 4" (cut 1x) From Lining Fabric : 11" x 3" (cut 1x) Internal slip pockets From lining fabric : 17" x 7" (cut 2x) Zipper pockets From lining fabric : 10" x 9" (cut 2x) Zipper tabs From fabric B : 3" x 2" (cut 2x) Strap Anchors From fabric A : Cut 5" x 4" (cut 1x) Strap Cut a 4" strip measuring about 50"-60" long Disclaimer : This post contains Amazon Affiliate links, which means I earn a small percentage of commission when you make a purchase through those links with no additional costs. Thank you so much for your support.
DIRECTIONS
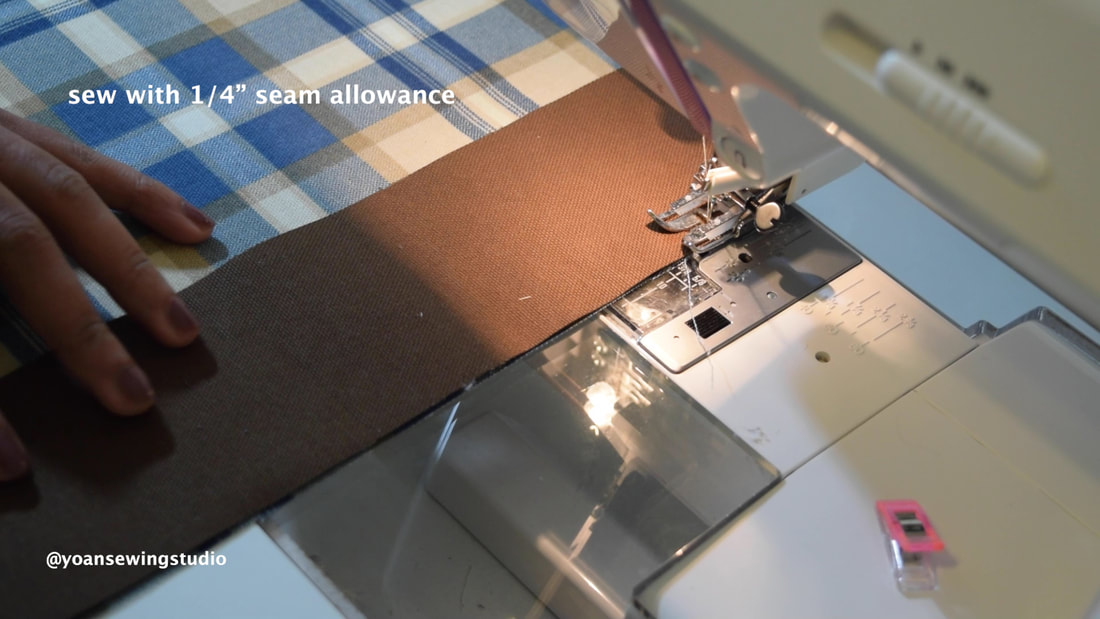
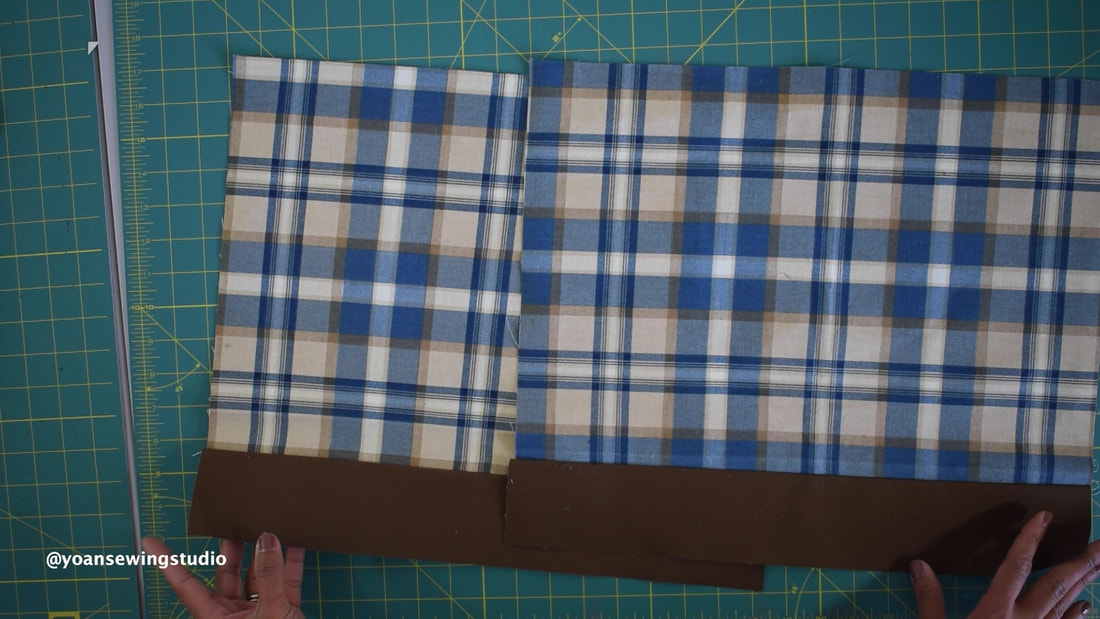
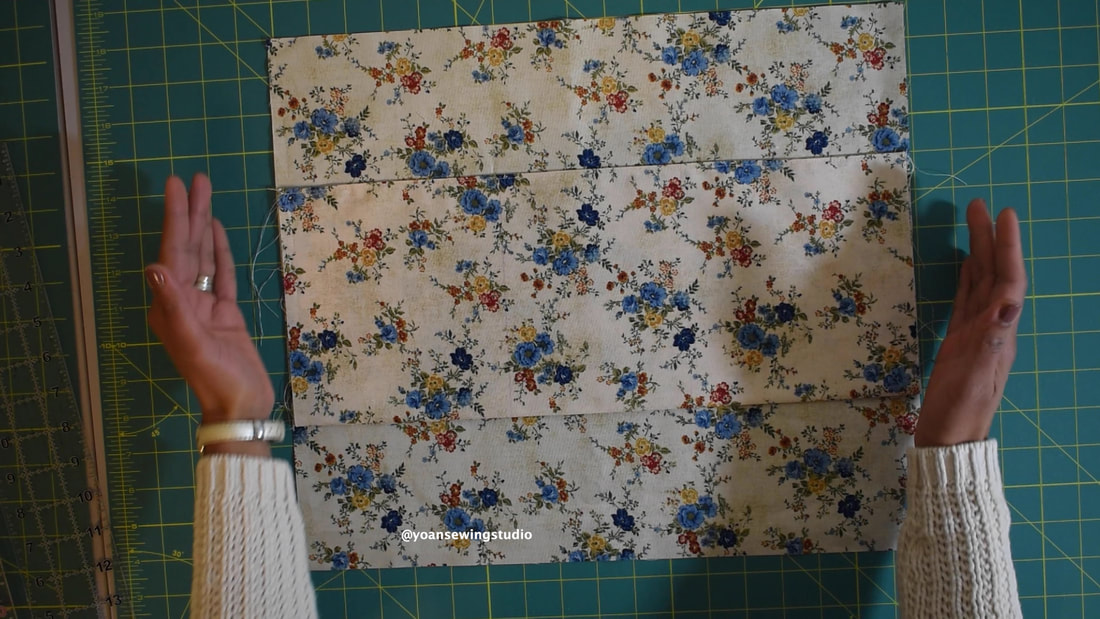
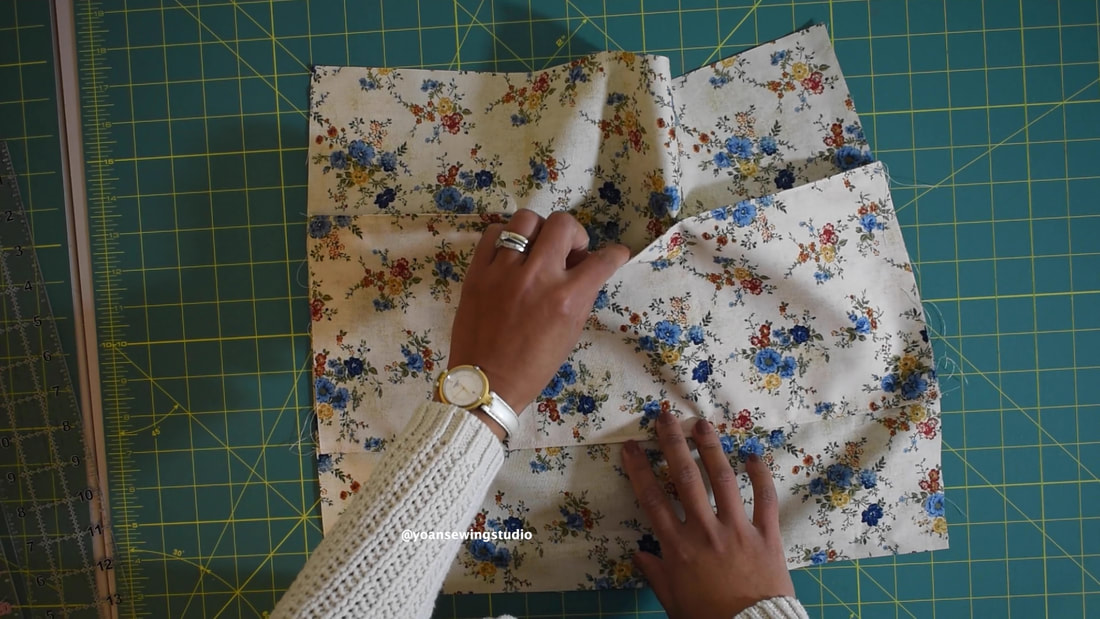
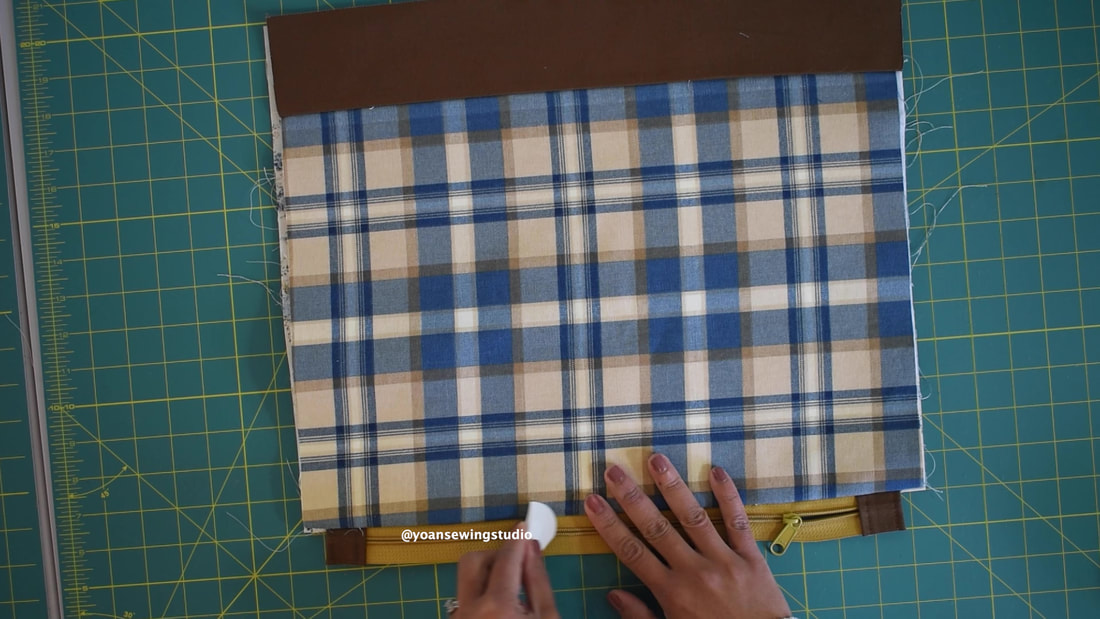
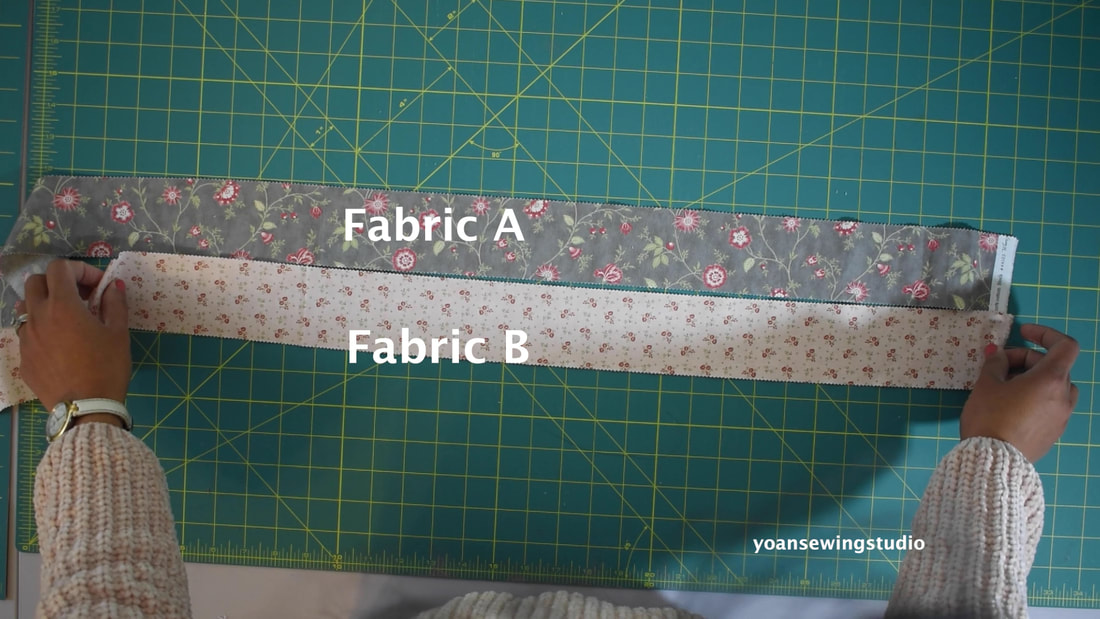
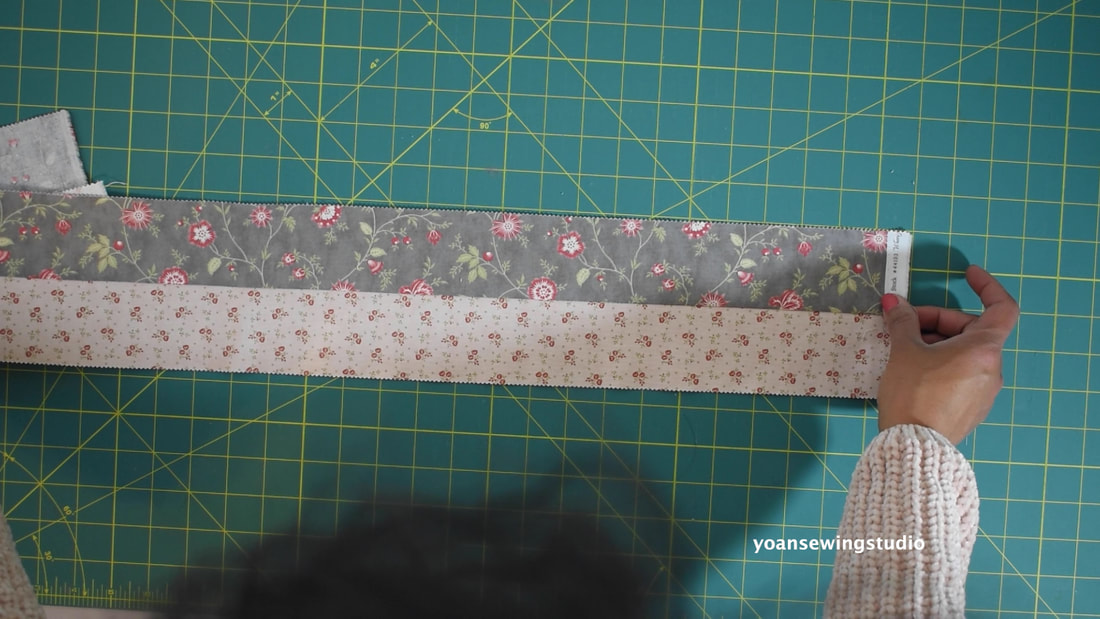
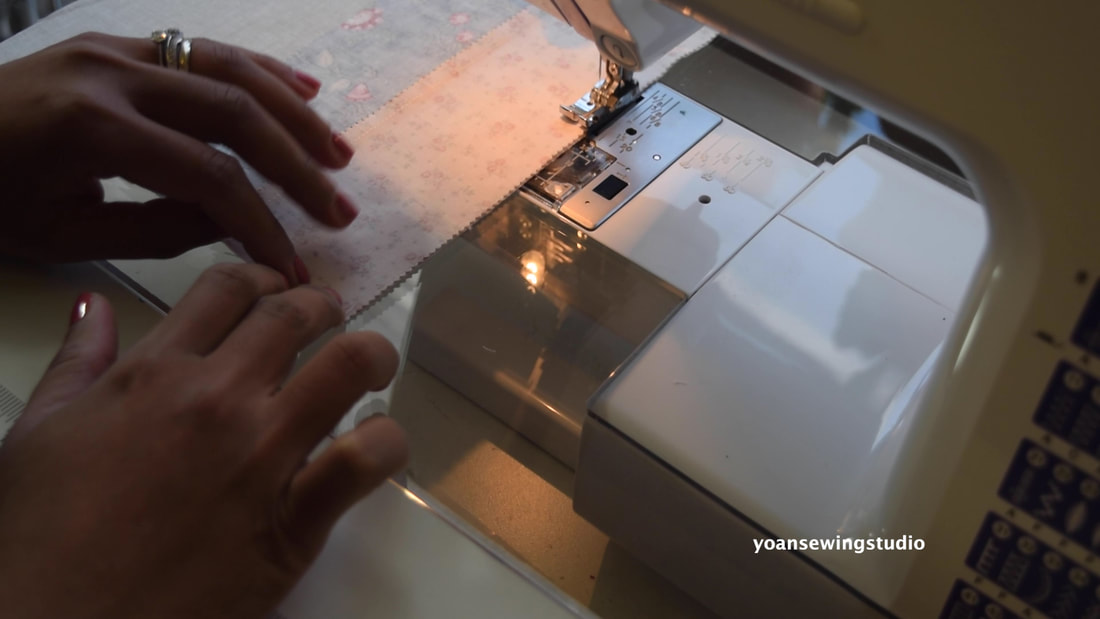
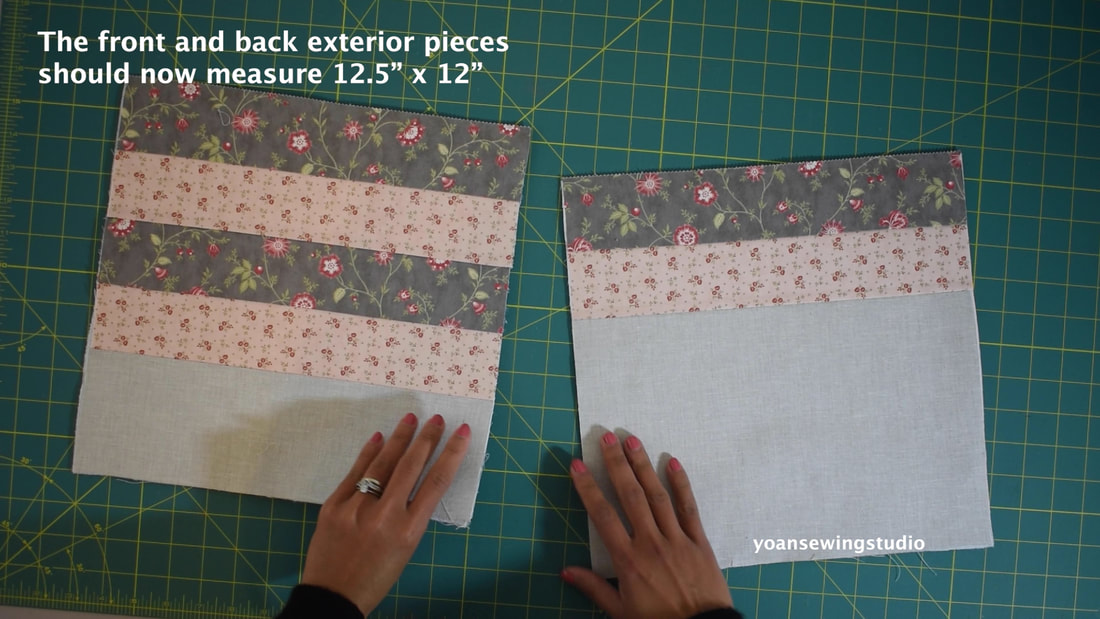
1. Cut your fabric pieces according to the above cutting instructions 2. Sew the front fabric A panel with the front Fabric B panel with 1/4" of seam allowance, press, repeat the same for the back exterior.
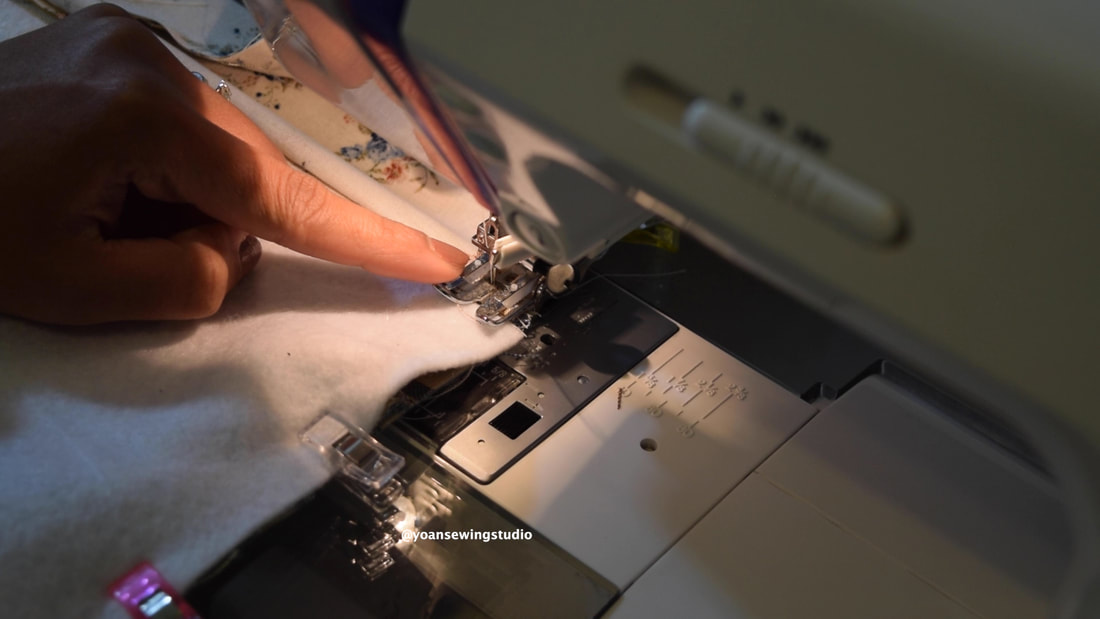
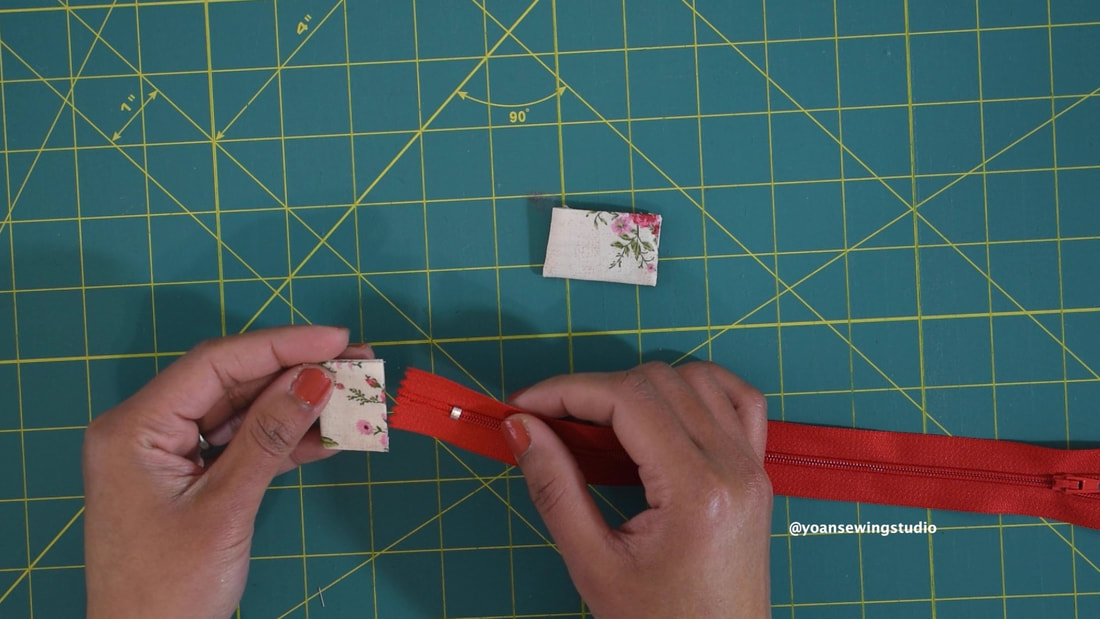
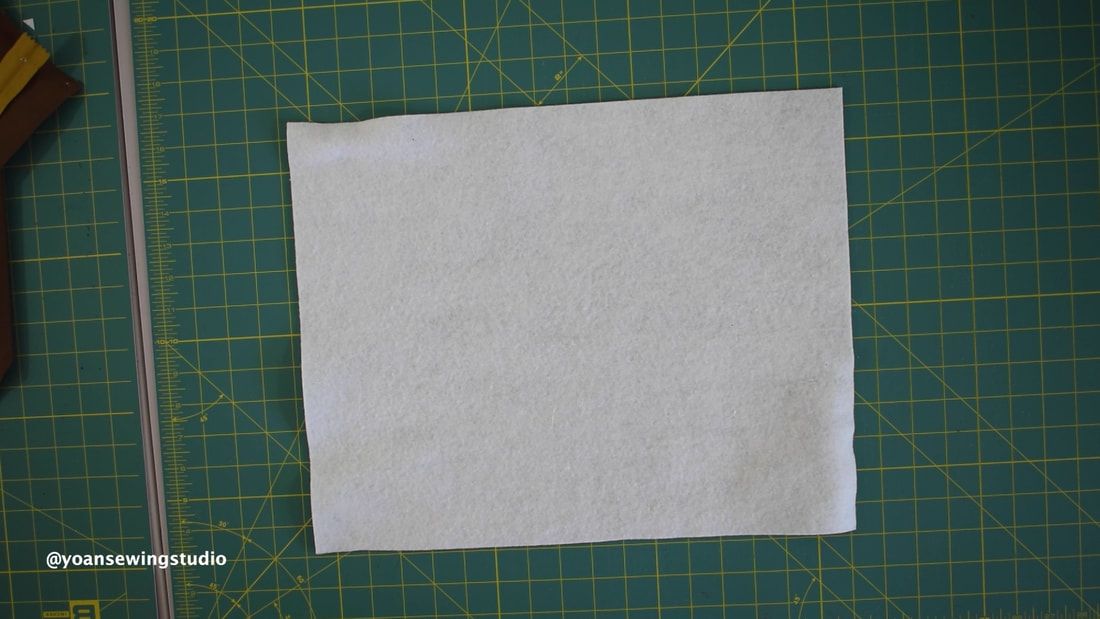
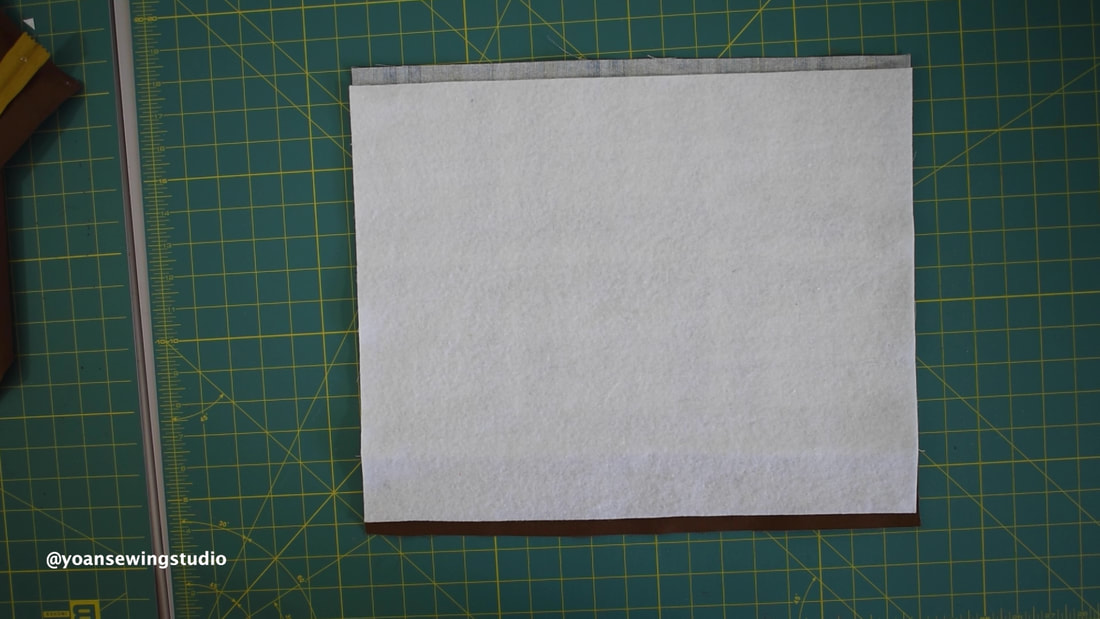
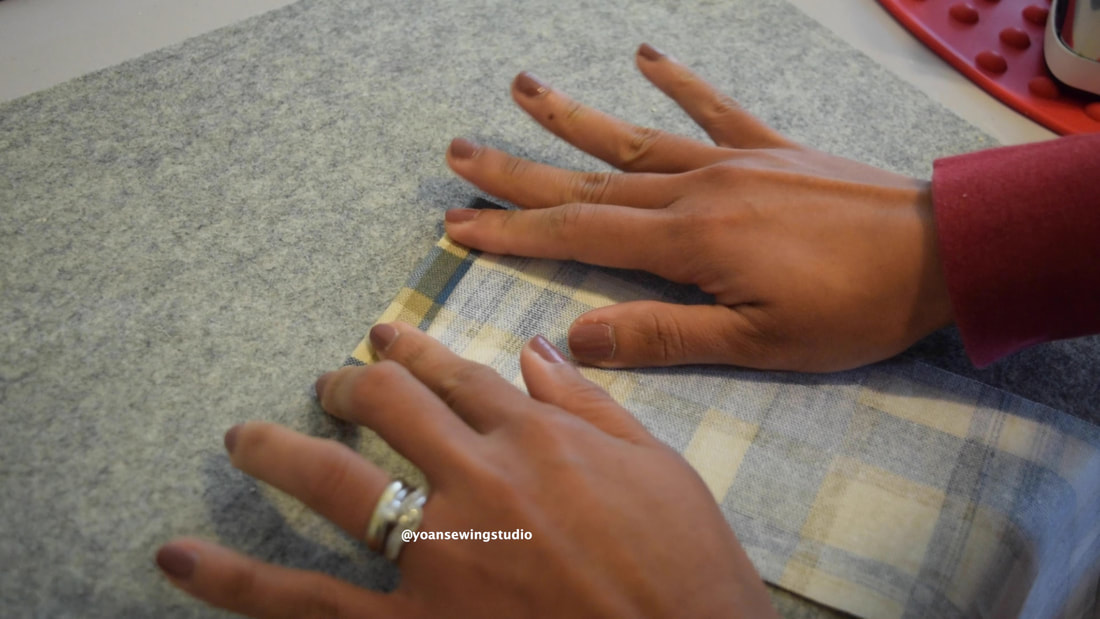
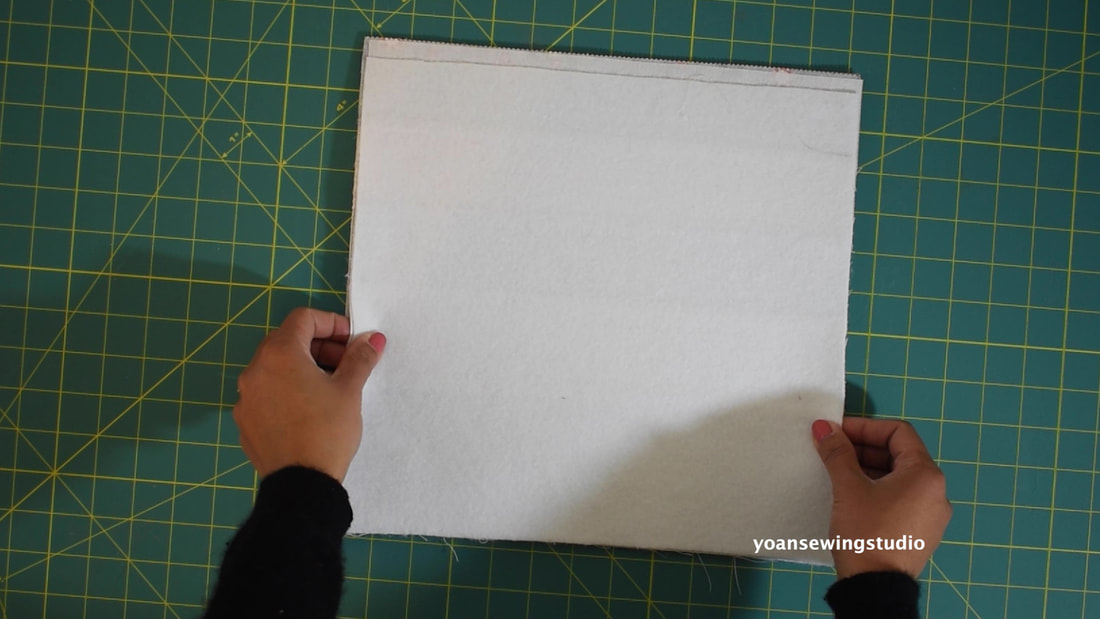
3. Apply the fusible fleece on both front and back exterior (center the position)
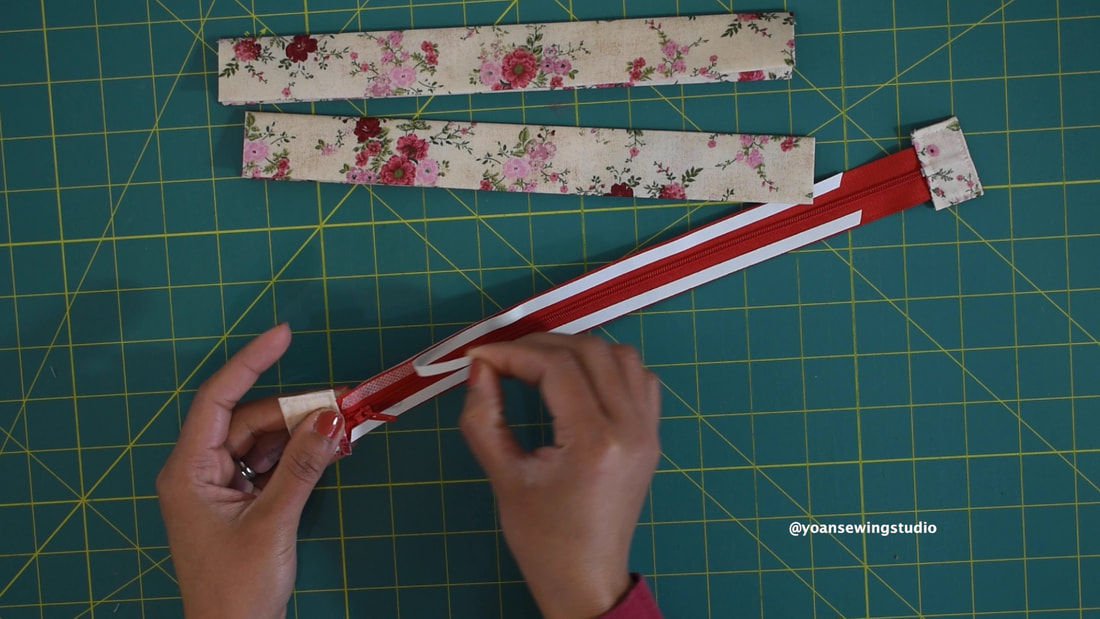
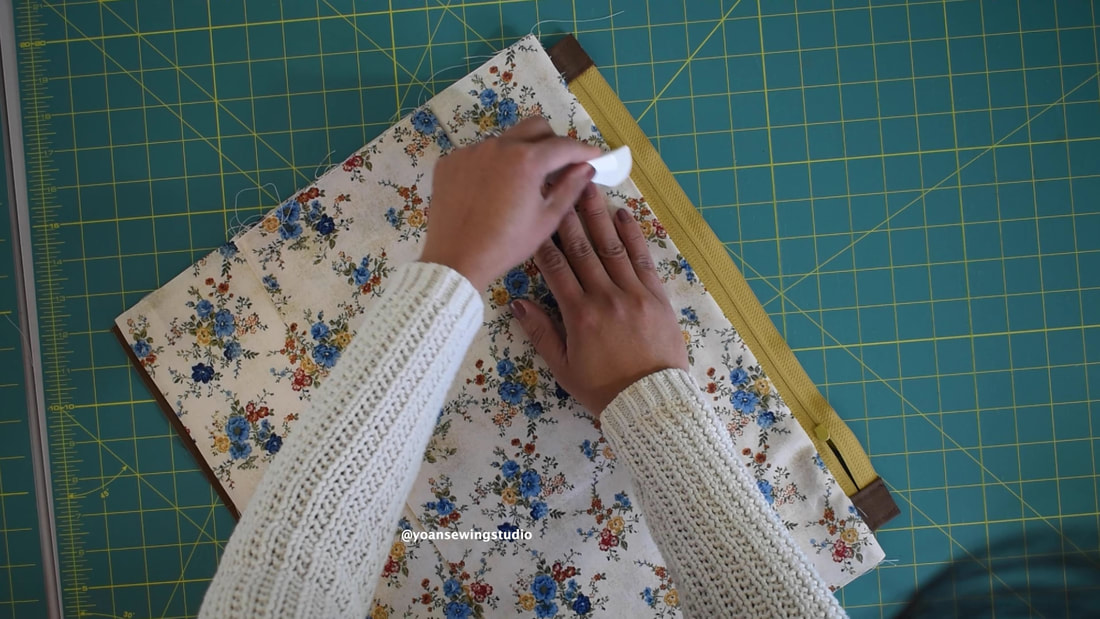
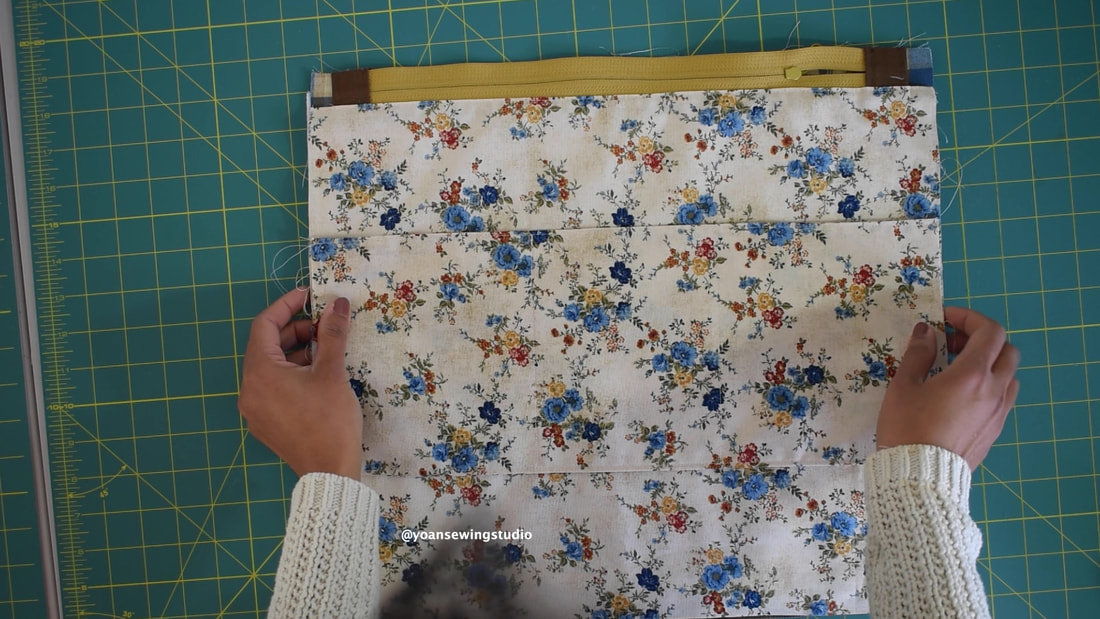
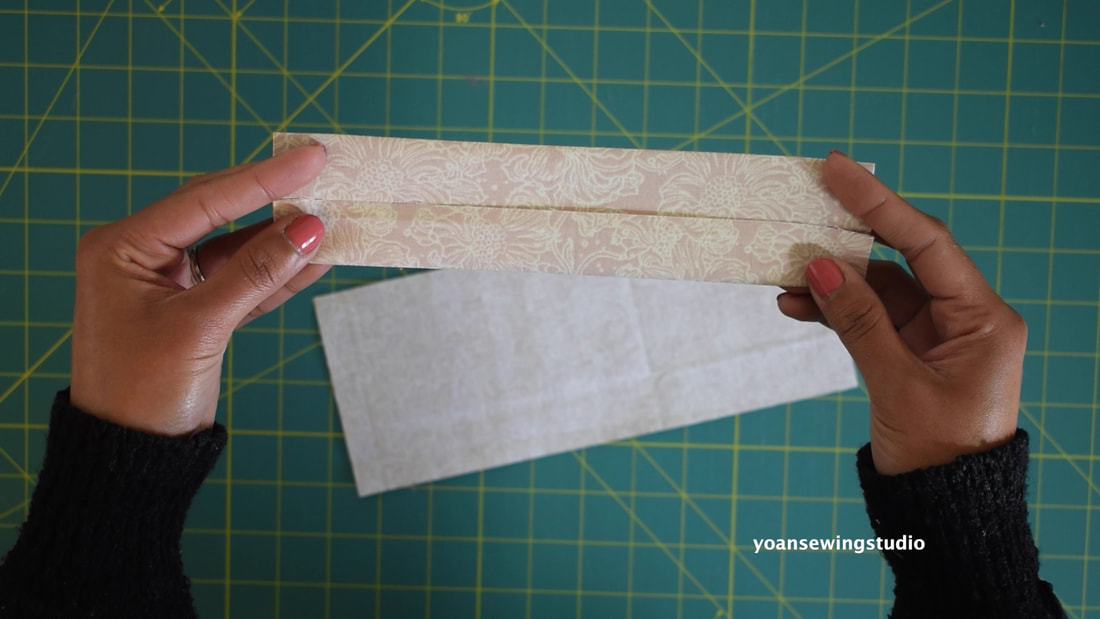
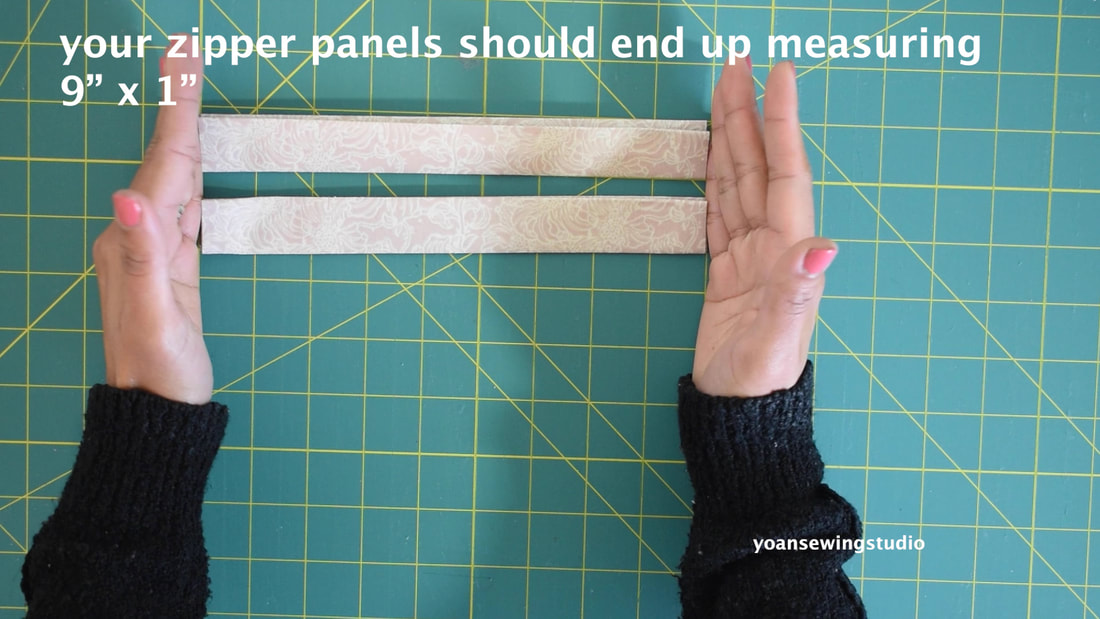
4. Lay the slip pocket pieces right side together, sew with 1/4" of seam allowance, press, turn the pocket inside out, press again, top stitch along the top edges.
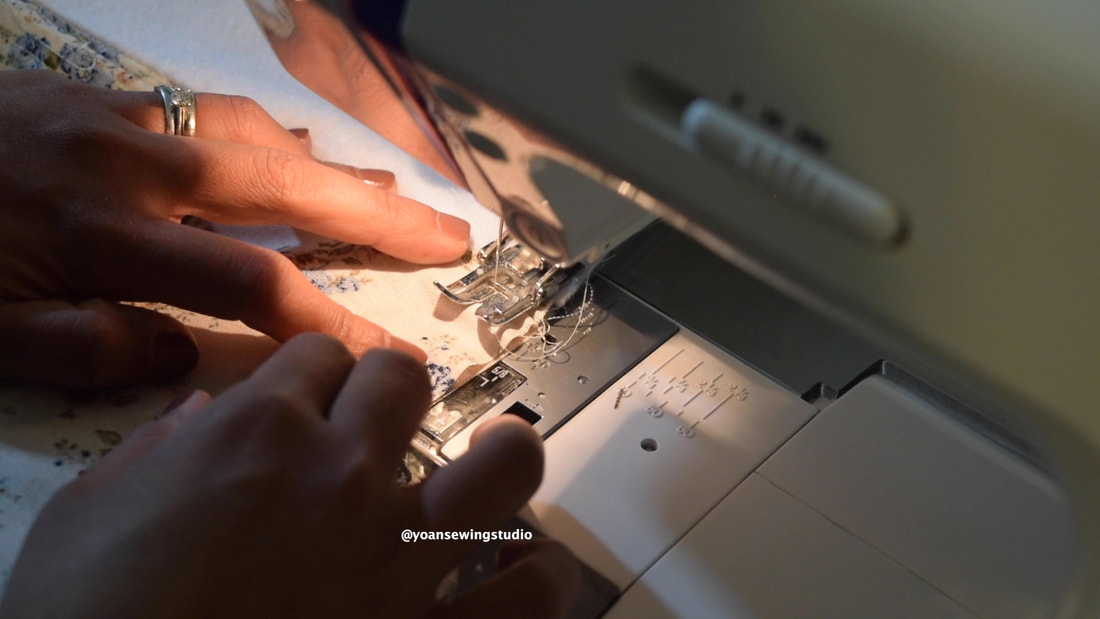
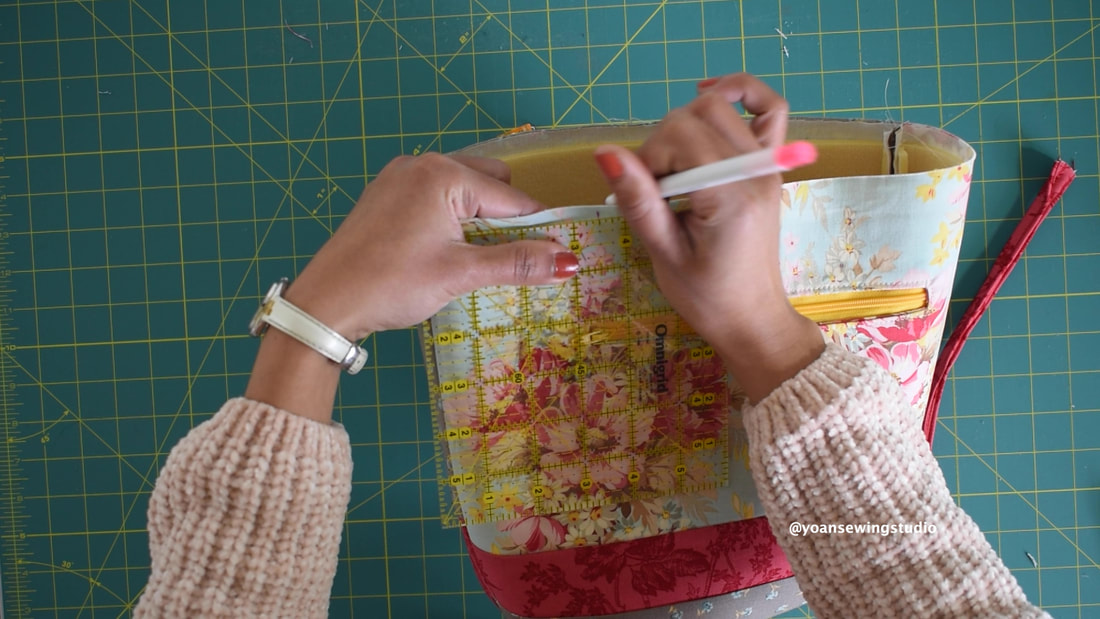
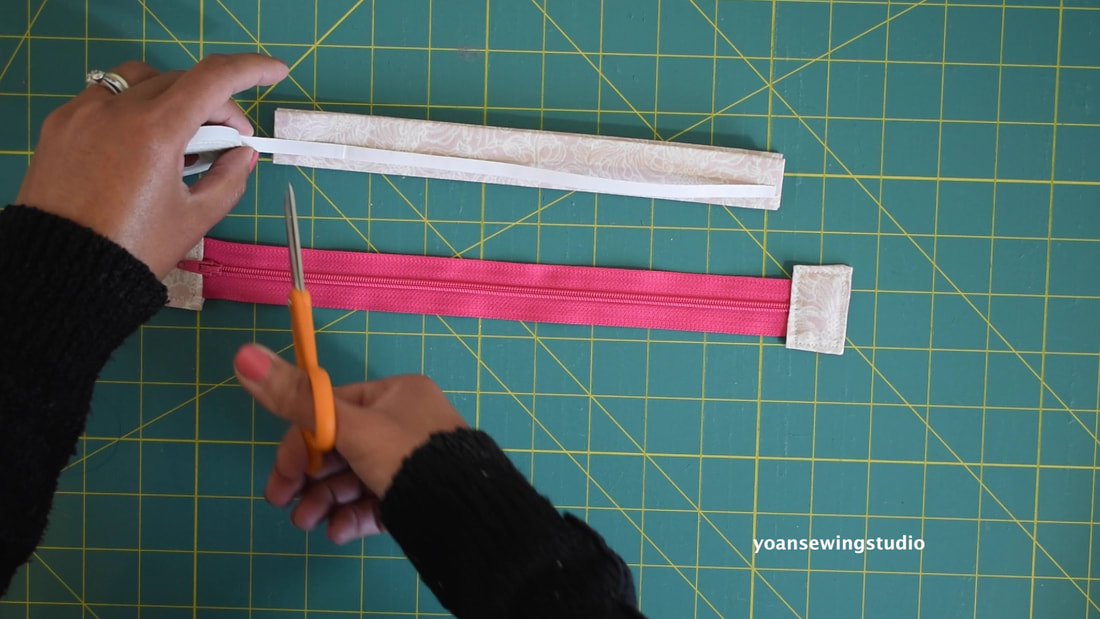
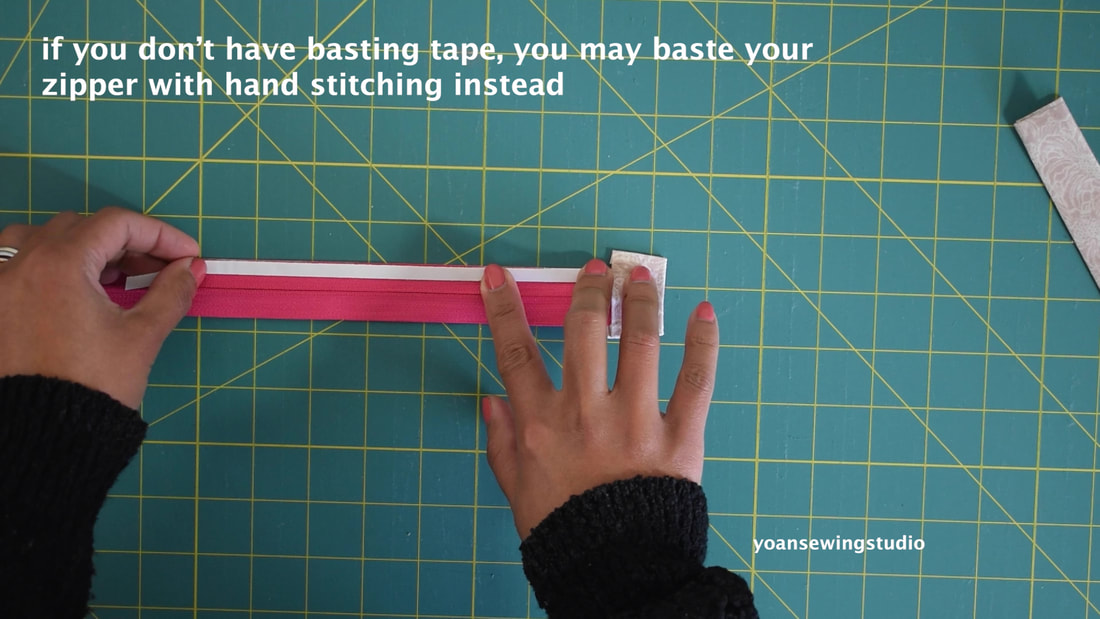
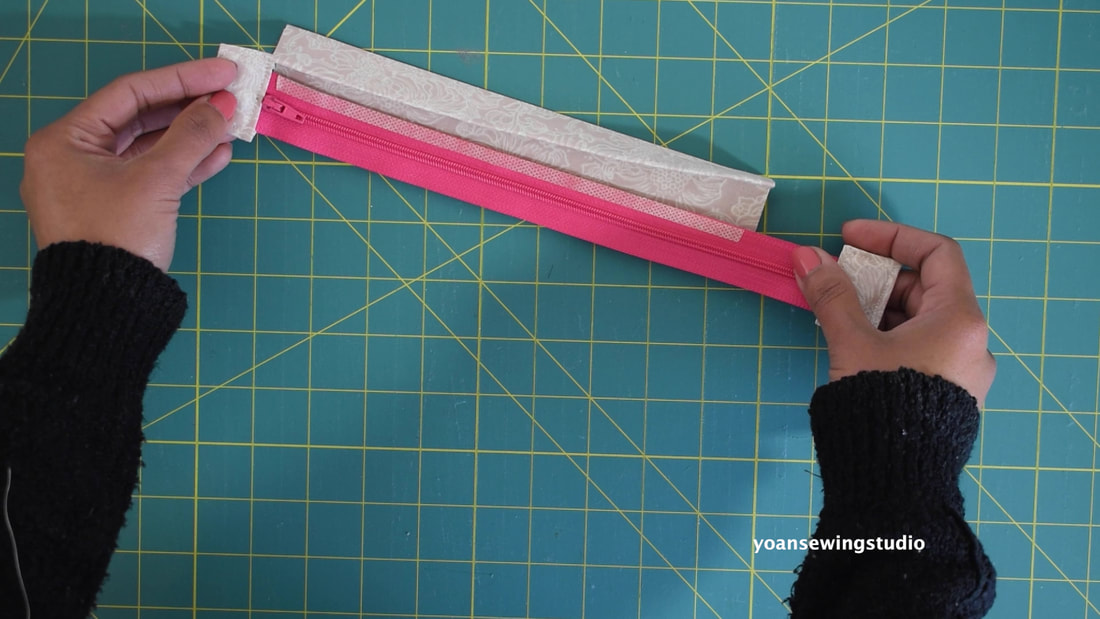
5. Use fabric marker to draw 2 lines to (6" from both ends of the pocket), position the pocket on the right side of the lining, 4" down from the top, then sew along the marked lines, and the bottom edges of the pocket.
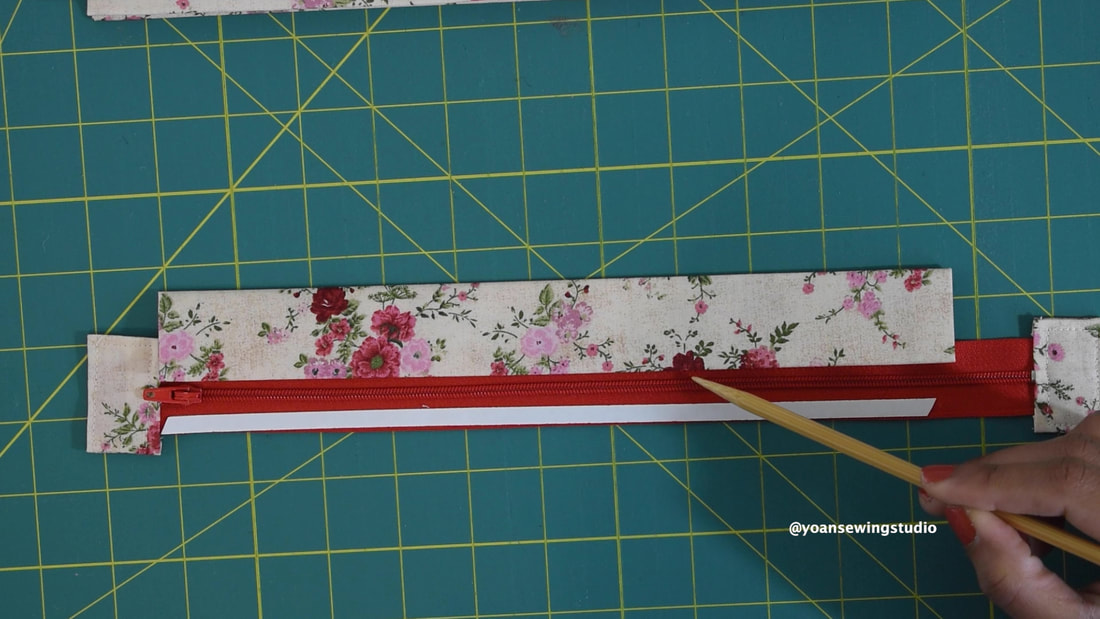
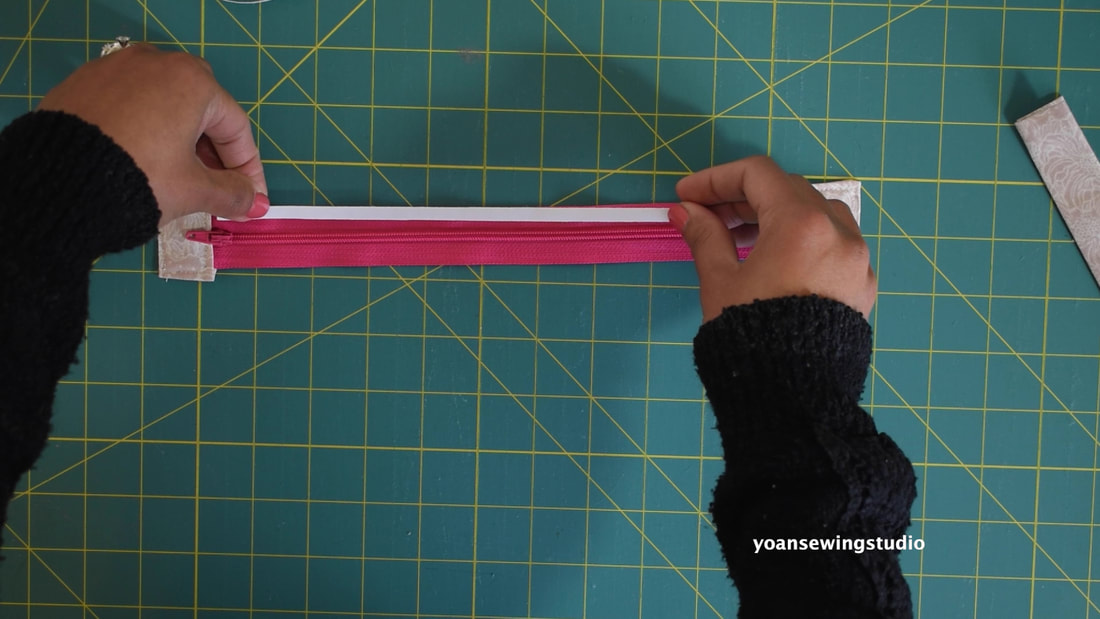
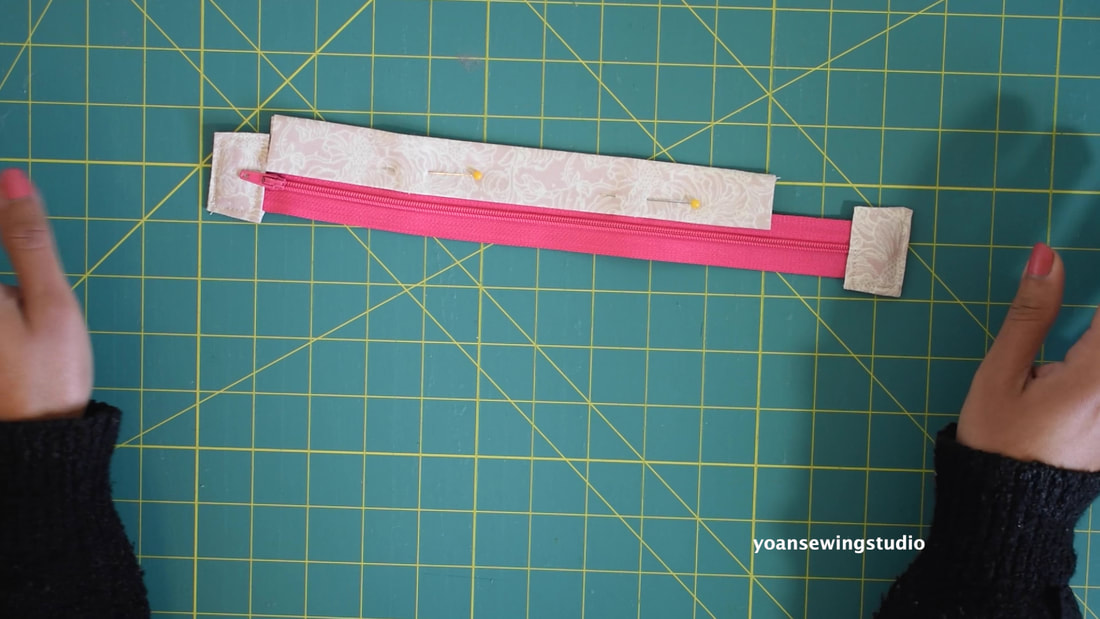
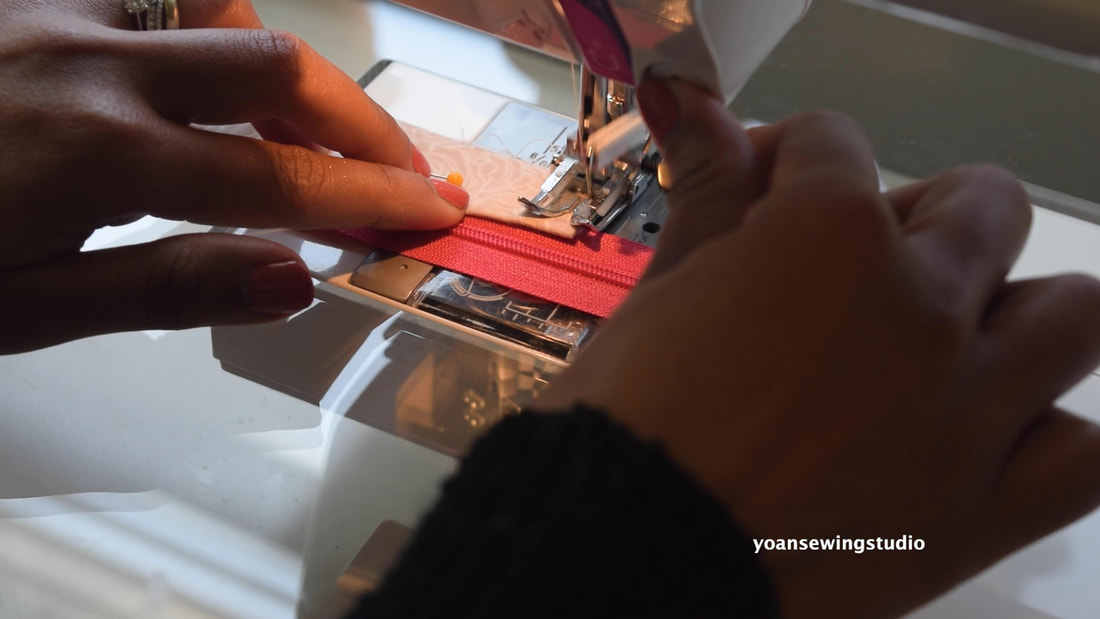
6. Sew the zipper pocket, you may watch the tutorial here.
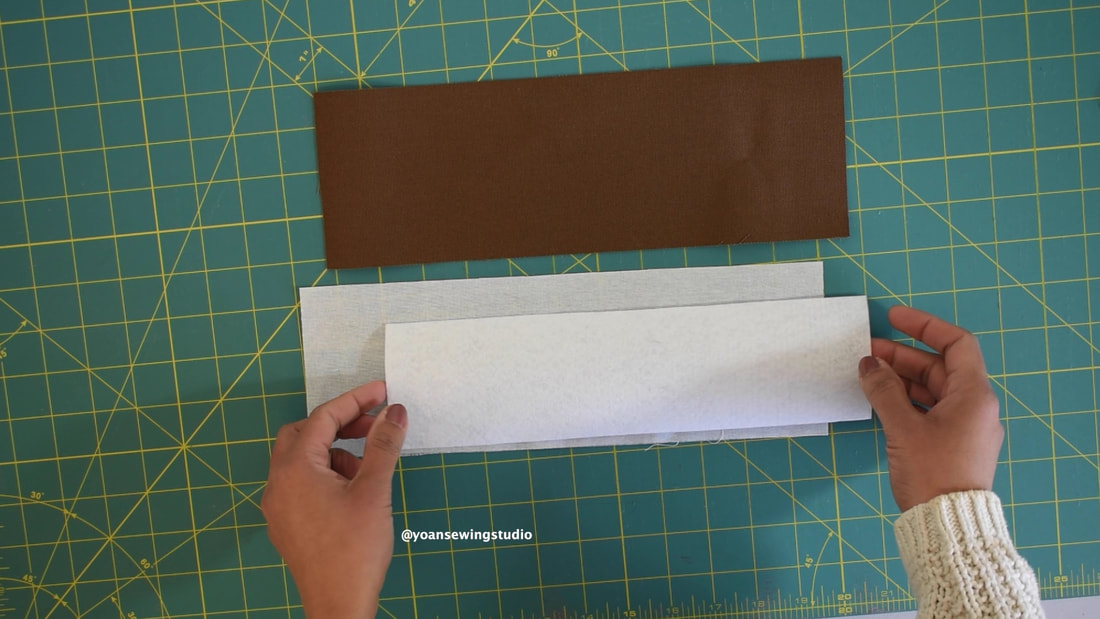
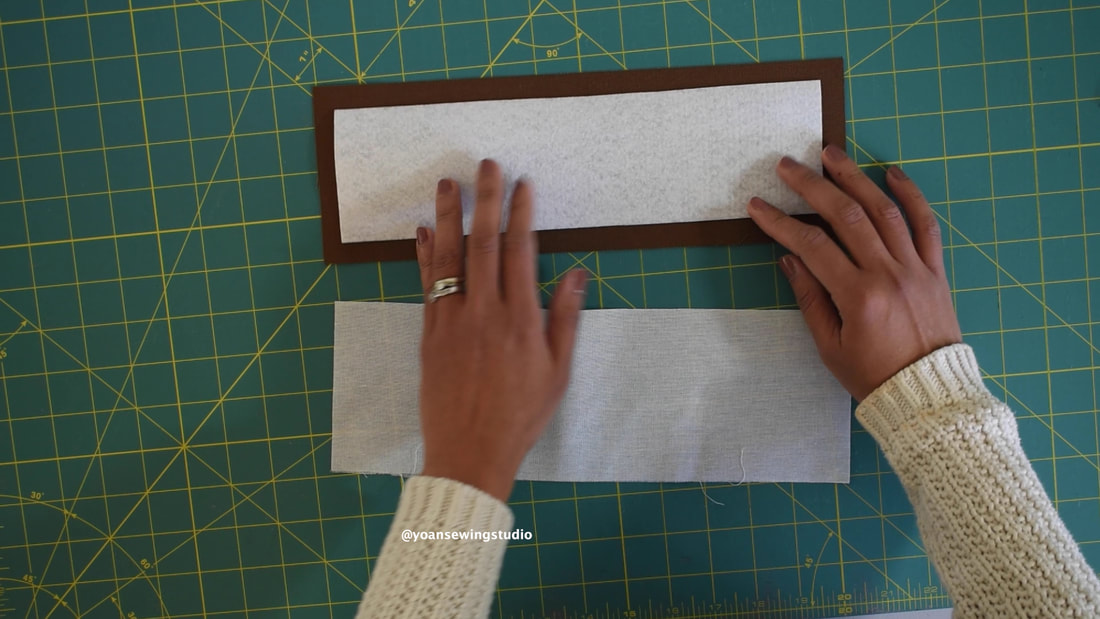
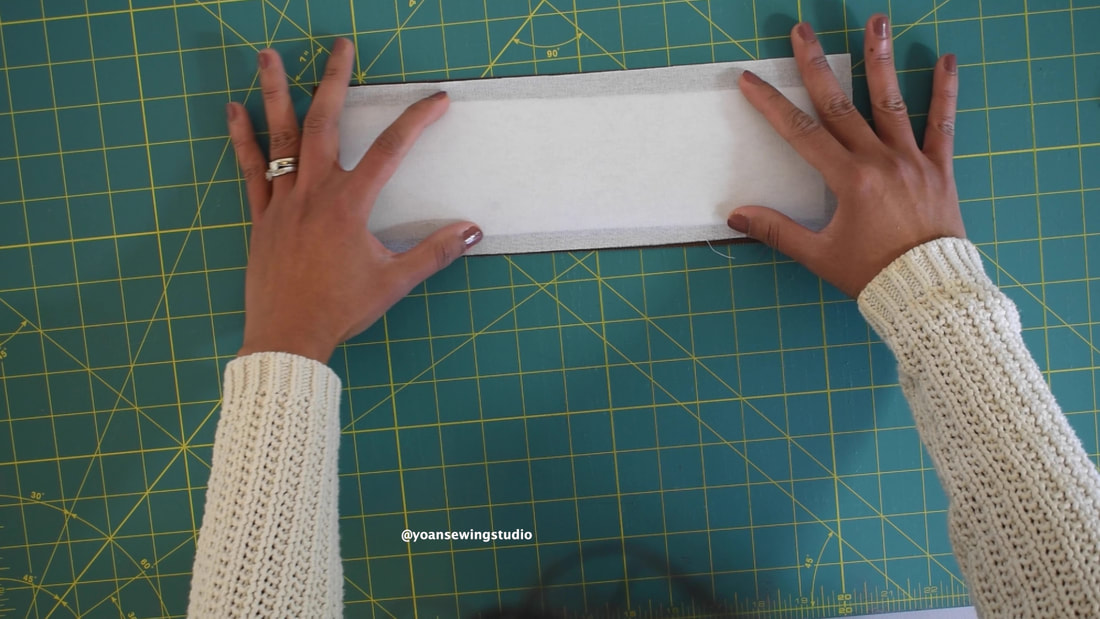
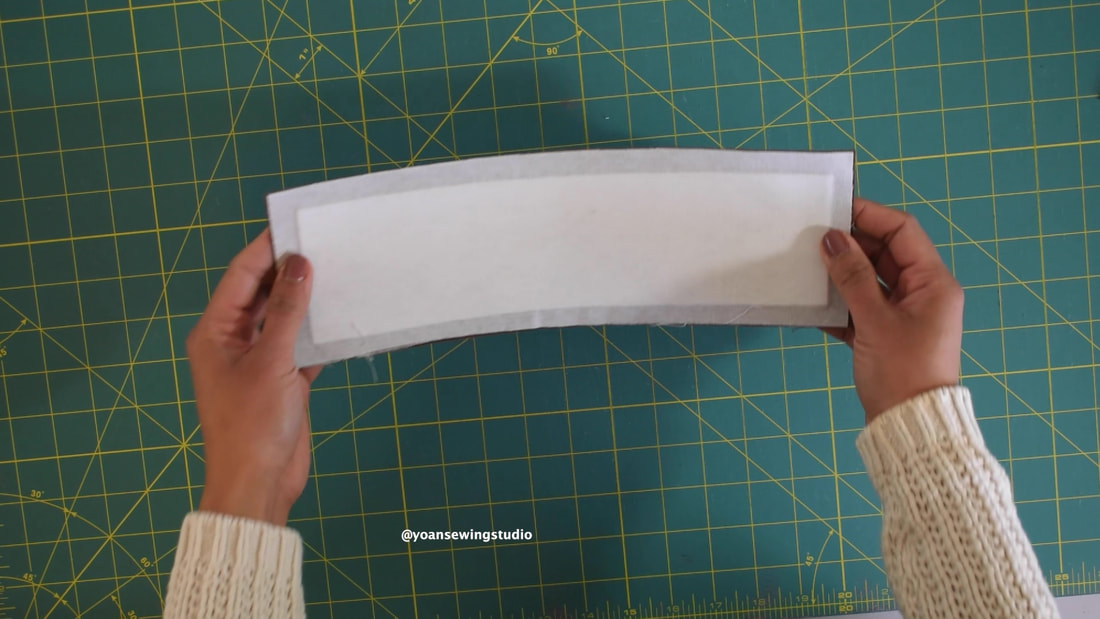
7. Apply the interfacings to the bottom gusset; layout the peltex on the wrong side of the gusset, then lay the fusible woven interfacing on top of the peltex glue side down, then fuse them in place (the woven interfacing will seal the peltex in place).
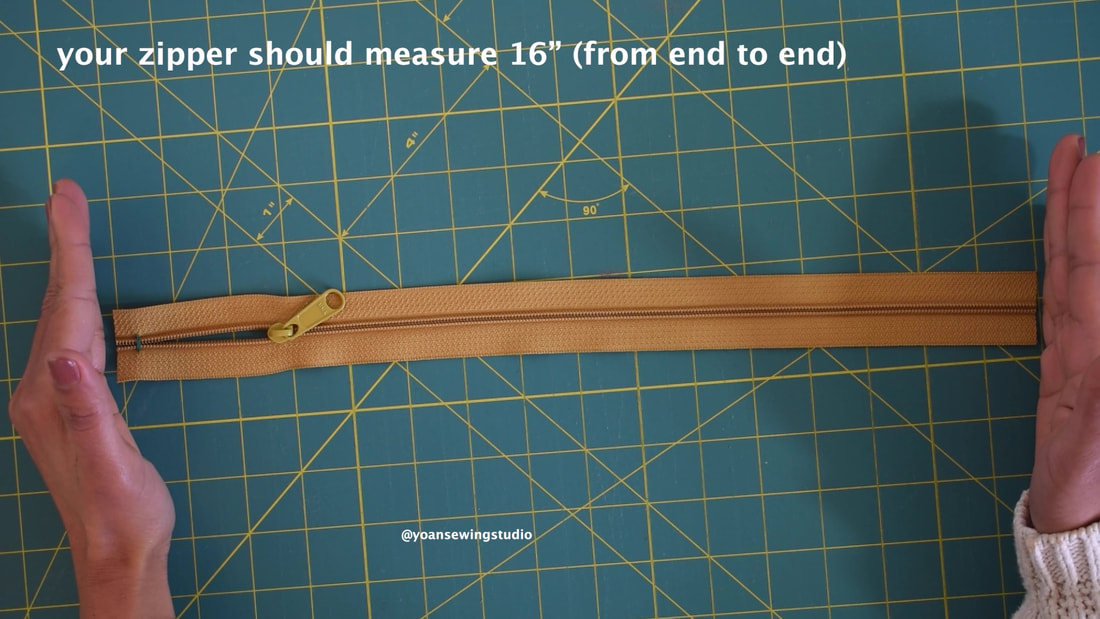
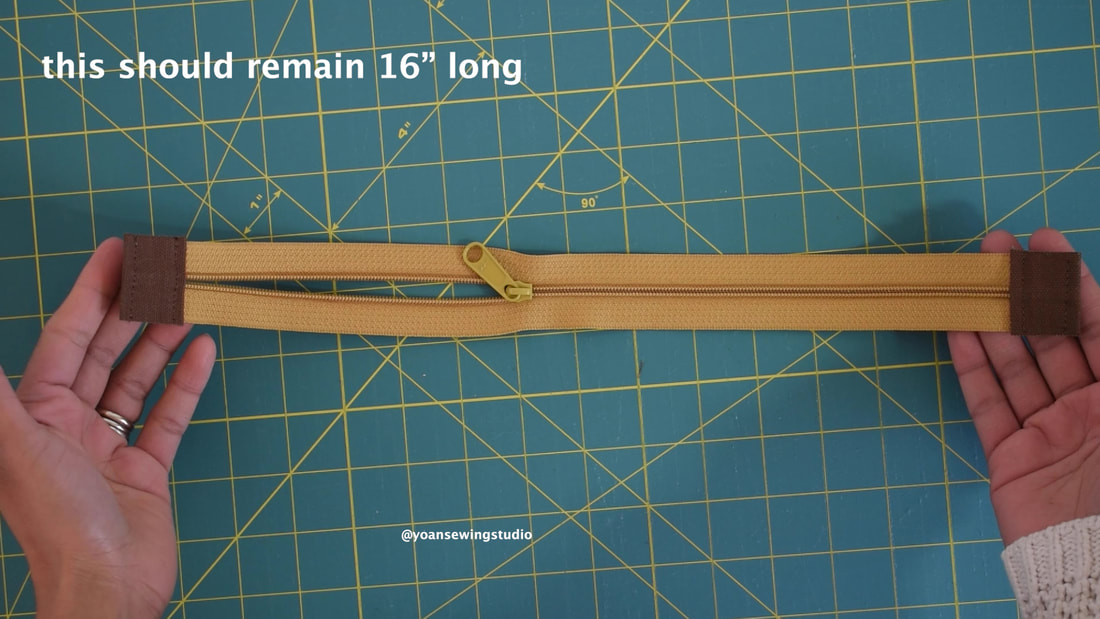
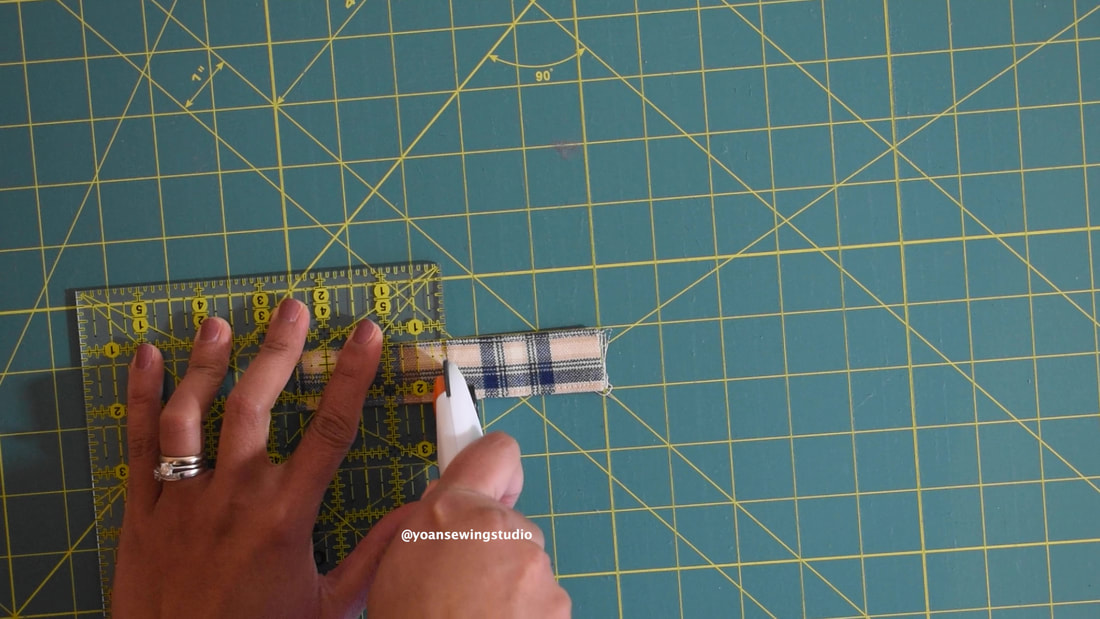
8. Trim your purse zipper to measure exactly 16" (from one end to another)
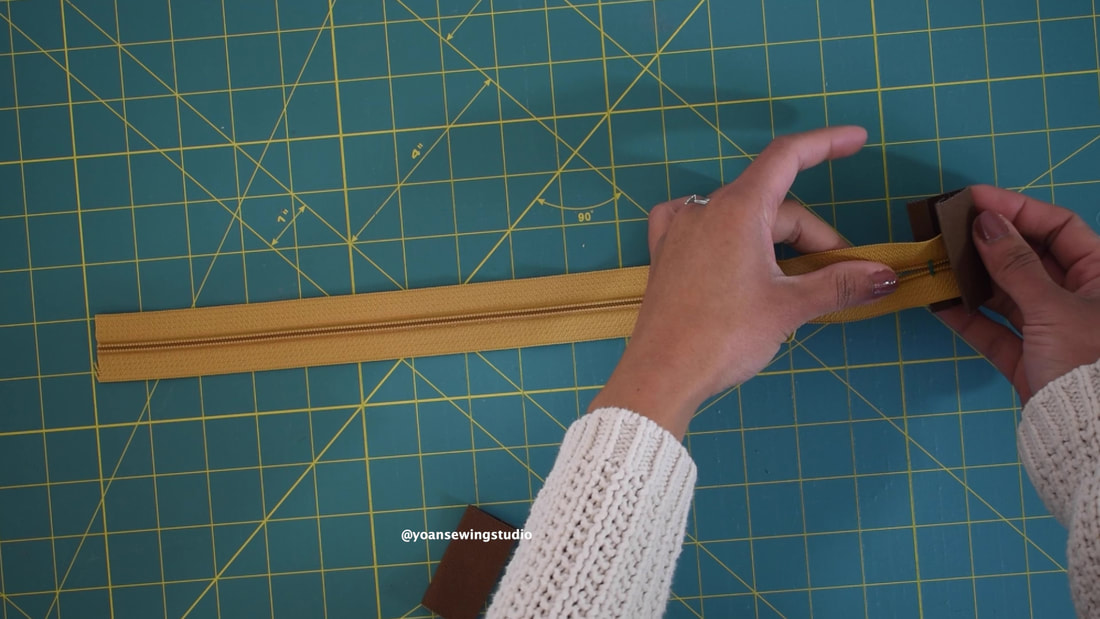
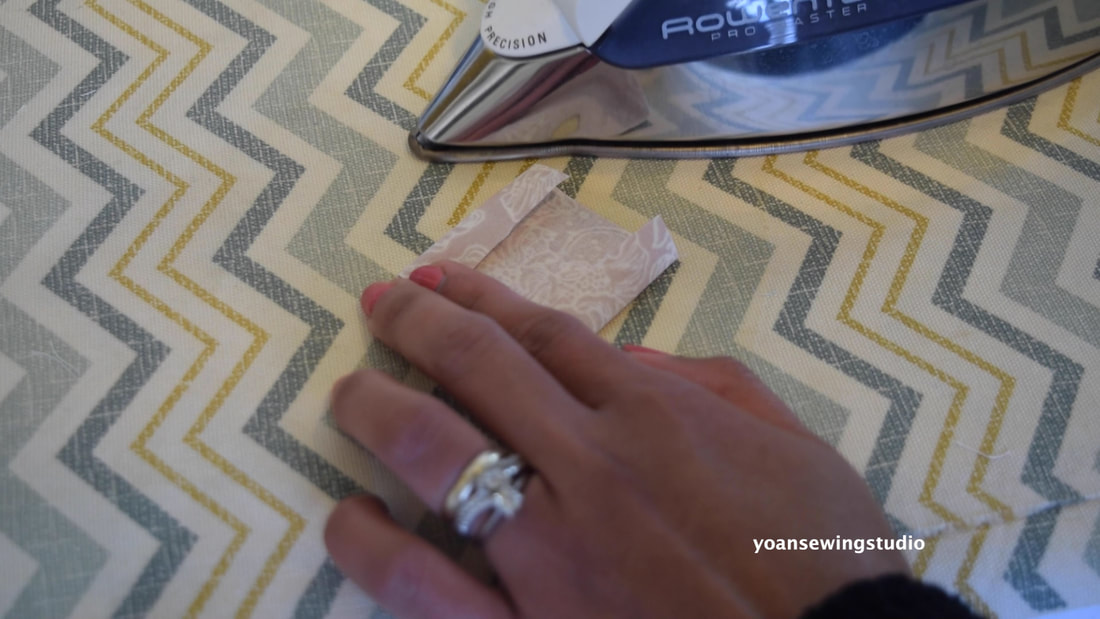
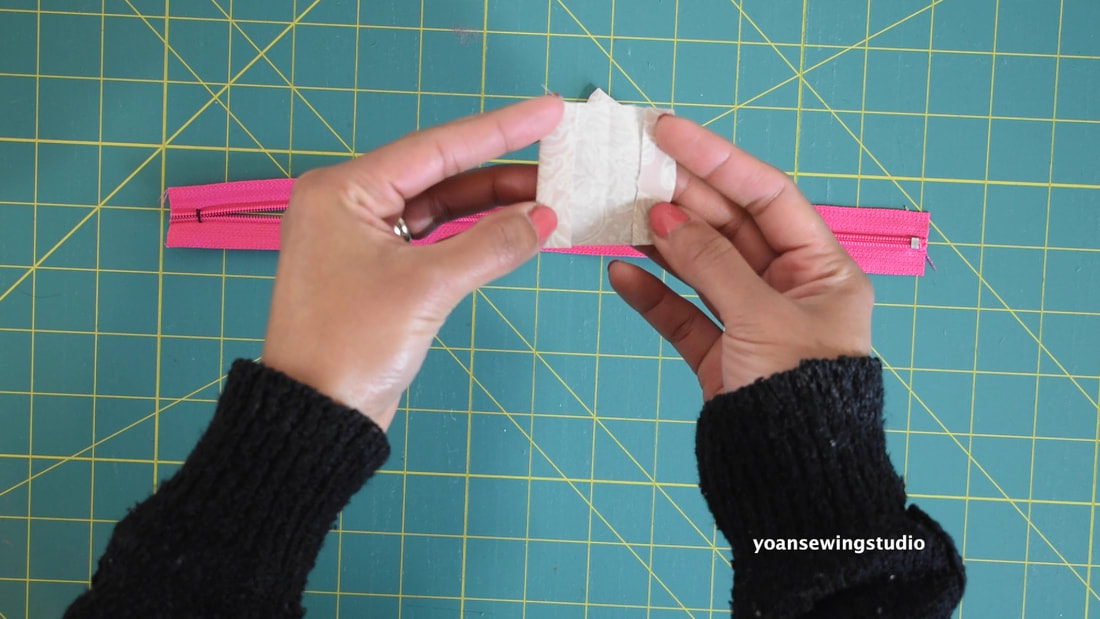
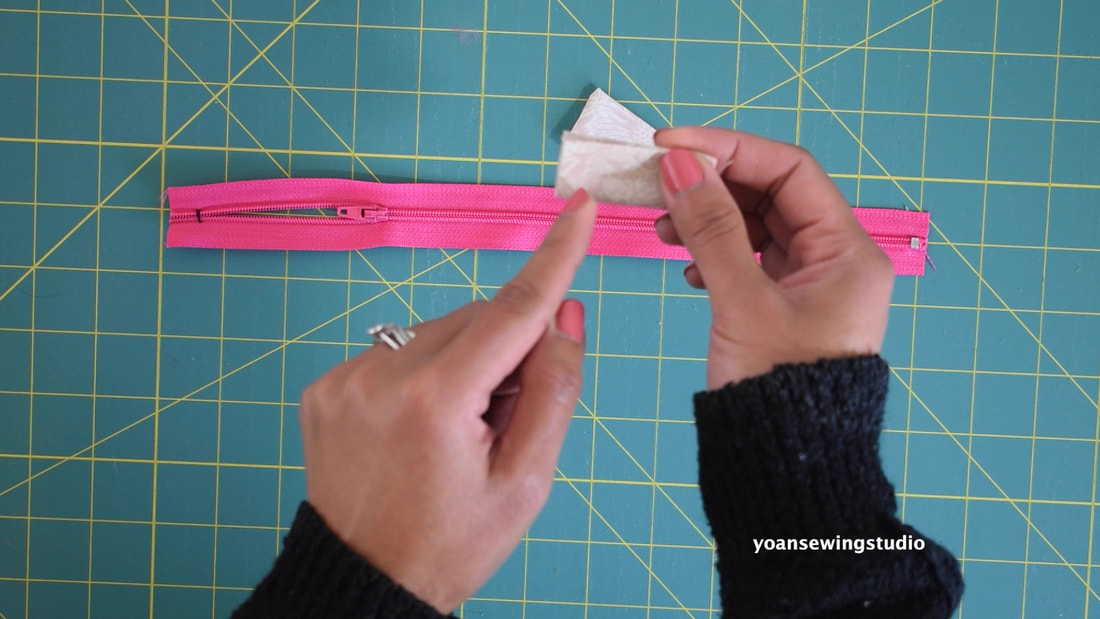
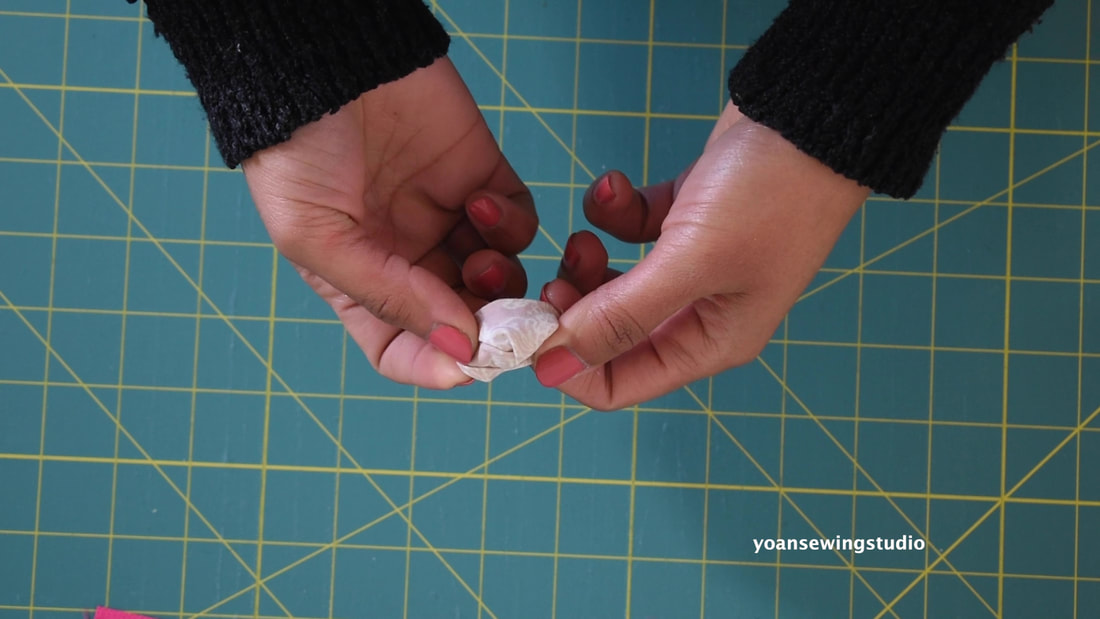
9. Fold the edges of the zipper tabs 1/4", press, then fold in half (meeting the folded edges), press
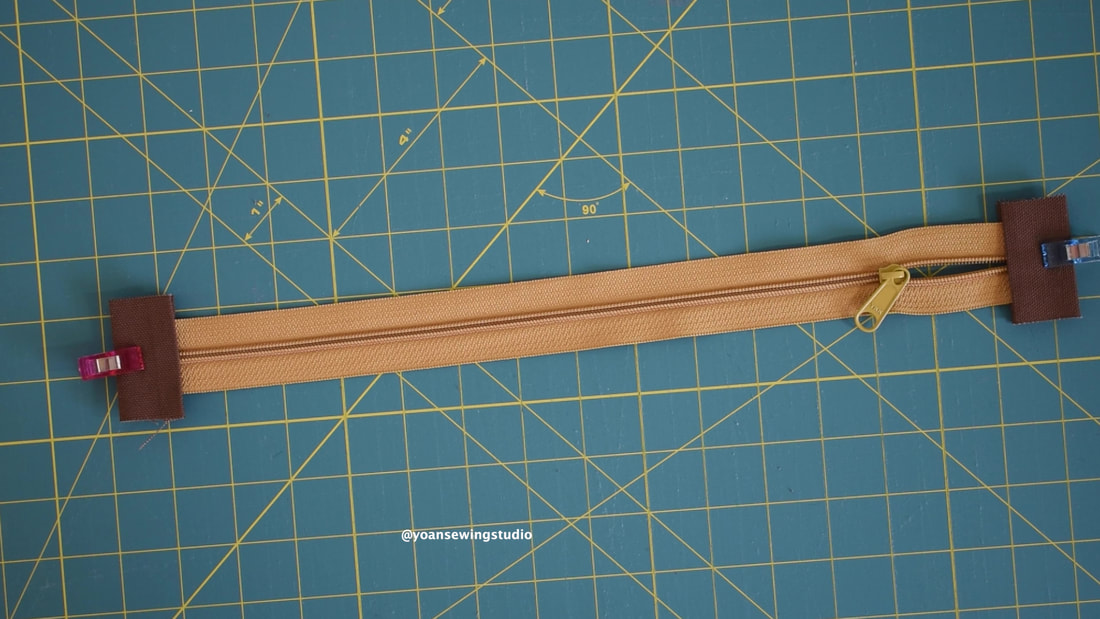
10. Insert the edges of the zipper into the fold of the zipper tab, all the way in. Sew along the edges with 1/8" of seam allowance, trim excess fabric of the zipper tabs.
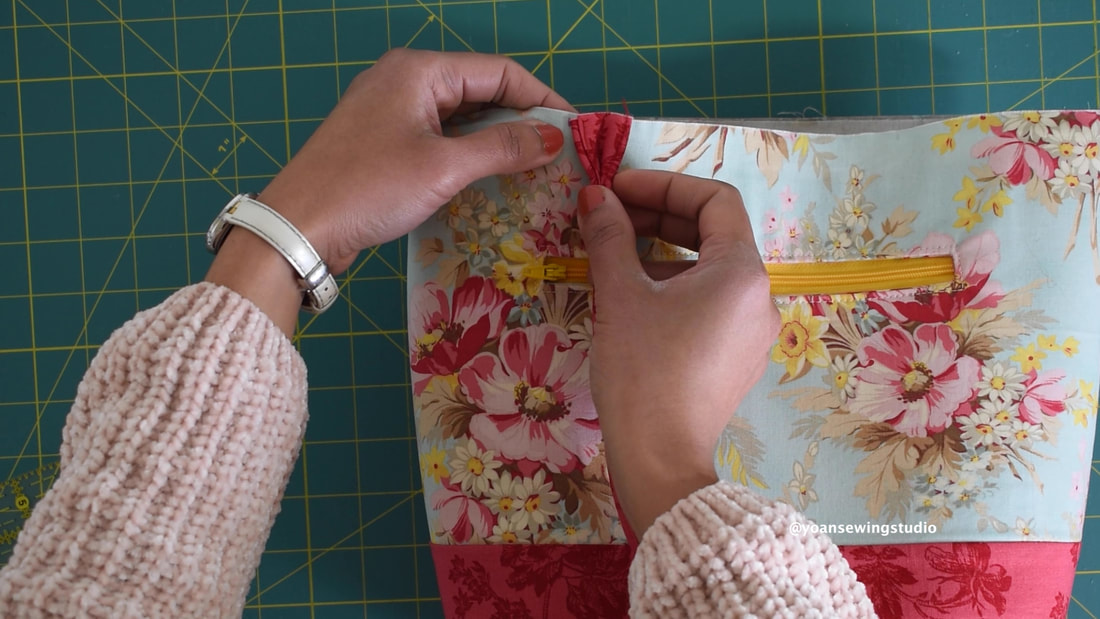
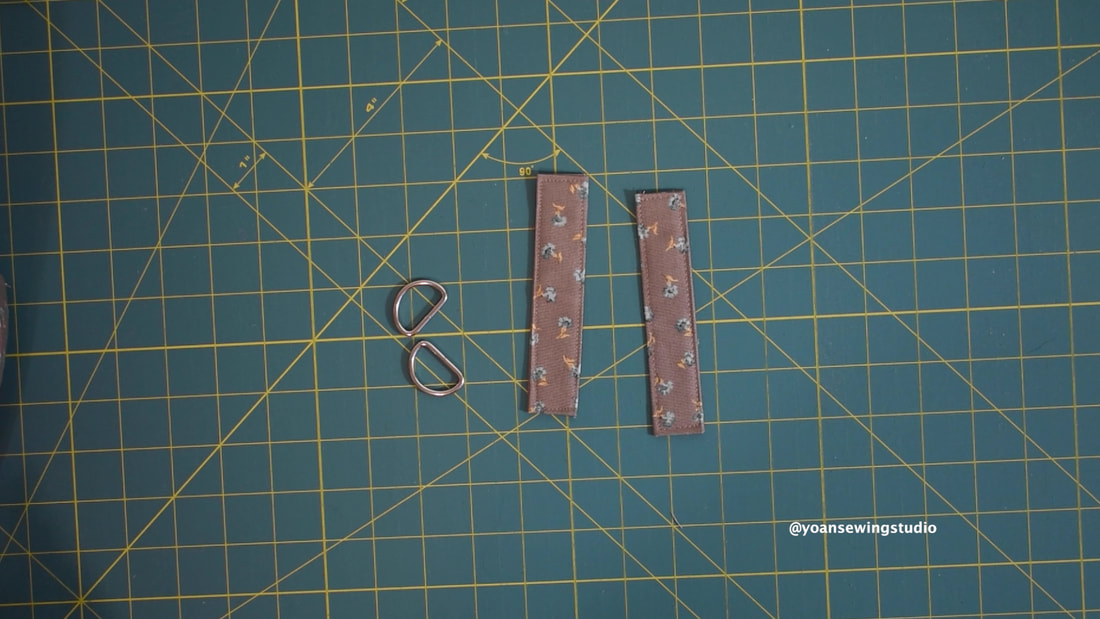
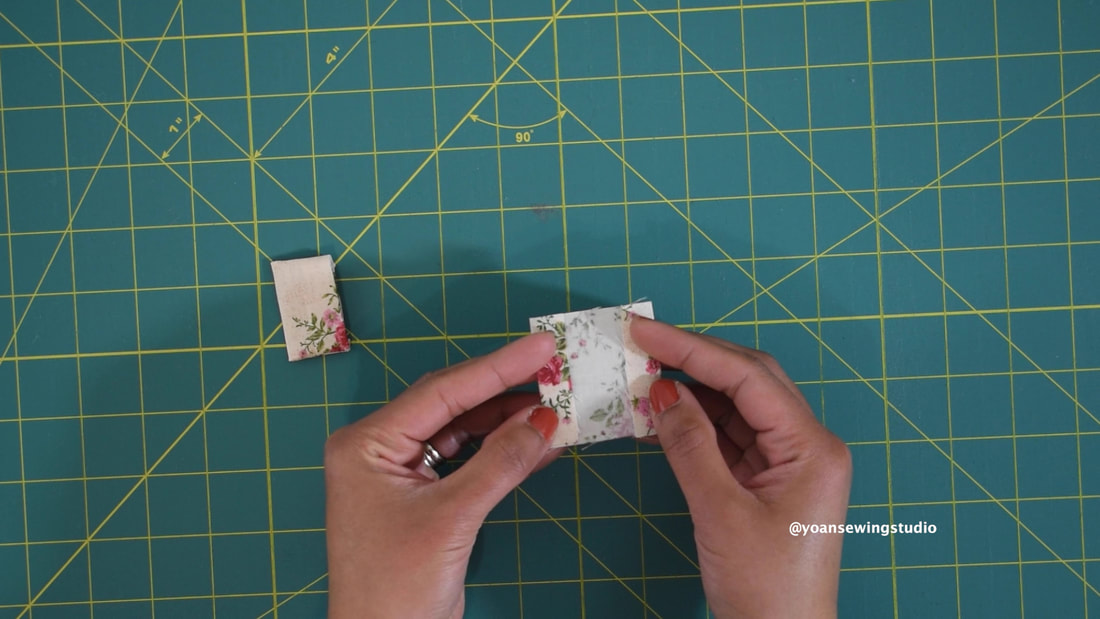
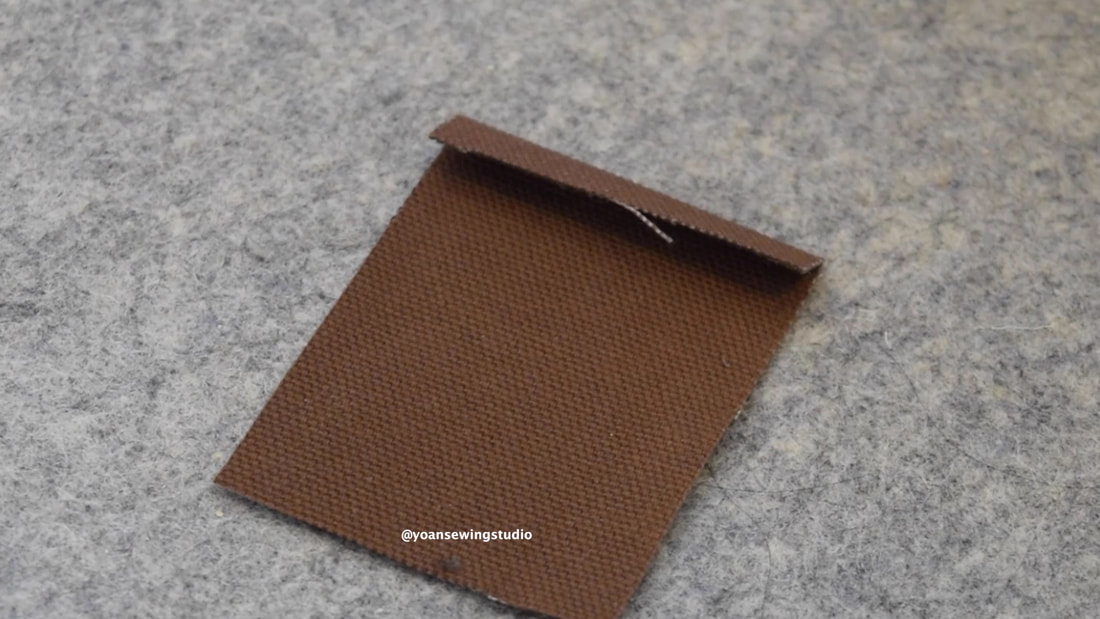
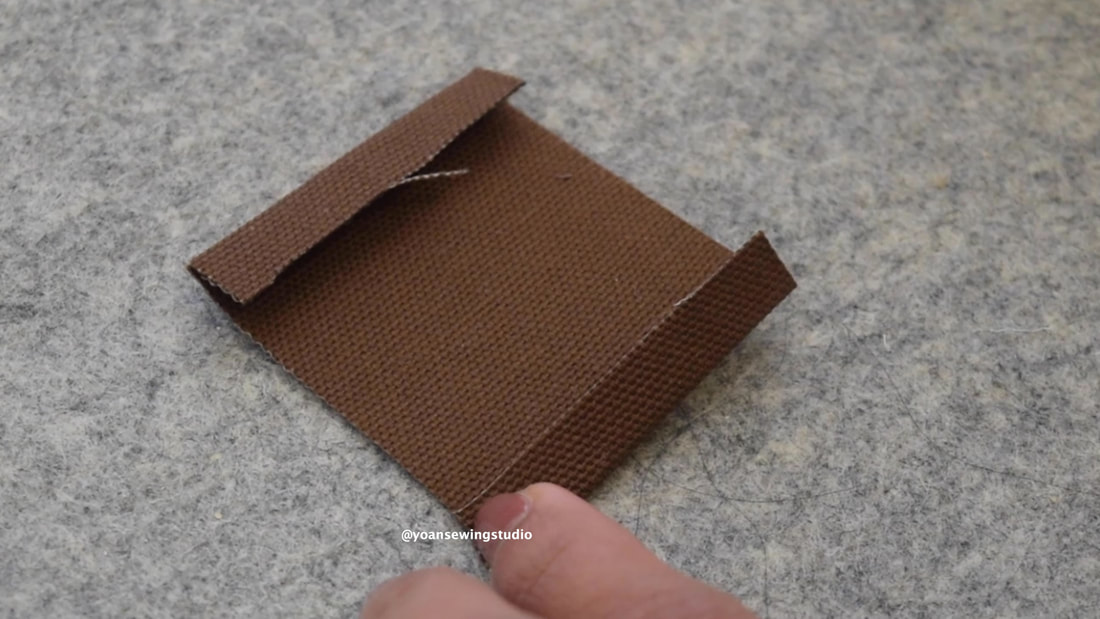
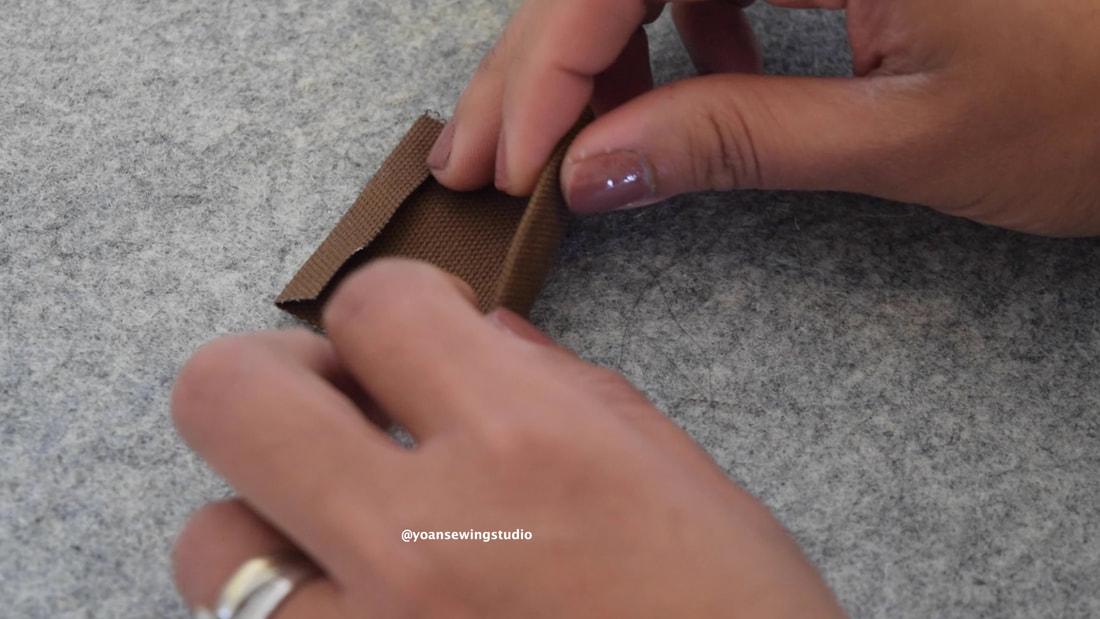
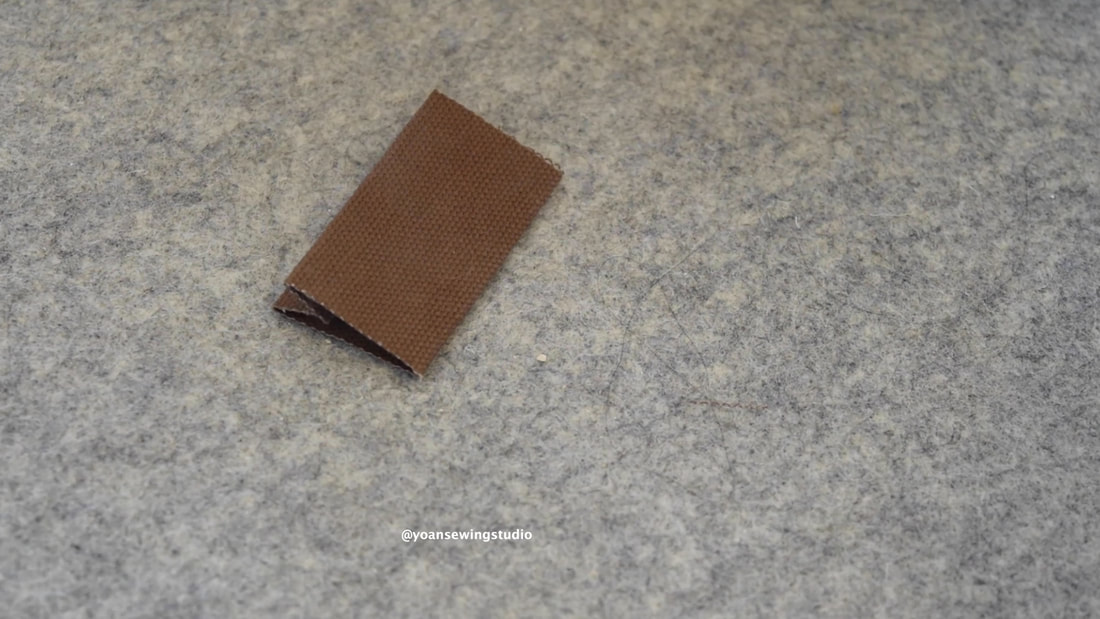
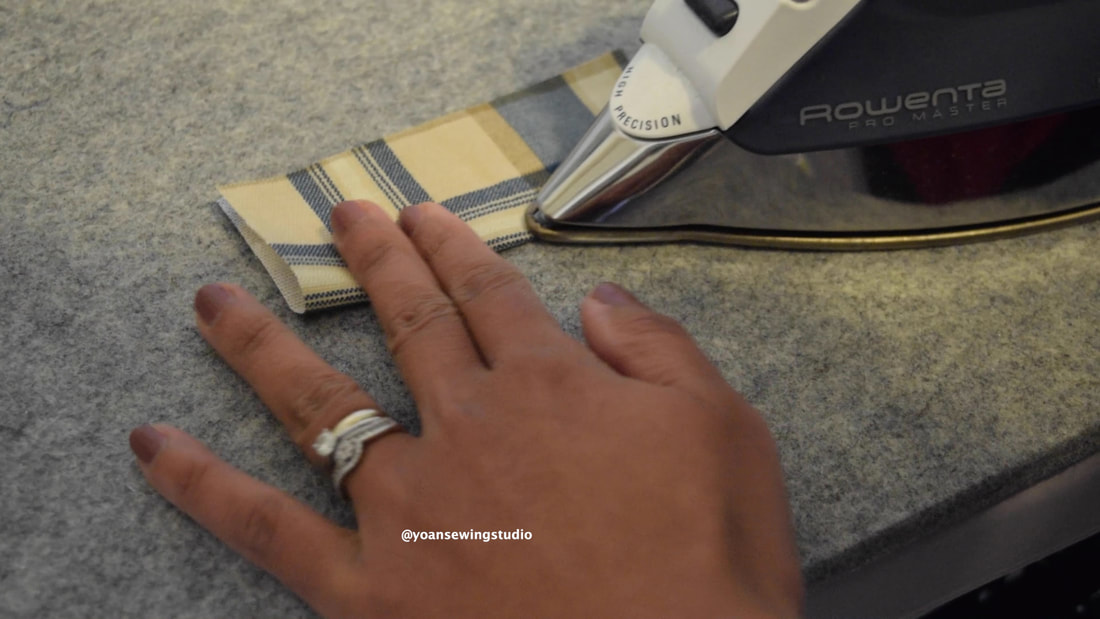
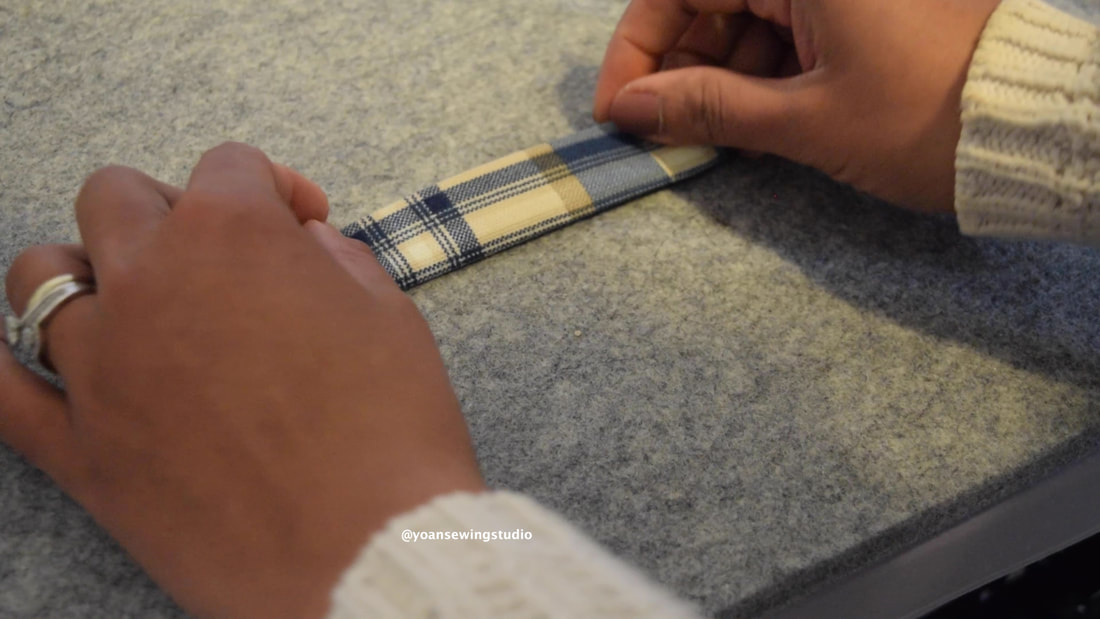
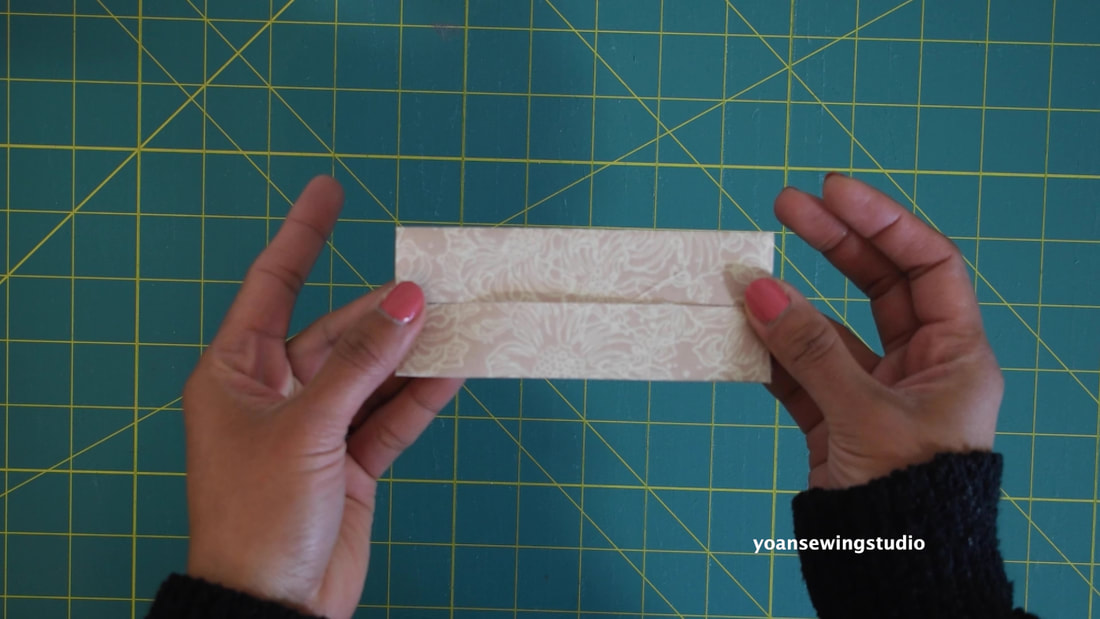
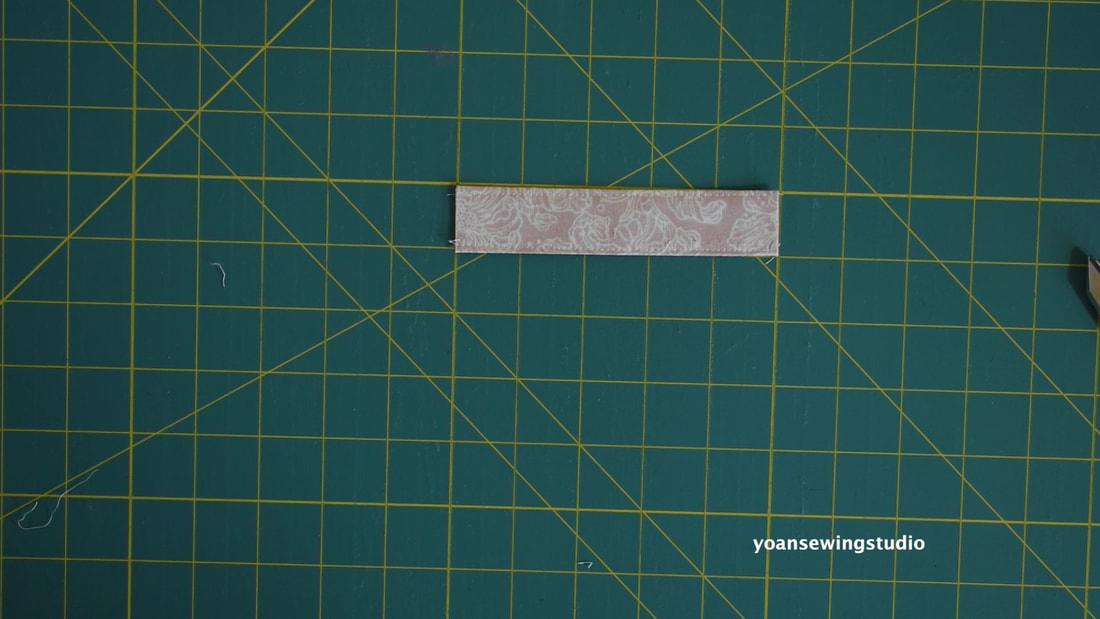
11. Prepare the strap anchor, fold it in half widthwise, press. Open the fold, fold the edges towards the center fold, press. Fold everything in half, press (you should end up with a 5" x 1" strip.
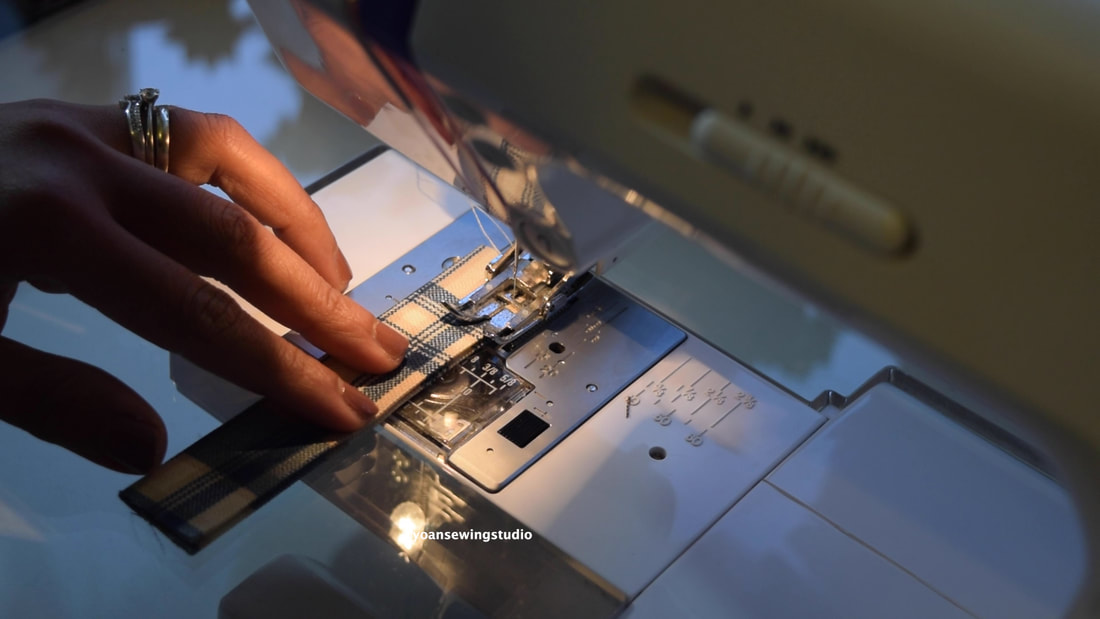
12. Sew the side edges of the strap anchor with 1/8" of seam allowance, cut the strip in half.
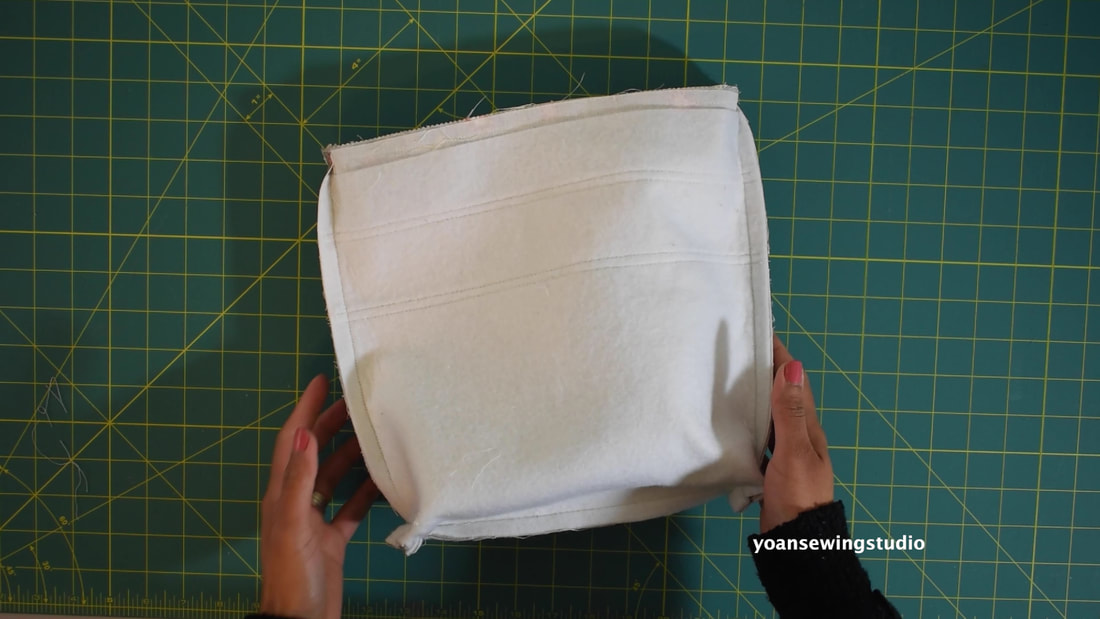
13. Fold the end of the strap 1/2", press, do the same with the opposite end, then proceed the fold and pressing method the same way as the strap anchors. Sew all around the edges with 1/8" of seam allowance. Attach the hardwares (the swivel hooks and the adjuster slider)
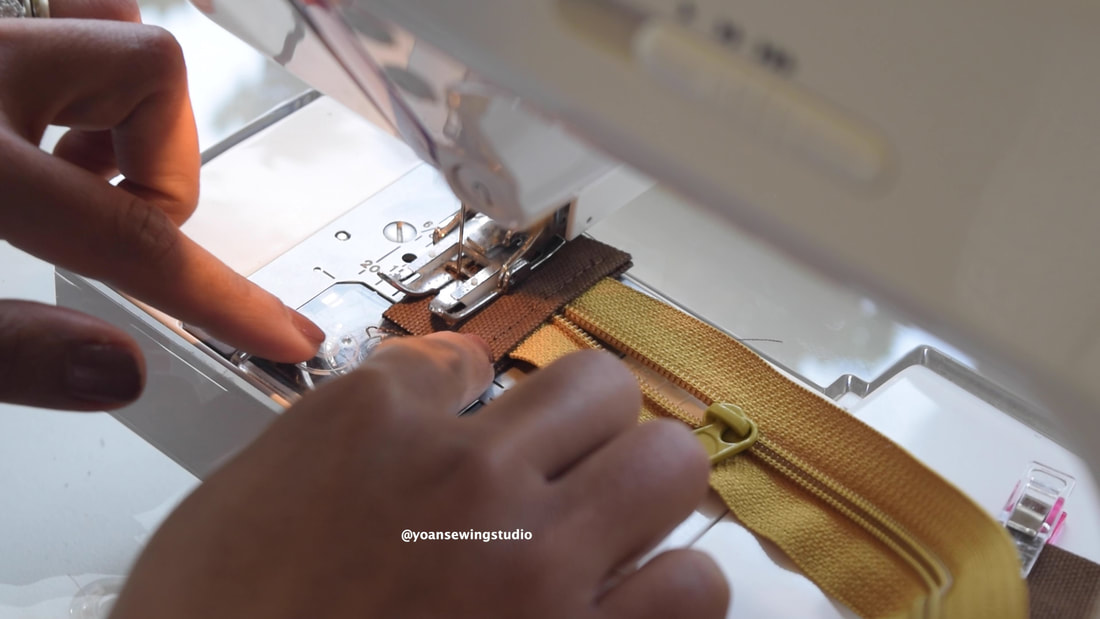
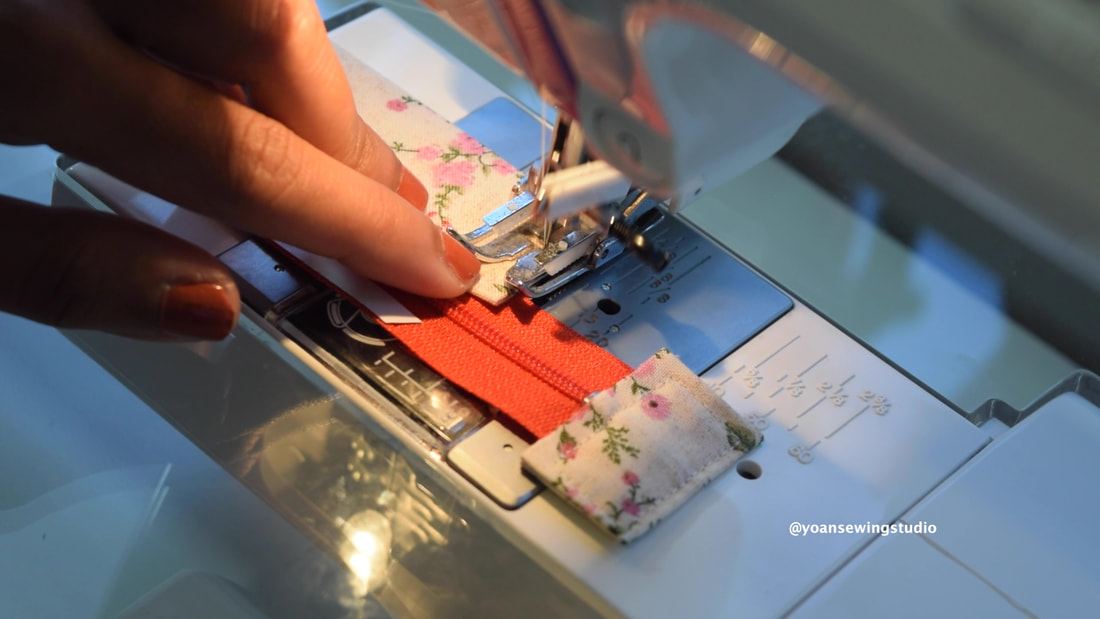
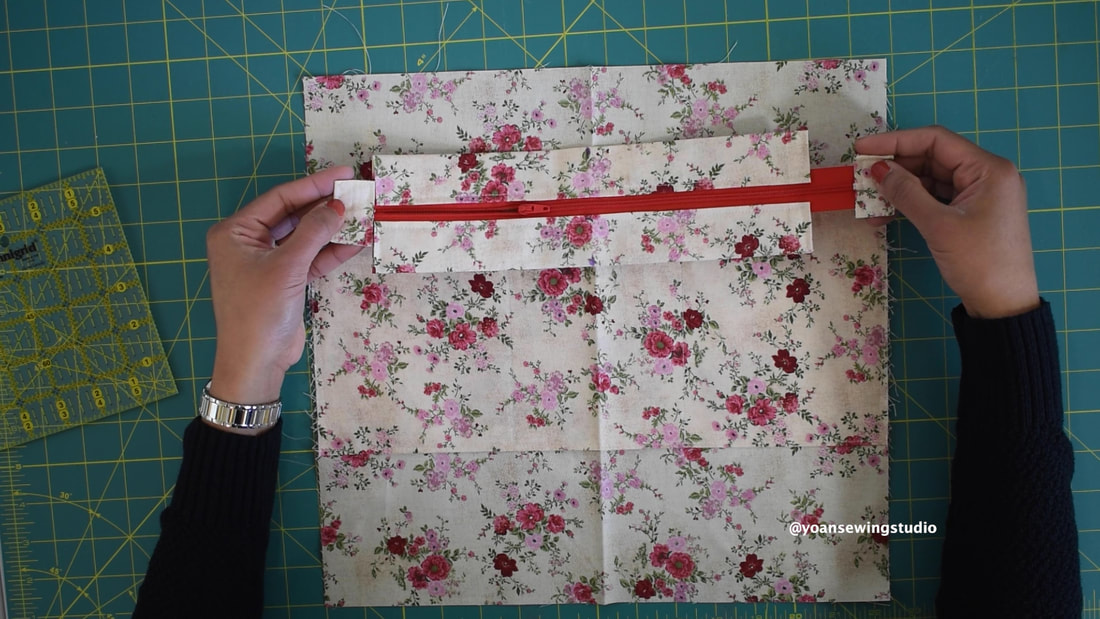
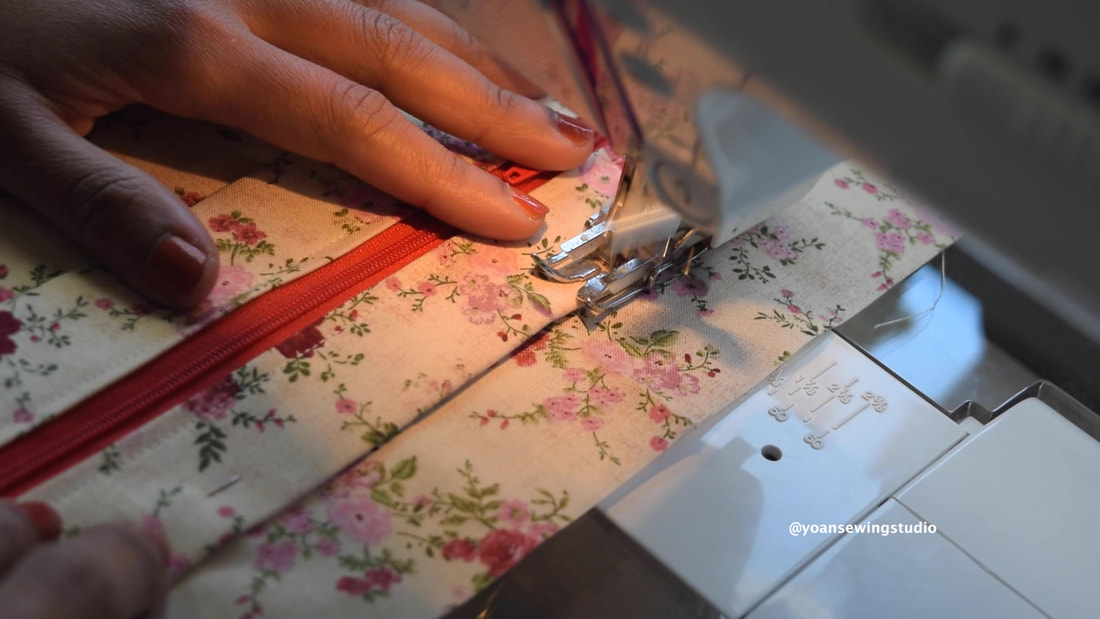
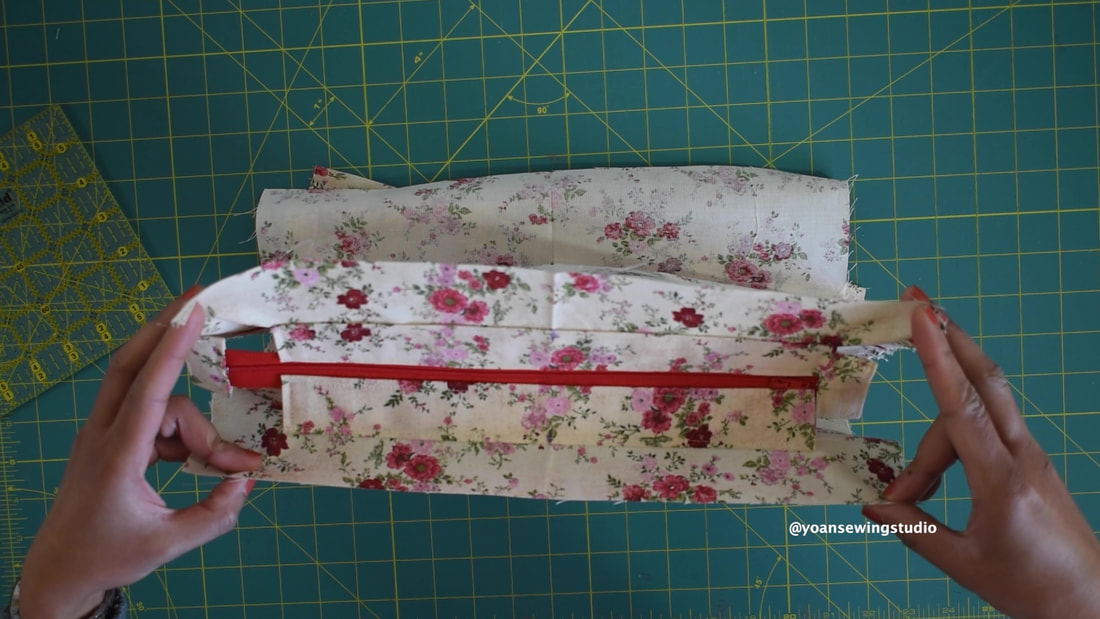
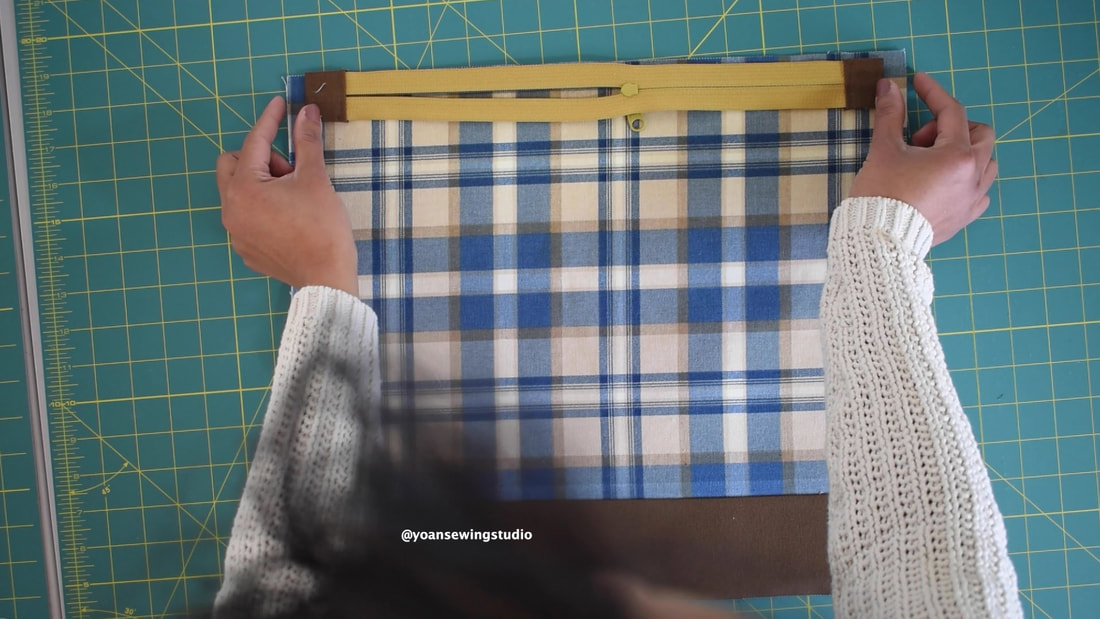
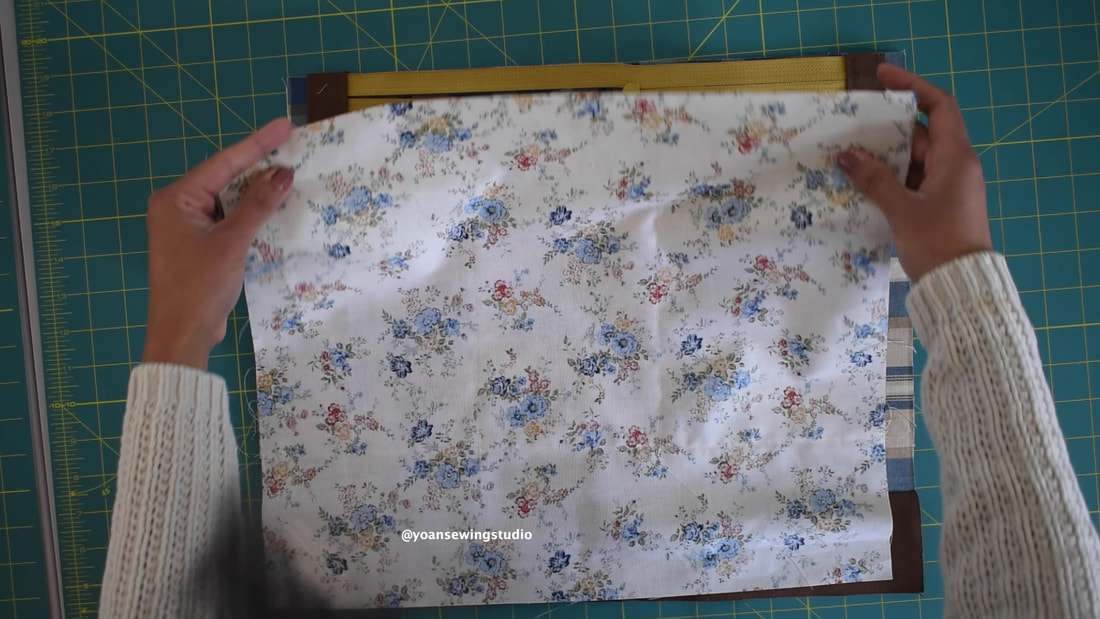
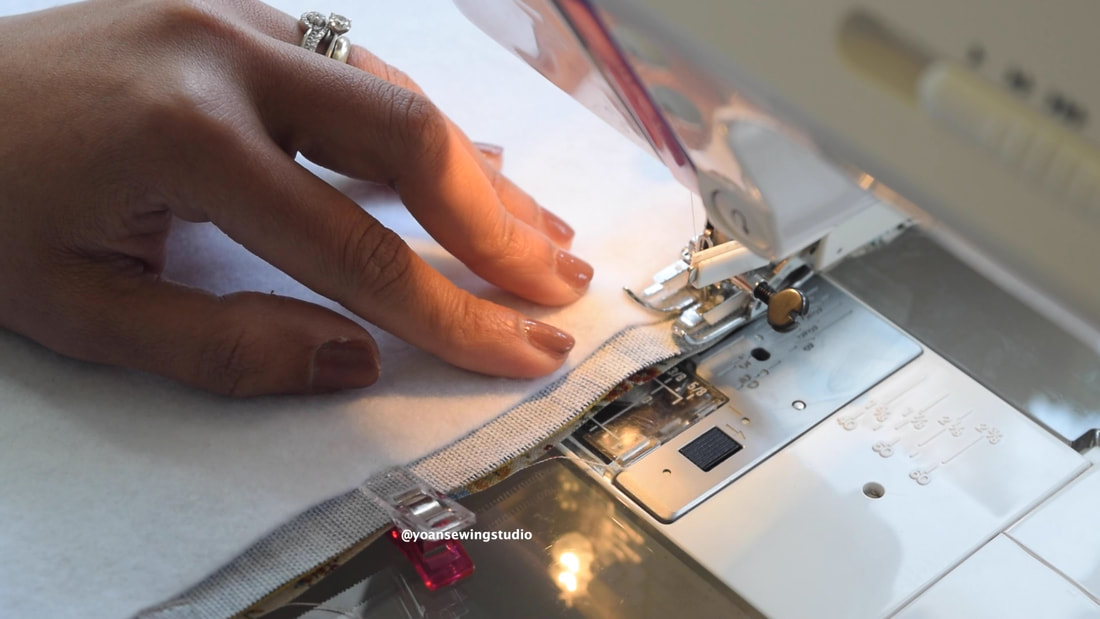
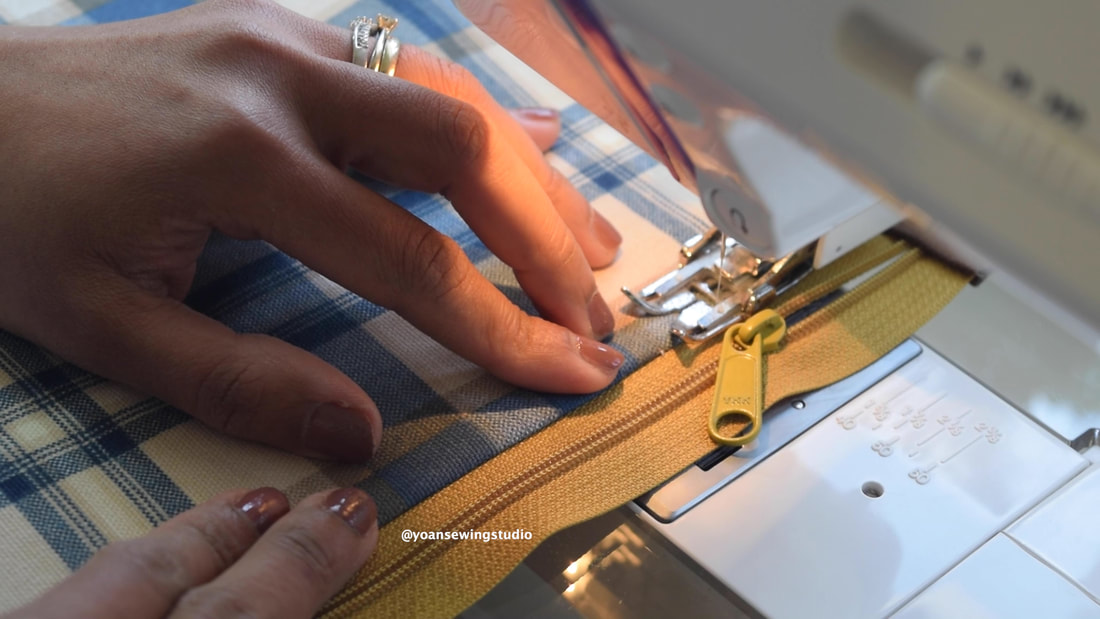
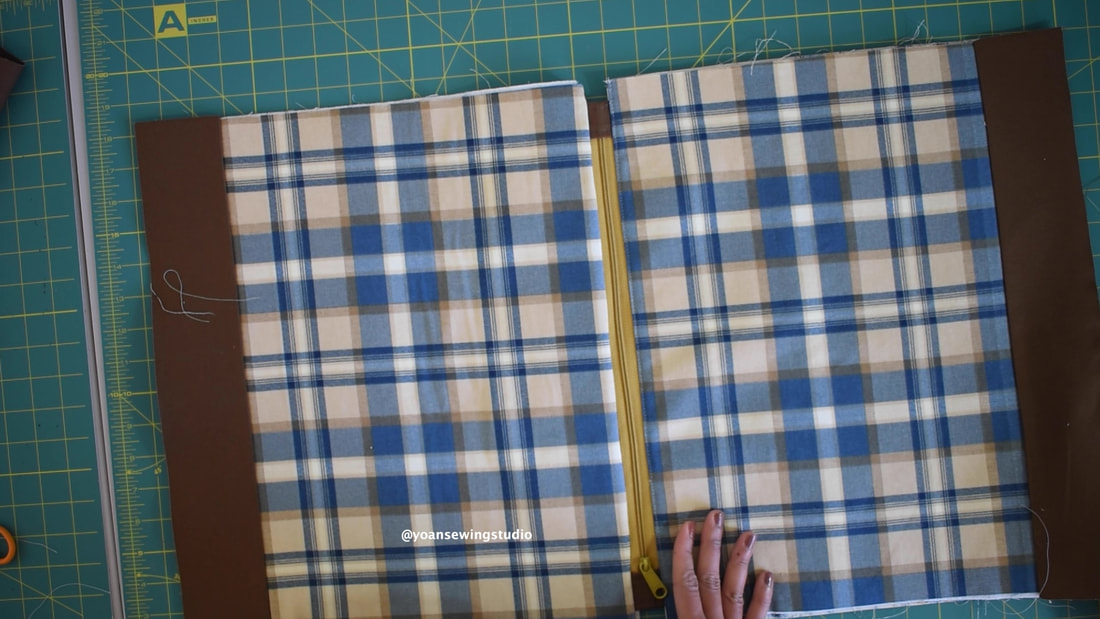
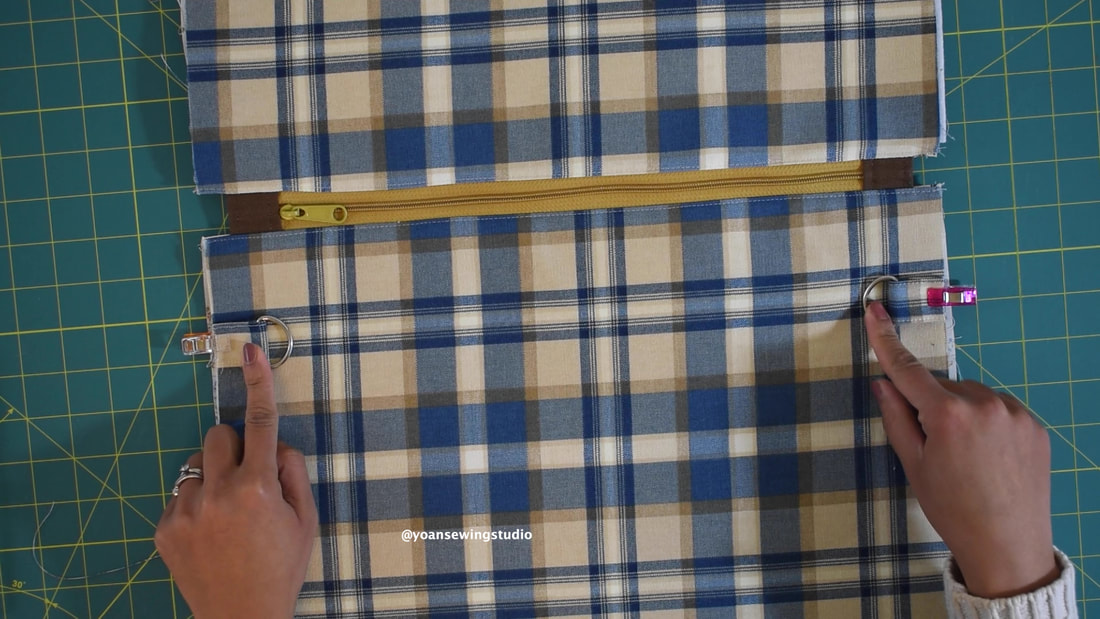
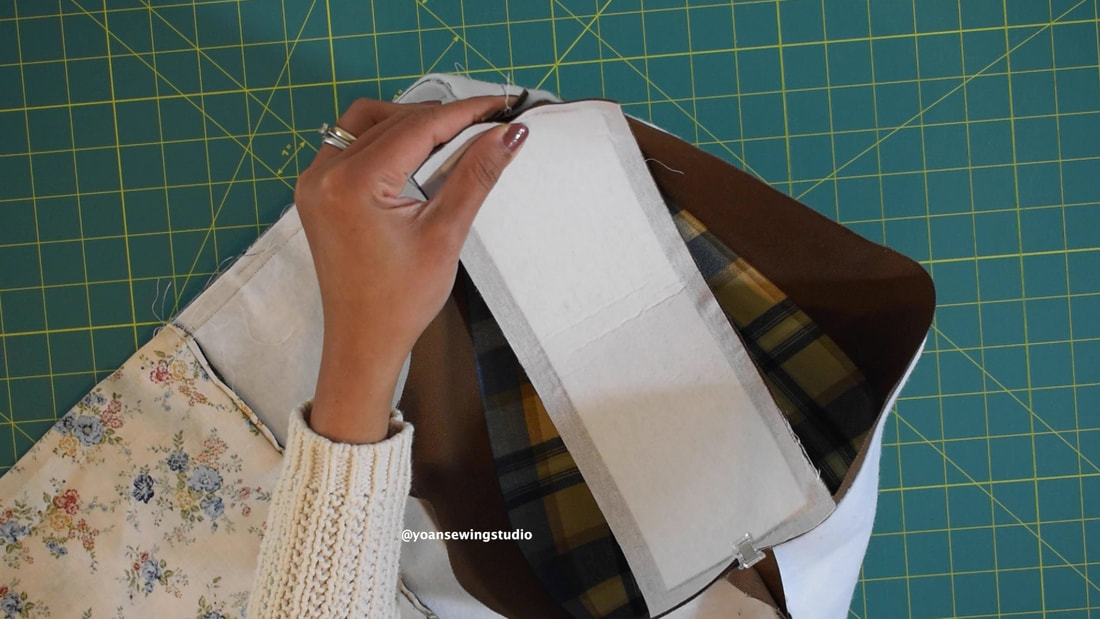
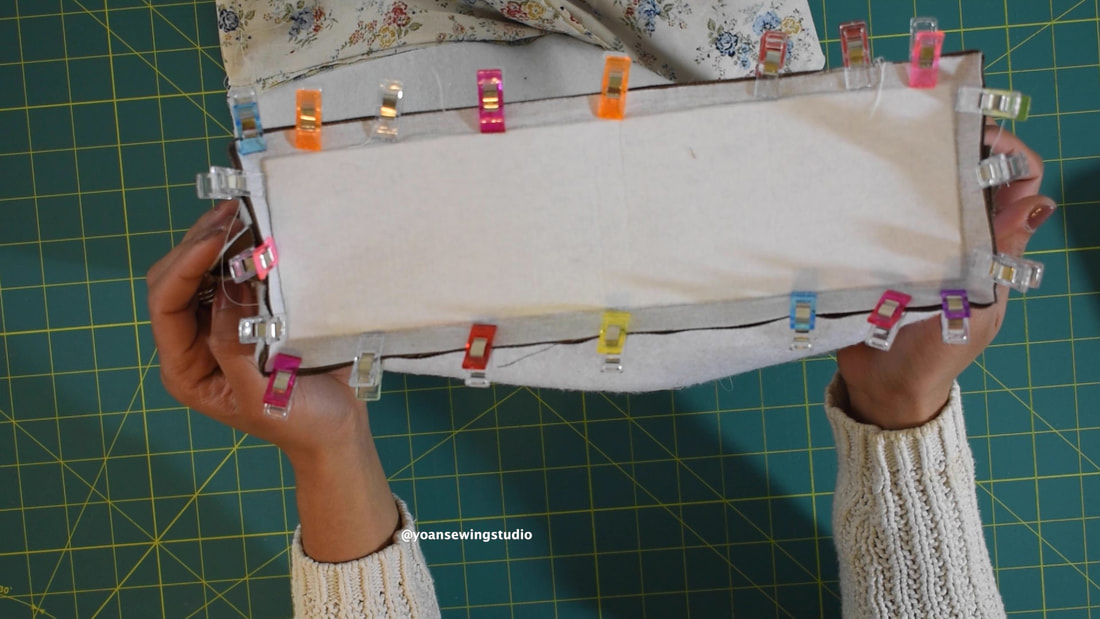
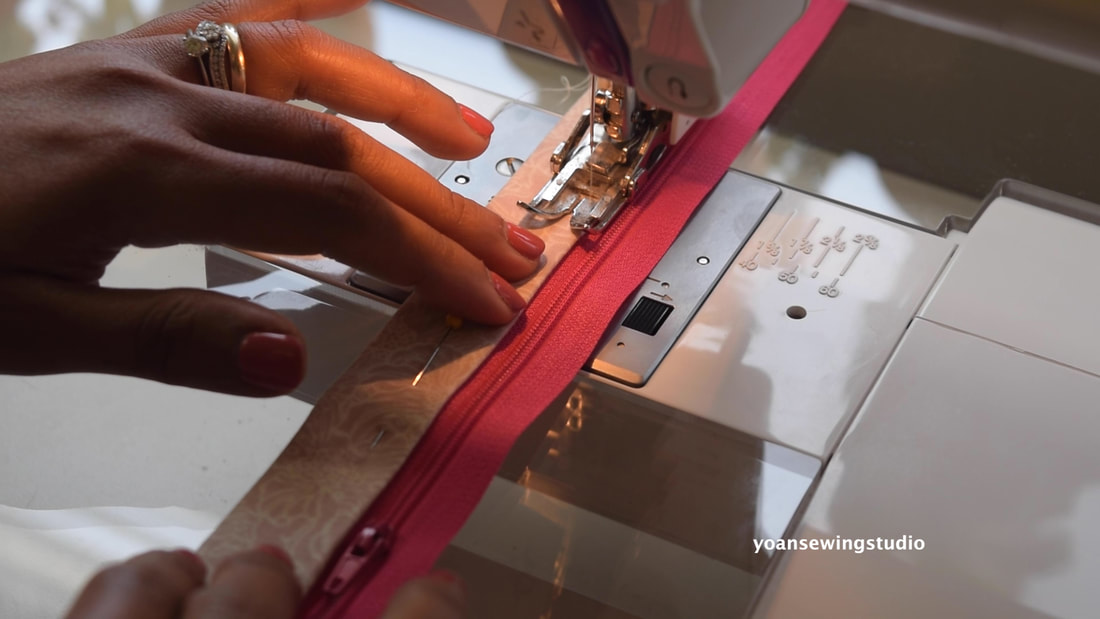
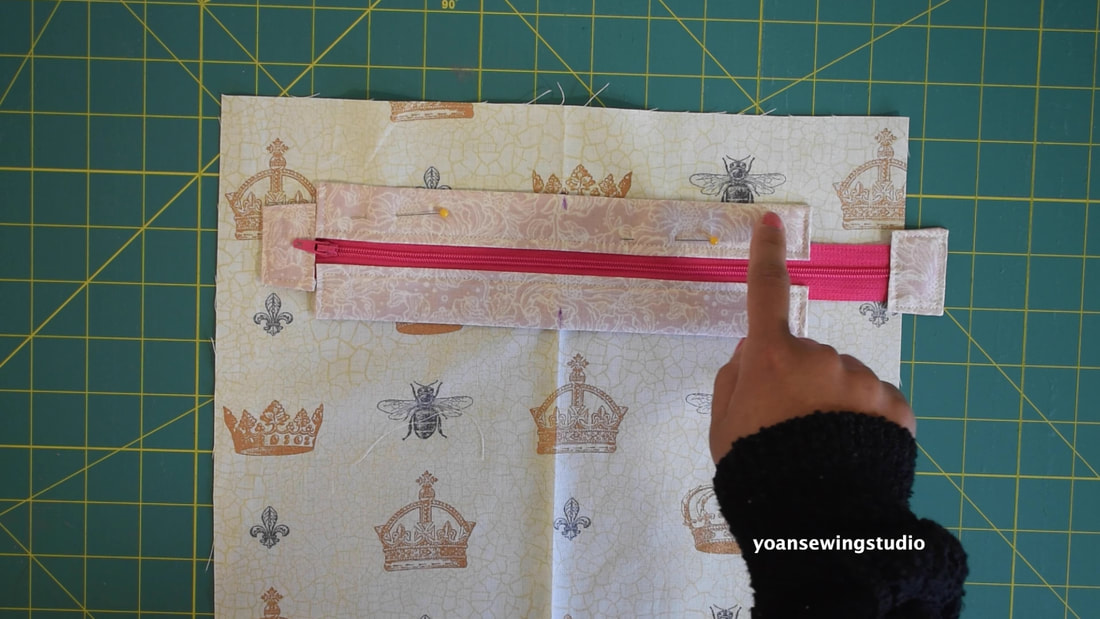
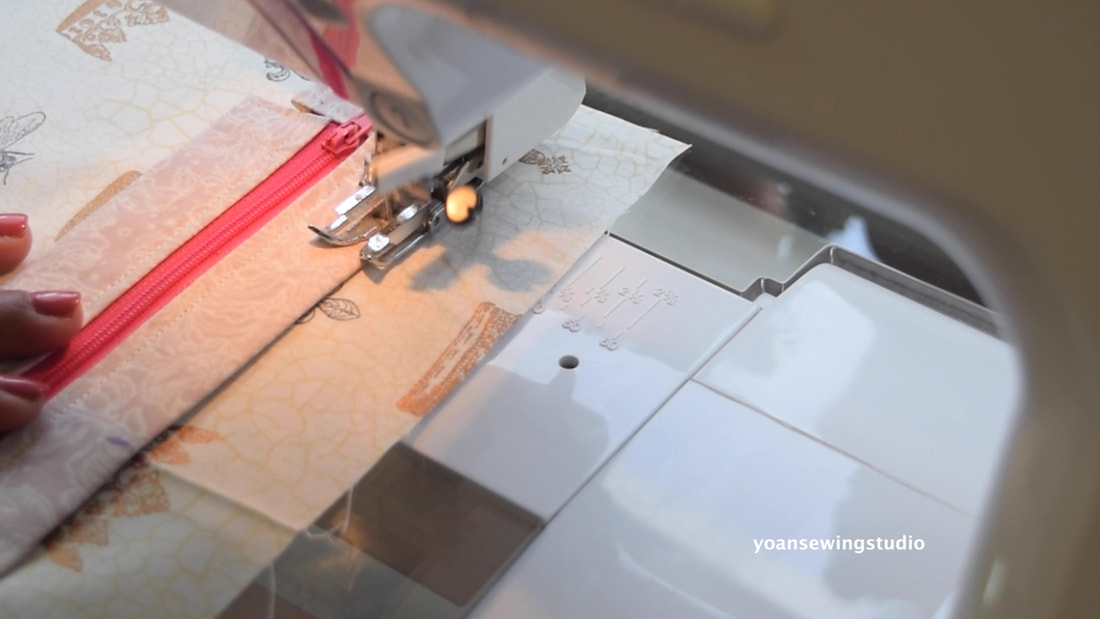
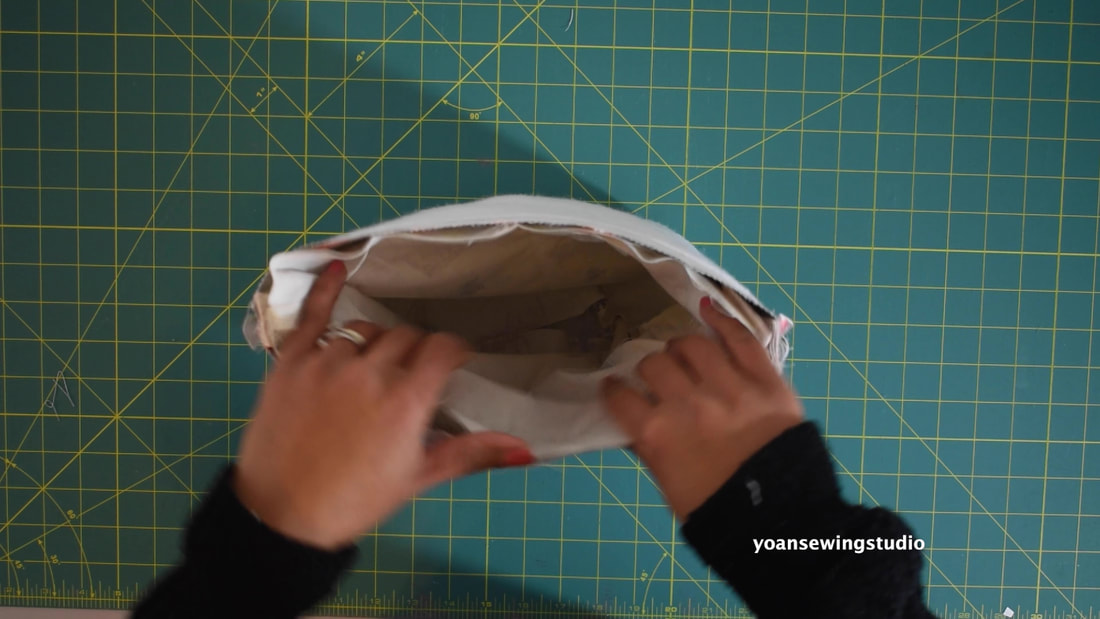
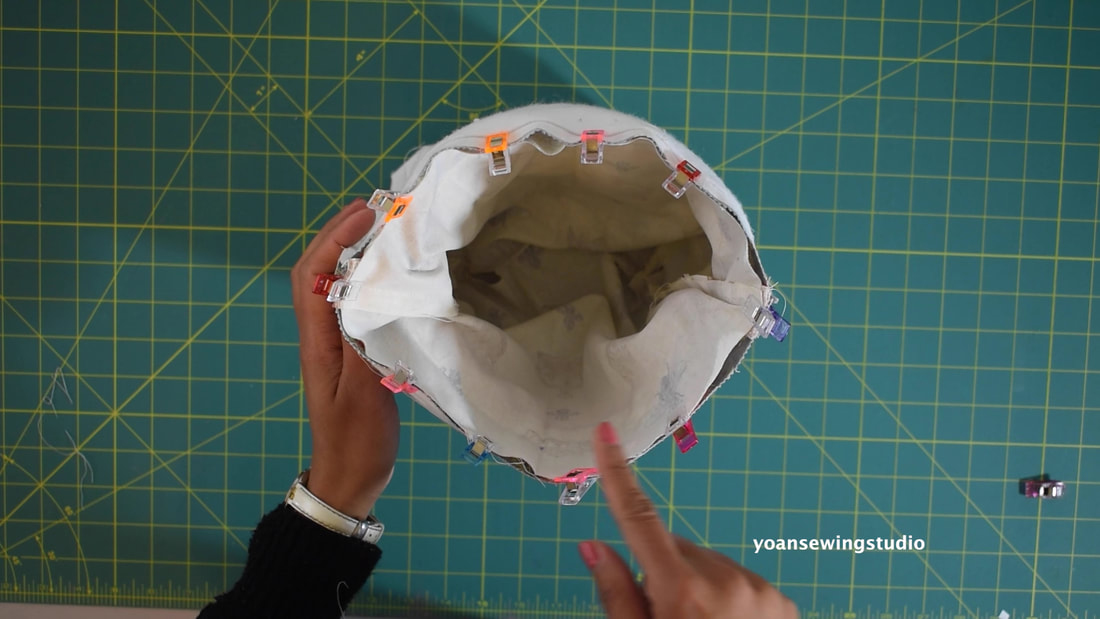
14. Lay the front exterior piece right side up, lay the zipper right side down (center the position of the zipper, there should be 1/2" gap on both sides), lay the lining right side down, secure the sandwich with some sewing clips then sew with 3/8" seam allowance.
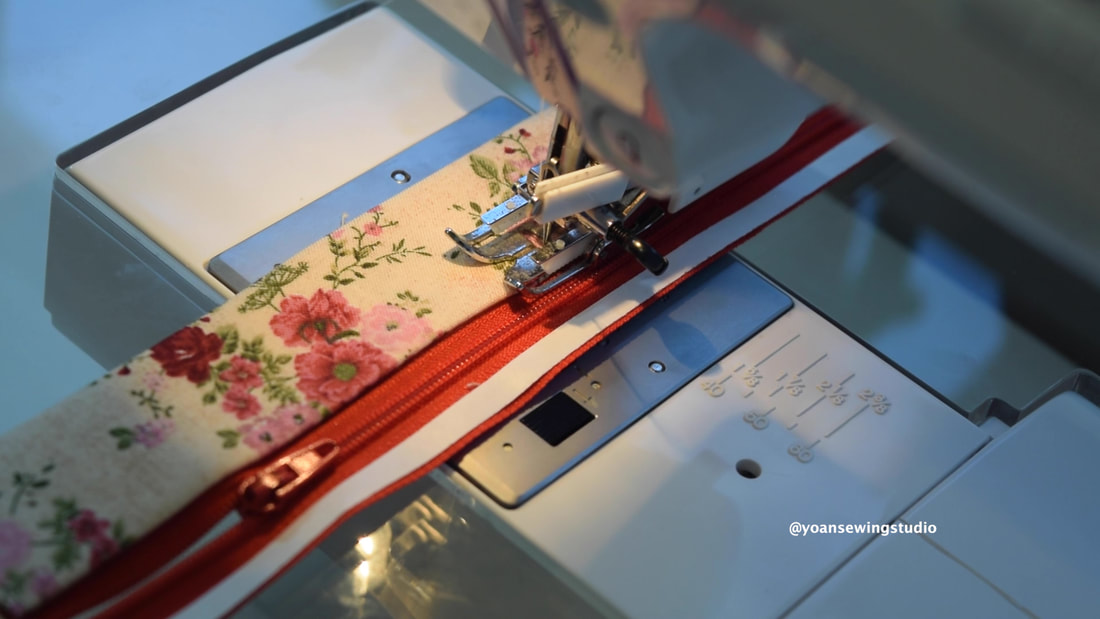
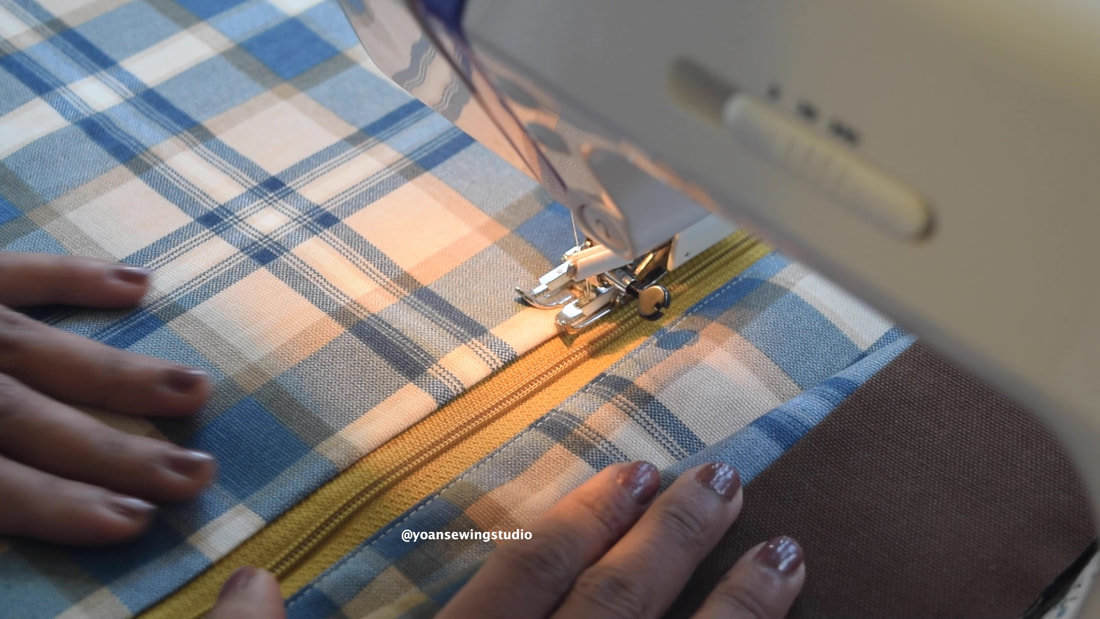
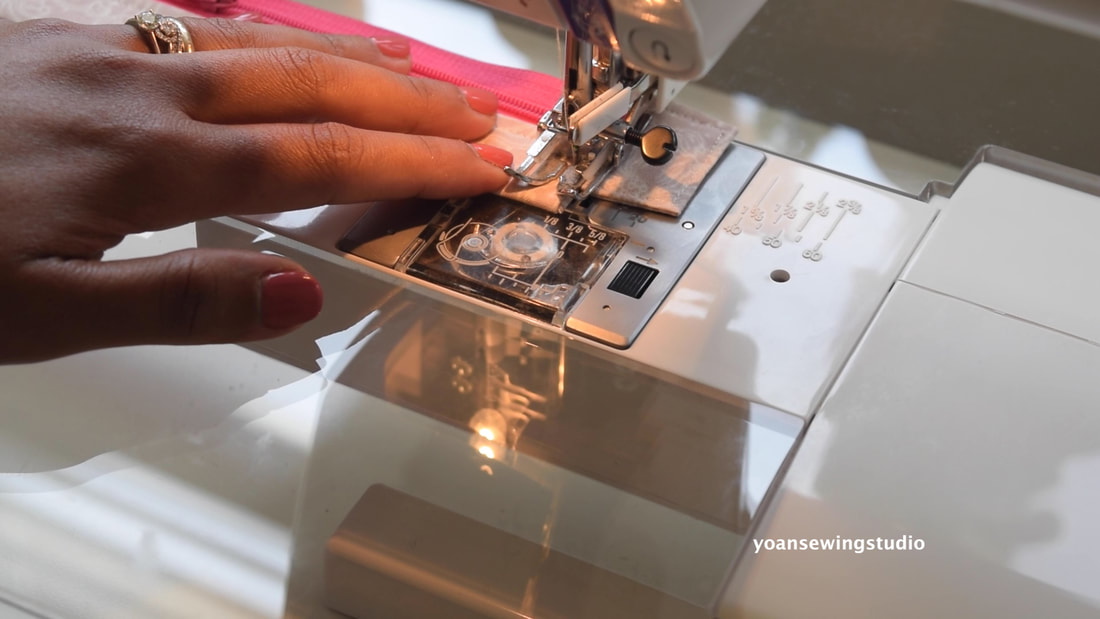
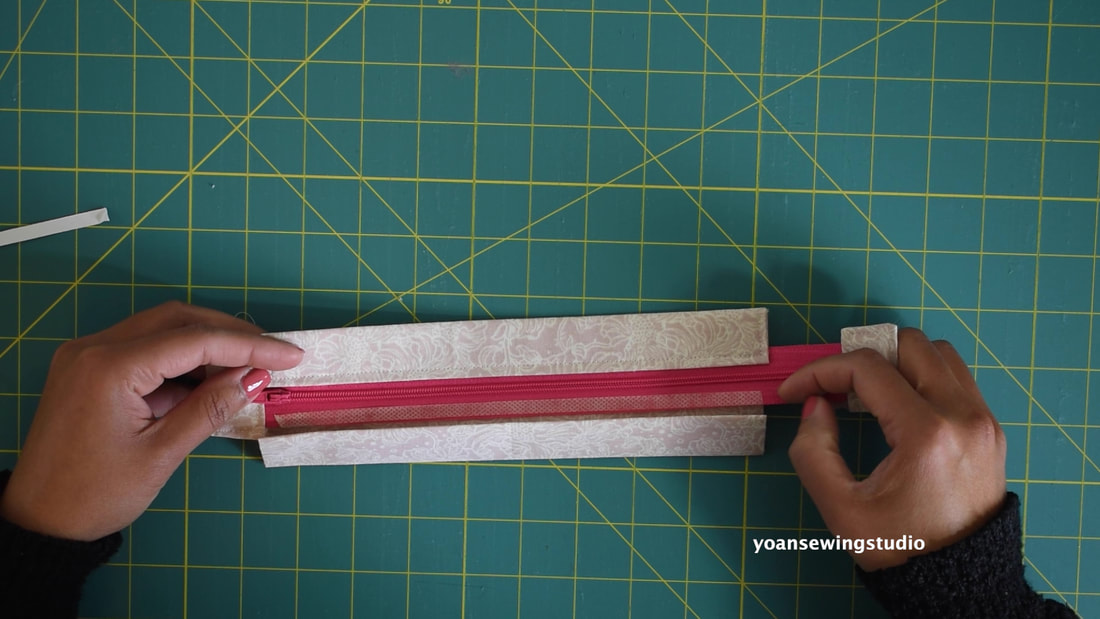
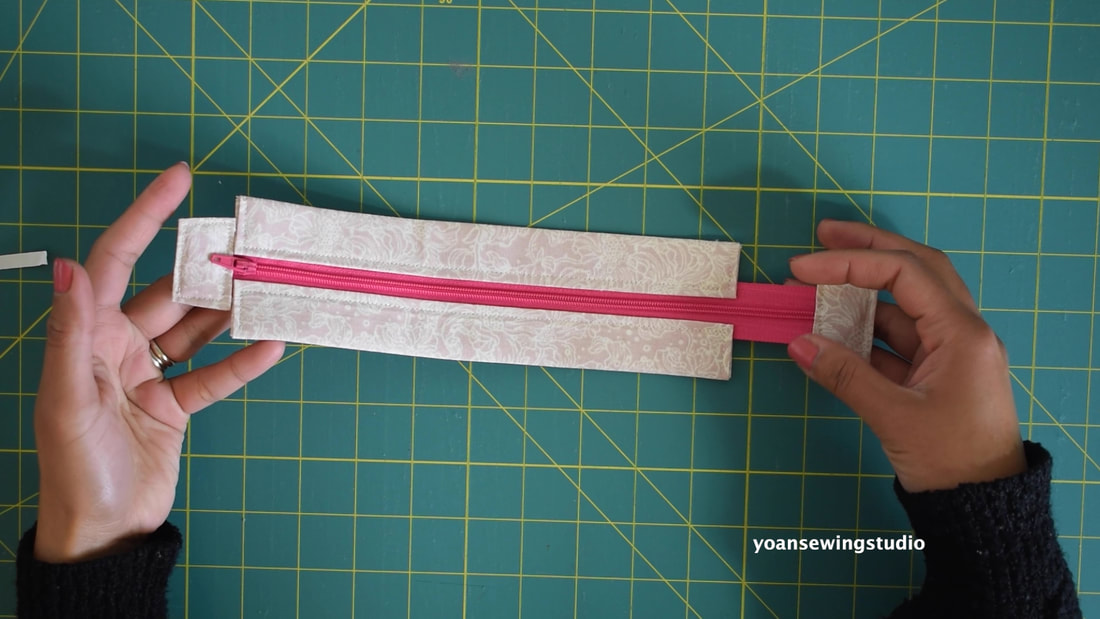
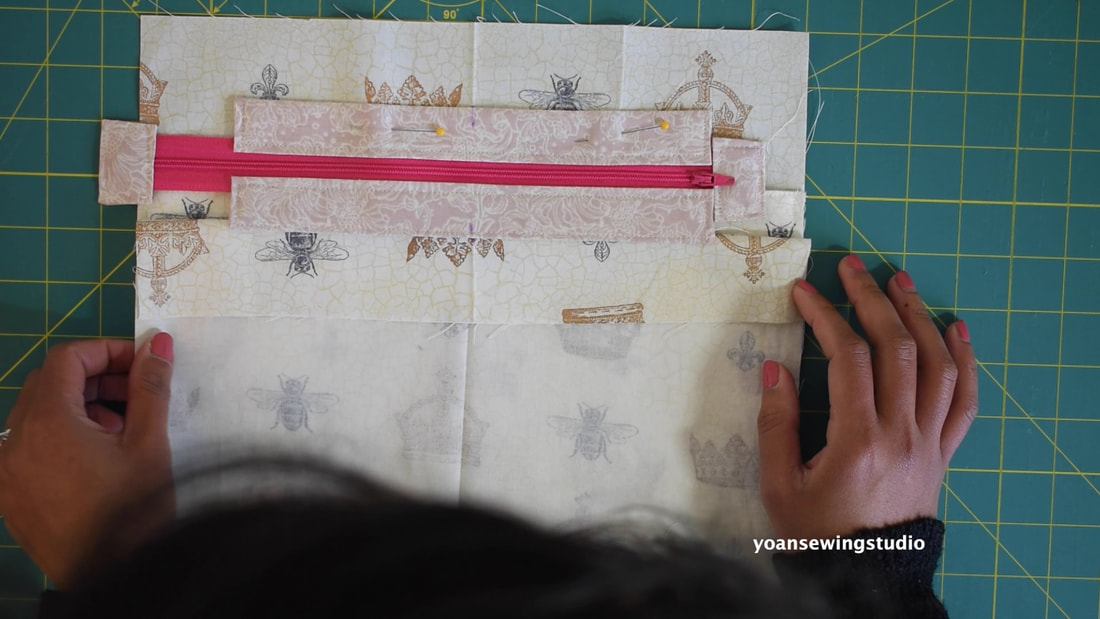
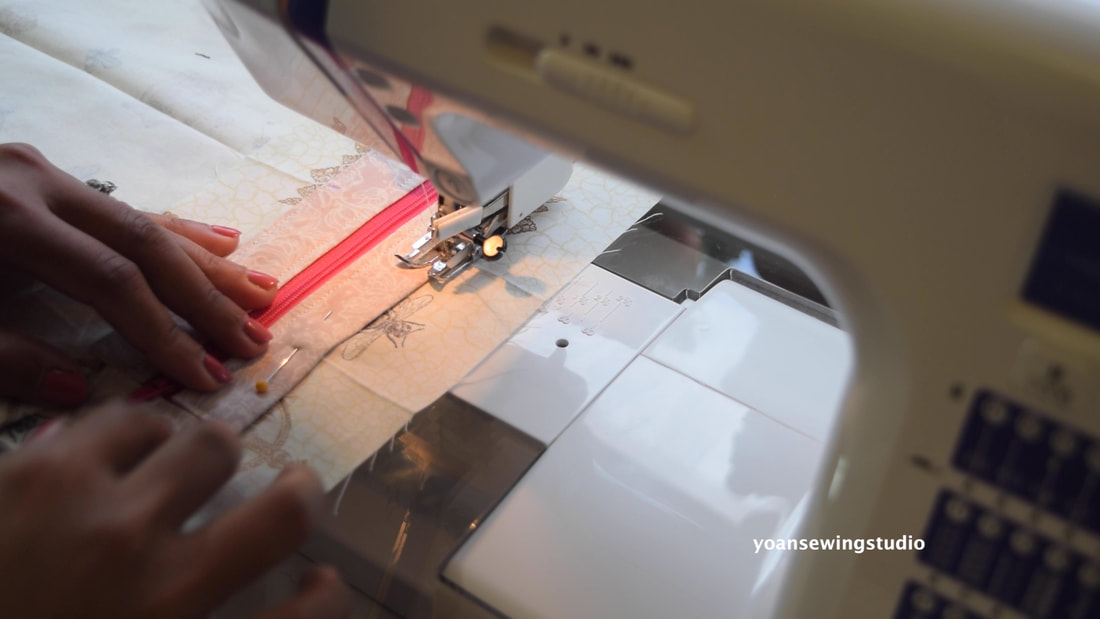
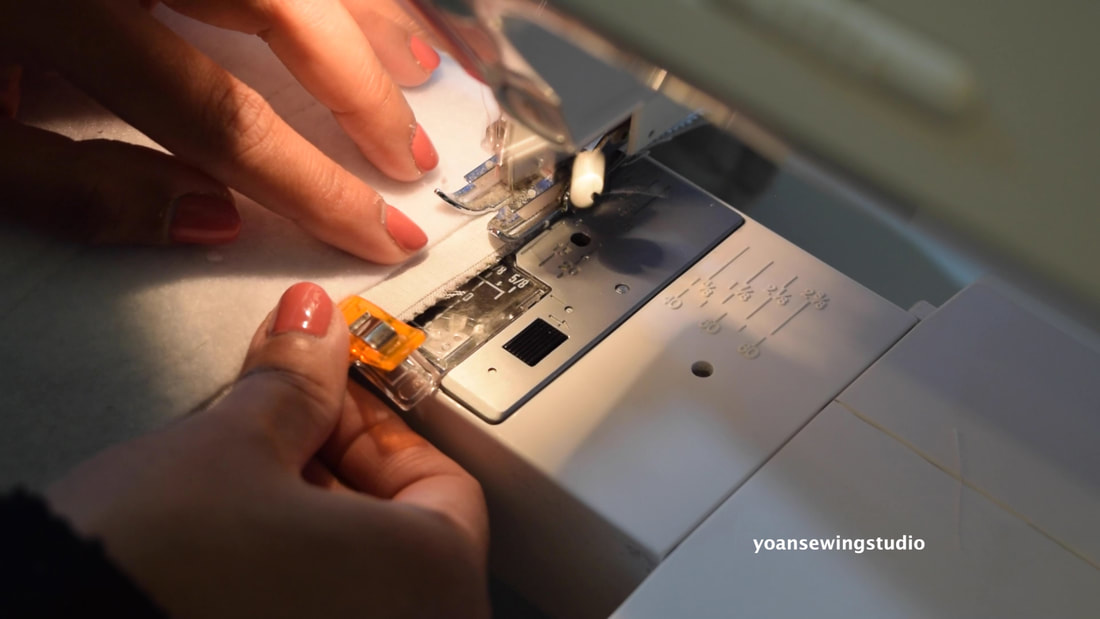
15. Separate the zipper from the fabric, press, then topstitch.
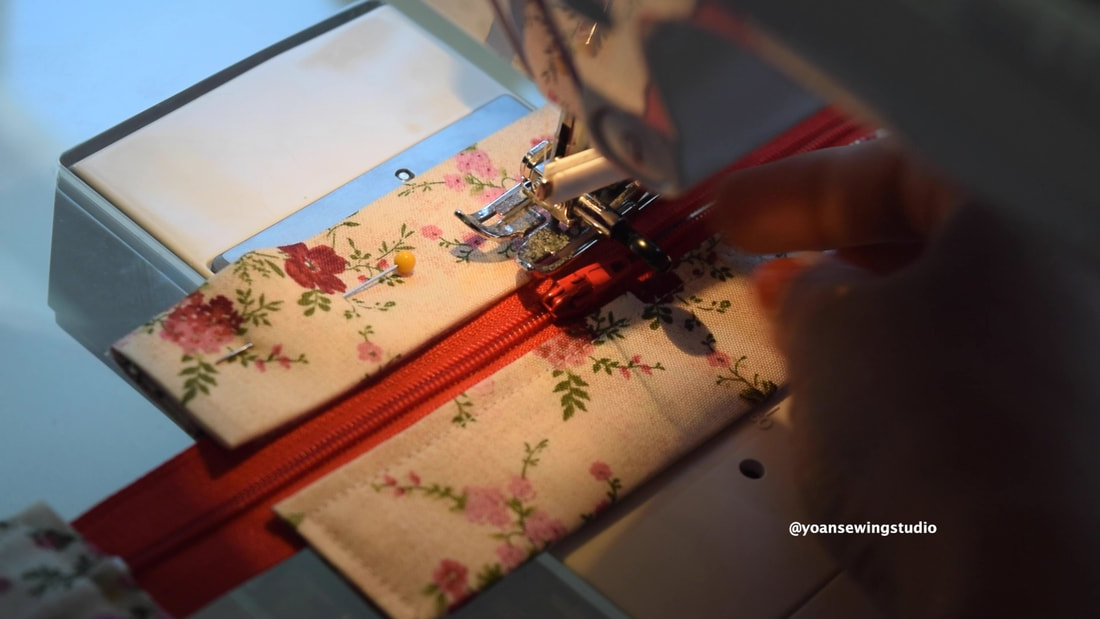
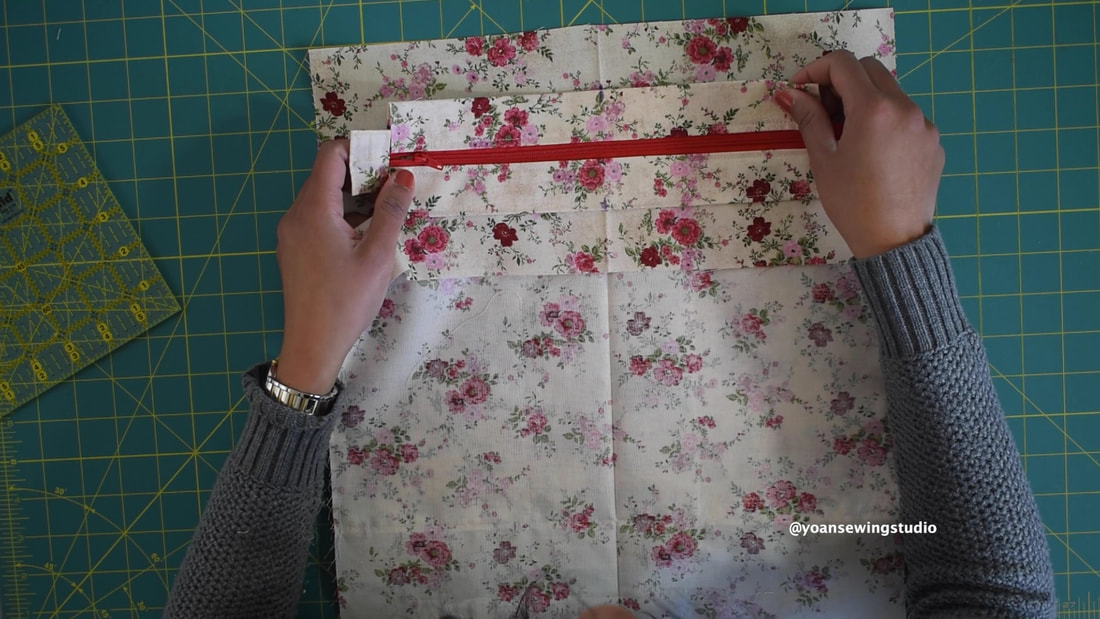
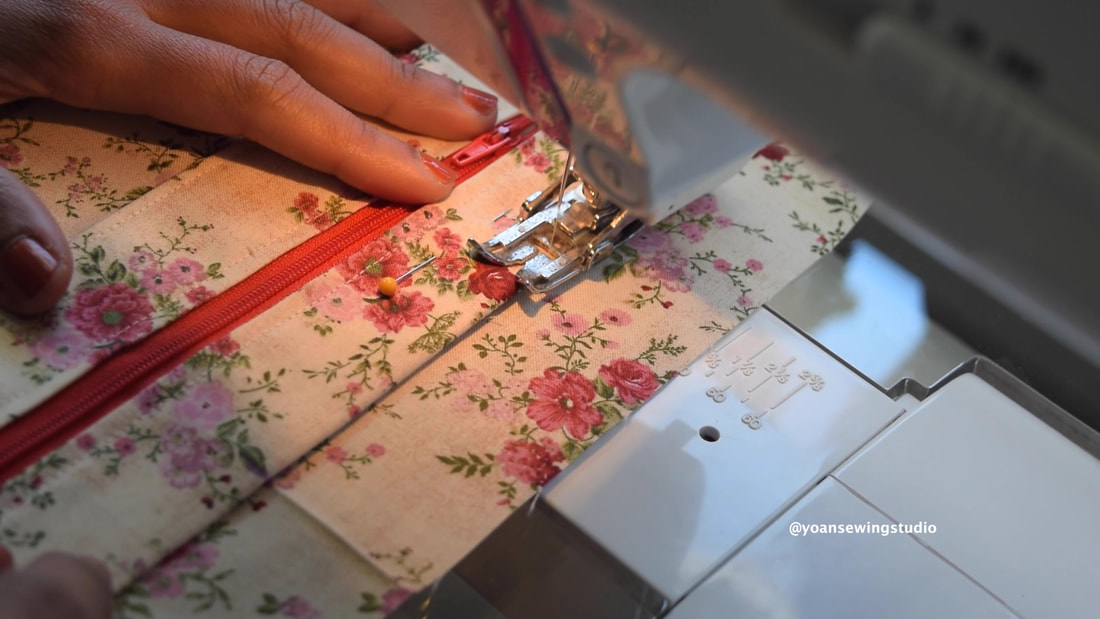
16. Lay the back exterior right side up, lay the zipper right side down, lay the lining right side down, secure everything with fabric clips then sew along the edges with 3/8" seam allowance. Separate the zipper from the fabric, press, then topstitch.
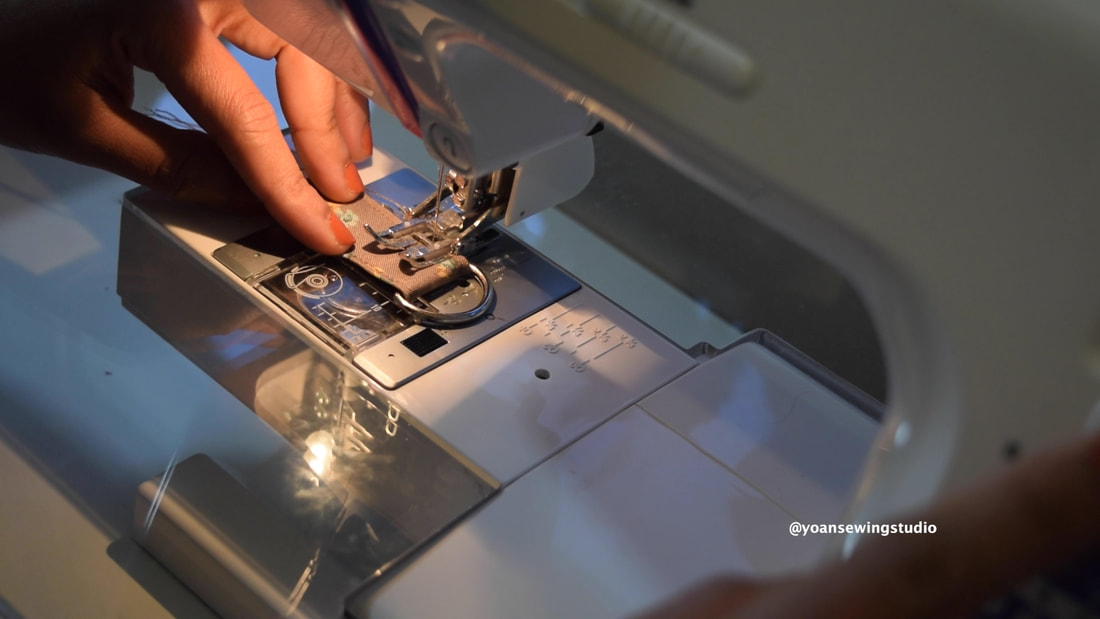
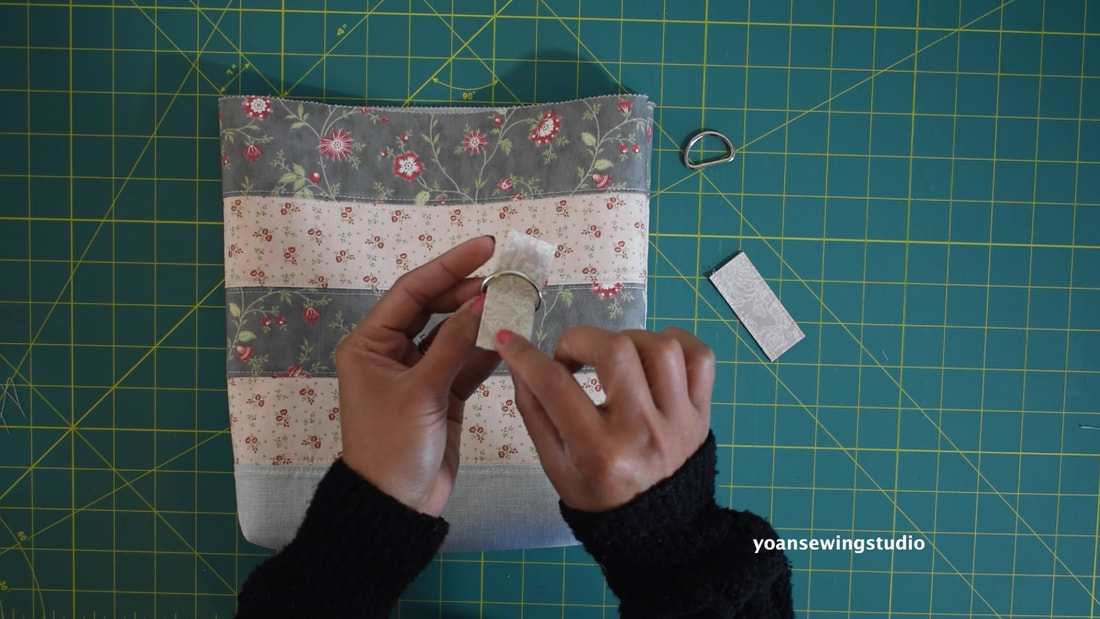
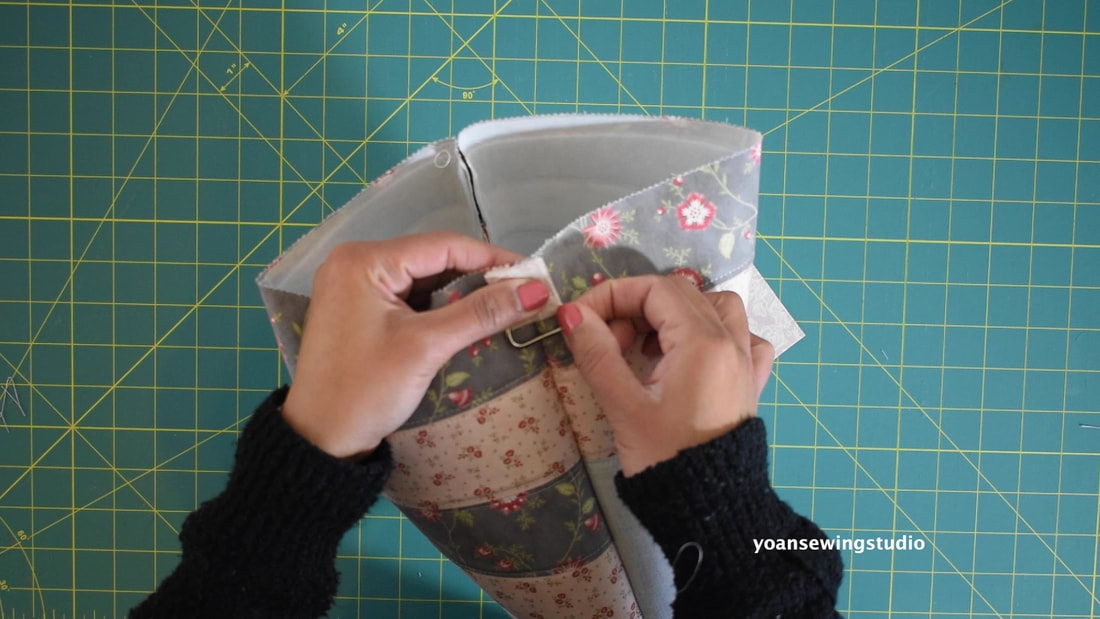
17. Feed the strap anchors over the d-rings, position them 2.5" from the top edge, sew with 1/4" of seam allowance (do not sew the lining)
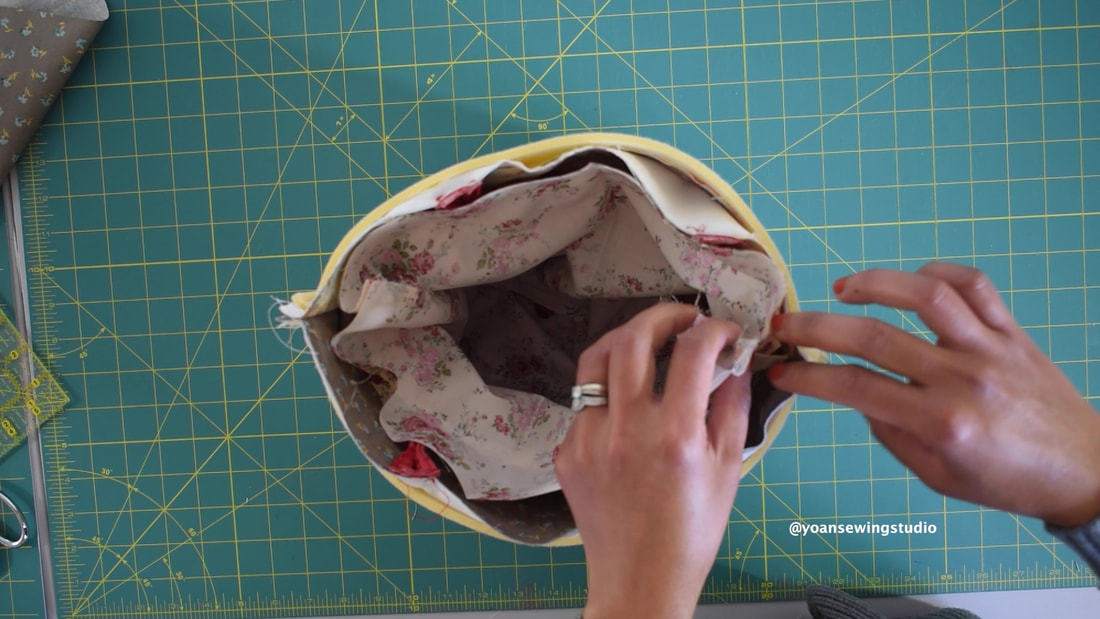
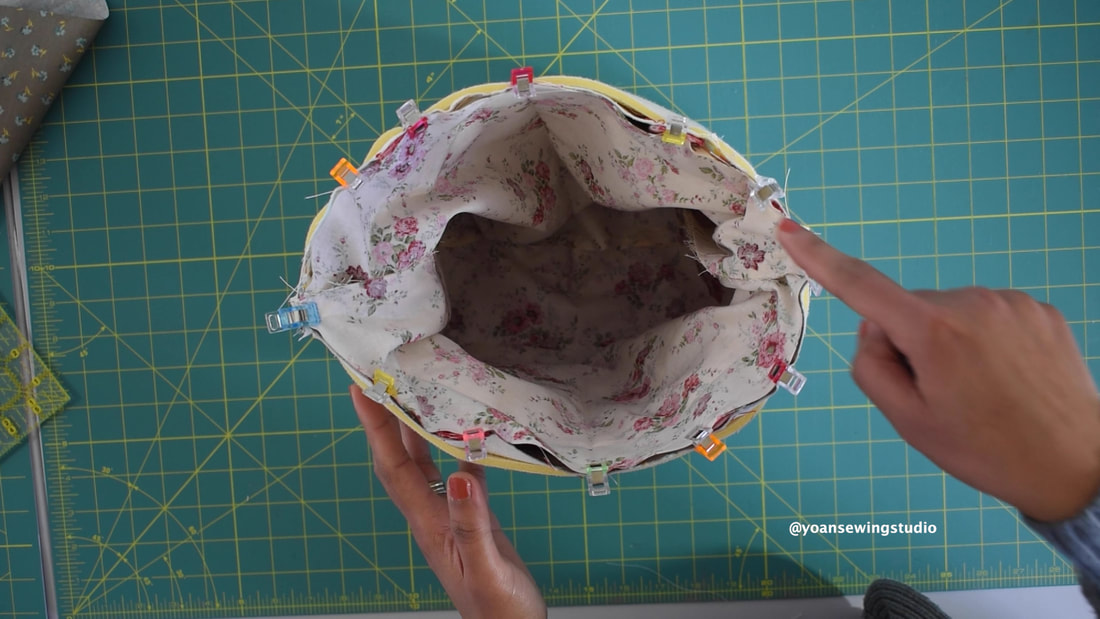
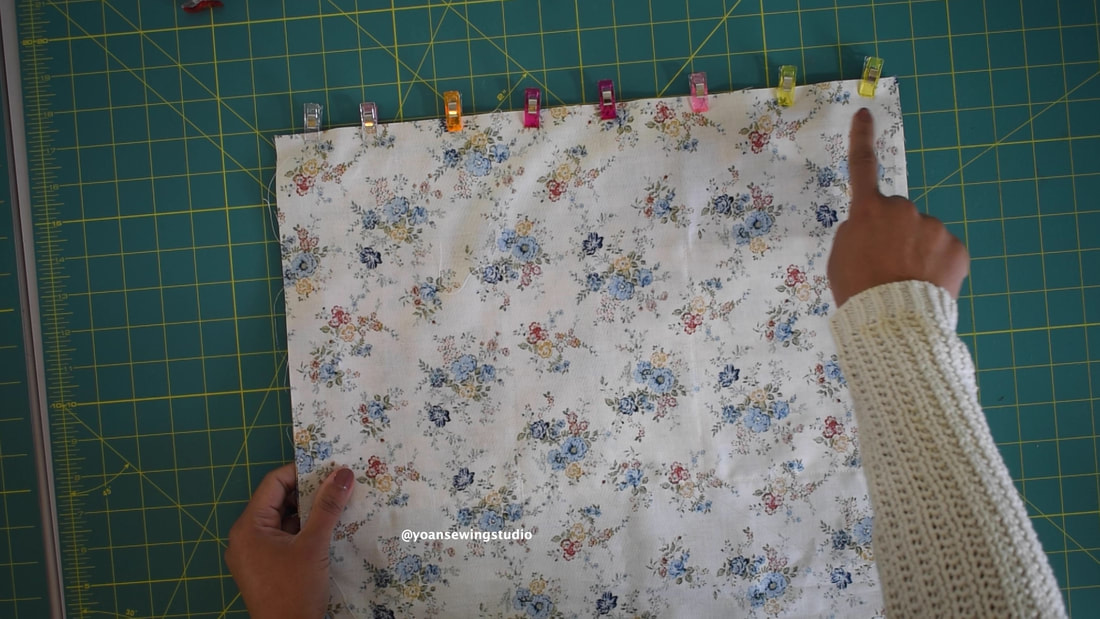
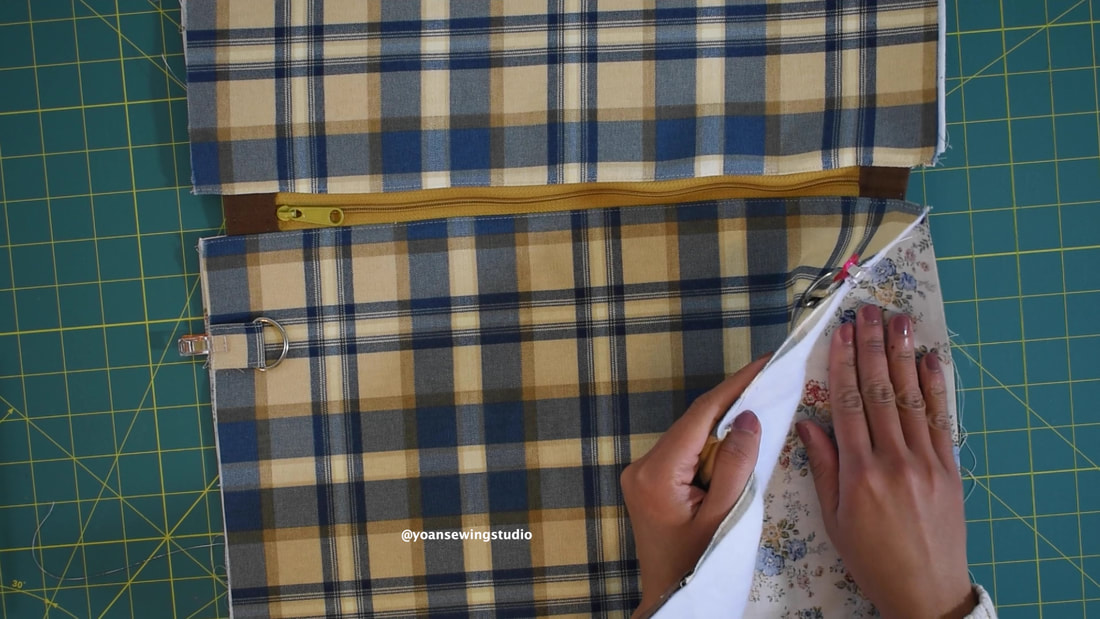
18. Separate the exterior from the lining (make sure to unzip your zipper at least halfway, secure the sides with some sewing clips; make sure to match the zipper seams.
19. Start sewing from the top of the exterior, with 1/2" seam allowance. When starting, you want to position your needle next to the zipper tab (make sure not so sew over with)
20. Then sew from the top of the lining (simply continue the previous stitch line), again making sure your needle wouldn't bump into the zipper tab.
21. Sew the opposite side the same way.
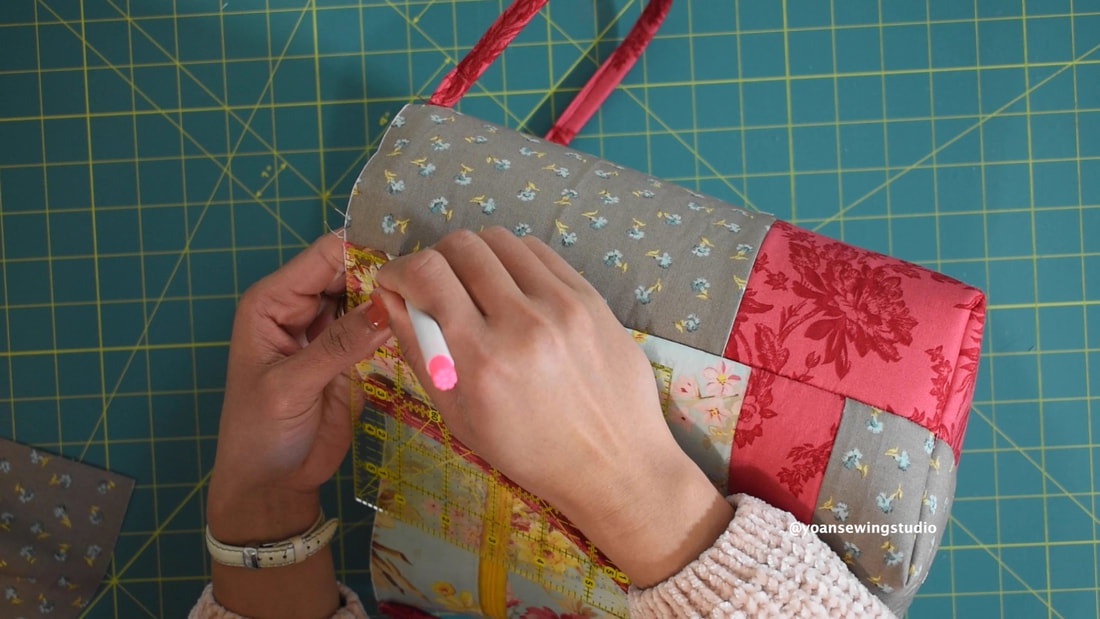
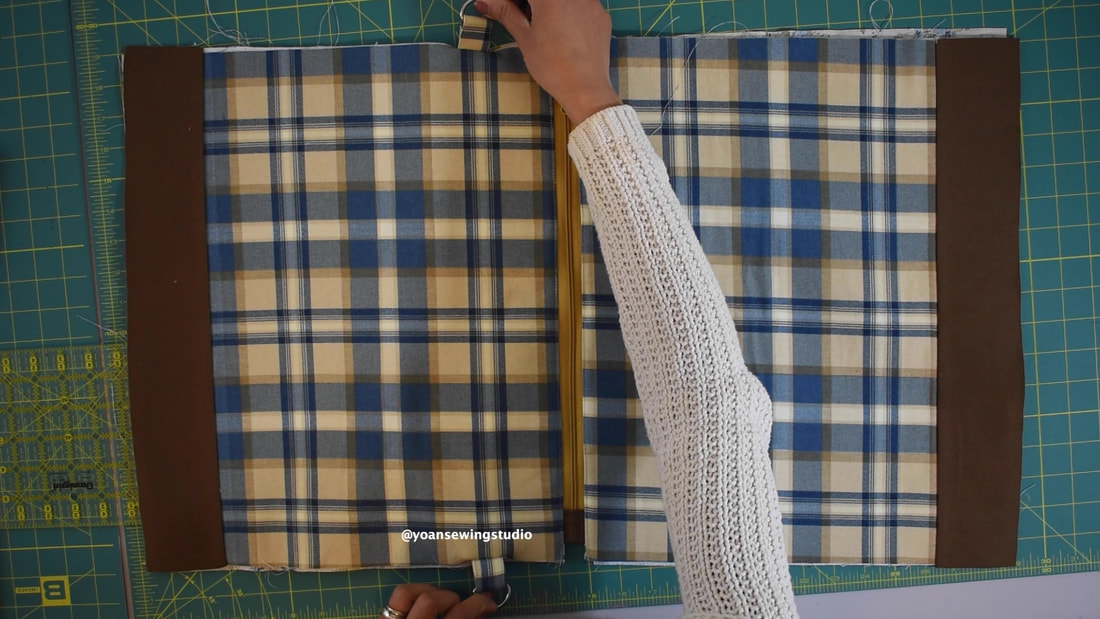
22. Find the center point of all 4 sides of the bottom gusset by folding it in half then make a little notch with your scissors.
23. Match the side seams of the bag then cut some notches at the center points.
24. Attach the gusset the the bottom of the bag matching the notches first, then sew with 1/2" of seam allowance.
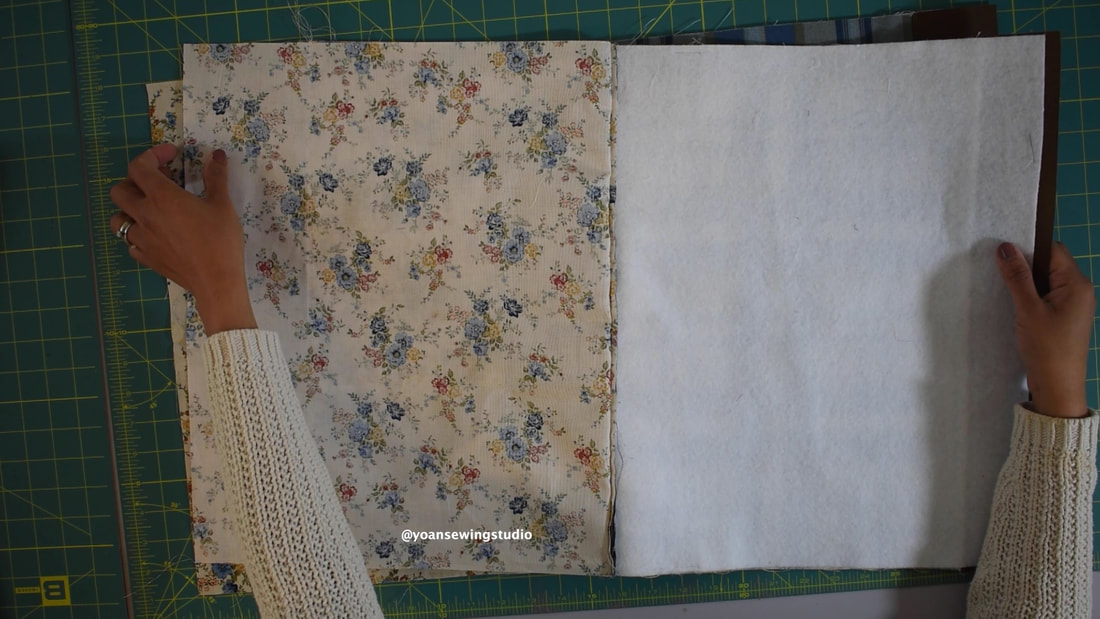
25. Sew the lining gusset the same way, leave about 6" of opening to turn the bag inside out.
26. Turn the bag inside out through the opening hole.
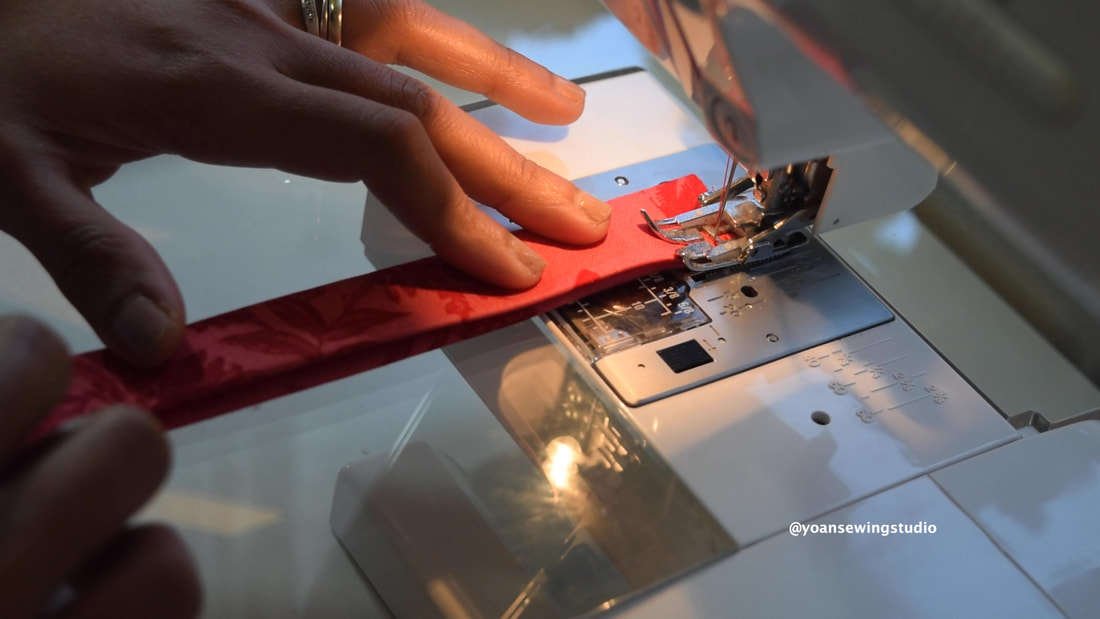
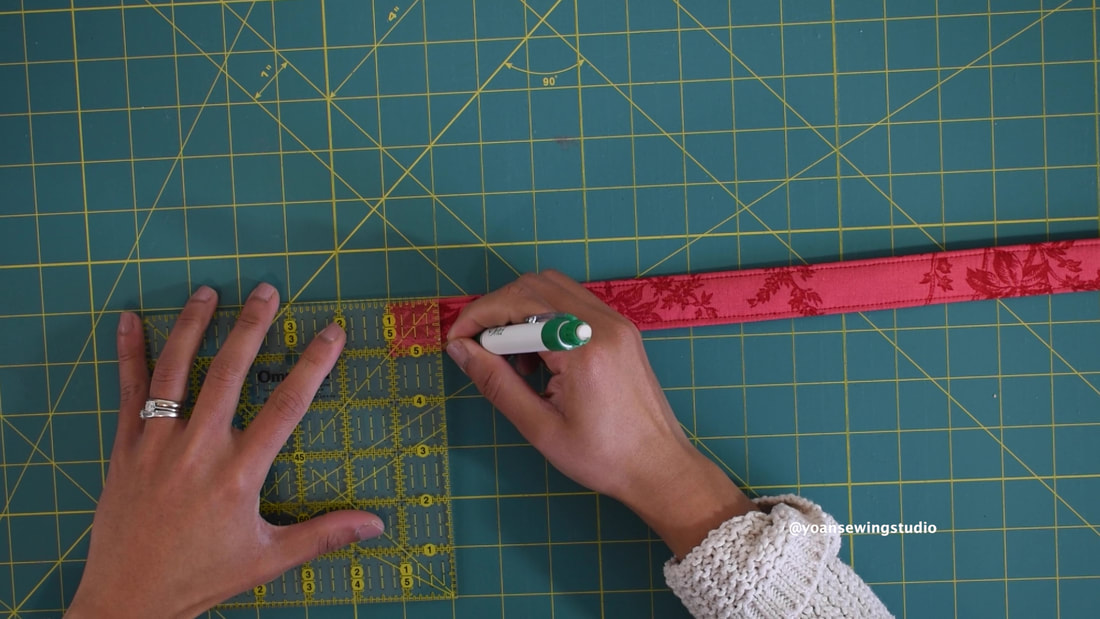
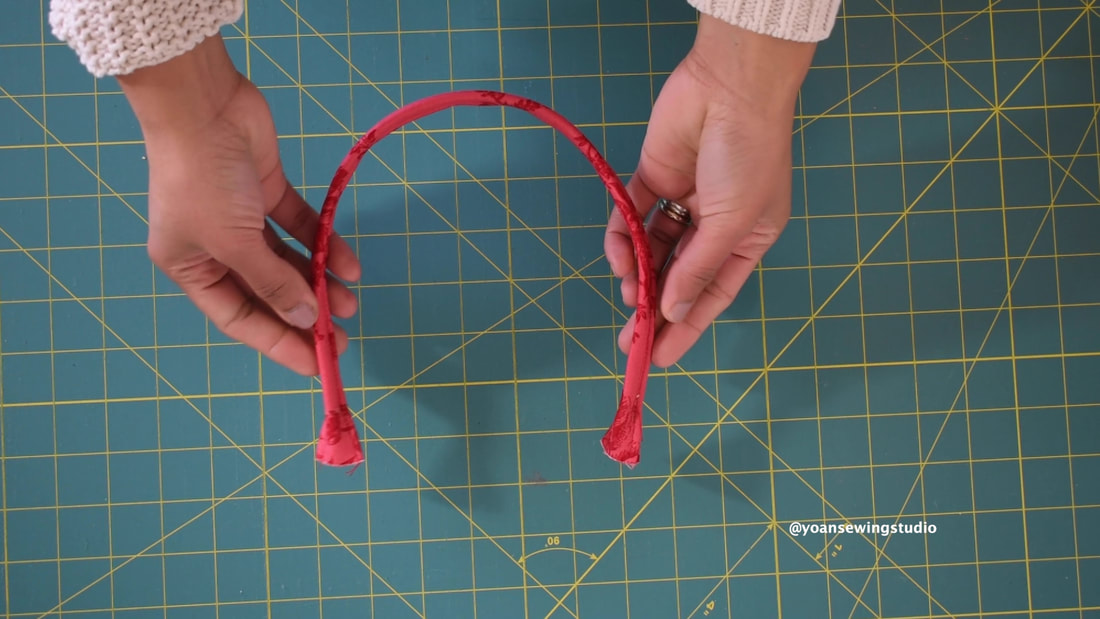
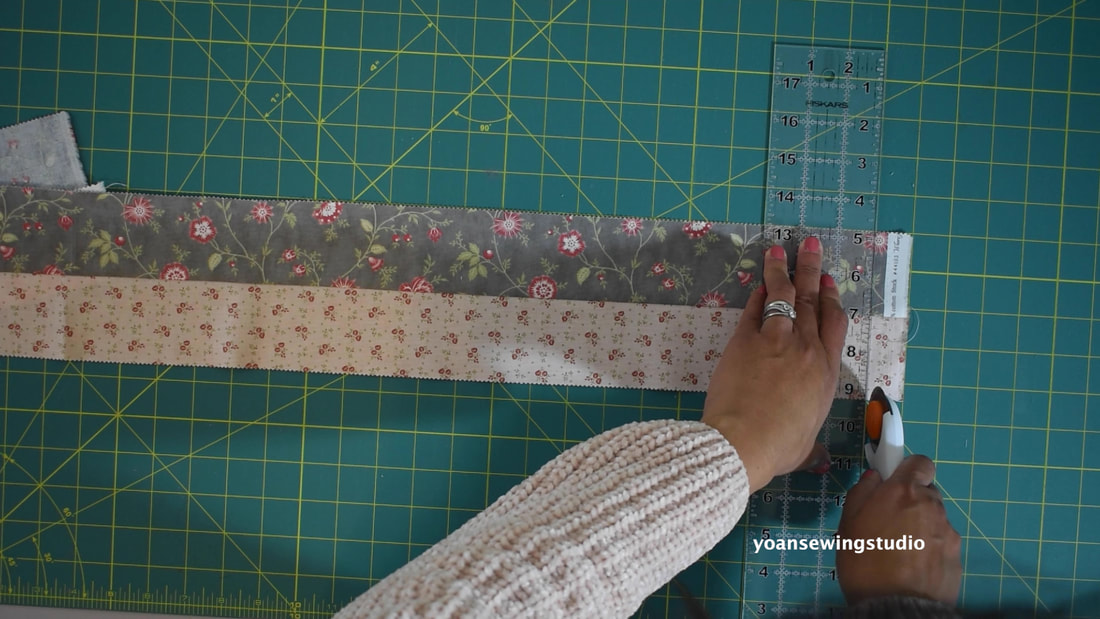
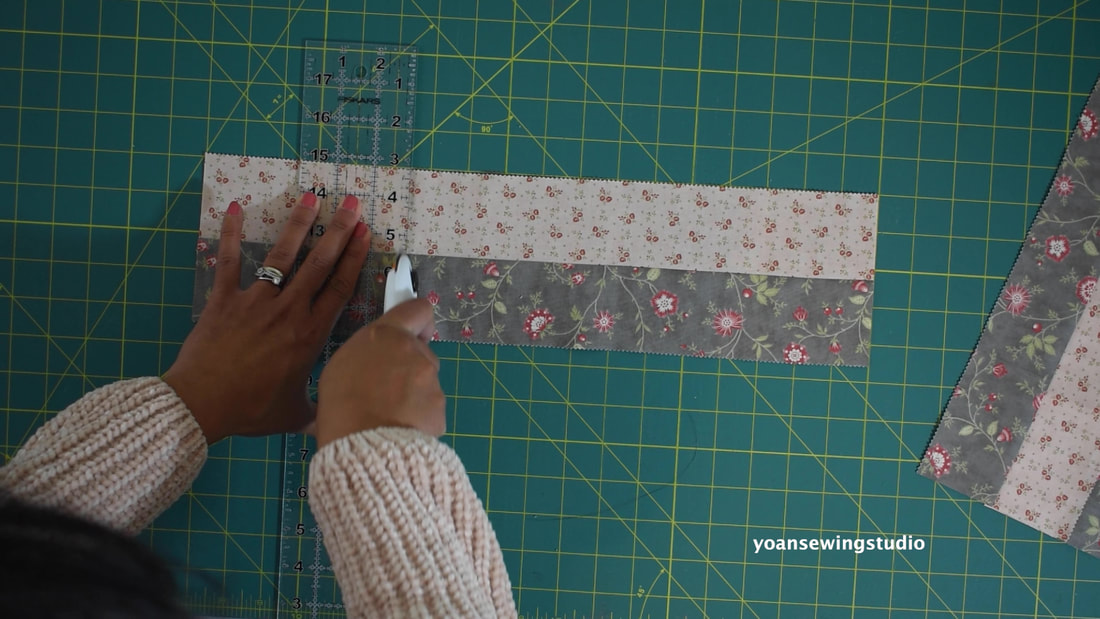
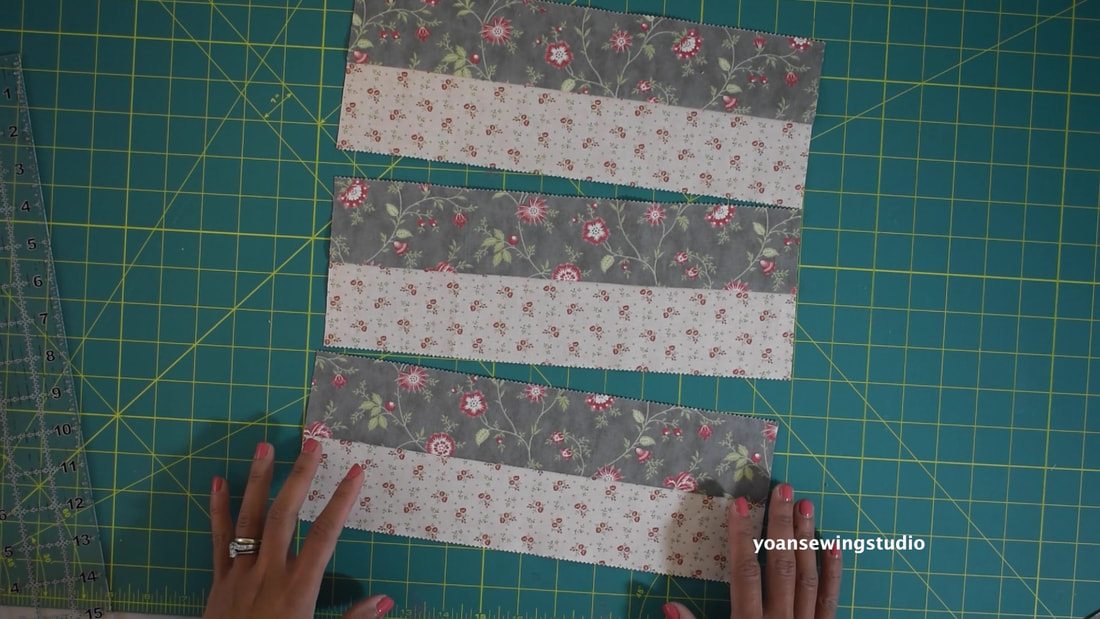
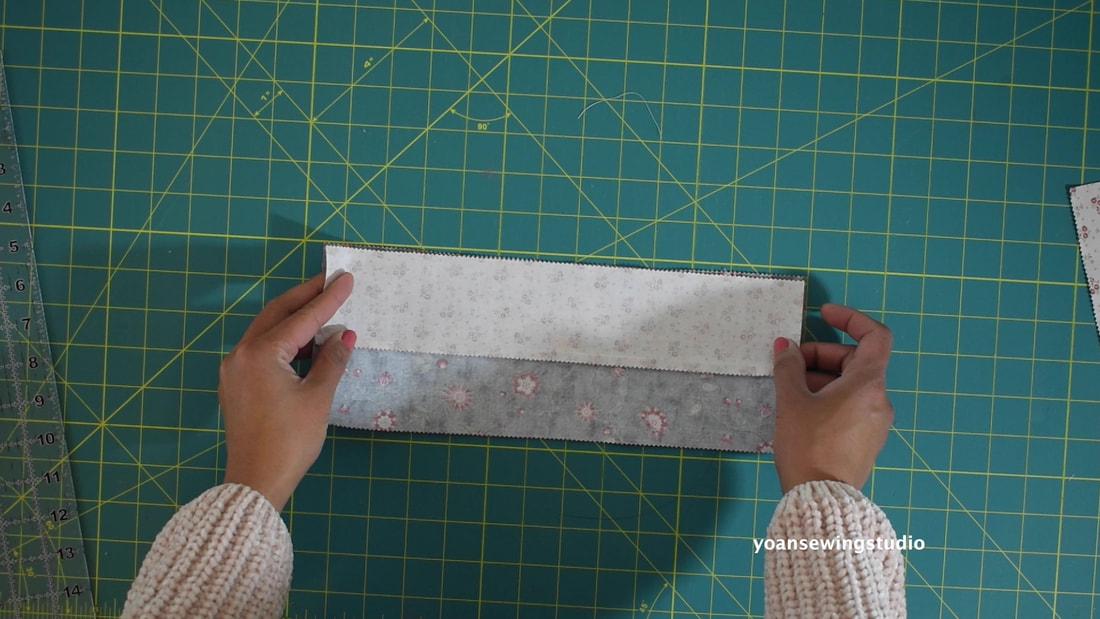
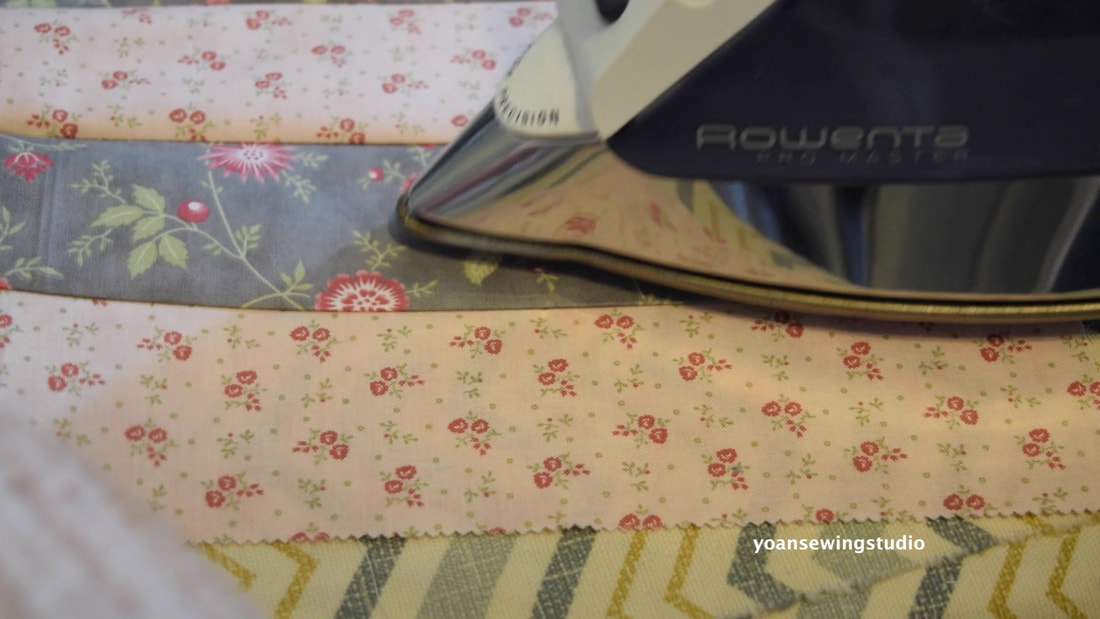
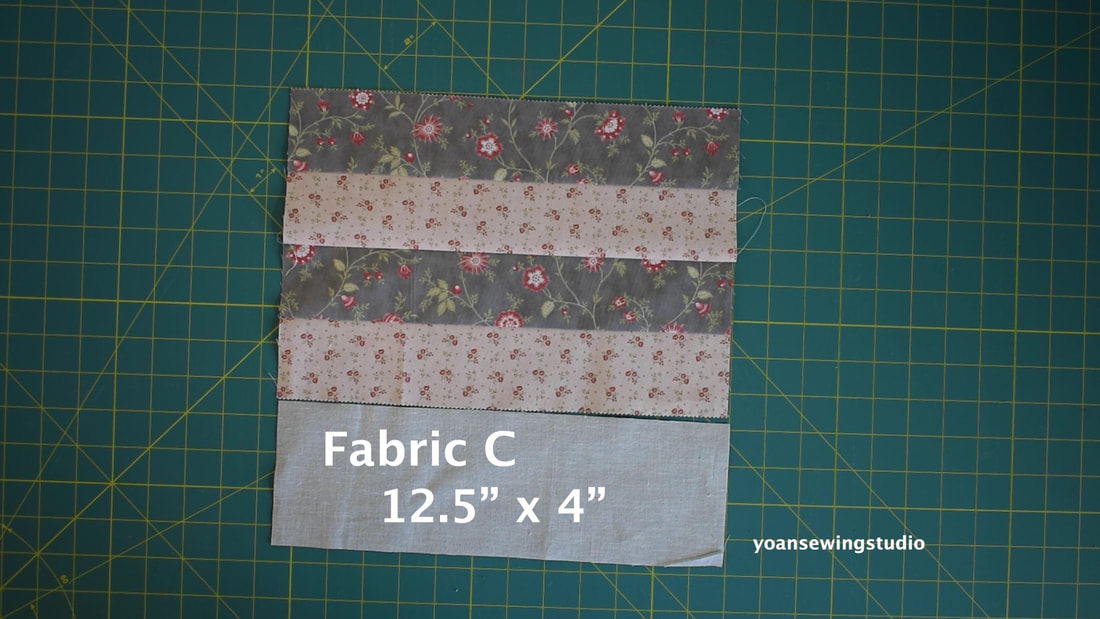
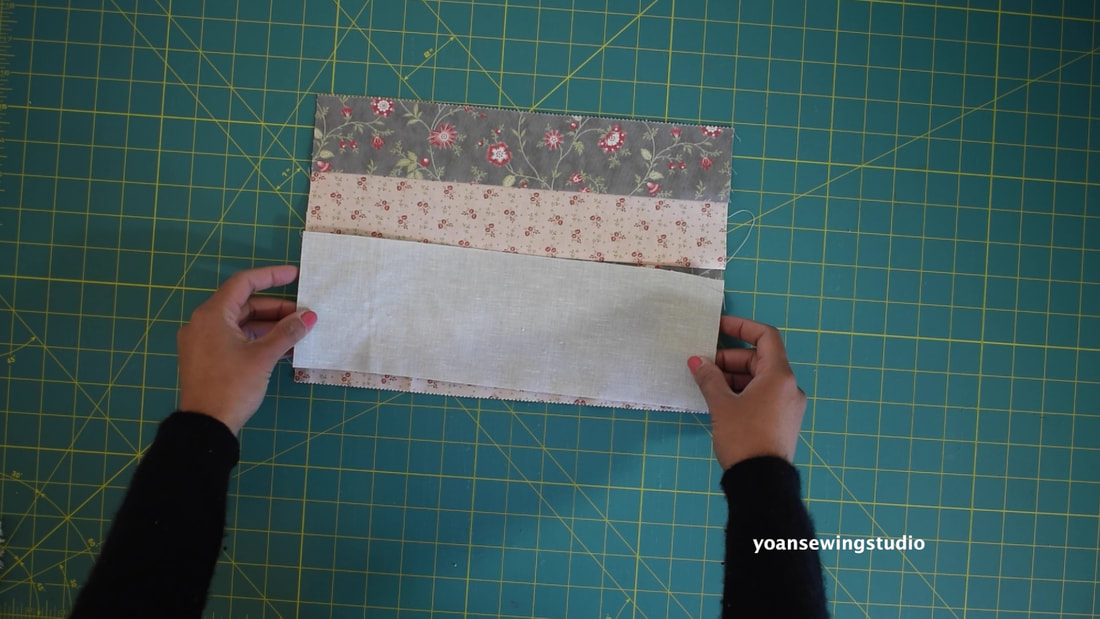
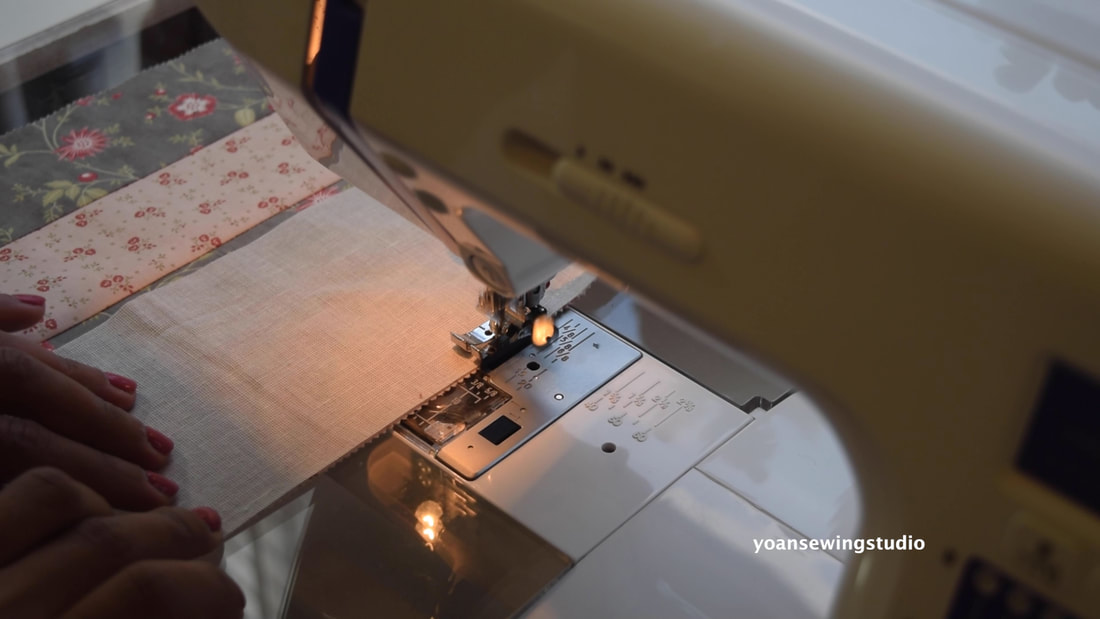
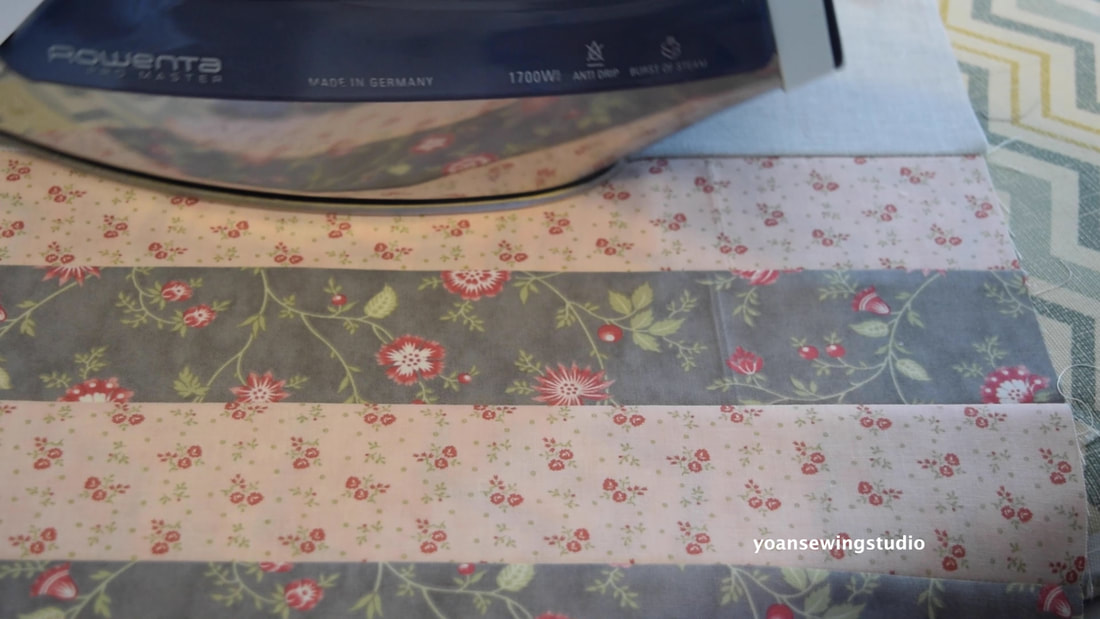
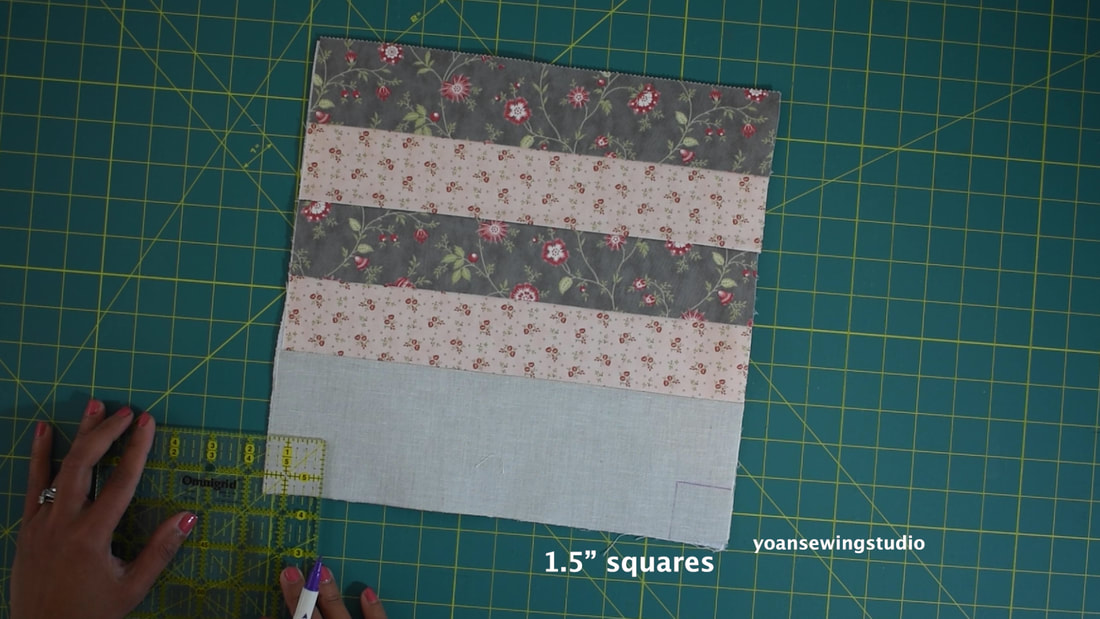
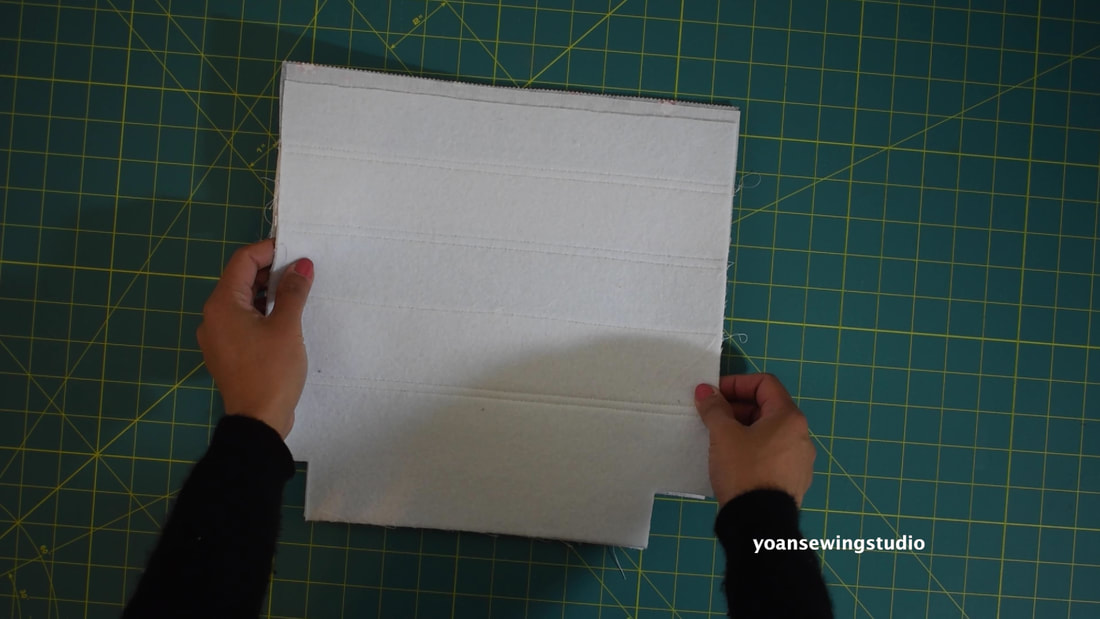
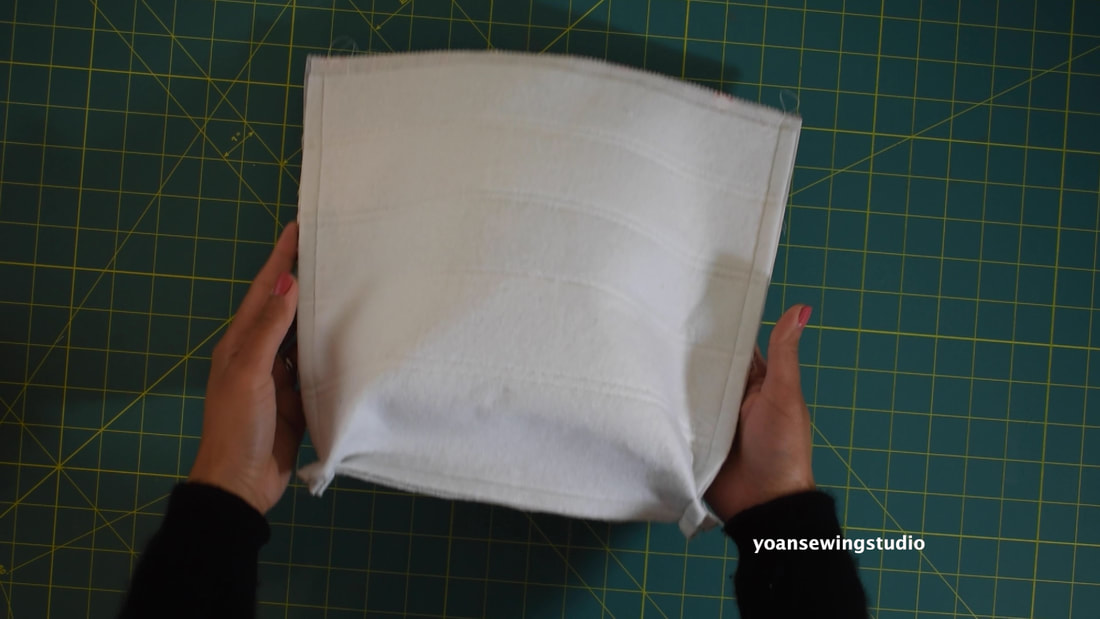
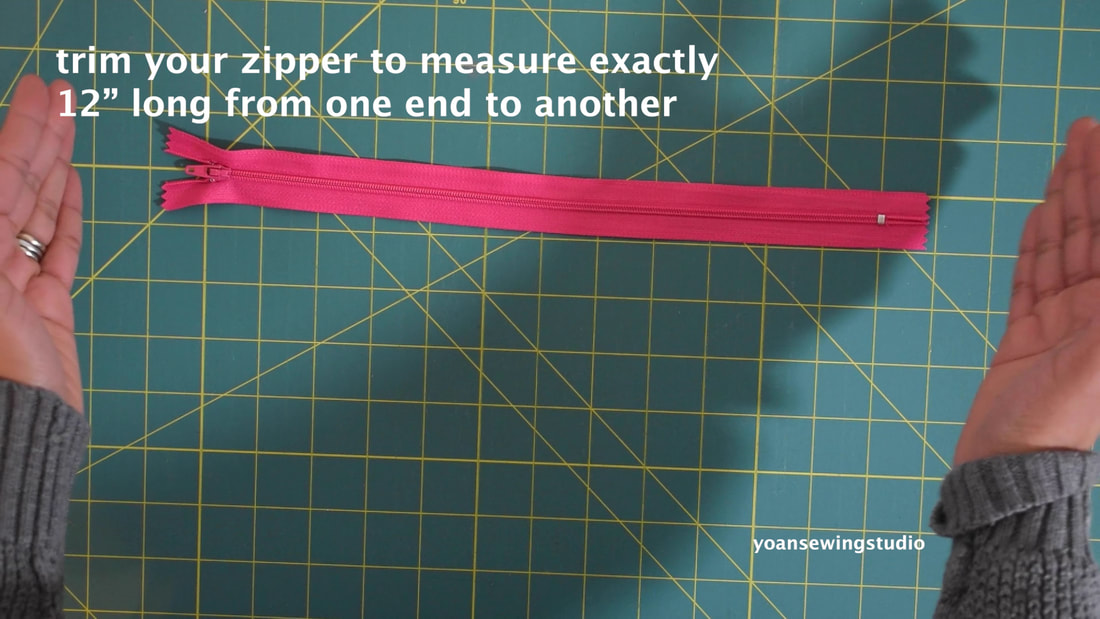
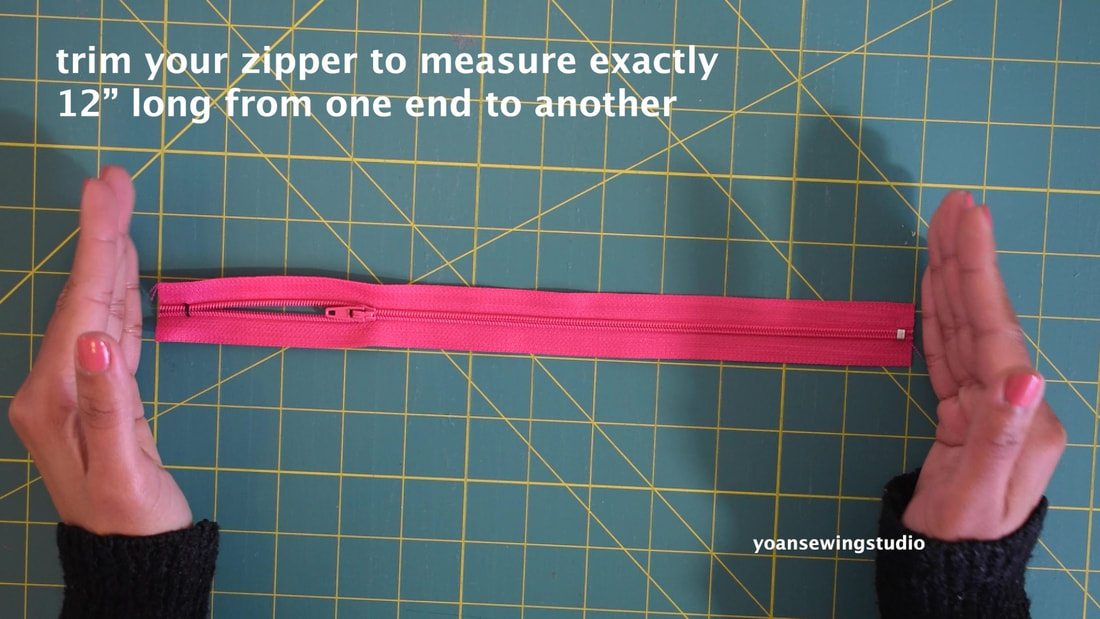
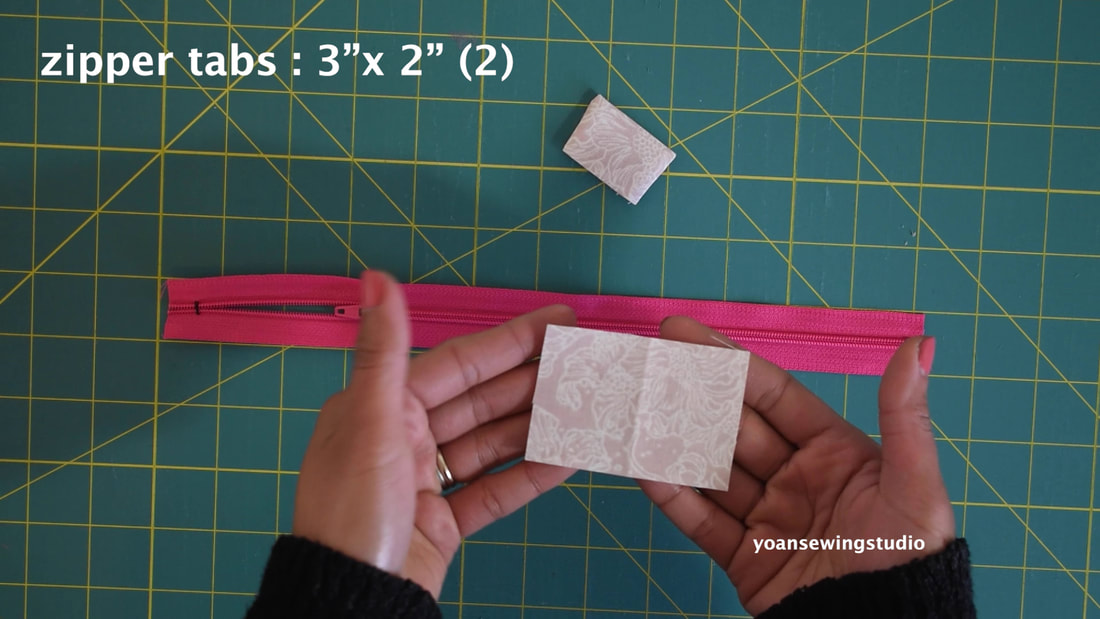
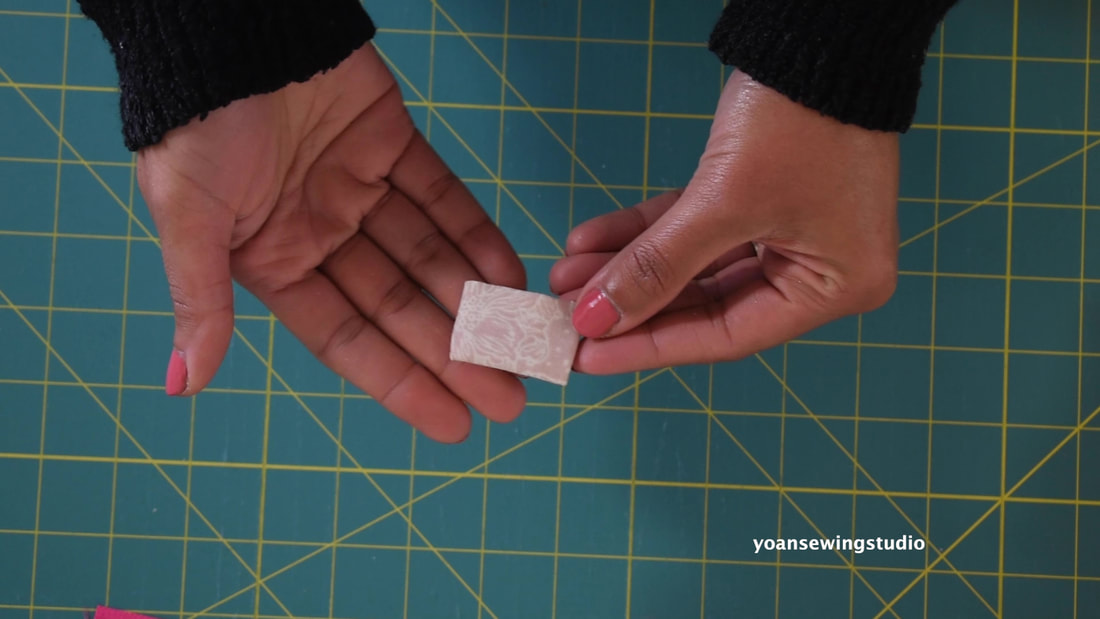
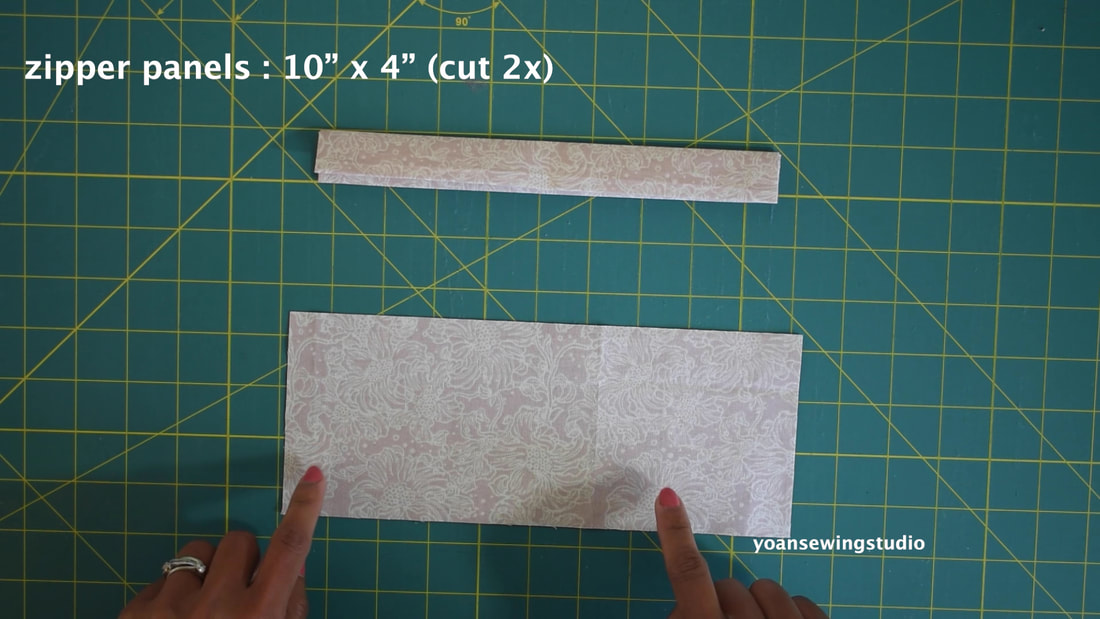
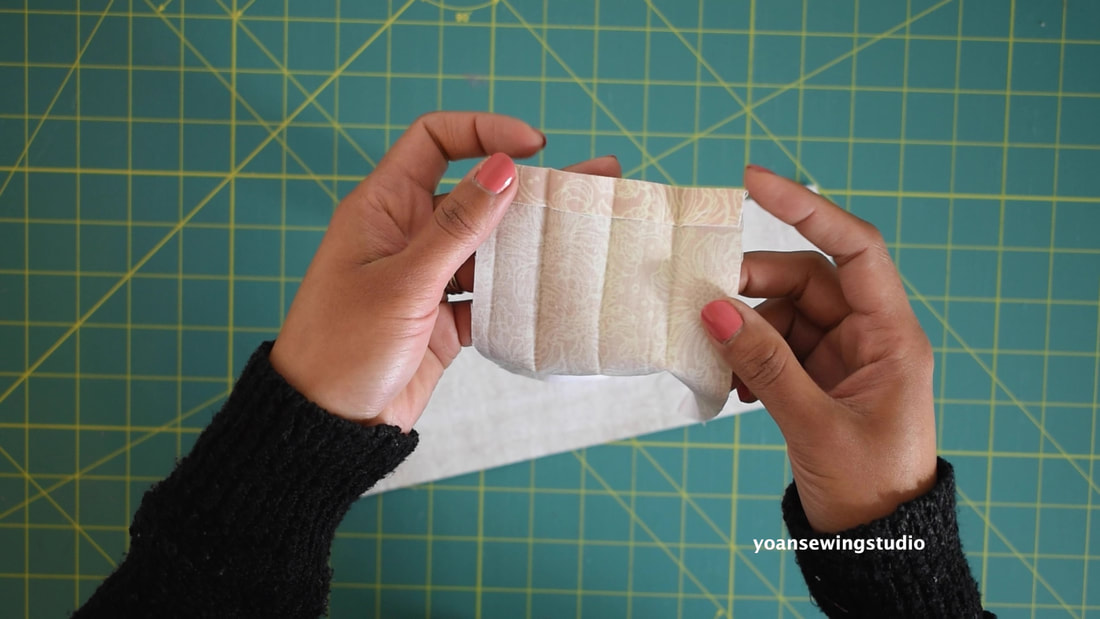
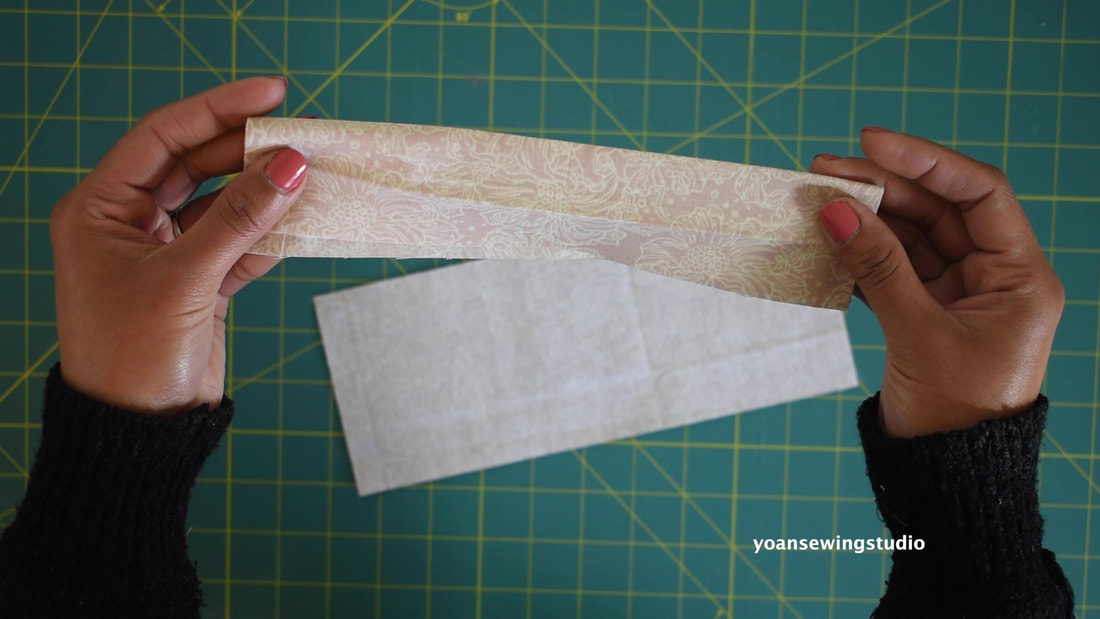
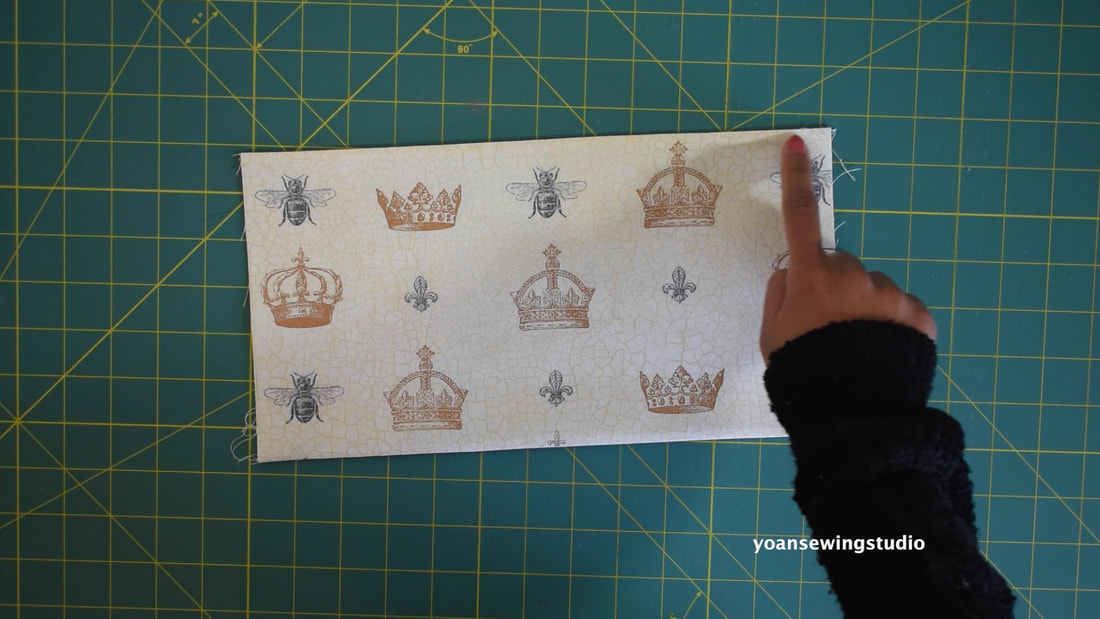
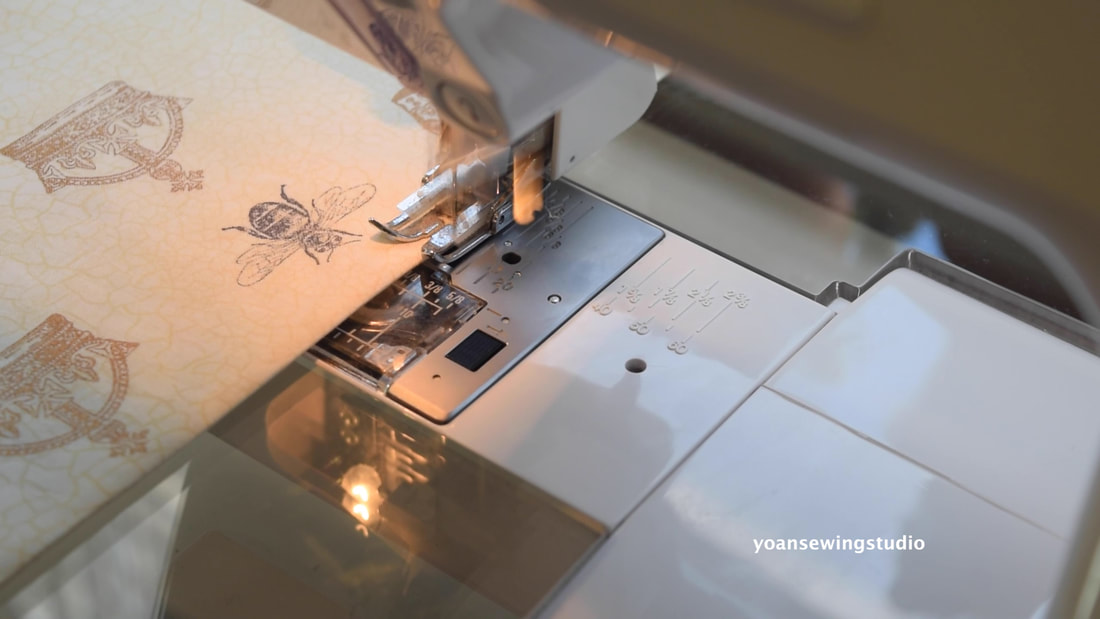
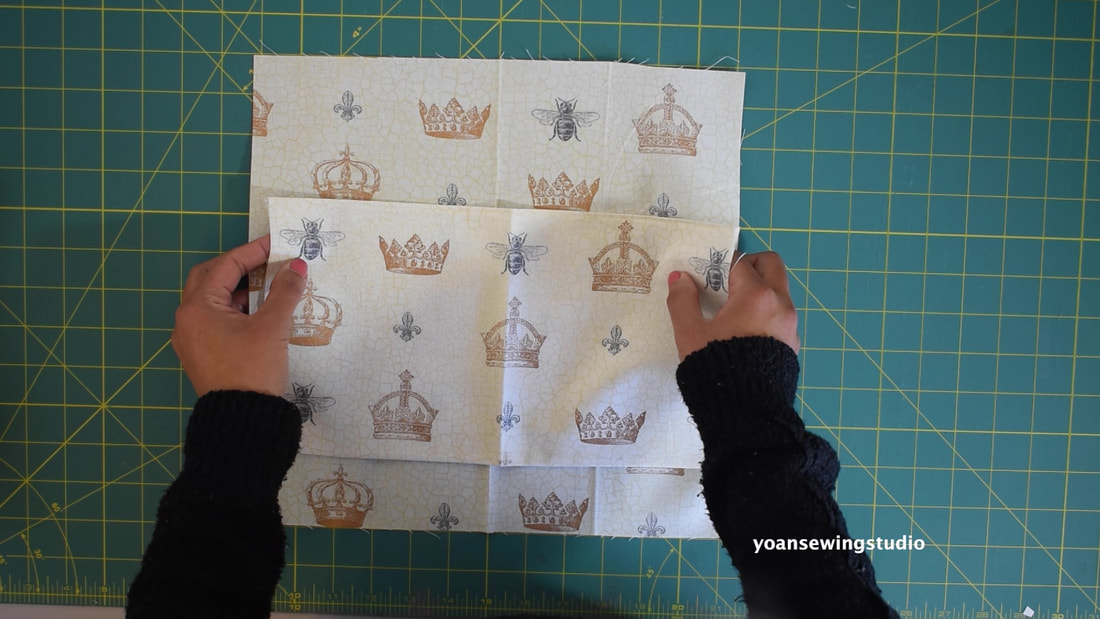
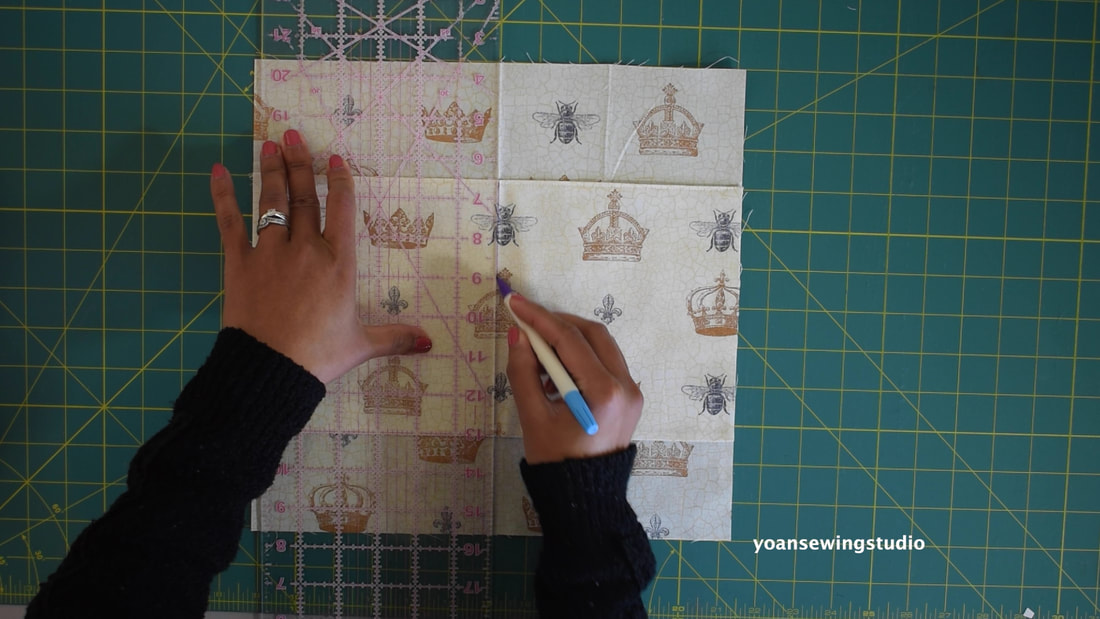
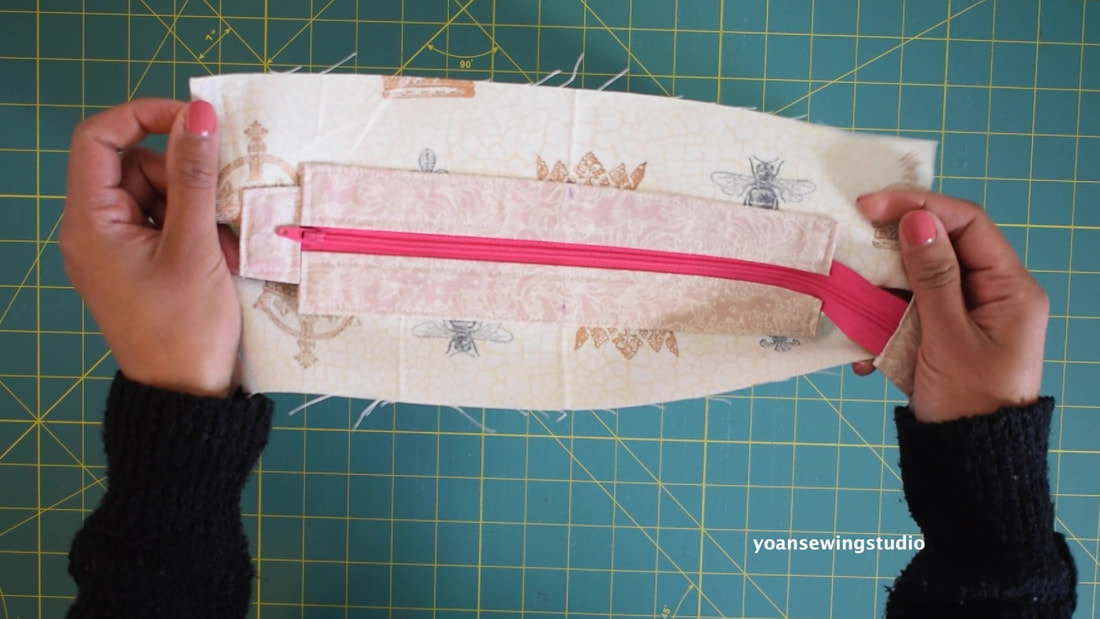
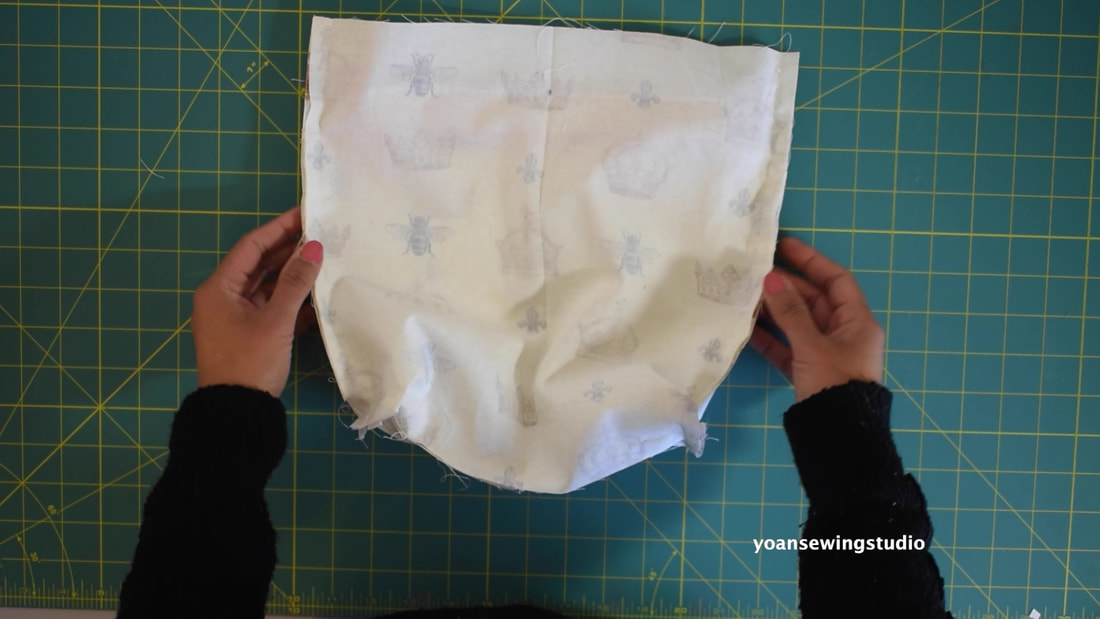
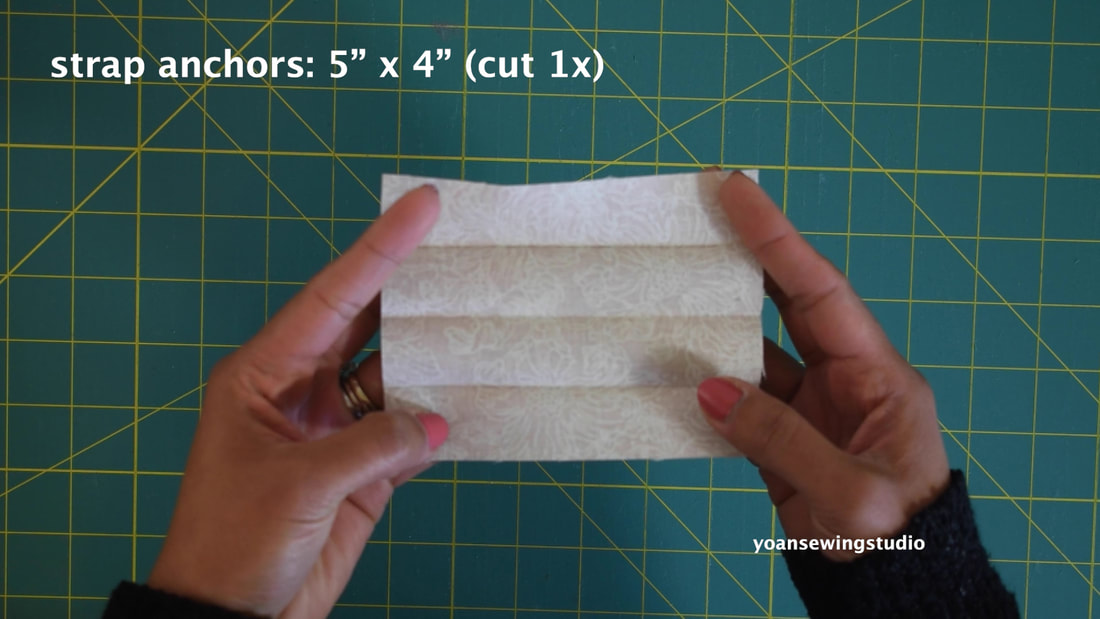
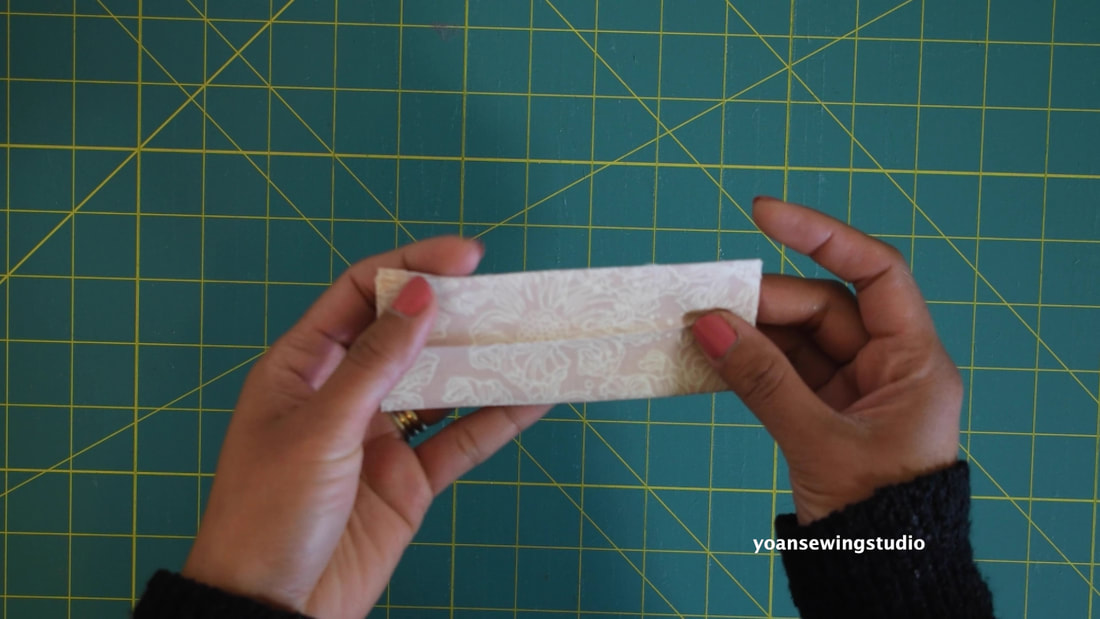
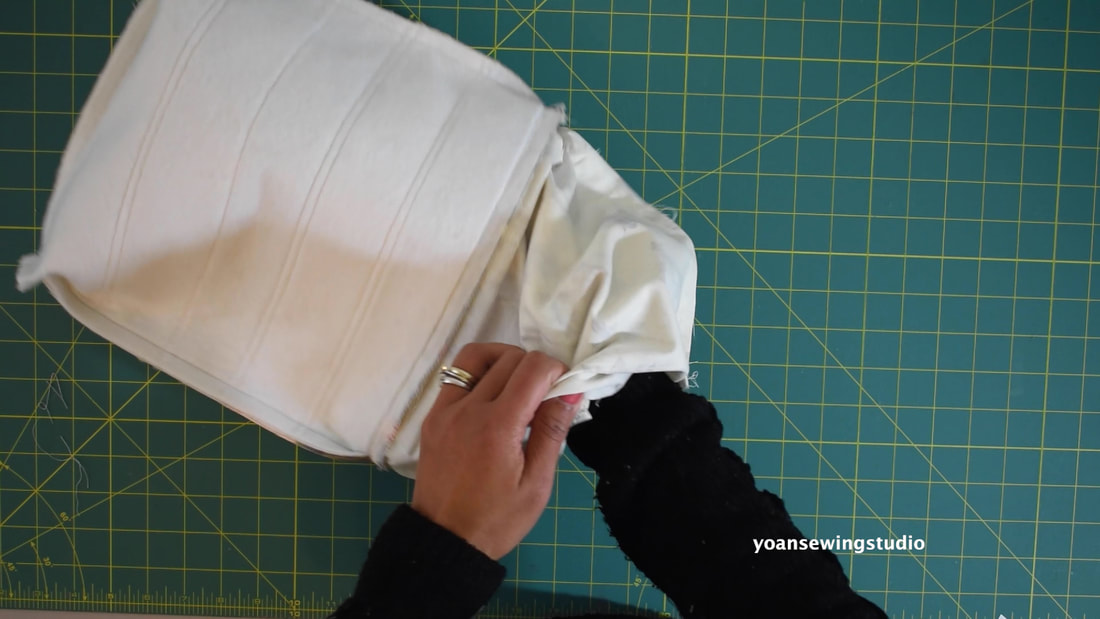
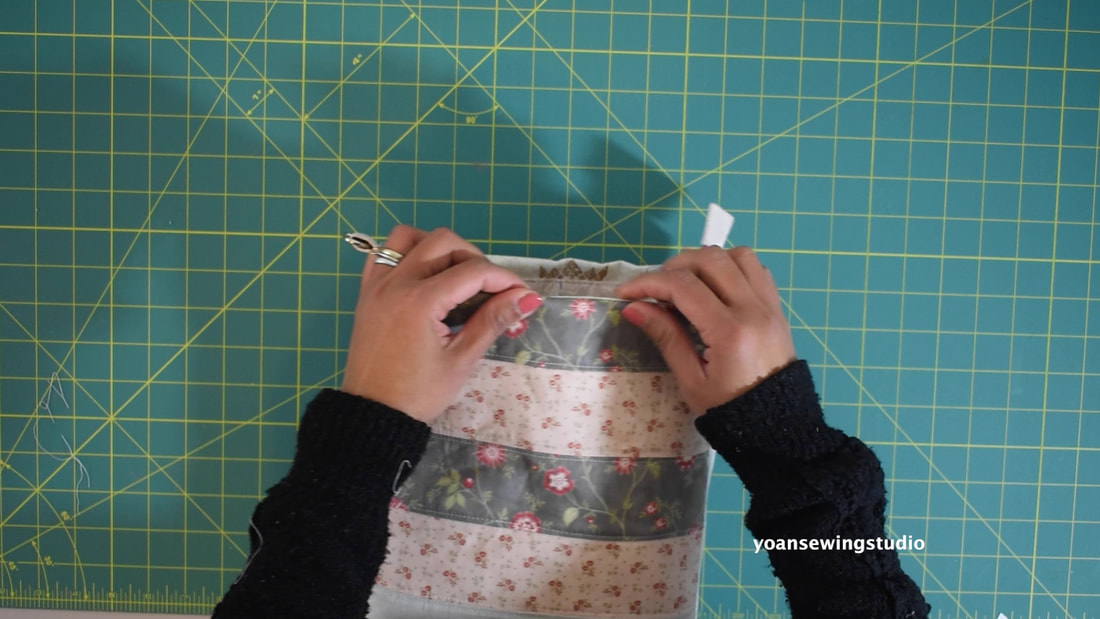
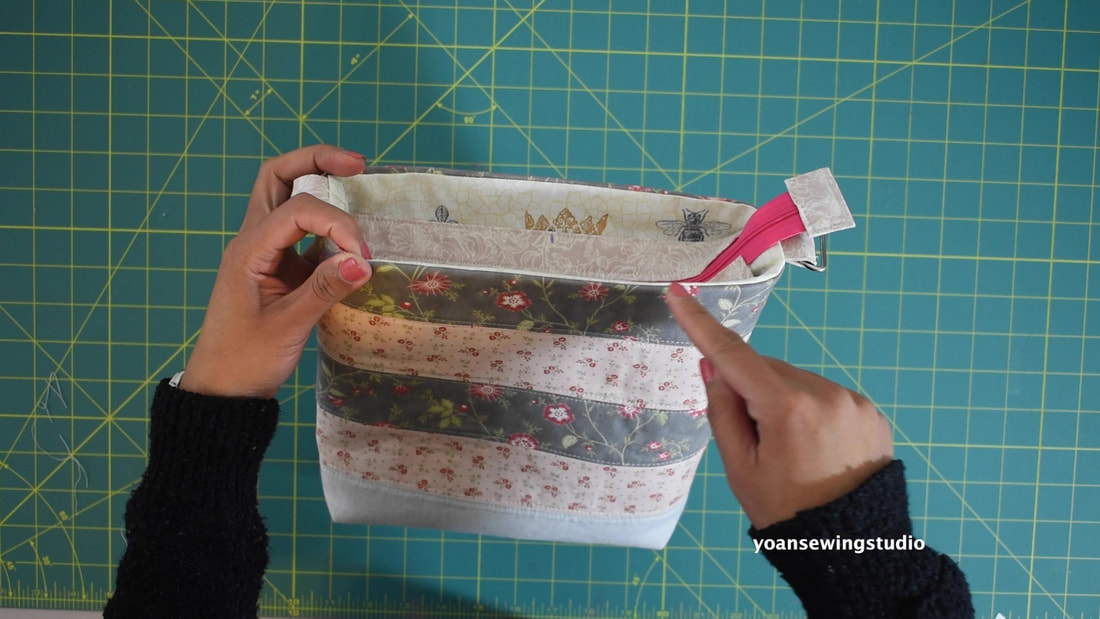
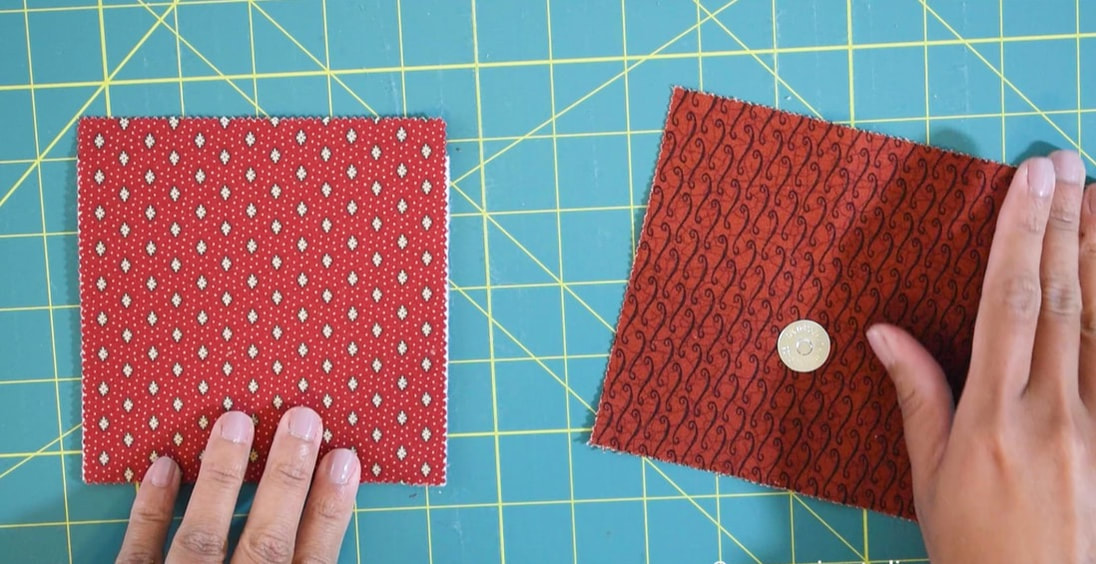
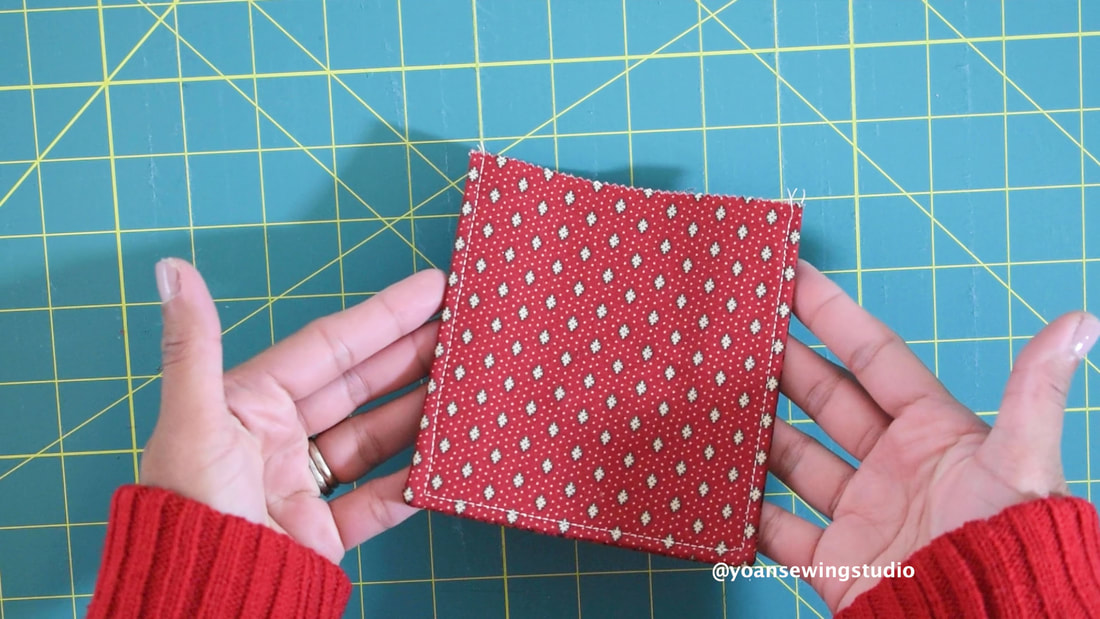
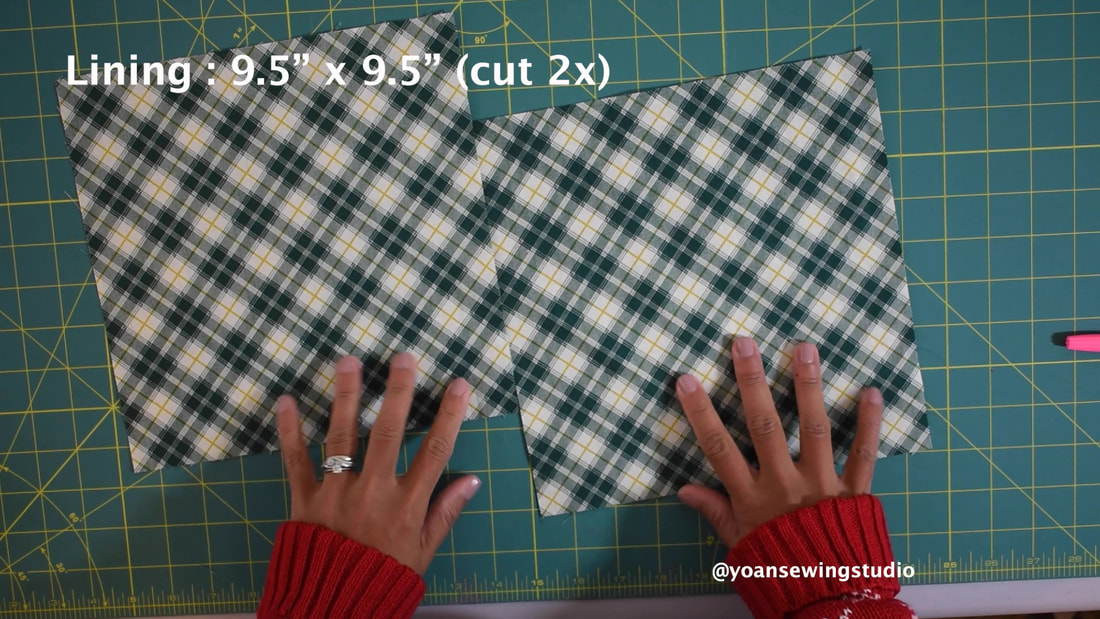
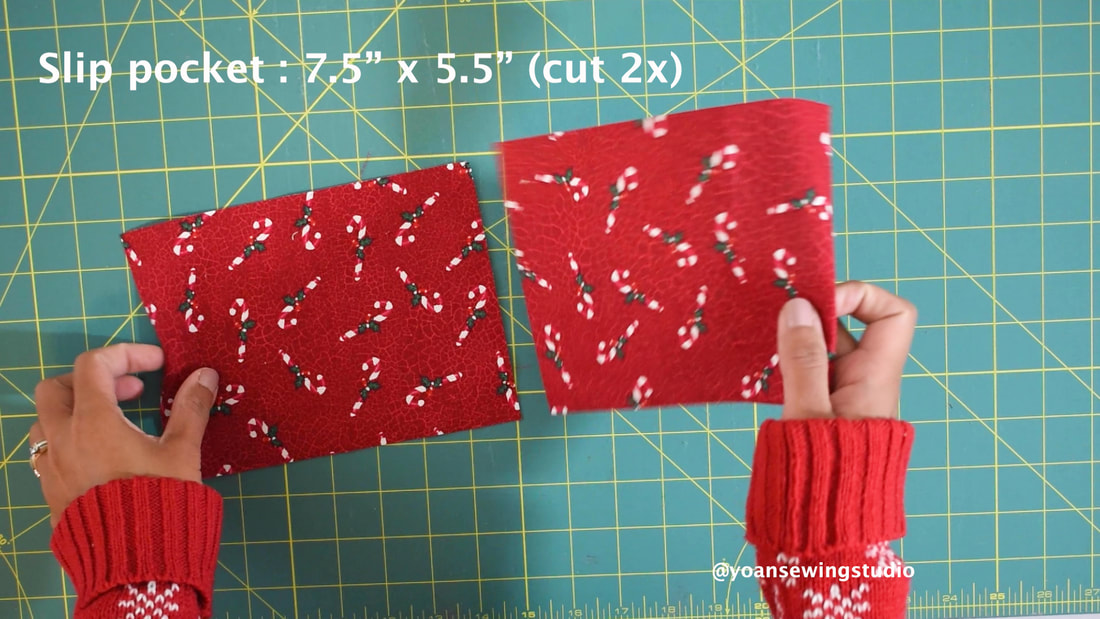
27. Sew the opening hole close 28. Attach the strap 29. Enjoy! 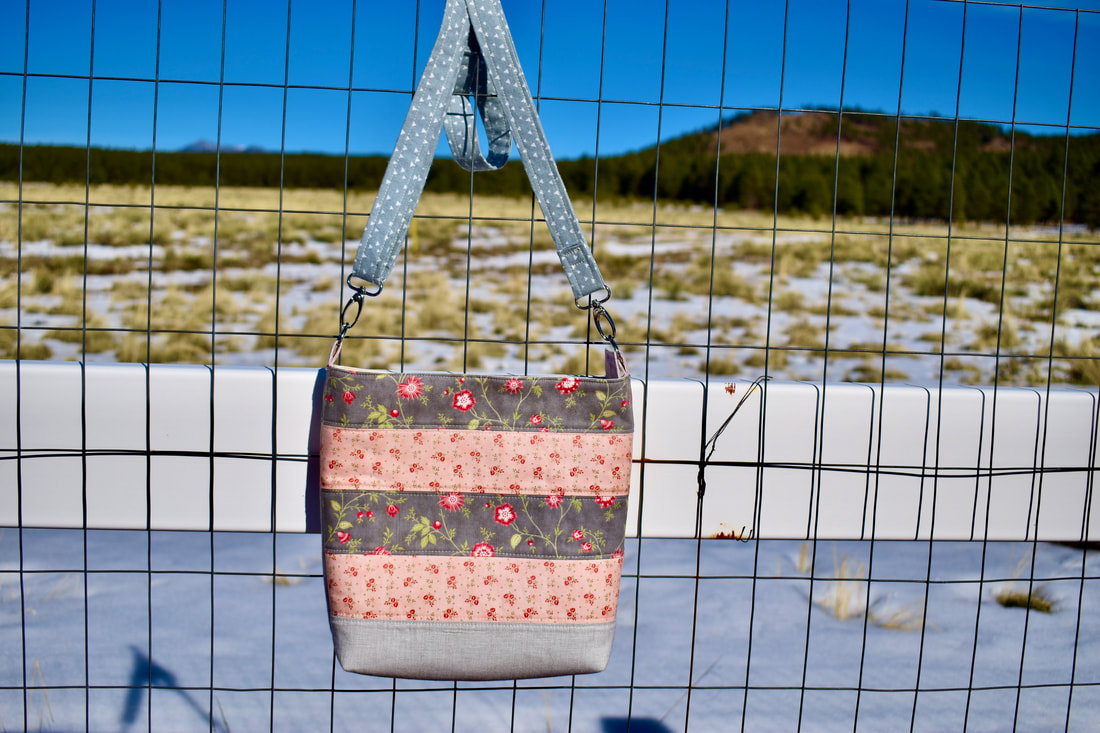 Striped crossbody bag with recessed zipper - Front After the success of the tote bag with pocket divider tutorial that I posted about 3 weeks ago, I decided to create a simpler bag making project that has not much fuss yet still show a particular technique that will hopefully enrich your bag making skill (if you are not an expert already by now ;)..), in this case, the recessed zipper. Beside the zipper, the overall construction of this bag is relatively easy, and doable for a confident beginner as well. The use of the jelly roll strips for the exterior shell adds interesting look to the bag, and more fun to this project. 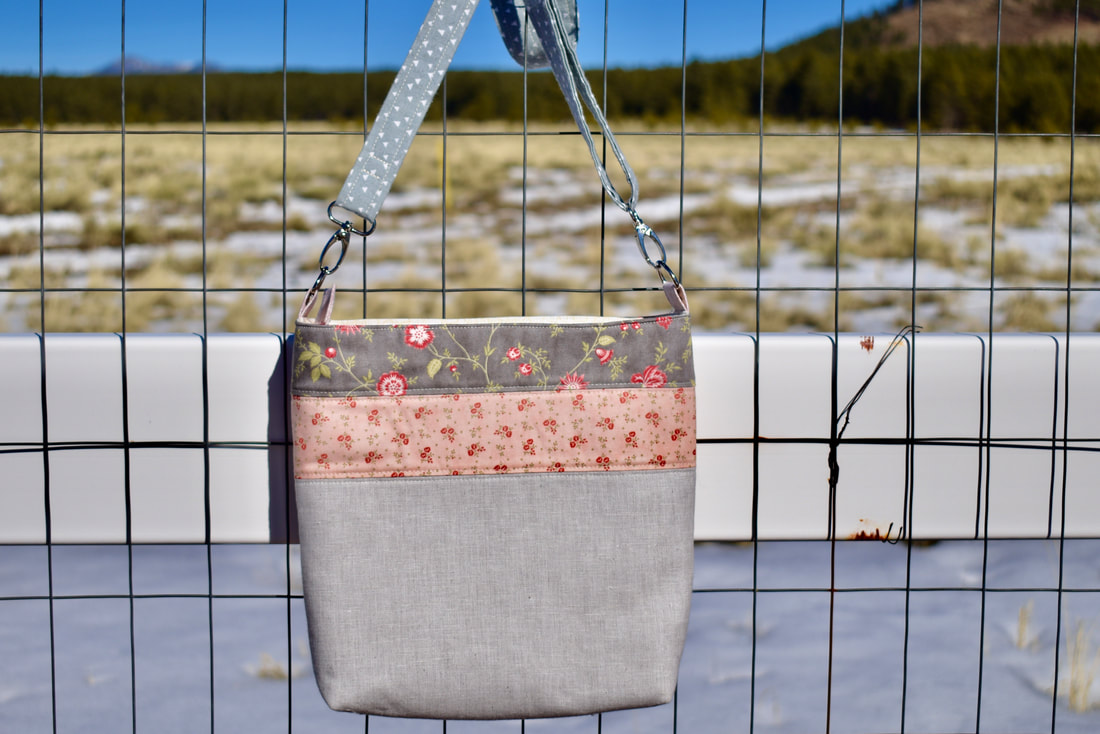 Striped crossbody bag with recessed zipper - Back Let's get started! Supplies -2 jelly roll strips (2.5" pre cut strips) for fabric A & B -1/4 yard of fabric for the accent fabric (you can also use a fat quarter) Fabric C - 1/3 yard of lining fabric -1/4 yard of fabric for the strap - 2/3 yard of fusible woven interfacing (20" wide) - 24" x 12.5" fusible fleece (thermolam) - Nylon coil zipper (at least 12" long) - 1" Drings (2x) - 1" Swivel hooks (2x) - 1" adjuster slider - Basting tape - Basic sewing notions I posted the full video tutorial on my Youtube channel, below is the link. You may also scroll down below for the cutting and written instruction. CUTTING *For the patchwork, refer to step 1-4 directions ~Exterior Shell~ Lower front exterior panel : 12.5" x 4" (cut 1x) from fabric C Lower back exterior panel : 12.5" x 8" (cut 1) from fabric C Fusible woven interfacing : 12.5" x 12" (cut 2x) Fusible Fleece : 12.5" x 11.5" (cut 2x) ***If using solid fabric (no patchwork) cut 12.5" x 12" (2x) for the exterior fabric ~Recessed Zipper~ Zipper tabs : 3" x 2" (cut 2x) from the lining fabric (or scraps) Zipper panels : 10" x 4" (cut 2x) from the lining fabric (or scraps) ~Interior~ Lining : 12.5" x 12" (cut 2x) from the lining fabric Slip Pockets : 12.5" x 6" (cut 2x) from the lining fabric ~Strap~ Strap Anchors : 5" x 4" (cut 1x) Adjustable strap : 60" x4" Fusible woven interfacing : 59" x 2" DIRECTIONS 1. Prepare the Jelly Roll Strips (fabric A & Fabric B), sew them together with 1/4" of seam allowance. 2. Press the seams towards one side. 3. Trim the selvage ends off. 4. Measure 12.5" and cut (make 3x) 5. Sew two of the jelly roll panels together with 1/4" seam allowance, press 6. Sew the jelly roll fabric with the lower panel with 1/4" of seam allowance, press. 7. Sew the remaining jelly roll panel and the lower back exterior piece together with 1/4" of seam allowance, press. 8. Apply the fusible woven interfacing followed with the fusible fleece on the wrong side of both the front and back panel. 9. Measure and draw 1.5" rectangle on both bottom corners of the bag, cut. 10. Lay the front and back exterior fabric right side together, secure them in place with some sewing clips, then sew the sides and the bottom with 1/2" of seam allowance. 11. Open the corner, match and secure the seams with a sewing clip then sew with 1/2" of seam allowance; do the same with the other side. 12. Trim your zipper to measure exactly 12" long (from one end to another) 13. Fold the end of the zipper tab (widthwise) about 1/2", press, fold the opposite end 1/2" press. 14. Fold the zipper tab right side together, aligning the folded edges, then sew the sides with 1/4" of seam allowance 15. Turn the zipper tab inside out, press; do the same with the other piece. 16. Insert the end of the zipper into the zipper tab pocket; do the same with the other side, secure them in place with pins, then sew all around the edges of the zipper tabs with 1/8" of seam allowance. 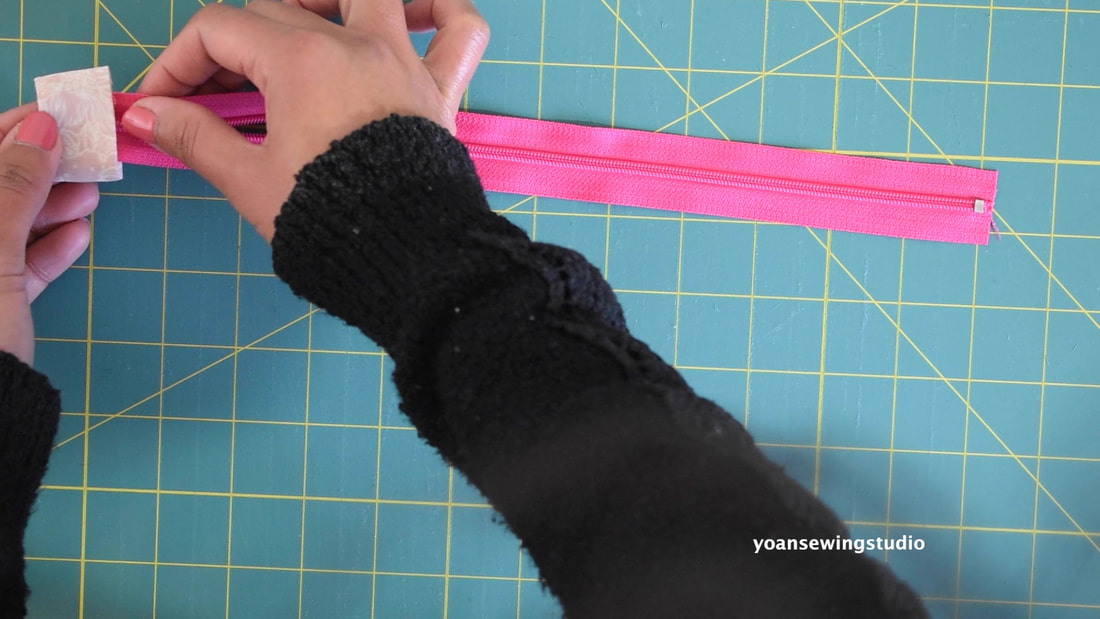  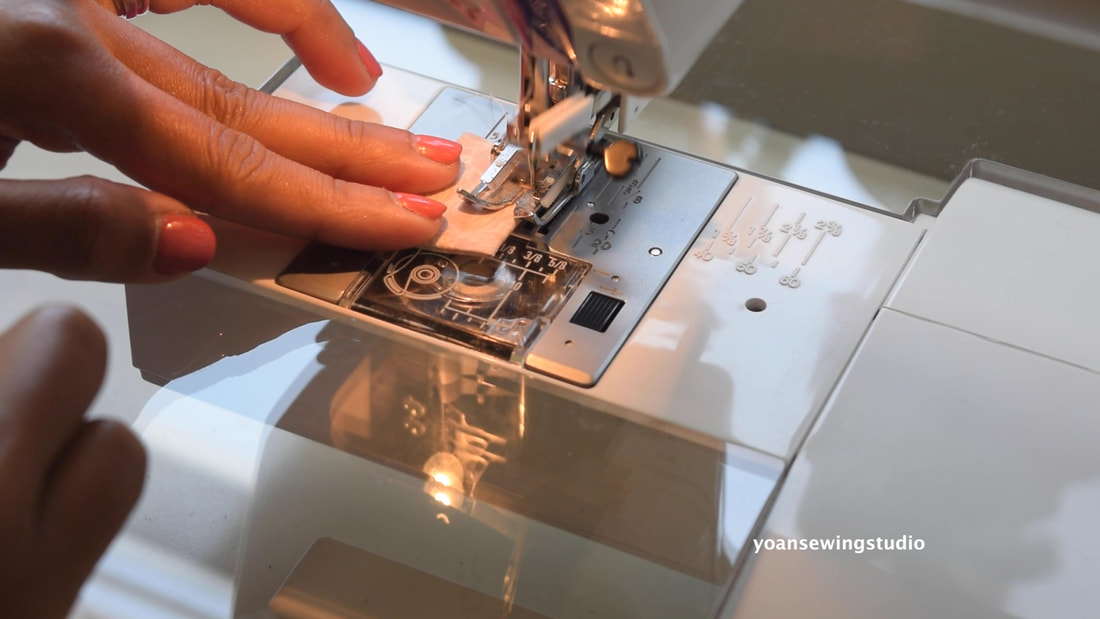 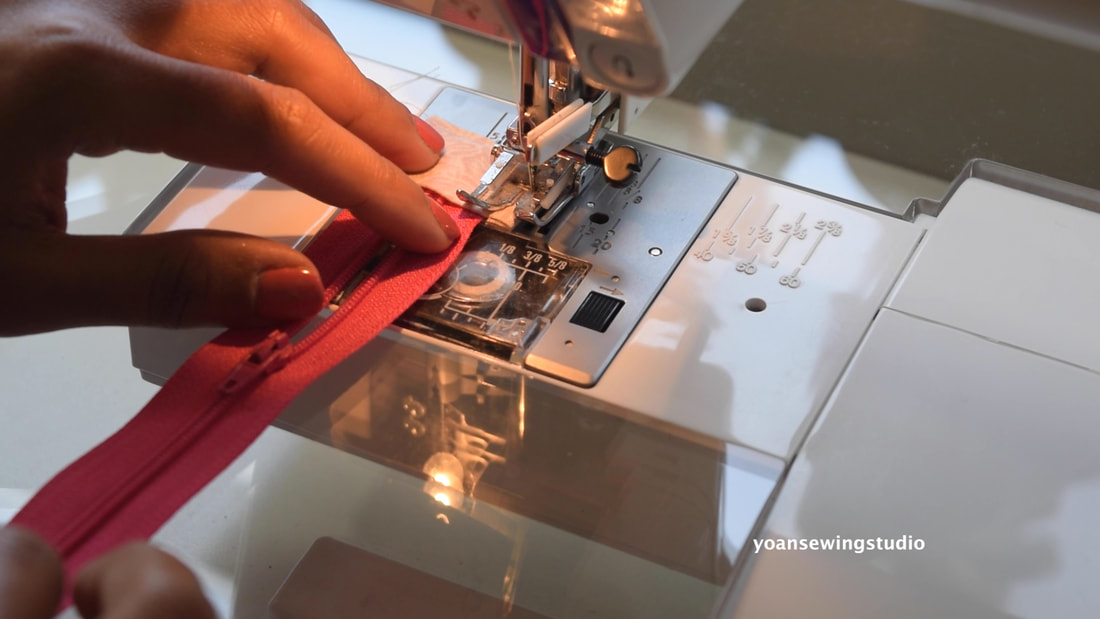 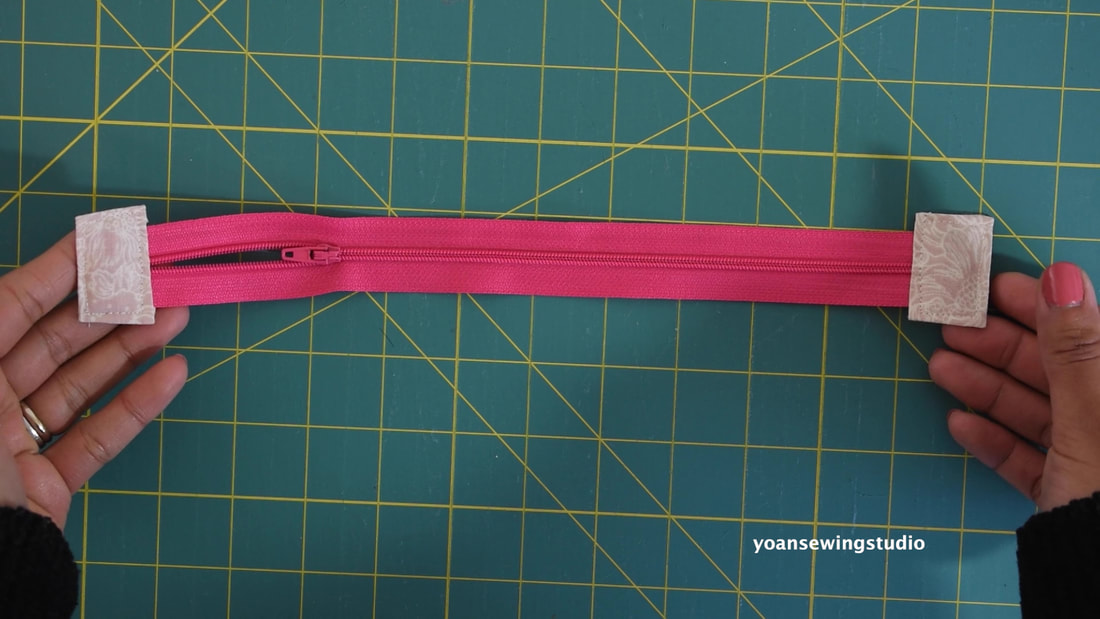 17. Prepare the zipper panels, fold the end of the zipper panel in 1/2", press, do the same with the other side, fold the zipper panel in half, press, for the edges toward the center fold, press, then fold everything in half again, and press. Both of your zipper panels should end up measuring 9" x 1". 18. Cut two basting tape the same length as your zipper panel, then apply them on the edges of your zipper tape, both the top and the bottom (you want to position the basting tape starting from the start of the zipper) 19. Feed the zipper tape into the fold of the zipper panel, neaten the position, then finger press the zipper panel to make sure it's sticking to the basting tape; pop a couple pins to add extra security, then sew the sides and the lower edges (do not sew the upper/outer edges) 20. Repeat the same with the other side. 21. Lay the slip pocket pieces right side together, sew the top and the bottom with 1/4" of seam allowance; press; turn right side out. 22. Press the pocket; top stitch along the upper edges. 23. Position the pocket on the right side of the lining piece, about 3.5" away from the top; draw a line on the center, then sew along the center line, and the bottom as well. 24. Lay the zipper panel on the right side of the lining 1.5" away from the top, aligning the center point of the zipper with the center of the lining; pin; sew along the edges with 1/8" of seam allowance 25. Repeat the same with the other side of the zipper panel. 26. Assemble the lining the same way as the exterior shell; leave about 5" of opening at the bottom to turn the bag inside out. 27. Fold the strap anchor in half widthwise; press; fold the edges towards the center fold; press; fold everything in half; press. 28. Sew the folded edges with 1/8" seam allowance; cut in half. 29. Insert the strap anchors to the d-rings, position them on both sides of the bag (right on the side seams); sew with 1/4" of seam allowance. 30. Sew the strap; watch the video tutorial here. 31. Turn the exterior shell wrong side out, and the lining right side out; insert the lining into the exterior shell; secure with sewing clips; sew with 1/2" of seam allowance. 32. Turn the bag inside out through the opening hole, press the edges; topstitch. 33. Sew the opening hole close. 34. Tuck the lining bag inside; attach the strap; enjoy! 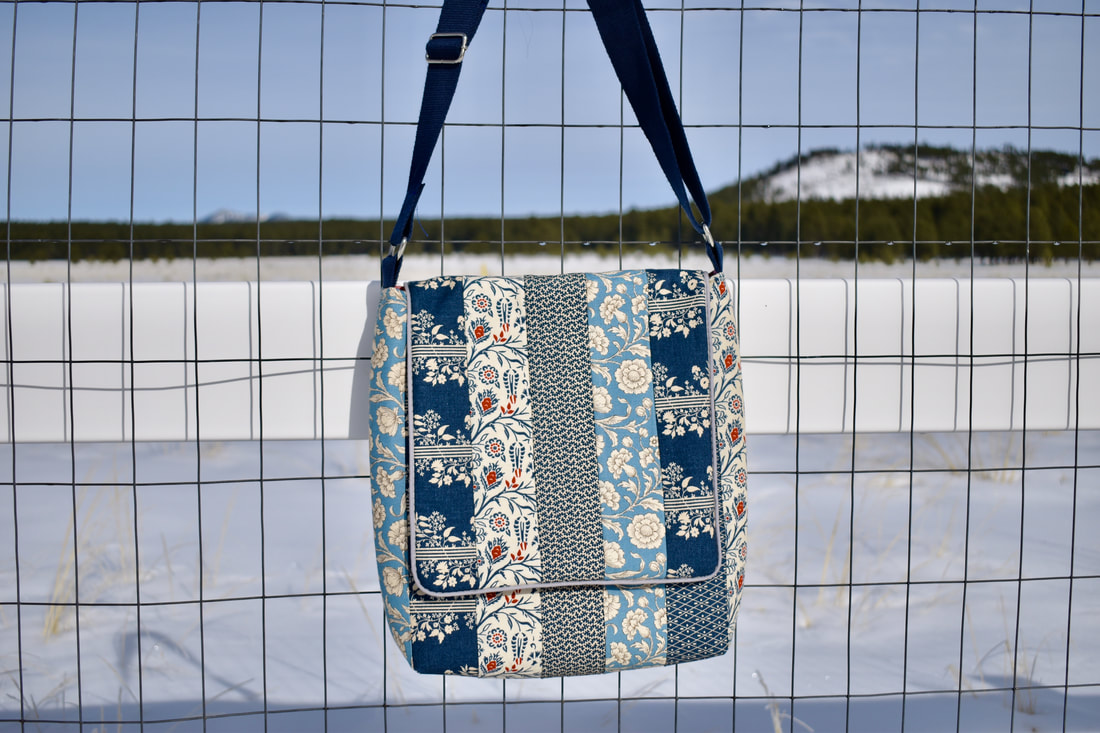 Large Messenger Bag with front zipper pocket I have been wanting to make a larger size messenger bag that is more structured, thus able to carry heavier items such as books, tablets, diapers, wipes, my kid's toys, etc, yet still looking chic and feminine hence I designed this bag and of course share the adventure of the making with you. For this bag we will use some 2.5" strips, I used some jelly roll strips that I have laying around (you can also cut from your scraps). I also added a front zipper pocket to store my phone, and of course some internal pockets (3 zipper pockets & 1 slip pocket) 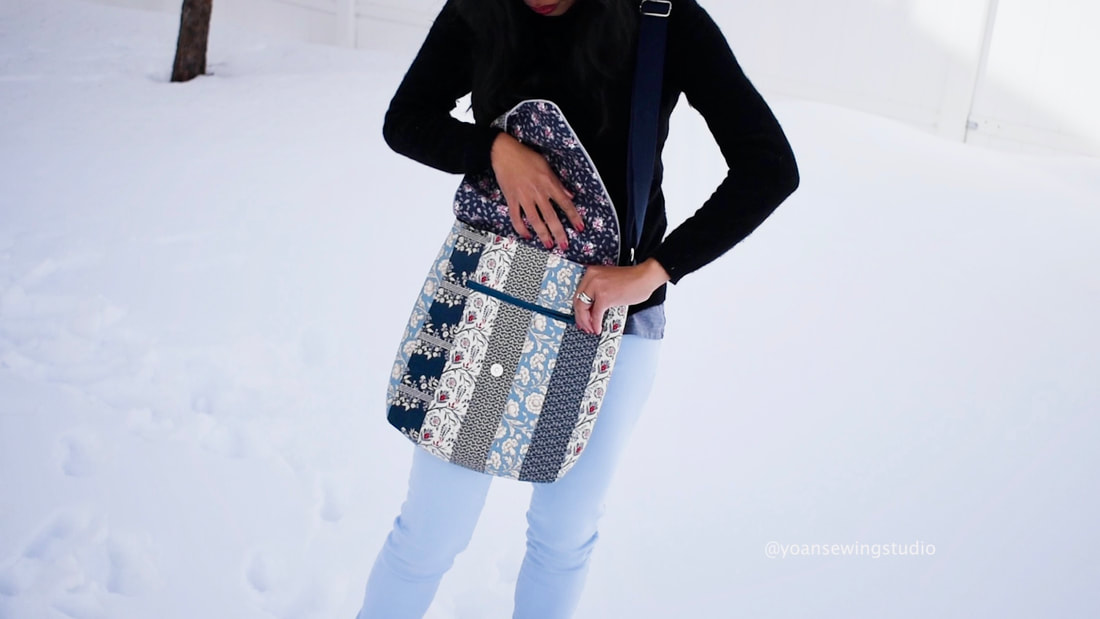 Disclaimer : This post contains some affiliate links, Thank you for your support! SUPPLIES 12" x 2.5" strips (5x) for the flap 15" x 2.5" strips (14x) for the front and bag exterior 1 yard of fabric for the lining and pockets Fusible woven Interfacing Sew in Foam Stabilizer (I used soft and stable) Fusible Fleece Bias piping tape 2 nylon coil zipper (at least 7" long) 1 set of magnetic snap 1.5" Webbing Strap 50" - 60" long 1.5" D rings (2x) 1.5" adjustable strap slider CUTTING Flap -From the strips cut 12" x 2.5" (5x) -From the lining fabric cut 10.5" x 12" (1x) -From the fusible woven interfacing cut 10.5" x 12" (1x) -From the fusible fleece cut 10.5" x 11.5" (1x) Front and back exterior -From the strips cut 15" x 2.5" (14x) -From the fusible woven interfacing cut 14.5" x 15" (2x) -From the foam stabilizer cut 14.5" x 14.5" (2x) Front external zipper pocket -From the lining fabric cut 10" x 9" (2x) -From the fusible woven interfacing cut 10" x 9" (2x) Lining -From the lining fabric cut 14.5" x 15" (2x) Internal slip pockets -From the lining fabric cut 14.5" x 8" (2x) Internal zipper pocket -From the lining fabric cut 10" x 9" (2x) Strap Anchors -From the webbing strap cut 3" strips (2x) Strap -From the webbing strap cut between 50"-60" long STRIPS LAYOUT Flap 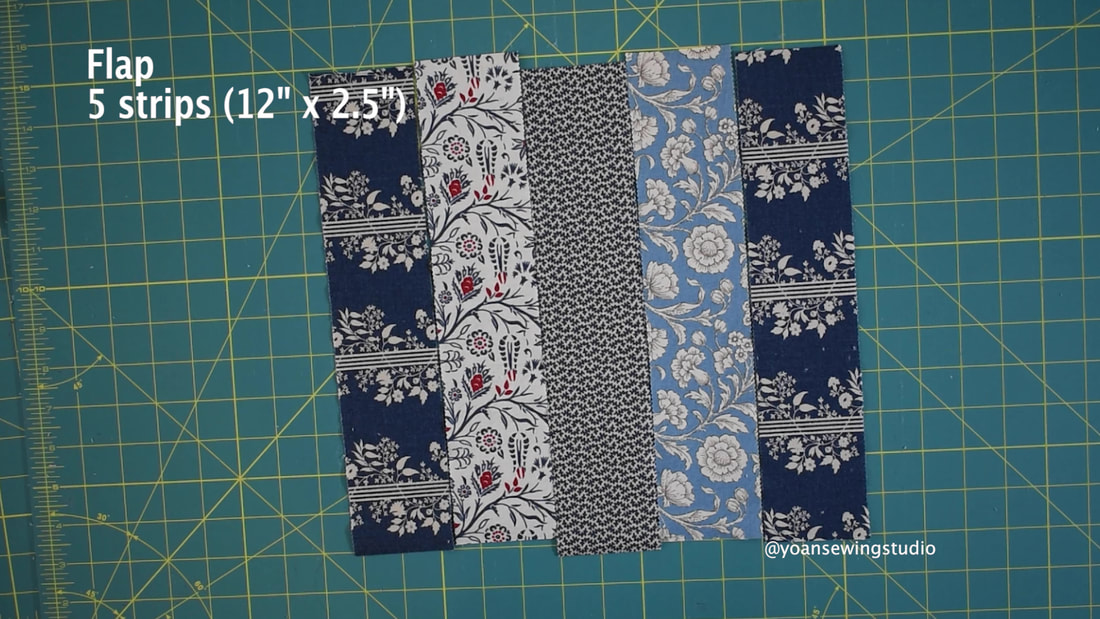 Front & Back Exterior 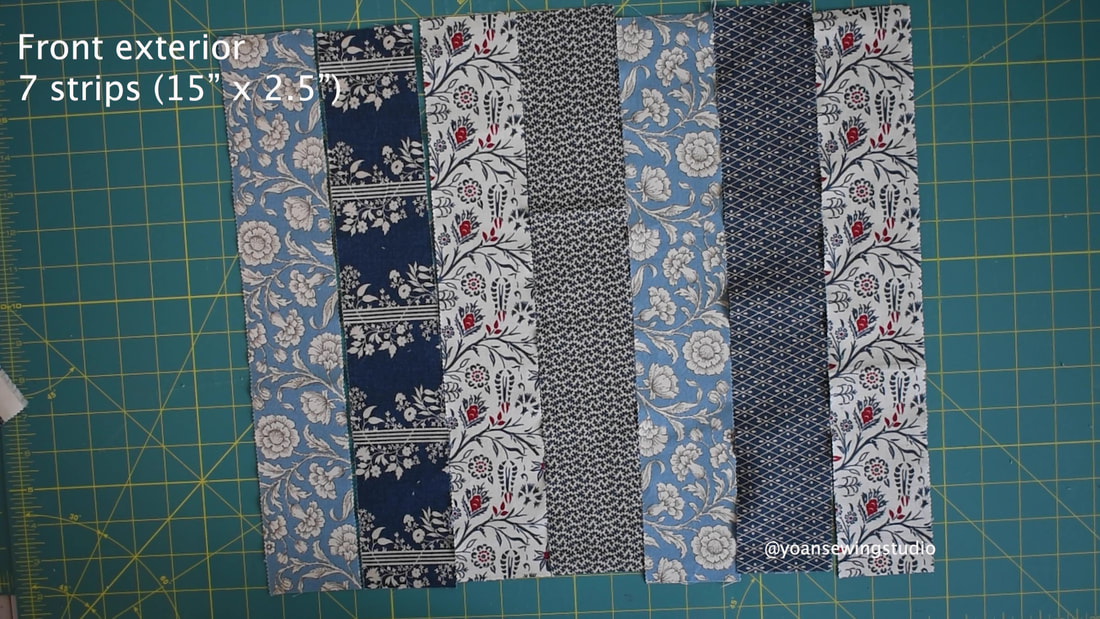 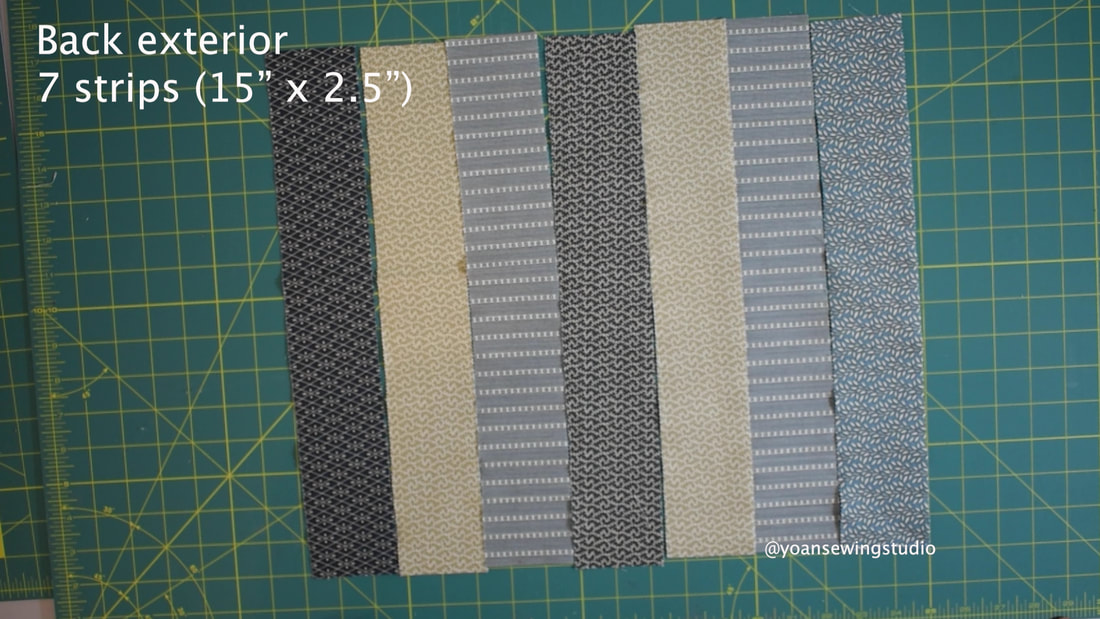 Watch the full tutorial on my Youtube Channel Happy Sewing!! 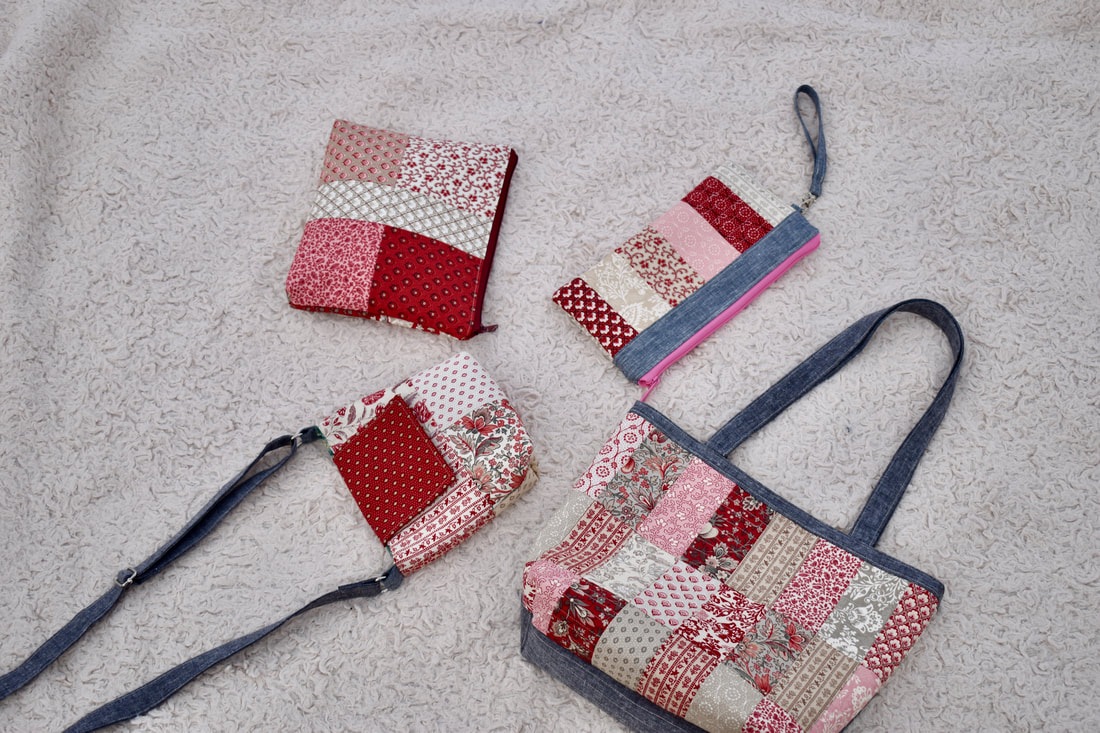 4 Charming Projects with 1 Charm Pack In this festive season, I'm bringing you these four lovely projects that you can make for your gifting list, that are simple enough yet still so much fun to make. You will need one full pack of Charm Pack (5" squares) for this project, they are widely available at retail fabric/ quilting stores , and online as well. These are the projects that I am so excited to share with you 1. The Charming Crossbody Purse 2. The Charming Pouch 3. The Charming Tote (my favorite!) 4. The Charming Wristlet Clutch Let's start with this Charming Crossbody Purse  The finished measurement of this purse is about 7.5" x 7.5" The Supplies that you will need 10x pcs of Charm Pack 1/3 yard of fabric for the lining and pockets 1/6 yard of fabric for the straps Fusible woven interfacing (I use Pellon shape flex 101) Fusible fleece (I use thermolam Pellon TP971F) 1" d rings (2x) 1" adjuster slider 1 set of magnetic snap closure *Disclaimer : This post contains affiliate links, thank you for your support! Cutting Lining 9.5" x 9.5" (cut 2x) Strap 60" x 4" Strap interfacing 59" x 2" (from the fusible woven interfacing) Strap anchor 5" x 4" Fusible woven interfacing 9.5" x 9.5" (cut 2x for the front and back exterior) Fusible fleece 9.5" x 9" (cut 2x for the front and back exterior) Slip Pocket 7.5" x 5.5" (cut 2x) To make the patchwork you will need to layout 4 charm packs for both for both front and back exterior as shown below 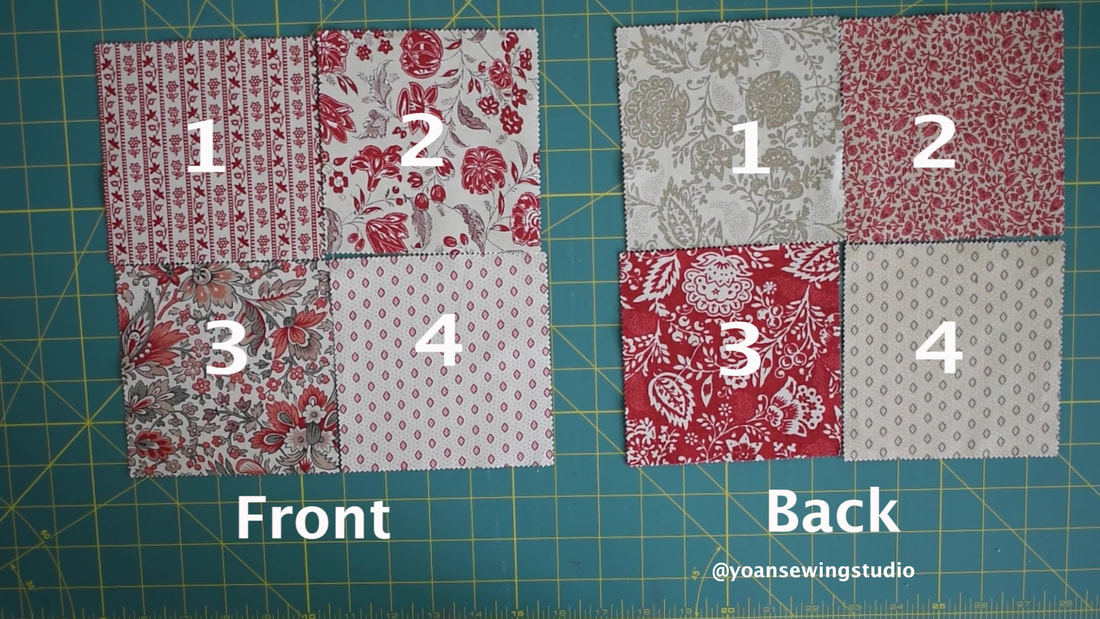 Piece them together with 1/4" of seam allowance 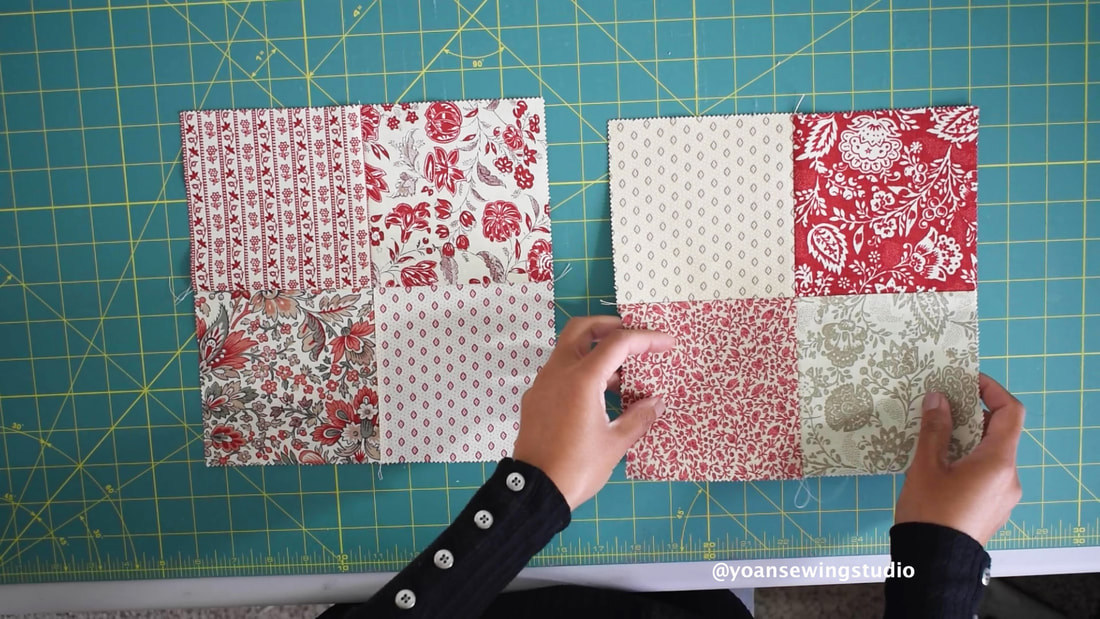 Now apply the interfacing 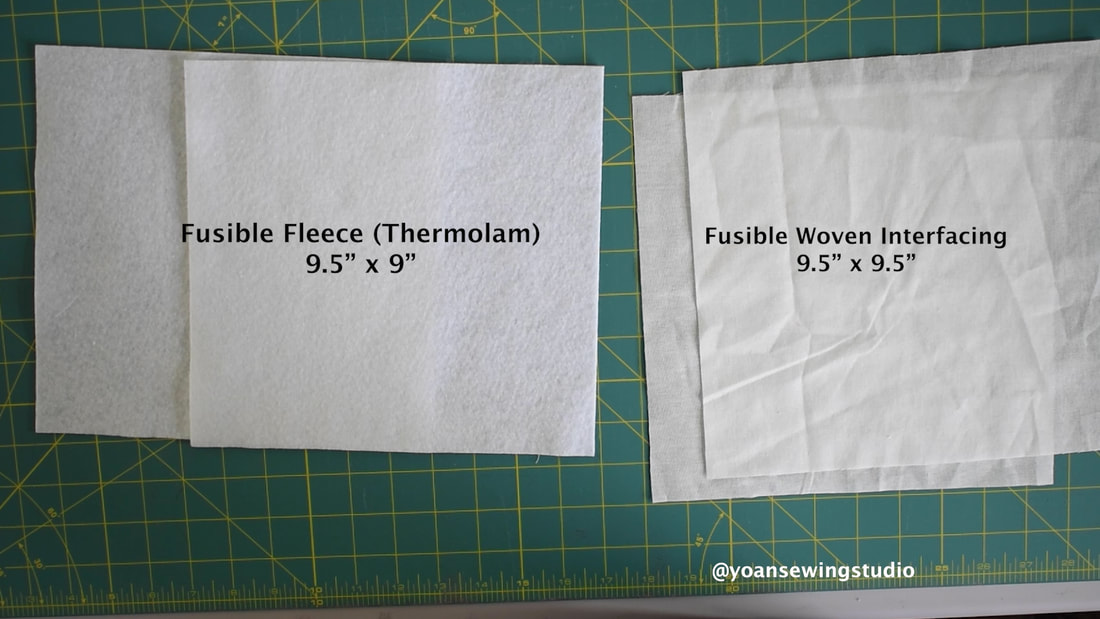 Use 2x pcs of charm pack for the flap (each for the exterior and the lining as well)
Attach the flap to the back exterior piece 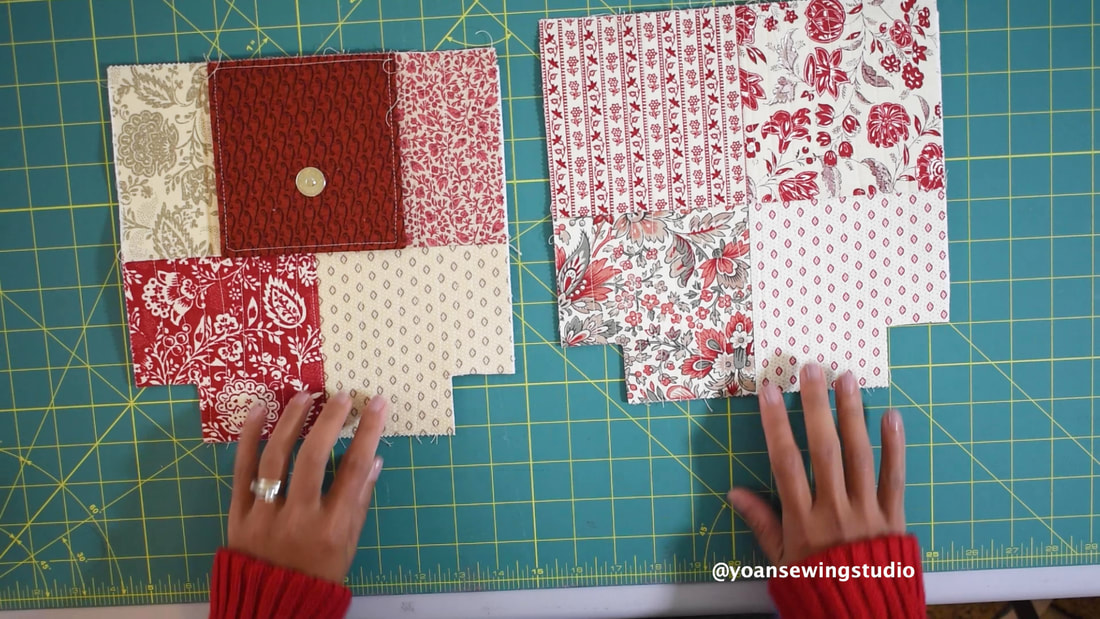 Here is the measurements for the lining and the pockets
Check out the full tutorial on my Youtube channel For the next project we will make this Charming Pouch.
Happy Sewing! 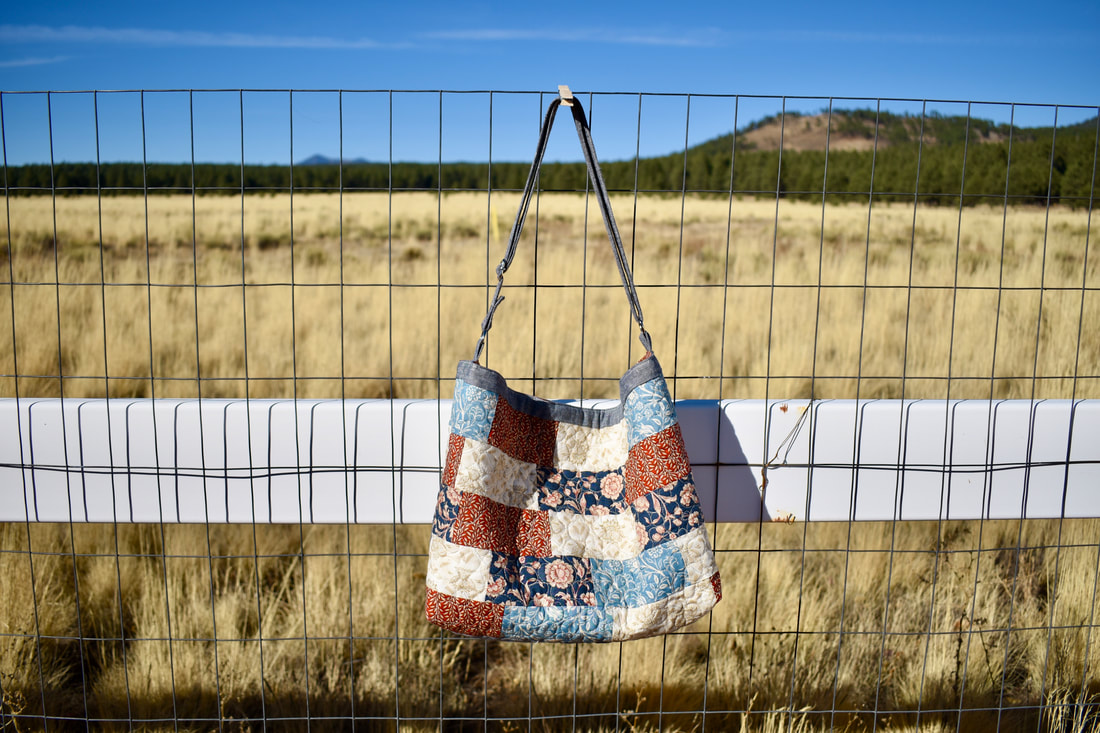
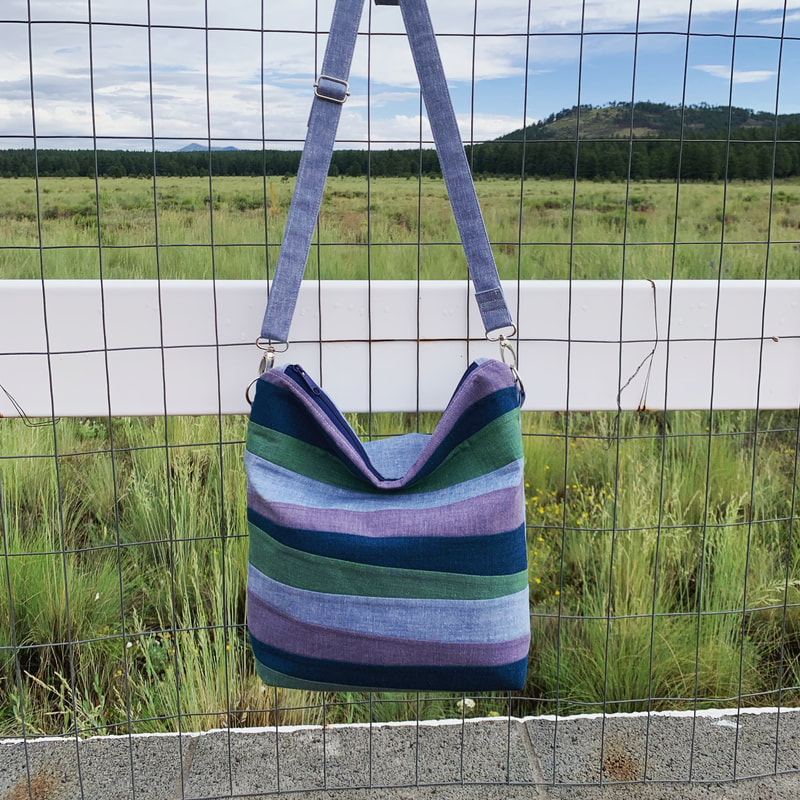
The Scrappy Slouch Bag - Front
Got some Jelly Roll Strips left over from your quilting project? How about making this charming slouch tote that is so much fun and pretty simple to make.
The finished measurement of this bag when lays flat is about 16" (widest point)x 11" although when you wear it, the center is going to collapse, hence gives you that attractive slouchy look. I used cotton batting for this bag, although other type of interfacing such as fusible fleece, thermolam, or felt fabric will work great as well. 
The Scrappy Slouch Bag - Back
This bag comes with 4 interior pockets (3 slip pockets and 1 zipper pocket), adjustable strap, and magnetic snap closure.
For this project I use these lovely Jelly Roll Strips by French General from Moda Fabrics.
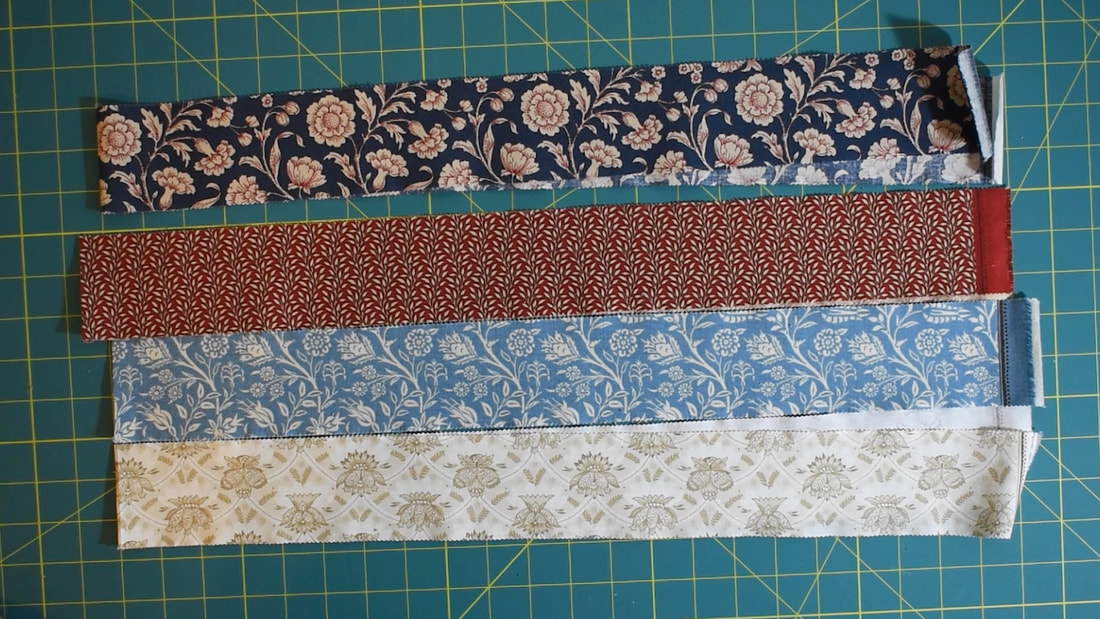
From each Jelly Roll fabric, you will need to cut 10" x 2.5" (2x) strips and 5" x 2.5 (4x) strips

Below is the lay out of the front and back exterior shells
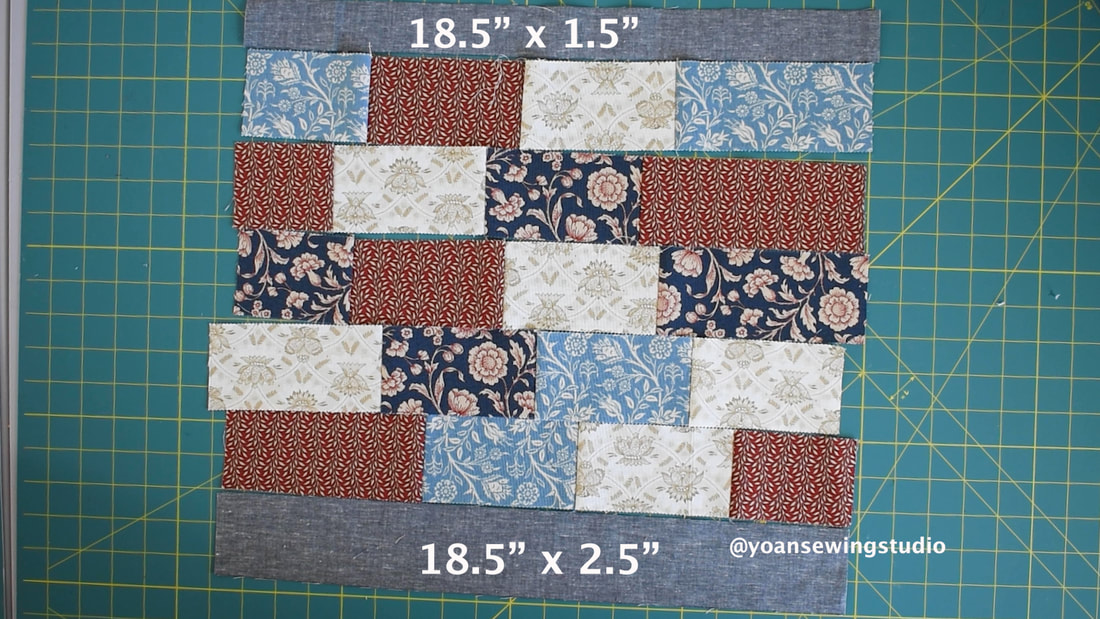
Front Exterior Shell Patchwork Layout
Back Exterior Shell Patchwork Layout
You can watch the full tutorial on my Youtube channel for the detailed patchwork piecing and the construction of the bag.
Supplies
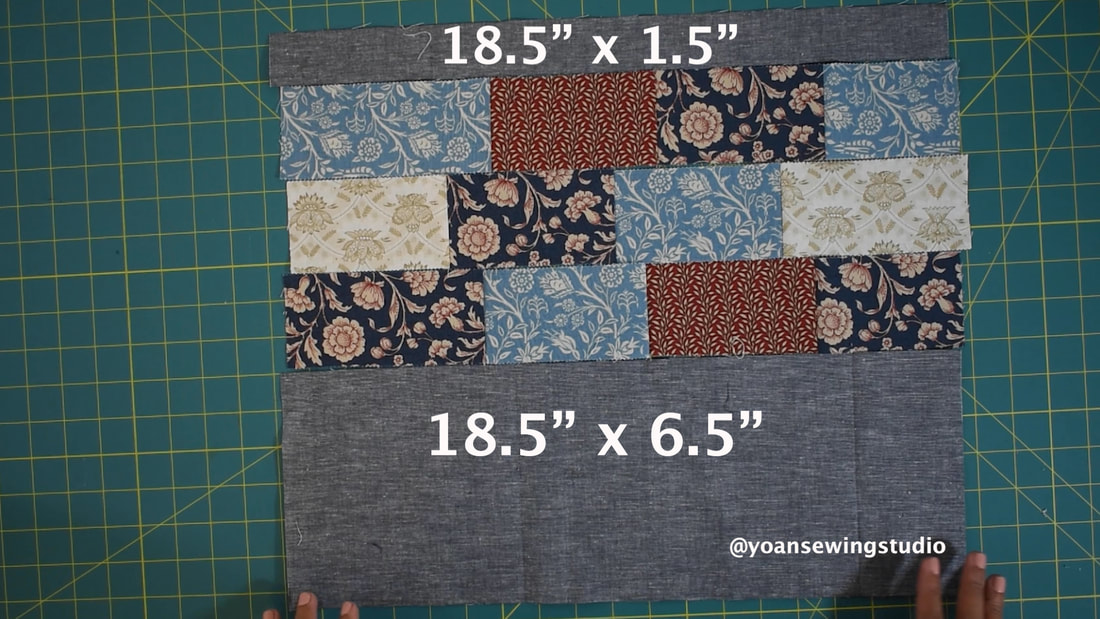
4x jelly Roll Strips (2.5" wide strips) 1/3 yard of accent fabric (for the accent strips and strap Quilt batting (or interfacing of your choice e.g. fusible fleece, felt fabric, etc) 5/8" quilt weight fabric for the lining, slip pockets, and zipper pocket Nylon coil zipper (at least 7") 1" D rings (2x) 1" adjuster slider Fusible woven interfacing (pellon shapeflex 101) Basic sewing notions Disclaimer : Some of the links in this post are affiliate links. ================================================ Cutting The Jelly Roll strips patchwork From each Jelly Roll Strip, cut the following -10" x 2.5" (2x) -5" x 2.5" (4x) From the accent fabric cut the following ~Front Exterior~ Top Accent : 18.5" x 1.5" Bottom Accent : 18.5" x 2.5" ~Back Exterior~ Top Accent : 18.5" x 1.5" Bottom Accent : 18.5" x 6.5" ***After quilting/ applying the interfacing, trim off both sides of the front and back exterior shell about 1/4", thus both of your front and back exterior should be measuring 18" x 13.5" Strap Anchors : 5" x 4" Strap : 42" (cut from the full width of fabric) x 4" Strap interfacing : 41" (1" shorter from the length of the strap) x 2" Lining : 18" x 13.5" (cut 2x) Slip Pockets : 18" x 7" (cut 2x) Zipper Pockets : 9" x 7" Thank you for stopping by and Happy Sewing! 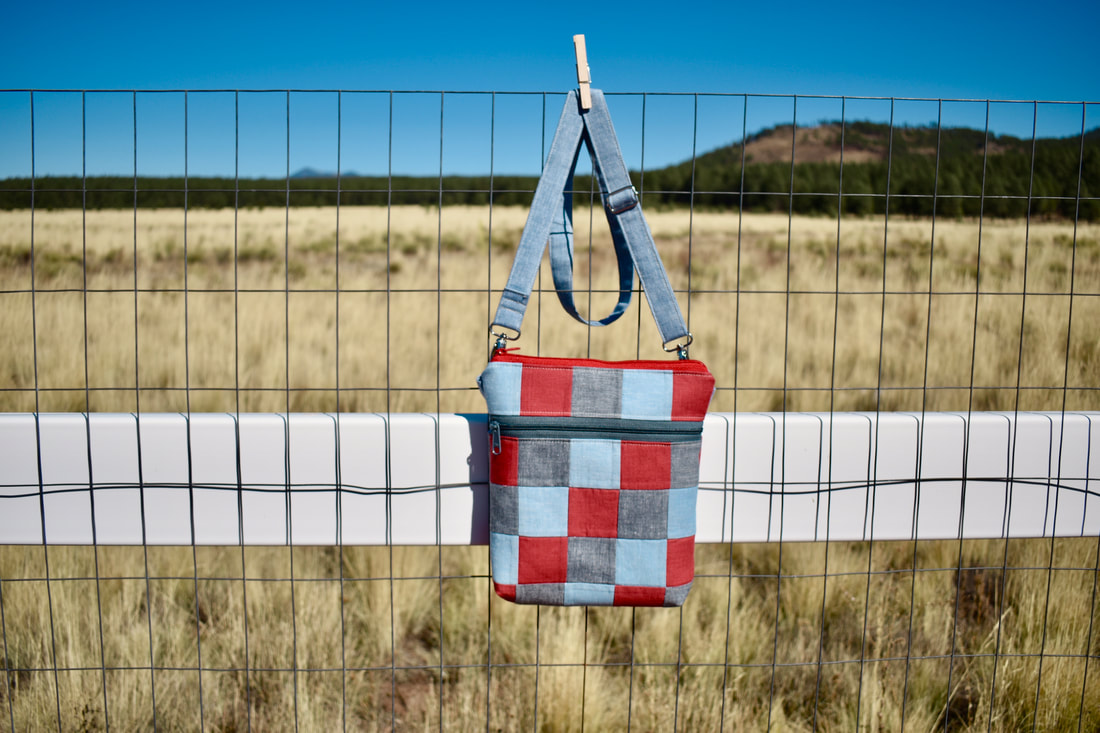
Patchwork double zipper purse by Yoan Sewing Studio
This patchwork double zipper purse is a practical and functional little purse that is sew-much-fun to make (pun intended).
It comes with 3 external pockets, and two internal pockets, and of course a zipper pocket. The finished measurement of this bag is about 9 1/2" x 10 1/2", a nice size to carry your necessities from wallet, phone, make up, sunglasses, etc.
For the patchwork you will need 2 1/2" squares in 3 different colors. This is a great way to use up some of those scraps, or leftover fabric, you can also use some fabric strips (jelly roll) one strip for each color will suffice for the patchwork.
I posted the full tutorial on my Youtube channel, go ahead and check that out, and consider subscribing so you won't miss any upload
Supplies
45 pcs of 2.5" squares -Fabric A 14 pcs -Fabric B 16 pcs -Fabric C 15 pcs 1/3 yard of quilt weight fabric for the back exterior and strap 2/3 yard of quilt weight fabric for the lining 2 nylon coil zippers (at least 11" long) Fusible woven interfacing (pellon shapeflex 101) Fusible fleece *or use your favorite kind of interfacing :) 1" D- rings (2x) 1" adjuster slider (1x) 1" swivel hooks (2x) Basic sewing notions Disclosure : Some of the links above are affiliate links, thank you for your support! ============================================== Cutting FRONT EXTERIOR -Lay out the patchwork as shown on the video 01:28 Front exterior interfacing -Fusible woven interfacing Upper part 10 1/2" x 2 1/2" (cut 1x) Lower part 10 1/2" x 8 1/2" (cut 1x) -Fusible fleece Upper part 10 1/2" x 1 1/2" (cut 1x) Lower part 10 1/2" x 8" (cut 1x) -Front exterior pocket lining Lining 1 (for the lower part) 10 1/2" x 8 1/2" (cut 1x) Lining 2 **cut exactly the same as the exterior piece's measurements after installing the zipper (mine turned out to be 10 1/2" x 11 1/4", yours may vary depending on the width of your zipper BACK EXTERIOR Back exterior piece : Cut exactly the same size as your front exterior Fusible woven interfacing : Cut exactly the same size as your front exterior Fusible fleece : cut the same size as the fusible woven interfacing; trim off 1/2" from the length size to accommodate the zipper Back exterior pocket: Lay out the patchwork exactly the same as the lower part of the front exterior Back exterior pocket fusible woven interfacing 10 1/2" x 8 1/2" Back exterior pocket lining 10 1/2" x 8 1/2" LINING Lining fabric : Cut two exactly the same size as your front exterior piece Internal pockets : Cut two 10 1/2" x 7" STRAP Strap anchor 5" x 4" (cut 1x) Adjustable strap 60" x 4" (cut 1x) Adjustable strap fusible woven interfacing 59" x 2"
I hope you enjoy this tutorial, and Happy Sewing!!
The Peony Slouch Bag
The Improv slouch zipper bag, is a fun, yet stylish bag that is so much fun to sew. This is a great project to use up some of your scraps or left over jelly roll strips from your stash. You may experiment with different color range, use solid or prints, totally up to you.
The construction of this bag is similar to the Marion bag that I posted a month ago, however since this bag is larger in size, the finished look is quite different than the Marion bag (this bag has more slouch look). Watch the full video tutorial on my Youtube channel
The Peony Slouch Zipper Bag Supplies and measurement :
Supplies : Assorted quilt weight fabric strips (refer to measurements in the cutting instruction below) 2/3 yard lining fabric Nylon Zipper (at least 15" long) 1" D rings (2x) 1" Lobster clasp swivel hooks (2x) 1" adjuster slider Fusible Fleece Fusible woven interfacing (pellon shapeflex 101) Basing sewing notions ============================================== Cutting ~Front Exterior~ Cut 13-15 pcs of 18" x 2 1/2" strips ~Back Exterior~ Cut one 18" x 9" Cut one 18" x 12" ~Interfacing~ Cut two 15" x 15" fusible woven interfacing Cut two 15" x 14 1/2" fusible fleece ~Lining~ Cut two 15" x 15" from the lining fabric ~Pockets ~ Cut two 15" x 8" from the lining fabric ~Strap Anchor~ Cut one 5" x 4" ~Strap~ Cut one 60" (or desired length) x 4" strips ~Strap interfacing~ Cut one 59" (1" shorter than the length of your strap) x 2" ~Zipper Tabs~ Cut two 4"x width of zipper (fabric and interfacing) If you have any questions about this project please do not hesitate to reach out to me. Happy Sewing!! |
Categories
All
©
Yoan Sewing Studio | All Rights Reserved
|


 RSS Feed