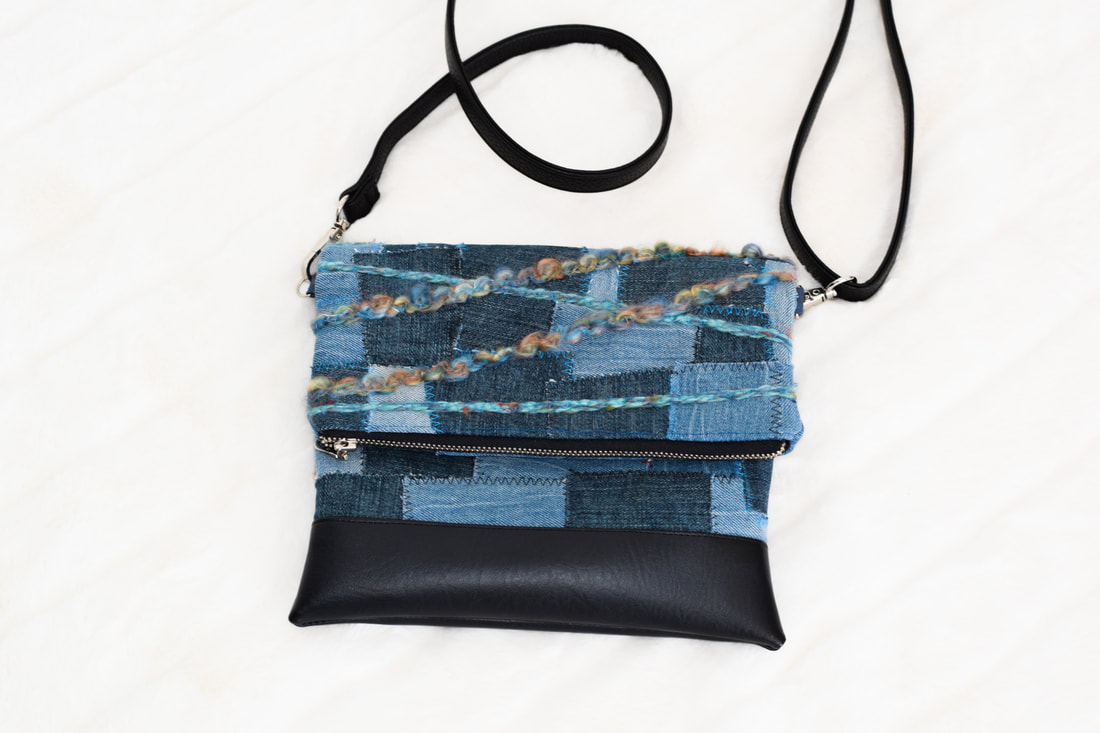
Denim Patch Purse by YoanSewingStudio
Today I'm bringing you yet another fun sewing adventure by up-cycling a bunch of denim or jeans scraps to create a fabulous little purse. This fold-over style purse measures about 9" x 8" (when folded), and can be worn with the strap (crossbody stye) or without the strap as a clutch.
Features include
1x front exterior zipper pocket 1x back interior zipper pocket Zipper Closure Adjustable Strap
This post may contain affiliate links. Commission earned when you make a purchase through any of these links with no additional charge. Thank you for your support.
1 Comment

The Sling Bag Project by YoanSewingStudio
Today I'm bringing you one of the most requested tutorial which is the Sling Bag backpack. This bag measures about 10" x 7" x 2 3/4",
Features include front exterior pocket, interior elasticated slip pocket, interior zipper pocket, zipper closure, and adjustable strap.
This post may contain affiliate links. Commission earned when you make a purchase through any of these links with no additional charge. Thank you for your support.
WHAT YOU NEED TO MAKE THIS SLING BAG FABRIC For the bag exterior, you will need about 3/8 yard of cotton quilting fabric (fabric 1) I use the nesting dolls fabric that I designed in my whimsical fabric collection (available at Spoonflower). 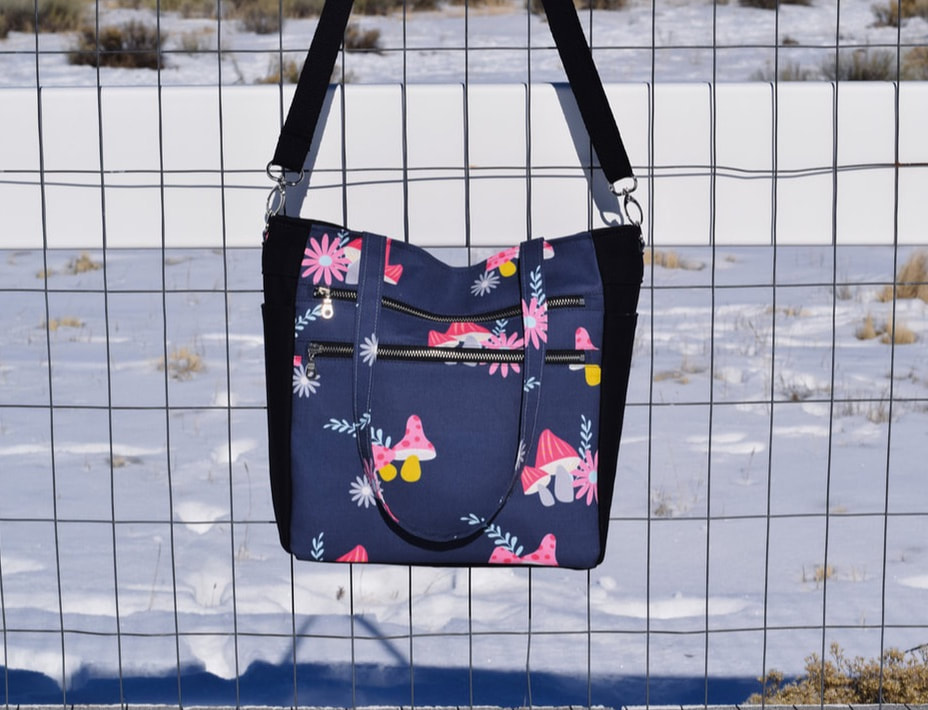
Here's a fun satchel project to start your sewing adventure this year. The Sassy Satchel comes with many pockets without being too bulky, I love the detachable adjustable strap and the shoulder straps which allow you to carry this bag in different style options, and the zipper closure to ensure you get to keep your belonging securely.
All and all, this is such a versatile bag that soon will be your new BBFF (Best Bag Friend Forever). Finished bag measurements : Approx. 13" x 11" x 4" (33 x 28 x 10 cm) 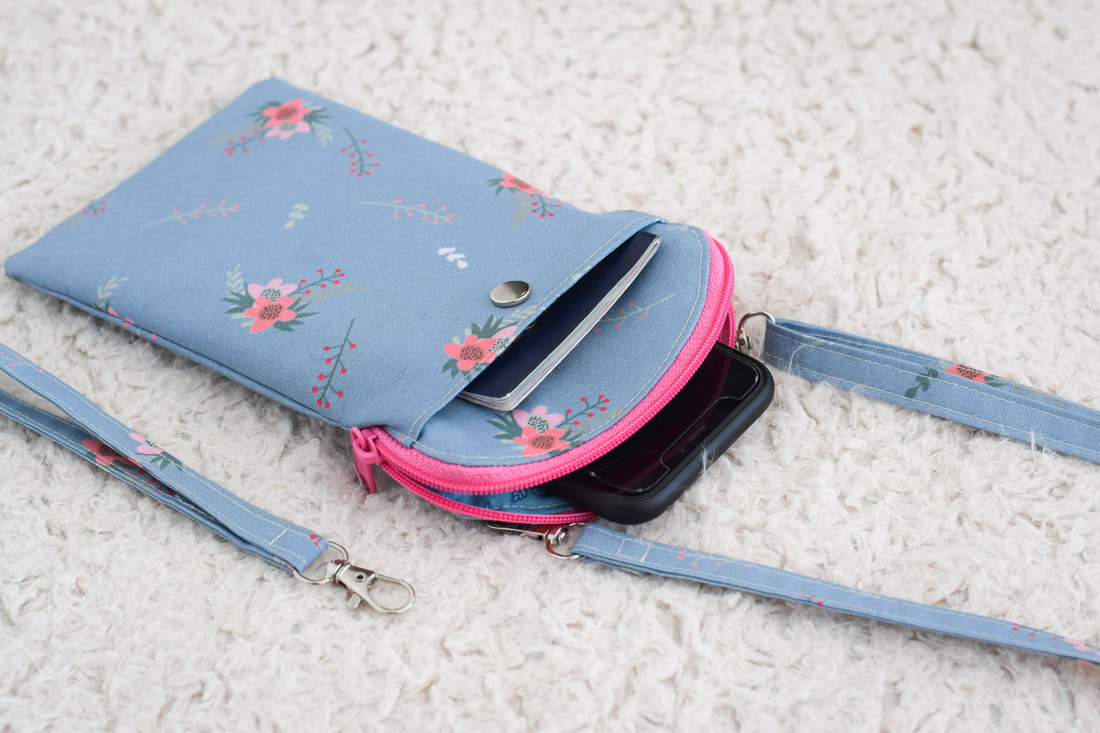
curved-top crossbody cellphone bag by YoanSewingStudio
The Curved-Top cellphone bag/wristlet is yet another simple and functional little bag that is perfect for your everyday activity.
It comes with a front exterior pocket, card pockets, adjustable strap and wristlet strap. The curved-top zipper shape (hence the name), gives a generous opening, thus easier access to your belonging. Finished bag measurements : approx. 5" x 8" (12.7 x 20.3 cm)
Features include
1x exterior slip pocket 3x interior card slots (can carry up to 6 cards) Zipper closure adjustable strap wristlet strap 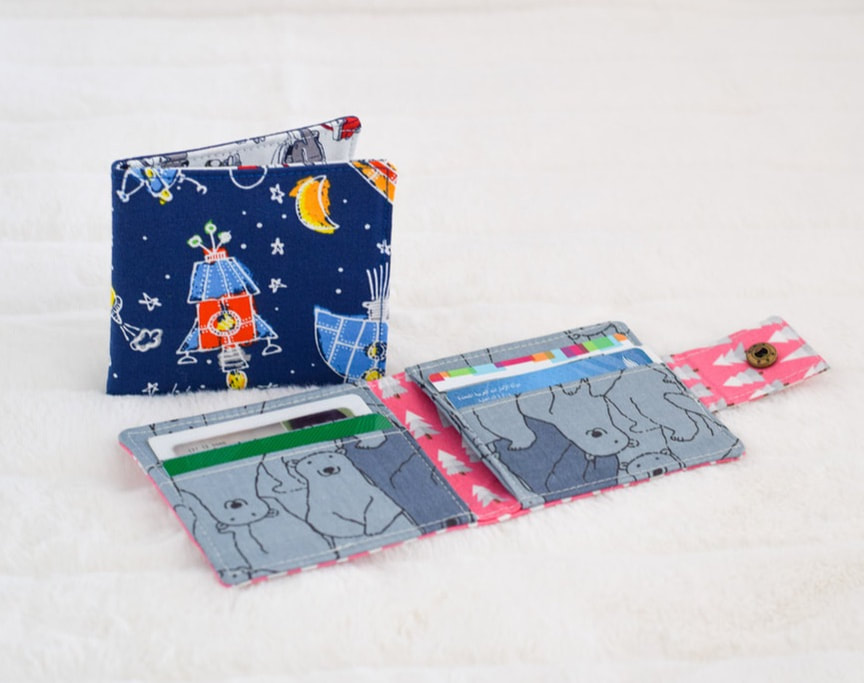
Kids bifold wallet project by yoansewingstudio
I can't never share enough of wallet projects indeed :). I've been wanting to make a simple wallet for my son to be his first wallet. I managed to create one for him (the one with blue rocket/space fabric - leftover from making his quilt few years ago).
I like the outcome so much, then I thought why not make another one (the pink one with button snap closure to add variation to this pattern). Although these wallets are labeled for "kids", they can be made for adult too, especially if you like minimalistic wallet style. 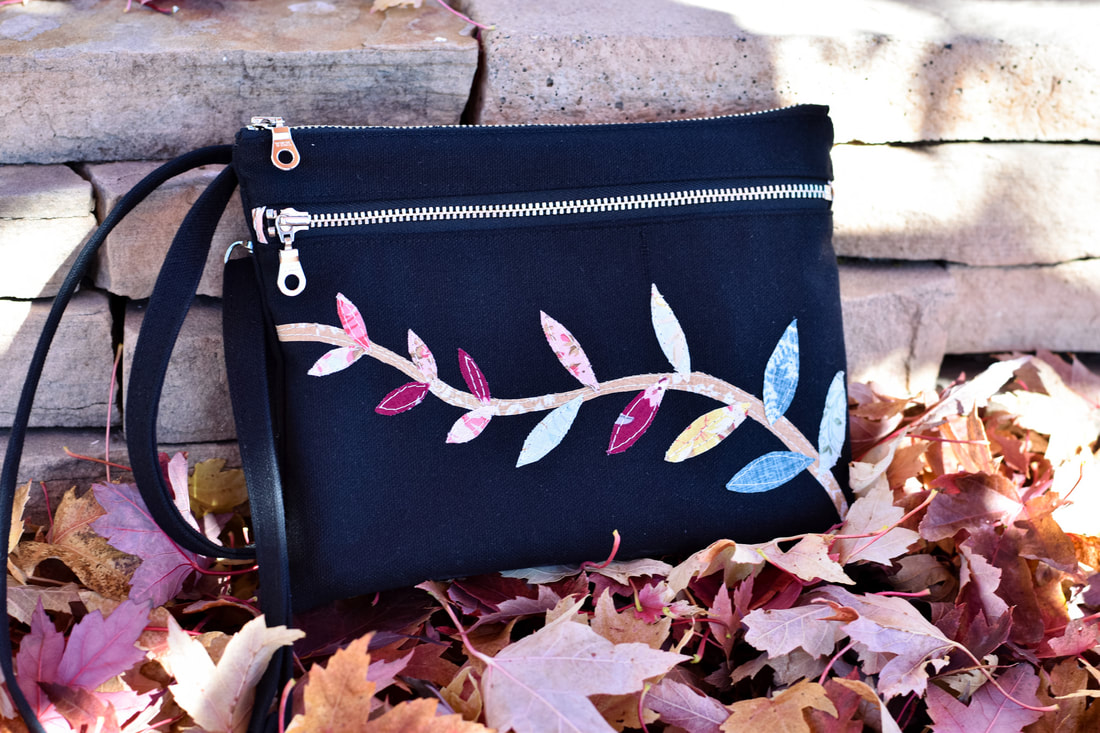
little canvas crossbody bag with appliqués by yoansewingstudio
You will love making this little crossbody style bag in canvas fabric embellished with leaves appliqué.
This is the perfect everyday bag, and will make a great Christmas/holiday gift too. Finished bag measurements approx. 8 1/2" x 6 1/4" (21.5 x 16 cm) Features Include : Front zipper pocket Zipper closure Adjustable strap Interior slip pocket Interior zipper pocket 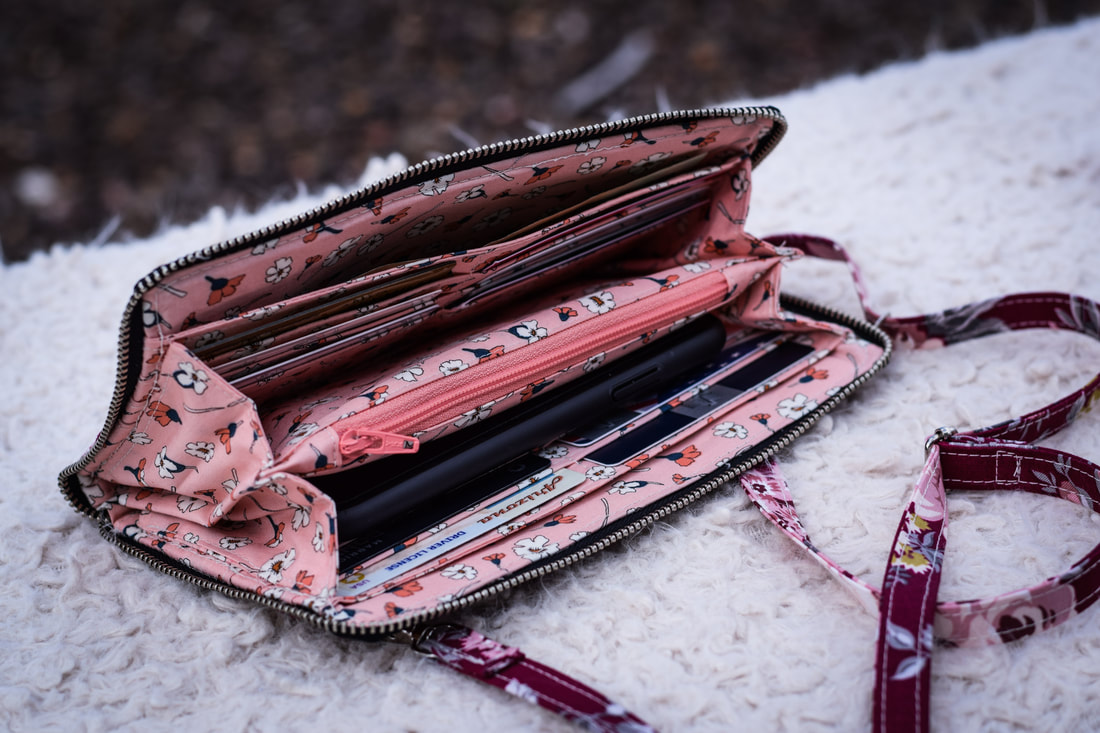
zip around wallet purse by yoansewingstudio
The zip around wallet purse is such a versatile addition in your collection. It has everything that a wallet should function for, from credit card slots, cash compartments, zipper pocket, enough room to carry your cellphone, with bonus adjustable strap and a wristlet strap.
Finished wallet measurements : approx. 8" x 4 1/2" (20.3 x 11.5 cm) Features: 6x card slots (each slot can accommodate up to 2x cards) 1x zipper pocket 2x slip pocket compartments (for cash, passport, boarding pass, etc) 2x middle compartments (perfect for cellphone) Adjustable strap Wristlet strap 
SALI crossbody bag by yoansewingstudio
The SALI crossbody bag is a fun little bag for your everyday errands, traveling, and will also make a lovely gift. This project is inspired from the crossbody cellphone bag pattern that many of you enjoyed, but larger in size, and fancier with metal zippers, and added card slots
Features include 2x external zipper pockets 4x card pockets 1x slip pocket Zipper closure Adjustable strap 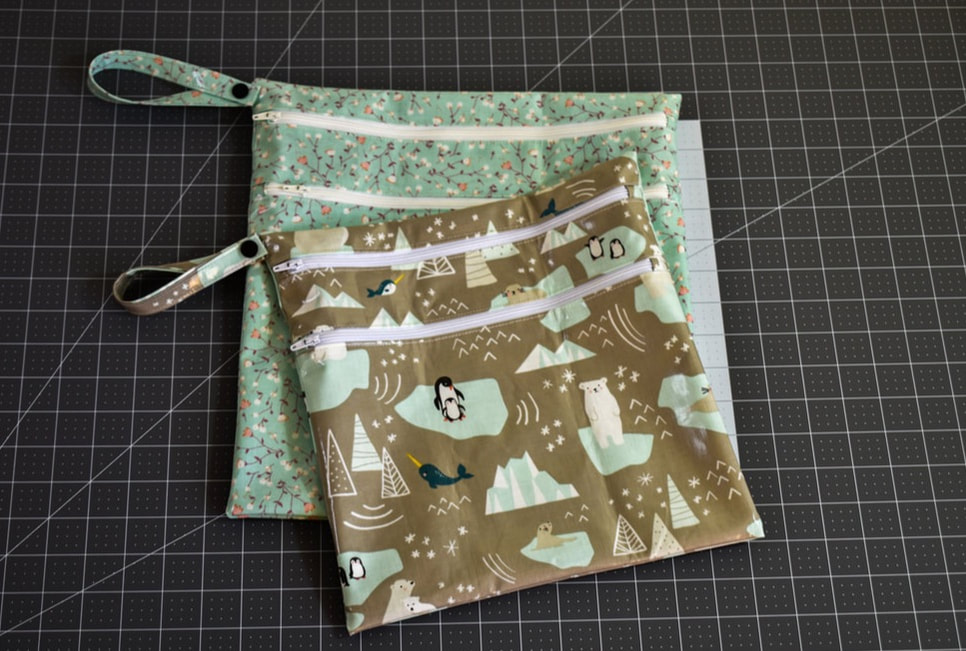
double zipped foldable bags by Yoan Sewing Studio
Double Zipped Foldable Bag by Yoan Sewing Studio
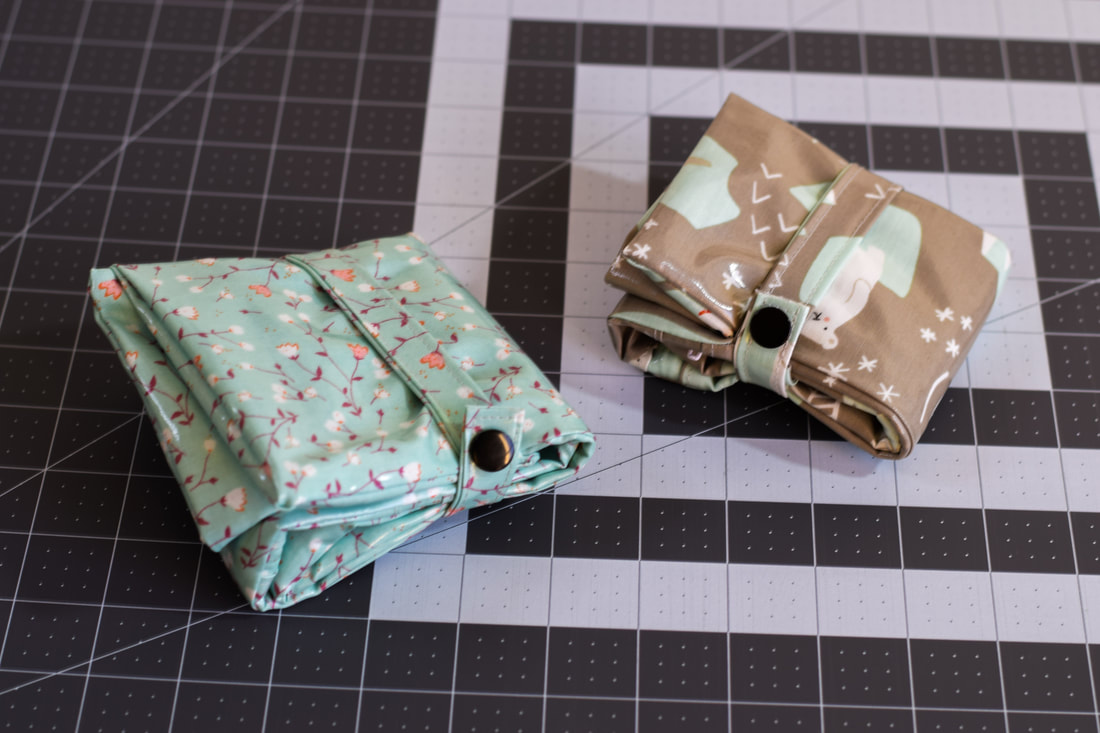
These double zippered foldable bags are light, water resistant, and super functional. Perfect for traveling, gym, accompanying a diaper bag, and will make a great baby shower or holiday gift also.
Finished bag measurements : Large bag : 12 1/4" x 13 1/2" (31 x 34.3 cm) unfolded; 4 1/2" x 4 1/2" (11.5 x 11.5 cm) when folded. Small Bag : 11 x 11 1/4" (28 x 28.5 cm) unfolded; 4" x 4" (10 x 10 cm) when folded. Features include -2x Zipper compartments (the lower zipper compartment can be used to carry damp/wet items) -hanging/tying strap -water resistant fabric -button snap to secure the bag when folded Click the buttons below to the PDF pattern (cutting instructions) & the video tutorial. 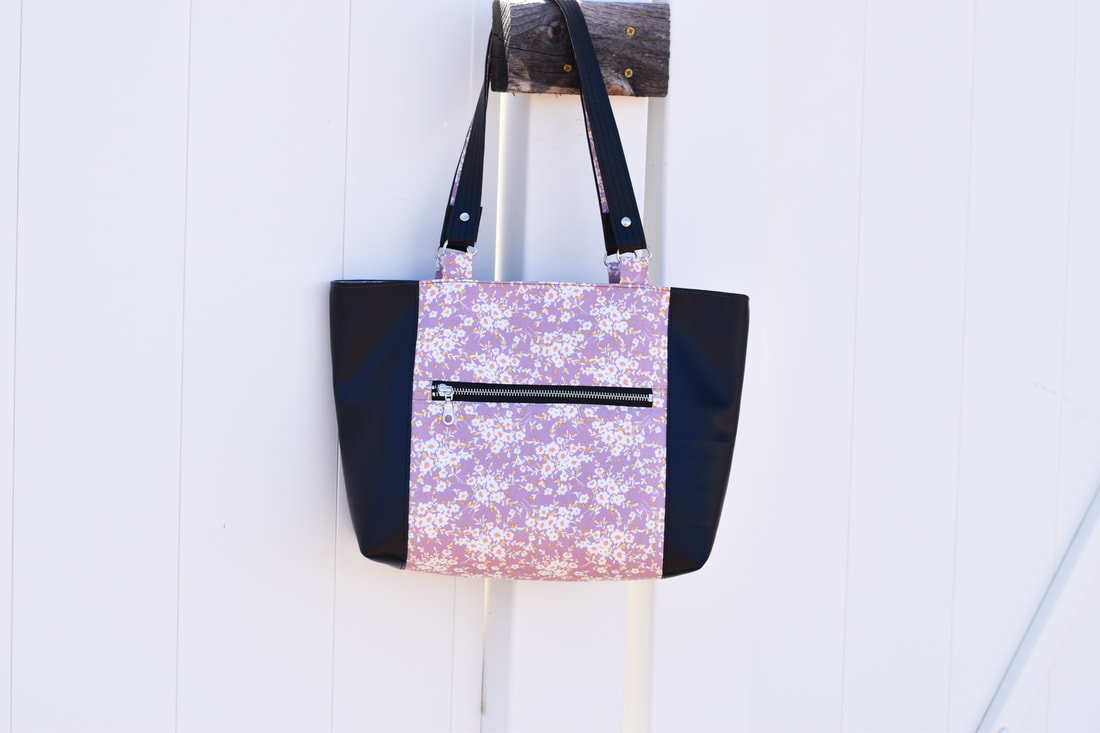
MALA TOTE BAG - mid size tote bag with zipper closure by Yoan Sewing Studio
If you need a simple, light, and straight-forward tote bag for every day use, you will love this Mala tote bag. It is a mid-size tote bag with zipper closure and of course pockets. The vinyl accent and the metal zipper, add fanciness touch to this tote bag thus can be dressed up or down.
Finished bag measurements : 16" x 11" x 4" (40.5 x 28 x 10) |
Categories
All
©
Yoan Sewing Studio | All Rights Reserved
|
 RSS Feed